So you grew up on Hamburger Helper, but now you’re an adult and have a more ✨refined✨ palate (read: sarcasm). Well, this One Pot Chili Mac recipe is your grown-up “I actually know how to cook now” substitute! And don’t worry, it’s almost just as easy as the boxed mix. Promise. It’s rich, hearty, cheesy, beefy comfort food pasta all cooked in one easy-to-clean pot. WIN!
What Is Chili Mac?
Chili Mac is simply macaroni noodles drenched in a rich tomato-based meat sauce, seasoned with chili spices, and with plenty of creamy cheddar cheese melted in. Some recipes also include beans, but I’m going for more of a Hamburger Helper dupe with mine, so I went sans beans. And you might be thinking, “I call that Goulash in my house.” While Chili Mac is similar to American Goulash in that they both contain macaroni noodles and a tomato-based meat sauce, they differ in their seasonings and flavor profiles.
Ingredients for Chili Mac
Here’s what you’ll need to make your own homemade chili mac:
- Onion and Garlic: The delicious meat sauce starts with onions and garlic sautéed in olive oil to give the beef plenty of flavor.
- Ground Beef: Ground beef makes this dish super hearty and delicious, while still being quick and easy to make. Opt for 85 or 90% lean ground beef to avoid having to drain the fat from the pan.
- Flour: A little flour cooked into the sauce helps thicken it up into a delicious gravy-like consistency.
- Spices: A mix of spices are added to the sauce for maximum flavor, including chili powder, smoked paprika, garlic powder, and oregano.
- Tomato Sauce: Tomato sauce gives the sauce a tangy tomato flavor and adds to the chili flavor profile.
- Beef Broth: Beef broth adds tons of flavor to this dish and enough salt to keep everything properly seasoned. If using a low-sodium broth, you may need to add a little salt at the end to taste to really help the flavors pop. We used Better Than Bouillon to make our beef broth for maximum flavor.
- Macaroni: Macaroni noodles are an inexpensive and filling ingredient that helps stretch the cost of the beef and keep the entire recipe budget-friendly.
- Cheddar Cheese: Cheddar cheese is stirred into the sauce and added on top of the noodles for extra cheesy flavor!
What Else Can I Add?
If you want to take your chili mac to the next level, try adding one or more of these ingredients:
- Drained kidney or black beans
- Frozen corn kernels
- Sliced green onions
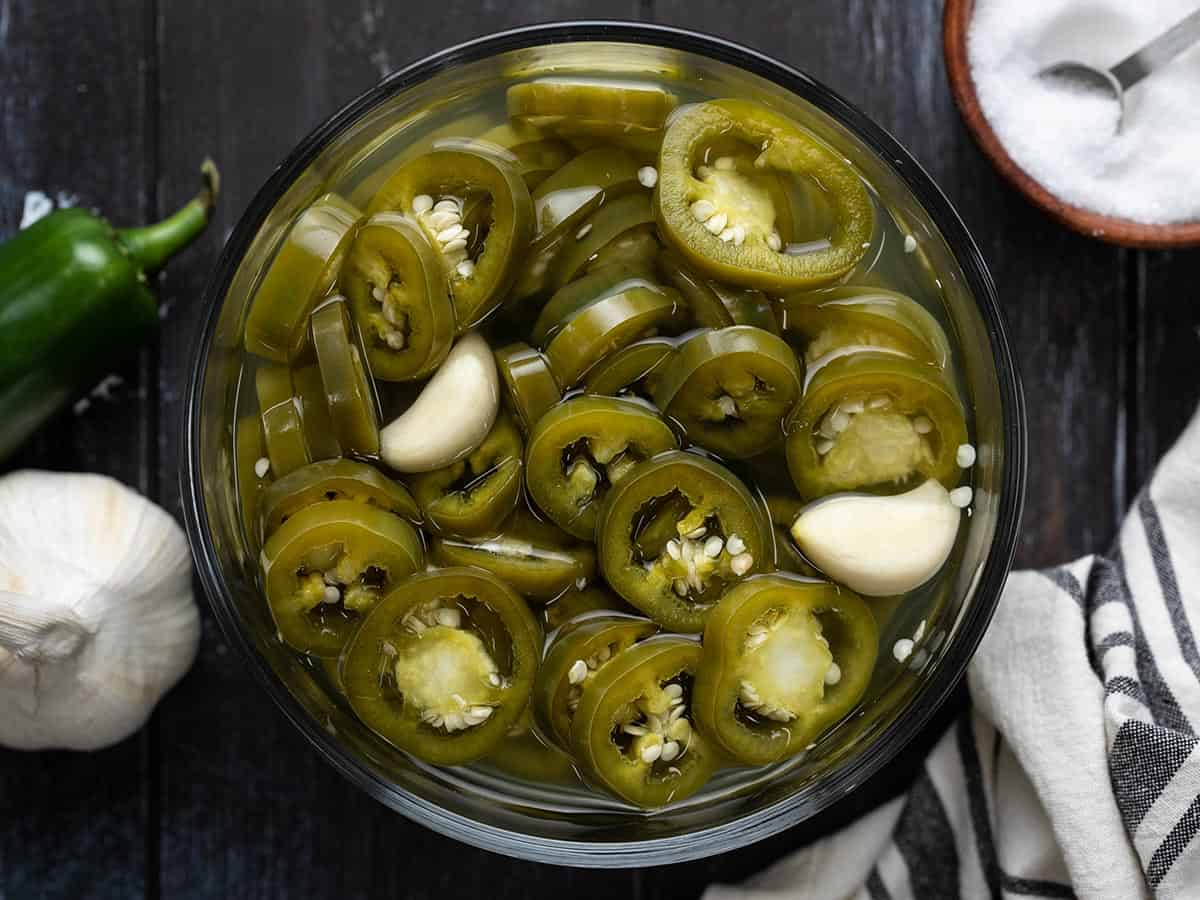
- Pickled jalapeños
- Diced tomatoes (or tomatoes with green chiles)
- Chipotle chile powder
What to Serve with Chili Mac
Chili mac is a true meal in a bowl, but if you want to serve something on the side I’d go for something fresh and light like Cowboy Caviar, Sweet Corn Salsa, or even Cumin Lime Coleslaw.
Storing and Reheating Leftovers
As with any pasta dish, the macaroni will continue to get softer as it absorbs moisture from the sauce, so if softer pasta is not tolerable to you, you may not enjoy the leftovers. That being said, I will gobble up these leftovers without a second thought and love making this Chili Mac for meal prep and even to stock my freezer. I simply refrigerate single-serving portions for up to five days or freeze for up to three months. Let frozen portions thaw in the refrigerator overnight, then reheat using the microwave.

One Pot Chili Mac
Equipment
Ingredients
- 1 yellow onion $0.32
- 2 cloves garlic $0.16
- 1 Tbsp olive oil $0.16
- 1 lb. ground beef $5.99
- 2 Tbsp all-purpose flour $0.03
- 1 Tbsp chili powder $0.30
- 1/2 tsp smoked paprika $0.05
- 1/2 tsp garlic powder $0.05
- 1/2 tsp dried oregano $0.05
- 8 oz. tomato sauce $0.69
- 3 cups beef broth $0.32
- 1/2 lb. uncooked macaroni (about 2 cups) $0.50
- 1 cup shredded cheddar $1.17
Instructions
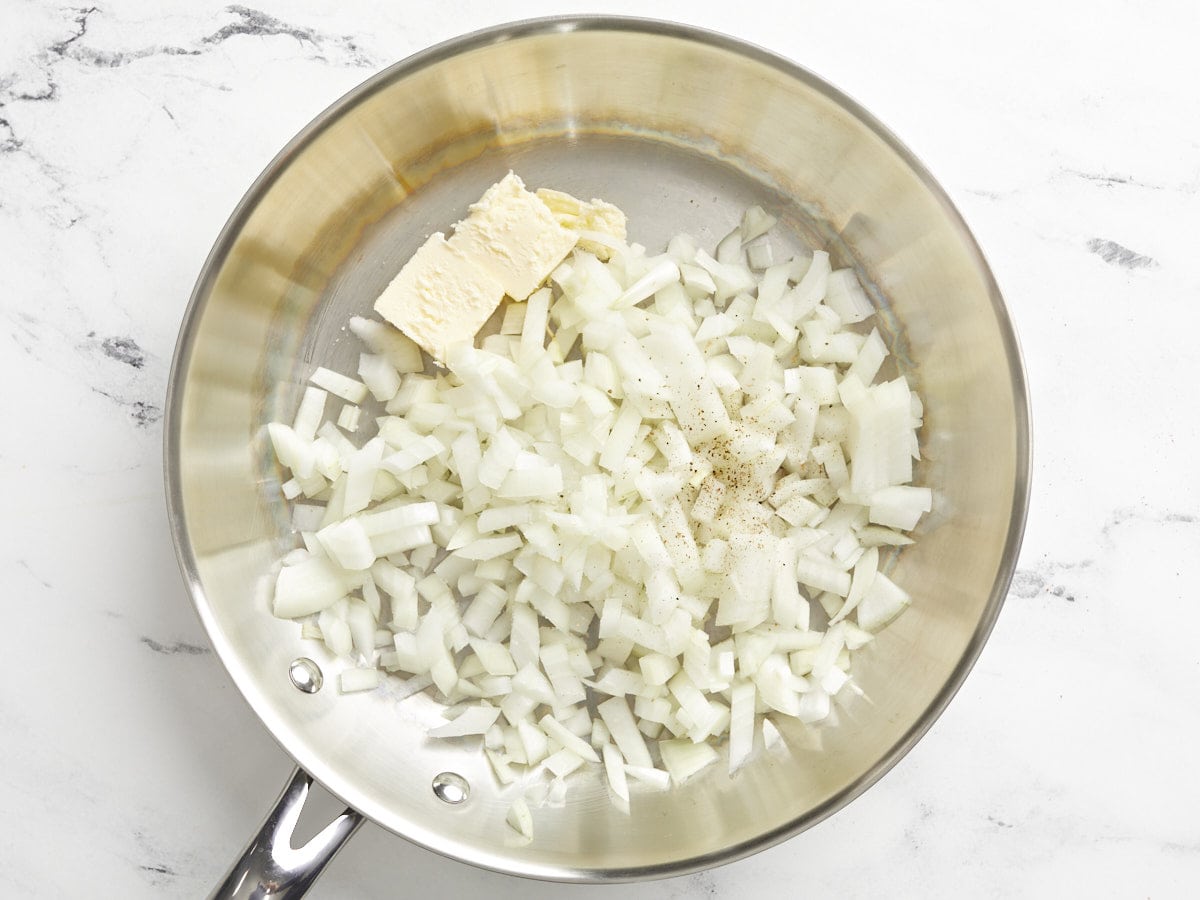
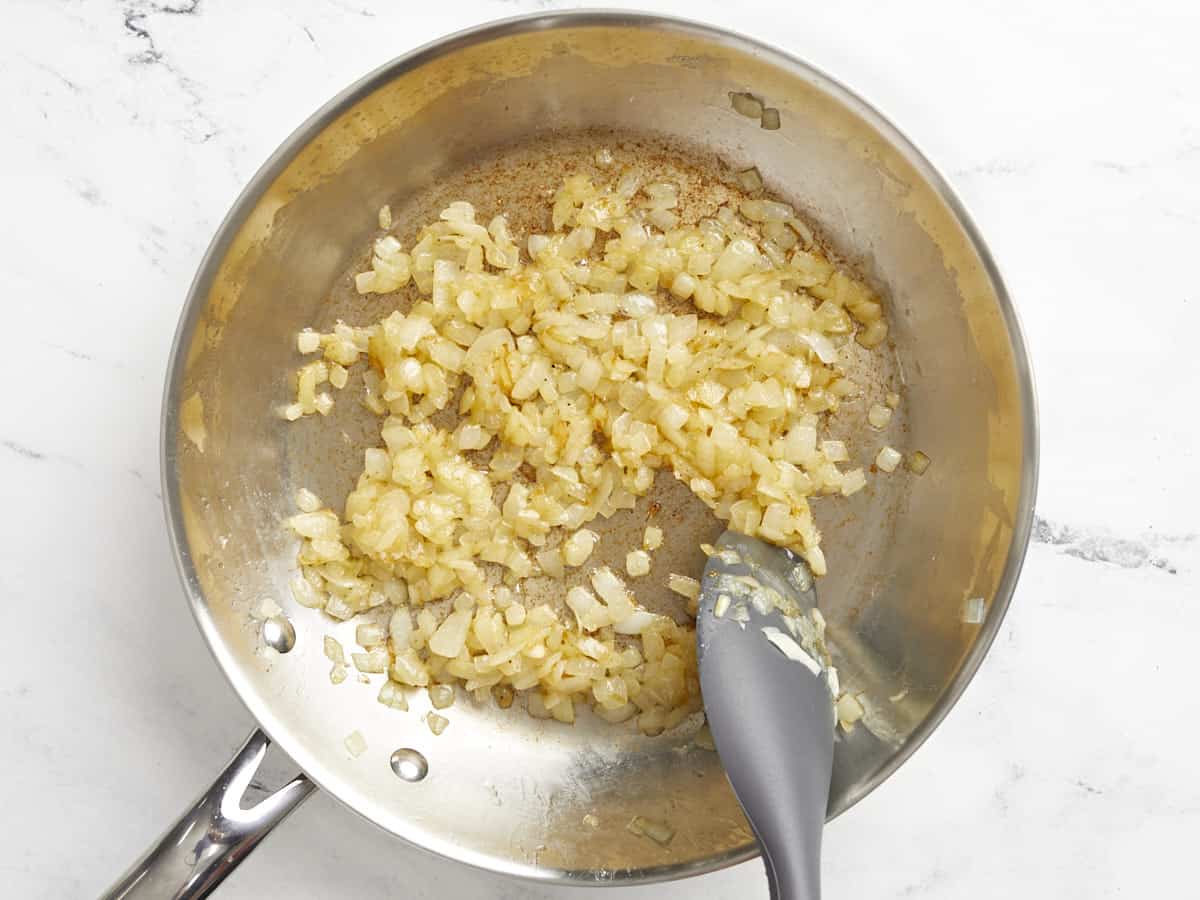
- Dice the yellow onion and mince the garlic. Add the onion and garlic to a large deep skillet or Dutch oven with the olive oil and sauté over medium heat until the onions are soft and translucent (about 5 minutes).
- Add the ground beef to the skillet and continue to stir and cook until the beef is cooked through. If using a higher fat content ground beef, you may want to drain off the excess fat at this point.
- Add the flour, chili powder, smoked paprika, garlic powder, and oregano to the skillet with the beef and onions. Continue to cook and stir for about two minutes, allowing the flour and spices to coat the bottom of the skillet, but not burn.
- Add the tomato sauce and beef broth to the skillet and stir well to combine, making sure to scrape and dissolve any browned bits off the bottom of the skillet.
- Add the uncooked macaroni and stir to combine. Place a lid on the skillet and turn the heat up to medium-high. Allow the broth to come up to a full boil. Once boiling, give the pasta a quick stir to loosen any that is stuck to the bottom, turn the heat down to medium-low, and place the lid back on top.
- Allow the macaroni to simmer, stirring every few minutes and always replacing the lid, until the macaroni is tender and the broth has reduced to a rich red gravy (about 10 minuts).
- Stir half of the shredded cheese into the sauce until melted, and sprinkle the remainder on top. Place a lid on the pot, turn the heat off, and allow the residual heat to melt the cheese on top. Serve hot and enjoy!
See how we calculate recipe costs here.
Nutrition
How to Make Chili Mac – Step by Step Photos
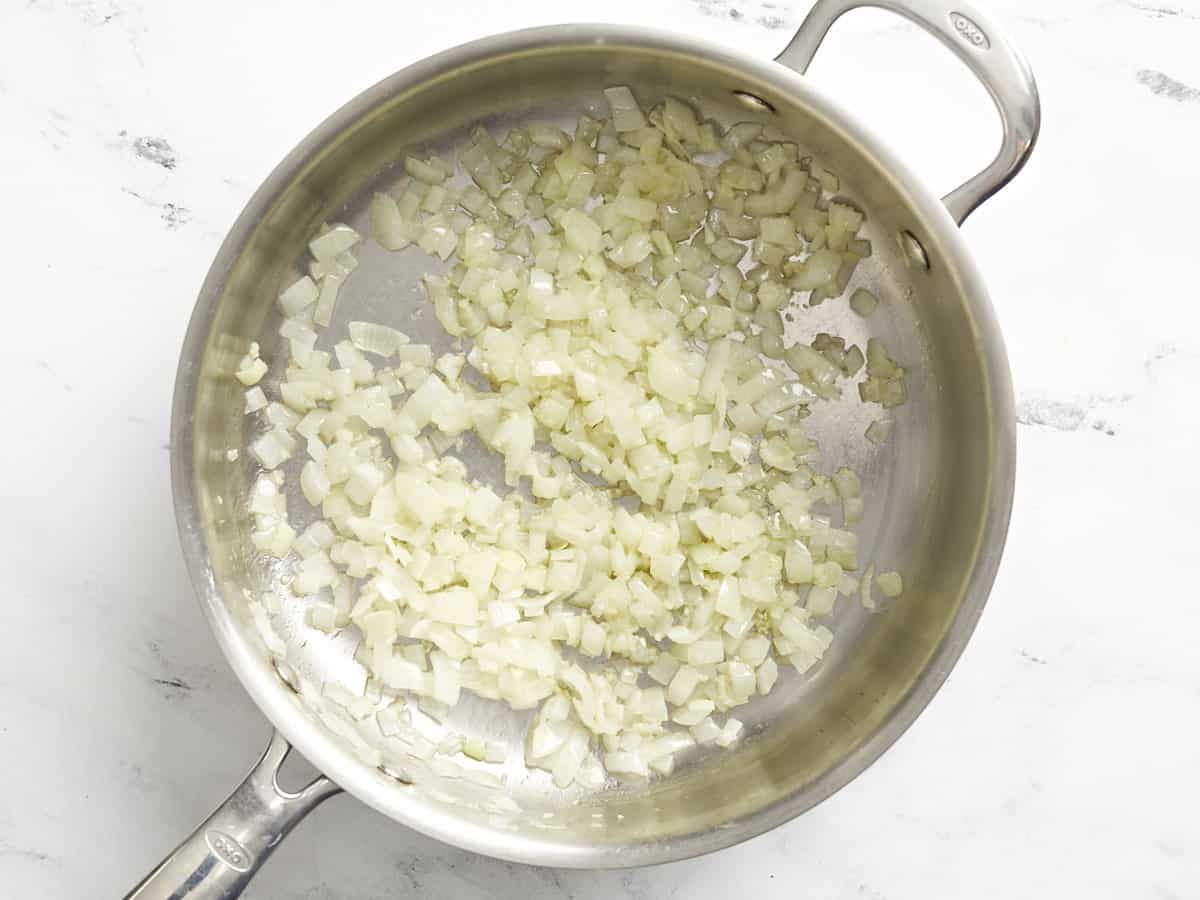
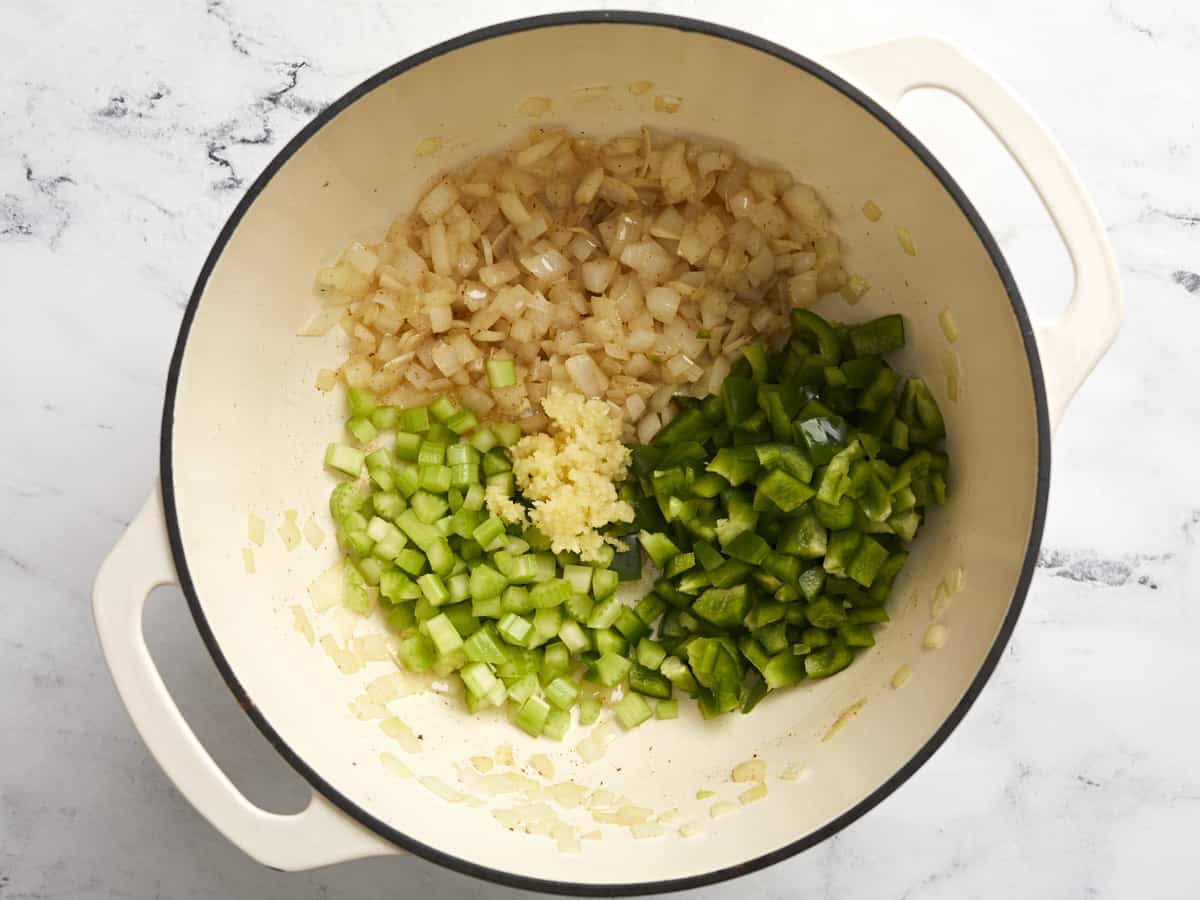
Dice one yellow onion and mince two cloves of garlic. Add the onion and garlic to a large deep skillet or Dutch oven with 1 tablespoon of olive oil and sauté over medium heat until the onions are soft and translucent (about 5 minutes).
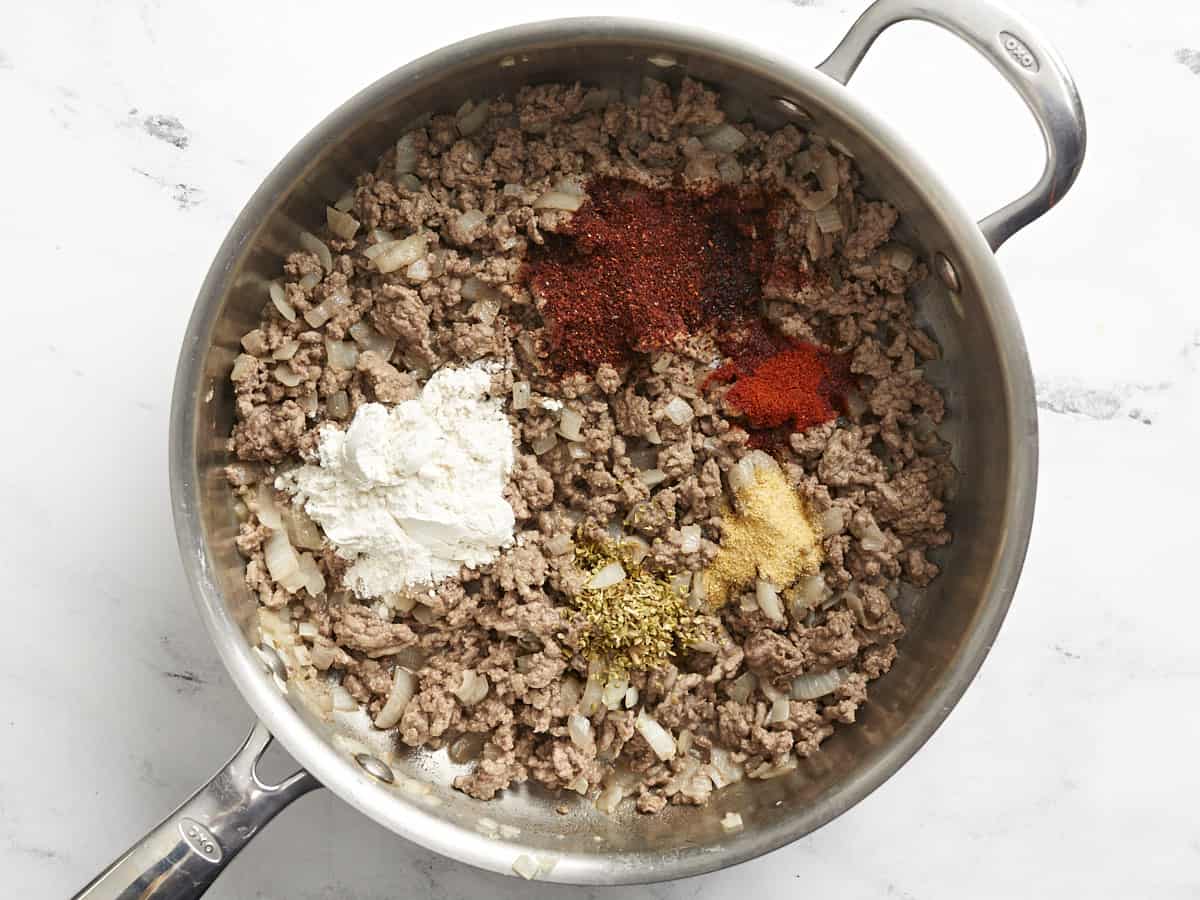
Add one pound of ground beef to the skillet and continue to stir and cook until the beef is fully browned. If you’re using a higher fat content beef, drain the excess fat out of the pan. Next, add 2 tablespoons of flour, 1 tablespoon of chili powder, ½ teaspoon of smoked paprika, ½ teaspoon of garlic powder, and ½ teaspoon of dried oregano.
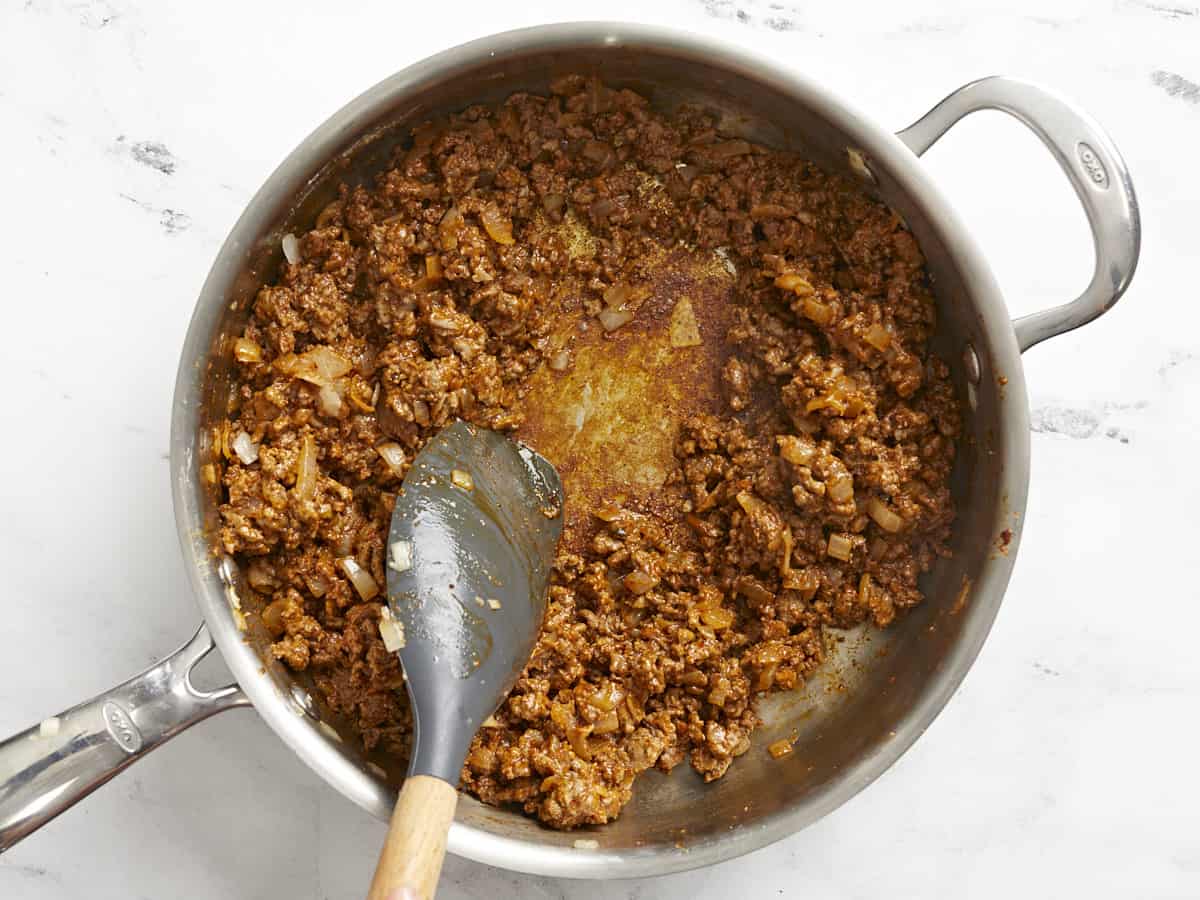
Continue to stir and cook the flour and spices into the beef for about two minutes, allowing it to coat the bottom of the skillet, but not burn.
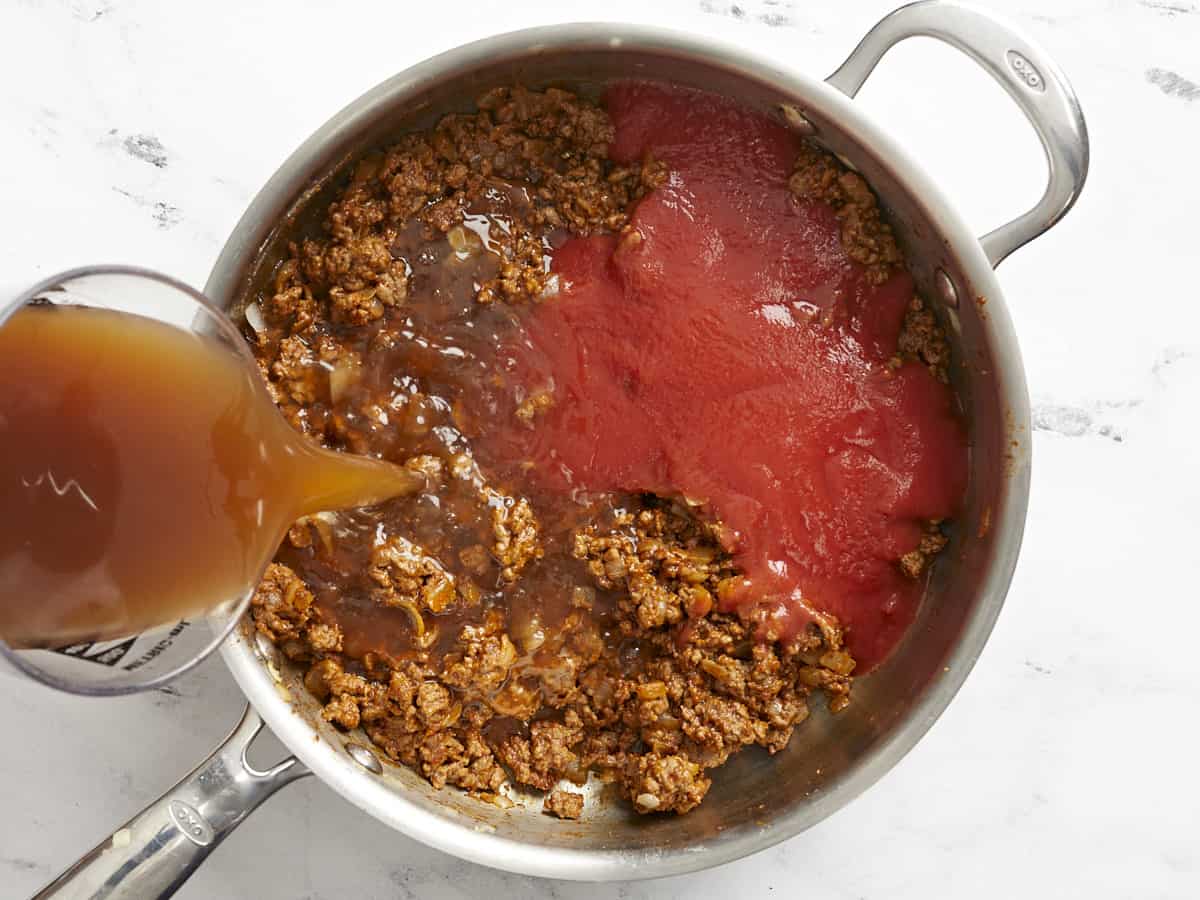
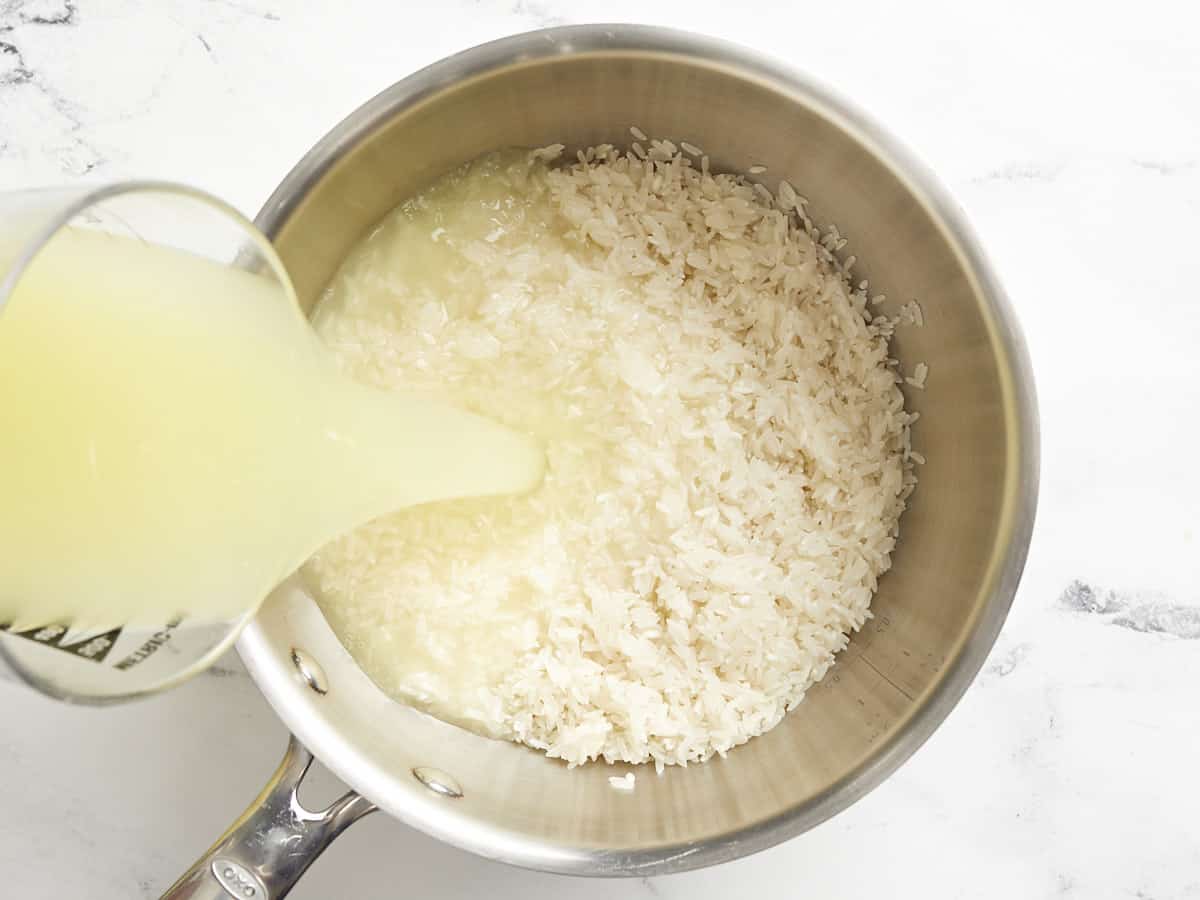
Add one 8oz. can of tomato sauce and three cups of beef broth to the skillet. Stir well until everything is evenly combined, making sure to scrape and dissolve all of the browned bits off the bottom of the skillet.
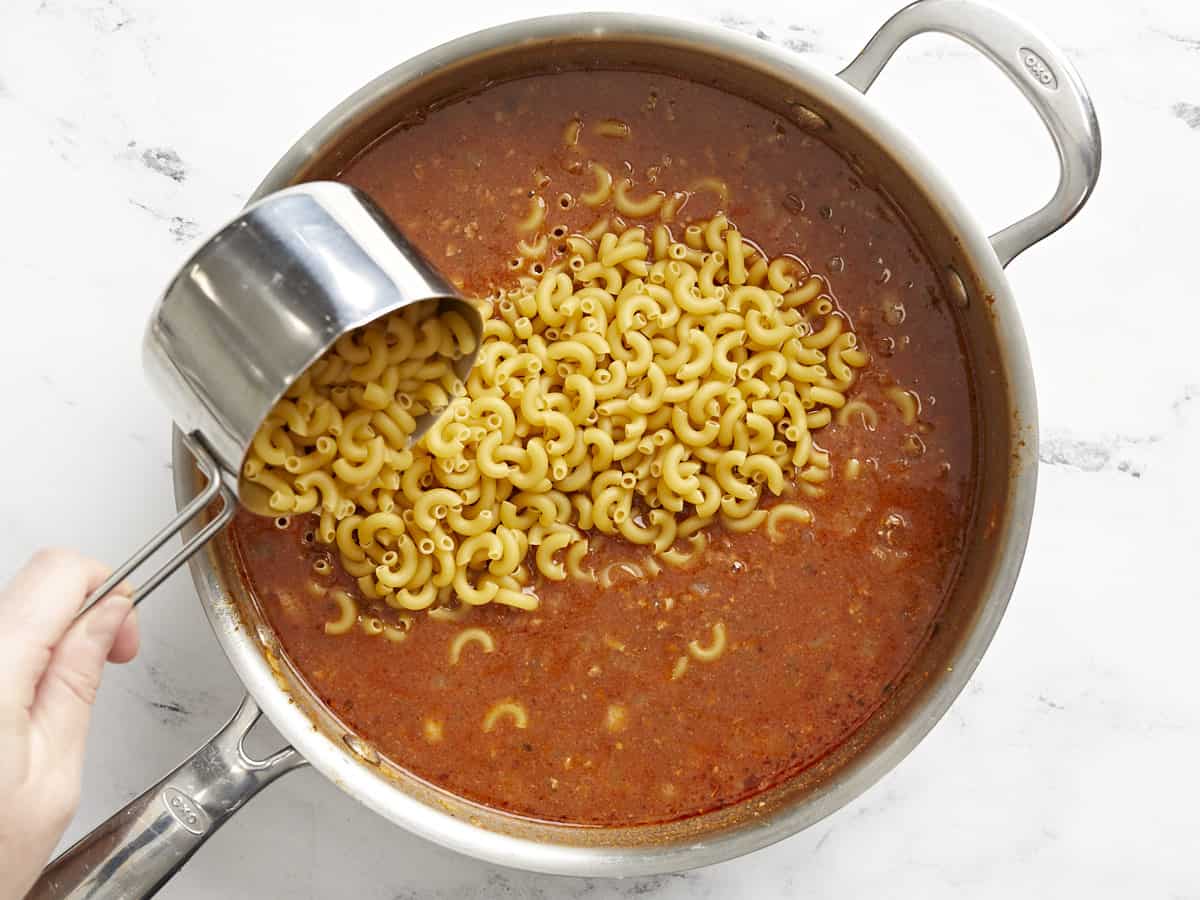
Add ½ pound (about 2 cups) of uncooked macaroni to the skillet and stir to combine. Place a lid on the skillet, turn the heat up to medium-high, and allow the broth to come up to a boil. Once boiling, give everything a quick stir to loosen any macaroni from the bottom of the skillet, turn the heat down to medium-low, and place the lid back on top.
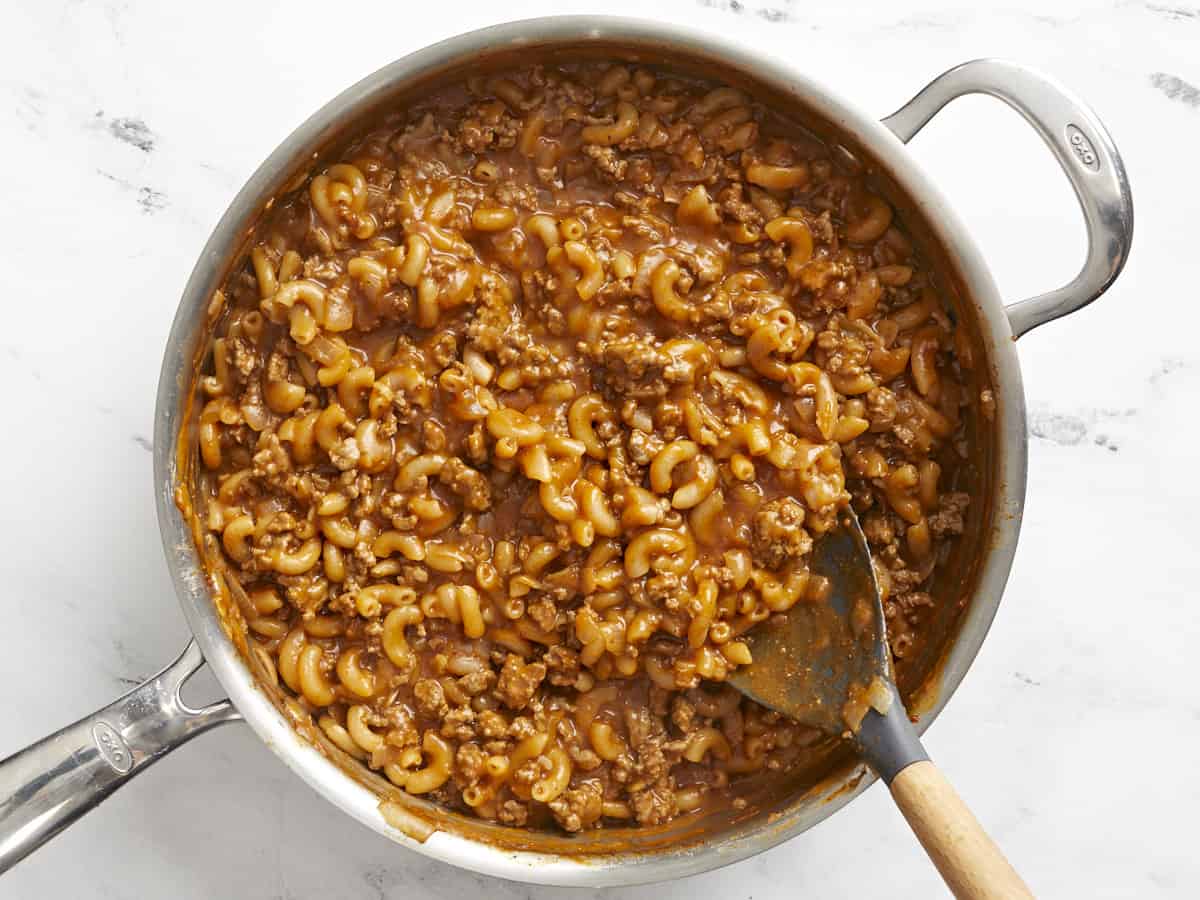
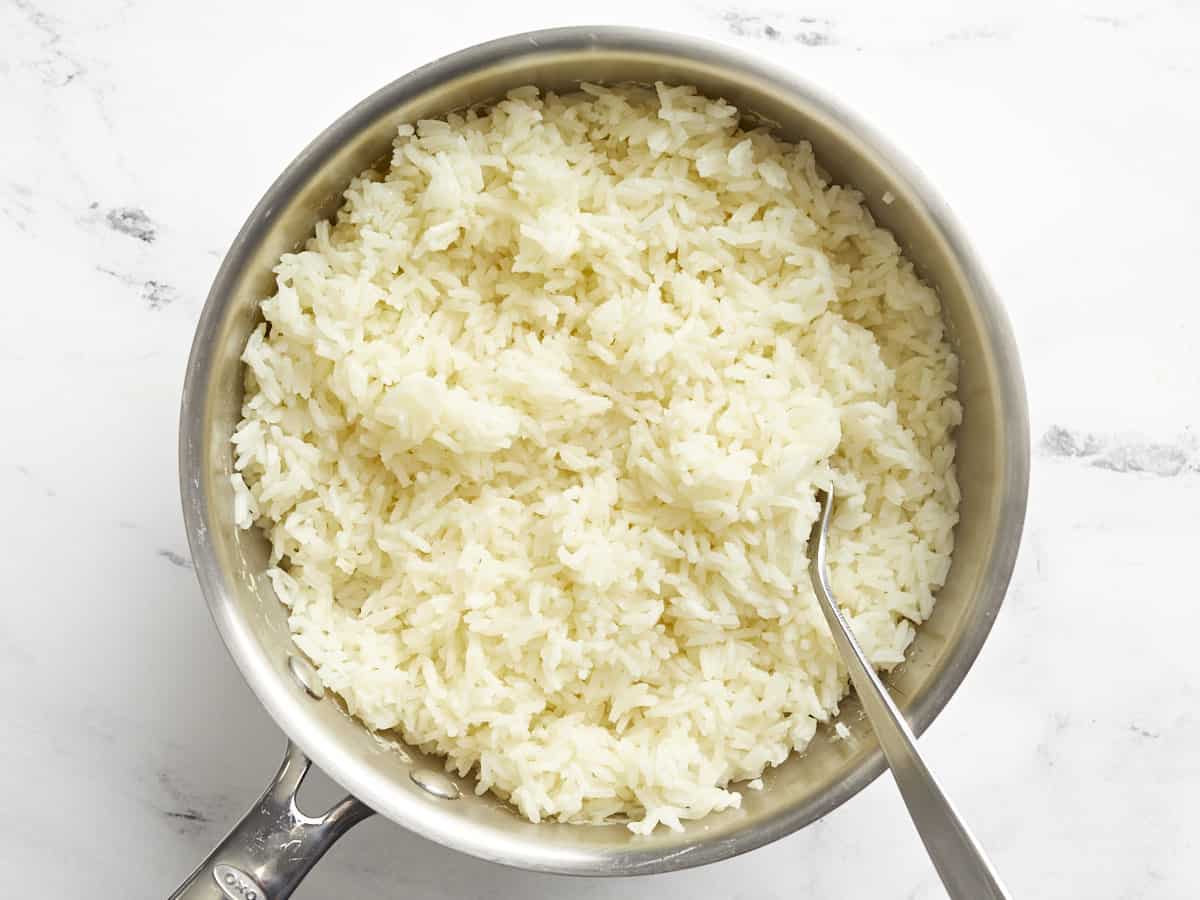
Let the macaroni simmer in the broth, stirring every few minutes or so and always placing the lid back on top, until the macaroni is tender and the broth has reduced to a saucy red gravy (about 10 minutes).
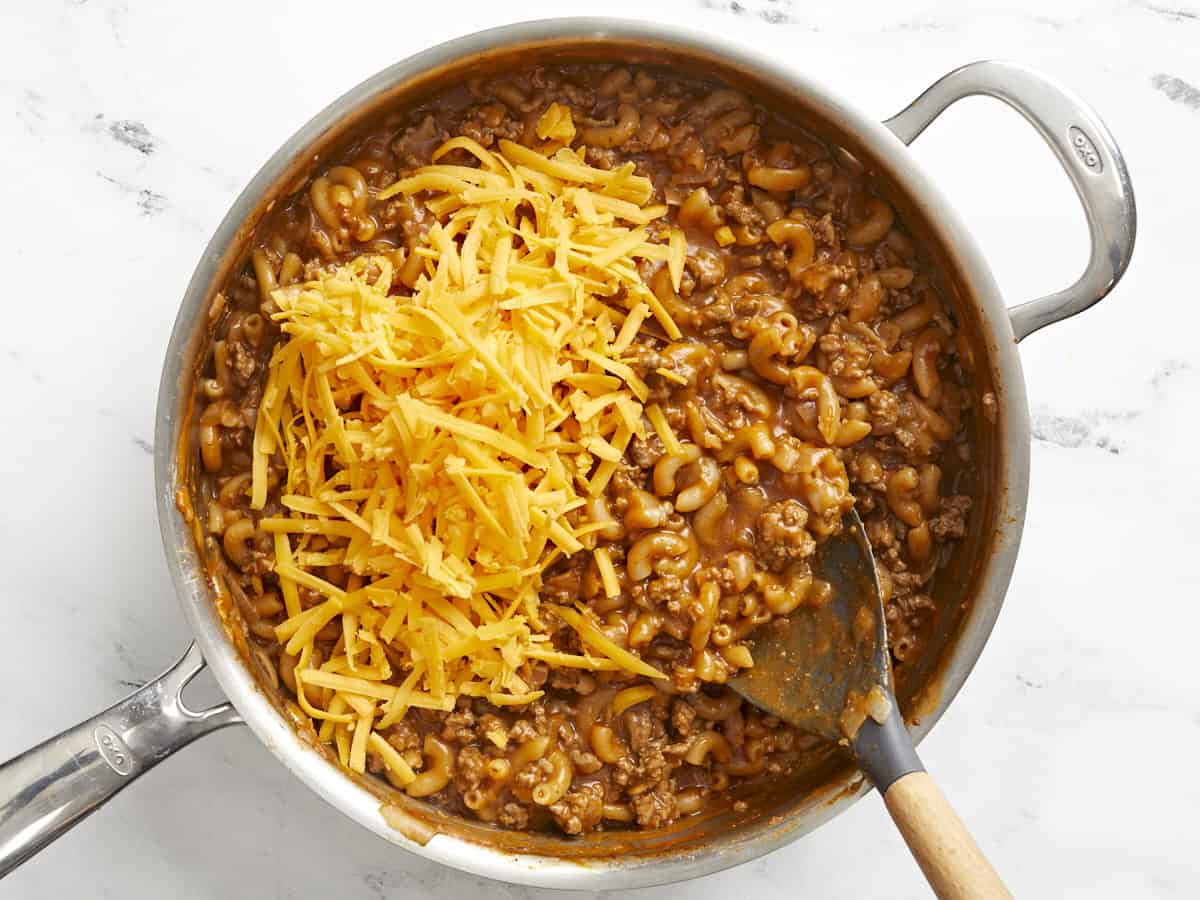
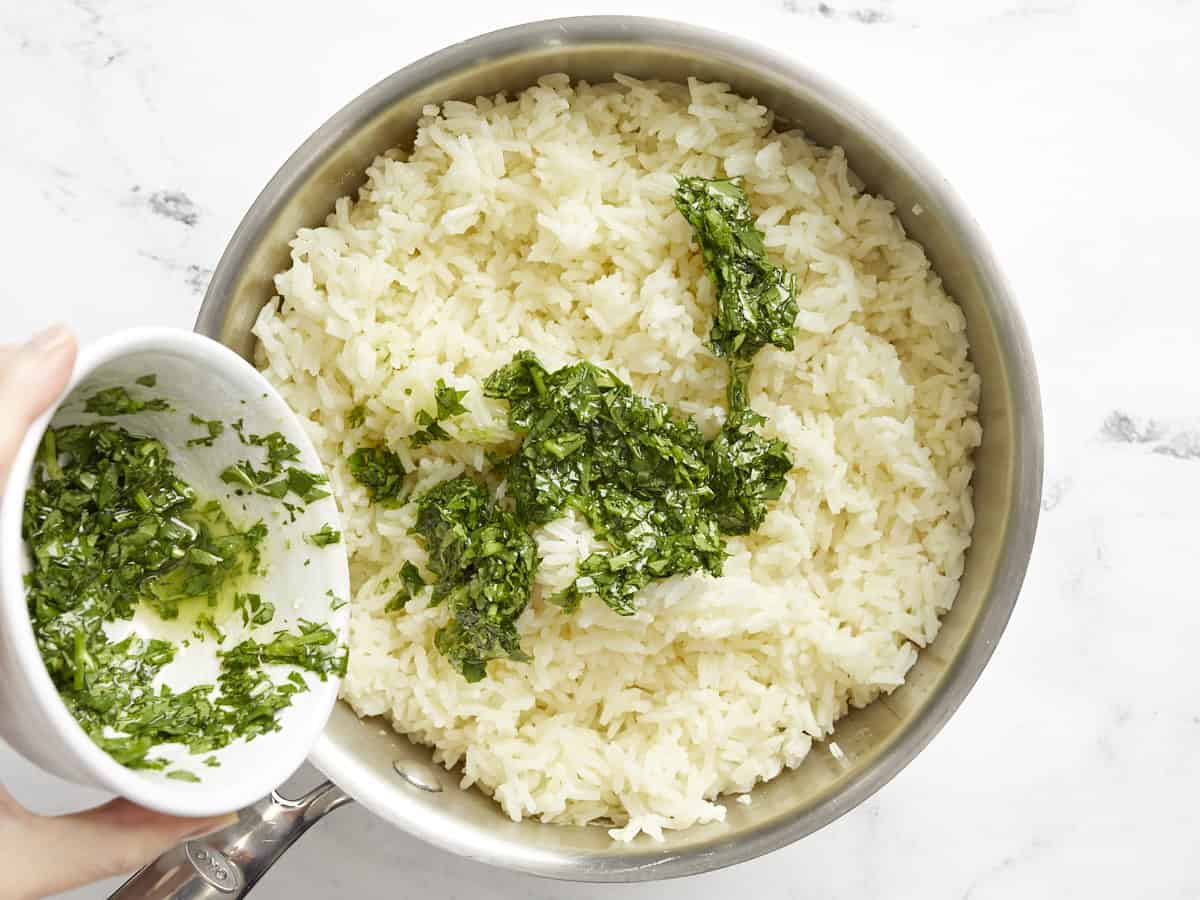
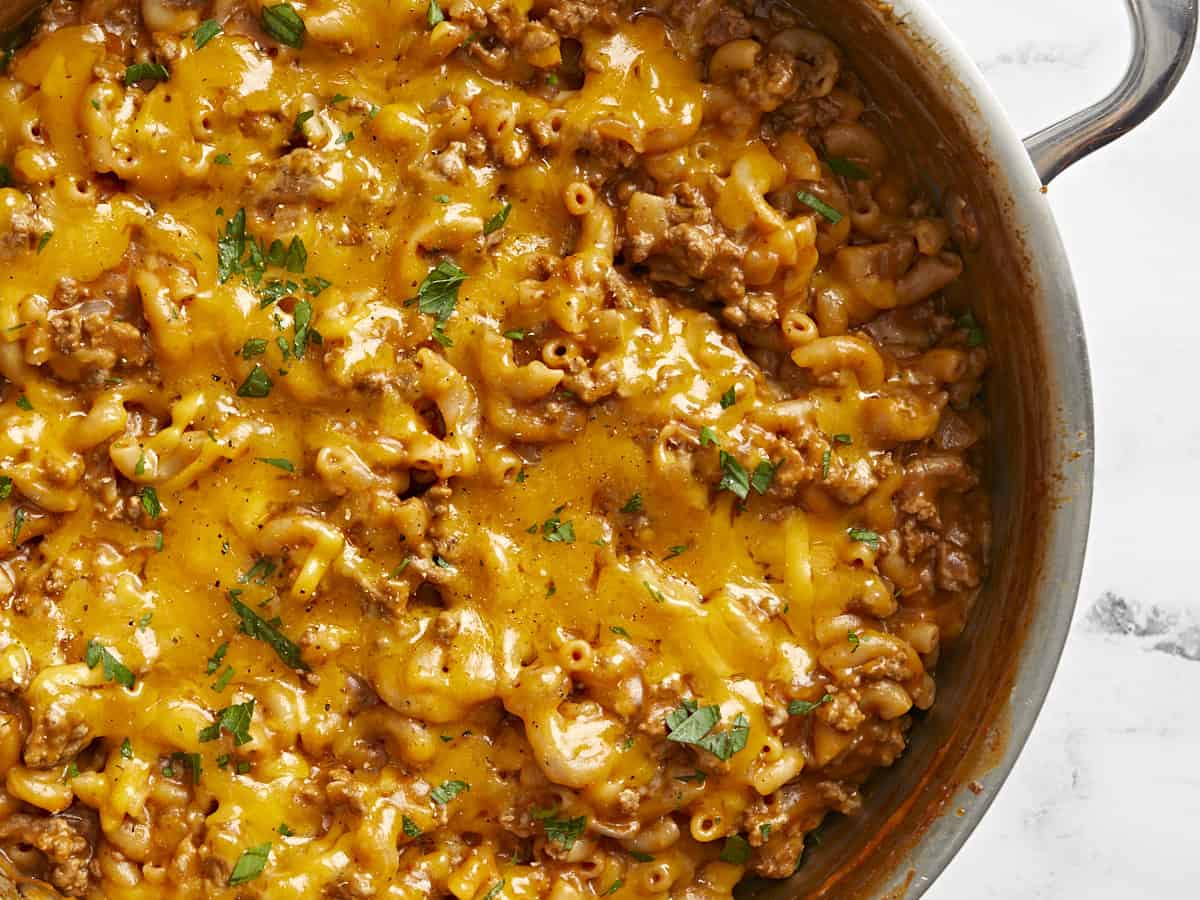
Add ½ cup of shredded cheddar cheese to the chili mac and stir it into the sauce until melted.
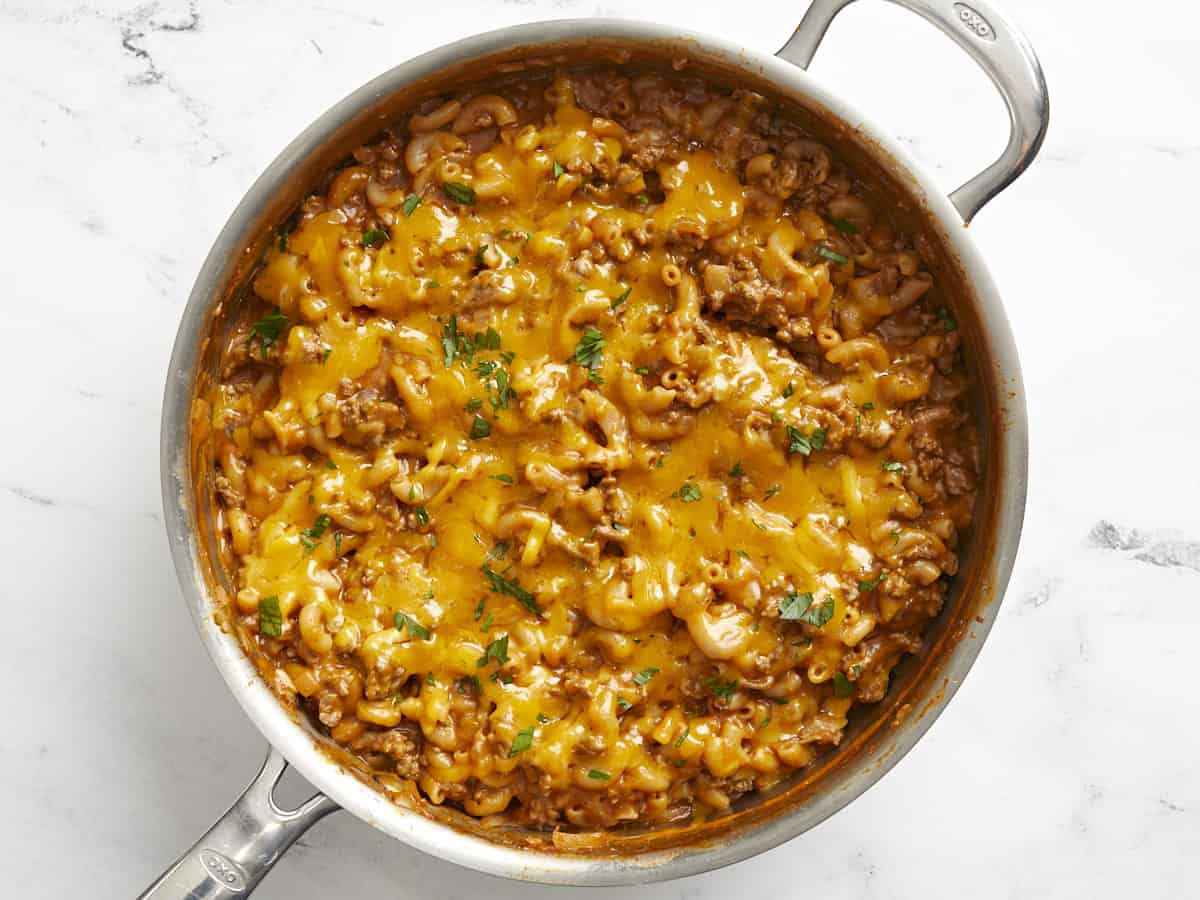
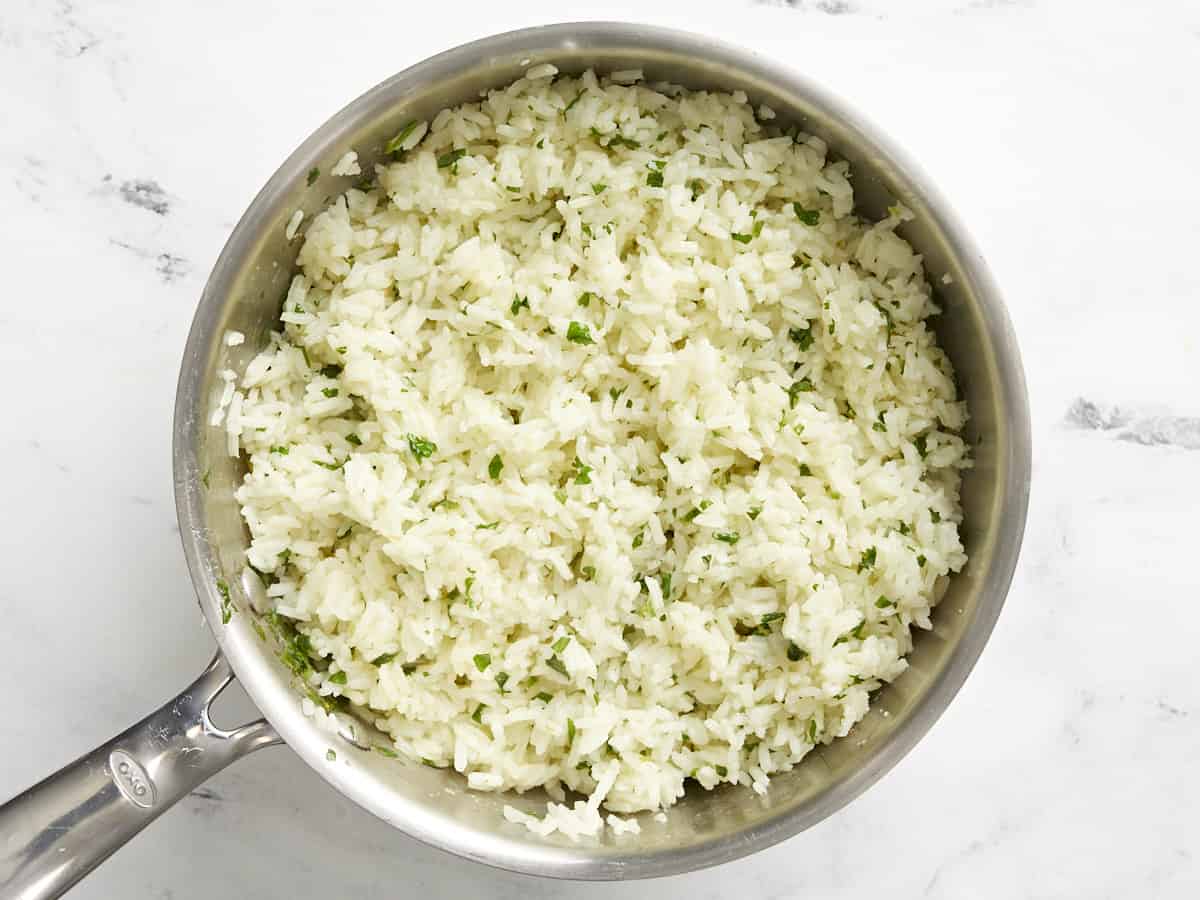
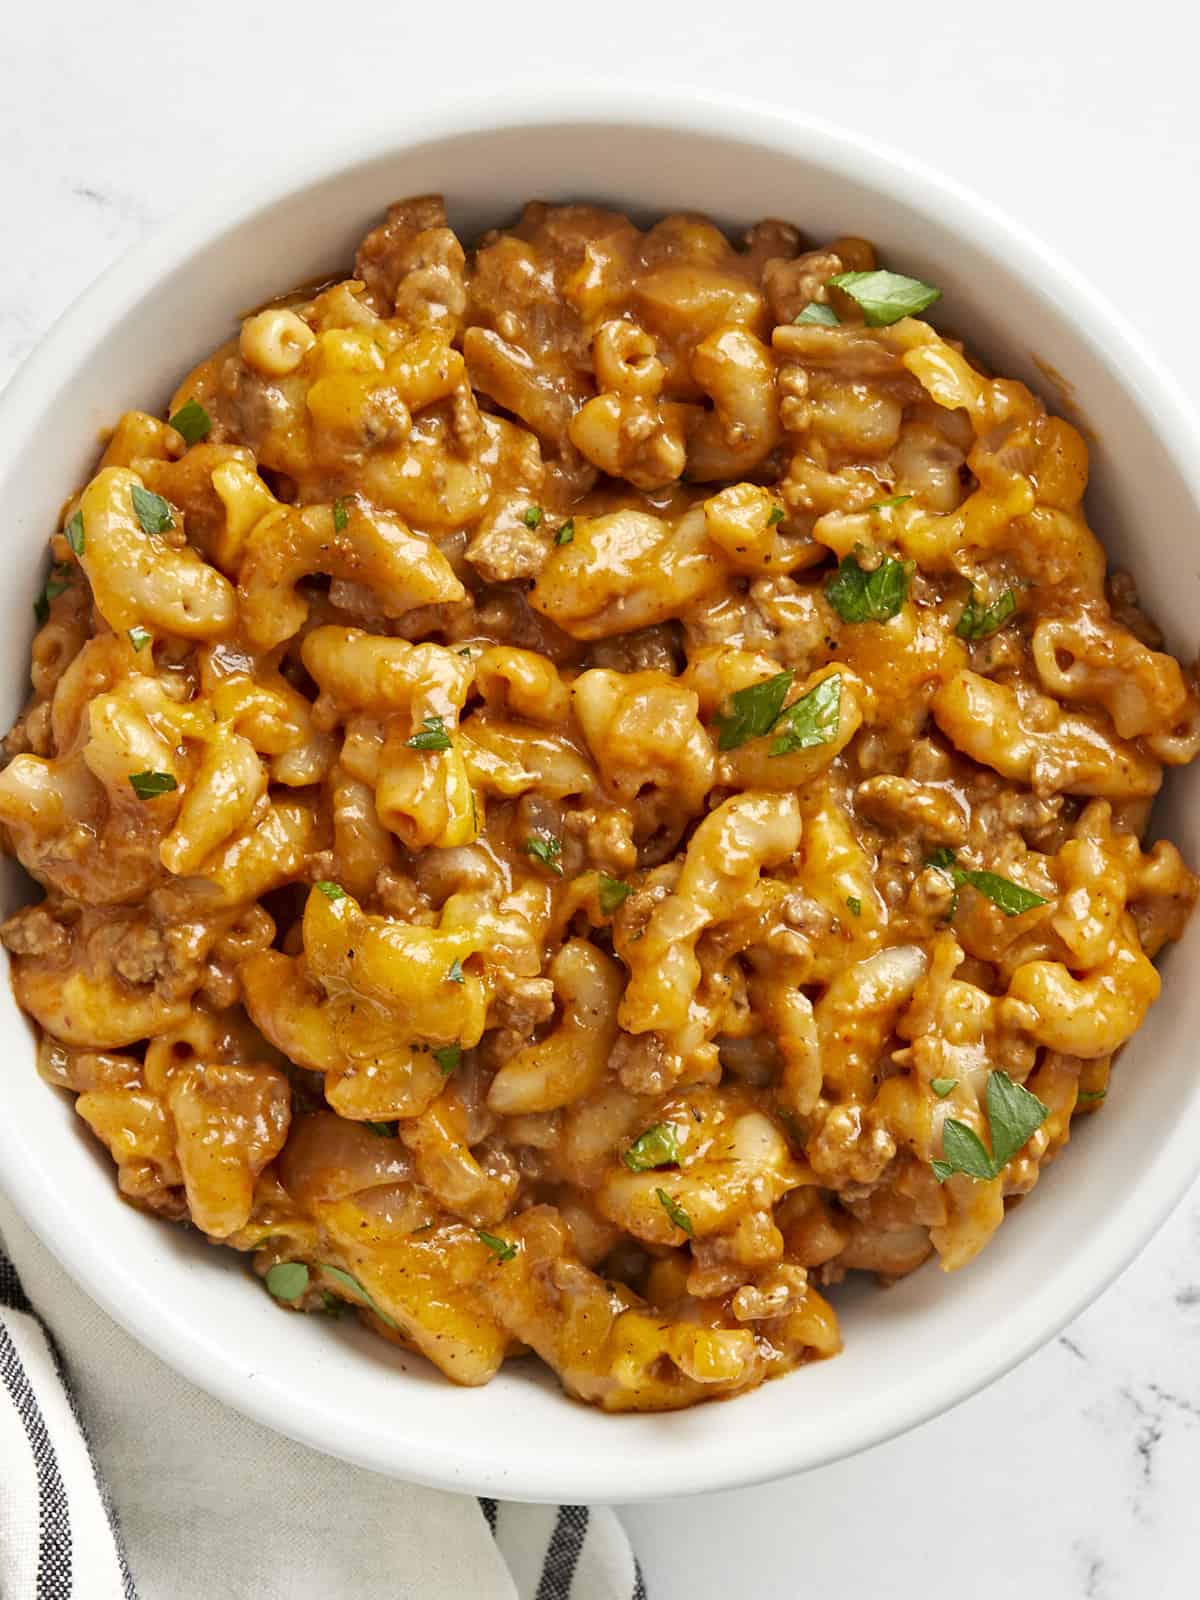
Sprinkle the remaining ½ cup of shredded cheese on top. Place a lid on the skillet and turn the heat off. Let the residual heat melt the cheese, then serve. You can garnish with chopped cilantro or sliced green onions, if desired.
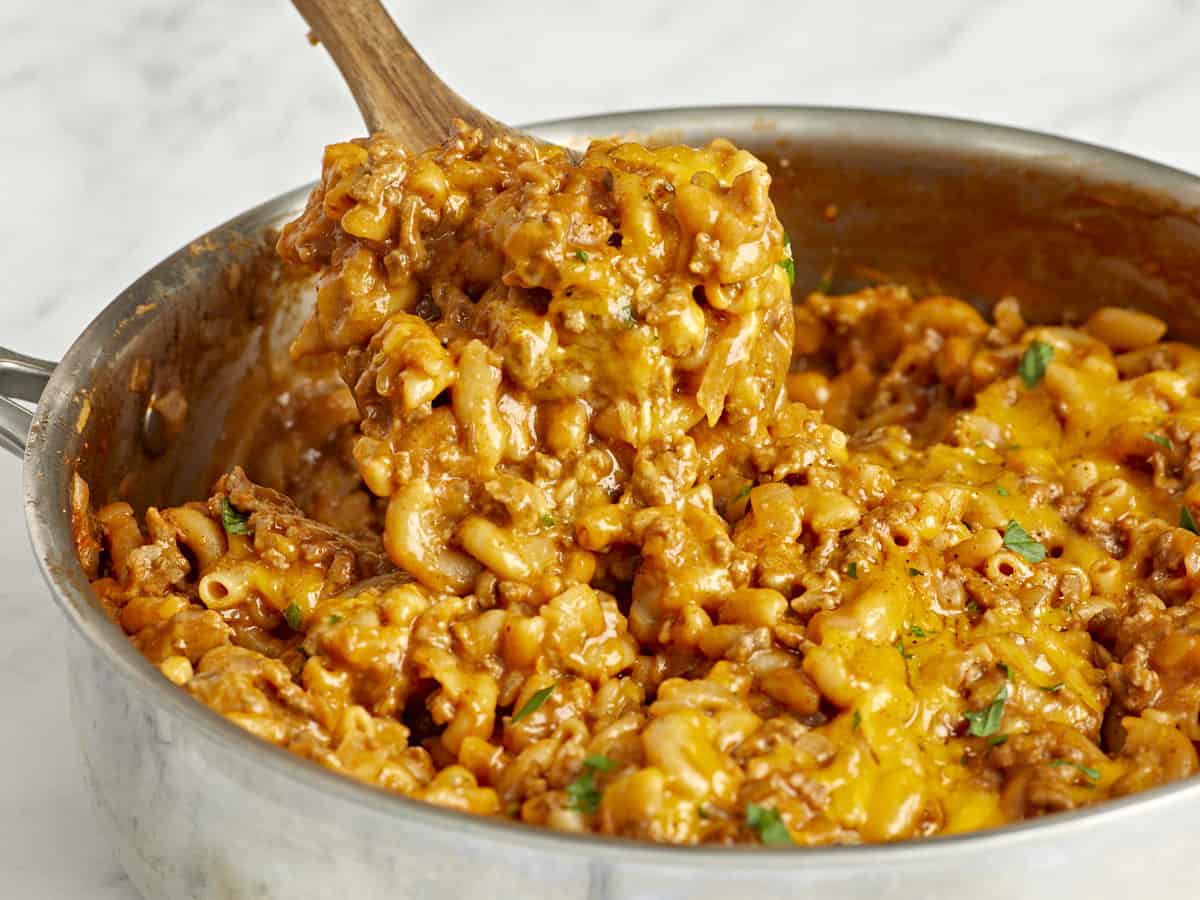
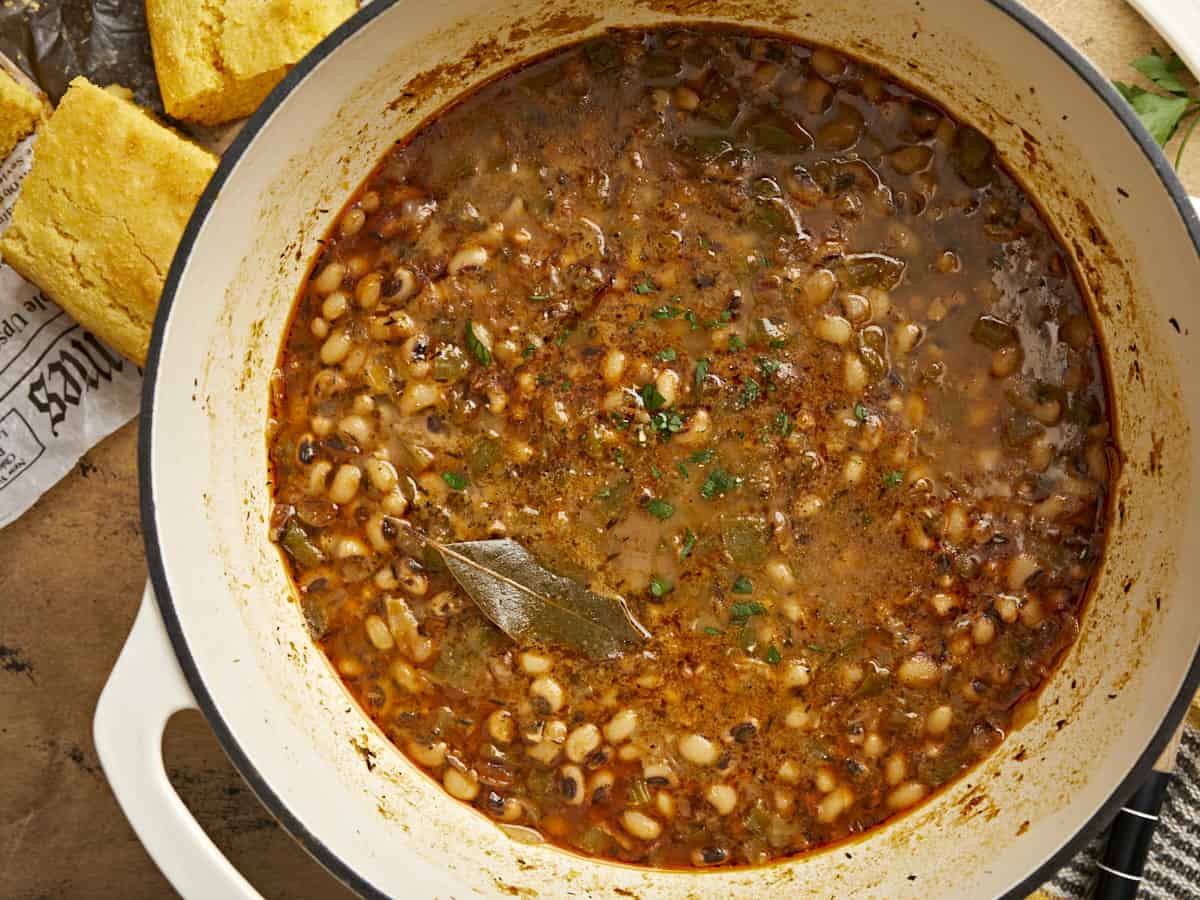
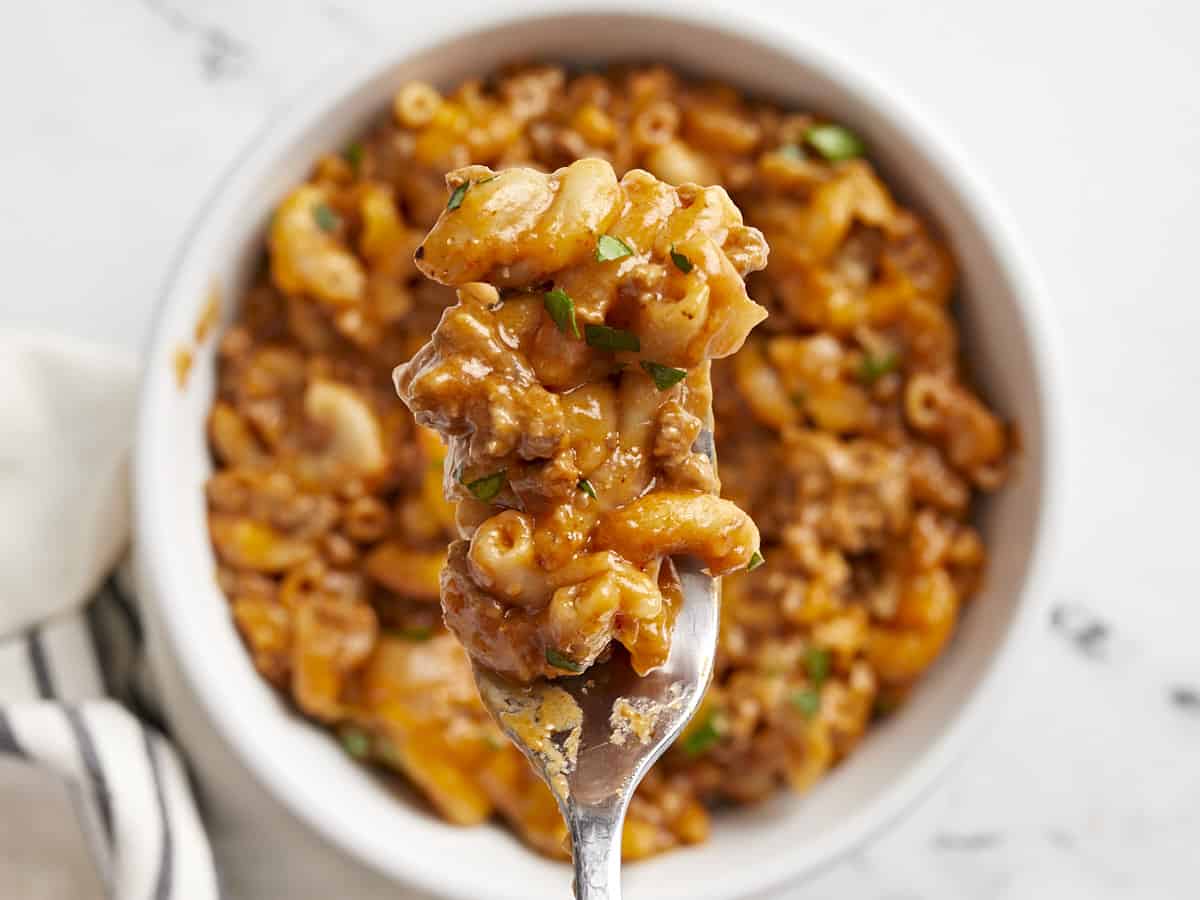
So cheesy, beefy, and delicious!!
More One Pot Pasta Recipes


The post One Pot Chili Mac appeared first on Budget Bytes.