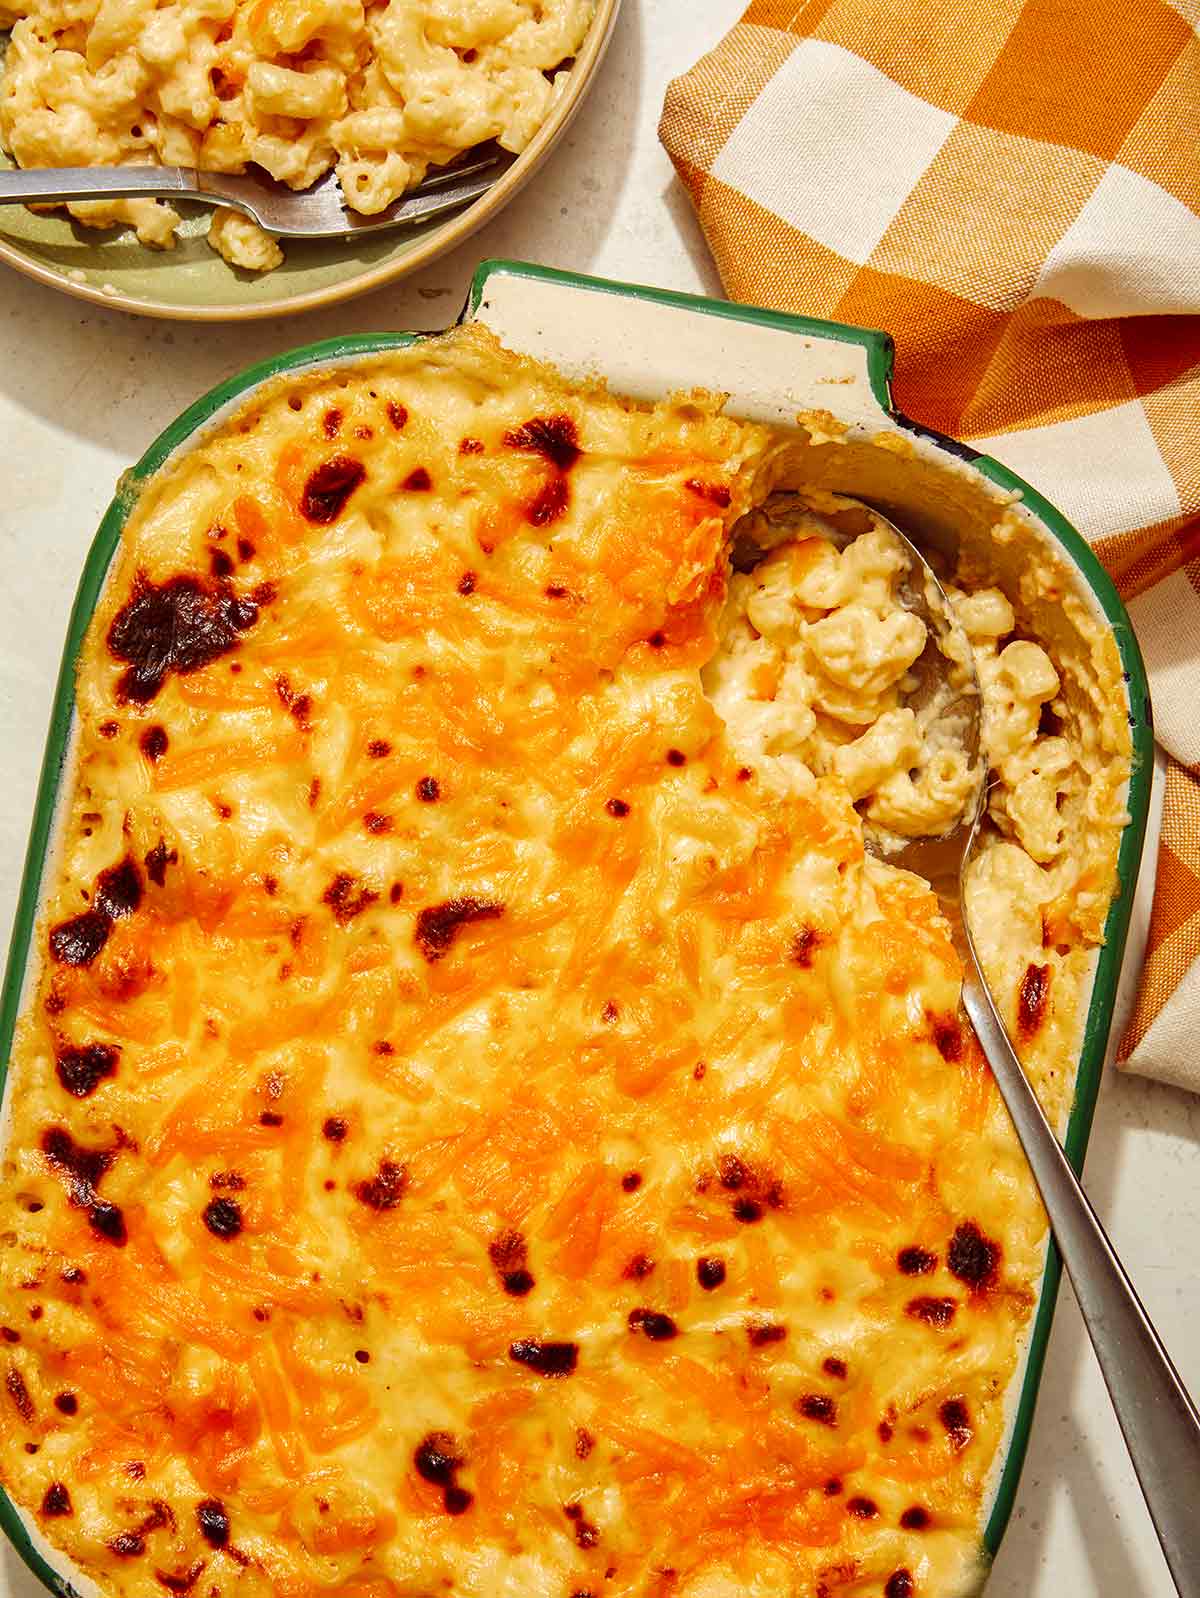
In less than 30 minutes, you’ll be serving up and diving into a pan of this decadent creamed corn dip that’s the perfect meld of three cheeses, corn, and spices. We love serving this dip with a big bowl of corn chips whenever we have guests over, but especially for game days and holiday parties when a crave-worthy dip is an absolute necessity. Try serving it as a dip-trio with our buffalo chicken dip with pita chips and roasted onion dip alongside a plate of veggies.
Using canned corn helps this appetizer come together incredibly quickly and with minimal effort. A little sauteing, stirring, and baking is all you need to do for this crowd-pleasing appetizer.
How to Make Creamed Corn Dip
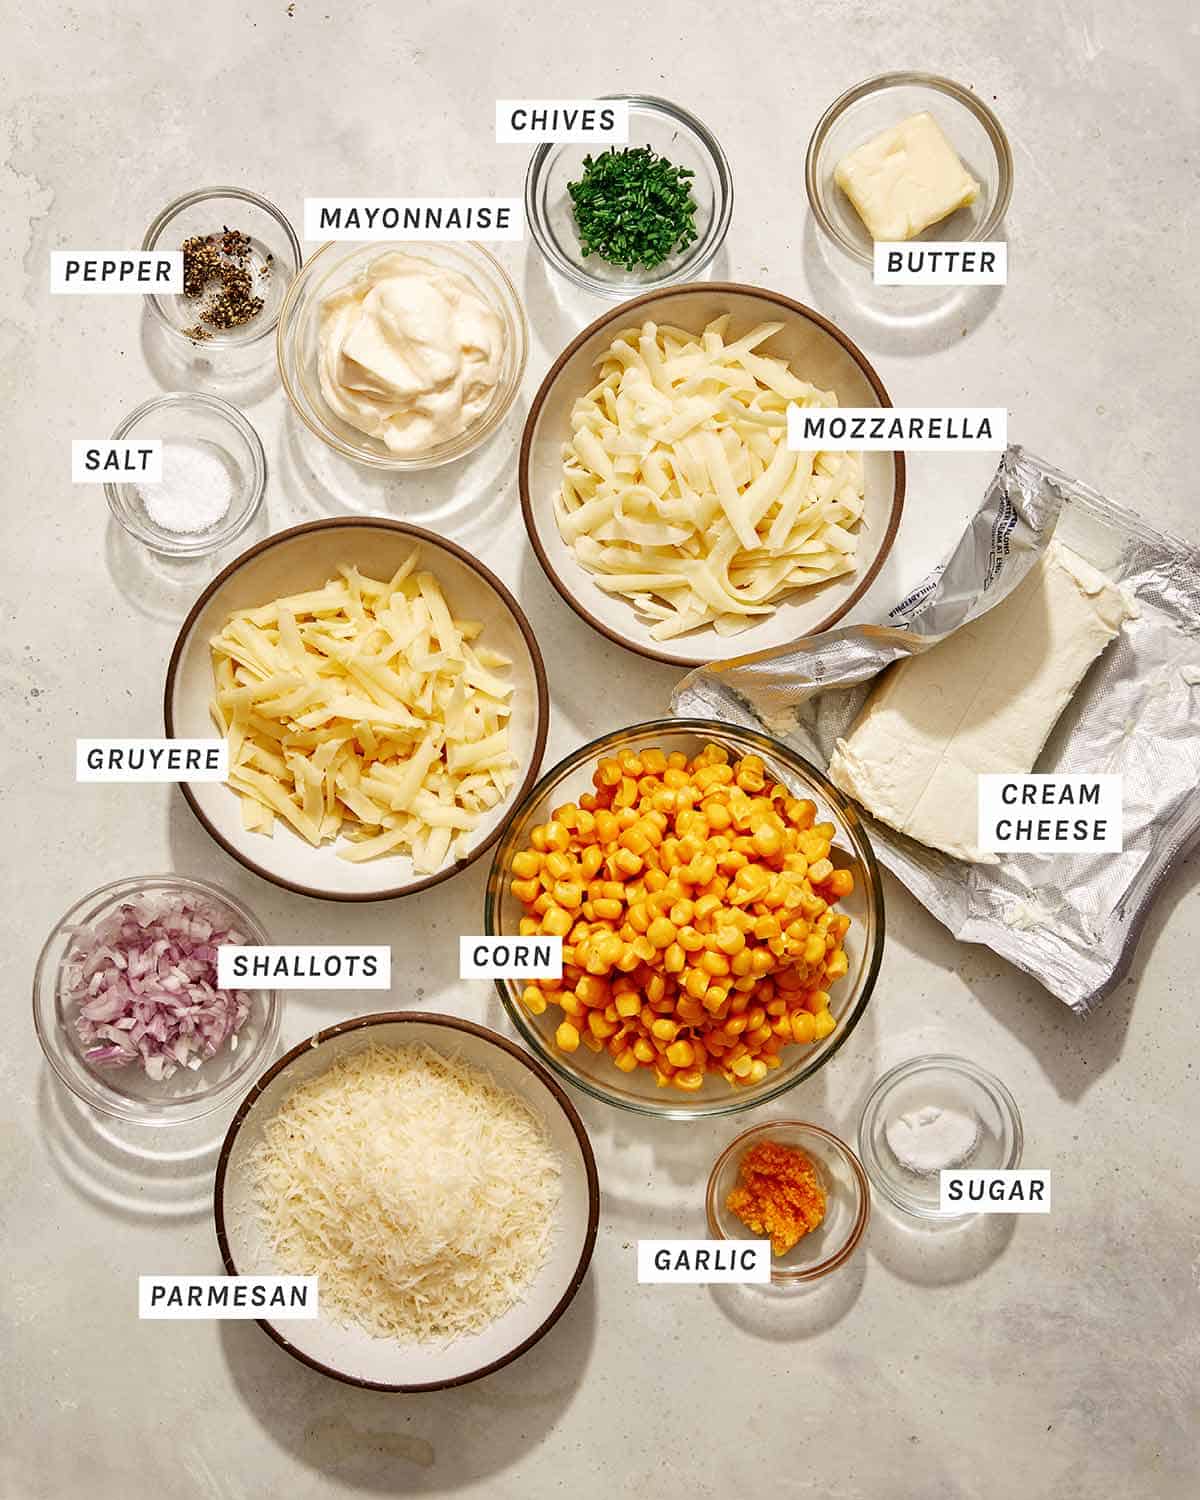
Ingredients
Process
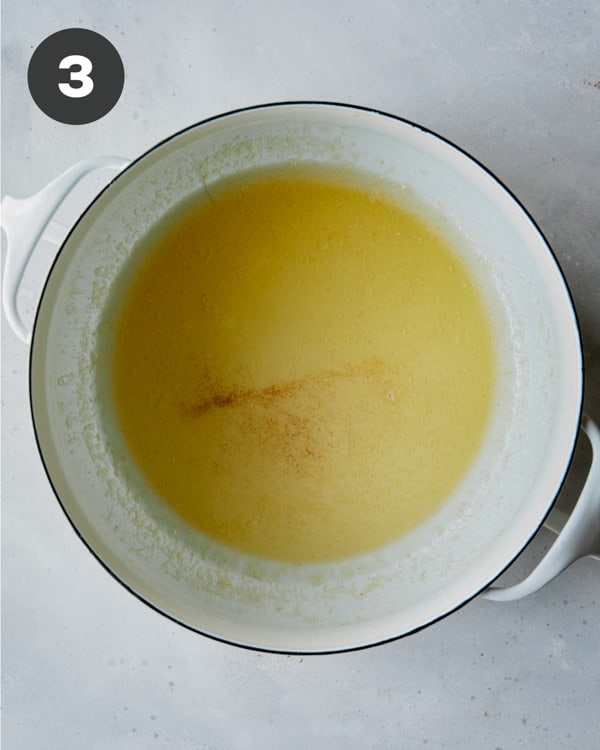
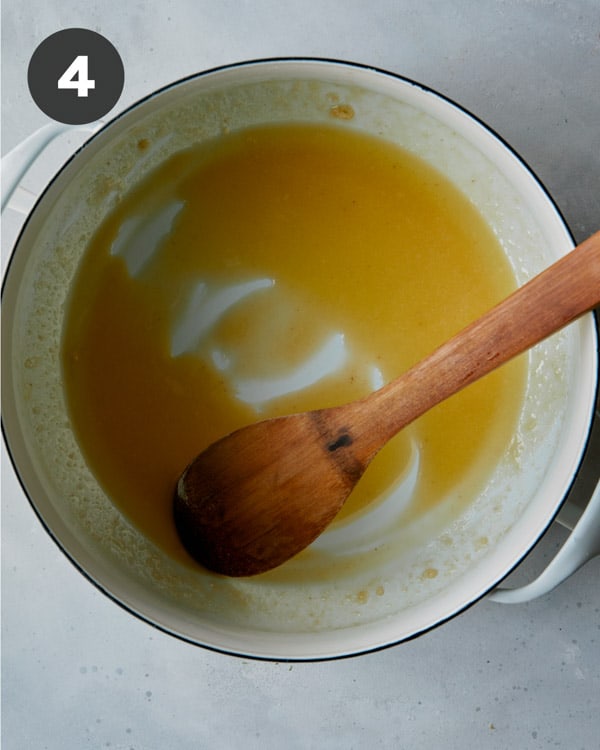
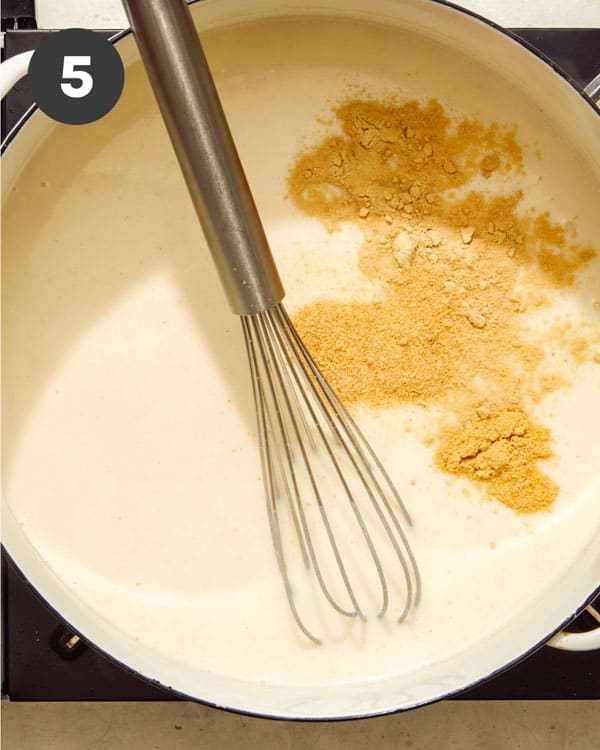
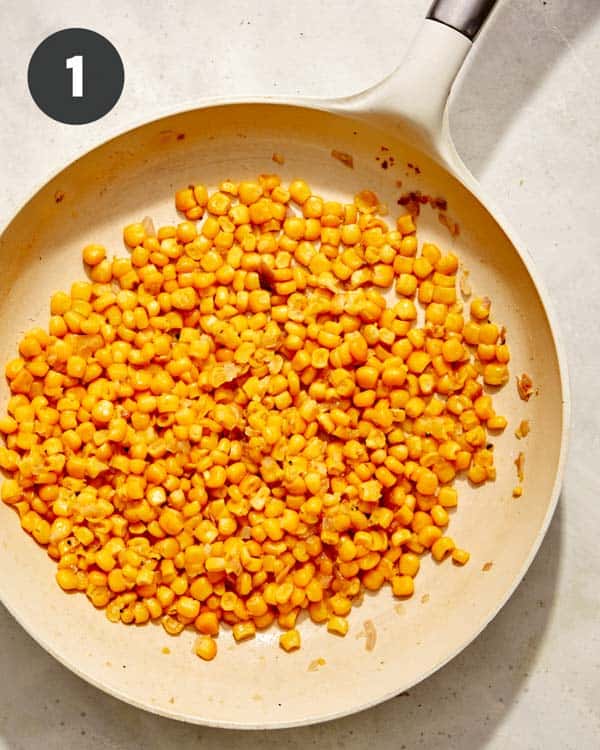
- Preheat oven to 375˚F. In a pan, melt butter over medium heat. Add shallots and garlic and sauté for 1 minute. Add corn and continue to cook for 3 to 4 minutes. Stir in sugar and season with salt and pepper. Cook for 1 more minute. Remove from heat.
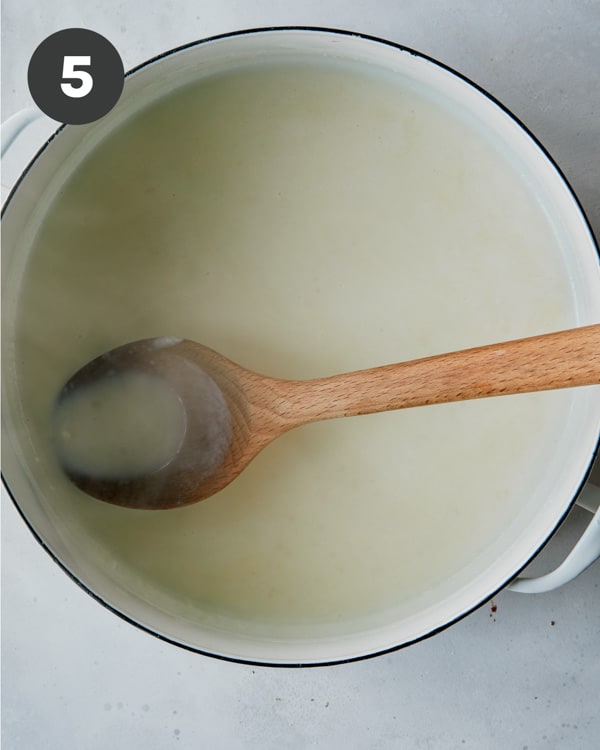
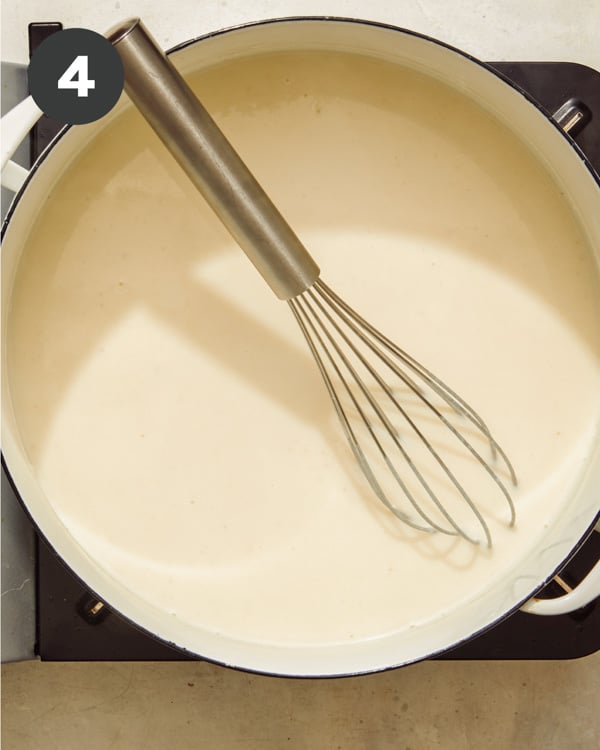
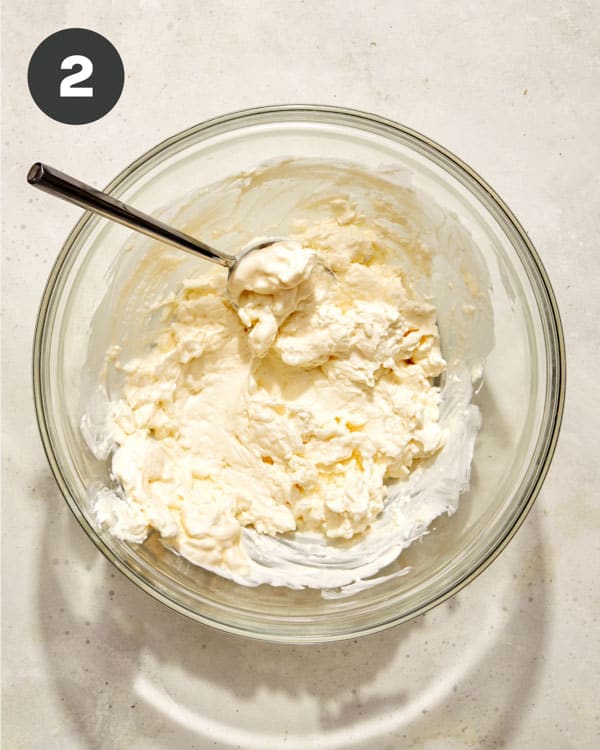
- Place cream cheese and mayonnaise into a large mixing bowl and stir together to break up the block of cream cheese.
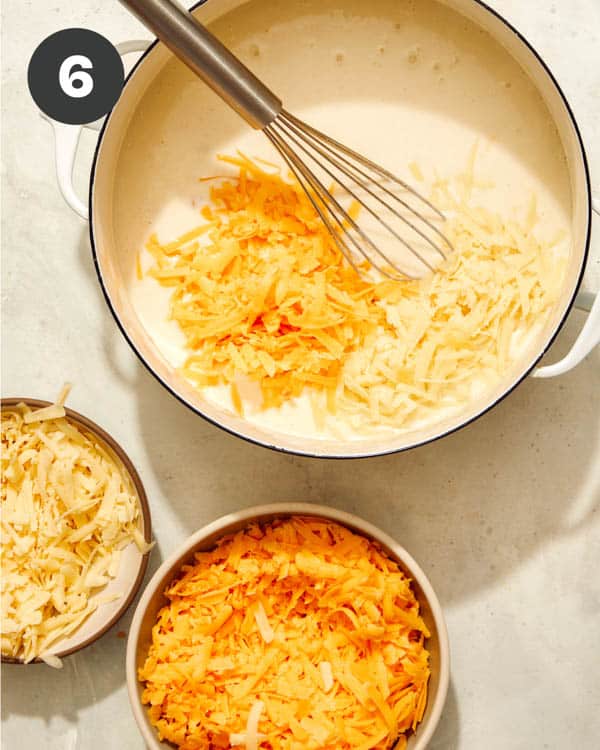
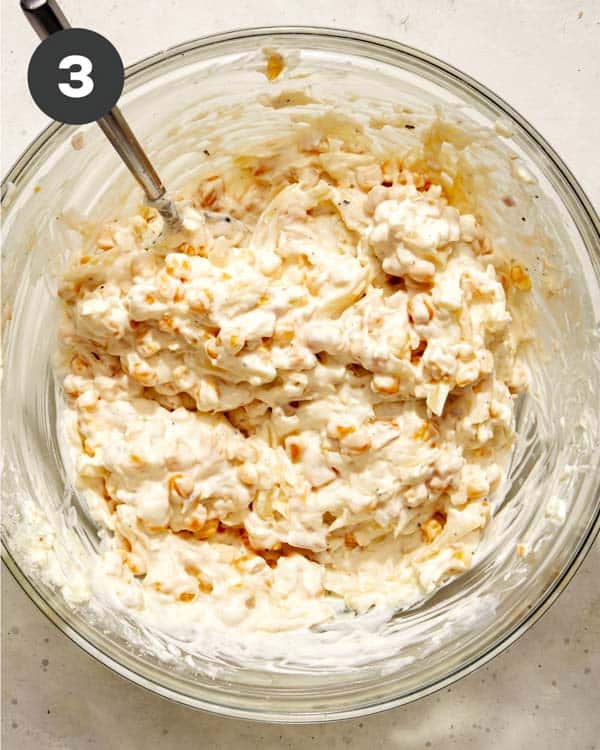
- Add all of the corn mixture and all but 2 tablespoons each of the mozzarella, gruyere, and Parmesan—season with salt and pepper. Mix until completely and evenly combined.
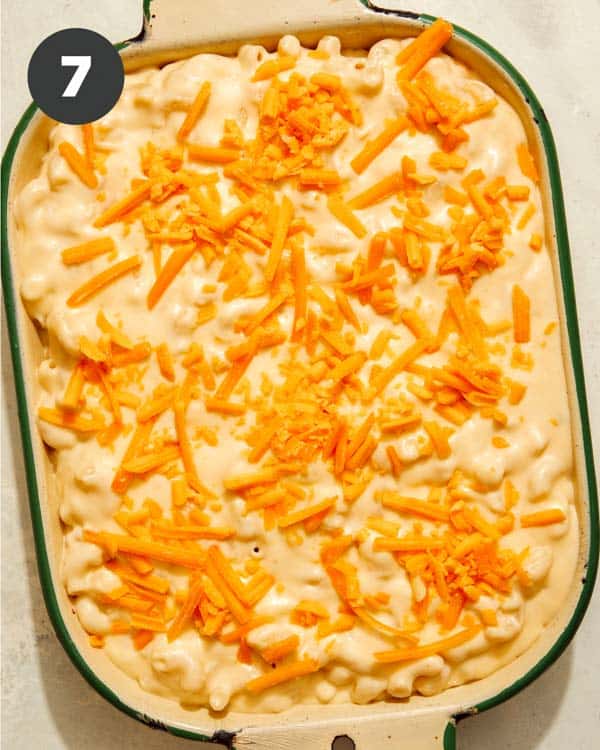
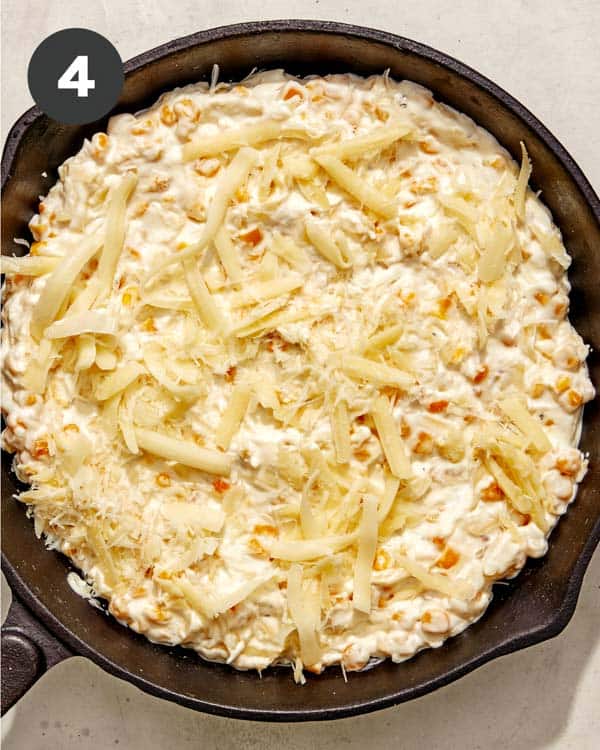
- Pour the mixture into a 3-4 cup baking dish or 8-inch skillet and smooth the top. Sprinkle with the remaining cheese.
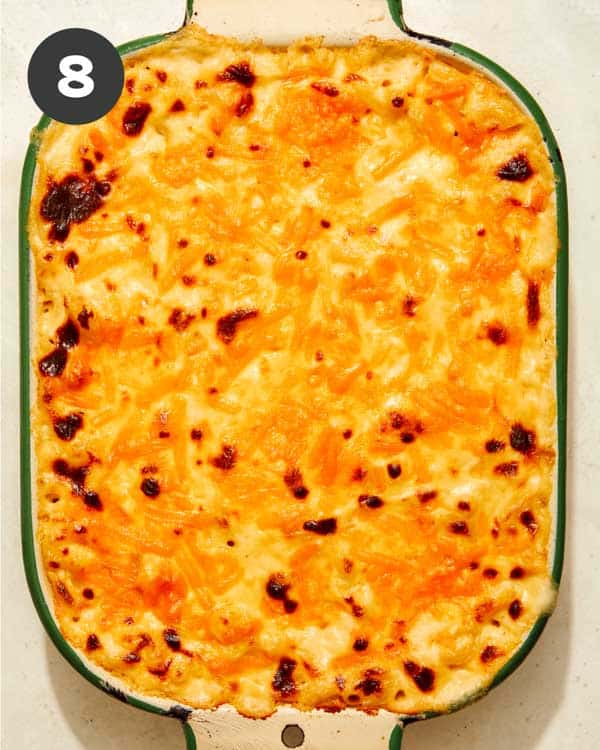
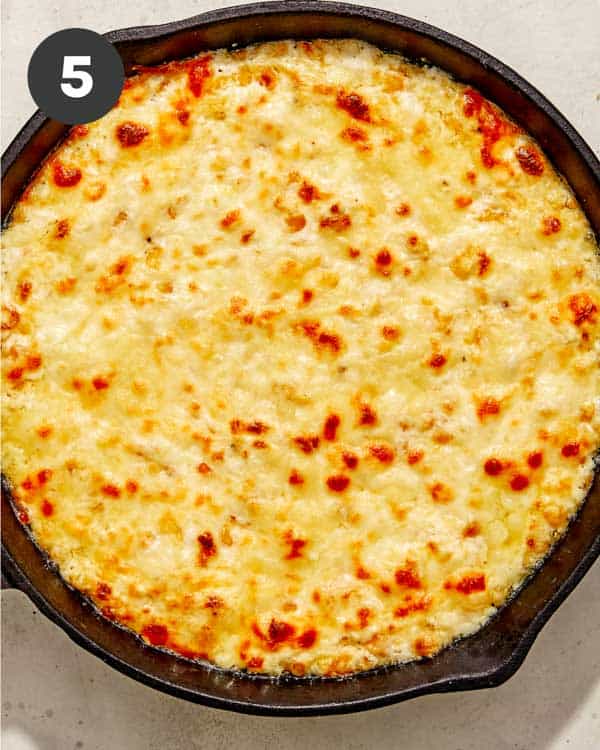
- Bake the creamed corn dip for 15 minutes. Then place it under the broiler for 30 seconds to 1 minute.
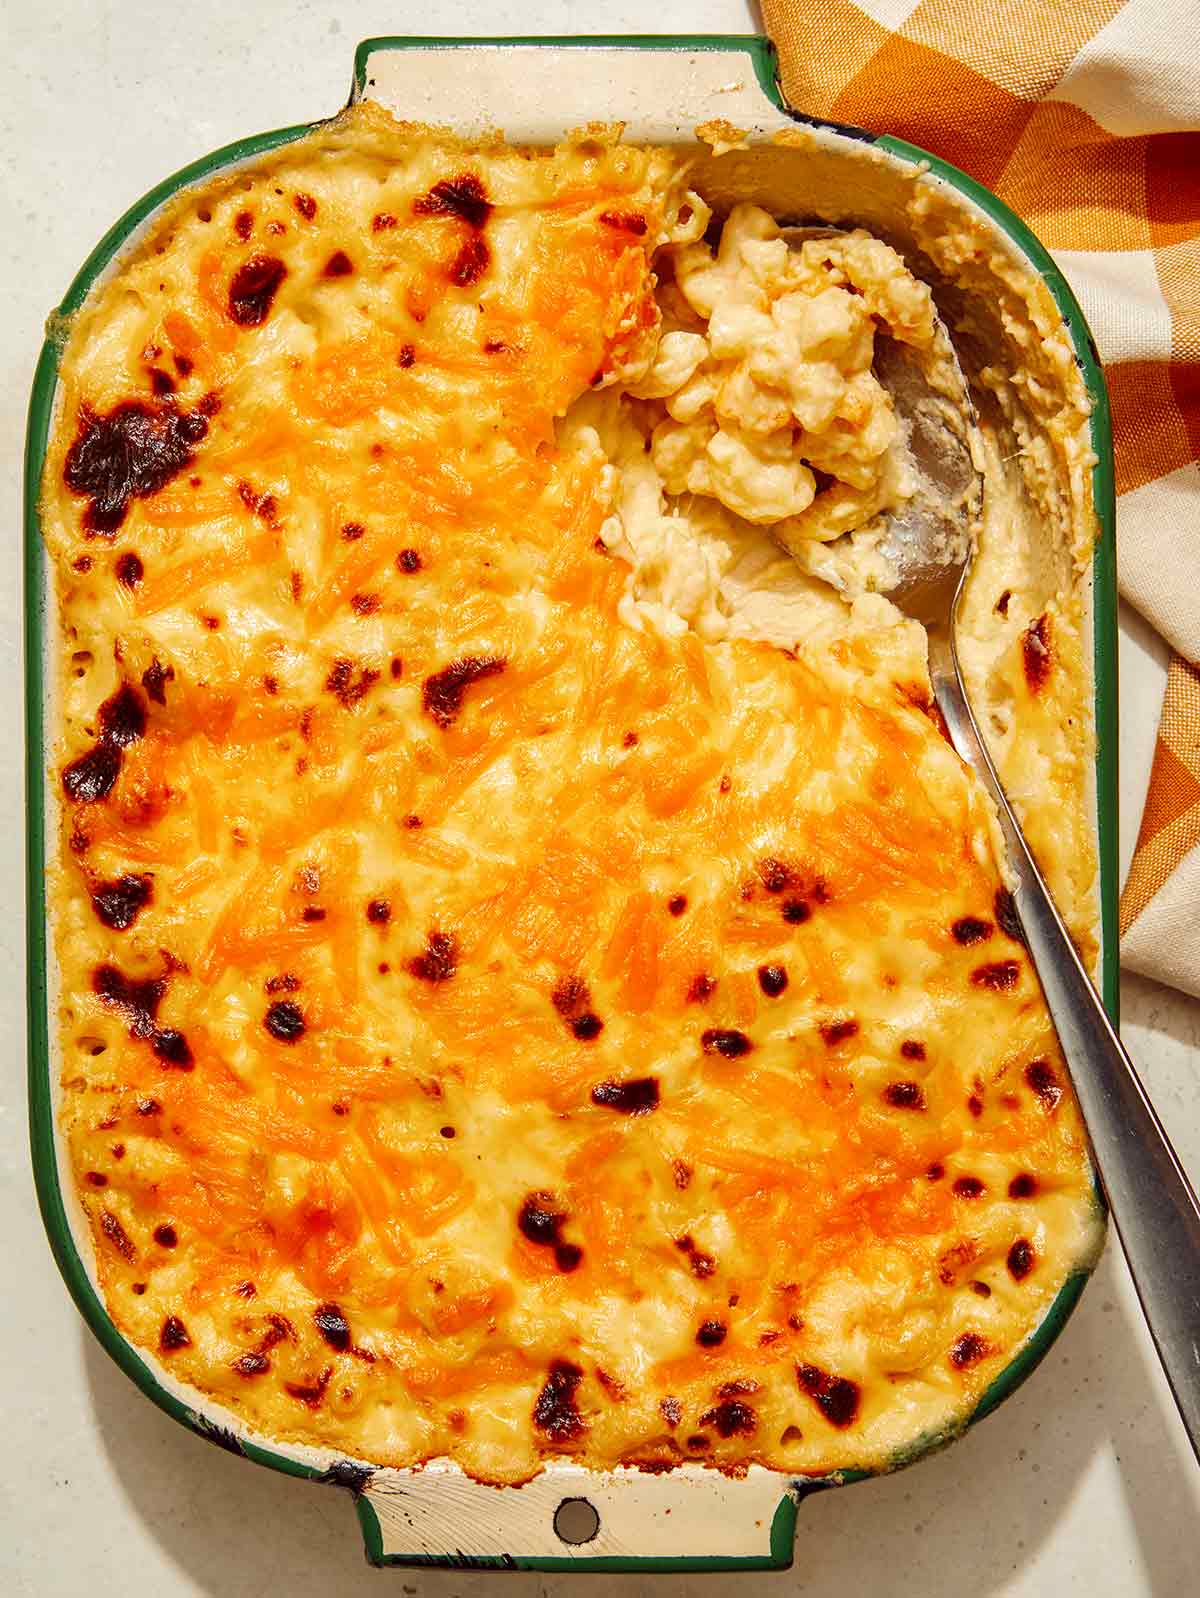
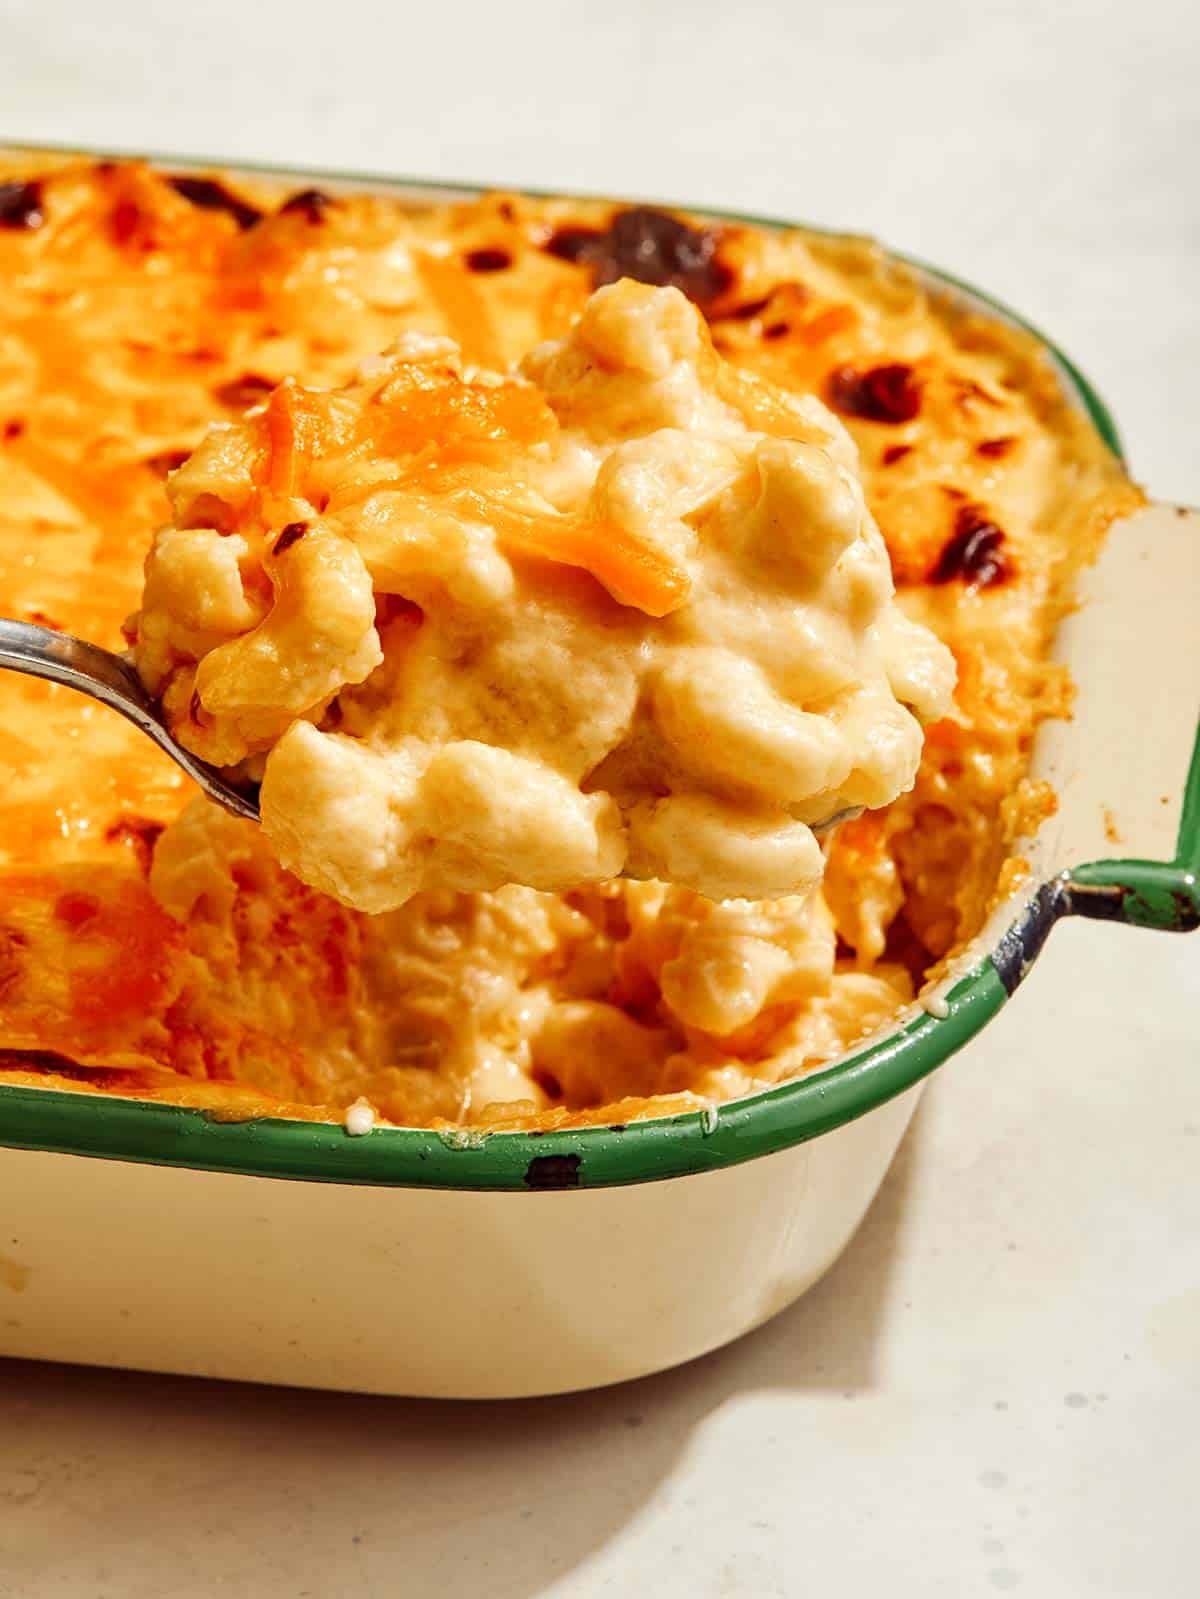
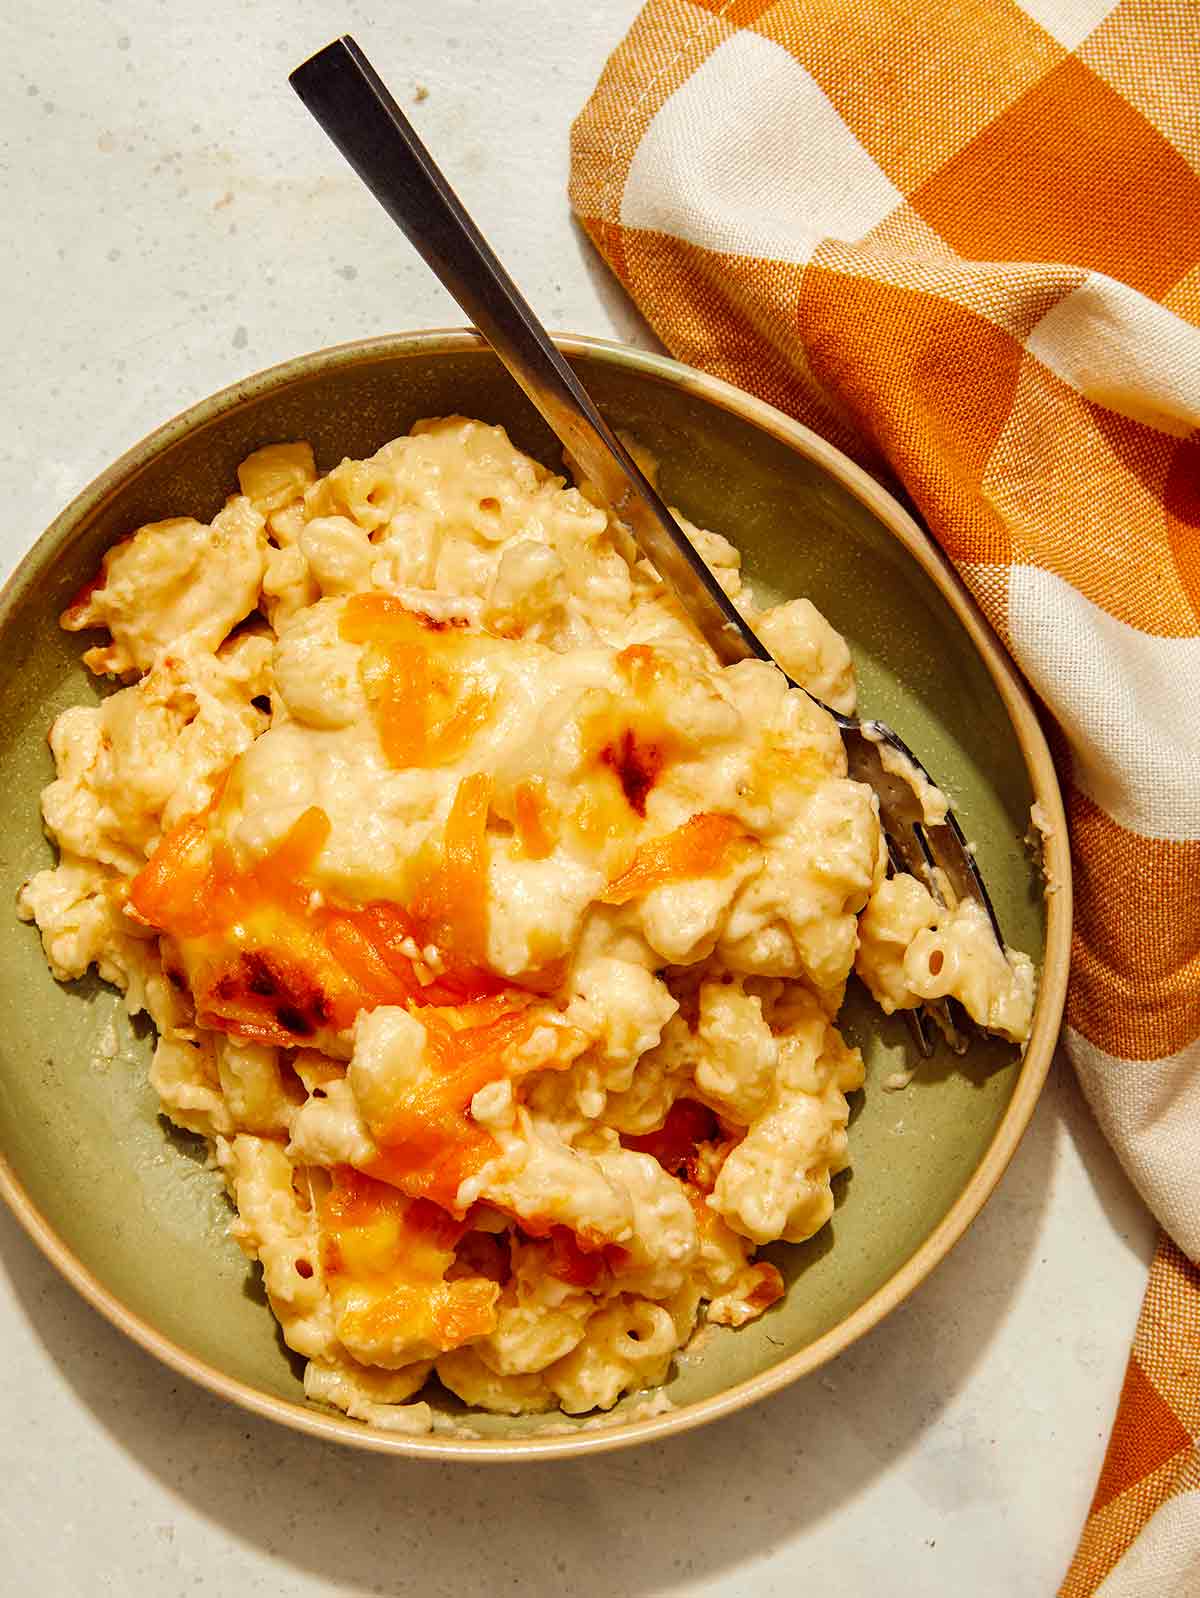
- Remove the pan from the oven, top it with chives, and serve with corn chips.

Using Canned Corn vs Fresh Corn vs Frozen Corn
While we use canned corn for convenience and uniform flavor, you can use any corn for this recipe.
Fresh corn: We love using fresh corn in recipes when it’s in season! If using fresh corn off the cob, you’ll need to cook it before adding it to the dip.
Canned corn: Canned corn is packed at peak ripeness and is ready to be tossed into the recipe straight from the can after being drained and rinsed.
Frozen corn: Like canned corn, frozen corn is picked and frozen when ripe, so the flavor is fresh and uniform any time of year. If using frozen corn, empty it into a colander and thaw it under running water before adding it to the dip.

Prep Ahead Instructions and Storing and Reheating Leftovers
Prep Ahead
To make this recipe even easier, with less hands-on time during the day of serving, you can prepare a few things ahead of time so it’s ready to go.
Prepare everything for this creamed corn dip, up to step 4, just before it needs to be baked in the oven. Cover and refrigerate the unbaked dip for up to 48 hours. When you’re ready to serve, place the dip in the pan and continue to bake as directed. If baked straight from the refrigerator, it may need a couple extra minutes in the oven.
Storing and Reheating Leftovers
To store leftovers, place them in an airtight container in the refrigerator for up to 3 days. The best way to reheat your creamed corn dip is to place it back into an oven-safe pan or baking dish and bake at 375˚F for 5-7 minutes or until heated through and bubbly again.

Variations for our Creamed Corn Dip
We kept this recipe pretty basic because it tastes incredible without many extras. But with a few additions, you can give this corn dip a whole new flavor. Try some of these fun variations:
- Make it spicy. Dice up a jalapeno pepper and saute it along with the shallots and garlic, or add 1/4- 1 teaspoon of cayenne pepper.
- Swap the cheeses. With three types of cheese, there’s plenty of room to experiment with different varieties to find your favorite. Try incorporating Pepper Jack, Monterey Jack, or Sharp Cheddar.
- Add bacon. Dice a few slices of cooked bacon and stir it into the dip before baking. Then, sprinkle the top with minced chives before serving.
- A little sweet, a little spice. Sweet corn already has a subtle sweetness, but you can take that up a notch by adding a hefty drizzle of honey to the dip and balancing it with a couple of splashes of your favorite hot sauce.

More Delicious Dip Recipes You Will Love


Creamed Corn Dip
Ingredients
- 2 tablespoons unsalted butter
- 2 tablespoons minced shallot
- 1 minced garlic clove
- 15 ounce canned corn drained and rinsed
- 1/2 teaspoon sugar
- 8 ounces cream cheese softened
- 4 tablespoons mayonnaise
- 2 ounces shredded mozzarella, divided (about 2/3 cup in volume)
- 2 ounces shredded gruyere, divided (about 2/3 cup in volume)
- 2 ounces grated Parmesan, divided (about 3/4 cup in volume)
- salt and pepper to taste
- 2 tablespoons thinly sliced chives garnish
Instructions
- Preheat oven to 375˚F.
- In a pan, melt butter over medium heat.
- Add shallots and garlic and sauté for 1 minute. Add corn and continue to cook for 3 to 4 minutes. Stir in sugar and season with salt and pepper. Cook for 1 more minute. Remove from heat.
- Place cream cheese and mayonnaise into a large mixing bowl and stir together to breakup block of cream cheese.
- Add all corn mixture, and all but 2 tablespoons each mozzarella, gruyere, and Parmesan. Season with salt and pepper.
- Mix together until completely and evenly combined.
- Pour mixture into a 3-4 cup baking dish or 8-inch skillet and smooth top.
- Sprinkle with remaining cheese.
- Bake creamed corn dip for 15 minutes. Then broil for 30 seconds to 1 minute. Remove from oven, top with chives and serve with corn chips.
Notes
Nutrition
The post Creamed Corn Dip appeared first on Spoon Fork Bacon.