The cold weather has finally creeped into my neck of the woods and all I’ve been craving lately is a big, warm bowl of soup! Lucky for me this easy Split Pea Soup recipe hits the spot! It has lots of veggies and the added ham gives it sooo much flavor! It’s thick, filling, and like most soup recipes it makes a big batch. Perfect to freeze any leftovers for later! Trust me, I’ll definitely be keeping this soup in rotation this season!

What Are Split Peas?
Split peas are just like they sound, peas that have been dried and split in half. They’re part of the legume family and are often found in both green and yellow varieties. Both can be used to make this easy, comforting split pea soup. We’ll be using green split peas for this recipe. You can find split peas in the dry bean aisle, next to bags of other types of dry beans.
Ingredients for Split Pea Soup
You won’t need much to make this thick and chunky split pea soup recipe. Here’s a quick rundown of the ingredients you’ll need:
- Split Peas – Split peas are the star of the show for this simple soup recipe. We’re using dry, uncooked green split peas.
- Aromatics – Onion, celery, carrots, and garlic provide a wonderful flavor base for the soup.
- Ham Hock – The ham hock provides lots of smoky, salty flavor to the soup. It also gives you a little bit of meat to enjoy with every other bite :)
- Bay Leaf – Adds an extra subtle layer of flavor and depth to the soup.
- Chicken Broth – Make sure you use a good quality chicken broth as a lot of the soup flavor will come from the broth. We use Better than Bouillon to make our broth. It’s economical and has great flavor!
- Russet Potato – To make this an even more filling and hearty soup, we added one diced russet potato. It also helps to thicken the soup.
- Salt and Pepper – You’ll be surprised how much salt and flavor comes from the ham hock and chicken broth. So taste the soup towards the end, then add any salt and freshly cracked black pepper to taste.
Do Split Peas Need To Be Soaked Before Cooking?
Nope! That’s what makes this soup so simple to make. Split peas cook quickly without any pre-soaking, and because they’re already split open, they break down well to thicken soups. I like to give the split peas just a quick rinse when I take them out of the package, but other than that you can add the peas directly to your pot (without soaking) with the rest of your ingredients.
How To Store Split Pea Soup
Split pea soup stores very well in the fridge or freezer. You can store any leftovers in an airtight container in the refrigerator for up to 5 days. If you don’t think you can eat all 6 servings in about 5 days, then freeze the rest in freezer-safe containers for up to 3 months.

Pictured with Homemade Croutons on top!

Split Pea Soup
Equipment
Ingredients
- 2 Tbsp olive oil $0.24
- 1 yellow onion, diced $0.32
- 3 stalks of celery, diced $0.75
- 3 carrots, diced $0.46
- 2 cloves garlic, minced $0.16
- 1 smoked ham hock $3.65
- 1 lb split peas $1.69
- 6 cups chicken broth 1.02
- 1 bay leaf $0.10
- 1 russet potato, peeled & diced $1.12
Instructions
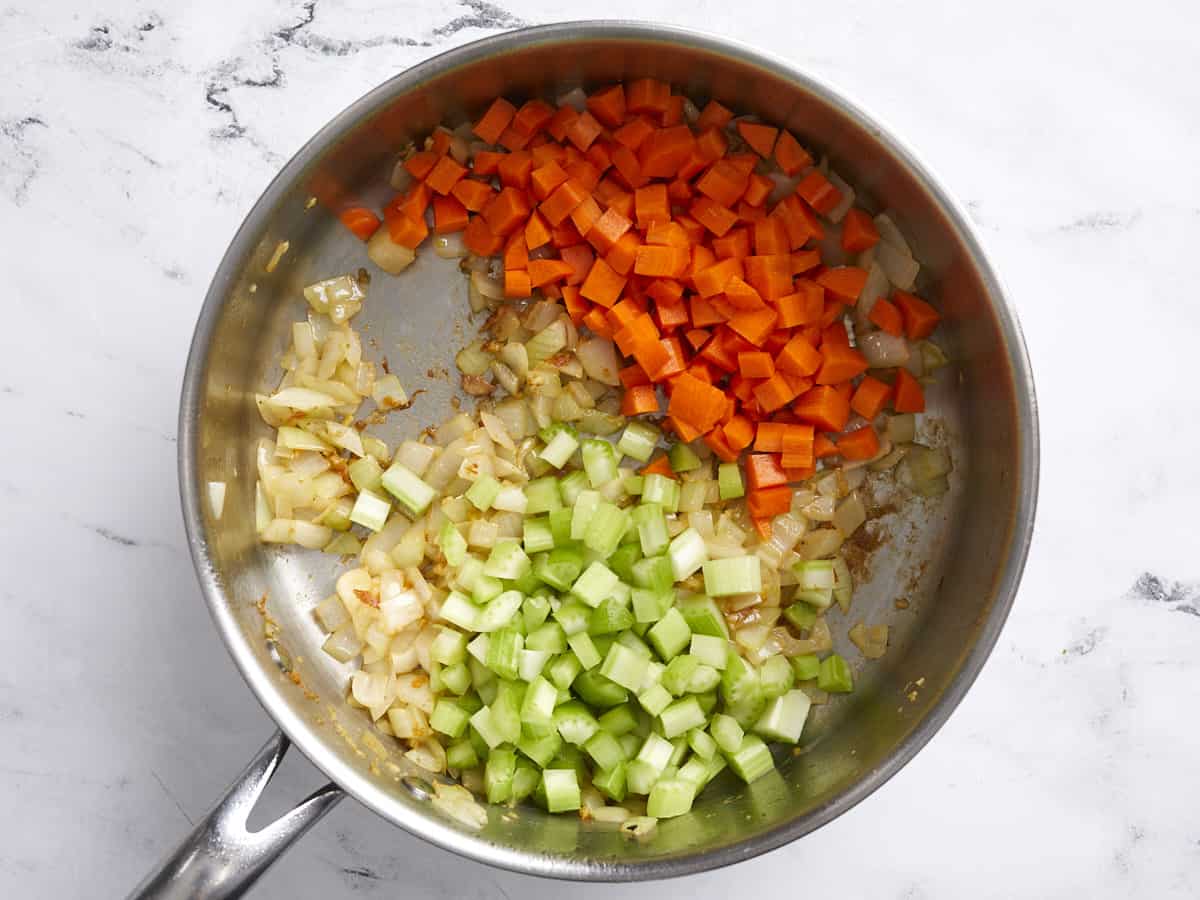
- Heat a large pot or dutch oven over medium-high heat. Add the olive oil, diced onion, diced celery, and diced carrots. Saute for about 4 minutes or until vegetables have softened. Stir in the minced garlic and saute for an additional 30 seconds.
- Add the split peas, ham hock, bay leaf, and chicken broth to the pot and gently stir.
- Add a lid and bring the pot to a gentle boil. Once boiling, reduce the heat to medium-low and simmer for 1 hour. Give the soup a stir periodically and flip the ham hock over once or twice, while the soup is simmering, so that it gets even exposure to the hot liquid.
- After 1 hour the peas should have completely broken down almost to a mush. If they are still retaining their shape, continue to simmer for 10 more minutes.
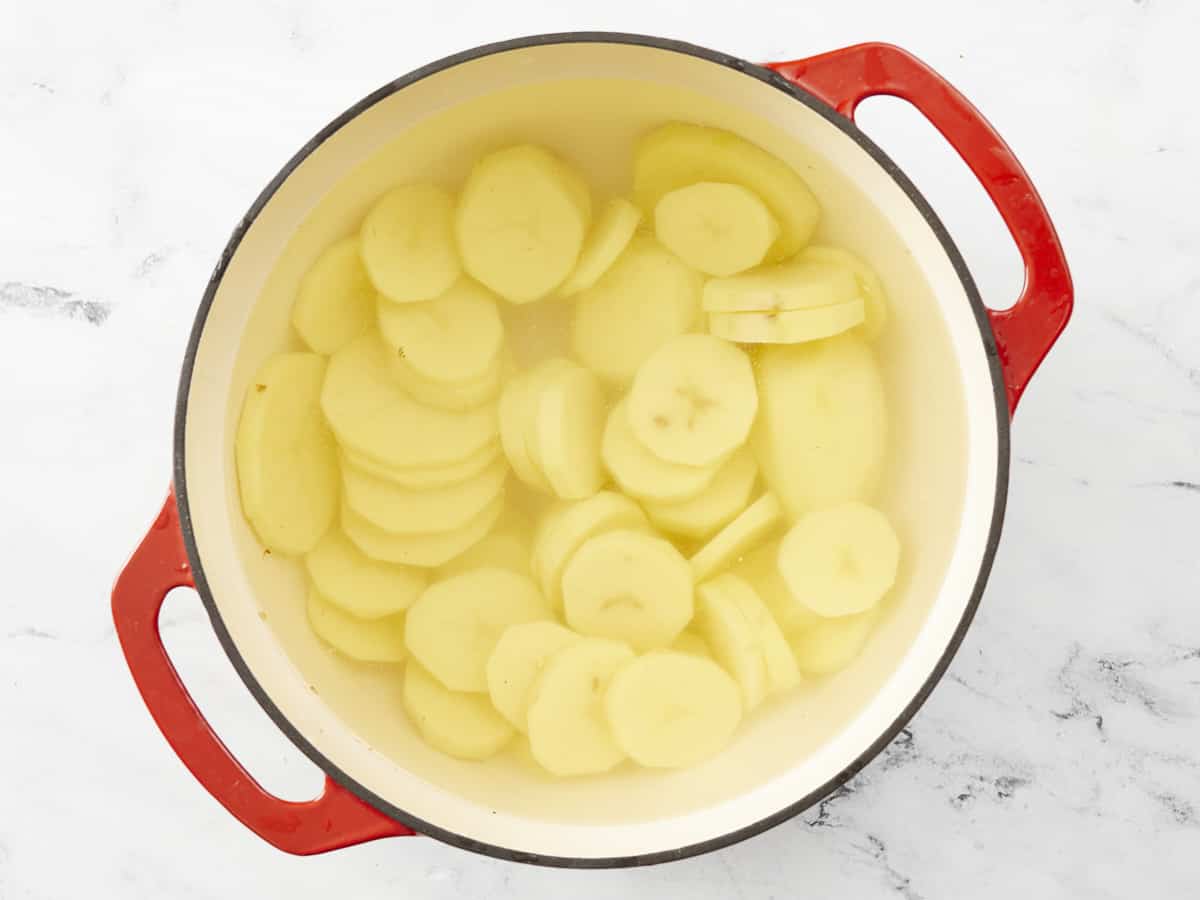
- Next remove the ham hock from the pot and set it aside to cool. Add the diced potato to the soup and stir to combine. Continue to simmer for about 12 more minutes or until potatoes are tender.
- While the potatoes are simmering, and once the ham hock is cool enough to handle, remove the meat from the bone and shred into small pieces.
- Add the ham meat back to the pot with the soup and gently stir to combine.
- Feel free to season the soup with salt and freshly cracked black pepper to taste. Enjoy with crackers, homemade croutons, or crusty bread!
See how we calculate recipe costs here.
Nutrition
More Split Pea Soup Variations

How To Make Split Pea Soup – Step By Step Photos
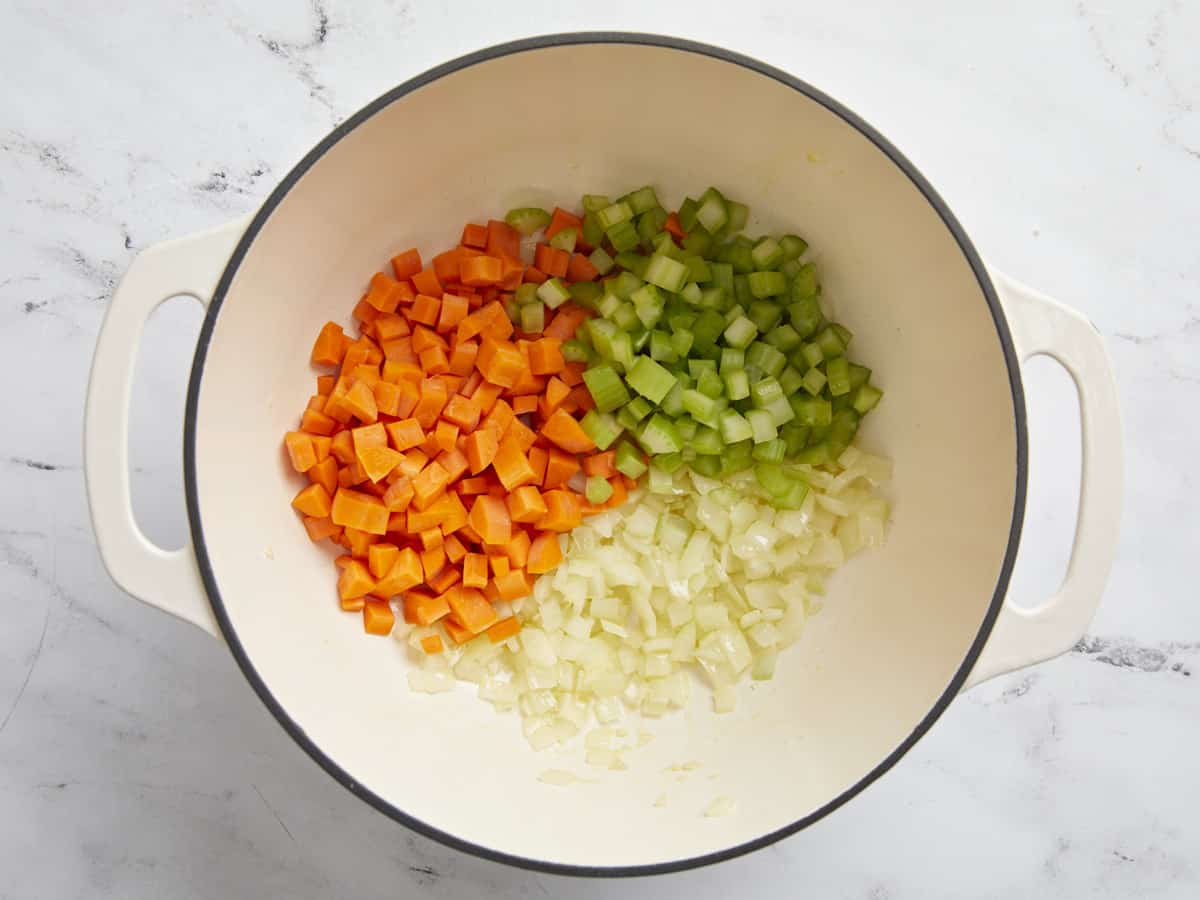
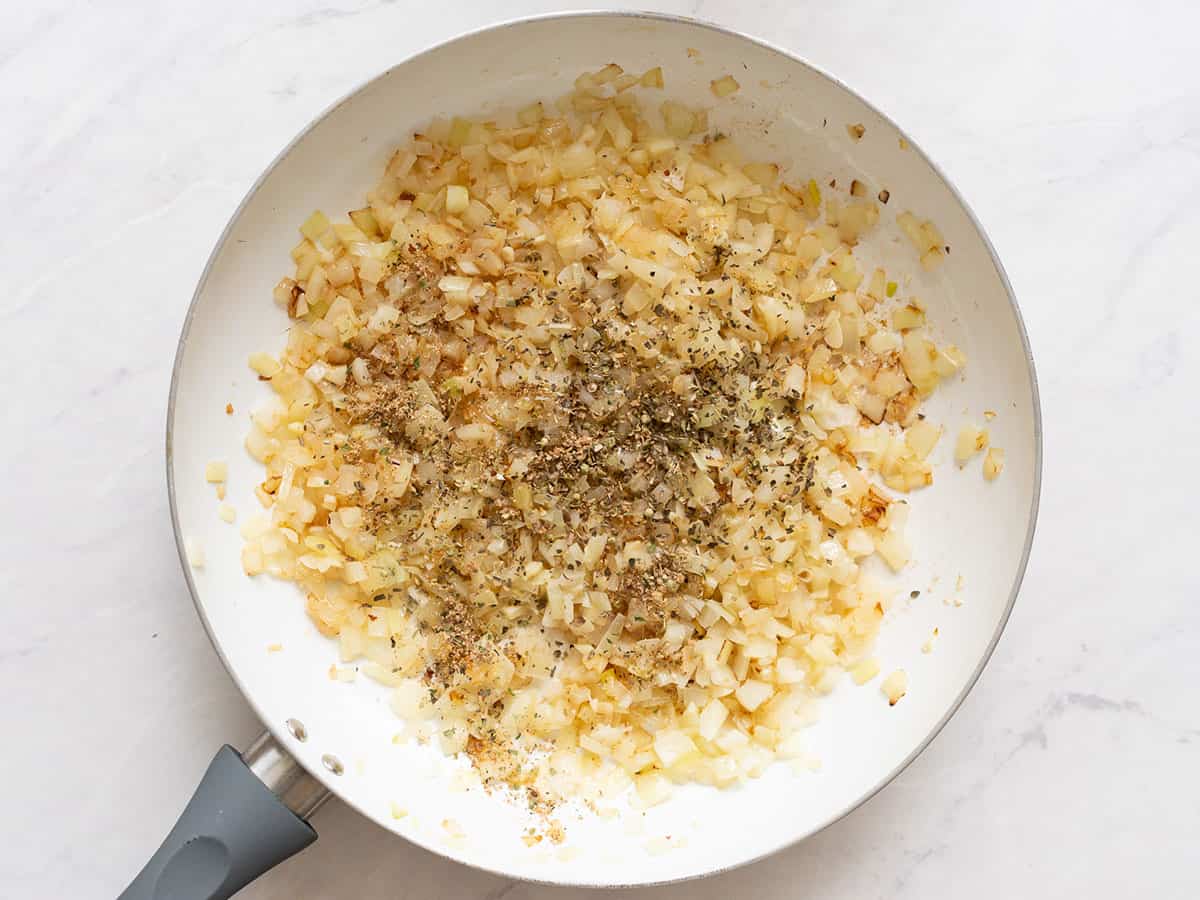
Heat a large pot or dutch oven over medium-high heat. Add 2 Tbsp olive oil, one diced yellow onion, three diced celery stalks, and three diced carrots. Sauté for about 4 minutes or until vegetables have softened. Stir in two minced garlic cloves and sauté for an additional 30 seconds.
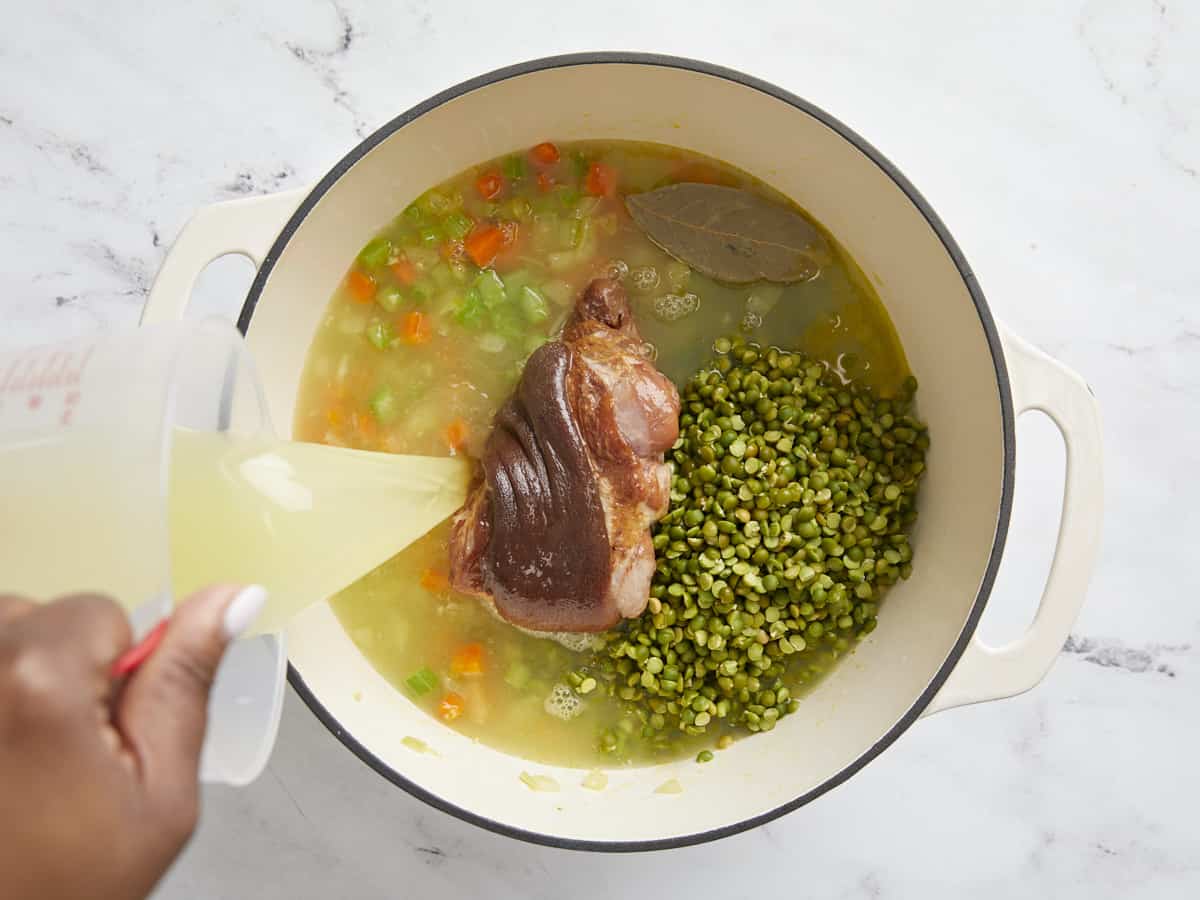
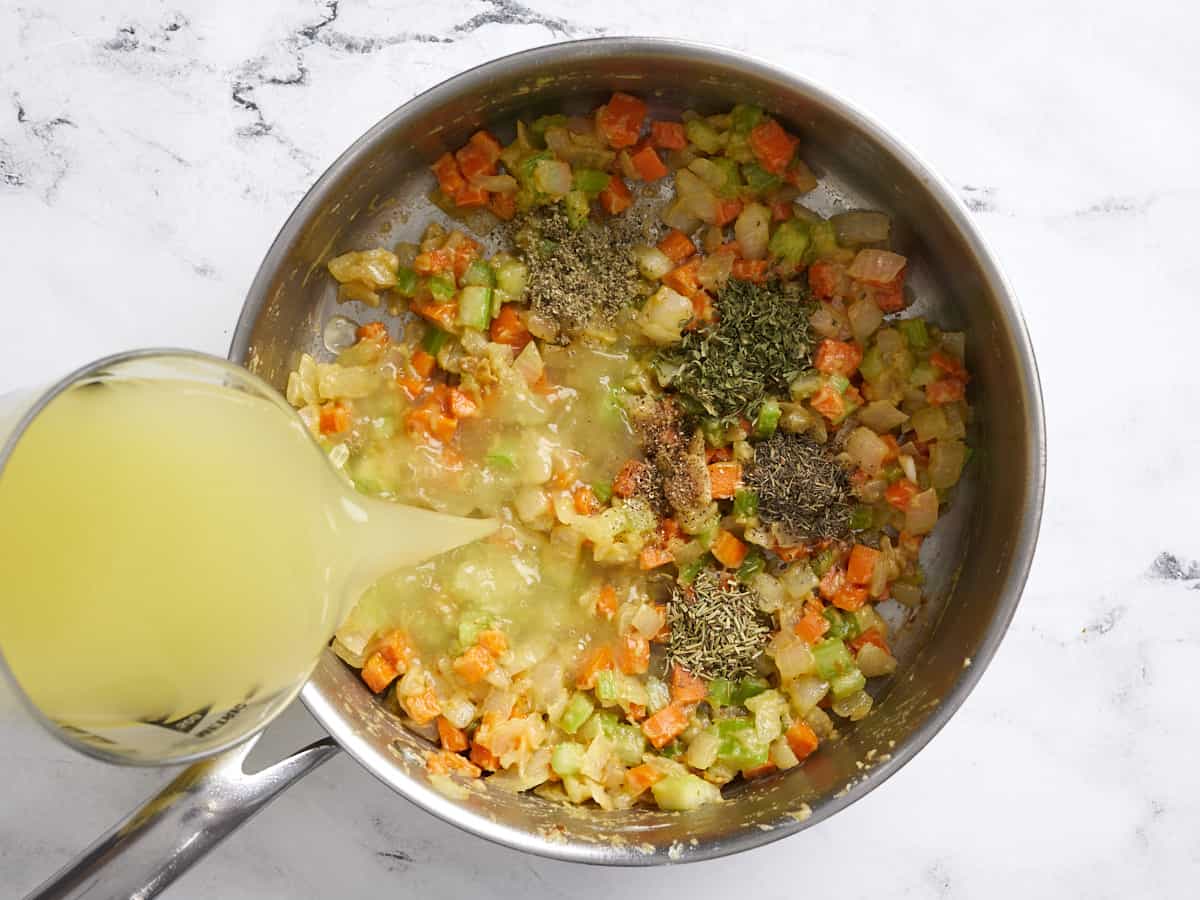
Add one pound of split peas, one ham hock, one bay leaf, and 6 cups of chicken broth to the pot and gently stir.
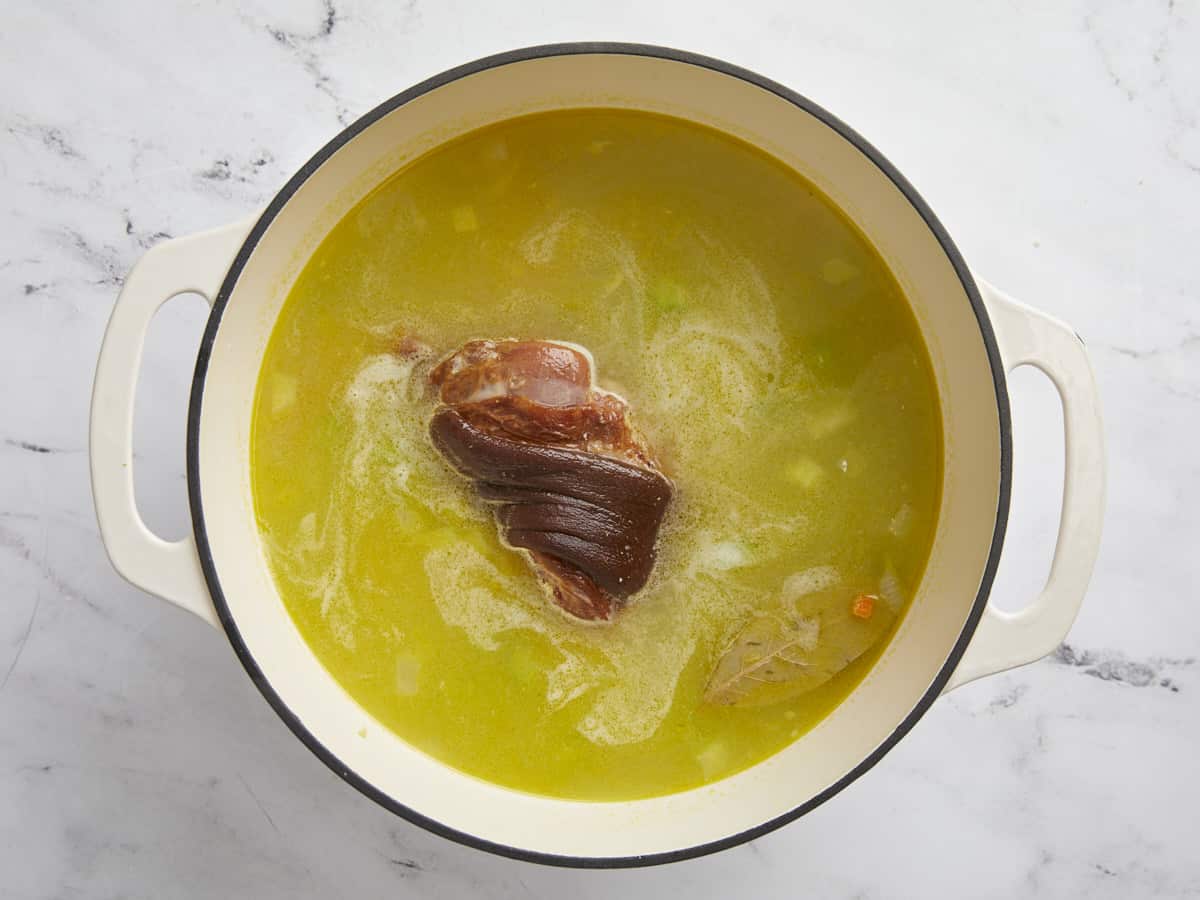
Add a lid and bring the pot to a gentle boil. Once boiling, reduce the heat to medium-low and simmer for 1 hour. Give the soup a stir periodically and flip the ham hock over once or twice, while the soup is simmering, so that it gets even exposure to the hot liquid.
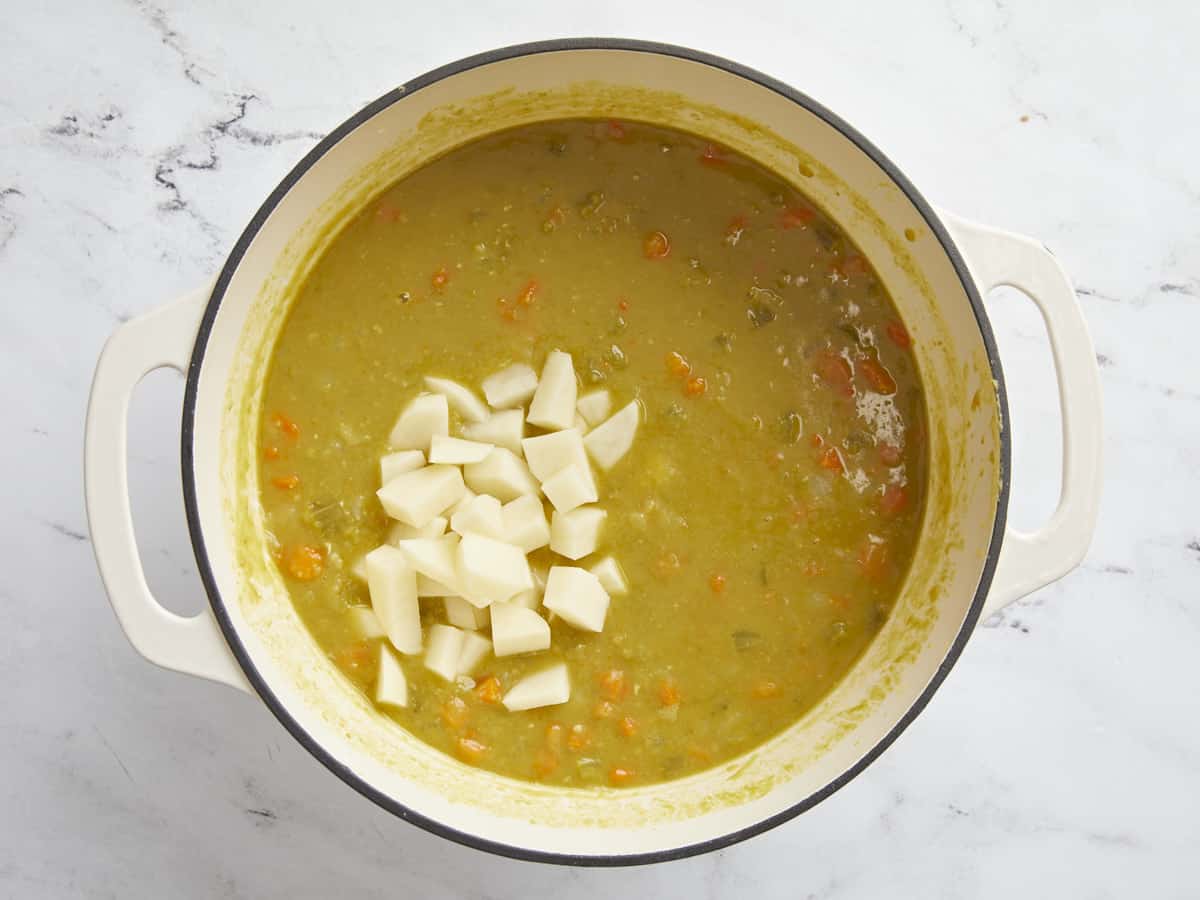
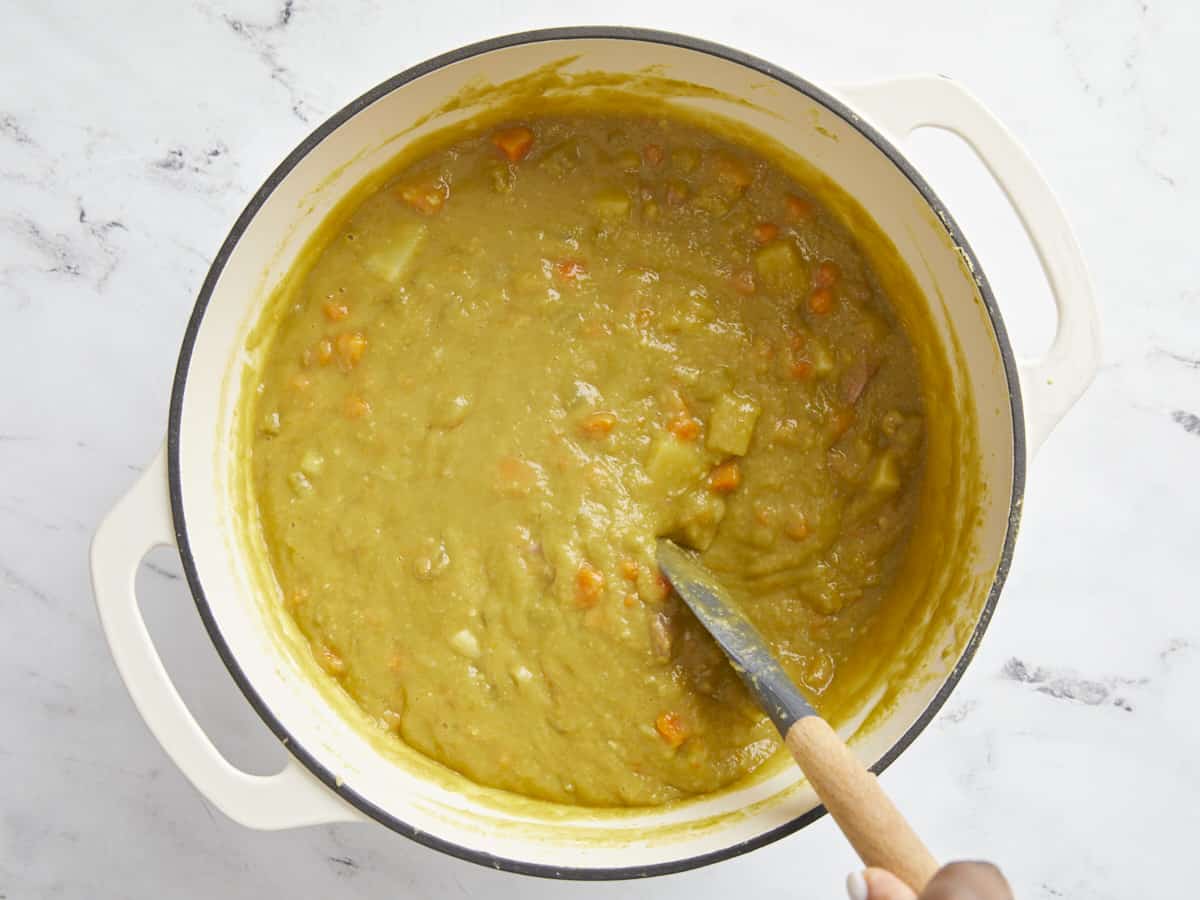
After 1 hour the peas should have completely broken down almost to a mush. If they are still retaining their shape, continue to simmer for 10 more minutes. Next remove the ham hock from the pot and set it aside to cool. Add the diced potato to the soup and stir to combine. Continue to simmer for about 12 more minutes or until potatoes are tender.
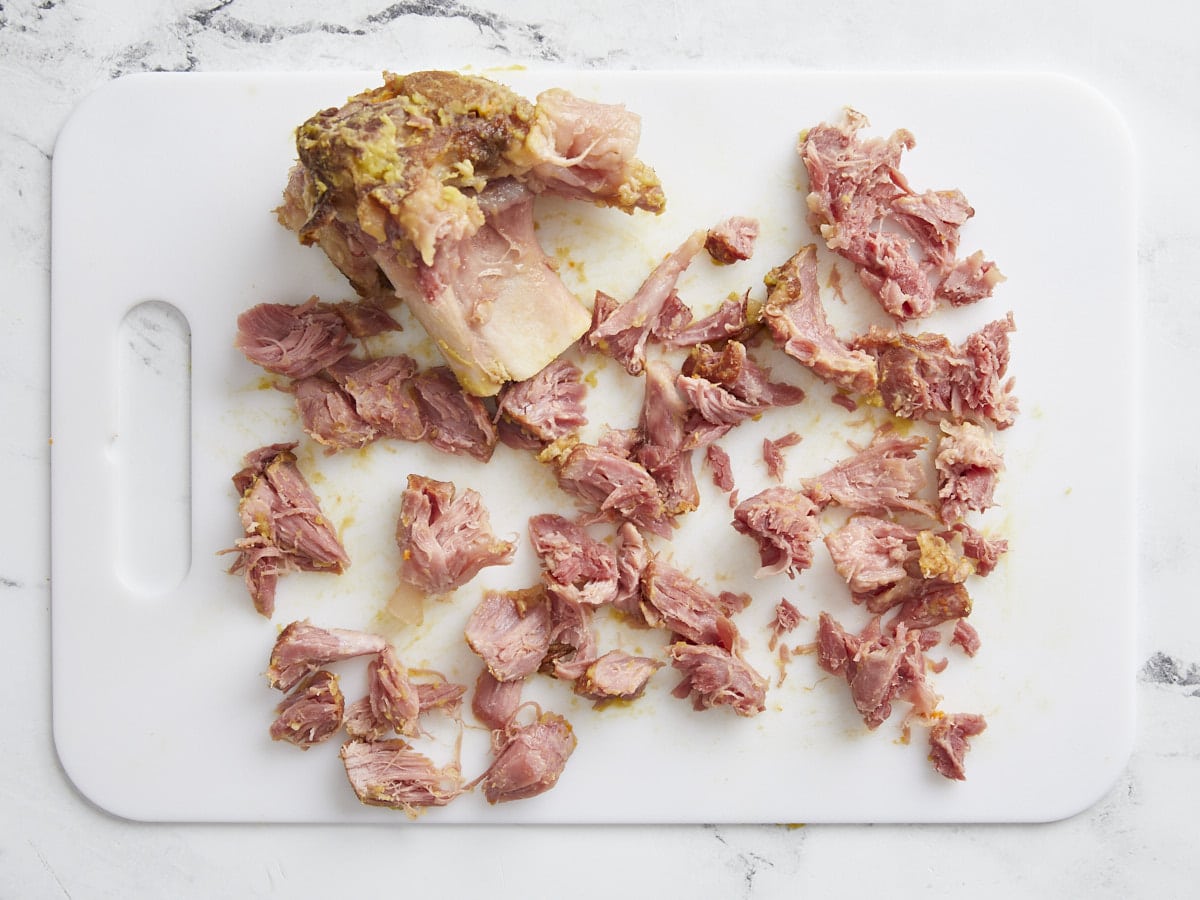
While the potatoes are simmering, and once the ham hock is cool enough to handle, remove the meat from the bone and shred into small pieces.
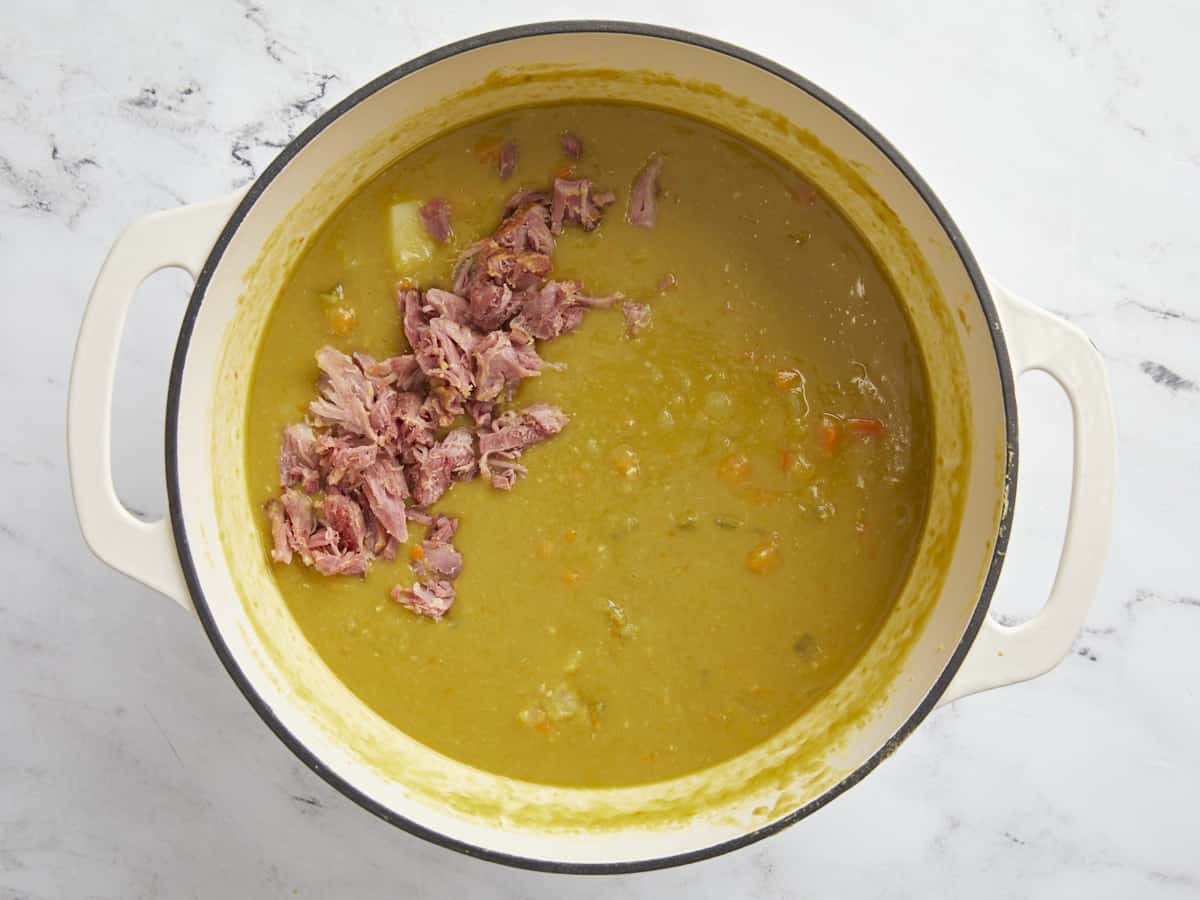
Add the ham meat back to the pot with the soup and gently stir to combine.
Season the soup with salt and freshly cracked black pepper to taste.

Time to enjoy a warm, satisfying bowl of Split Pea Soup with some homemade croutons, crackers, or crusty bread! Yum!
More Easy Soup Recipes


The post Split Pea Soup appeared first on Budget Bytes.