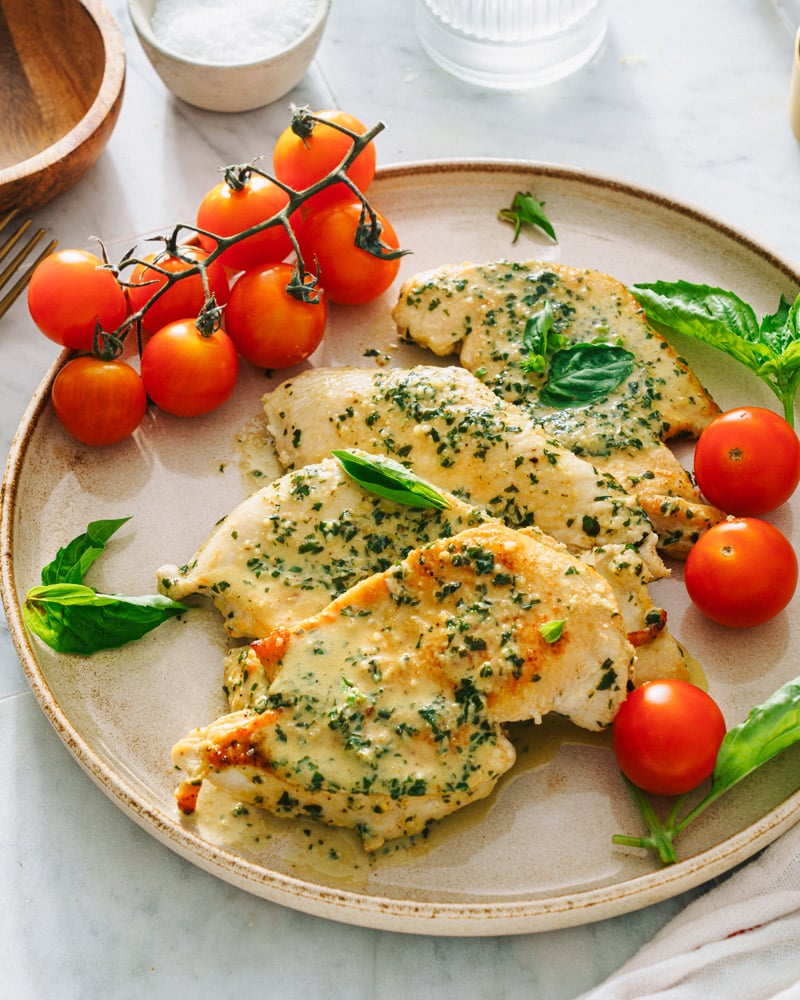
This pesto chicken recipe makes an impressive and easy dinner! Basil pesto makes a quick herby sauce to pair with the juicy chicken.
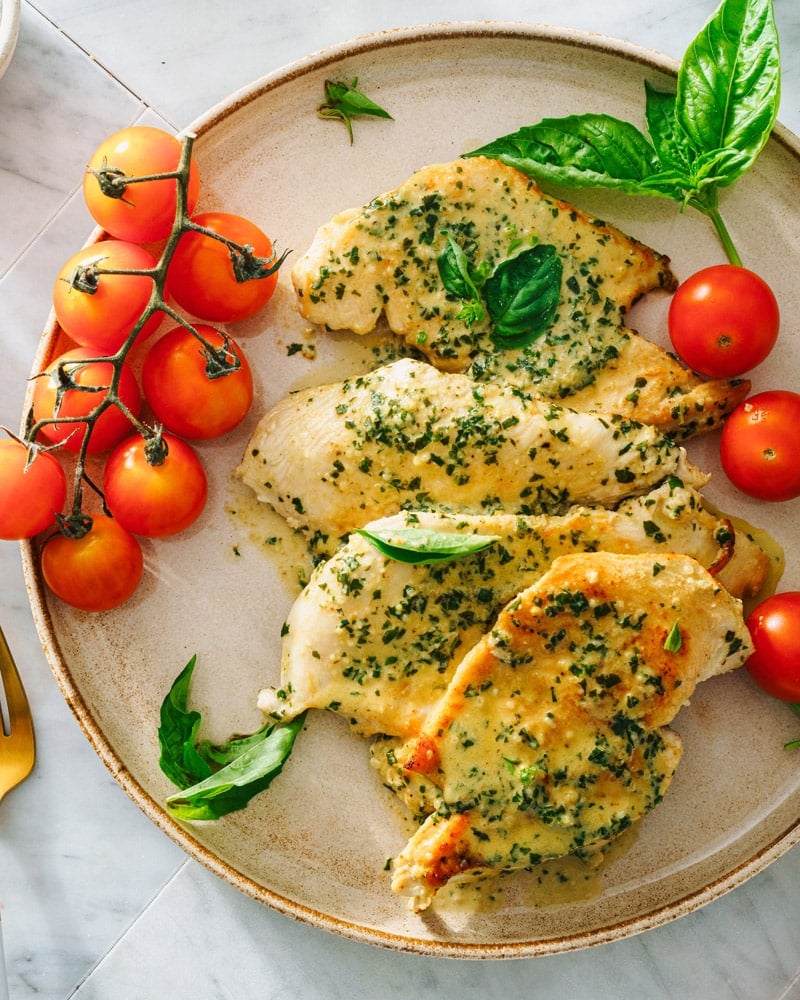
Got pesto? Here’s a great way to use it to make an impressive dinner recipe: Pesto Chicken! Combine basil pesto with a bit of cream and it makes a stunning fresh sauce for juicy chicken breasts! It’s a quick trick that makes an everyday dinner into something special, perfect for entertaining or just an easy weeknight meal. This one is very popular in our house: especially when we have guests!
Ingredients in this pesto chicken recipe
Pesto chicken in perfect for when you have access to fresh basil and can make a big batch of basil pesto! The flavor of homemade pesto far outshines the jarred variety you can find at the store. It also has a brighter green color! However, if you want to make pesto chicken with purchased pesto that works too (see our tips below).
- Boneless skinless chicken breasts (about 1 pound, organic if possible), butterflied or cutlets
- Garlic powder, onion powder, and kosher salt
- Salted butter
- Olive oil
- Basil pesto
- Heavy cream

For the pesto: homemade vs storebought
Pesto chicken tastes and looks best with homemade basil pesto. Of course, this isn’t always possible to have fresh basil on hand and time to make pesto homemade. If you’re using the jarred variety, keep this in mind: the flavor and quality of jarred pesto varies greatly between brands.
- Homemade pesto has the best flavor and bright green color. Make a batch of Basil Pesto if you can. Or try Arugula Pesto or Kale Pesto, which have a slightly spicier flavor.
- Purchased pesto brands vary greatly in flavor (a spritz of lemon juice can help). Each different brand has a different salt and acid level, and some taste very bitter and acidic, which can overwhelm a dish. Adding a spritz of fresh lemon juice can help to improve the flavor.
- Or, try refrigerated fresh pesto (in the produce section). This type of pesto tends to have better flavor than pesto in jars.
How and why to butterfly chicken
Chicken breasts are often very thick, making them tricky to cook evenly because the thin part finishes before the thick part cooks through. The trick? Butterfly your chicken before cooking it! Slicing the chicken breast in half horizontally makes thinner pieces which cook more evenly. They’re also easier to eat and are better seasoned.
You can buy a chicken breast already butterflied, which may be marked on the package (or it may be labeled as “cutlets”). Or if you buy regular chicken breasts, you can butterfly it yourself. Here’s how to butterfly a chicken breast:
- Place your hand over the top of the chicken breast.
- Use a sharp knife to carefully slice the breast horizontally, leaving the edge intact so it can open up like a book (or butterfly!).
- Unfold the chicken breast like a book, then for cutlets, cut along the fold to separate the two halves (each half is a cutlet).
Buy organic chicken if possible
How to find the best meat for this pesto chicken recipe? The best chicken to buy is organic. Per the USDA, organic chicken must be raised in living conditions that accommodate their natural behaviors (like the ability to graze on pasture), fed 100% organic feed and forage, and not given antibiotics or hormones.
Buying organic chicken makes sure that it is the highest quality meat that was raised sustainably, and it is also free of chemicals and additives so it’s the healthiest option for eating. It also tastes better!
Ways to serve it
How to make pesto chicken into a meal? Add an easy side dish or two to turn it into dinner! Here are a few ideas:
- Make a batch of Lemon Rice
- Go for Skillet Fried Corn or Creamed Corn
- Serve with a side of Easy Garlic Butter Noodles
- Go for Purple Mashed Potatoes or Garlic Mashed Potatoes
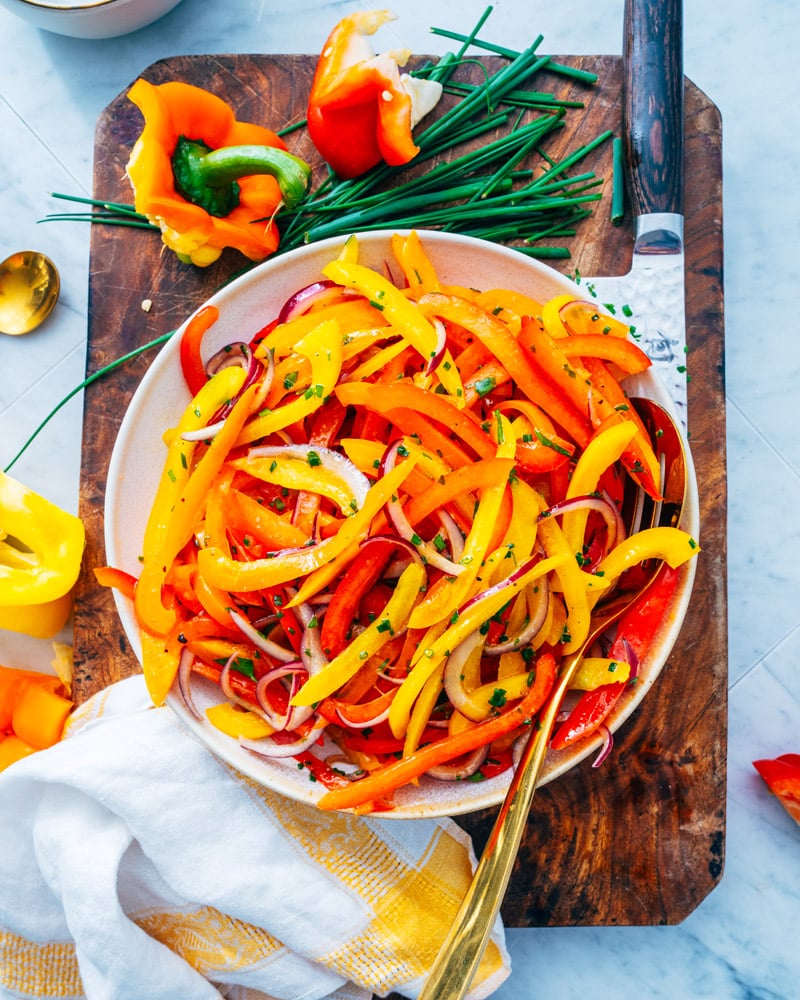
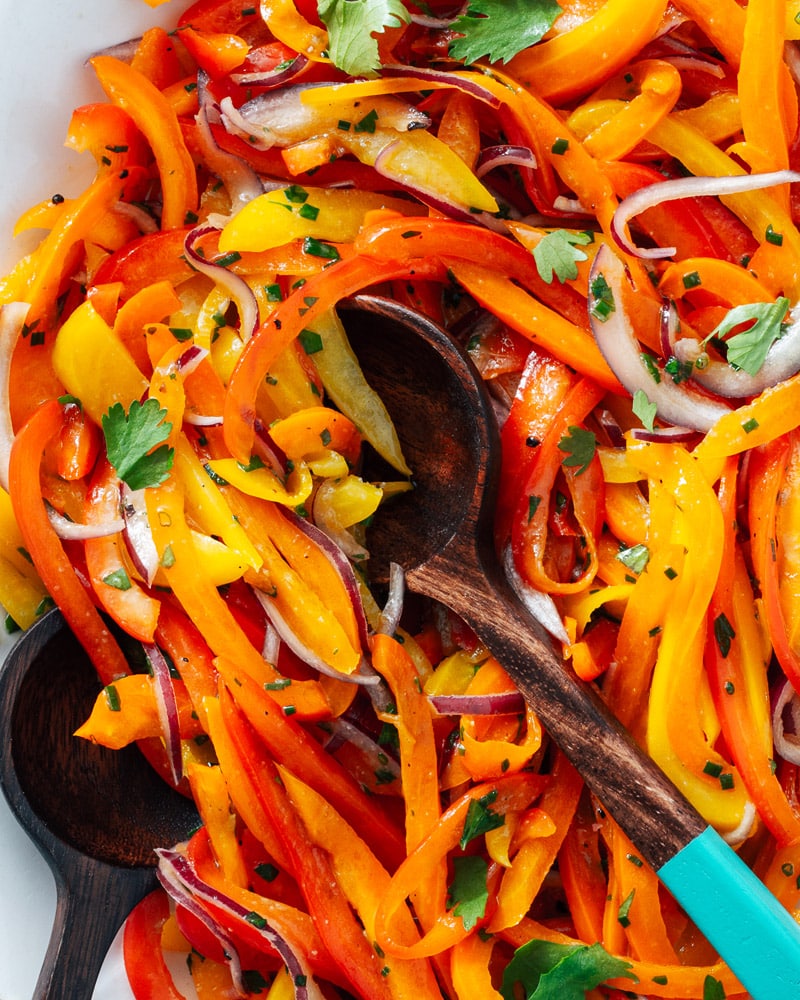
- Make a simple Bell Pepper Salad, Green Goddess Salad or Watercress Salad with Apple
- Opt for crusty Garlic Bread
More recipes with pesto
When you’ve got pesto, there are so many ways to use it! Here are some of our favorite recipes with pesto:
- Try Pesto Grilled Cheese
- Go for Pesto Tortellini or Pesto Pasta Salad
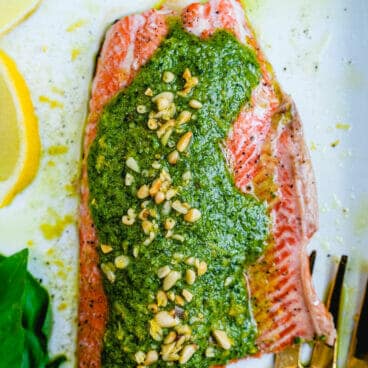
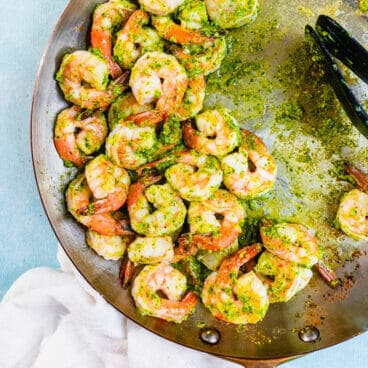
- Make up Pesto Salmon, Easy Pesto Shrimp or a simple Pesto Cream Sauce
- Try Pesto Spaghetti or Pesto Cavatappi


This pesto chicken recipe is…
Gluten-free.
Print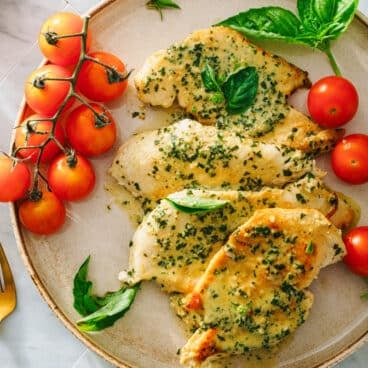
Pesto Chicken
-
 Prep Time: 15 minutes
 -
Cook Time: 10 minutes
-
Total Time: 25 minutes
-
 Yield: 4
Description
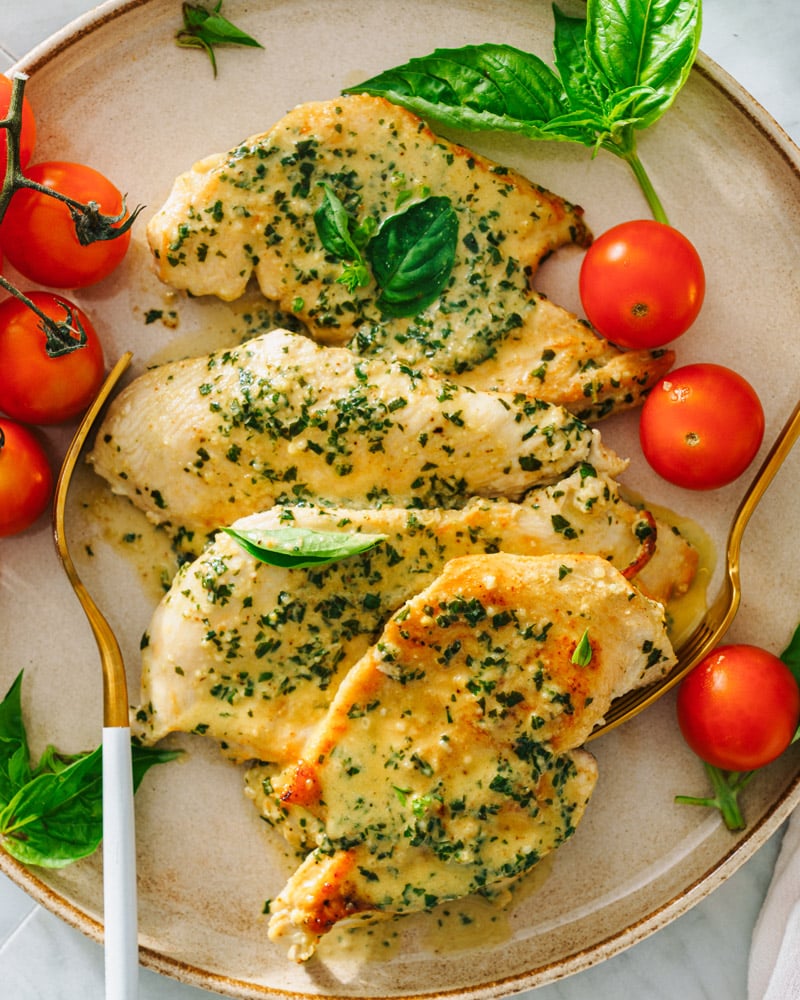
This pesto chicken recipe makes an impressive and easy dinner! Basil pesto makes a quick herby sauce to pair with the juicy chicken.
Ingredients
- 2 boneless skinless chicken breasts (about 1 pound, organic if possible), butterflied or cutlets
- 1 teaspoon kosher salt
- ½ teaspoon garlic powder
- ½ teaspoon onion powder
- 1 tablespoon salted butter
- 1 tablespoon olive oil
- 2 tablespoons basil pesto
- 2 tablespoons heavy cream
Instructions
- Pat the chicken dry with a paper towel, then slice it in half horizontally (if not already butterflied). Sprinkle the chicken on both sides with the salt, garlic powder, and onion powder.
- Add the butter and olive oil to a large skillet and heat over medium heat. Add the chicken and cook until browned on both sides, about 4 minutes per side. When the internal temperature is 165°F or the center is no longer pink, remove to a plate and rest for 3 minutes.
- Meanwhile, in a medium bowl, stir together the basil pesto and cream with a pinch of kosher salt. When the chicken has rested, gently toss the chicken breasts in the sauce and serve immediately with a drizzle of the sauce over the chicken.
 Category: Main dish
 Method: Stovetop
 Cuisine: Dinner
- Diet: Gluten Free
Keywords: Pesto chicken, pesto chicken recipe