Pici is a Tuscan form of spaghetti-style pasta typically made from flour and water. Arguably one of the most charming shapes in the pasta kingdom, it is shaped by hand and is quirky, irregular and purposefully imperfect. Three of my favorite qualities in both people and cooking. If you’re intimidated by the thought of making fresh pasta, it’s a great shape to start with.
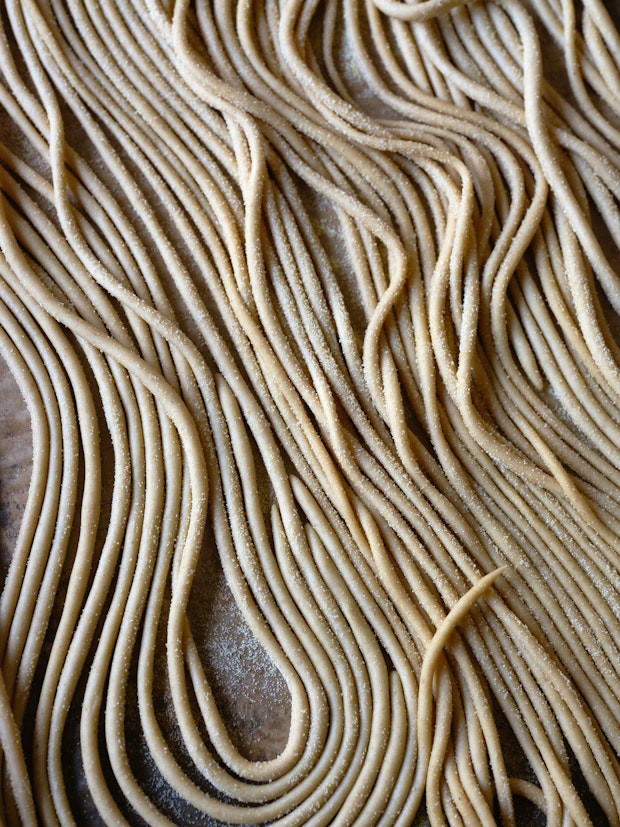
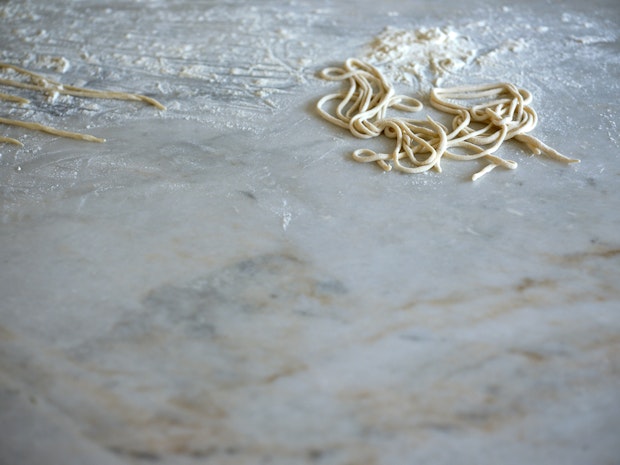
How it works. To make pici you combine flour(s), warm water and salt, mix it in tough a dough, and knead it into a smooth ball of pasta dough over the course of a few minutes. Let the dough rest for 45 minutes or so, lob off a hunk of it and then section that into little strips of dough to be rolled into long strands using your hands. There are process photos below to demonstrate the shaping process. But, if you can make a skinny snake shape with Play-Doh, you can make pici.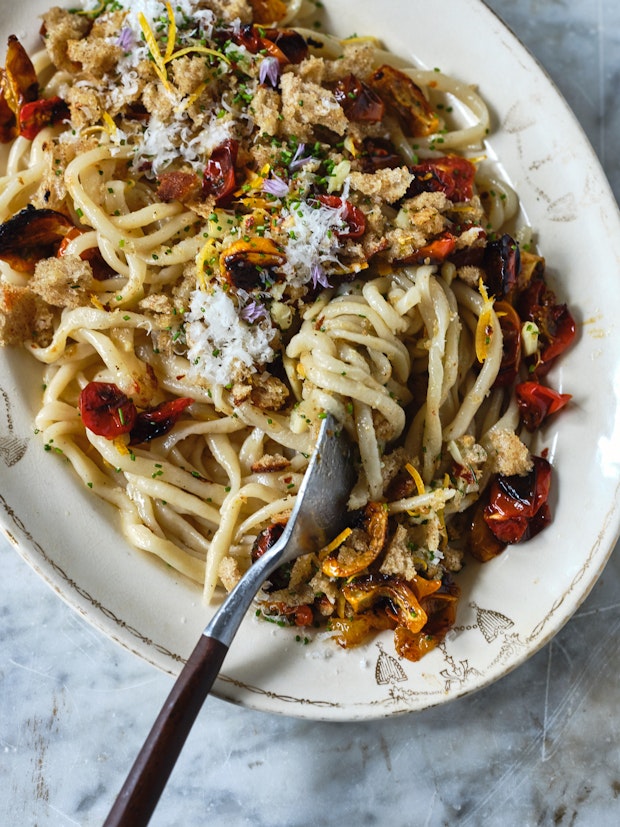
Pici: Let’s talk Flour Types
You can find pici made with semolina flour, 00 flour, all-purpose flour or a blend of all of these. Over the years I’ve made it with all of the above, experimenting with different ratios, typically coming back to the recipe I’ll share today. It combines equal *weights* of semolina flour and either “00” (or all-purpose flour). This dough is a pleasure to work with. Rolling it out is a breeze. You end up with delightful strands of hearty, tender, slurp-able, sunny-shaded yellow pasta noodles. 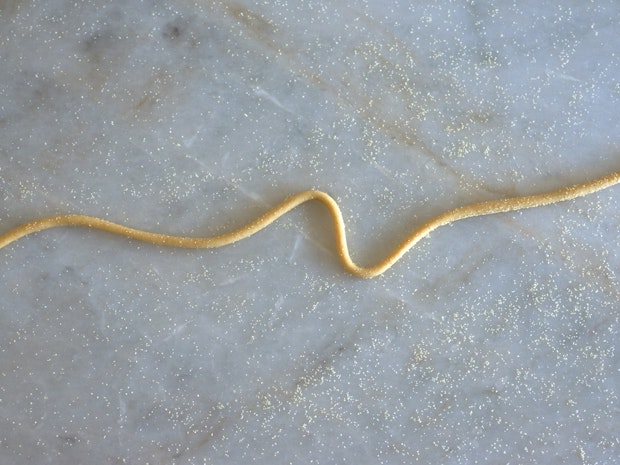
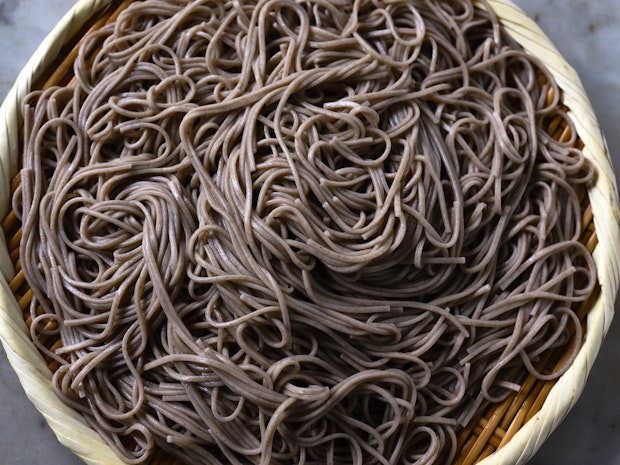
Pici made with 00 flour results in a much softer, looser, tender pasta dough (pictured below). The noodles picture below were made using 350g “00” and 175g warm, salted water. They are pale in color, lacking the yellow of the semolina flour. They can be a bit fussier to roll out. If you go this route, keep extra flour at the ready to counter any stickiness. Alternately, use spritzes from a spray bottle of water if you need to add moisture to your dough a bit at a time.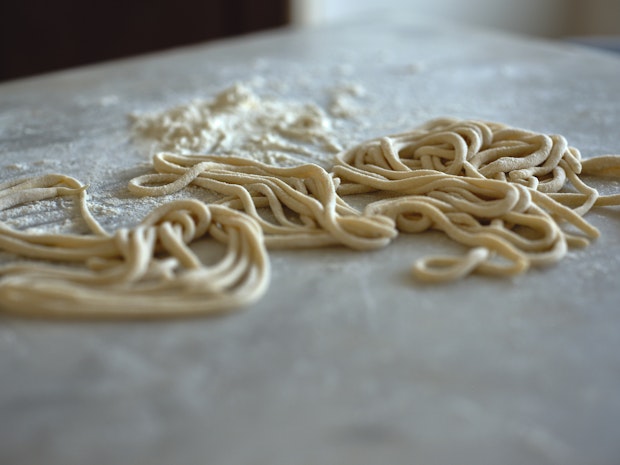
Generally speaking, my advice? Once you get a feel for the dough play around with the ratio of flours. More semolina is going to give you more heartiness and structure. More 00 or unbleached all-purpose flour will deliver a softer, more refined dough. I like a good amount of semolina in my pici dough, especially if the weather is cooler and I’m pairing it with a hearty sauce. The ratio I use most often, and the one reflected in the recipe below is equal *weights* of the following: semolina flour, 00 or all-purpose flour, and salted water. And I just want to emphasize that we’re talking equal weight, not volume.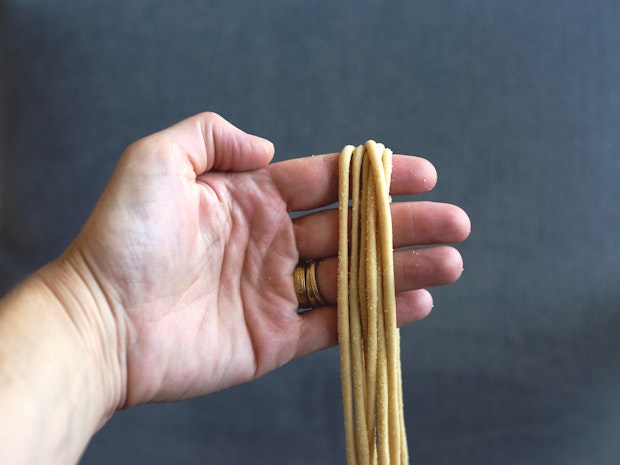
Pici is traditionally made without egg, but many people make it with egg dough too. For reference, 93 year old Giuseppina Spiganti’s pici is featured in Pasta Grannies. She uses 00 flour and one egg in her pici dough. Missy Robbins references an egg dough for the pici in Pasta, also made with 00 flour. Paul Bertolli makes pici eggless in Cooking By Hand. And Jodi Williams and Rita Sodi use a blend of 00 and semolina flour with no egg in Via Carota. The pici I encountered in Siena was most often made from flour and water only. I most often go the no-egg route for pici. But, there are definitely times when I have some straight-forward pasta dough on hand, made with egg, and decide to shape some pici. Guess what? It’s all wonderful.
How To Make Pici: Step by Step in Photos
The great thing about pici is you don’t need any special equipment to make it. It’s a fantastic family activity – everyone loves to hand-roll this pasta. Precision isn’t what it’s about – the charm of pici is that they are perfectly imperfect. The one thing I would be mindful of is this. Err on the side of thinner versus thick pici. They will swell a bit when cooking, and when they are too thick the texture is off and timing can be tricky when cooking. Also, broadly attempt to make them the same-ish thickness. Don’t obsess over it, but you want them to cook in the same amount of time.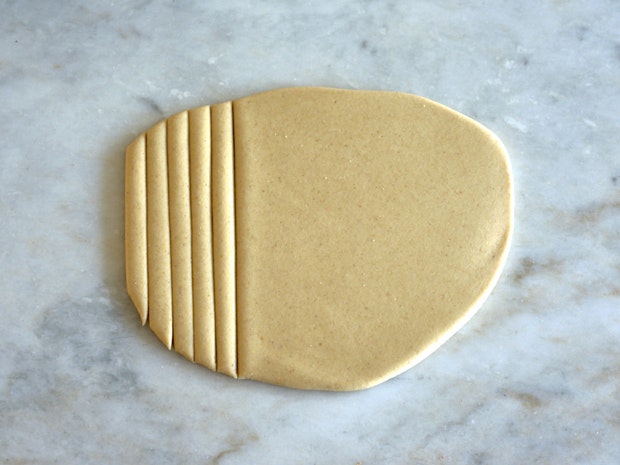
Above: pici dough rolled out about 1/4-inch thick and cut into strips.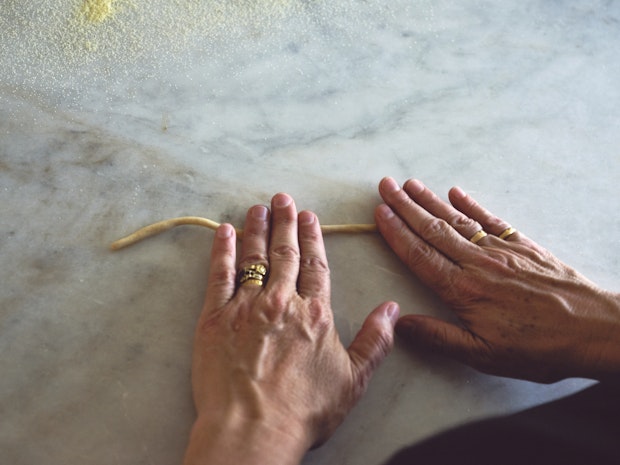
Use hands to roll pici. Start in the center and work outward.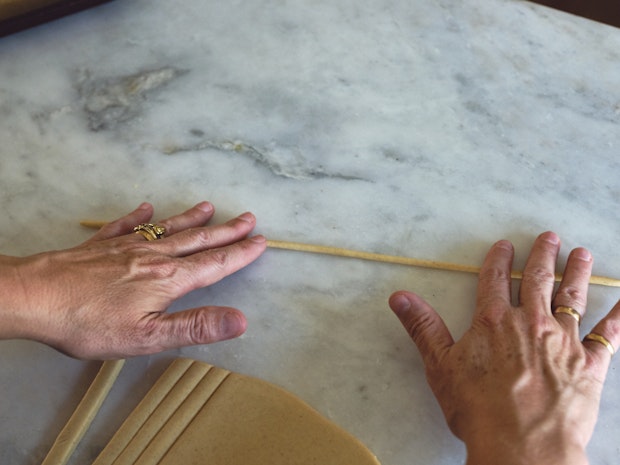
If your dough is being cranky, i.e. not wanting to stretch, set that noodle aside for a few minutes to rest while you move on to another. Come back to it.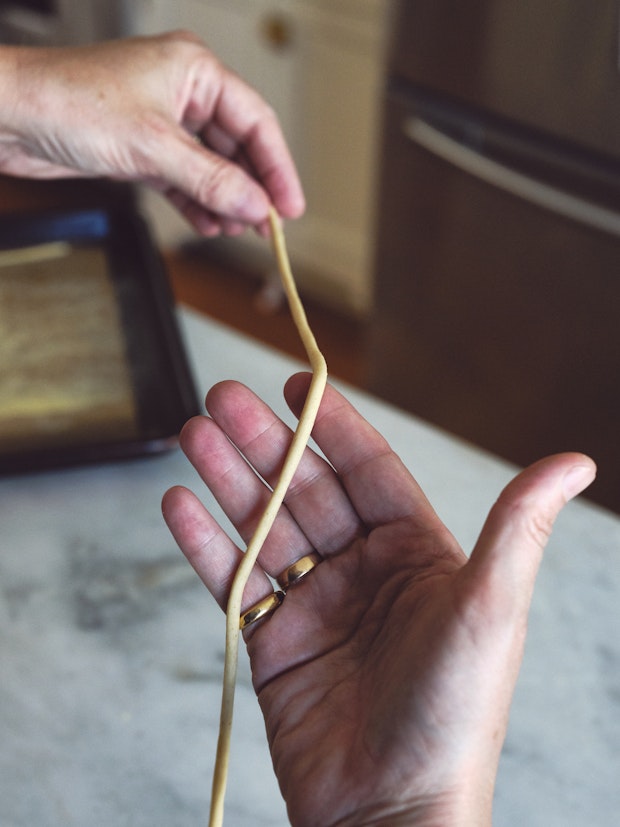
How long? I tend to make my pici on the longer side. My intention is to be able to arrange them across my largest baking sheets (dust well with flour to prevent sticking), but more often than not they hang over.
If you’re not going to cook the pici right away, coax any overhanging noodles back onto the pan, cover with plastic wrap, and refrigerate for up to one day. You can dust pici well with flour, and arrange into nests, but arranging pici like this is a safer bet if you’re concerned about your pasta nest clumping together when you go to cook. 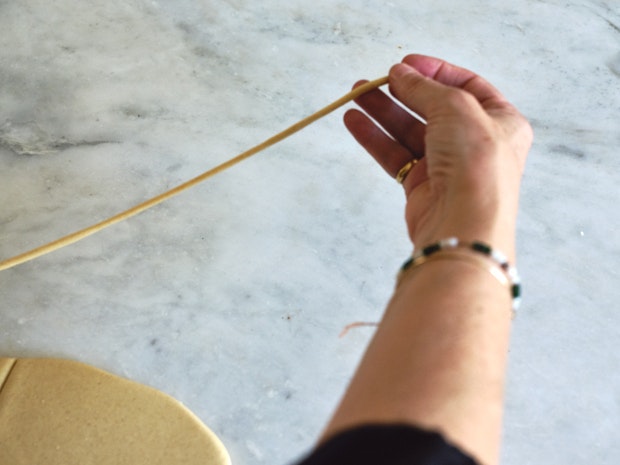
Pici: Sauce Pairings
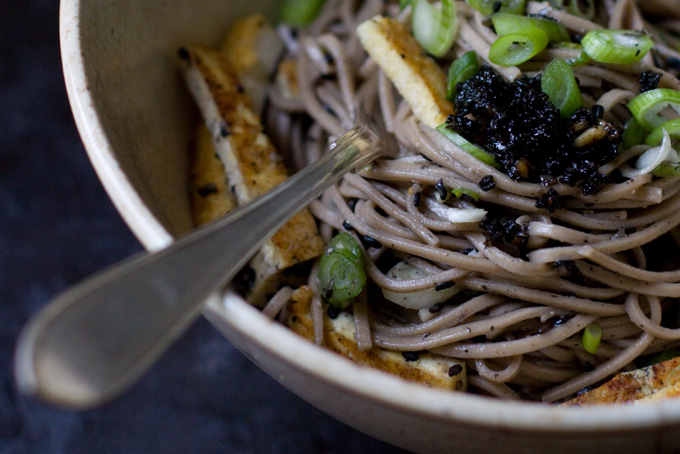
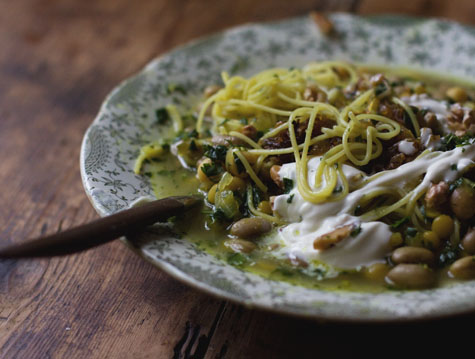
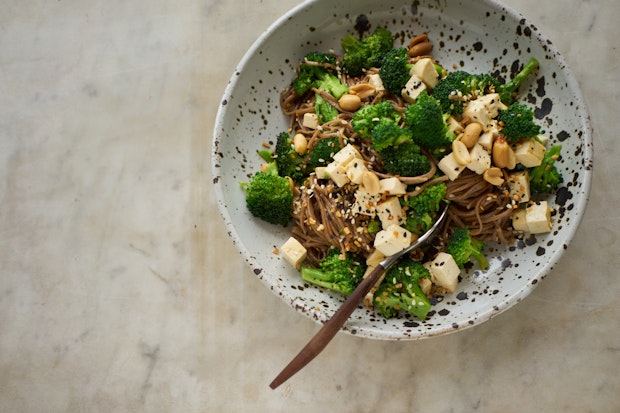
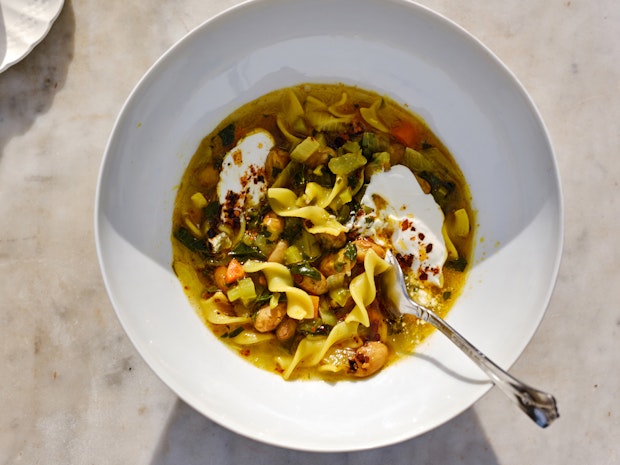
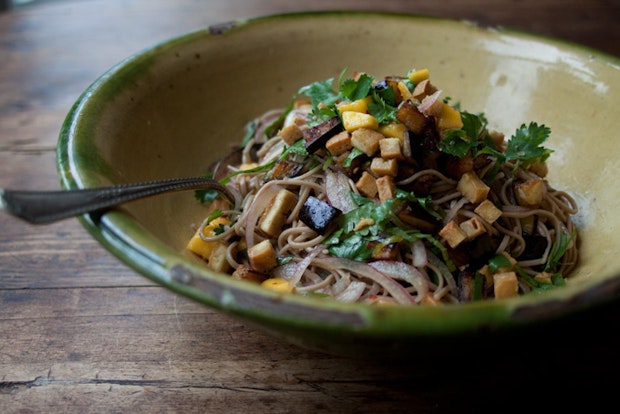
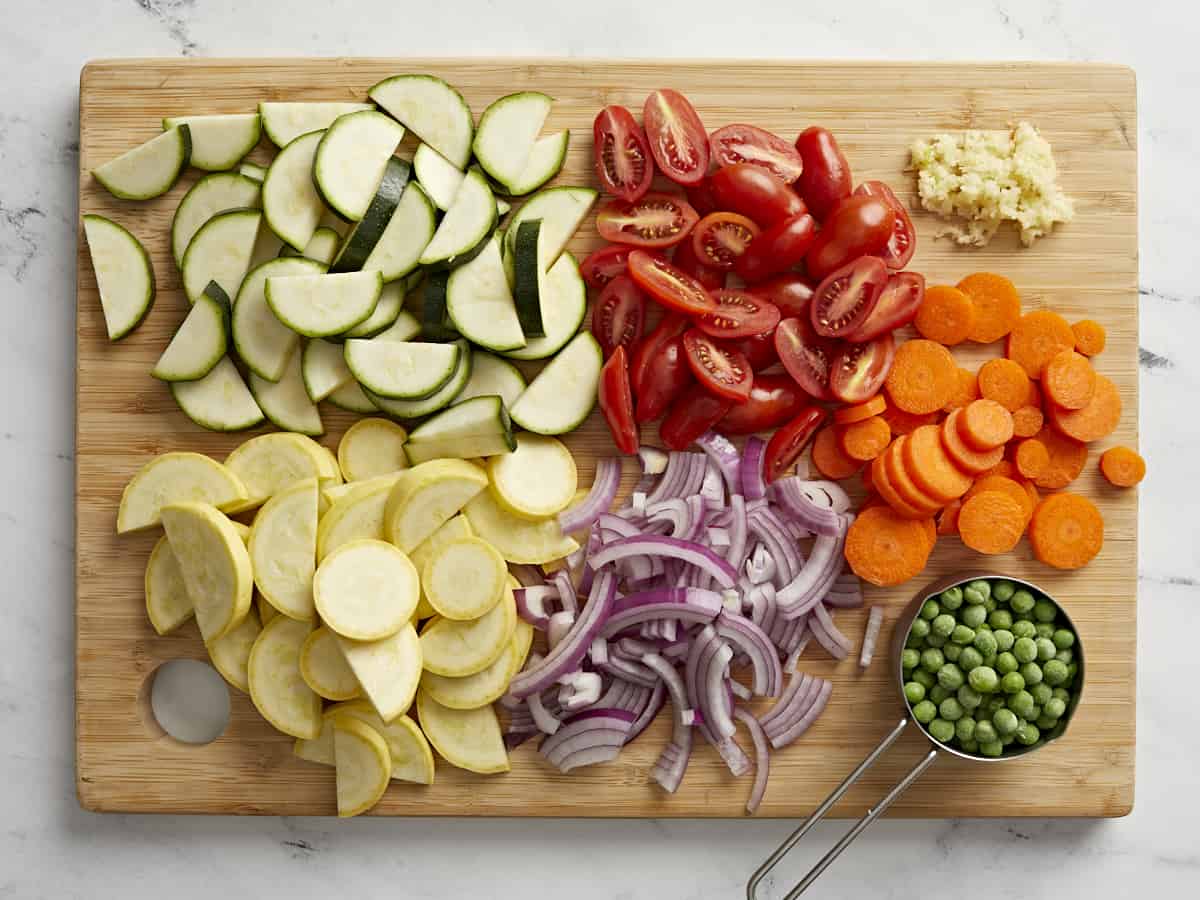
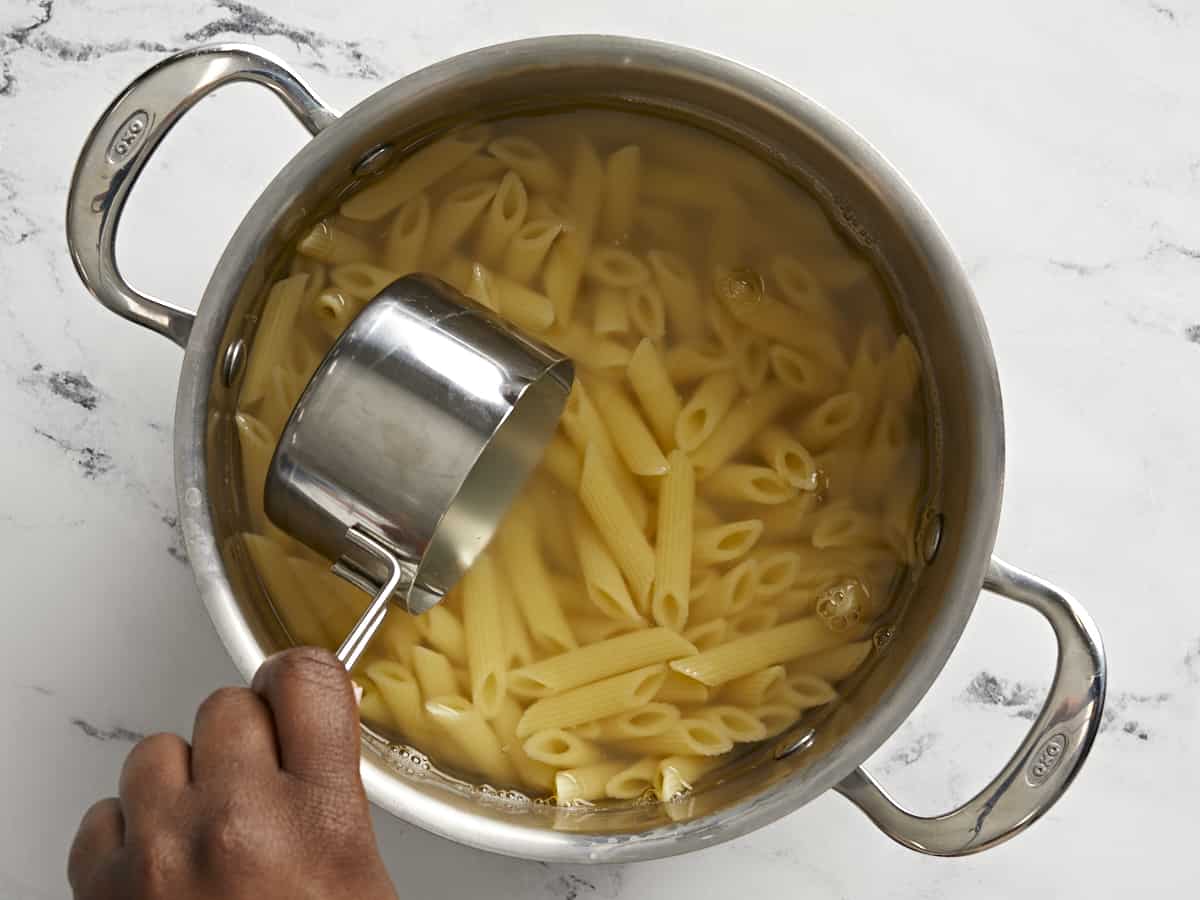
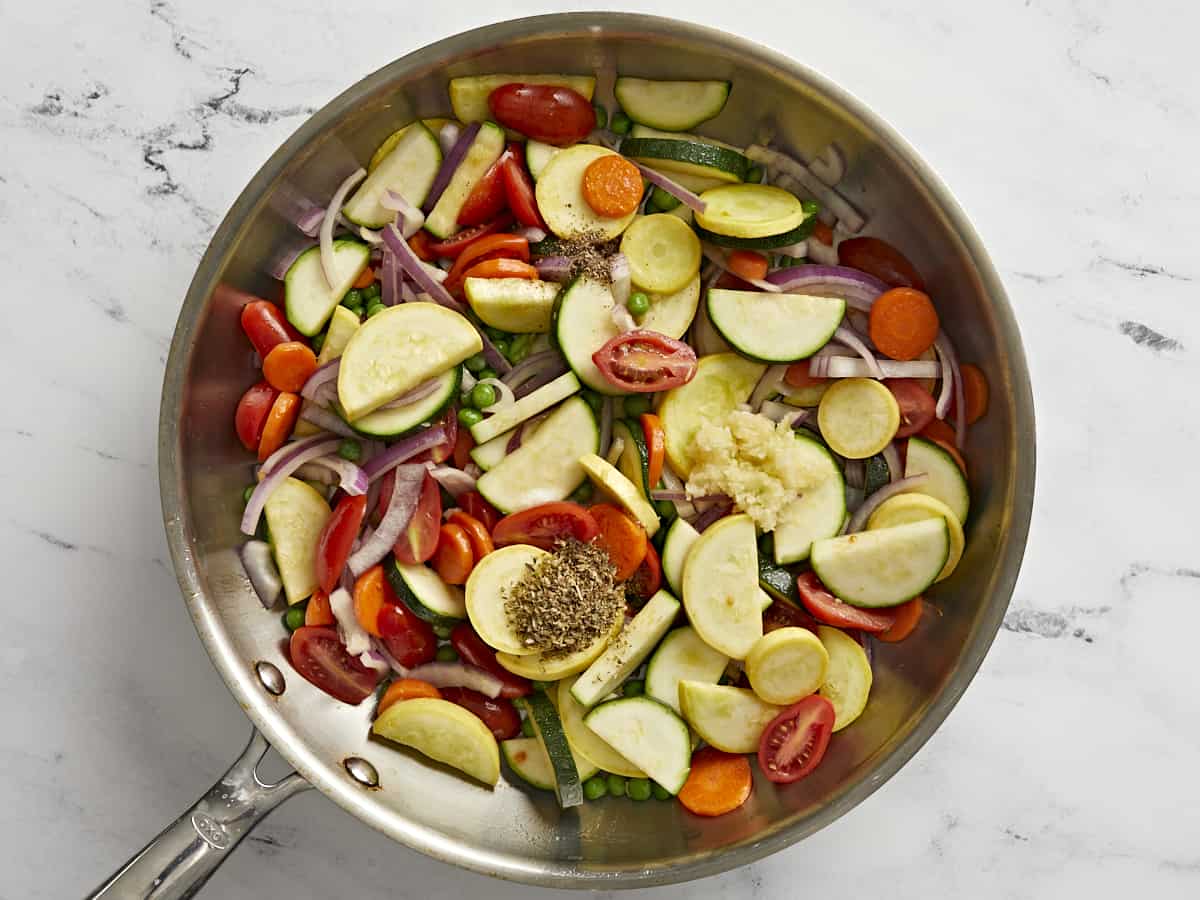
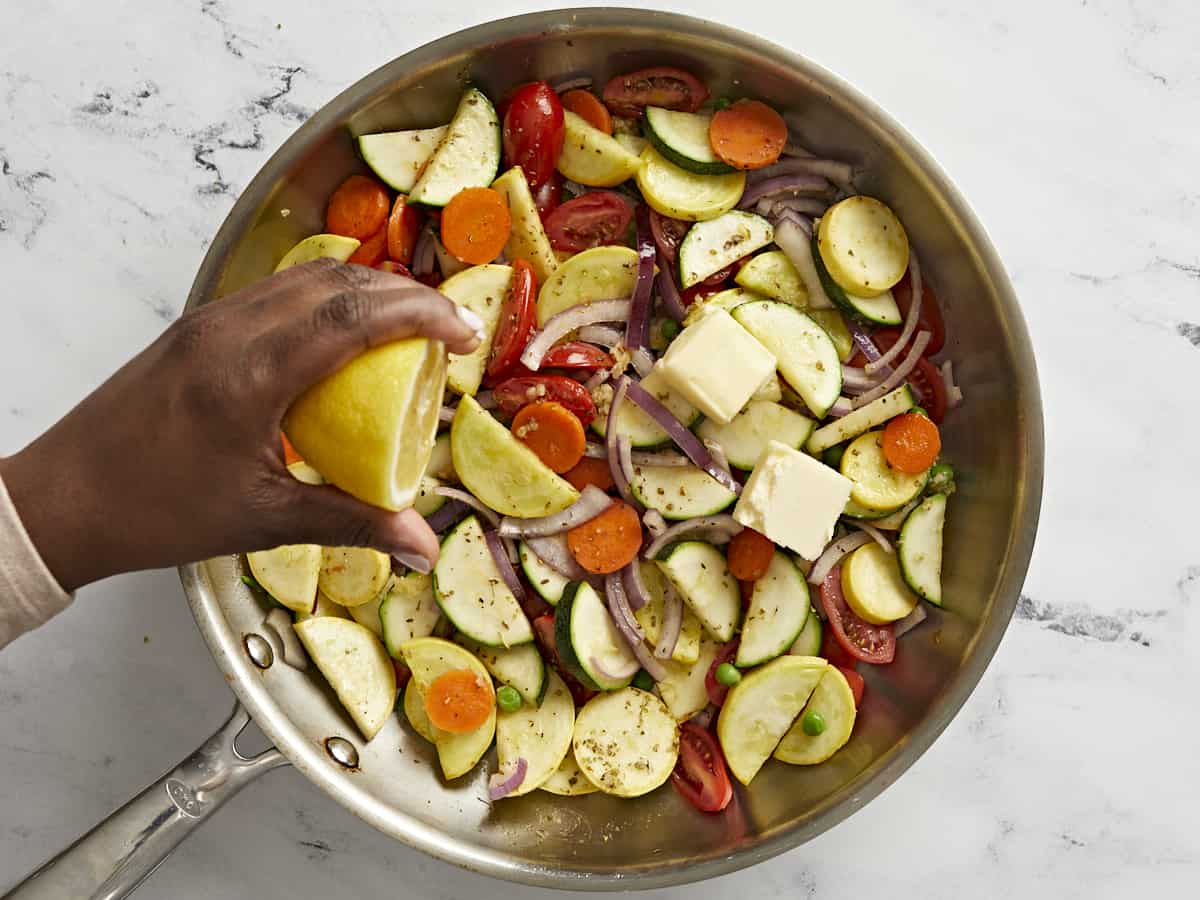
I love pici with this mushroom ragu. Especially in the winter and fall. You see it served traditionally with meaty ragu-style sauces and mushrooms. I don’t do the meat side of things, but lean in hard on the mushrooms. In summer, I’ll lighten things up a bit with whatever looks great and in-season at the farmers’ market. Here are a few recent pici sauce pairings we’ve enjoyed. I’ll add more over time. Some, not at all traditional, but super tasty nonetheless!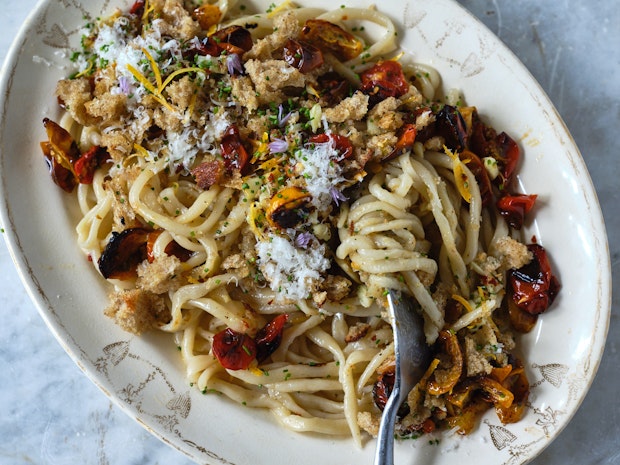
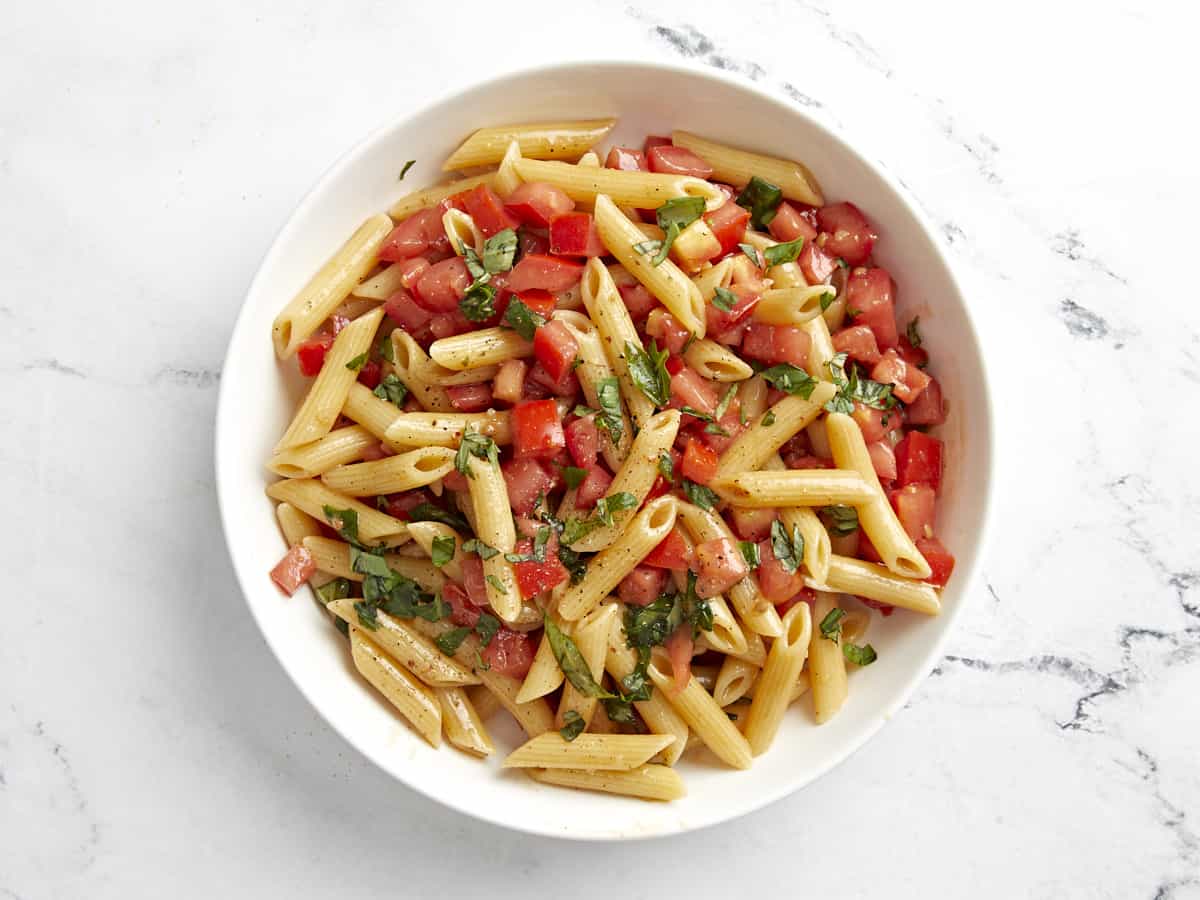
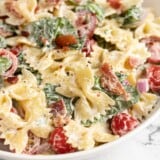
- Pici with Oven-Roasted Cherry Tomatoes and Breadcrumbs (pictured above): Toss halved cherry tomatoes in some olive oil and roast in a 375F oven until blistered. Rip some good sourdough into tiny shreds, toss with some garlic and olive oil, and bake until crisp as well (while you’re doing the tomatoes) – crush these with something heavy, and make them your breadcrumbs. Gently saute 4-5 cloves of chopped garlic in 3 tablespoons of olive oil over medium low heat in your largest skillet. Just to soften, not to brown. Remove from heat and stir in some crushed red pepper flakes, good black pepper, and zest of one lemon. Cook the pici until tender and add to skillet along with a ladle full of pasta water and some freshly grated pecorino or Parmesan cheese. Stir until well coated and then turn out onto a platter. Top with roasted tomatoes, breadcrumbs, and whatever herbs you have – in this case I snipped some chives from the garden.
- Pici with Chopped Mushrooms and So Much Garlic: Sauté sliced mushrooms in a skillet over high heat in some olive oil + butter and salt. Once deeply browned stir in 5 cloves of chopped garlic and remove from heat after 20 seconds or so. Remove just the peel from a (Meyer) lemon and slice into thin slivers, add this to the hot pan with tons of freshly ground black pepper, and a handful of freshly grated Pecorino cheese. Add pici to skillet along with a ladle of pasta water, stir well until pici is coated and serve topped with chives.
More Pasta Recipes
- Homemade Pasta
- Pappardelle
- Cavatelli
- Beet Fettuccine
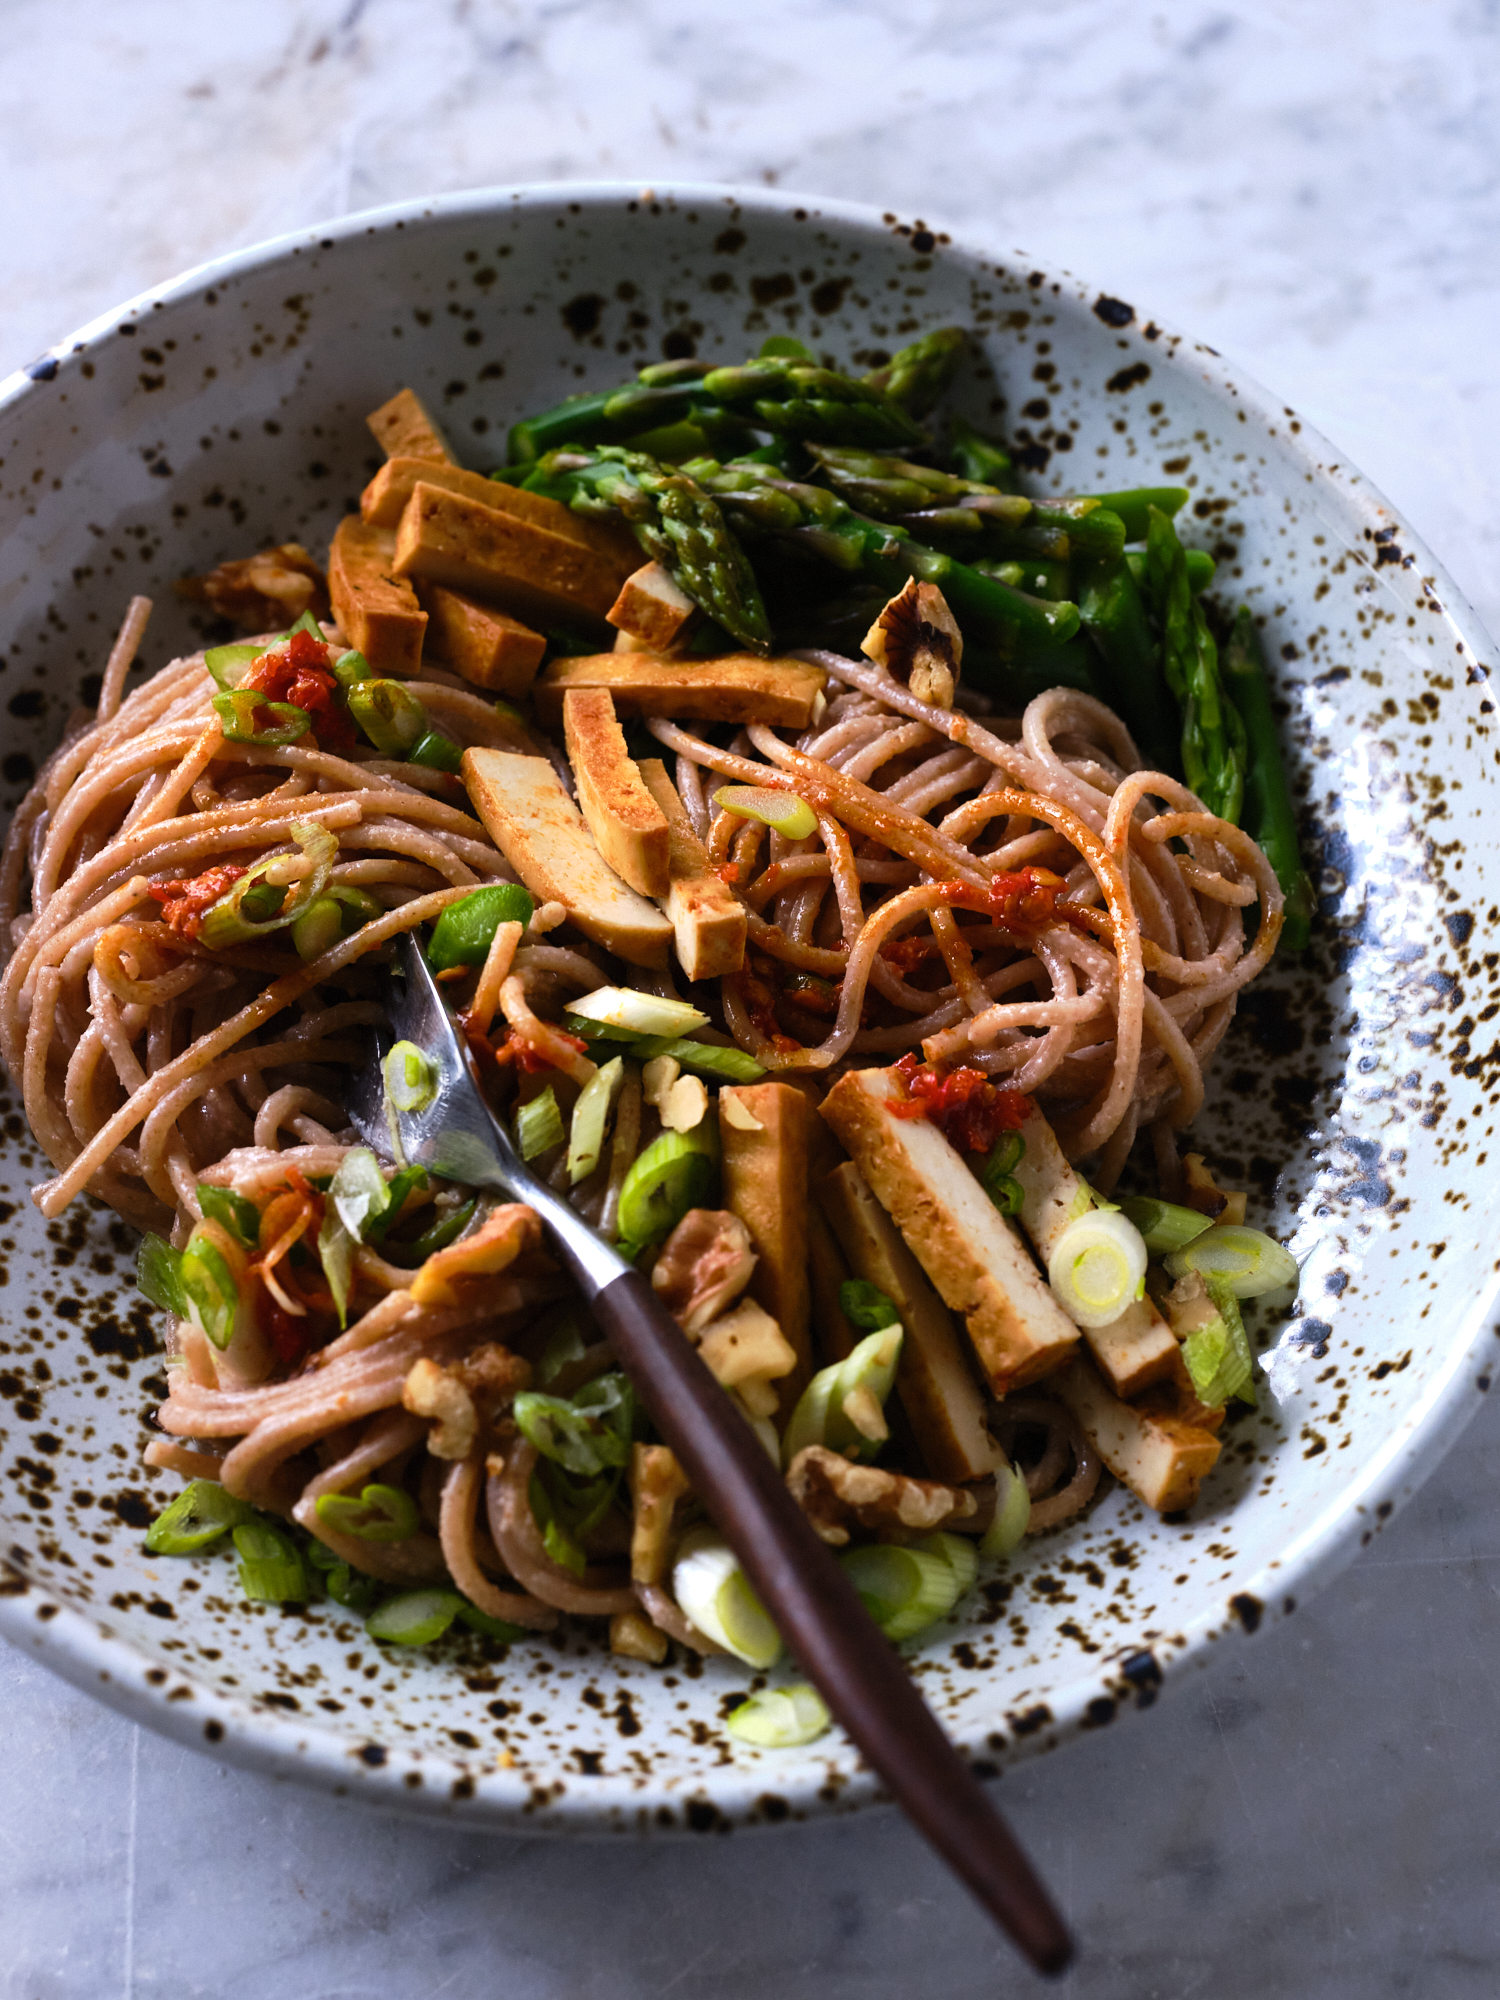
- Pasta with Crushed Creamy Walnut Sauce
- Stuffed Shells
- Mushroom Lasagna
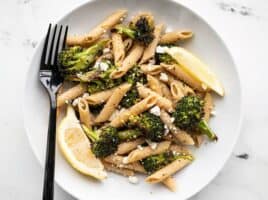
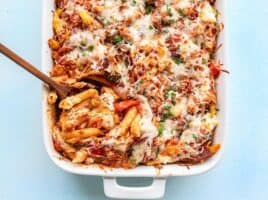
- more pasta recipes
Favorite Pasta Sauces
Other Favorite Italian Recipes
Continue reading Hand-Rolled Pici Pasta on 101 Cookbooks