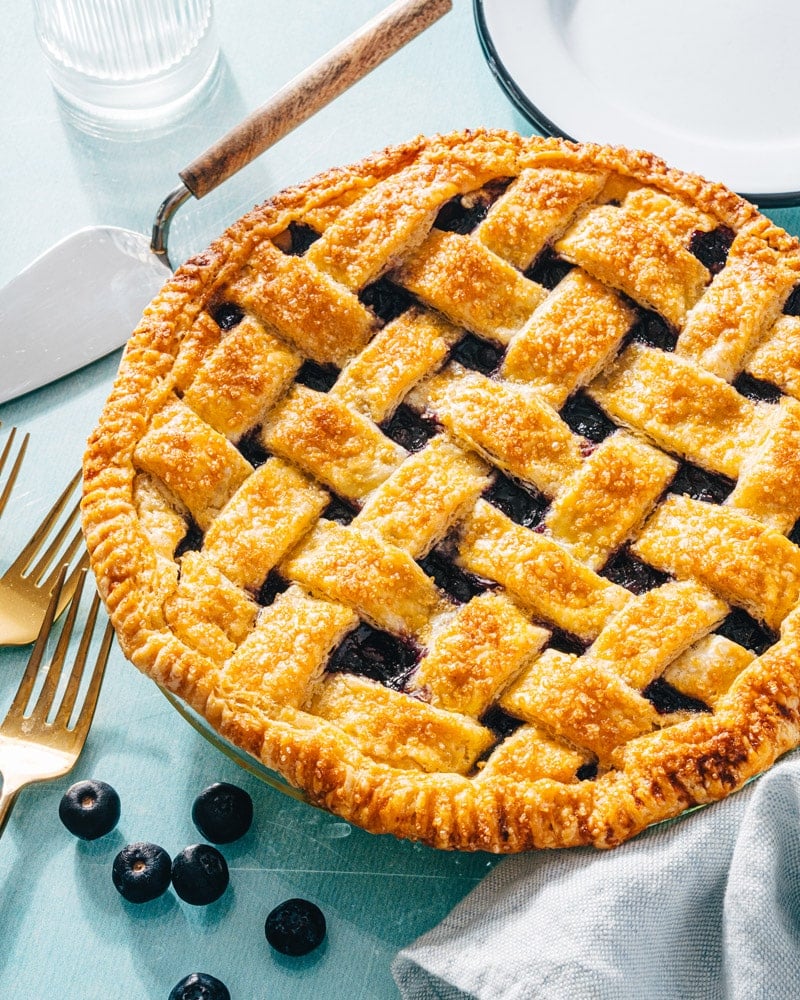
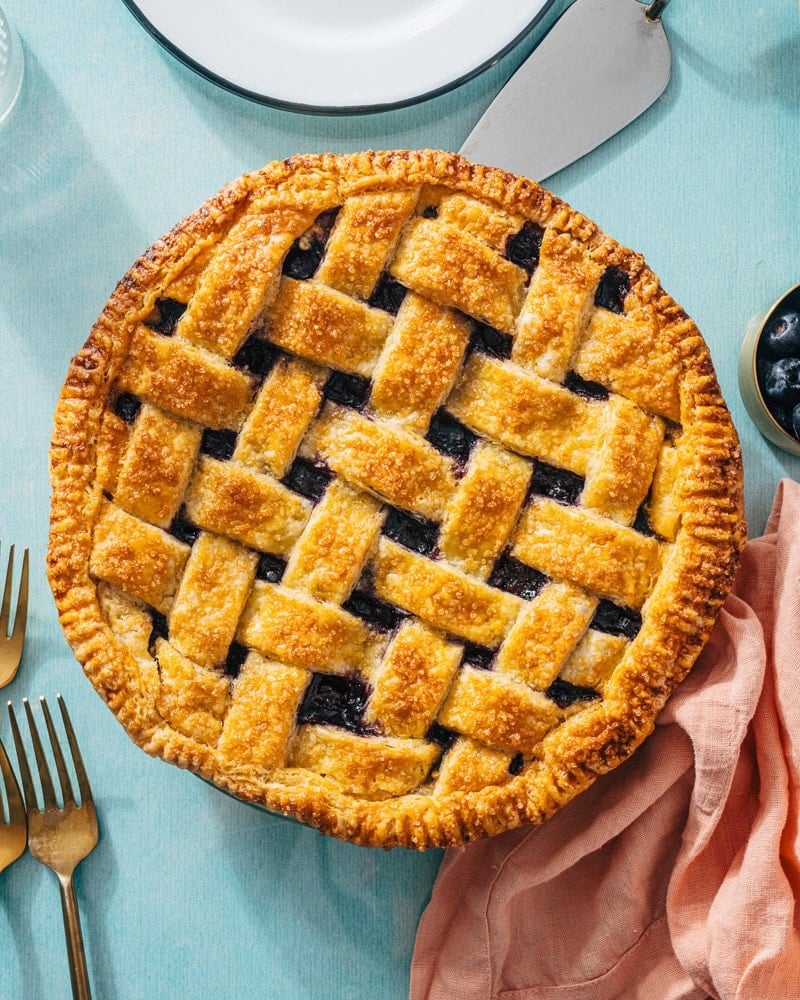
This blueberry pie recipe stars a luscious berry filling encased in a golden lattice pastry crust. Here are the tricks to the best pie!

Is there a more quintessential summer dessert than blueberry pie? It tastes of backyard cookouts and the 4th of July, Grandma’s bake sale and lazy summer afternoons. There’s no better way to use a load of fresh berries than baking them into this classic pastry. This blueberry pie recipe is something special: it’s got a luscious, thick berry filling and a golden, buttery lattice-topped crust. Here’s how to make a fool-proof blueberry pie that will make everyone come running!
Ingredients in this blueberry pie recipe
Blueberry pie is as classic as they come here in the USA, though of course a good old apple or cherry pie come close! This one is a celebration of summer, with a thick sweet filling that’s best for eating on the back porch with a little melty vanilla ice cream. Like most pies, it’s a bit of a project: but it’s worth every minute. We’ve fool-proofed this recipe so you don’t end up with a gooey mess: it comes out perfectly golden with a thick filling every time. Here’s what you’ll need:
- 1 recipe Homemade Pie Crust (2 crusts, or your favorite recipe)
- Fresh blueberries
- Sugar
- Cornstarch
- Maple syrup
- Lemon juice and zest
- Cinnamon
- Vanilla extract
- Salt
- Egg, for egg wash
- Turbinado sugar, for sprinkling

The trick to a fool-proof blueberry pie
Ever baked a pie, only to end up with a runny filling that collapses when you cut it? Fruit pie fillings can vary based on the ripeness of the specific fruit you use. Blueberries are approximately 85% water, which is activated when the fruit is heated. We had a few test pies that come out totally runny, so we came up with a solution: pre-cooking the filling! This way, it comes out perfectly set every time. Here are a few tips:
- Pre-cook the filling with cornstarch for 5 to 6 minutes. Cooking the filling gives it time to interact with the cornstarch, making a thick and gooey filling. Cook it just long enough so that the cornstarch is activated, but not enough that the fruit texture starts to disintegrate.
- Allow the filling to cool while making the crust. If the filling is too hot, it can heat up the top crust of the pie which can cause the butter to melt. Making the filling first allows it time to cool.
- Fully cool the pie for 2 hours, then refrigerate before serving. This is the most important step, which allows the filling to fully set after baking.
Can you use frozen blueberries?
Want to use frozen berries instead of fresh? Pies are the perfect place to do it! Frozen blueberries can bleed into the batter of baked goods like muffins and breads, making them turn purple in color! But frozen berries work wonderfully here, especially since the filling is cooked down before baking.
Tips for homemade pie crust
What makes this blueberry pie? The homemade pie crust recipe! It’s much tastier than purchased dough, and an important baking skill that’s fun to master. Here are a few tips and tricks that make this a stand-out pie crust:
- Use Irish butter if you can find it. Irish butter has a higher fat content and lower water than American butter. It gives baked goods a richer flavor and flakier texture, which is the absolute best for pie crust! The most popular brand of Irish butter is Kerrygold, which is easy to find at most grocery stores.
- Keeping pie crust cold is essential. Add ice cold water to the crust when making the dough to make sure the butter doesn’t melt. Then, refrigerate the pie crust for 1 hour before rolling it out. This allows the gluten to relax and the fat to firm up, which makes an extra flaky and helps it hold its shape.
- When rolling, pick up the dough and rotate it occasionally so it doesn’t stick. Liberally flour the work surface and the rolling pin. Roll as perfect of a circle as possible. If the starts to stick, dust with a bit more flour and rotate the dough.
- Weave the lattice. The lattice top makes the pie! If you’ve never woven a lattice pattern before, use this video tutorial to guide you.
Use an egg wash!
For the best golden finish to this blueberry pie crust, we recommend an egg wash. It makes a golden laminated exterior and gives a nice golden sheen to the surface. Whisk together 1 egg, then brush it onto the exposed crust with a pastry brush. Then sprinkle with crunchy turbinado sugar for a glittery finished look.
Serving blueberry pie
The most important thing to remember about blueberry pie? Make sure to cool it for at least 2 hours, then refrigerate until serving! This helps to firm up the filling so that you can cut a perfect slice.
Once you’re ready to serve, allow the pie to stand for about 20 to 30 minutes so that it warms back to room temperature (unless you enjoy cold pie!). It’s great with a dollop of homemade whipped cream or vanilla ice cream.
More pie recipes
Love baking up pies? Here are some of our favorite classic pie recipes:
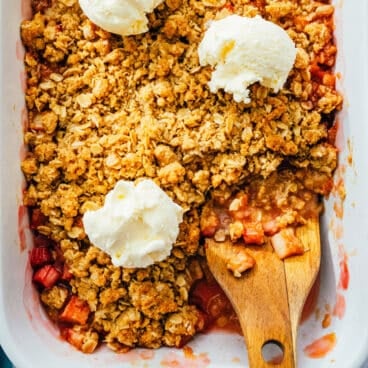
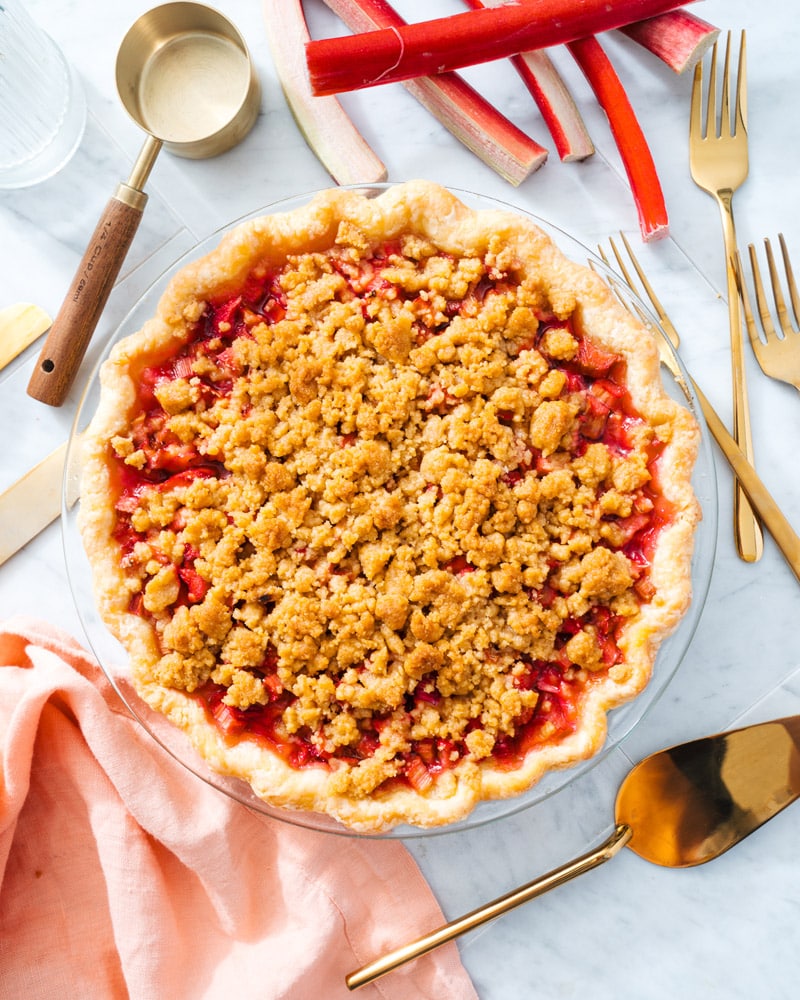
- Try Strawberry Rhubarb Pie
- Go for Classic Rhubarb Pie
- Bake up Fresh Strawberry Pie
- Opt for savory with Amazing Tomato Pie


This blueberry pie recipe is…
Vegetarian.
Print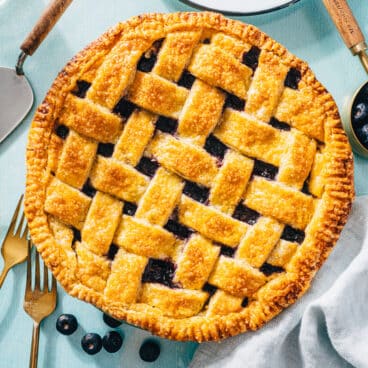
Blueberry Pie Recipe
-
 Prep Time: 1 hour
 -
Cook Time: 1 hour
-
Total Time: 2 hours
-
 Yield: 1 pie (8 slices)
Description
This blueberry pie recipe stars a luscious berry filling encased in a golden lattice pastry crust. Here are the tricks to the best pie!
Ingredients
- 1 recipe Homemade Pie Crust (2 crusts; or use your favorite recipe)
- 6 cups fresh blueberries (or substitute frozen)
- ¾ cup plus 2 tablespoons granulated sugar
- ¼ cup cornstarch
- 2 tablespoons maple syrup
- 2 tablespoons lemon juice
- 2 teaspoon lemon zest
- ½ teaspoon cinnamon
- ½ teaspoon vanilla extract
- ¼ teaspoon fine salt
- 1 egg, for egg wash
- Turbinado sugar, for sprinkling
Instructions
- Make the Homemade Pie Crust. Chill the dough for 1 hour (or up to 24 hours).
- Meanwhile, stir together the blueberries, granulated sugar, cornstarch, maple syrup, lemon juice, lemon zest, cinnamon, vanilla extract, and salt in a saucepan and heat over medium heat for 4 to 5 minutes, stirring frequently, until the sauce is thick. Transfer the blueberries and sauce to a bowl and cool at least 30 minutes, until the crust is ready.
- Preheat the oven to 425°F. Place a rack in the lower third of the oven with a rimmed baking sheet covered in foil to preheat.
- Grease a 9” standard pie pan.
- Dust flour over a clean work surface. (Or if you have a pastry cloth, set it up and dust it with flour.) Dust a rolling pin in flour. Place one ball of dough on the work surface and gently roll it evenly from the center to the edge, until the dough is about ⅛-inch thick. Pick up the dough and rotate it occasionally as you work, keeping as perfect of a circle as possible and making sure it’s not sticking to the work surface. If it’s sticking, dust with a bit more flour. Roll the dough to a 12-inch wide circle (which corresponds to the 9-inch circle on a pastry cloth). Visible chunks of butter are expected: that’s what makes it flaky!
- Gently drape the dough over then rolling pin, then transfer it the prepared pie pan. Gently center and push the pastry towards the bottom of the pan.
- Allow the 1-inch of overhanging dough to drape over the edge. Fill the dough with the blueberries and sauce and place the entire pan in the freezer while rolling out the next dough.
- Roll out the second dough ball. Use a pizza cutter to cut the dough into 1 inch strips. Remove the pie from the freezer and weave a lattice pattern using the strips (see this video for a demonstration). Use kitchen scissors to cut off excess from the strips, then fold the draped dough over the top and crimp the edges with a fork.
- Whisk the egg in a small bowl, then brush the top of the lattice and crust with the egg wash using a pastry brush. Sprinkle generously with turbinado sugar.
- Place the pie directly onto the preheated baking sheet lined with foil. Bake immediately for 15 minutes (at 425°F). Leaving the pie in the oven, reduce the oven temperature to 375°F and bake for 60 minutes, until browned and the filling has small bubbles. Check at 40 minutes and if necessary, add a foil tent if the crust is already very golden brown.
- Cool at least 2 hours, then refrigerate until ready to serve. Bring to room temperature before serving.
 Category: Dessert
 Method: Baked
 Cuisine: American
- Diet: Vegetarian
Keywords: Blueberry pie, blueberry pie recipe