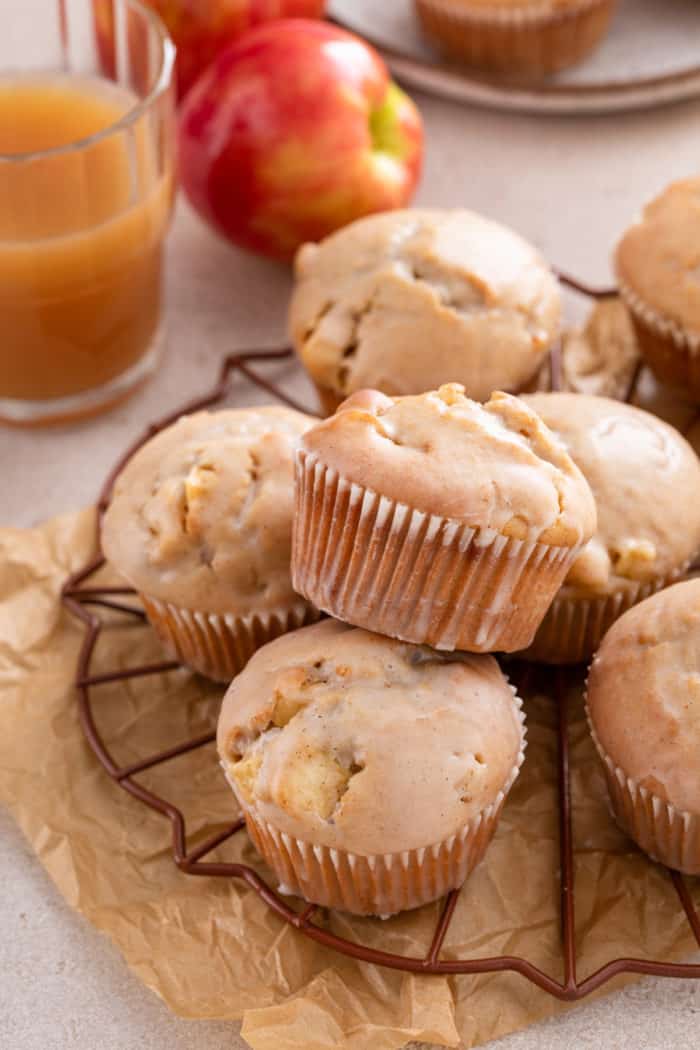
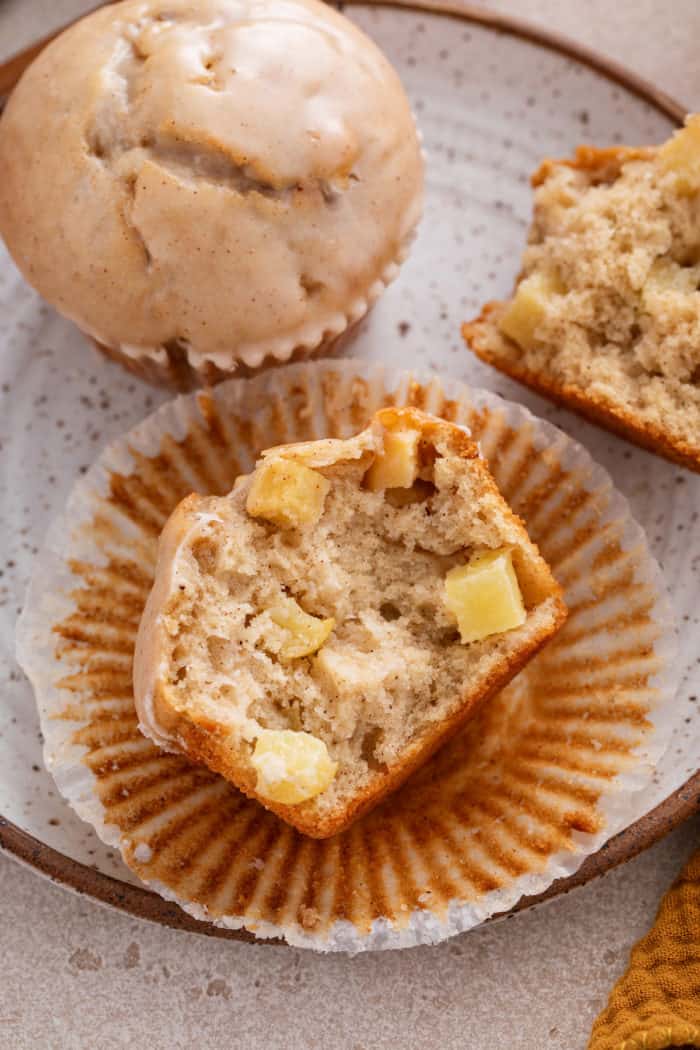
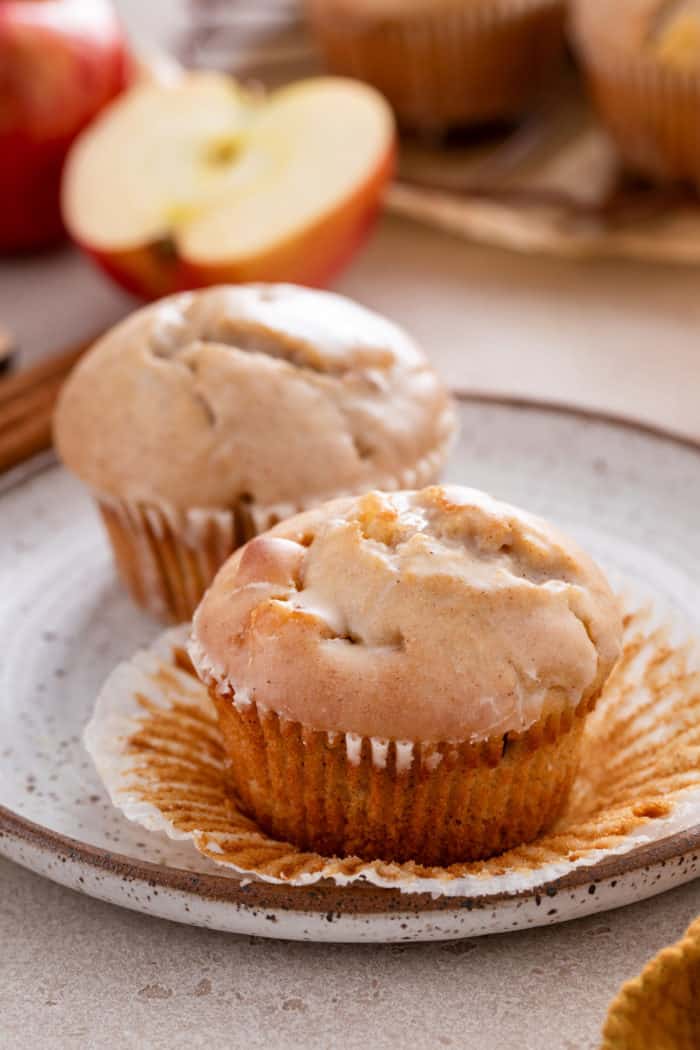
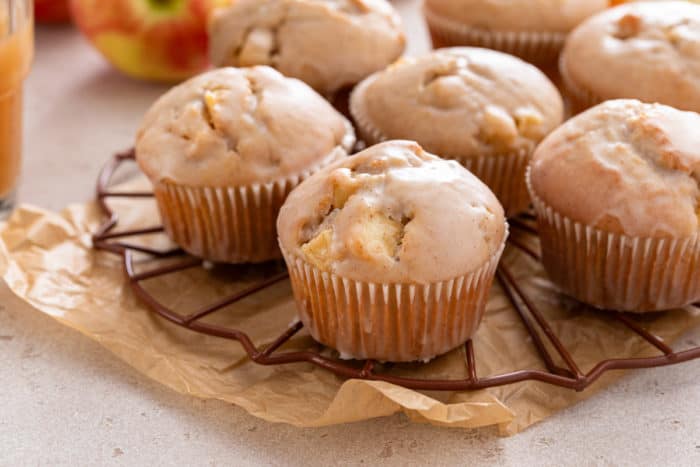
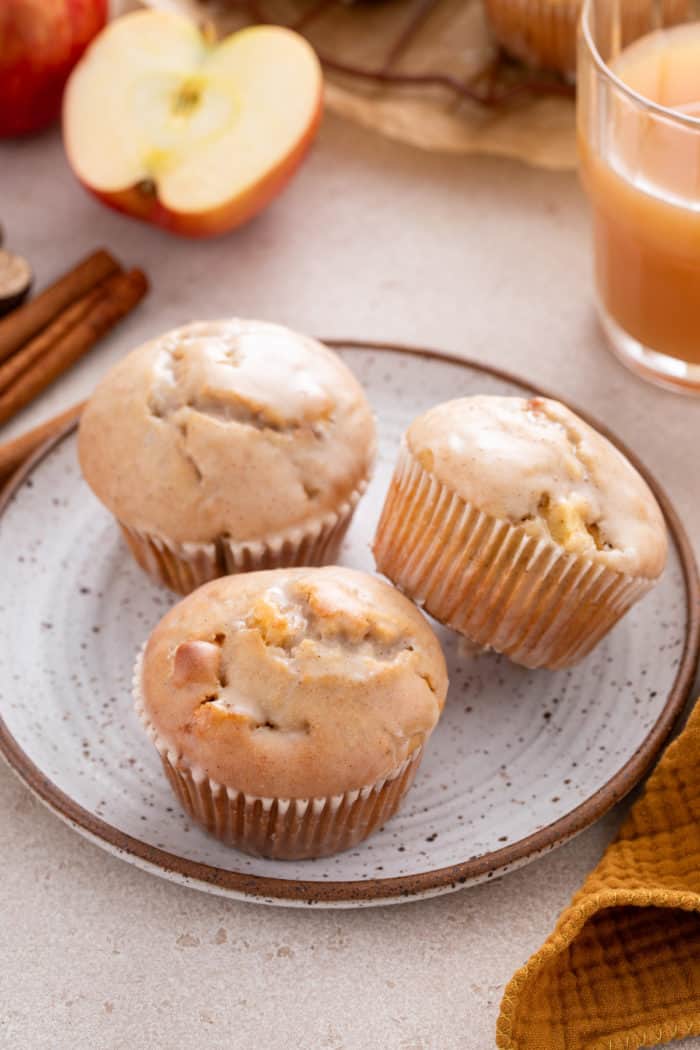
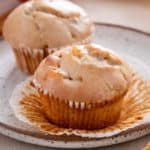
Flavored with rich apple cider and filled with diced apples and warm spices, these apple cider donut muffins are a special fall treat. Top them with the apple cider glaze for the perfect sweet finish.
One of the best parts of fall is taking a trip to the apple orchard.
I’m all about grabbing a few bags of crisp apples, a dozen freshly made apple cider donuts, and a jug of pressed apple cider.
And as much as I love making a big batch of spiced apple cider to enjoy while watching a movie, I also love taking some of that cider and recreating those orchard-fresh donuts with these apple cider donut muffins.
WHAT ARE DONUT MUFFINS?
Have you ever had a donut muffin before? I know we usually think of those as two separate breakfast treats, but magic happens when we combine them into one.
Imagine all of the deliciousness of a classic cake donut made just as easy as your favorite muffins.
Yes, you can use a donut pan to make baked donuts, but the one downside there is that you have to have a donut pan.
But when you make donut muffins, you can make them in your standard muffin pan – no special equipment needed!
I love my glazed donut muffins, but this time I decided to channel the flavors of the apple orchard and apple cider donuts and make these apple cider donut muffins.
HOW TO MAKE APPLE CIDER DONUT MUFFINS
These apple cider donut muffins have apple cider in the batter and glaze. When combined with diced apples in the donuts and plenty of warm spices, they are bursting with fall flavor in every bite.
Ingredients you’ll need
To make the donut muffins, you will need:
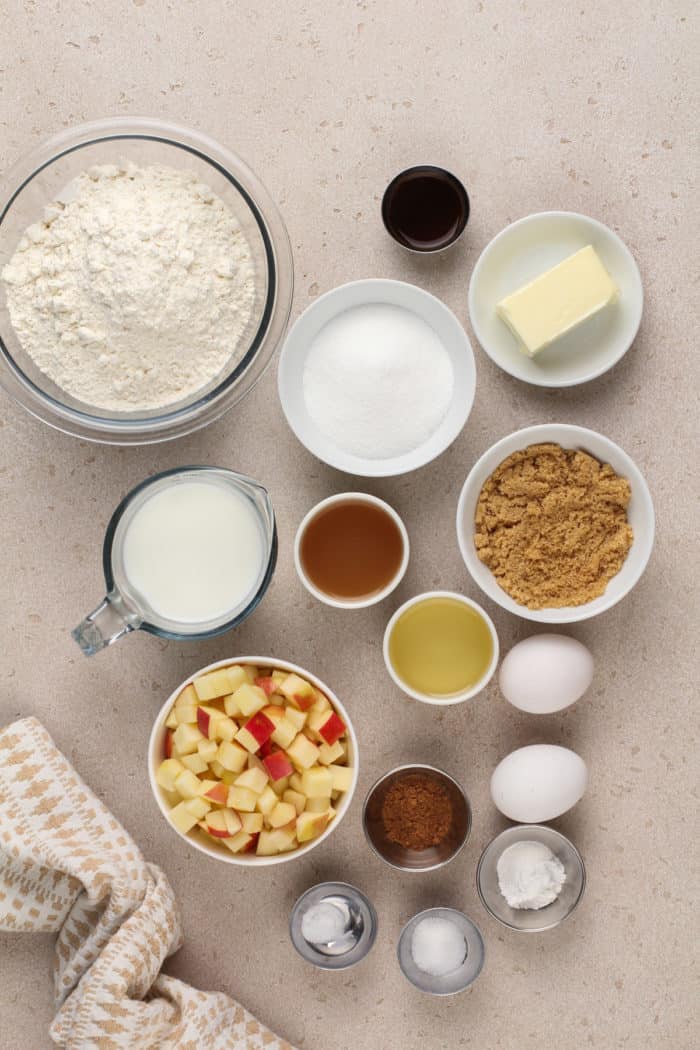
- ¼ cup unsalted butter, softened
- ¼ cup vegetable oil
- ½ cup granulated sugar
- ⅓ cup lightly packed light brown sugar
- 2 large eggs
- 1 teaspoon pure vanilla extract
- 2 ⅔ cups all-purpose flour
- 1 ½ teaspoons baking powder
- ¼ teaspoon baking soda
- 1 ½ teaspoons homemade apple pie spice
- ¾ teaspoon salt
- ¾ cup milk
- ¼ cup apple cider, at room temperature
- 1 cup diced Honey Crisp apples
I always love using my homemade apple pie spice. The combination of spices works perfectly in recipes like these apple cider donut muffins, apple hand pies, apple fritter bread, and so much more.
If you don’t have apple pie spice on hand, feel free to use ground cinnamon instead.
If you want to make these during a time of year when apple cider isn’t available, you can substitute unfiltered apple juice for a very similar flavor.
For the glaze, you will need:
- 3 tablespoons butter; melted
- 1 cup confectioners’ sugar; sifted
- ¼ teaspoon homemade apple pie spice
- 3 tablespoons apple cider, at room temperature
Again, if necessary, you can substitute ground cinnamon for the apple pie spice and unfiltered apple juice for the apple cider.
Making this recipe
This recipe makes 12 donut muffins, so begin by lining a standard 12-cup muffin tin with paper liners.
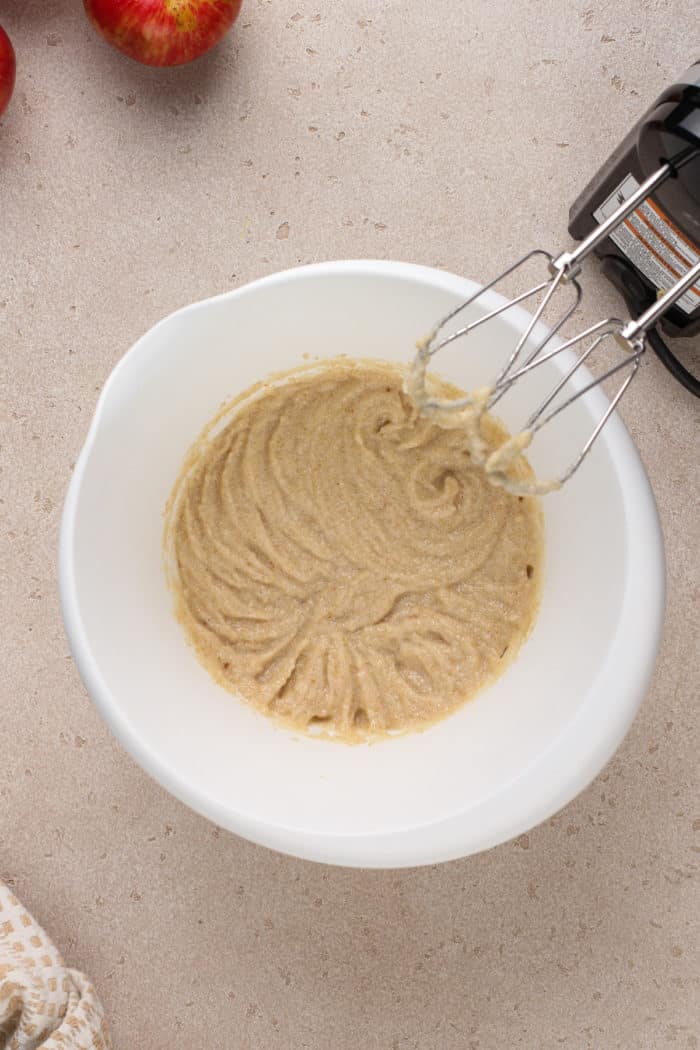
To start the batter, cream together the butter, vegetable oil, and sugars until smooth. Add the eggs and vanilla and mix to combine.
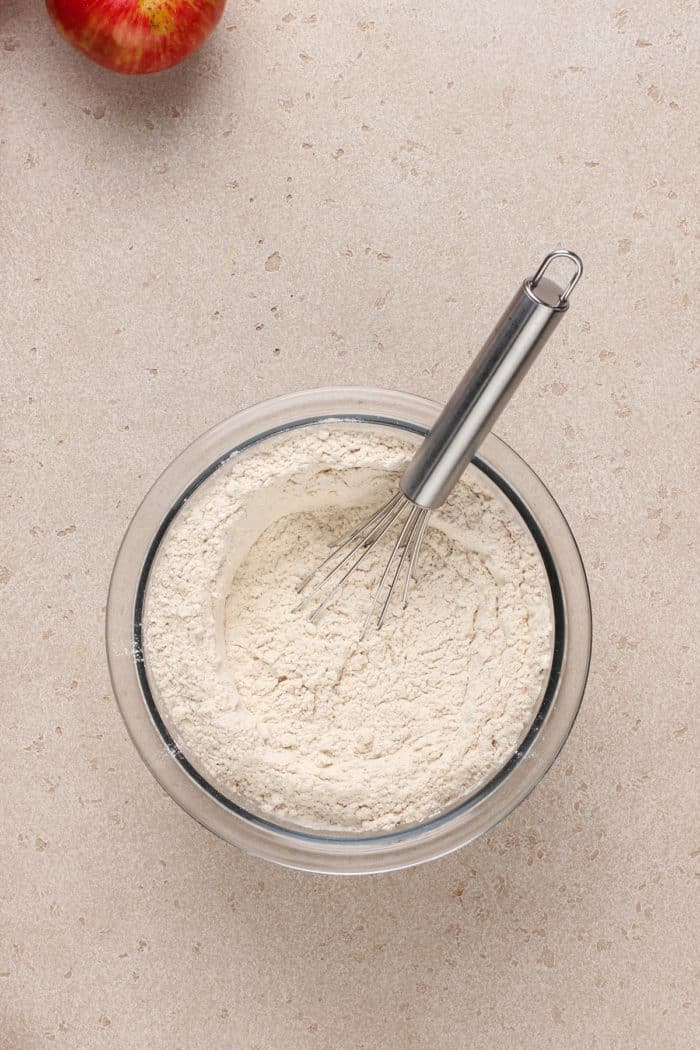
In a separate bowl, whisk together the dry ingredients: flour, baking powder, baking soda, apple pie spice, and salt.
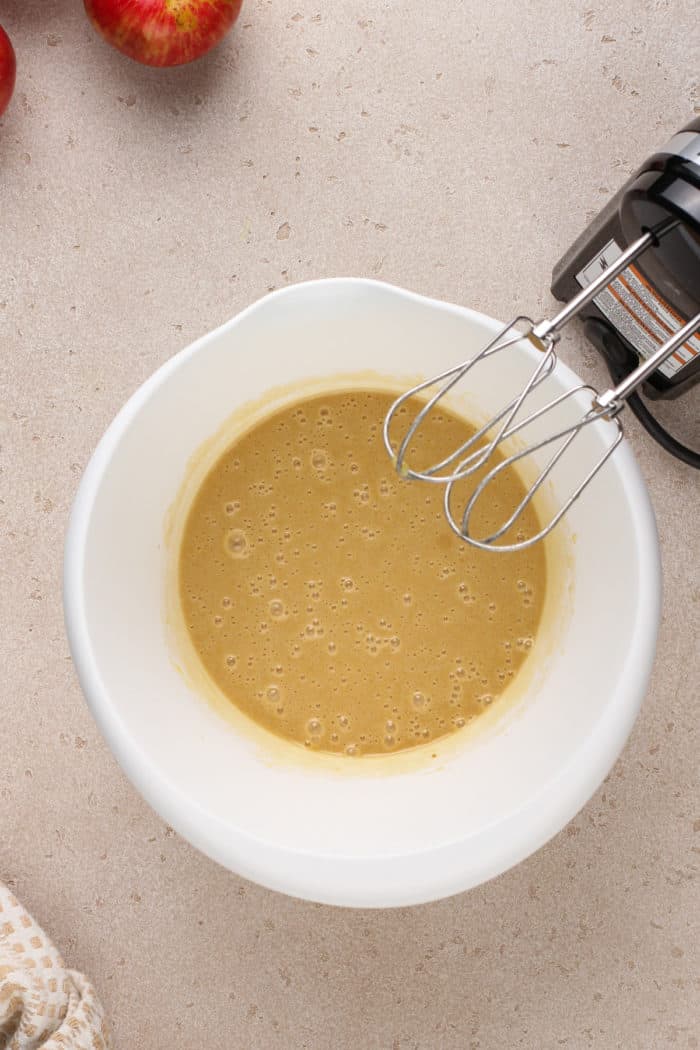
In a measuring cup, combine the milk with the apple cider.
Add half of the flour mixture to the butter mixture, then add the milk and cider, then end with the rest of the flour mixture. Make sure you combine well after each addition.

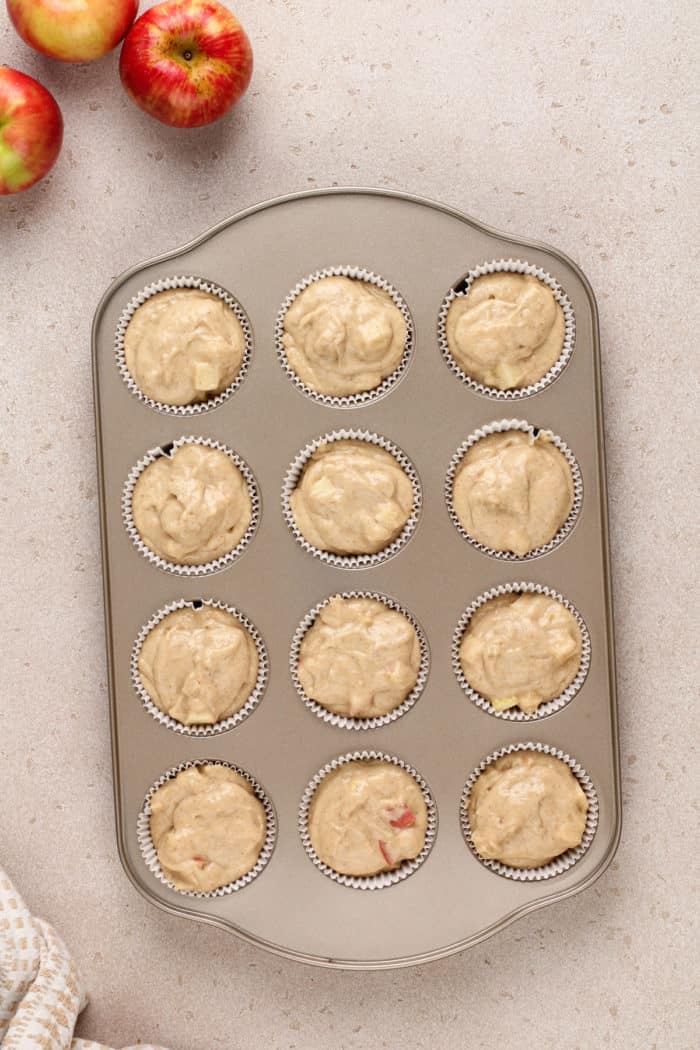
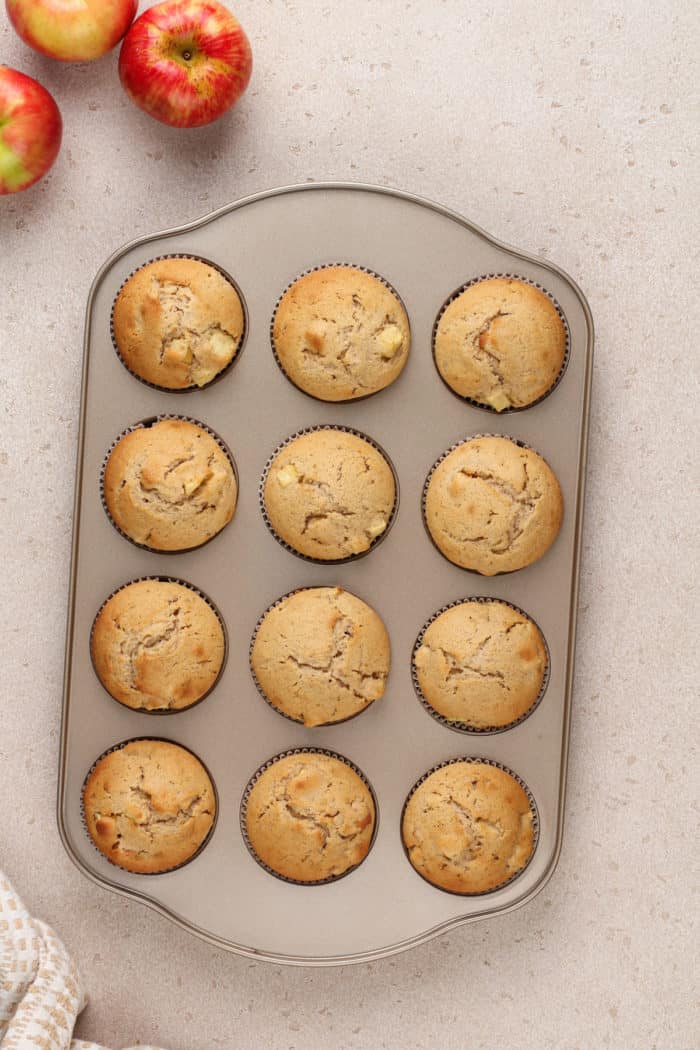
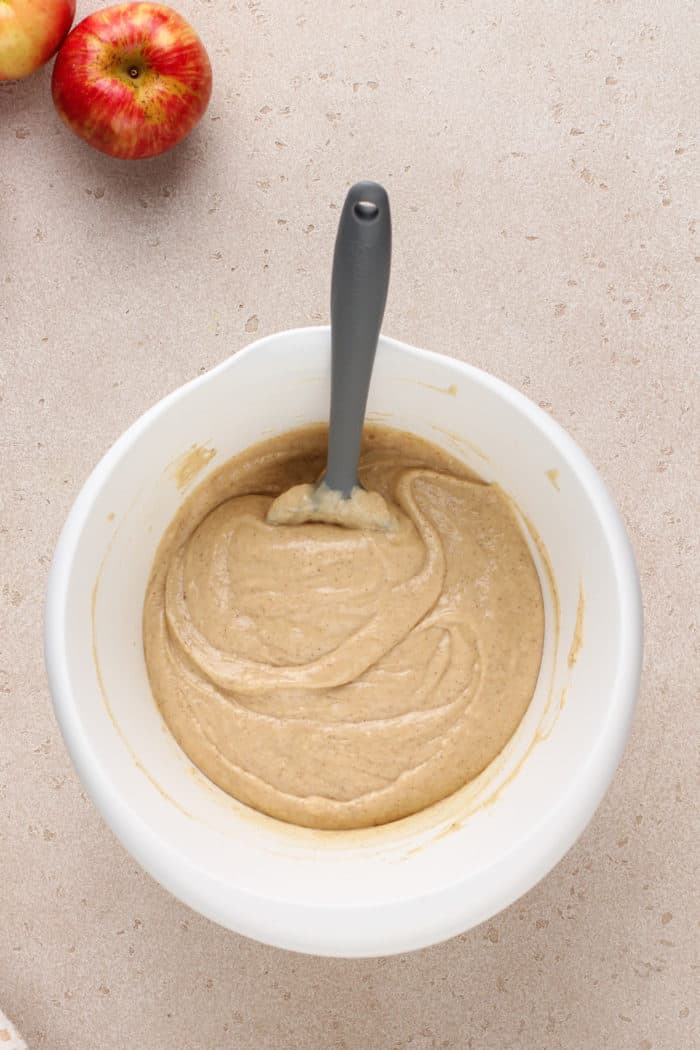
Fold in the diced apples, the divide the batter into the prepared muffin cups. The cups will be nearly full.
Bake for 15-17 minutes. The donut muffins are done when the tops are domed and golden and a toothpick inserted in the center comes out clean.
Let the muffins cool for 15-20 minutes, then whisk together the glaze.
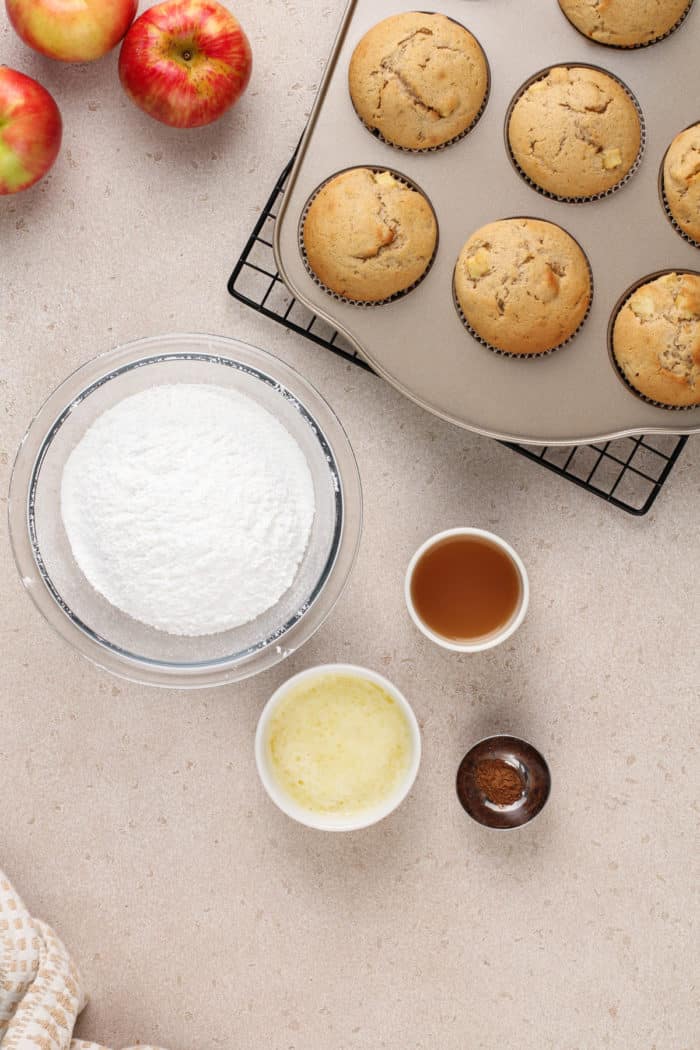

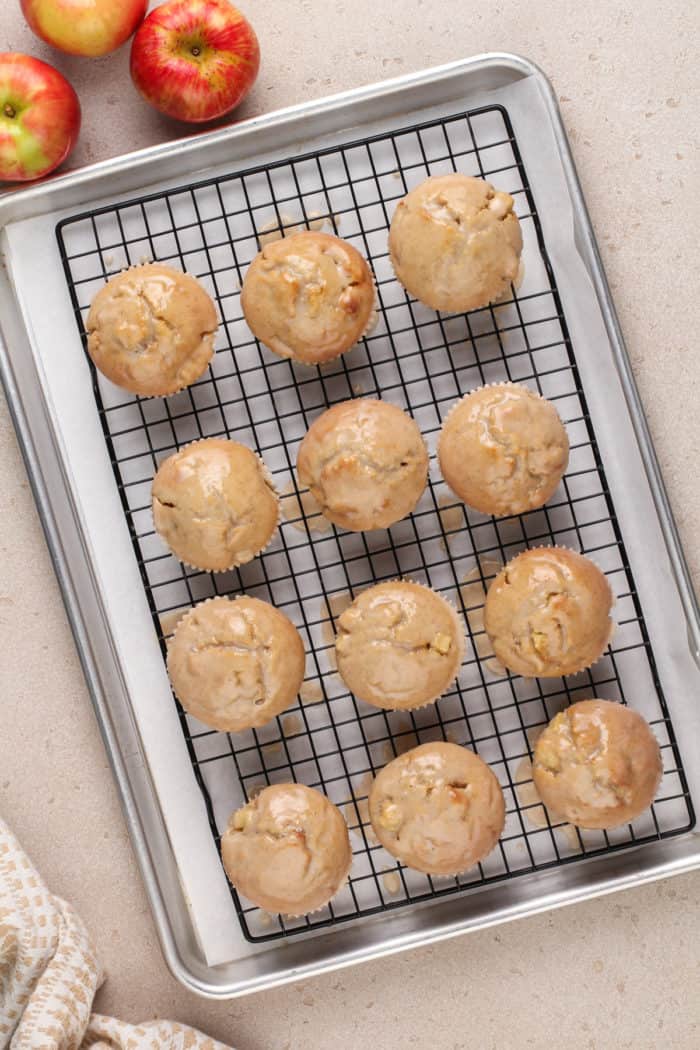
In a bowl, whisk together the glaze ingredients until smooth. Place a piece of parchment paper or a rimmed baking sheet under the cooling rack the muffins are on – this will help catch any glaze that drips off of the muffins.
Dip the muffin tops in the glaze, then set them back on the rack to allow the glaze to harden. If you have enough glaze left, you could even dip them twice for an extra-thick glaze.
HELPFUL RESOURCES
- Before getting started, make sure you know how to measure flour correctly. You can also use this measuring method for the powdered sugar.
- If you’re out of brown sugar, try whipping up a quick brown sugar substitute. You can also learn how to soften brown sugar if yours has hardened and save yourself a trip to the grocery store.
- Don’t stress if you ran out of powdered sugar; learn how to make powdered sugar for an easy substitute.
- Grab a few of my tips for how to soften butter quickly if you forgot to set yours out to soften ahead of time.
STORAGE
Store the apple cider donut muffins in an airtight container at room temperature for up to 3 days. Because of the fresh apple in the muffins, they will get more moist as the days go on, so the glaze may start to soak into the tops of the muffins.
If you would like to make these donut muffins ahead of time and freeze them, I recommend freezing them before they are glazed. Place them in a zip-top freezer bag and freeze for up to a month. Thaw at room temperature before glazing.
Apple Cider Donuts
Equipment
Ingredients
- ¼ cup unsalted butter softened
- ¼ cup vegetable oil
- ½ cup granulated sugar
- ⅓ cup lightly packed light brown sugar
- 2 large eggs
- 1 teaspoon pure vanilla extract
- 2 ⅔ cups all-purpose flour
- 1 ½ teaspoons baking powder
- ¼ teaspoon baking soda
- 1 ½ teaspoons apple pie spice
- ¾ teaspoon salt
- ¾ cup milk
- ¼ cup apple cider at room temperature
- 1 cup diced Honey Crisp apples
For the Glaze
- 3 tablespoons butter; melted
- 1 cup confectioners’ sugar; sifted
- ¼ teaspoon apple pie spice
- 3 tablespoons apple cider at room temperature
Instructions
- Preheat the oven to 425°F. Lightly grease a standard muffin tin, or line with 12 paper muffin cups.
- In the bowl of a stand mixer fitted with a paddle attachment or in a large mixing bowl with an electric mixer, cream together the butter, vegetable oil, and sugars until smooth. Add the eggs and vanilla, beating to combine.
- In a medium bowl, combine the flour, baking powder, baking soda, apple pie spice and salt. In a glass measuring cup, combine the milk and apple cider. Stir the flour mixture into the butter mixture alternately with the milk/cider, beginning and ending with the flour and making sure everything is thoroughly combined. Fold in diced apples.
- Spoon the batter evenly into the prepared pan, filling the cups nearly full.
- Bake the muffins for 15 to 17 minutes, or until they’re a pale golden brown and a cake tester inserted into the middle of one of the center muffins comes out clean. Remove pan to a cooling rack and allow muffins to cool for about 15-20 minutes.
- In a medium bowl, prepare the glaze by mixing together the melted butter, confectioners’ sugar, apple pie spice and apple cider. Whisk until smooth.
- Place a layer of wax or parchment paper under the cooling rack. Dip the muffin crowns into the glaze, place the muffins back onto the cooling rack and allow the glaze to harden.
Notes
Nutrition
The post Apple Cider Donut Muffins appeared first on My Baking Addiction.