This Lemon Pound Cake will make you swoon! It’s moist, tender, tart, and tangy. The light fluffy crumb is the perfect texture for soaking up the sweet and sour lemon glaze. Even better- it’s the absolute easiest cake to make. I bet you have everything you need in your pantry right now!

What is Lemon Pound Cake?
This classic dessert is baked in a loaf pan and is bursting with refreshing citrus notes that cut through the buttery sweetness of the cake. This easy recipe for Lemon Pound Cake is also one of my favorite ways to use up extra lemons, as the batter and glaze are loaded with lemon juice and zest.
Ingredients for Lemon Pound Cake
This cake is gorgeous and the flavors are zippy and balanced. It’s the perfect easy dessert recipe for a casual dinner or a fancy get-together (or if you’re in the mood for cake that isn’t too sweet.) Here’s what you need to make Lemon Poundcake:
- Butter: creates a light, tender texture and helps the cake rise.
- Granulated Sugar and Powdered Sugar: these sugars do more than sweeten the cake and the icing. Granulated sugar softens the cake crumb, adds moisture, and balances the tartness of the lemon juice in the batter. Powdered sugar creates structure in icing and helps mellow out the sourness of lemon juice.
- Eggs: create structure that helps the cake rise and keeps the crumb airy.
- Flour: the base of our batter, it creates the structure of the crumb. While we have not tested this recipe with gluten-free flour, a 1-to-1 gluten-free baking flour should be a great substitute.
- Lemons: are the heart of this recipe. If lemons are out of your budget, you can try bottled lemon juice, and though it won’t taste quite as tart and refreshing, it will still be a good cake. If lemons are too tart for you, leave them out and just make plain, buttery, pound cake!
How To Serve Lemon Pound Cake
This cake is fantastic still warm from the oven or served at room temperature. It pairs beautifully with No-Churn Strawberry Ice Cream. Or served with a fresh dollop of Homemade Whipped Cream. Double down on the lemon flavor and try it with Homemade Lemon Curd.
How To Store Lemon Pound Cake
Place leftovers in an air-tight container and store at room temperature for up to 3 days. You can also wrap leftovers tightly in a layer of parchment paper and a second layer of aluminum foil, then freeze for up to 3 months. While you can refrigerate pound cake, it does dull the flavors and changes the texture of the cake. If you choose to refrigerate or freeze it, try warming it in a 350°F with a touch of butter brushed on each slice. I don’t know if you’ve ever tried frozen cake, but it’s delightful straight out of the freezer as well. The crumb stays soft and it’s a perfect treat for a hot summer day.


Lemon Pound Cake
Equipment
Ingredients
- 1 cup room temperature salted butter (plus more for greasing) $2.01
- 1.5 cups all-purpose flour (plus more for dusting) $0.22
- 1/2 tsp baking powder $0.03
- 1/4 tsp baking soda $0.01
- 1/4 tsp salt $0.02
- 1 cup granulated sugar $0.39
- 4 large eggs, beaten $0.36
- 1/4 cup buttermilk $0.16
- 3 lemons, juiced and zested, divided $1.32
- 1 cup powdered sugar $0.33
Instructions
- Place an oven rack in the center of your oven and preheat the oven to 350°F. Grease an 8×4 loaf pan with butter. Line the pan with parchment. Butter the parchment and dust with flour, shaking off excess flour.
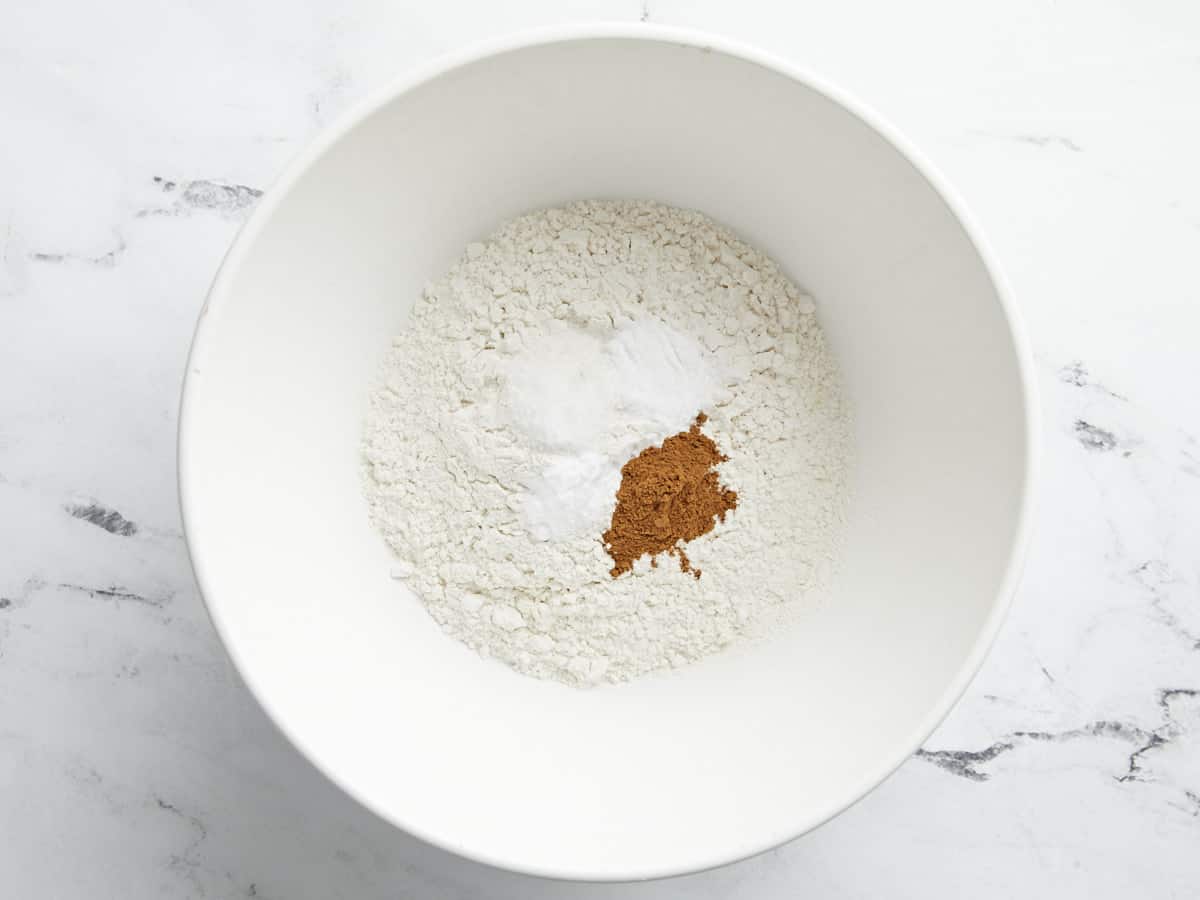
- Mix the flour, baking powder, baking soda, and salt in a medium bowl.
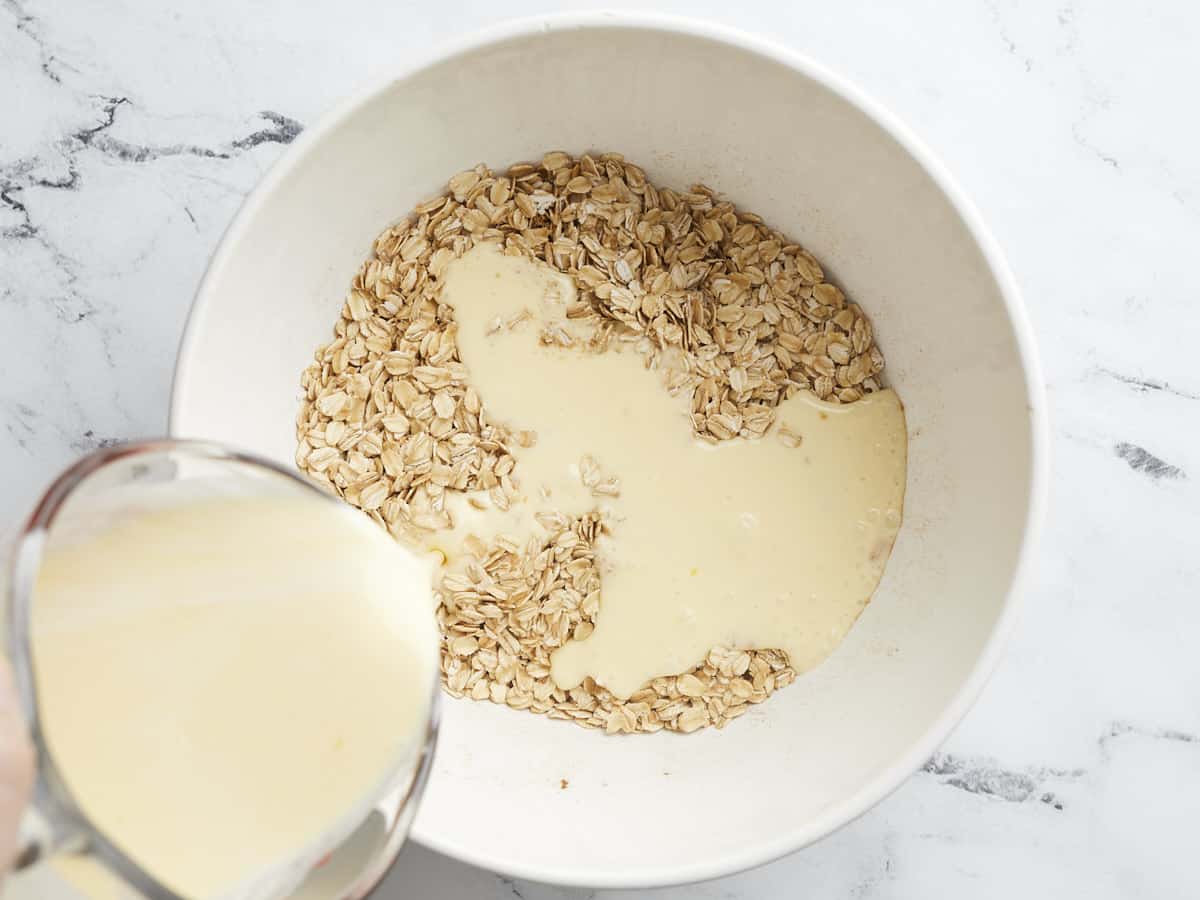
- Mix the butter and sugar in a large bowl until light and fluffy. Add the beaten eggs, buttermilk, 1/4 cup lemon juice, and 1 tablespoon zest. Mix until incorporated.
- Add the flour mixture to the butter and egg mixture in thirds, mixing after each addition and scraping down the sides before the next addition.
- Add batter to the prepared pan. Bake for 50 to 60 minutes in the preheated 350°F oven until the cake springs back when you press the center and a toothpick inserted into the center comes out clean.
- Remove the pound cake from the oven and cool for ten minutes before removing it from the pan and placing it on a cooling rack.
- To make the glaze, mix the powdered sugar with 2 tablespoons lemon juice and 1 1/2 teaspoons lemon zest.
- Drizzle the glaze on the cooled pound cake and serve!
See how we calculate recipe costs here.
Nutrition

How to Make Lemon Pound Cake – Step by Step Photos
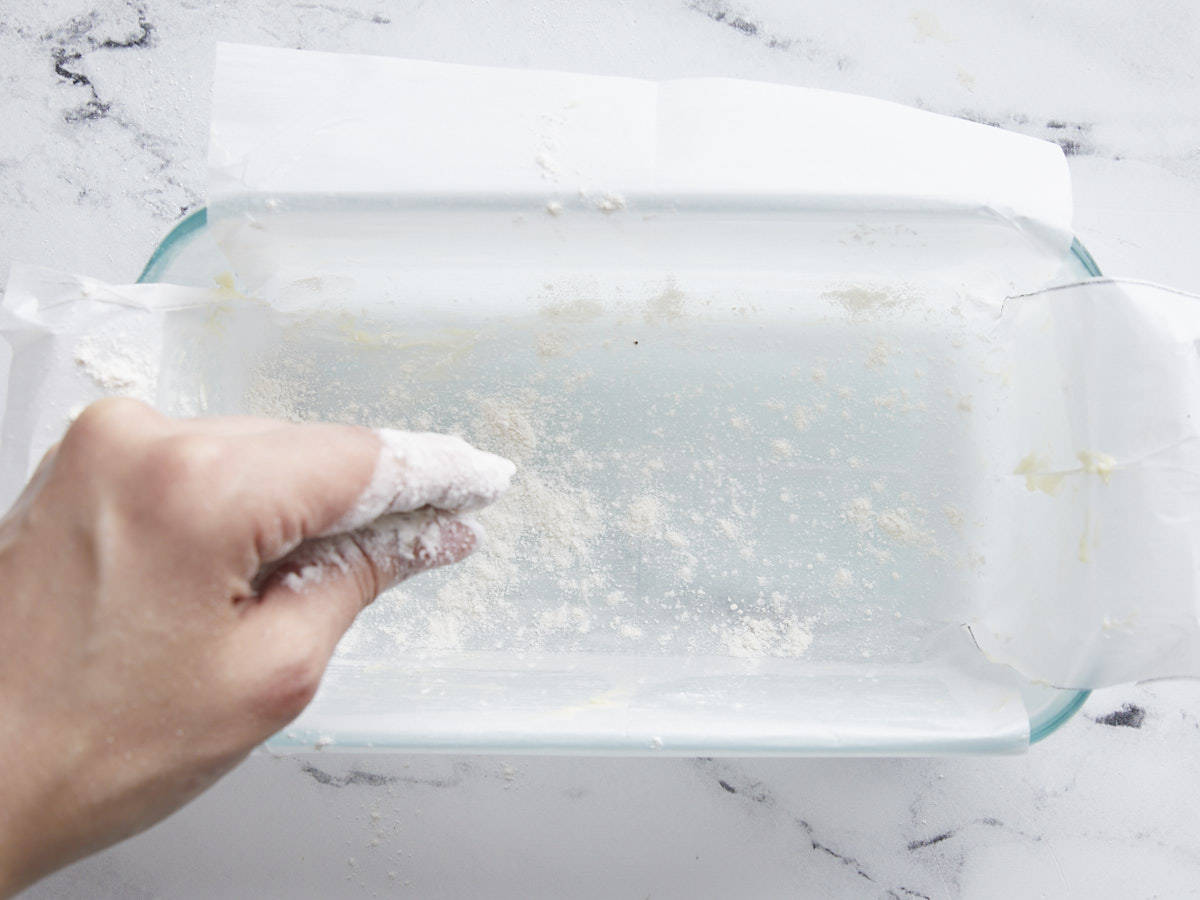
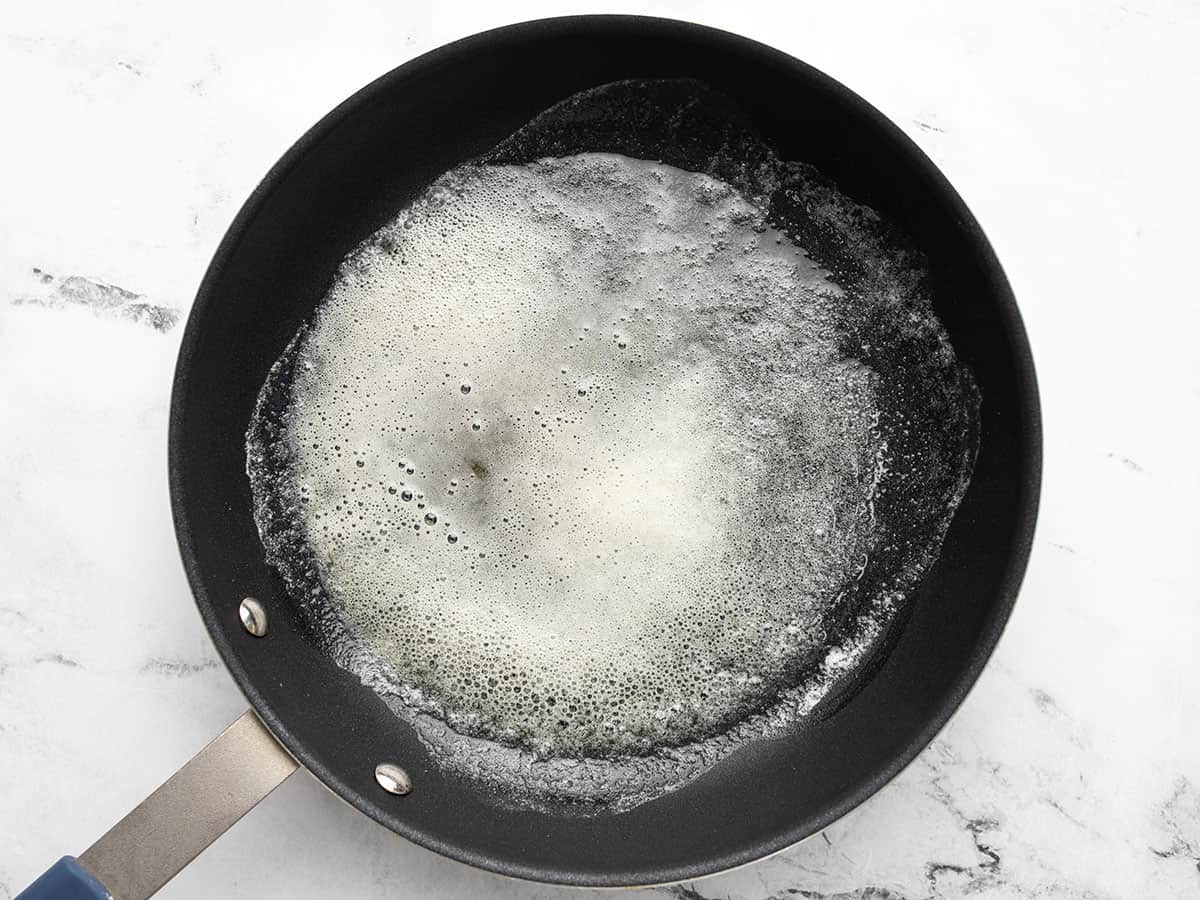
Place an oven rack in the center of your oven and preheat the oven to 350°F. Grease an 8×4 loaf pan with butter. Line the pan with parchment. Butter the parchment and dust with flour, shaking off excess flour.

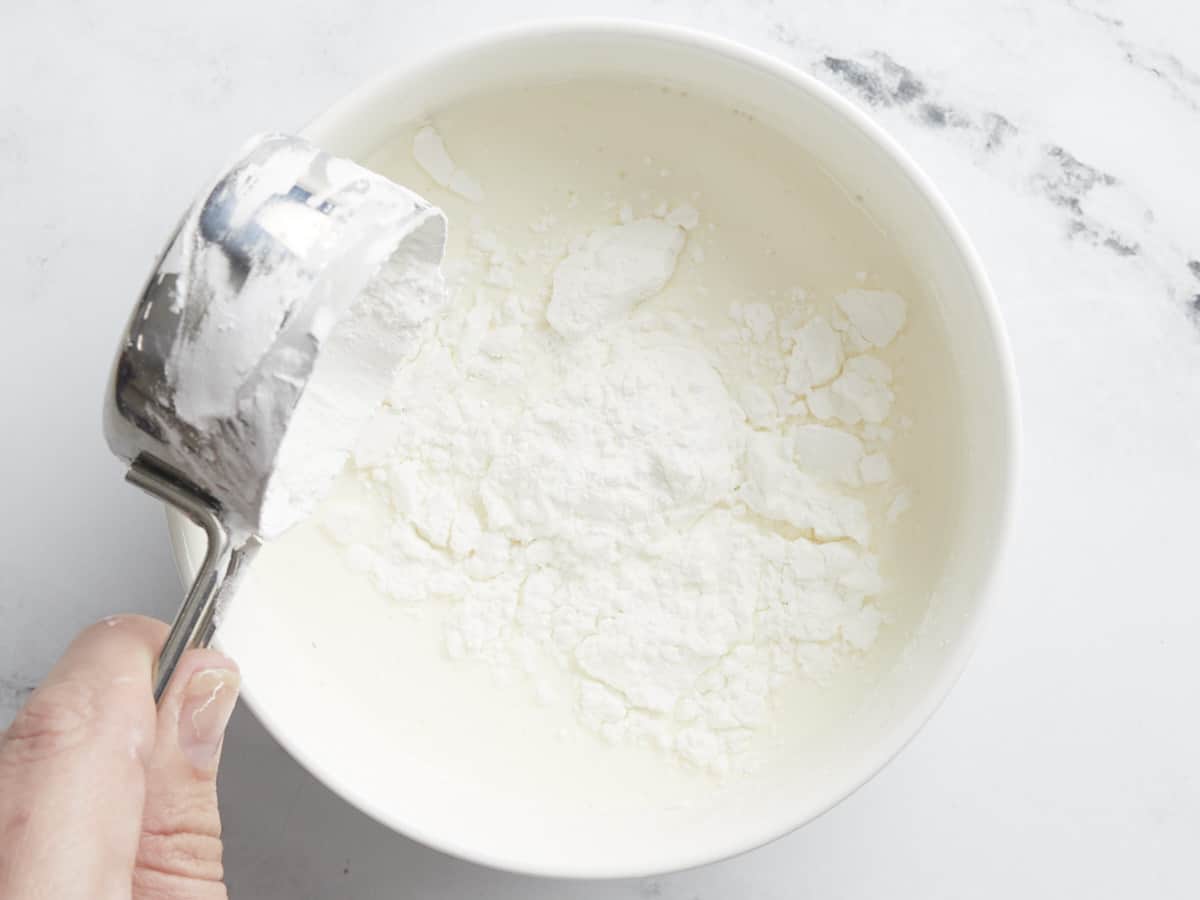
Mix 1.5 cups of all-purpose flour, 1/2 tsp baking powder, 1/4 tsp baking soda, and 1/4 tsp salt in a medium bowl.

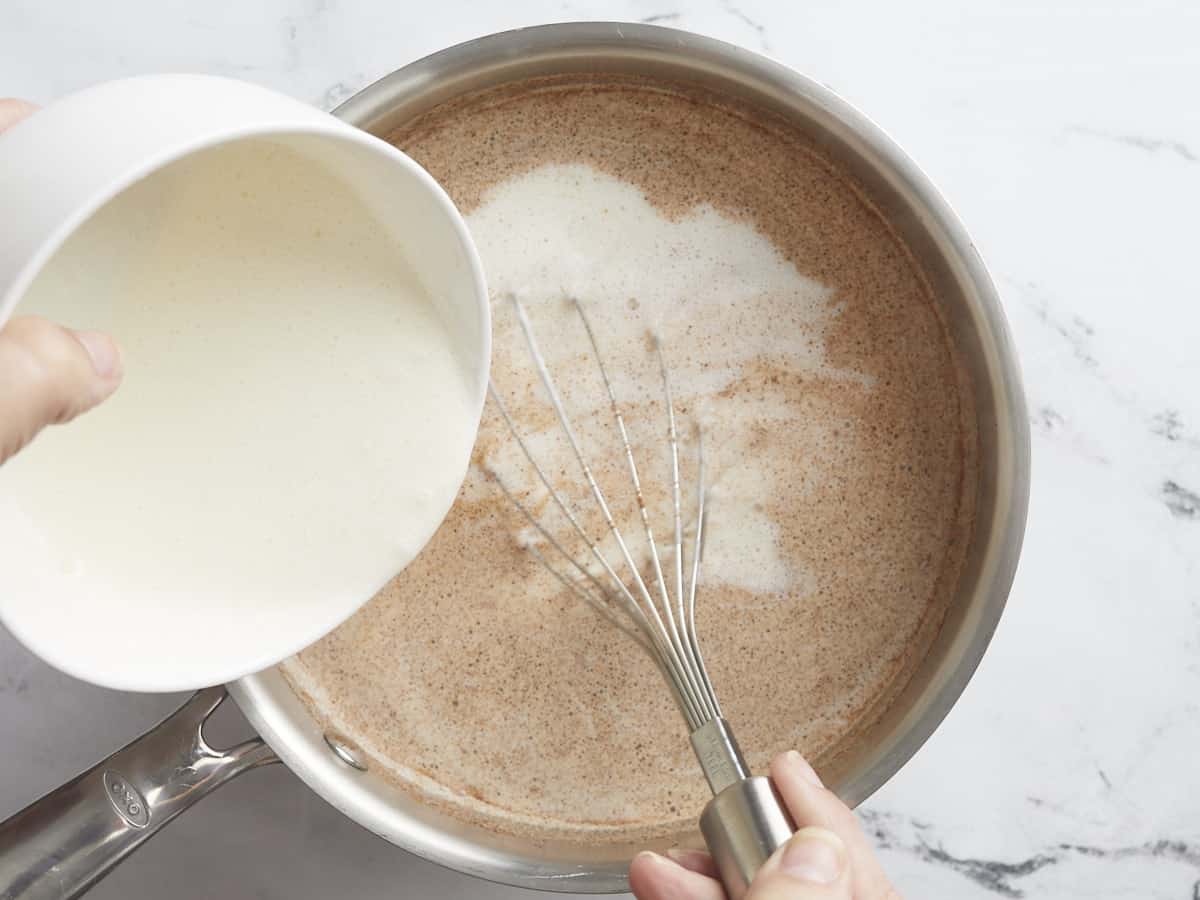
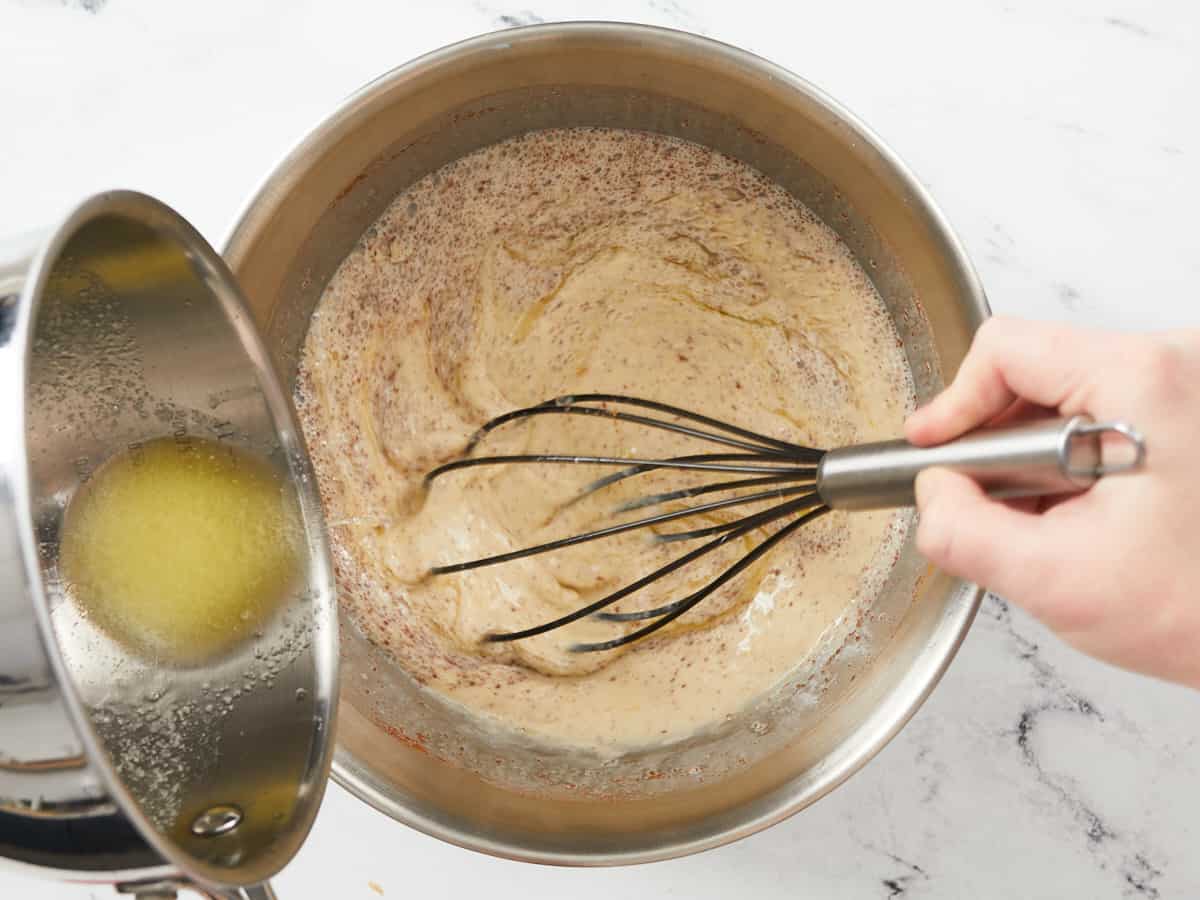
Mix 1 cup of room-temperature salted butter and 1 cup of granulated sugar in a large bowl until light and fluffy. Add 4 beaten large eggs, 1/4 cup of buttermilk, 1/4 cup lemon juice, and 1 tablespoon zest. Mix until incorporated.
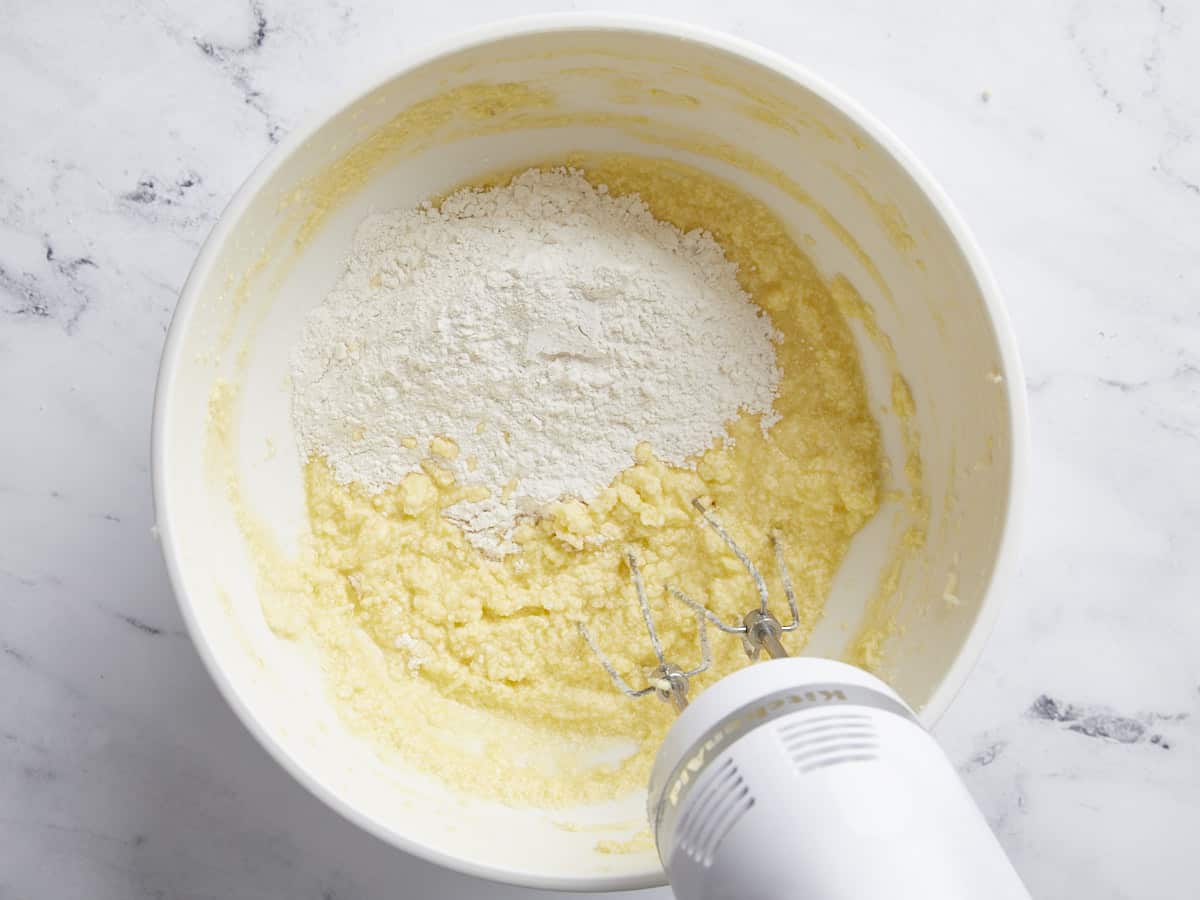
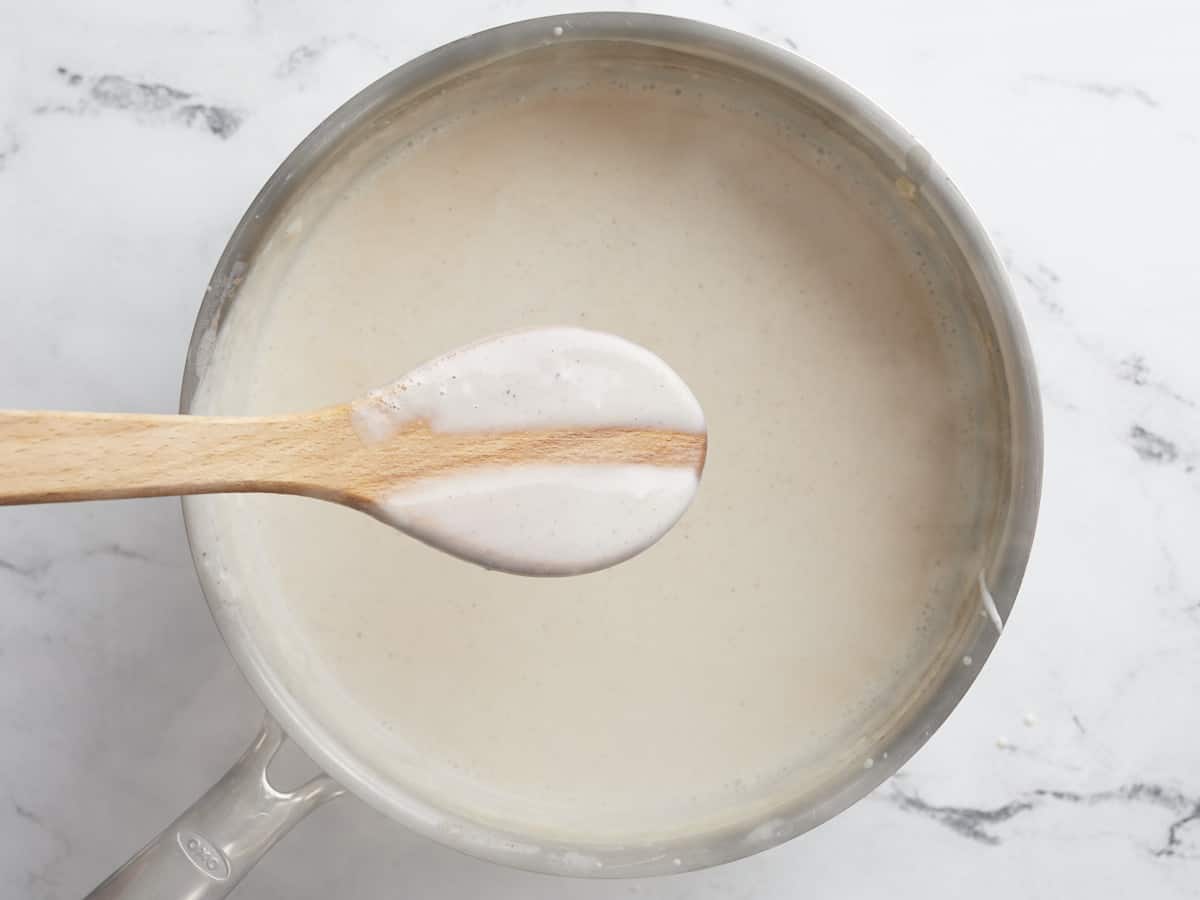
Add the flour mixture to the butter and egg mixture in thirds, mixing after each addition and scraping down the sides before the next addition.
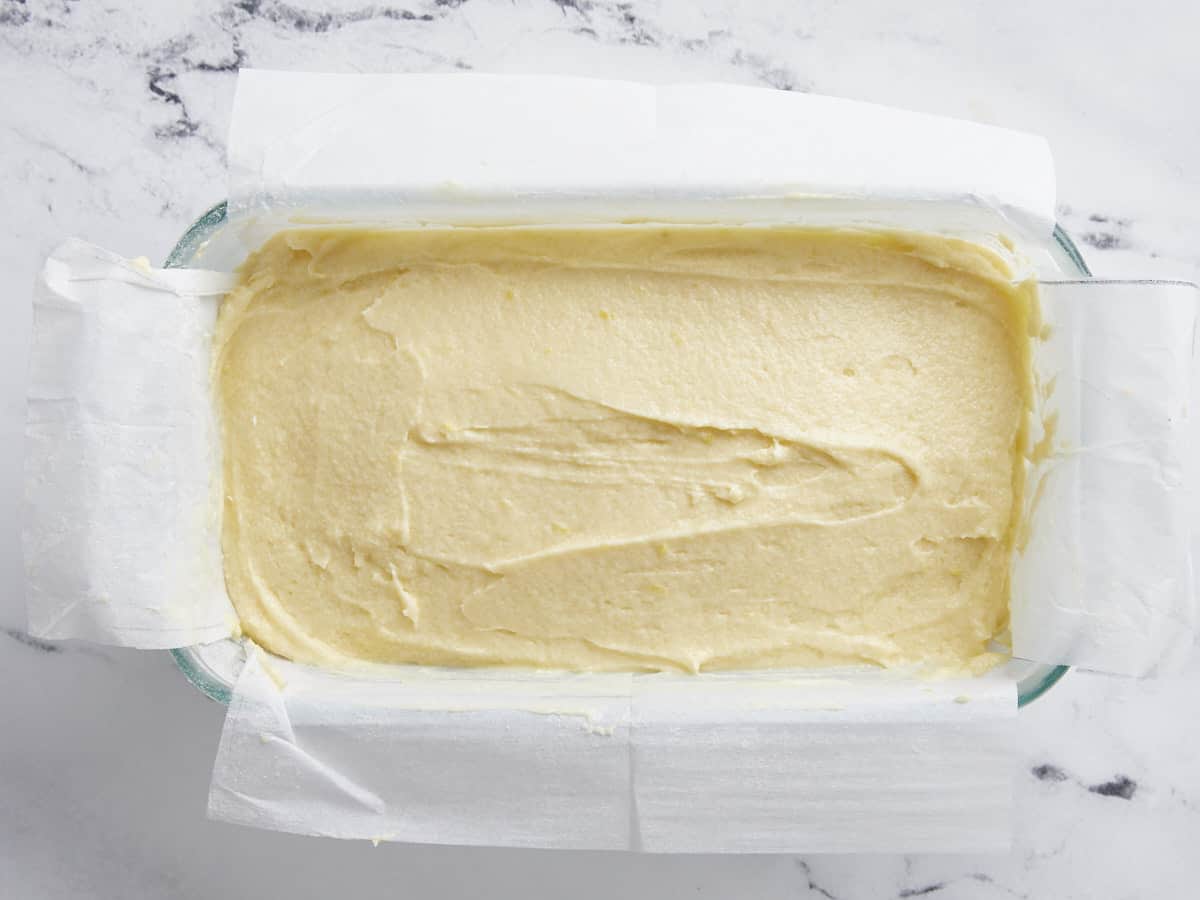
Add batter to the prepared pan. Bake for 50 to 60 minutes in the preheated 350°F oven until the cake springs back when you press the center and a toothpick inserted into the center comes out clean.

Remove the poundcake from the oven and cool for ten minutes before removing it from the pan and placing it on a cooling rack.
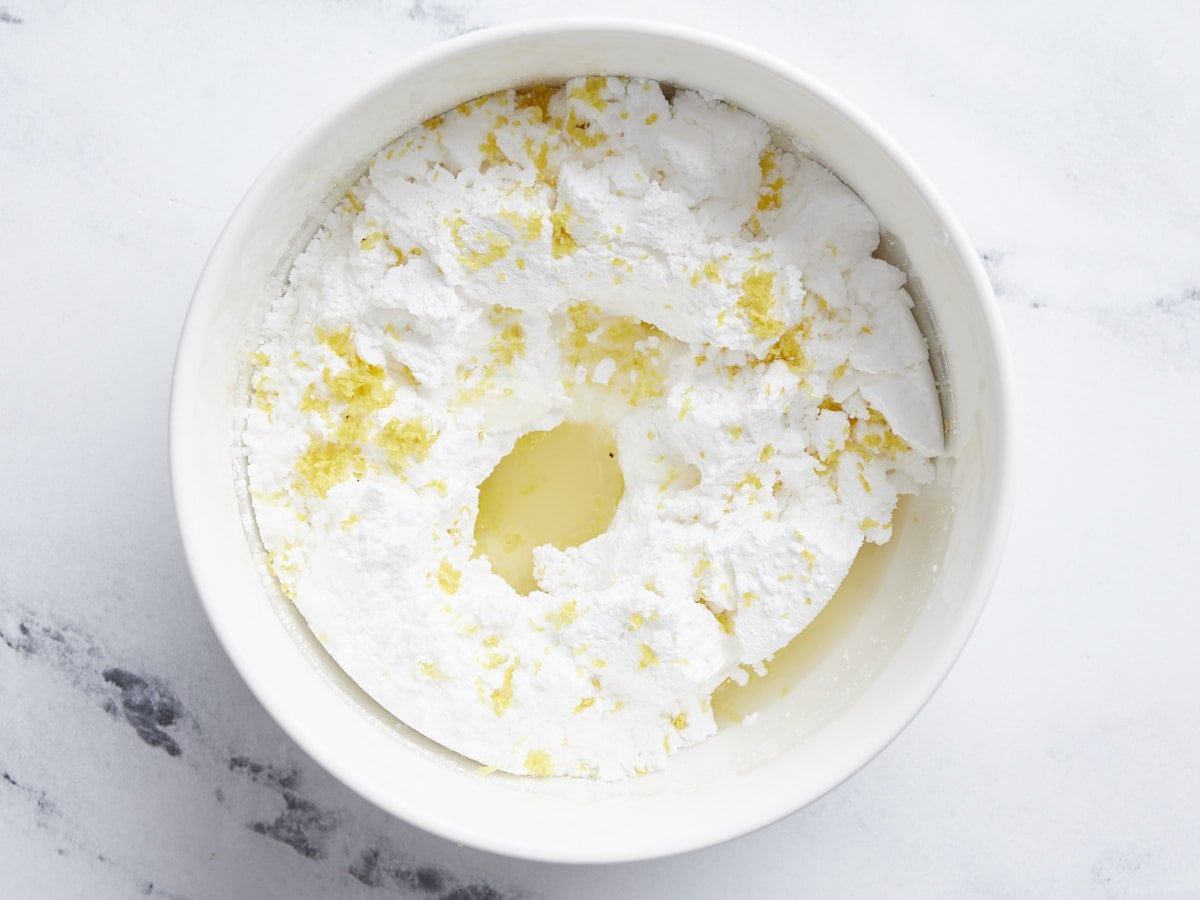
To make the glaze, mix 1 cup powdered sugar with 2 tablespoons lemon juice and 1 1/2 teaspoons lemon zest.

Drizzle the glaze on the cooled pound cake and serve!

More Delicious Lemon Recipes


The post Lemon Pound Cake appeared first on Budget Bytes.