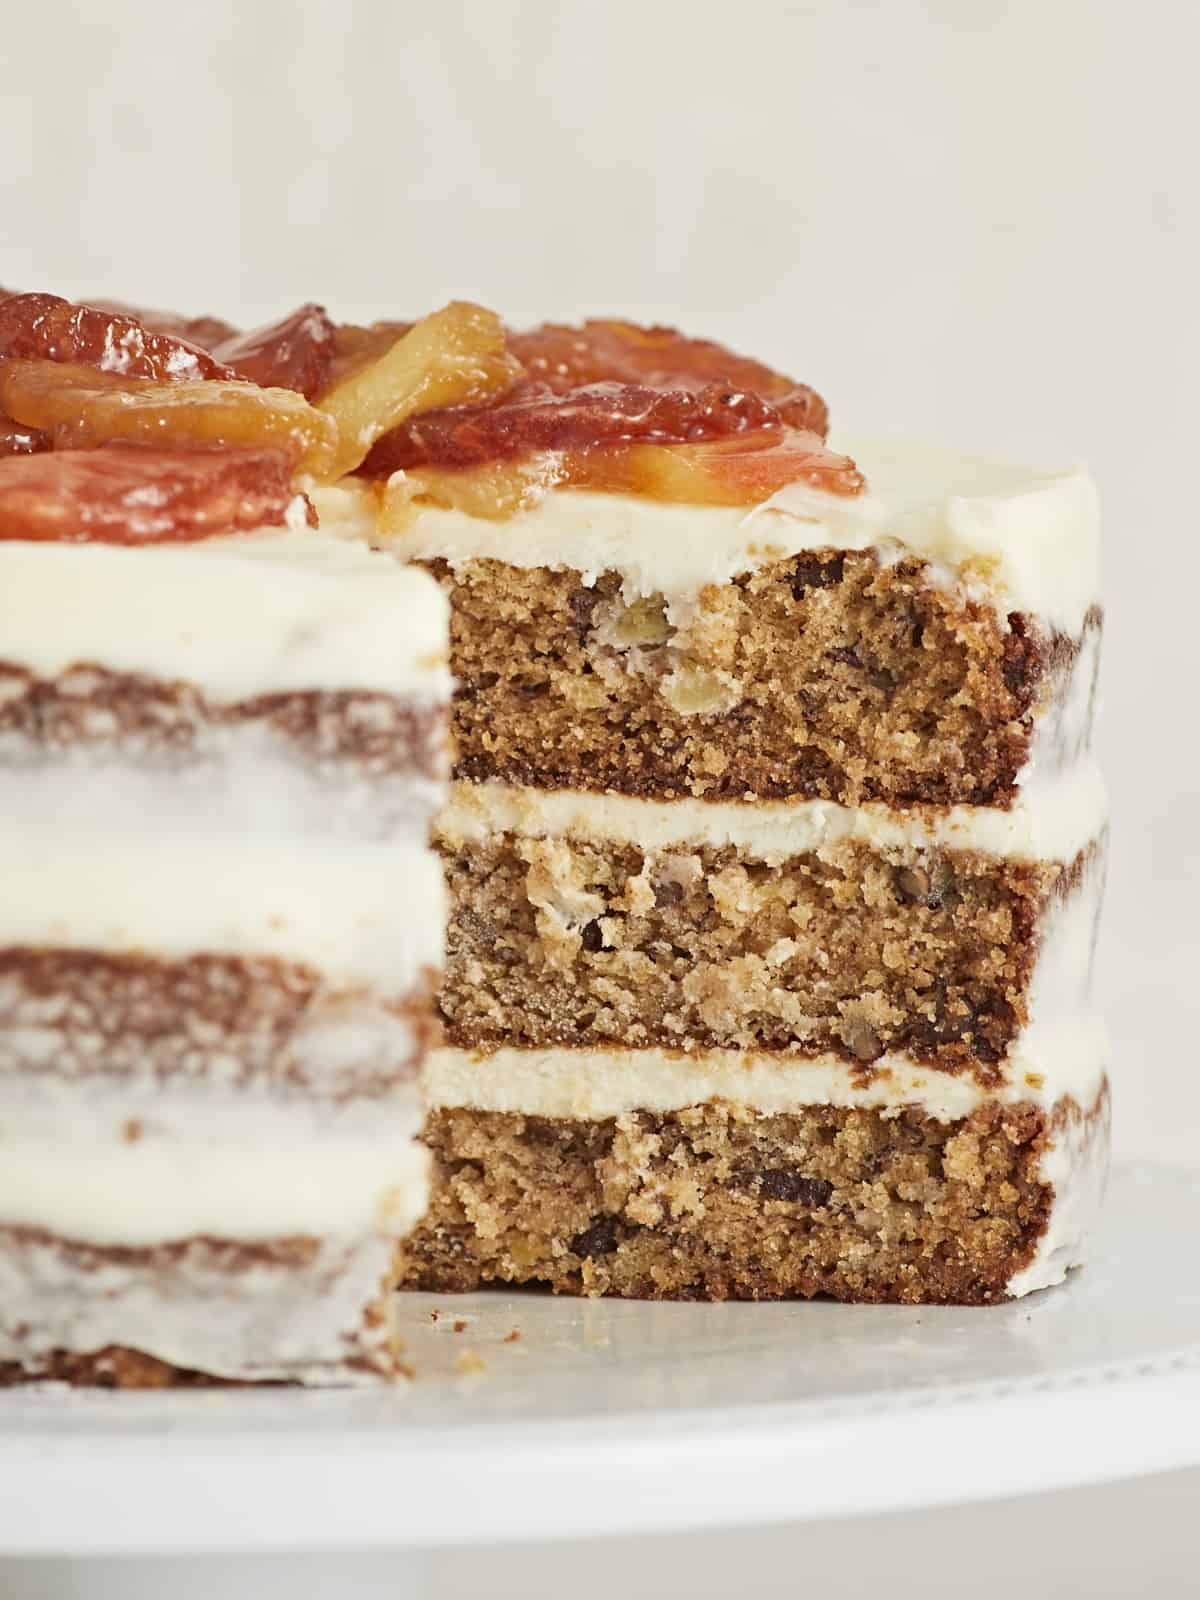
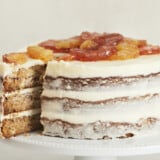
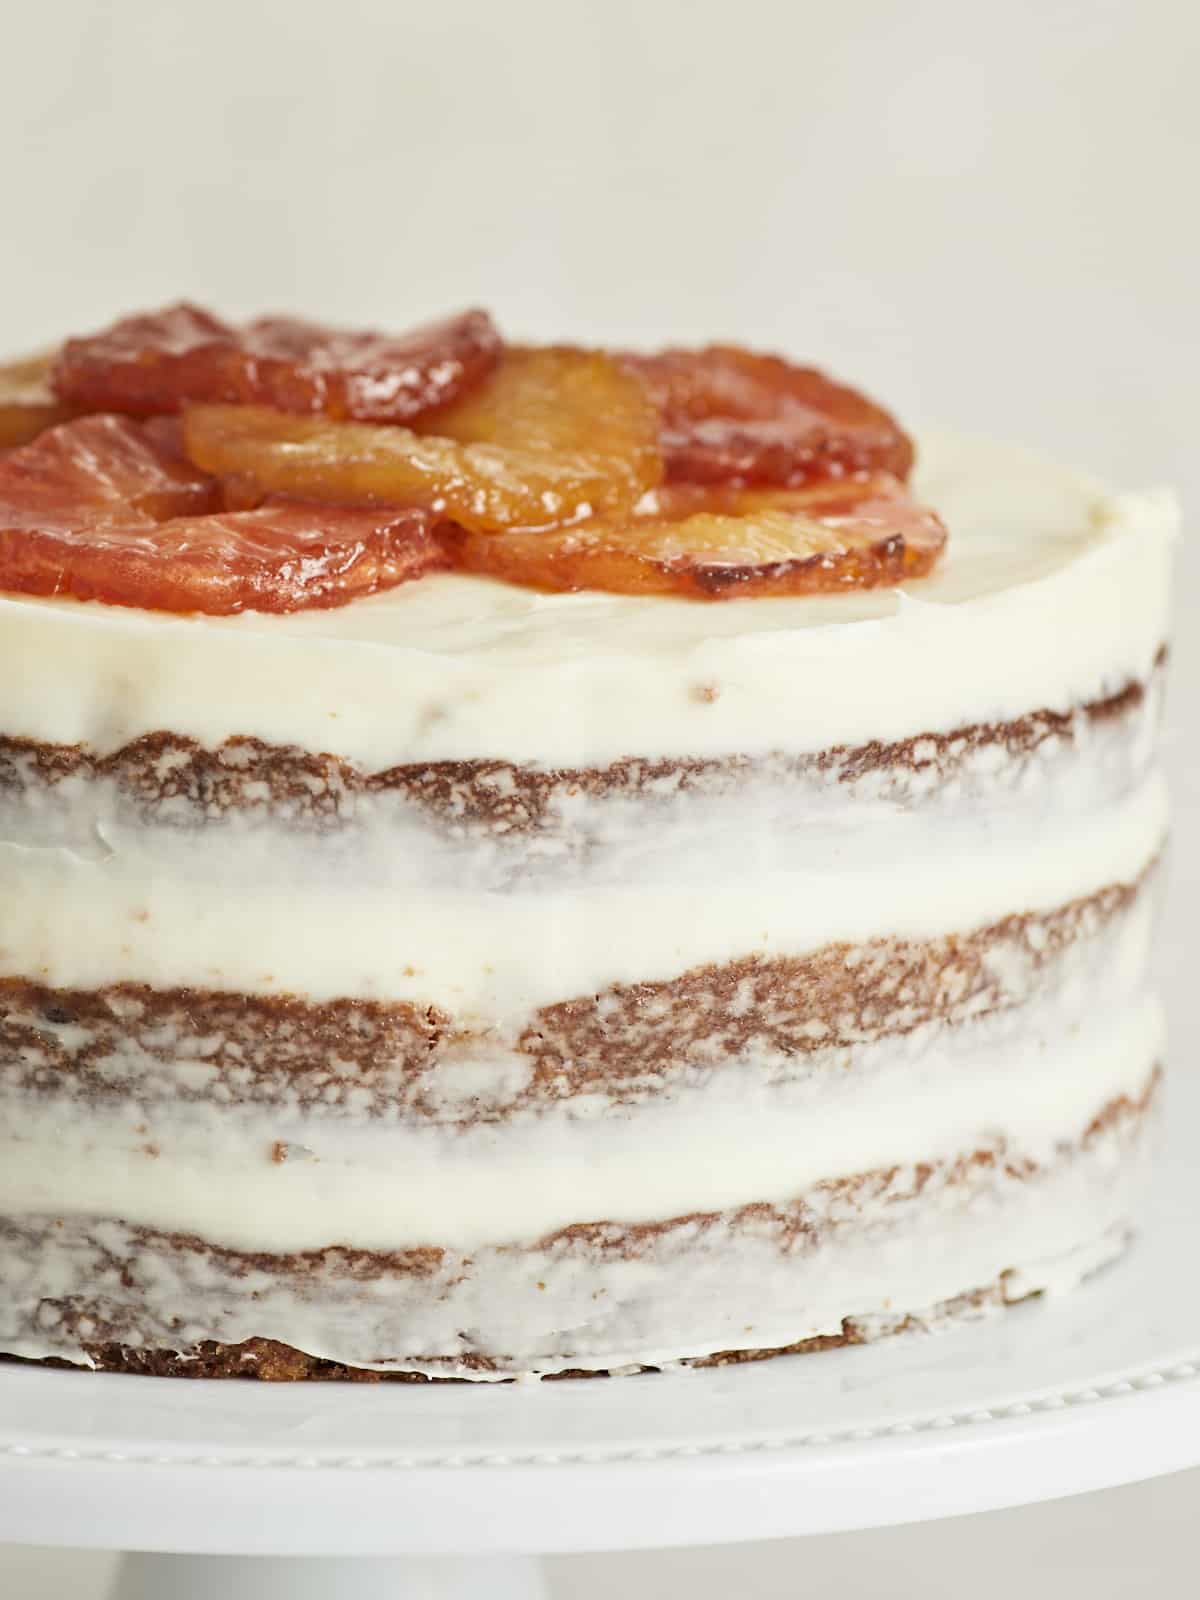
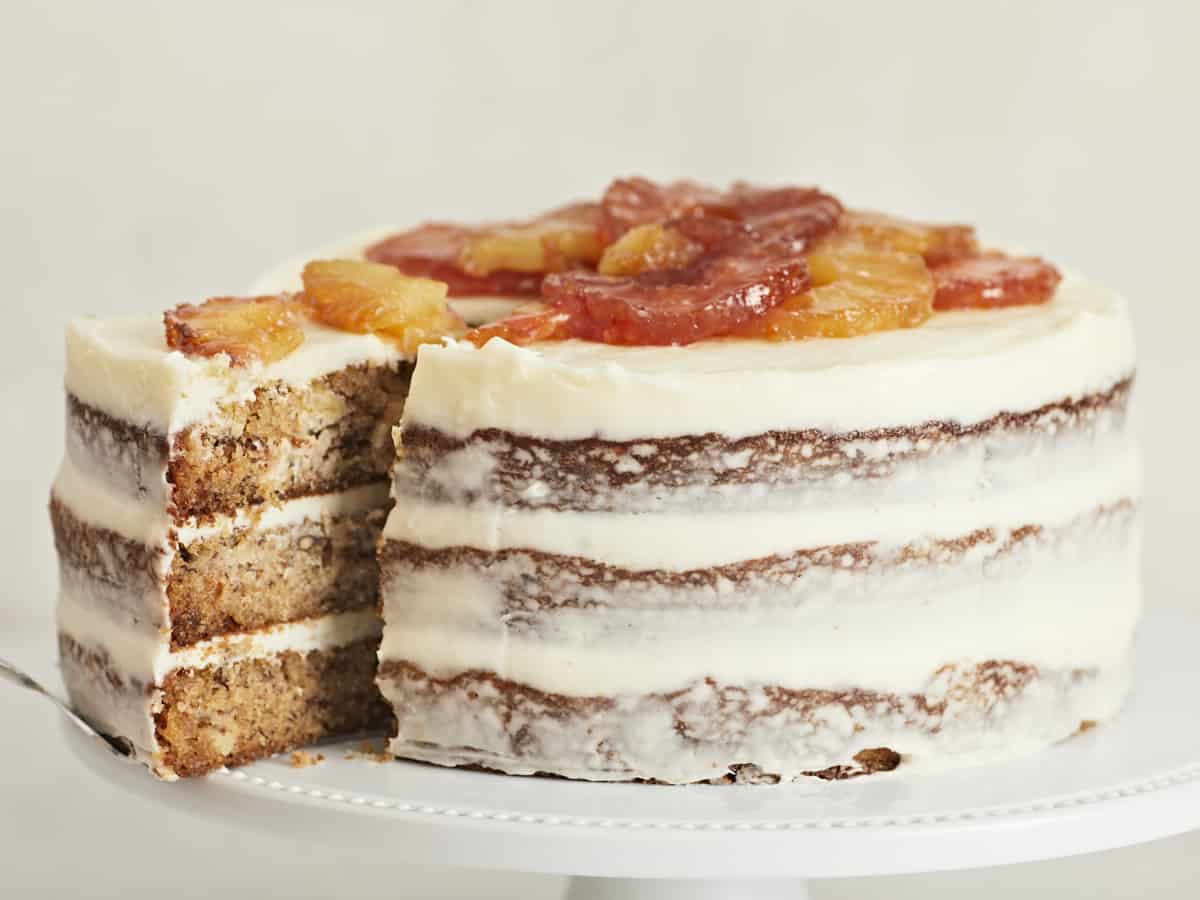
Hummingbird Cake doesn’t last- you’ll reach for a second slice before you finish your first! If you’ve never heard of it, this luscious banana cake is dotted with pineapple and pecans, then smothered in scrumptious cream cheese frosting. You’ll pay up to $80 for this beauty at a bakery, but I’m showing you how to make Hummingbird Cake for under $20! Here’s the best part: you can slice and freeze it, then gobble it up whenever you crave it!
What is Hummingbird Cake?
Hummingbird cake is a classic Southern recipe that originated in Jamaica. The batter goes heavy on the fruit and nuts; almost half of it is chopped banana, pineapple, and pecans. Once baked, the cake is layered and topped with buttery cream cheese frosting and garnished with more pecans or pineapple.
What You’ll Need
Is this an easy breezy recipe? No. But it’s manageable, and it’s worth it! Bakeries sell this cake for $50 to $80, but I’m showing you how to put it together for under $20! Here’s what you’ll need to make Hummingbird Cake.
- Pecans – add texture and earthiness. You can omit them if there is a nut allergy.
- Pineapple and Bananas– add sweetness and flavor. They also add moisture and tenderize the cake.
- All Purpose Flour – creates the structure you need to stand up to all the fruit in the batter.
- Sugar – sweetens the cake and locks in moisture.
- Baking Soda and Baking Powder – these leavening agents help your cake rise.
- Vegetable Oil – helps the cake bake evenly and rise higher.
- Vanilla Extract – helps flavor the cake batter and the frosting.
- Cream Cheese and Butter – add flavor and also give the frosting its structure, making it easier to spread.
- Powdered Sugar – sweetens the frosting and gives the frosting structure.
Tips For The Best Hummingbird Cake
- Use very ripe bananas and don’t drain the crushed pineapple.
- Do not overmix the batter. The more you mix, the denser the cake becomes.
- Prepare your pans like a pro: grease them, line the bottom with parchment, and then grease and flour the parchment and the sides of the pan.
- Pour equal amounts of batter into the cake pans by using a dry measuring cup.
- Cool the layers completely before frosting them and frost from the center out.
Can I Make It Ahead Of Time?
Yes, you can make your Hummingbird Cake layers ahead of time! Allow them to cool completely before wrapping them in a double layer of plastic wrap. You can keep them at room temperature for up to a day, refrigerate them for up to two days, or freeze them for up to a month. Frozen cake layers are easier to frost anyway. You can also make the frosting ahead of time. Keep it in an airtight container with plastic wrap over the surface of the frosting, and refrigerate for up to 5 days
How To Store Hummingbird Cake
You can store Hummingbird Cake in an airtight container or wrapped in plastic wrap in your refrigerator for up to 5 days. (Your loved ones will devour it way before then.) Hummingbird Cake also freezes well and can be stored in an airtight container or wrapped in a double layer of foil and plastic for up to 4 months. I usually portion mine in thick slices and keep them in the freezer for future cravings. Frozen cake on a hot summer day is AMAZING.
Hummingbird Cake
Equipment
Ingredients
For the Cake
- 1 cup chopped pecans $4.59
- 3 cups all-purpose flour, plus more for dusting pans $0.42
- 2 cups sugar $0.78
- 1 tsp salt $0.08
- 1 tsp baking soda $0.02
- 1/2 tsp baking powder $0.03
- 1 tsp ground cinnamon $0.08
- 3 large eggs, lightly beaten $1.17
- 1 ½ cups cooking oil $1.12
- 1 ½ tsp vanilla extract $0.86
- 1 (8 oz) can crushed pineapple in juice, undrained* $0.56
- 2 cups chopped bananas (about 4 medium bananas) $1.00
For the Frosting
- 12 oz cream cheese, softened $2.62
- 12 Tbsp salted butter, softened $0.38
- 3/4 tsp vanilla extract $0.43
- 1 pinch salt $0.01
- 6 cups powdered sugar $1.75
Instructions
- Set a rack in the center of your oven and preheat it to 350°F. While the oven preheats, set a heavy-bottomed skillet over medium heat and add the pecans in a thin layer. Toast the pecans for 5 to 8 minutes, stirring occasionally.
- While the pecans toast, whisk together the flour, sugar, salt, baking soda, baking powder, and cinnamon in a large bowl.
- Add the eggs and vegetable oil, stirring just until the wet ingredients moisten the dry ingredients and no more.
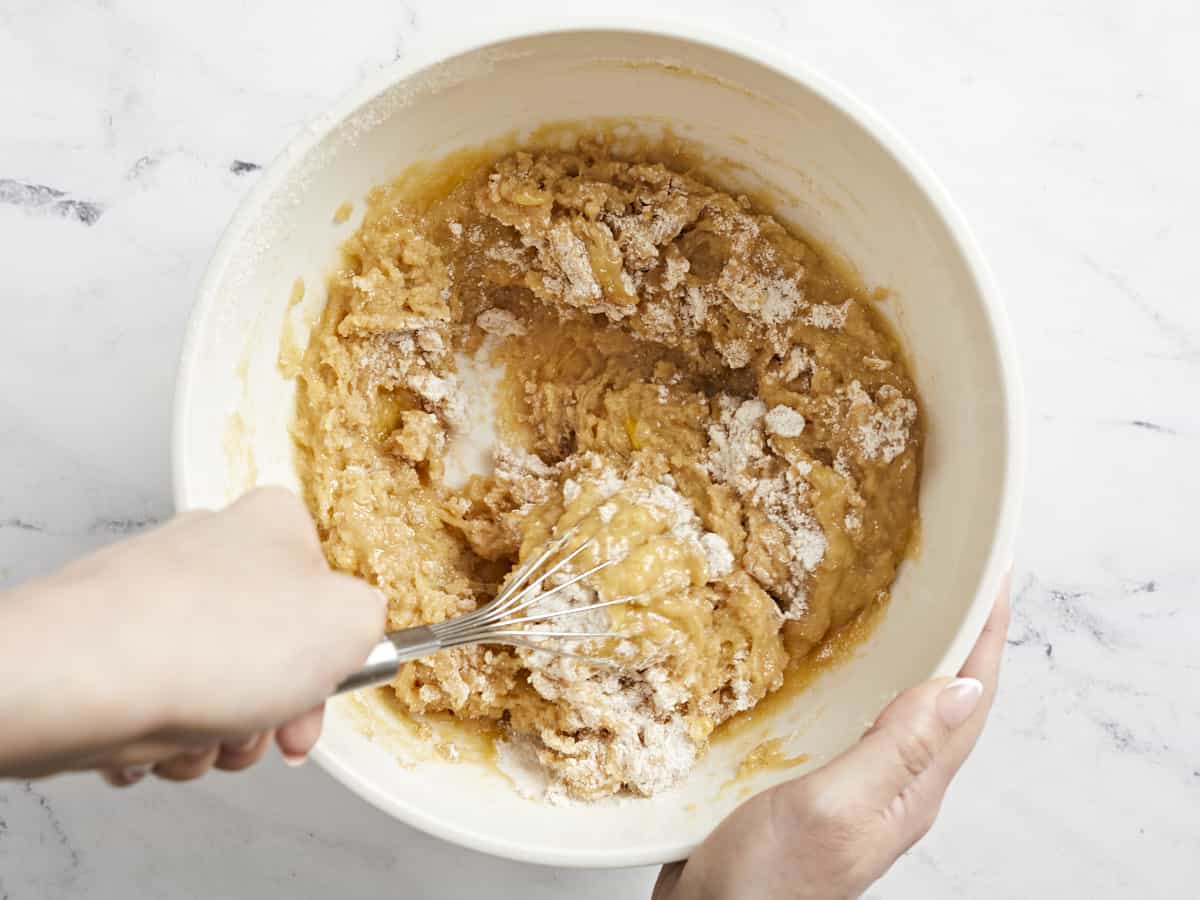
- Add vanilla, crushed pineapple in its juices, chopped bananas, and toasted pecans. Stir the ingredients as little as possible while fully incorporating them.
- Grease three 9-inch cake pans. Cover the bottoms with parchment paper, grease the parchment, and lightly dust the bottom and sides of the pans with flour. Divide the batter evenly between the pans and bake until a toothpick inserted in the center comes out clean, about 25 to 30 minutes. Cool pans for 10 minutes before removing the cake layers. Cool layers for 1 hour.
- While the cake bakes, in a very large bowl, add the cream cheese, salted butter, vanilla, and a pinch of salt. Beat with an electric mixer on medium speed until smooth. Then add the powdered sugar cup by cup, beating at low speed after each addition.
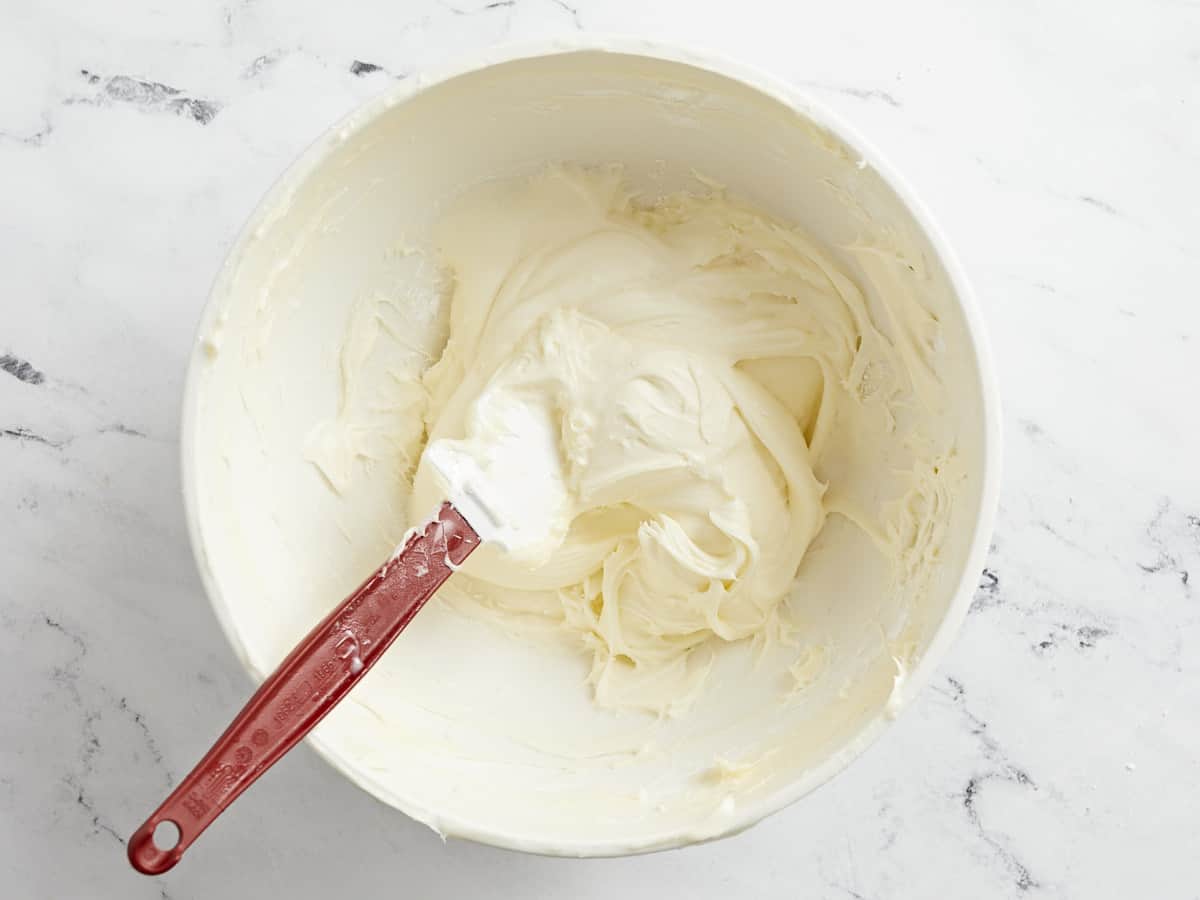
- Once the sugar has been fully incorporated, increase the speed to medium-high, and beat until fluffy, 1 to 2 minutes.
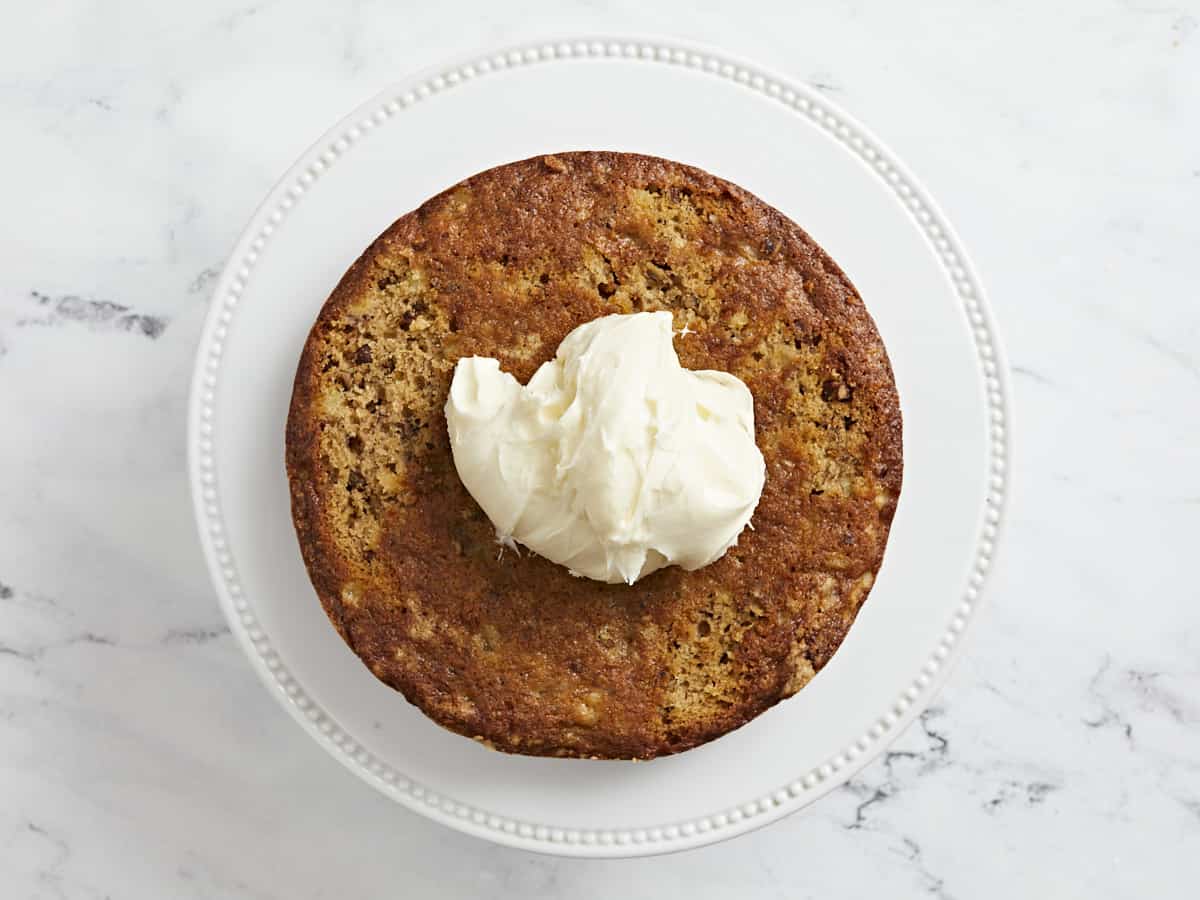
- Place the first cake layer on a serving platter or cake stand. Spread 1 cup of the frosting on top, starting from the center and working your way out. You want a layer of frosting that is ¼ inch deep.
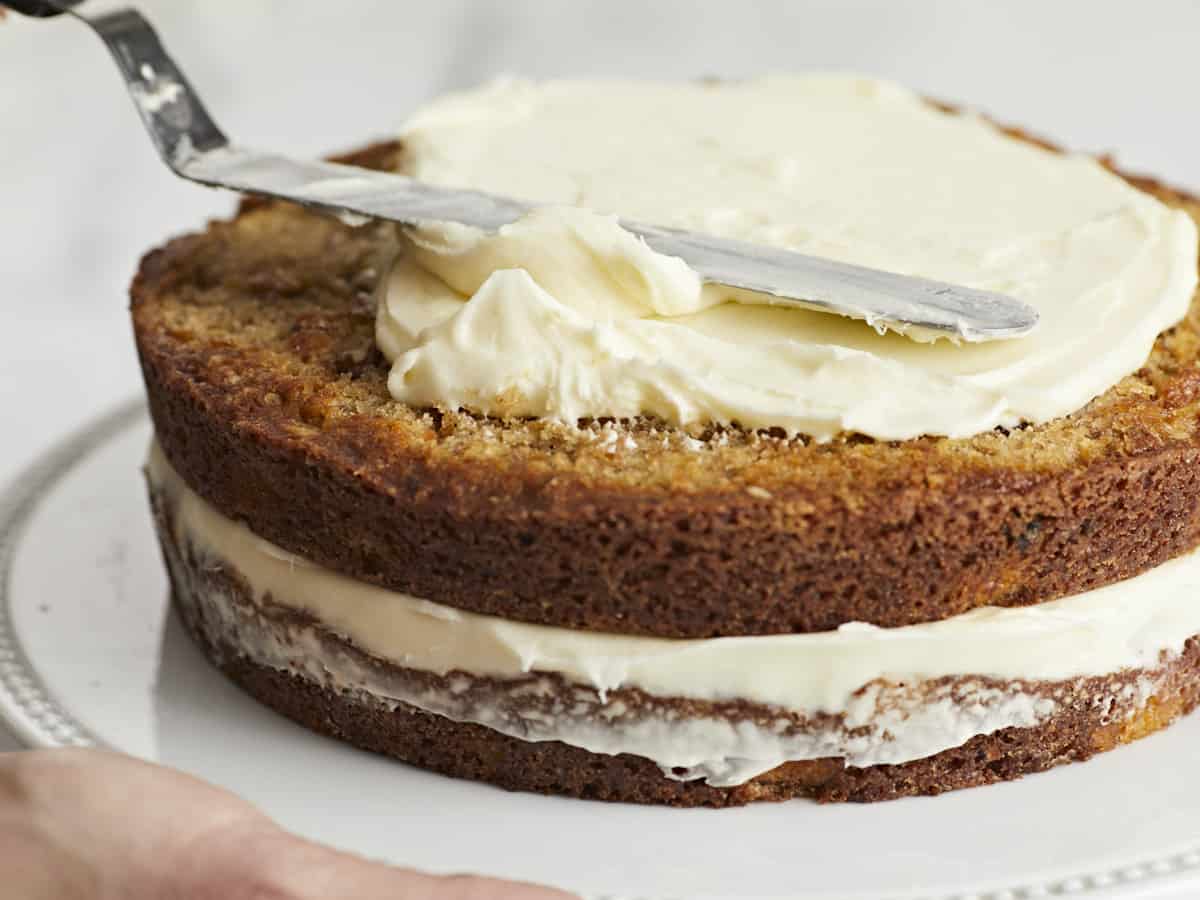
- Top with the second cake layer and spread with 1 cup of frosting, working from the center out.
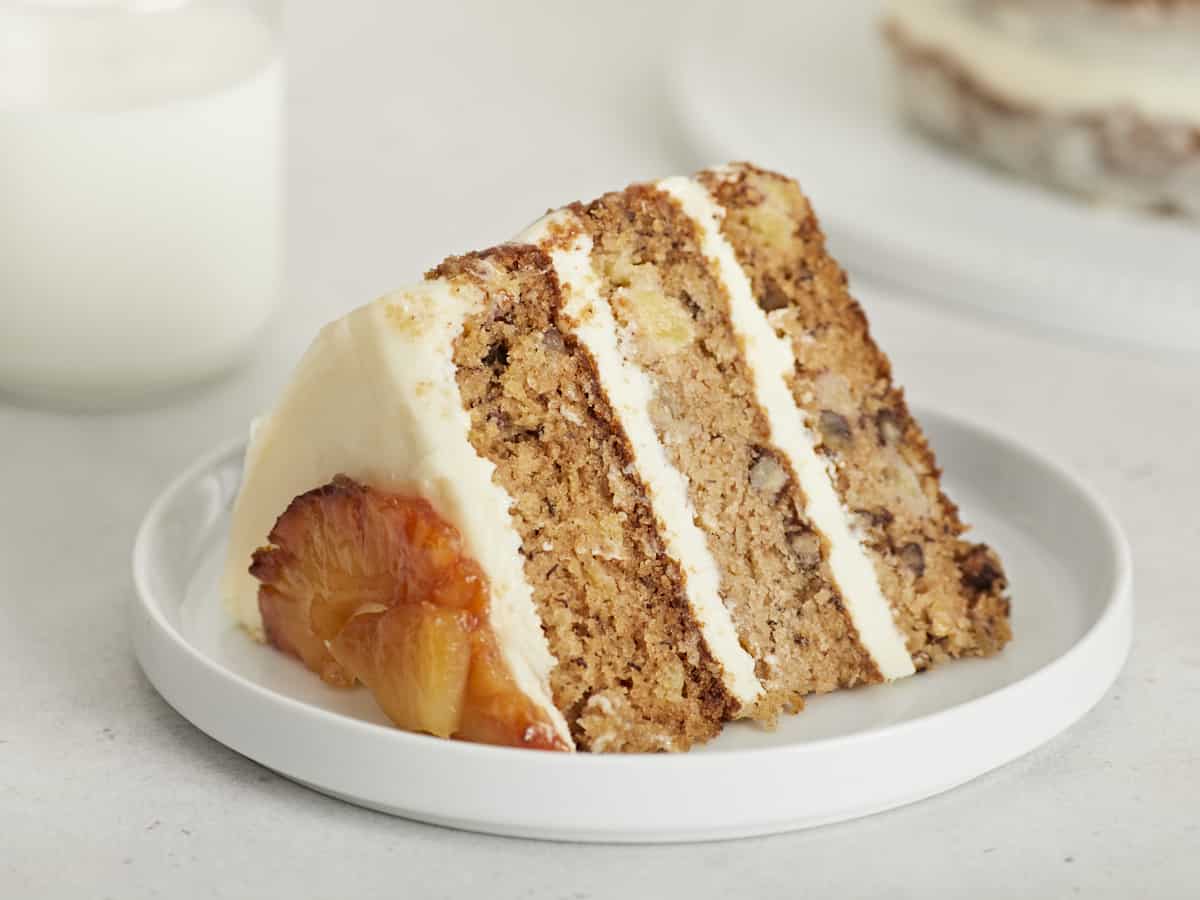
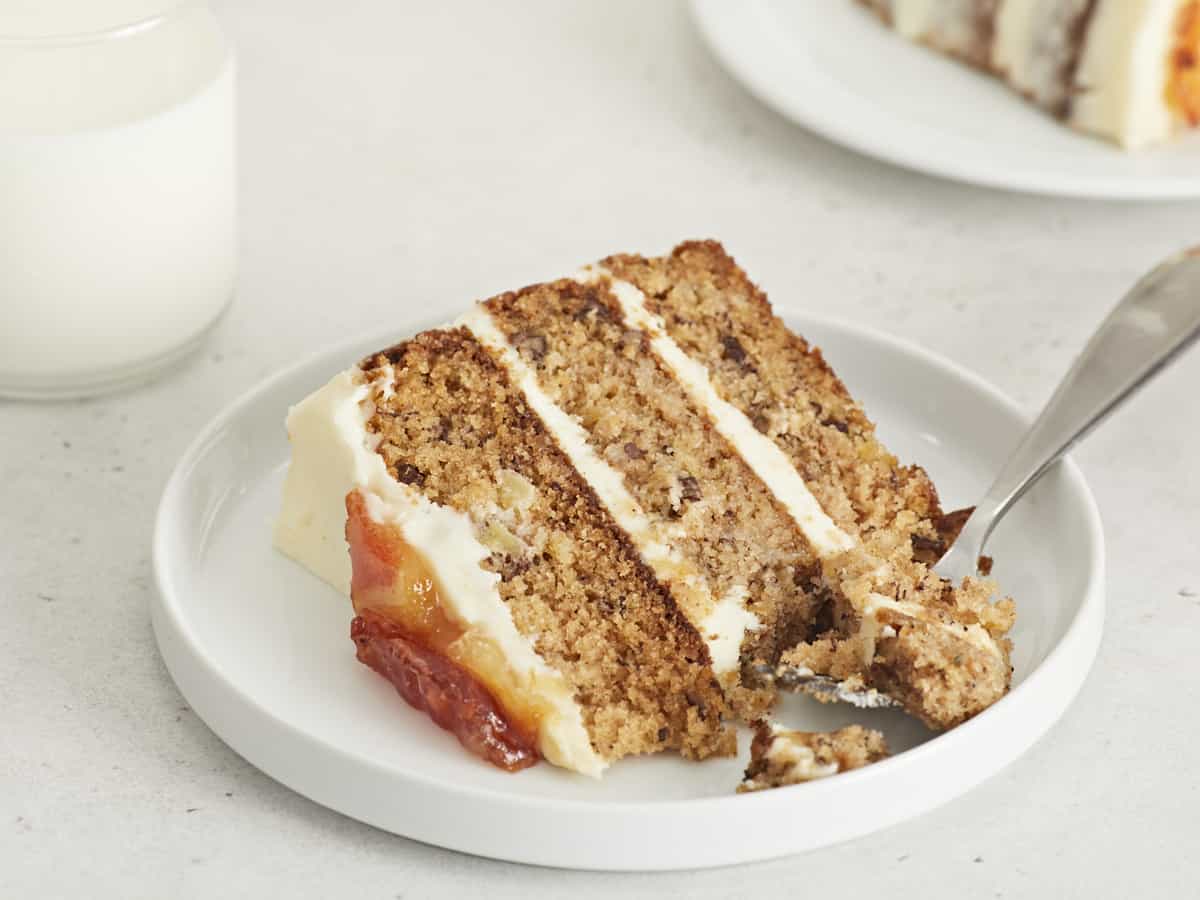
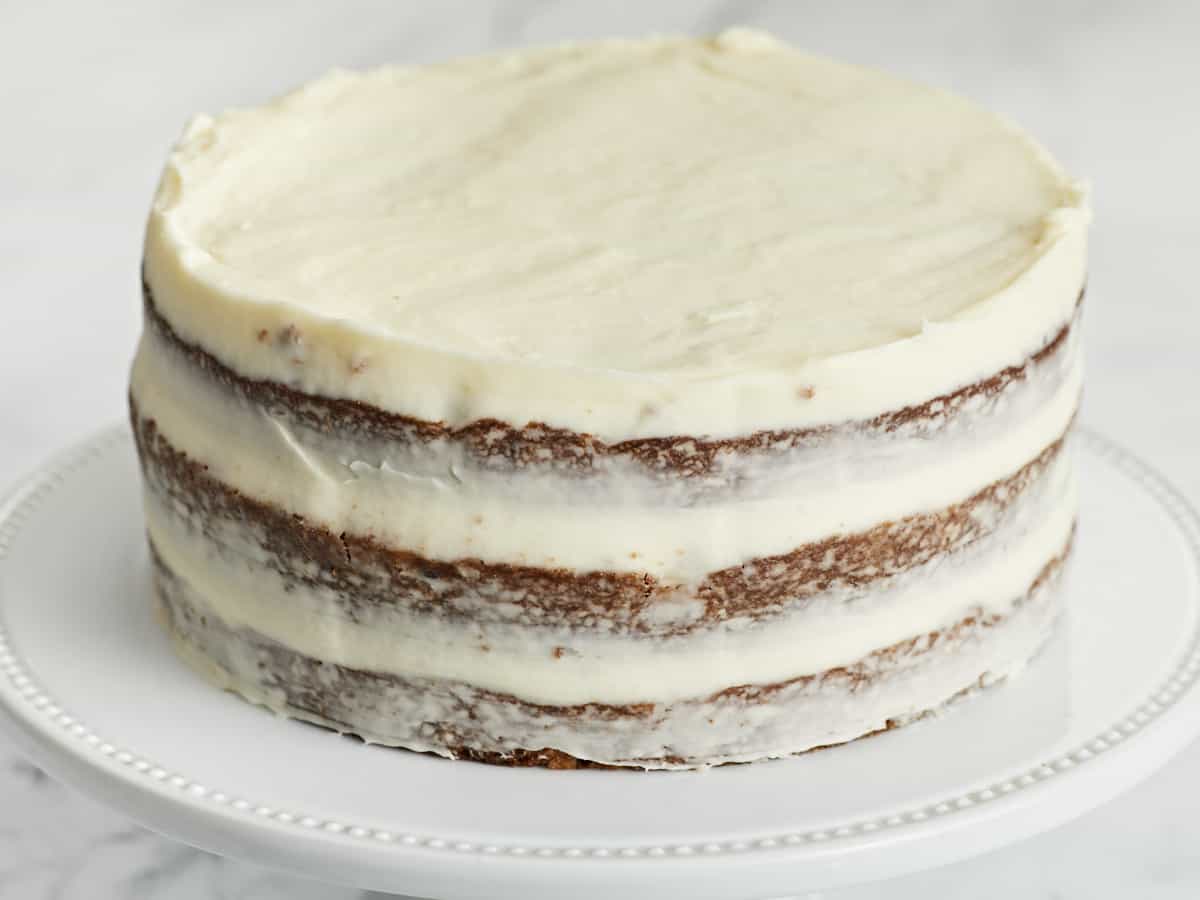
- Top with the third layer, and spread the remaining frosting over the top and lightly around the sides. Garnish the top with pecans, berries, or candied pineapple rings.*
See how we calculate recipe costs here.
Notes
Nutrition
How to Make Hummingbird Cake – Step by Step Photos
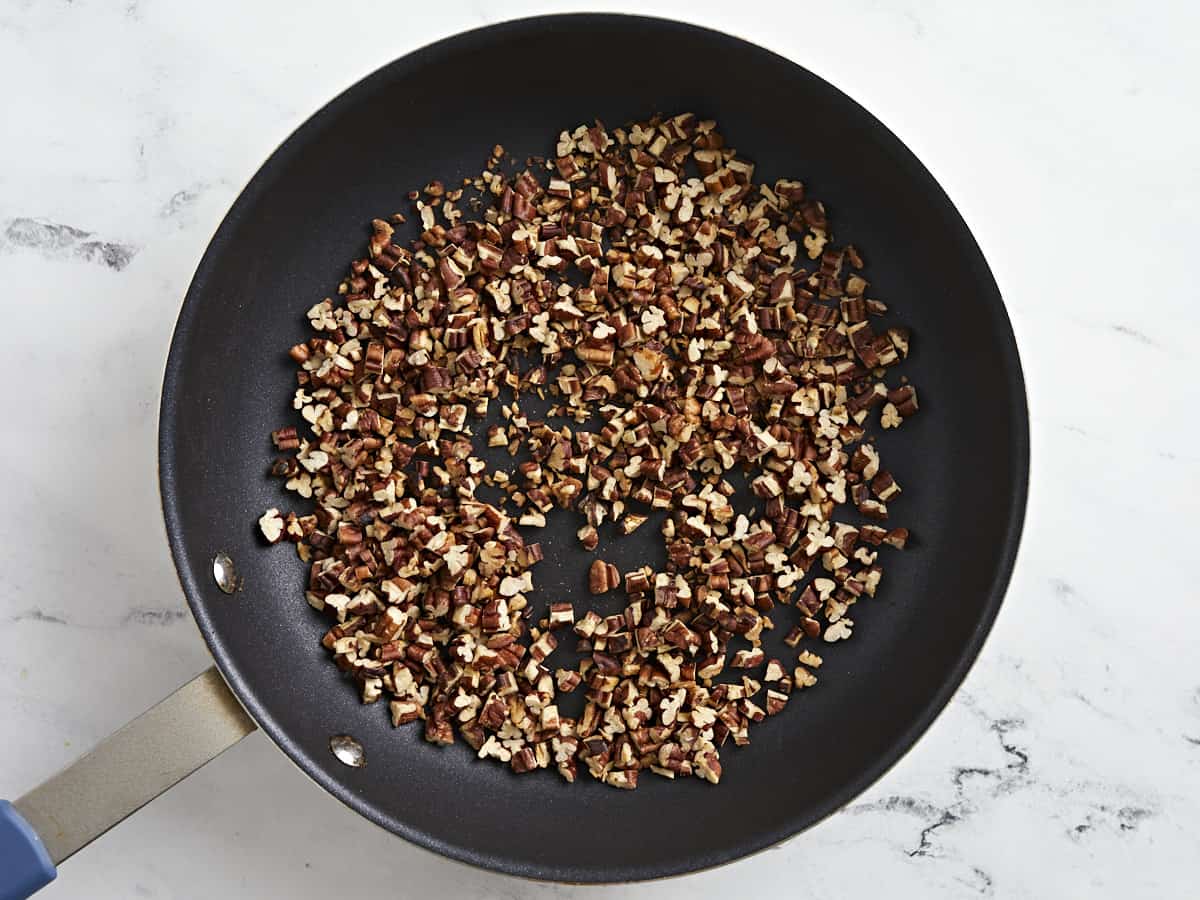
Set a rack in the center of your oven and preheat it to 350°F. While the oven preheats, set a heavy-bottomed skillet over medium heat and add 1 cup of chopped pecans in a thin layer. Toast the pecans for 5 to 8 minutes, stirring occasionally. They’re ready when they have slightly deepened in color and the air smells toasty.
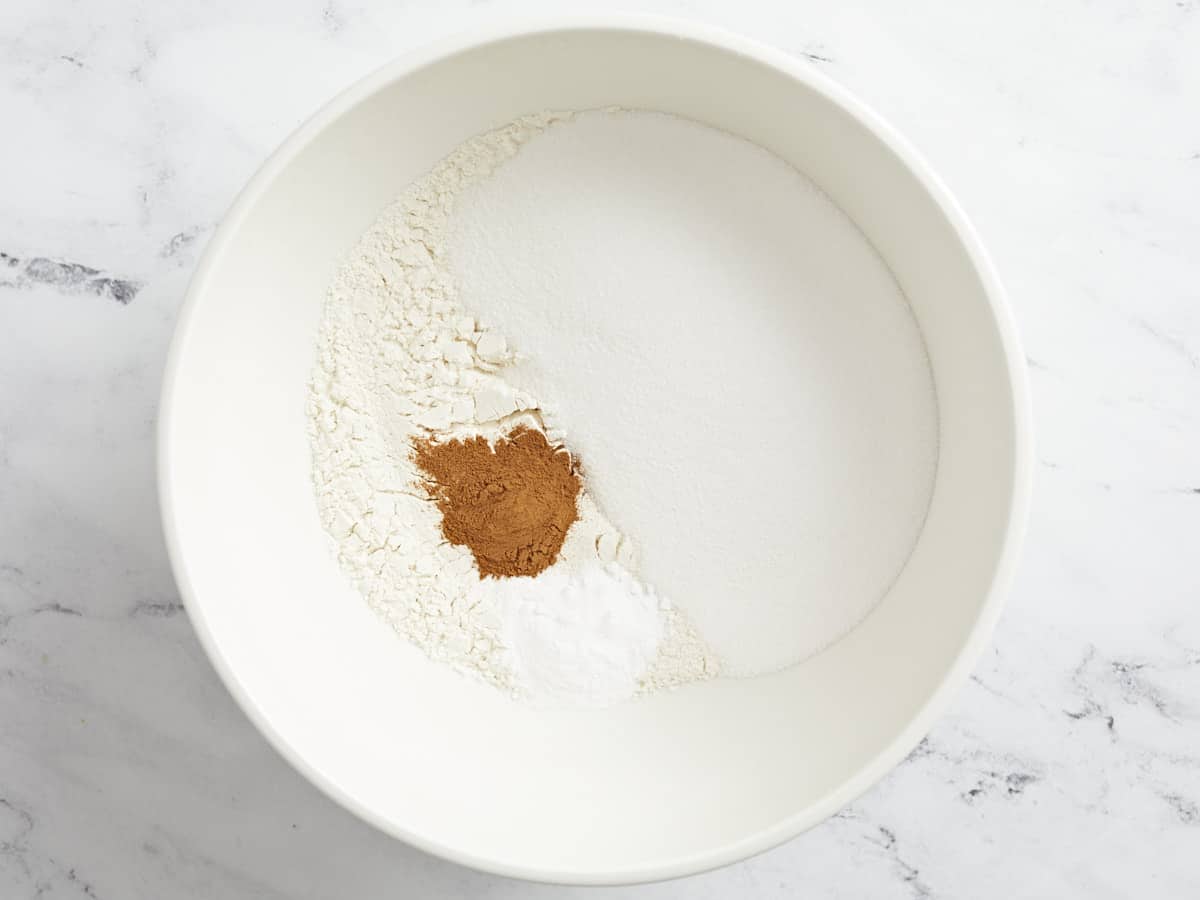
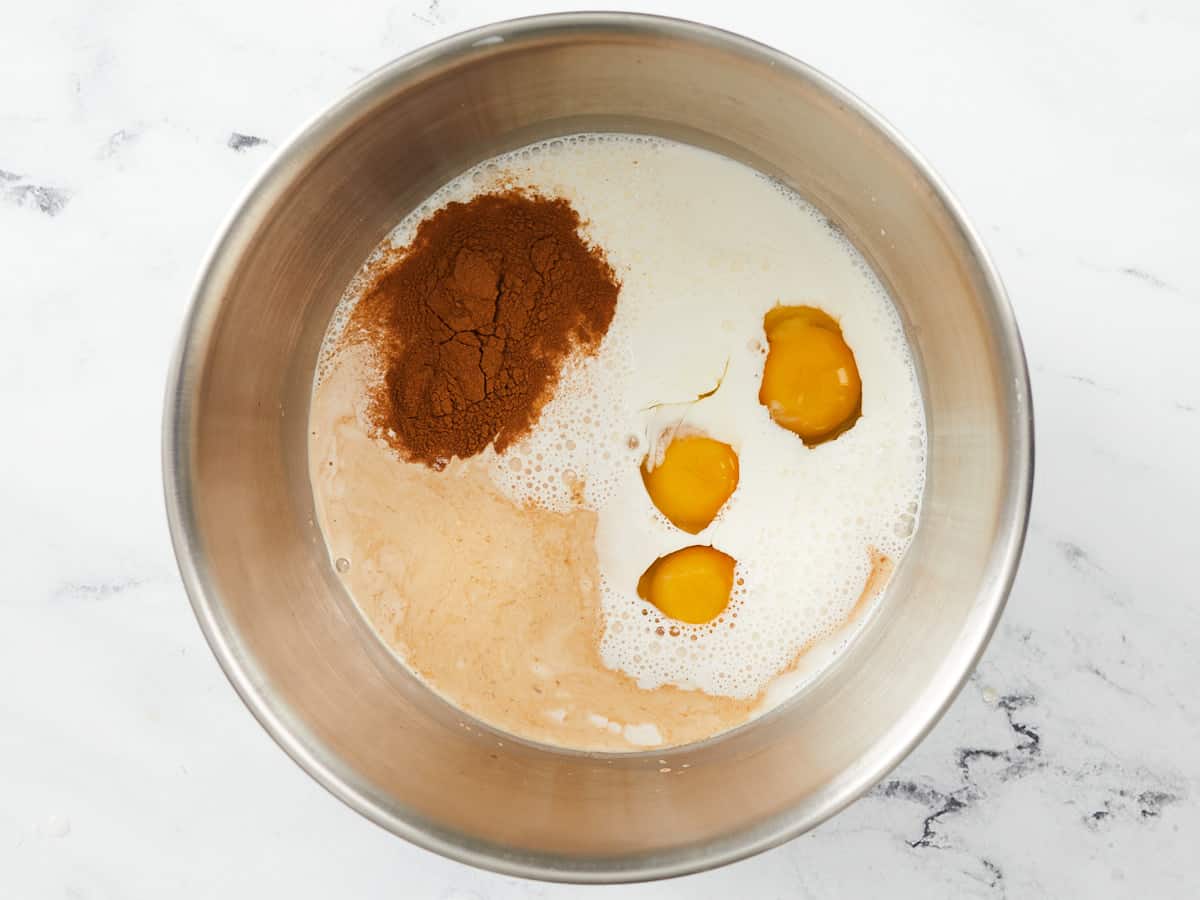
While the pecans toast, whisk together 3 cups of flour, 2 cups of sugar, 1 teaspoon of salt, 1 teaspoon of baking soda, 1/2 teaspoon of baking powder, and 1 teaspoon of cinnamon in a large bowl.
Add the 3 eggs and 1 1/2 cups vegetable oil, stirring just until the wet ingredients moisten the dry ingredients. Do not overmix.
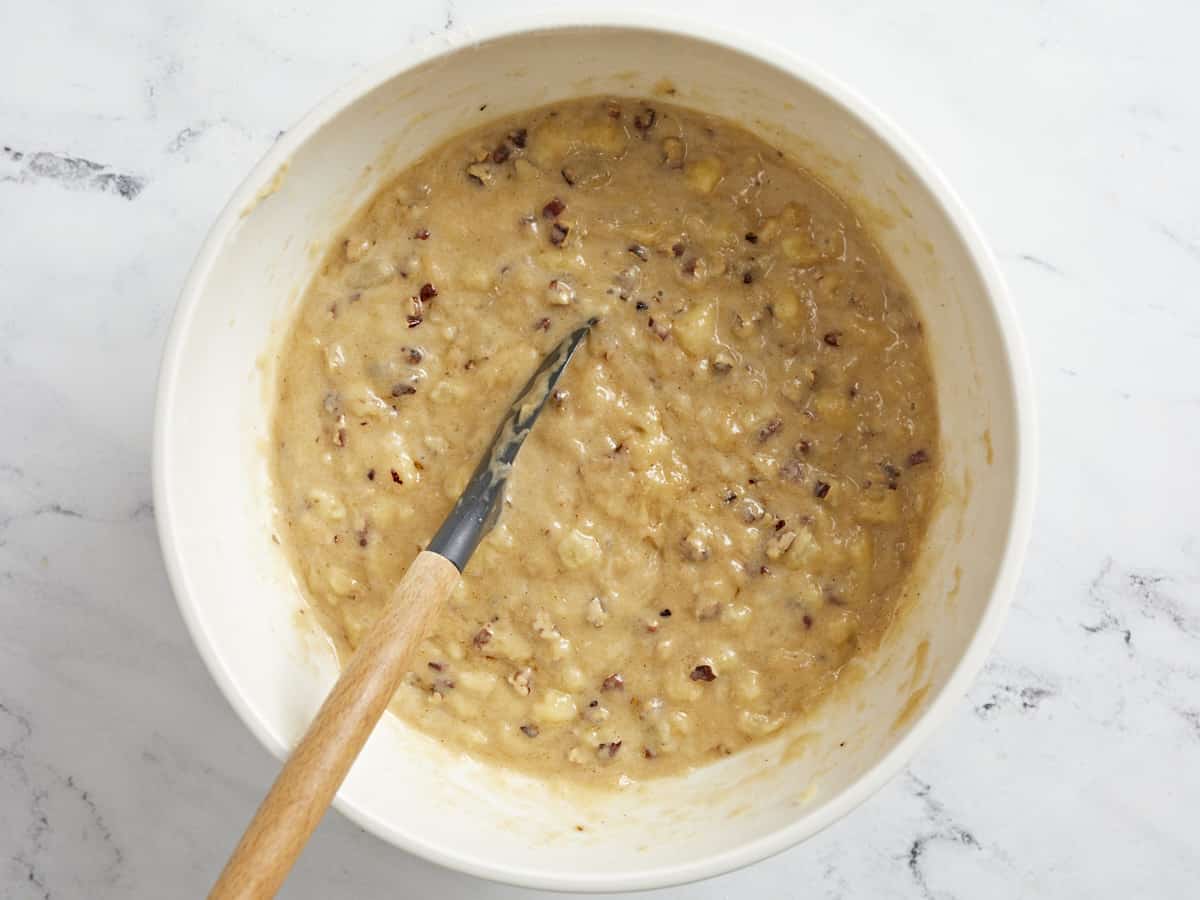
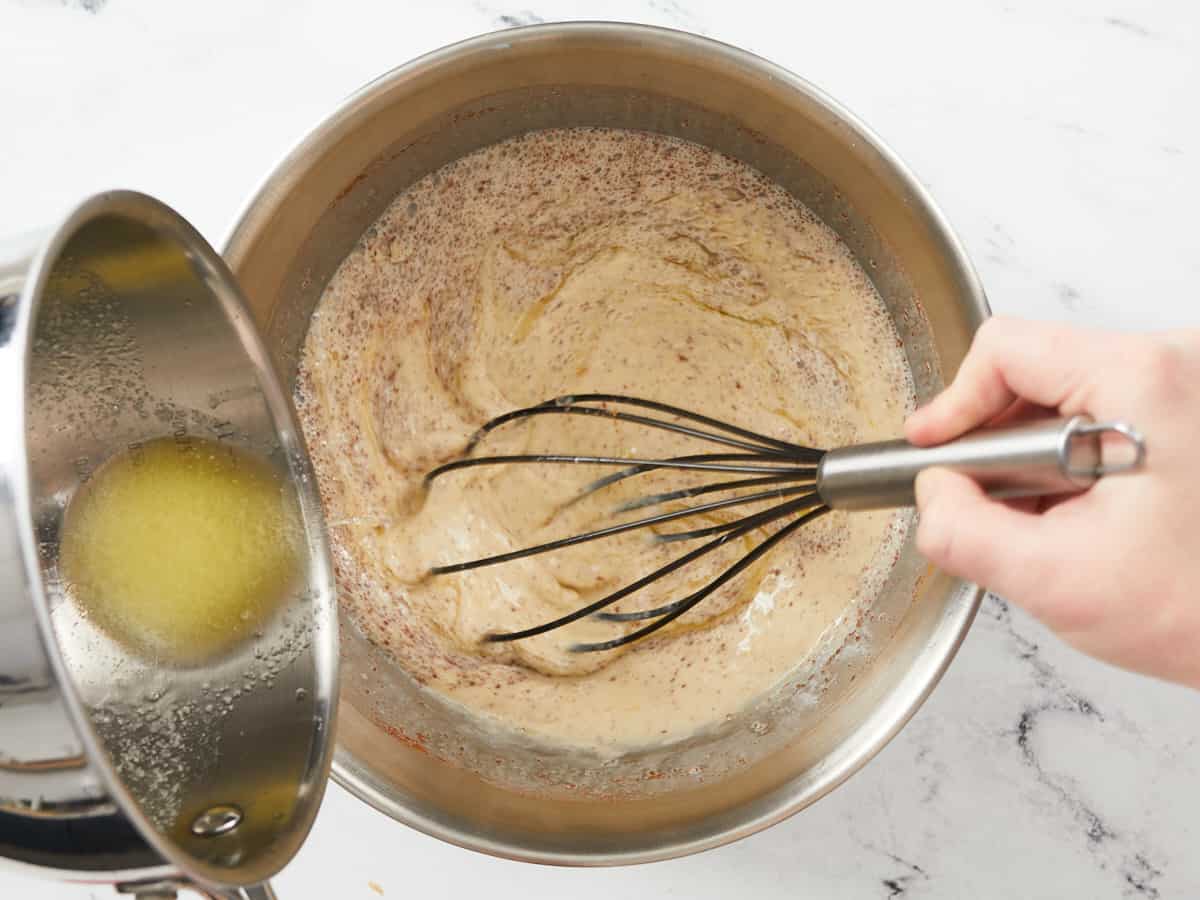
Add 1 1/2 teaspoons of vanilla, 8 ounces of crushed pineapple, 2 cups of chopped bananas, and a cup of toasted pecans. Then stir the ingredients as little as possible while fully incorporating them.
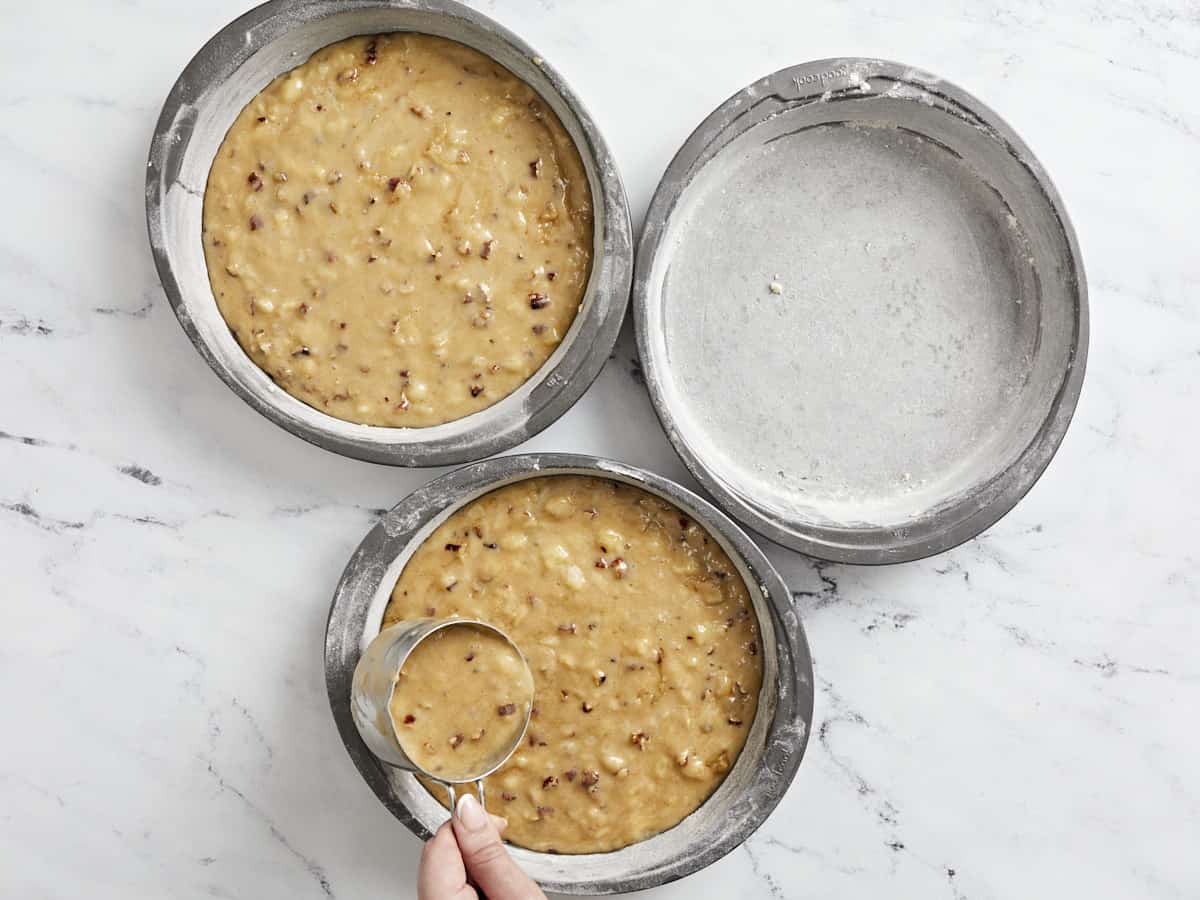
Grease three 9-inch cake pans. Cover the bottoms with parchment paper, grease the parchment, and lightly dust the bottom and sides of the pans with flour. Use a dry cup measure to divide the batter evenly. Bake until a toothpick inserted in the center comes out clean, about 25 to 30 minutes. Cool the pans on wire racks for 10 minutes before removing the cakes from the pans. Cool the layers on wire racks before frosting for 1 hour.
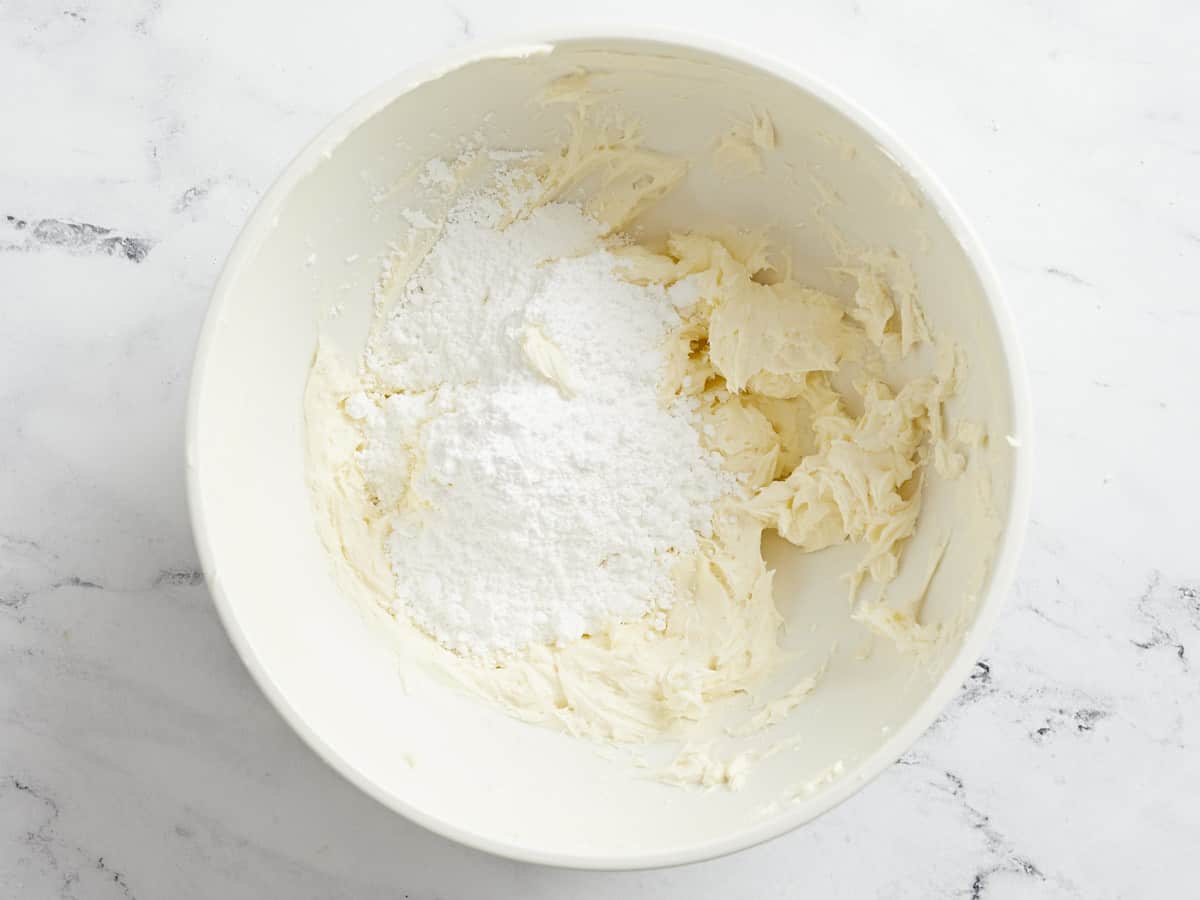
While the cake bakes, in a very large bowl, add the 12 ounces of cream cheese, the 12 tablespoons of salted butter, 3/4 teaspoon vanilla, and a pinch of salt. Beat with an electric mixer on medium speed until smooth. Then add the powdered sugar cup by cup, beating at low speed after each addition until blended.
Is this Hummingbird Cake a beauty, or what?! It’s truly a dessert you can’t get enough of. So much so, that Beth and I have slices of it in the test kitchen freezer for whenever our sweet tooth strikes! (Which is every single day TBH.) We were literally just looking at this post, contemplating driving to the test kitchen to get a slice! Get your cake pans ready for a win that’s under $20!
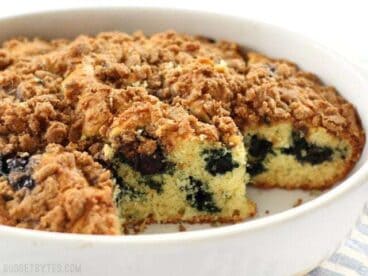
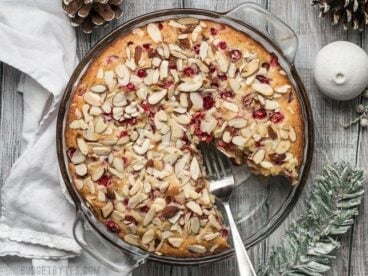
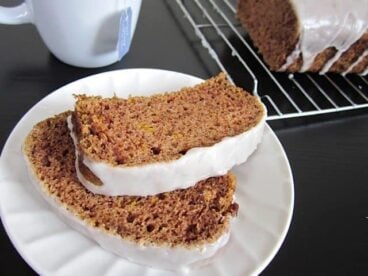
More Budget-Friendly Cakes
The post Hummingbird Cake appeared first on Budget Bytes.