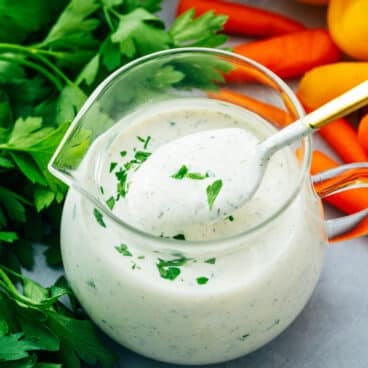
Make restaurant-quality Italian dressing at home with this simple recipe! This zesty dressing is full of flavor and perfect for salads, pasta salads, and more.

One of the top salad dressing recipes to make homemade: Italian dressing! This zingy Italian American vinaigrette is a staple that many of us have grown up with. Ever tried making it at home instead of opting for bottled?
As two cookbook authors, we’ve found the key to a great salad is a homemade salad dressing: they don’t have preservatives or added ingredients, are extremely tasty, and are quick to make! This zesty Italian dressing recipe is a fan-favorite recipe from our popular chopped salad, and it’s become our go-to easy vinaigrette for all types of salads.
Jump to the recipe—now.
What we love about this Italian dressing
This Italian dressing recipe is a standby recipe we’ve been making for over a decade. It all started with our famous chopped salad, which is always a hit with friends and family. Every time we serve it, people ask us for the recipe! Over the years, readers have constantly given us feedback they love it to. Here’s what we love about this recipe:
- It’s delicious. Our readers have left comments like “IMO, This IS the best Italian dressing!” and “Wow this was so good! I made it for a Italian inspired mixed green salad that I made for guests and everyone loved it. I will definitely be making it again!”
- It’s simple to whip up in 5 minutes. You need a few ingredients, a bowl and a whisk.
- It’s versatile. You can use it on many different salads: and even as a marinade!

Ingredients you’ll need
Turns out, Italian dressing is actually an Italian American creation, not a traditional Italian food! It’s a vinaigrette type dressing used in American and Canadian cuisine. In Italy, salads are dressed with olive oil, vinegar, lemon juice and salt at the table, not typically with a pre-mixed salad dressing. Italian dressing is an American creation that approximates the flavors and herbs in Italian food, like olive oil, garlic, basil, oregano and thyme.
The ingredients you’ll need for this Italian dressing are:
- White wine vinegar: This pantry ingredient brings in the tangy flavor (helpful so you don’t have to buy a fresh lemon). Make sure to use white wine vinegar, not white vinegar, which has a very strong, acidic flavor.
- Dijon mustard: Mustard adds tangy, savory flavor and helps to make the perfect emulsion.
- Maple syrup or sugar: Adding a hint of sugar balances the acidity in this dressing. Maple syrup adds sweetness and not a strong maple flavor, so it’s our preference here.
- Garlic: Everything is better with a little fresh garlic, and it carries the flavor of this dressing.
- Dried oregano, thyme, and basil: The combination of these herbs make the perfect flavor. We’ve experimented with Italian seasoning, but this combination tastes better.
- Olive oil: This heart-healthy oil is the binder in this dressing, making it cling to salad greens and vegetables.
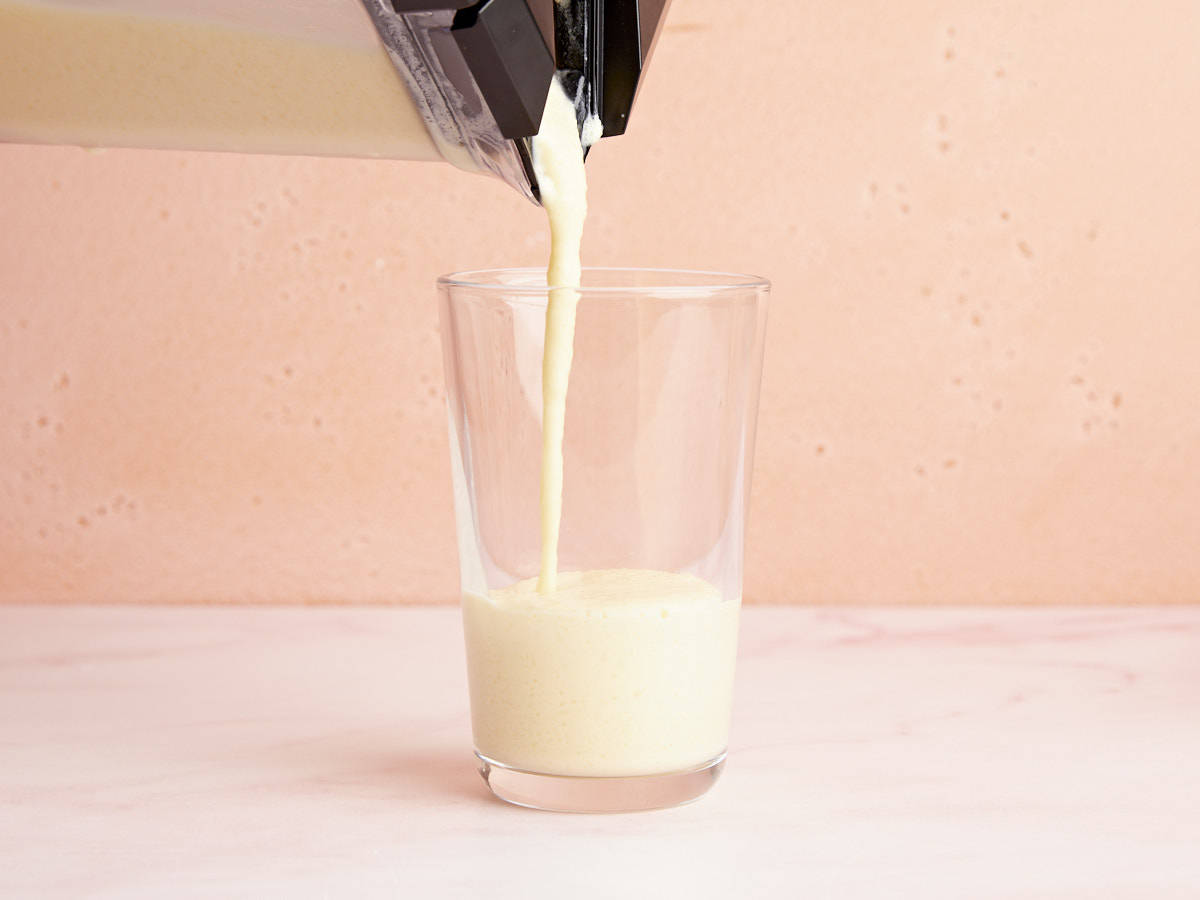
Tips for how to make an emulsion
This homemade Italian dressing recipe is incredibly simple. The flavor is zesty and bright, full of garlic, white wine vinegar, maple syrup or sugar, Dijon mustard, and olive oil. Add to that a mix of Italian-style dried herbs: basil, thyme, and oregano, which bring in earthy flair. To make an emulsion for this homemade Italian salad dressing recipe, simply whisk it by hand. Here are a few tips:
- Use a medium-sized bowl. To get the oil and vinegar to incorporate into a creamy emulsion, here’s a tip: use a medium-sized bowl to allow for enough movement of the whisk. (Trust us, we’ve tried it in small bowls before and it’s difficult to get the oil and vinegar to combine properly.)
- Add the olive oil little by little. Add it tablespoon by tablespoon and whisk in between each until the oil fully incorporates.
- Use Dijon mustard. Don’t leave out the mustard! Dijon mustard helps to form and lock in the emulsion. We’ve used this technique in our other vinaigrette recipes, like our Classic Vinaigrette and Balsamic Vinaigrette.

Ways to serve this Italian dressing recipe
This homemade Italian dressing recipe is perfect on any type of salad that you throw together! We’ve made it for years and have lots of readers who use it as a go-to salad dressing. It works well on many types of salad recipes, like a chopped salad, kale salad, or any green salad with flavors that would go with an Italian-style vinaigrette. Here are a few ideas of how to use it:
- Try it on a big Chopped Salad or Italian Salad.
- Drizzle it onto Tuscan Kale Salad or a Spinach Salad.
- Try it on an Asparagus Salad with Feta.
- Use it for pasta salads like Italian Pasta Salad or Antipasto Salad.
- Make it as an option for a Salad Bar.
How would you serve this Italian salad dressing recipe? Let us know in the comments below!
More homemade salad dressing recipes
Homemade dressings have big, bold flavor and are easy to whip up! In fact, we rarely buy bottled dressing. Outside of this homemade Italian dressing recipe, here are a few of our other favorite salad dressing recipes:
- Go classic with Homemade Ranch Dressing
- Try creamy Caesar Dressing
- Opt for Blue Cheese Dressing or Thousand Island Dressing
- Try vinaigrettes like Easy Vinaigrette, Greek Dressing, Balsamic Vinaigrette, or Lemon Vinaigrette
- Mix up zingy Honey Mustard Dressing or Green Goddess Dressing
- Try Creamy Avocado Dressing or Raspberry Vinaigrette


This homemade Italian dressing recipe is…
Vegetarian, gluten-free, vegan, plant-based, and dairy-free.
Print
Italian Dressing Recipe
-
 Prep Time: 5 minutes
 -
Cook Time: 0 minutes
-
Total Time: 5 minutes
-
 Yield: About ½ cup
Description
This zesty homemade Italian dressing recipe is full of flavor and easy to make at home! This one will become a go-to on first taste.
Ingredients
- 2 tablespoons white wine vinegar
- 2 teaspoons Dijon mustard
- 1 teaspoon maple syrup or sugar
- 1 small garlic clove, grated (about ¼ teaspoon) or ½ teaspoon garlic powder
- ½ teaspoon each dried oregano, dried thyme, and dried basil
- ¼ teaspoon kosher salt
- 6 tablespoons olive oil
Instructions
- In a medium bowl, whisk together the white wine vinegar, Dijon mustard, and maple syrup. Grate in the garlic clove, then whisk together with the oregano, thyme, basil, and kosher salt.
- Gradually whisk in the olive oil, adding 1 tablespoon at a time and whisking until it incorporates, until an emulsion forms. Serve immediately. Store refrigerated and bring to room temperature before serving (keeps at least 2 weeks).
 Category: Salad Dressing
 Method: Whisked
 Cuisine: American
Keywords: Italian dressing, Italian dressing recipe, Homemade italian dressing, How to make italian dressing,