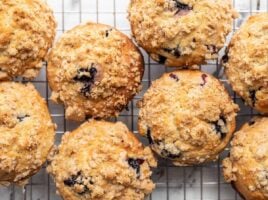
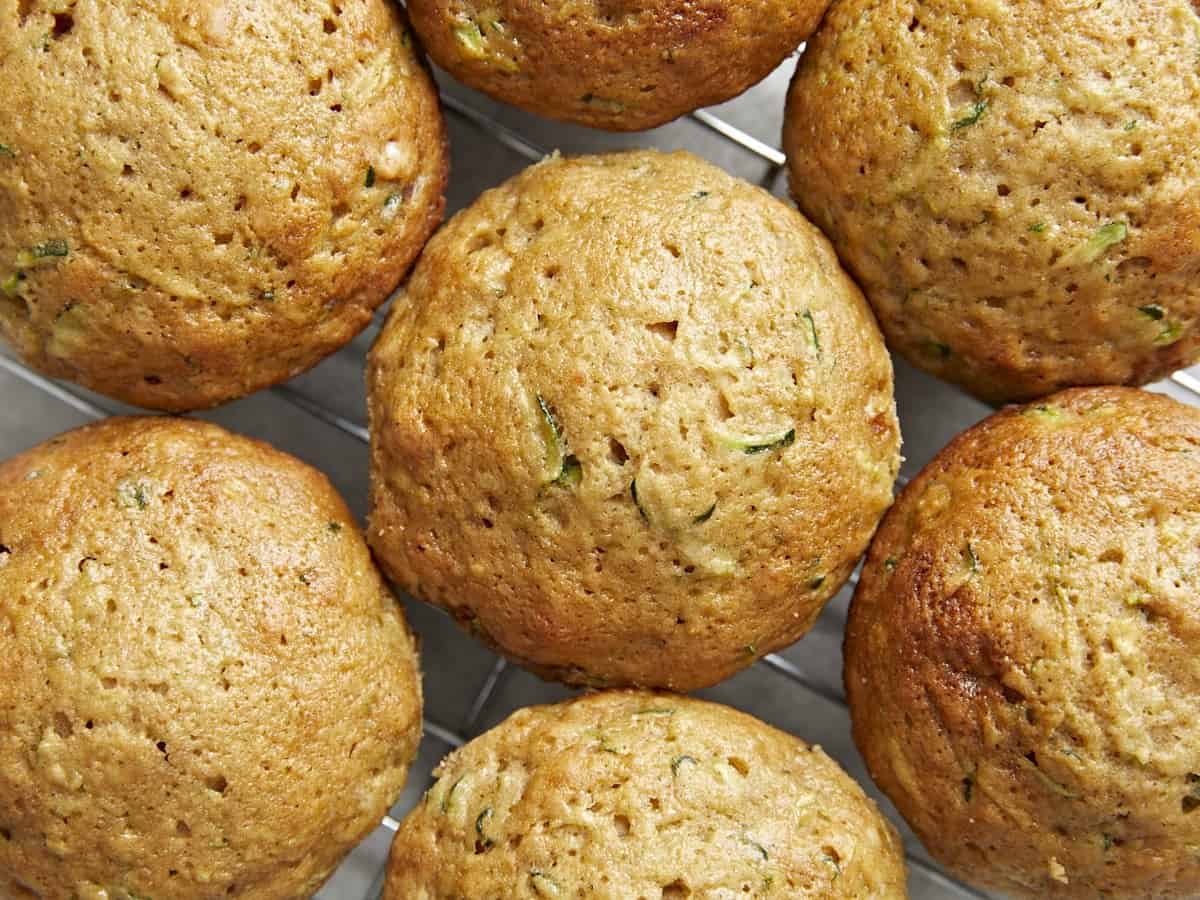
This recipe goes out to all of my fellow zucchini lovers who have an abundance of zucchini growing in their gardens right now. Or maybe you’re like me and just have extra zucchini hanging out in the fridge that you need to use before it goes bad. Either way, one of my favorite ways to use up zucchini is by making these delicious and slightly irresistible Zucchini Muffins. They’re soft, super moist and the perfect way to sneak in a green vegetable!
Ingredients Needed for Zucchini Muffins
What I love about baking recipes is that they often include pantry staple ingredients that you already have on hand. You can easily whip up a batch of these zucchini muffins using the following:
- Grated Zucchini – Zucchini naturally contains a lot of water, but there’s no need to pat or squeeze out the excess water for this recipe. In this case the extra liquid helps add moisture to the muffins – saving you an extra step!
- All Purpose flour – this gives the muffins structure. We used all-purpose flour, but you can safely substitute up to half of the flour for whole wheat flour without affecting the flavor or texture too much.
- Baking Powder & Baking Soda – both are leavening agents to help the muffins rise. We used both due to the extra acidity from the applesauce.
- Eggs – to help bind all of the muffin ingredients together.
- White Granulated Sugar & Brown Sugar – the combination of both sugars helps to balance the sweetness, moisture and texture of the muffins.
- Applesauce & Oil – yes, we’re using both in this recipe! The combination of both oil and applesauce helps keep the muffins moist, but not too oily, and you gain more flavor and moisture by incorporating the applesauce. We’re not making any dry muffins over here! :)
- Cinnamon & Vanilla – keeping the added spices simple is key. These two pair nicely together to help enhance the flavor of the zucchini muffins.
Should You Peel the Zucchini Before Grating It
Thankfully there is no need to peel your zucchini before grating it. The skin of the zucchini is very thin and tender, so it’s barely noticeable once baked into the muffins. Just give it a good wash with your hands or a vegetable brush and you’ll be good to go!
A Few Recipe Tips!
- Don’t over mix the batter. Overmixing will cause the muffins to become dense and tough instead of light and fluffy. Mix the dry and wet ingredients together until they are just barely combined and there are no traces of dry flour left in the bowl.
- Oil your muffin pan well. Even if you are using a nonstick muffin pan, make sure to oil it well or use cupcake liners to prevent your muffins from sticking to the pan.
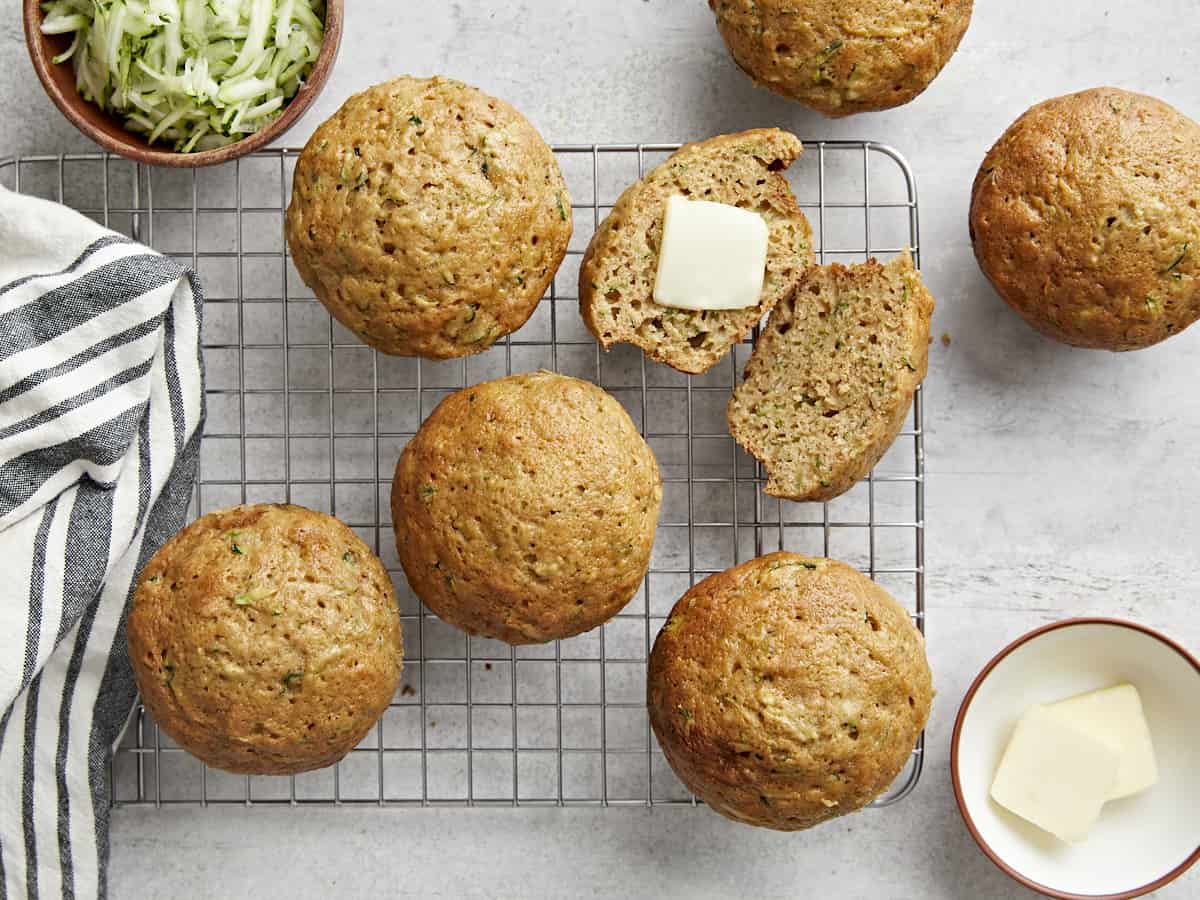
- You can easily stretch this batter and get 12 regular size muffins. We were going for larger, bakery style muffins, so we divided the batter into eight muffin wells.
How to Store Zucchini Muffins
Allow the muffins to cool completely at room temperature before storing. You can store leftover zucchini muffins in an airtight container or a food storage bag at room temperature or in the fridge for 4-5 days. For longer storage, store in a freezer-safe storage bag for up to 3 months. Thaw frozen muffins at room temperature or microwave for about 30 seconds until warm, then add a little butter and enjoy!
Need to use up the rest of your Zucchini?
Some other great ways to use up your supply of summer zucchini include making a batch of these crispy, Baked Zucchini Fries, this easy Lemon Pepper Zucchini, or baked Zucchini Slice. Other great zucchini recipes include our simple Charred Corn and Zucchini Salad or easily add sautéed zucchini to your favorite meal like this Blackened Salmon with Zucchini dish!

Zucchini Muffins
Equipment
Ingredients
- 2 cups grated zucchini (about 1 lb.) $1.49
- 2 cups all-purpose flour $0.28
- 1 tsp baking powder $0.06
- 1/2 tsp baking soda $0.02
- 1/2 tsp salt $0.04
- 1 tsp cinnamon $0.10
- 2 large eggs $0.22
- 1/2 cup granulated sugar $0.20
- 1/2 cup brown sugar $0.28
- 1/3 cup applesauce $0.18
- 1/4 cup cooking oil $0.16
- 1 tsp vanilla extract $0.50
Instructions
- Preheat the oven to 350°F. Next wash the zucchini well, trim off the stem of the zucchini, then using the large holes on a box grater, grate the zucchini and set it to the side.
- In a large bowl, whisk together the dry ingredients (flour, baking powder, baking soda, salt, and cinnamon) until well combined.
- In a separate bowl, whisk together the wet ingredients (eggs, granulated sugar, brown sugar, applesauce, oil and vanilla extract) until well combined.
- Add the grated zucchini to the bowl with the wet ingredients. Stir until combined.
- Pour the wet ingredients into the same bowl as the dry ingredients. Stir together until just combined. Be careful not to overmix at this point.
- Divide the batter between eight greased or lined muffin wells.
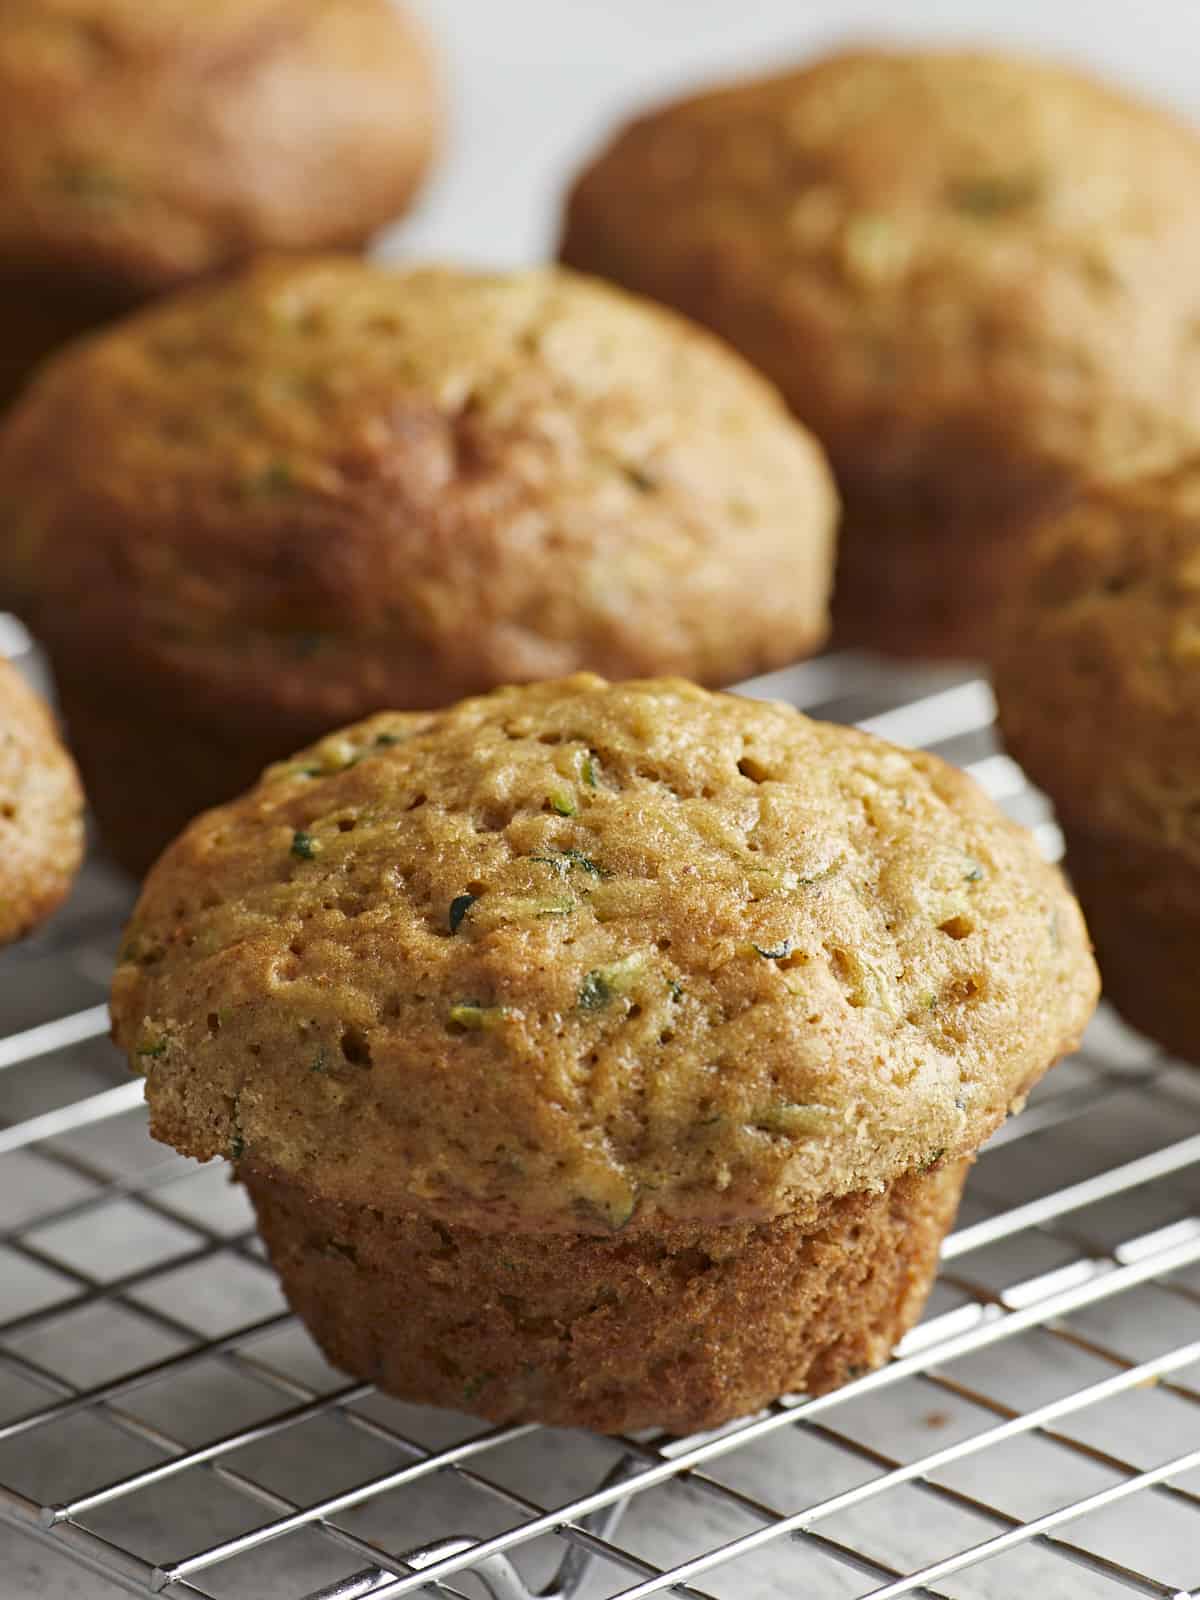
- Bake the muffins for about 24 minutes or until golden brown and puffed in the center. Allow the muffins to cool for about 5 minutes, then carefully loosen the edges with a knife and transfer the muffins to a wire rack to finish cooling. Enjoy!
See how we calculate recipe costs here.
Nutrition
How to Make Zucchini Muffins – Step by Step Photos
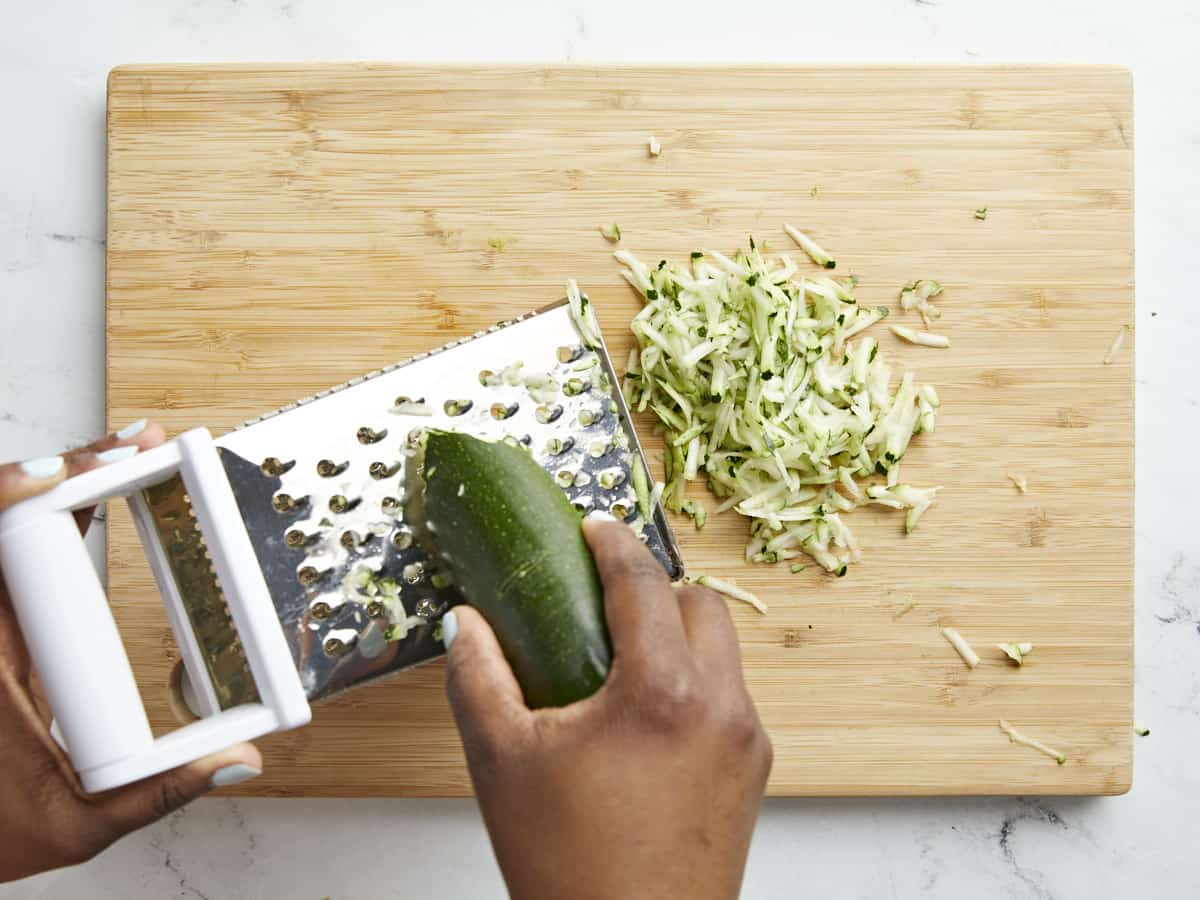
Preheat the oven to 350°F. Next wash the zucchini well, trim off the stem of the zucchini, then grate 2 cups of zucchini (roughly about 1 lb.) and set the grated zucchini to the side.
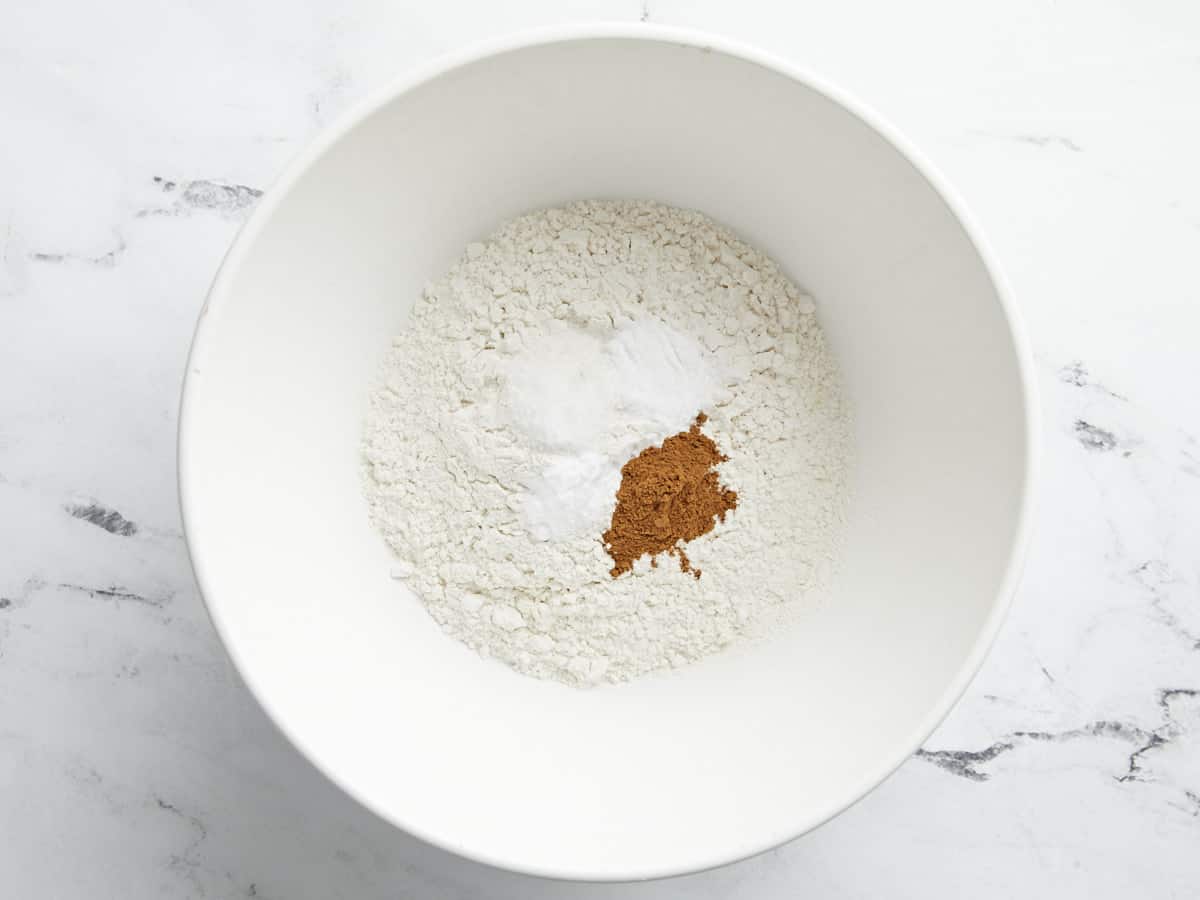
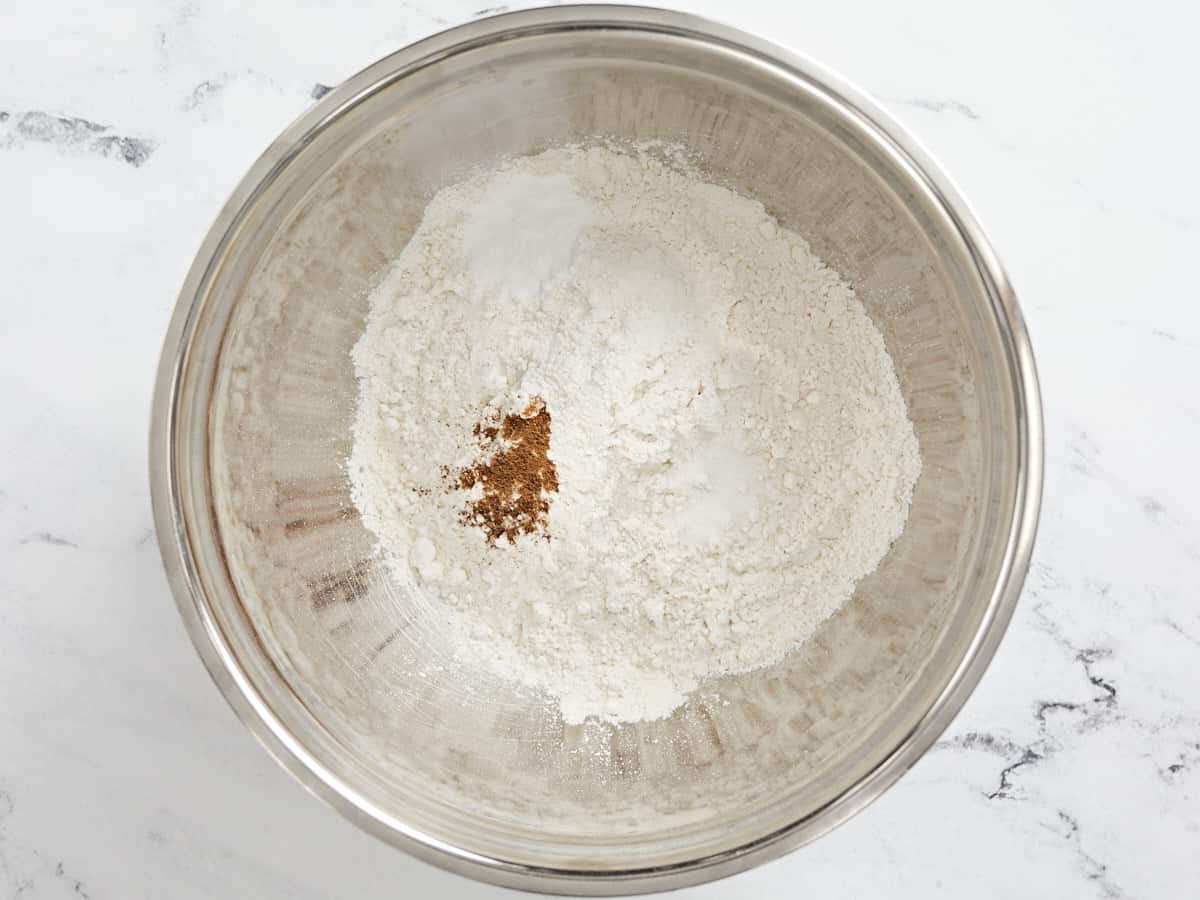
In a large mixing bowl, whisk together 2 cups all-purpose flour, 1 tsp baking powder, 1/2 tsp baking soda, 1/2 tsp salt, and 1 tsp cinnamon until well combined.

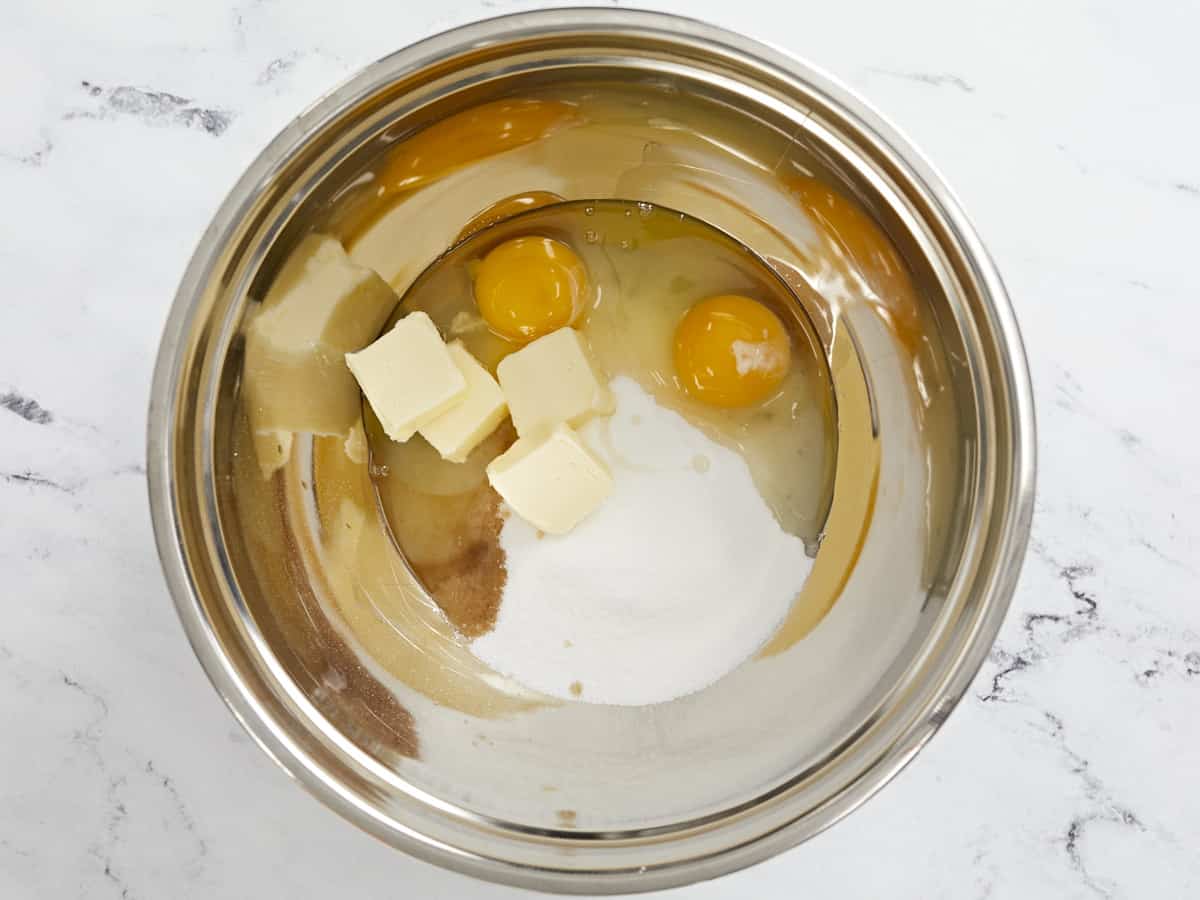
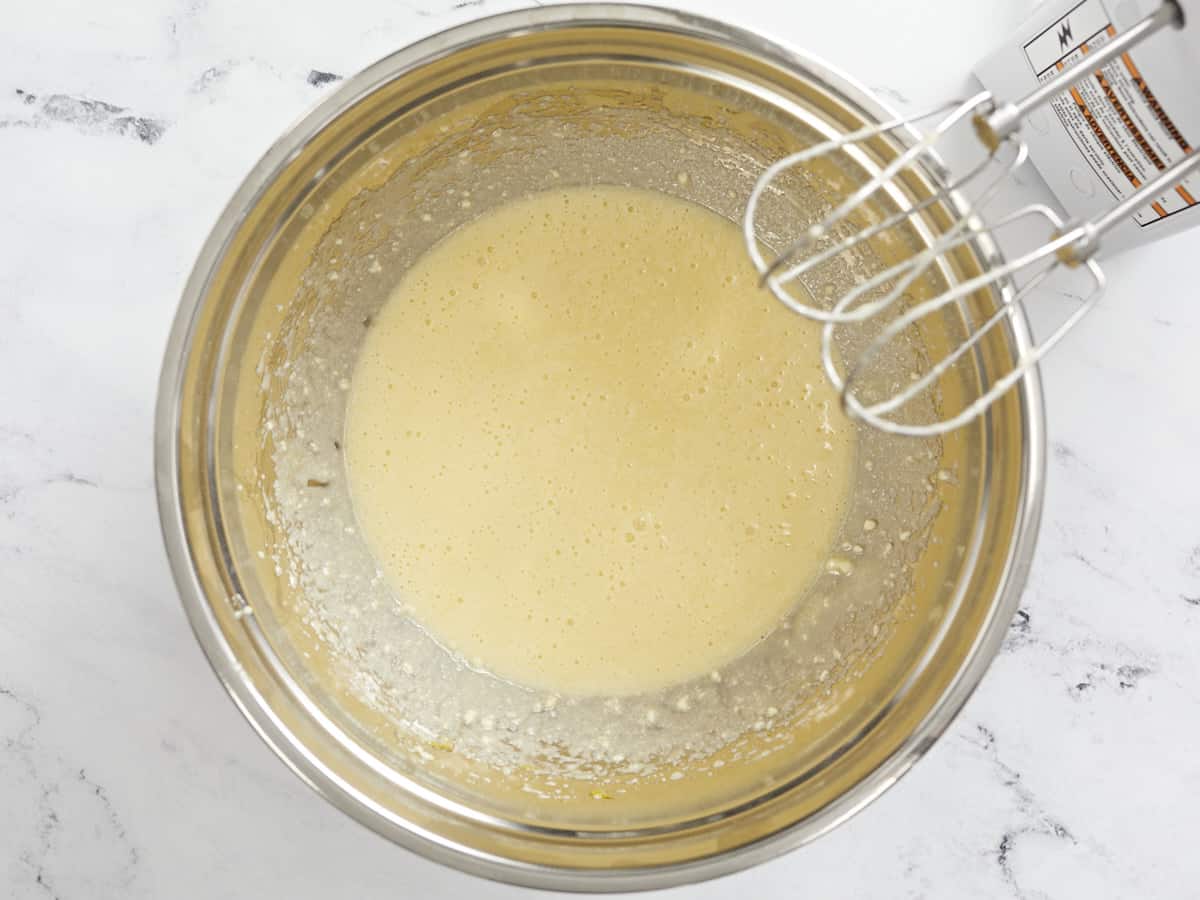
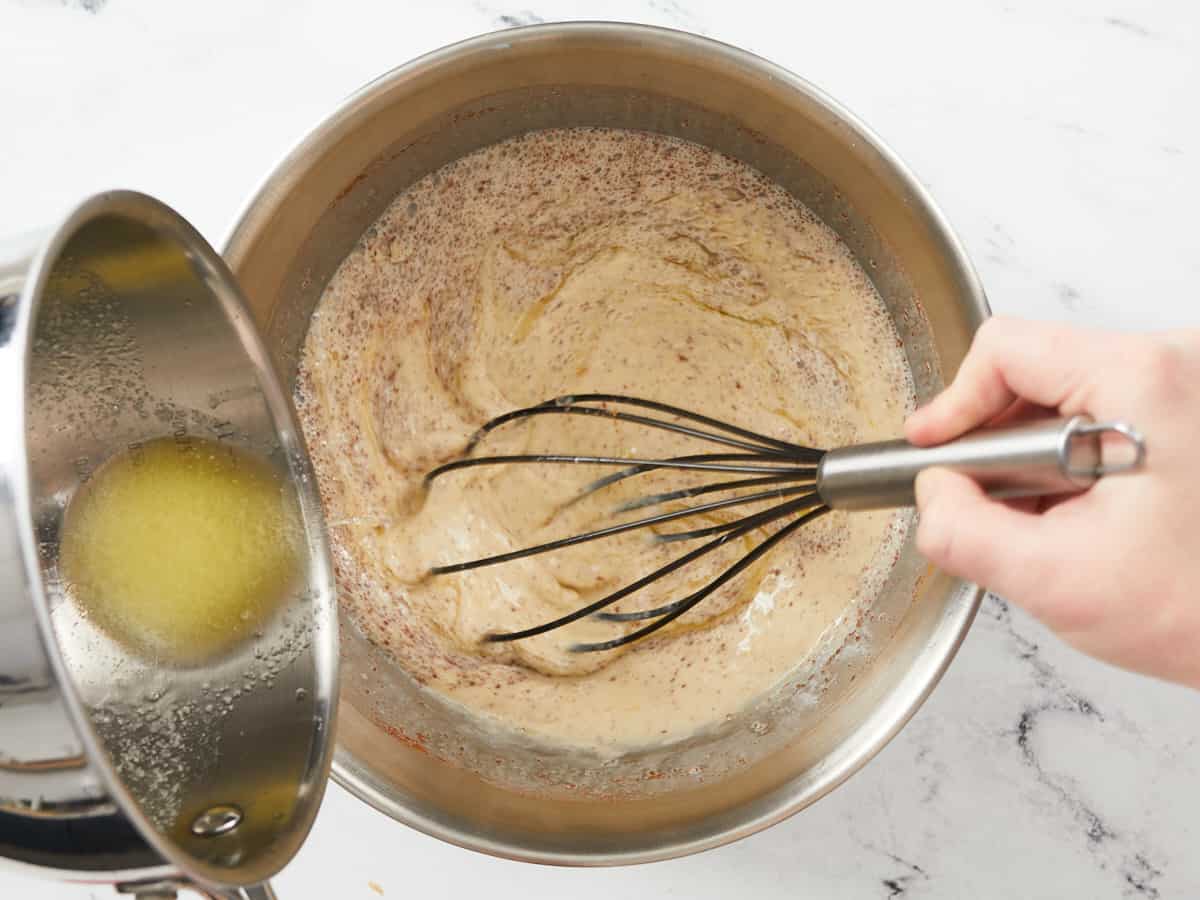
In a separate bowl, whisk together 2 large eggs, 1/2 cup granulated sugar, 1/2 cup brown sugar, 1/3 cup applesauce, 1/4 cup cooking oil and 1 tsp vanilla extract until well combined.
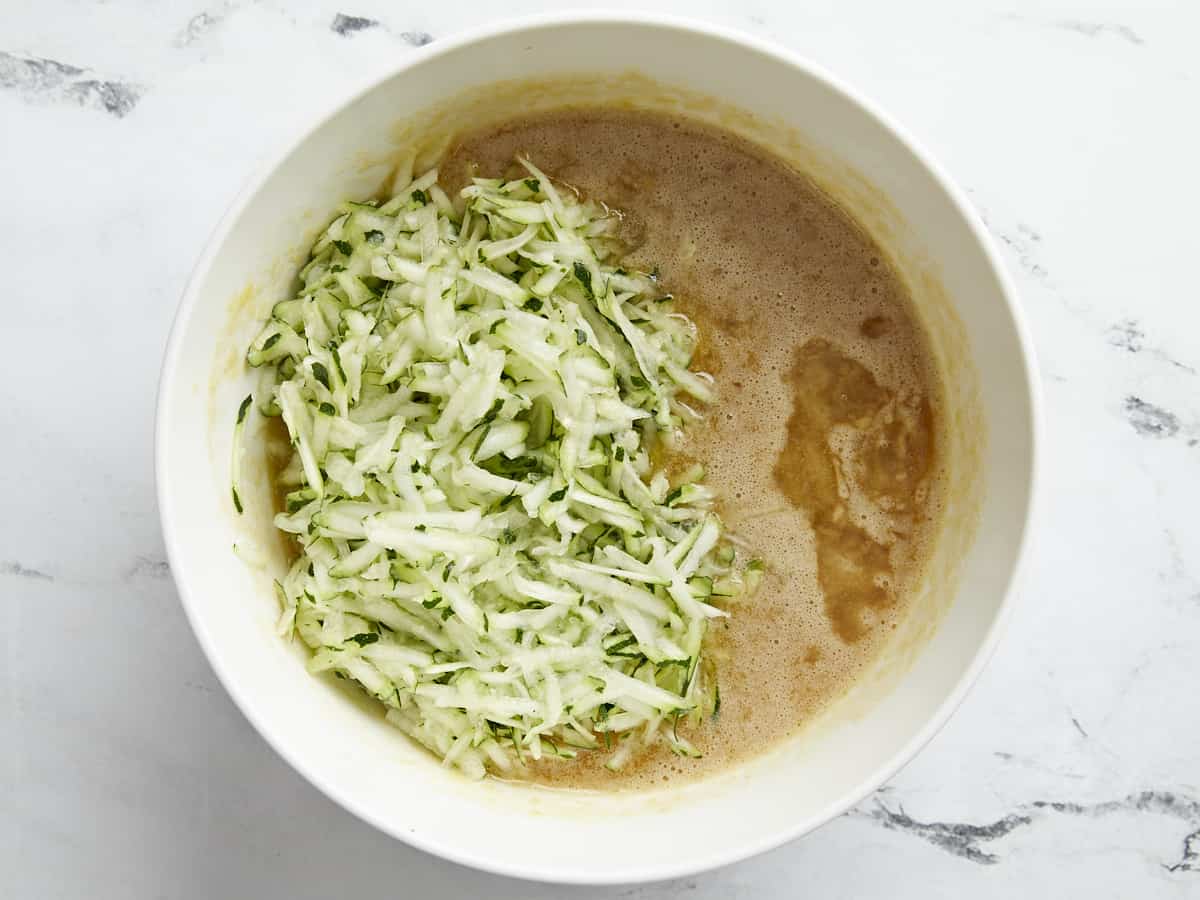
Add the 2 cups of grated zucchini to the bowl with the wet ingredients. Stir until well combined.
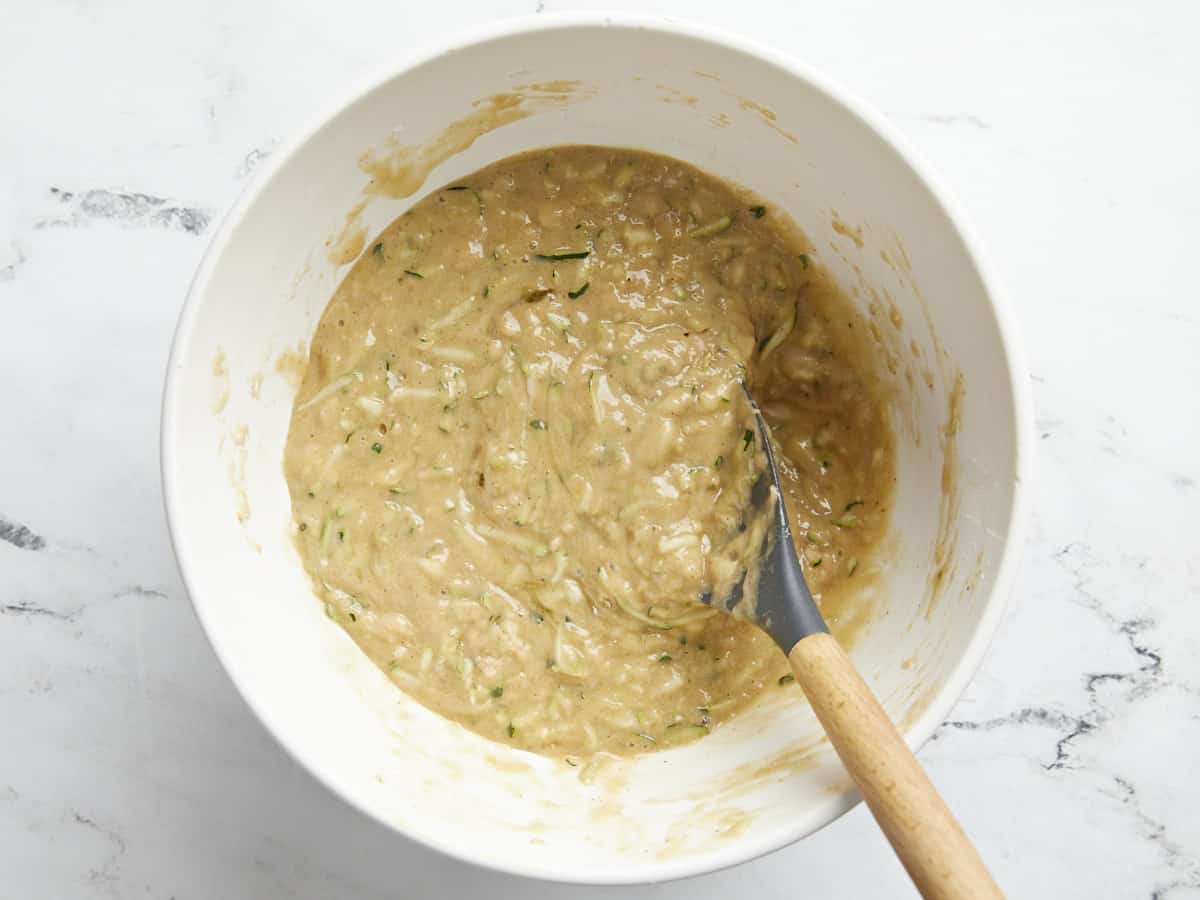
Pour the wet ingredients into the same bowl as the dry ingredients. Stir together until just barely combined and there are no traces of dry flour left in the bowl. Be careful not to overmix the batter at this point.
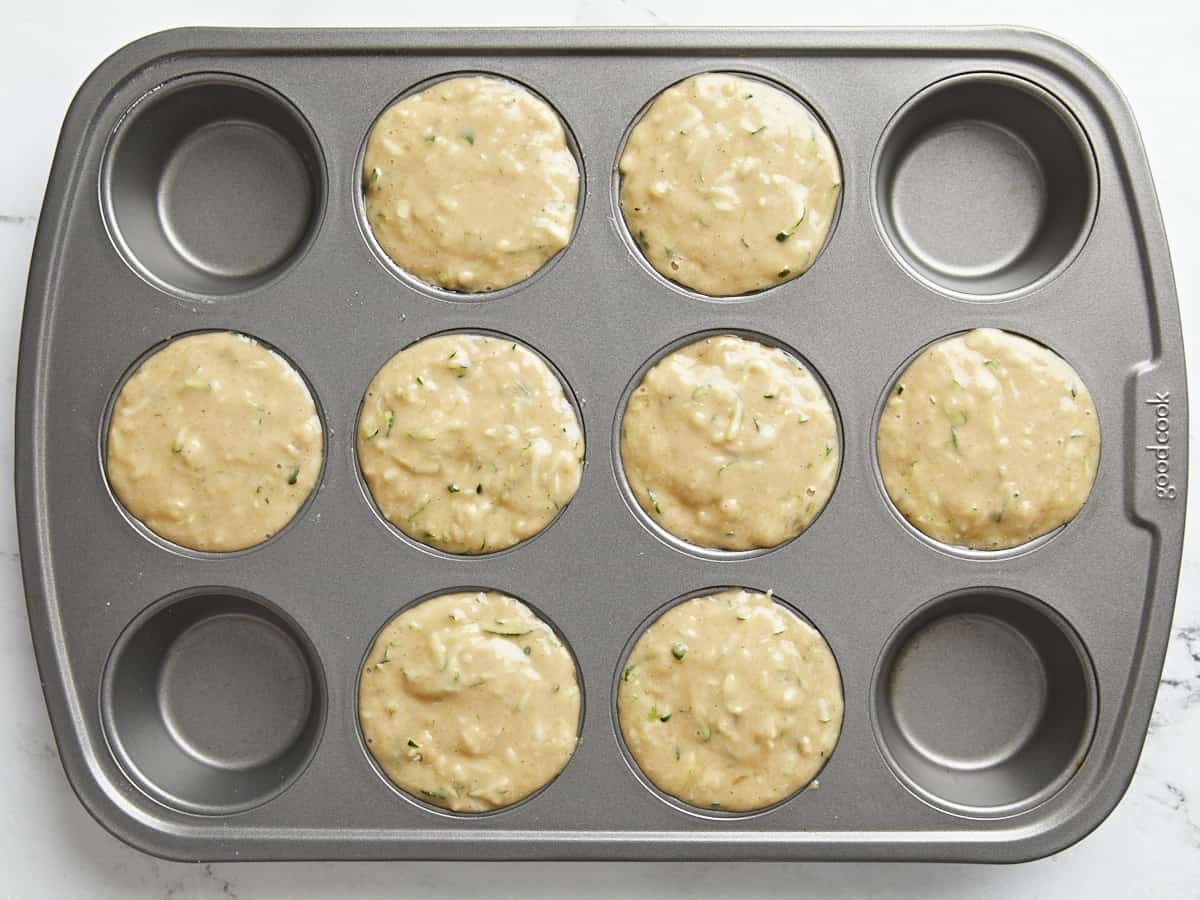
Divide the batter between eight greased or lined muffin wells.
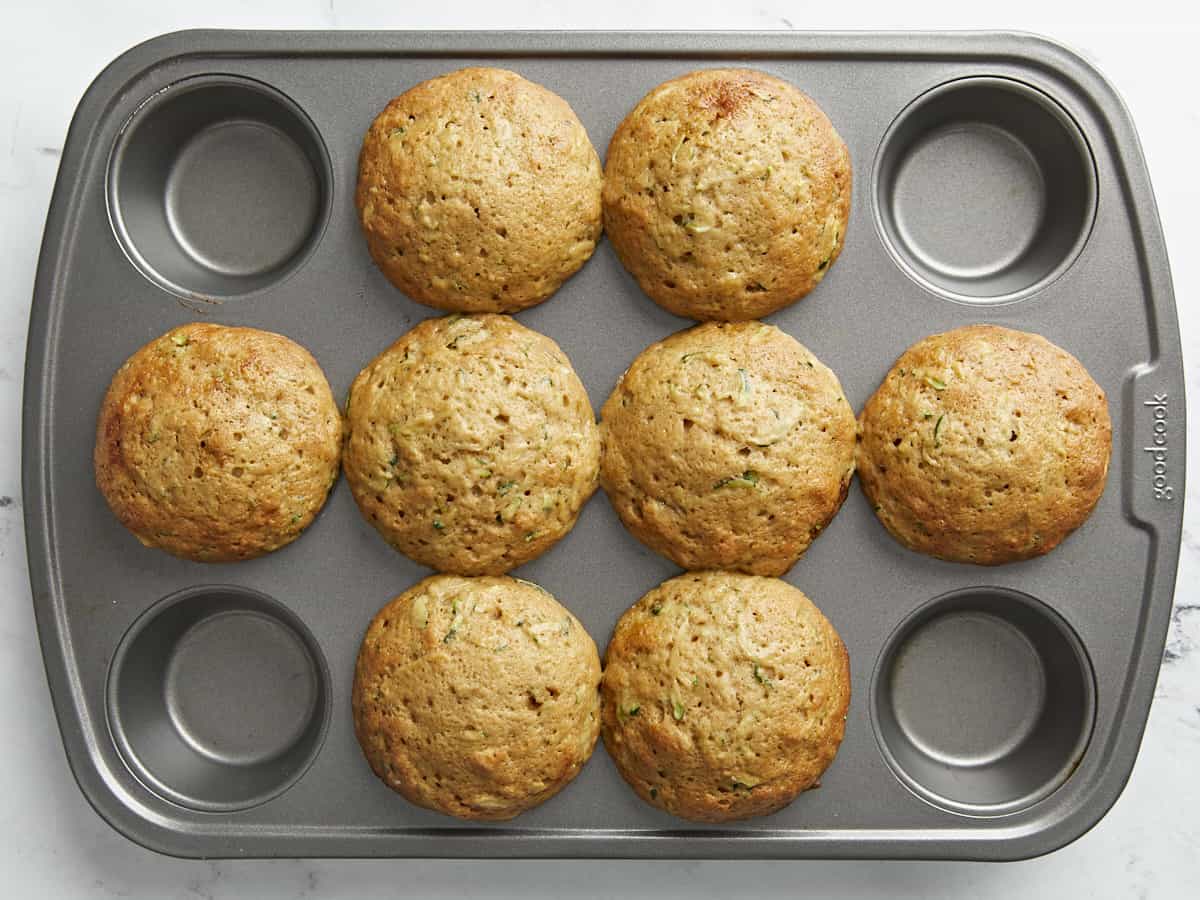
Bake for about 24 minutes or until golden brown and puffed in the center. And be prepared for your kitchen to smell amazing! Allow the muffins to cool for about 5 minutes then carefully loosen the edges of the muffin with a knife. Transfer the muffins to a wire rack to finish cooling.
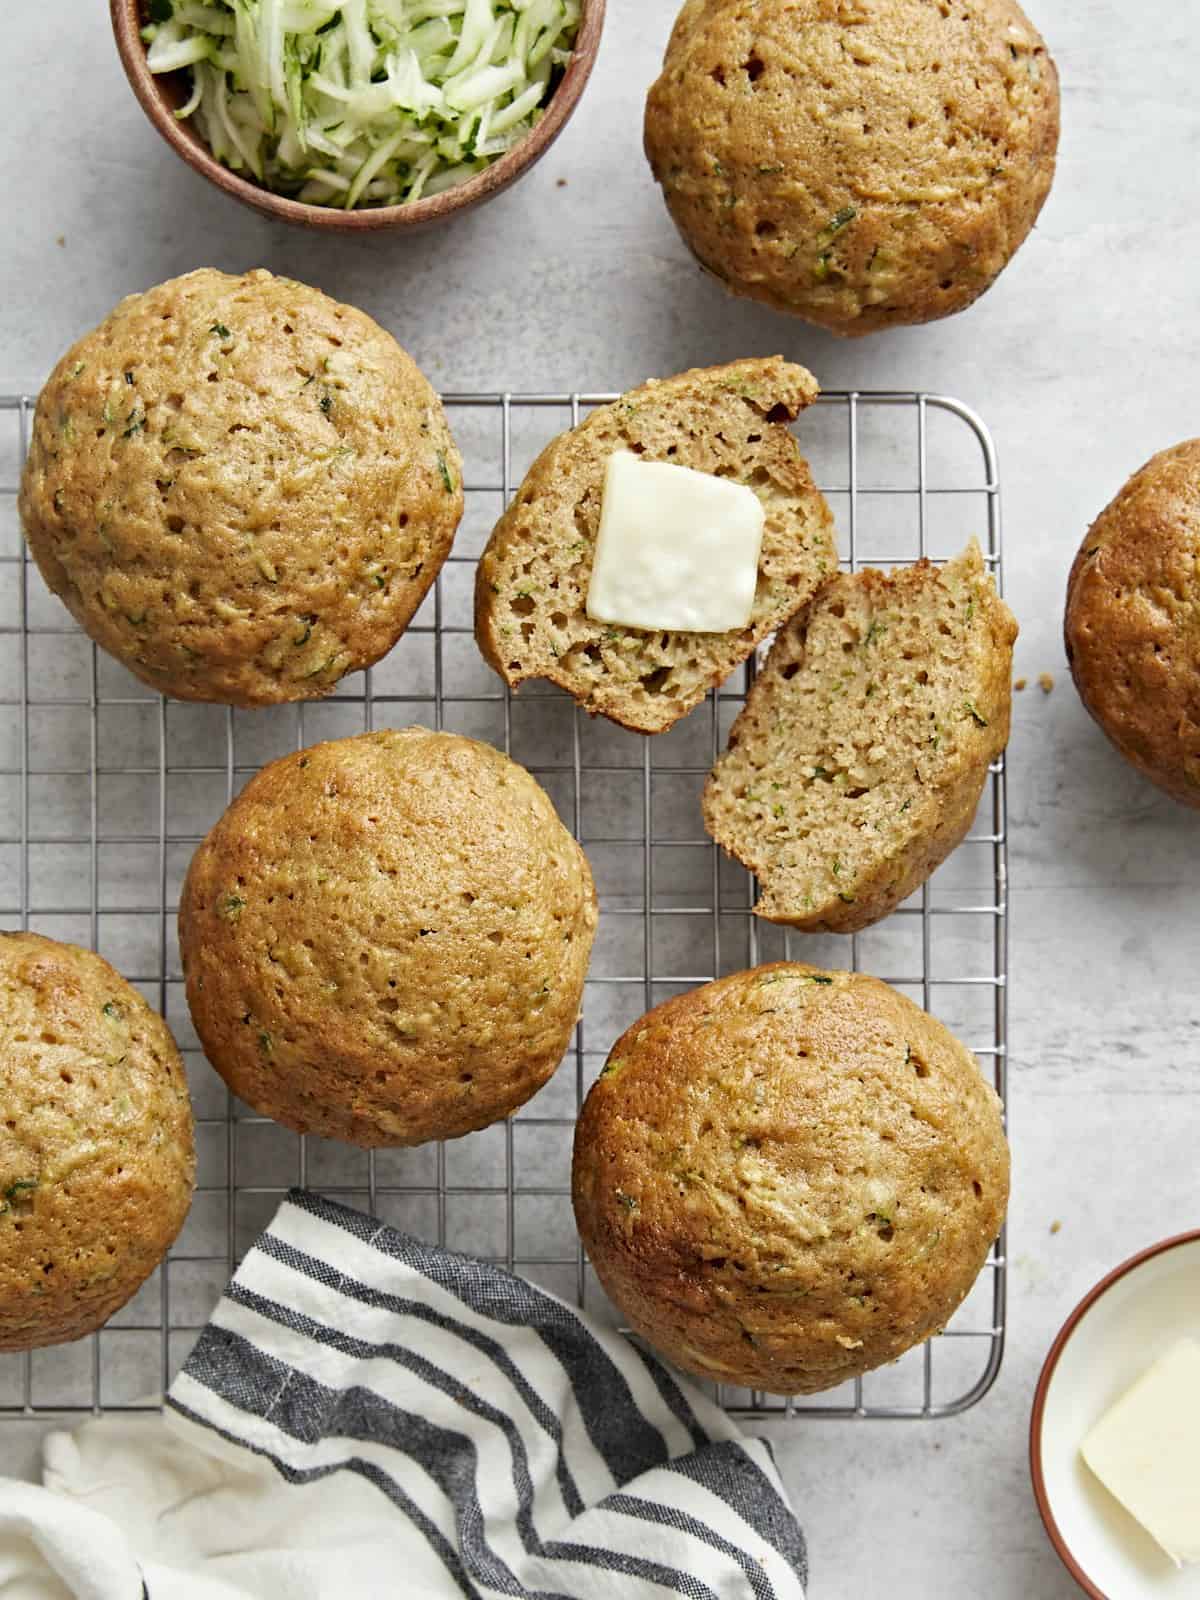
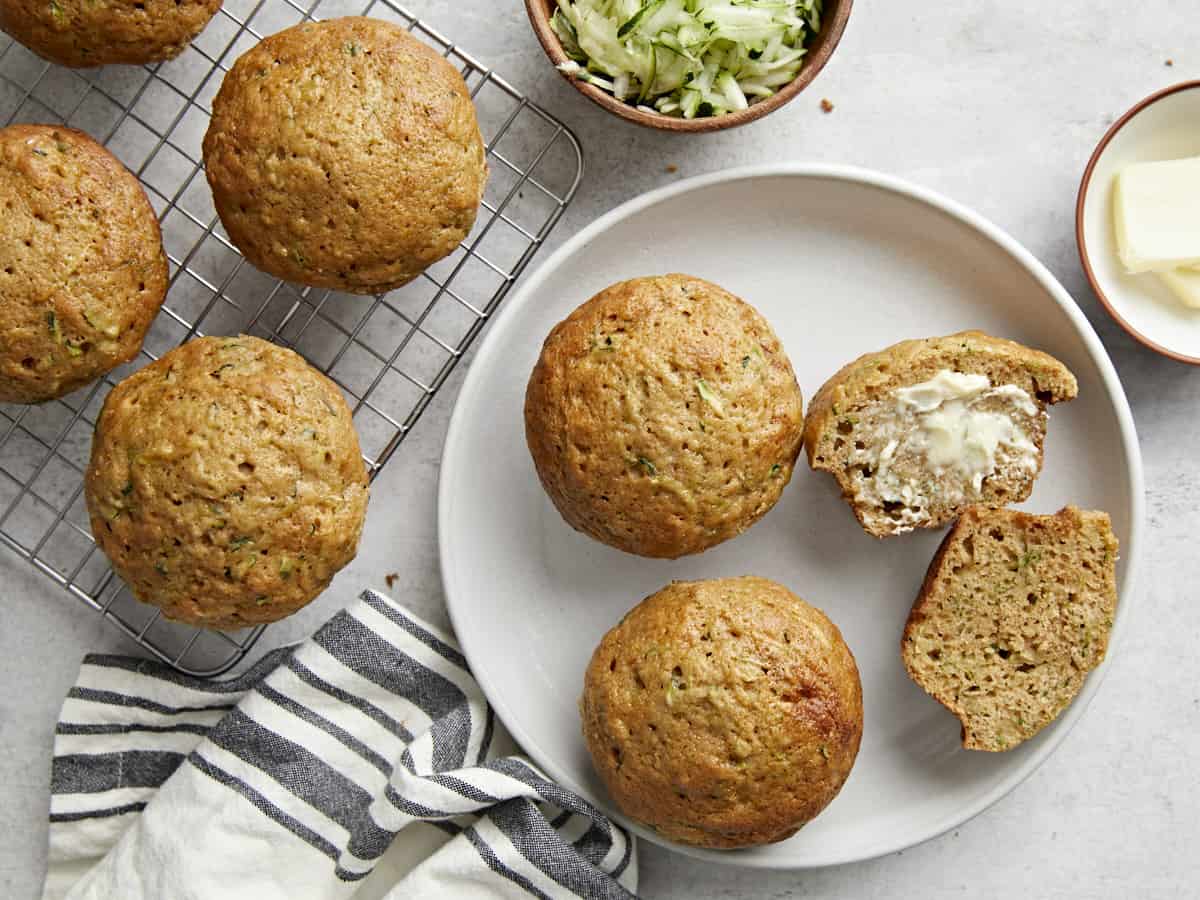
Enjoy these soft, fluffy, and absolutely delicious Zucchini Muffins by themselves or with a little butter spread on top!
More Irresistible Muffin Recipes


The post Zucchini Muffins appeared first on Budget Bytes.