Ensalada de Aguacate, a Puerto Rican-style Avocado Salad, is a quick and easy summer salad that’s so tasty and refreshing you’ll find yourself craving it on sweltering days. To bulk up the salad, I layer the creamy avocado with cooling slices of tomato. So technically, it’s an Ensalada de Aguacate y Tomate (Avocado and Tomato Salad), but who wants to type all of that out 150 times? Not this girl. Oh yeah- it comes in at under a dollar a serving! #win
What Is Ensalada De Aguacate?
This avocado salad is a very popular Latin dish, and every family has their own spin on it. It’s slices of creamy avocado, pungent onions, and in this case, tangy tomatoes dressed in a very simple mix of oil and vinegar. Some versions also include vegetables like bell peppers and radishes, fruit like mango and grapefruit, cheeses like Queso Fresco or Mozzarella, or proteins like chicken, walnuts, or sliced hard-boiled eggs.
What You’ll Need
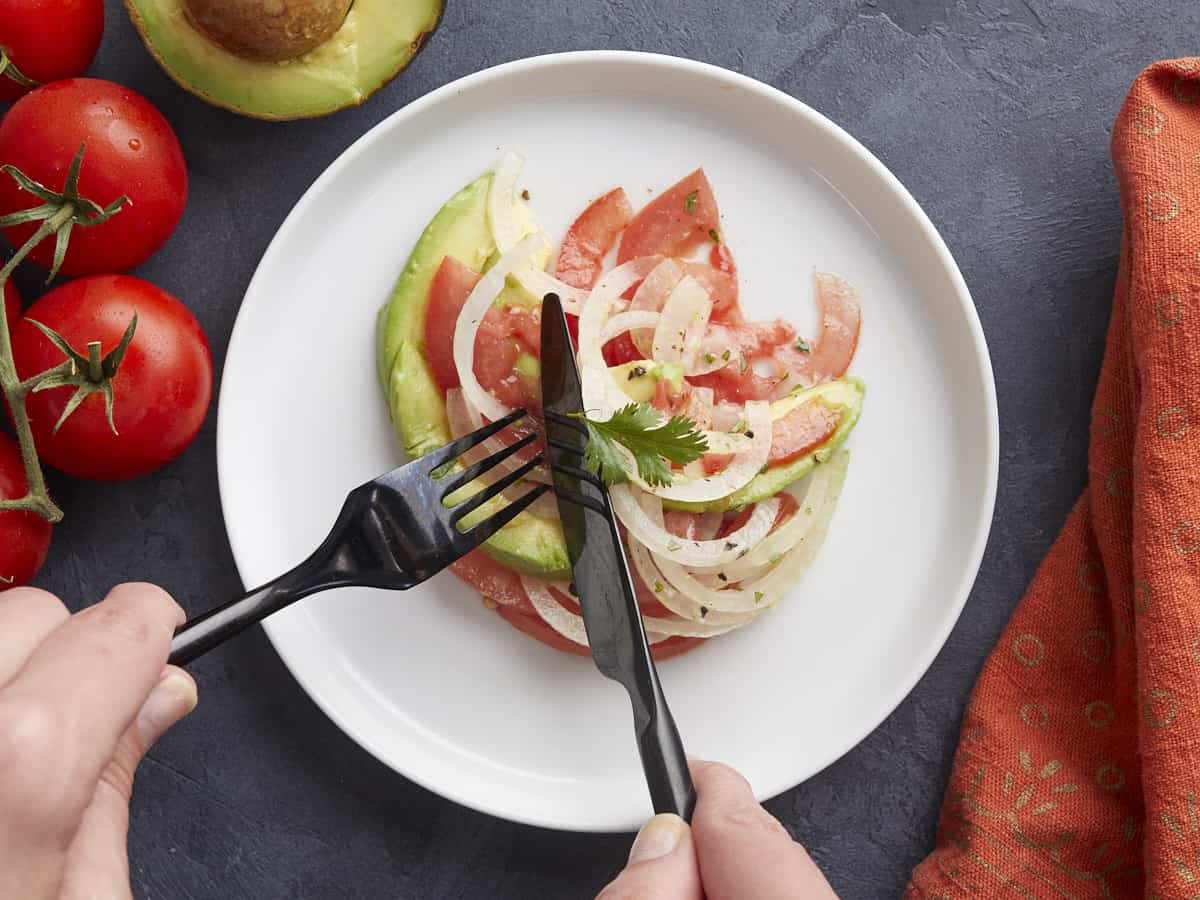
This Avocado Salad makes for a beautifully composed salad, but you don’t have to go crazy with it as I did here. I love salad with a wow factor, and taking a few extra minutes to layer the components makes for a beautiful presentation. You can present the salad in a bowl, but do your best to mix it gently, or the avocado will fall apart faster than a reality show housewife. Here’s what you’ll need to make Ensalada de Aguacate:
- Avocado: This fruit is the star of the show and adds creamy and slightly nutty notes to our salad, along with a creamy texture. I know someone, somewhere, will ask me what to substitute for the avocado in the avocado salad because they hate avocado. And to them, I say, just leave it out and enjoy a tasty tomato salad. (Editor’s note: Beth, please check out my lack of sarcasm and my extra-large serving of helpful advice. I’ve grown!)
- Yellow Onion: This has an assertive spiciness that helps cut through the fatty avocado. You can sub it with any onion you have on hand, including green onion. If you use red onion, make sure to soak it for a minute in cold water to make it less pungent. If you’re not about that onion life, skip it.
- Tomato: This fruit adds a sweet tartness to the salad and helps bulk it up to keep it budget-friendly. Use any ripe tomato you have on hand. If you’re not a fan of tomatoes, substitute them with cucumber, grapefruit, or mango.
- Olive Oil: This is the fat in our simple dressing. In a pinch, substitute the olive oil with canola, sunflower, or any nut oil. Just be aware the flavor profile will change significantly.
- Distilled White Vinegar and Apple Cider Vinegar: These are the acids in our dressing. I mix them to create deeper flavors but feel free to use either one on its own. You can also use any other clear or lightly-colored vinegar, though the punchier it is, the better.
How To Pick Avocados
- Look for blackish-dark-green skin, which signals that the avocado has ripened. Bright green skin means they aren’t ready.
- When you gently press a finger into the avocado skin, the flesh should give slightly. If it’s mushy, its time has passed.
- Flick off what’s left of the stem at the top of the avocado. If it loosens easily and reveals a lime green top, it’s ripe. If it doesn’t flick off, it’s not ripe. If it flicks off and the top is black, it’s too ripe for a salad but might work for guacamole.
How To Ripen Avocados
To help ripen an avocado quickly, place it in a paper bag with an apple or a banana. Close the bag and leave it at room temperature. The natural gases released by the apple or banana will help your avocado mature faster. Some Tik-Tok folks think you can use a microwave to ripen an avocado, but all you’re doing is cooking the avocado, which softens it but will still taste like an unripe avocado.
What To Serve With Avocado Salad
This Ensalada de Aguacate pairs beautifully with other Puerto Rican dishes like Puerto Rican Rice and Beans, Arroz Con Pollo, Chuletas Guisadas, or Pollo Guisado. However, you don’t have to have a Latin spread to enjoy it! Add it as a side at your next cookout. It pairs wonderfully with BBQ Ribs, Sausage Kebabs, Smash Burgers, or Marinated Portobello Mushroom Burgers

Ensalada De Aguacate (Avocado Salad)
Ingredients
Dressing
- 2 Tbsp distilled white vinegar $0.07
- 1 Tbsp apple cider vinegar $0.03
- 1 Tbsp olive oil $0.11
- 1/8 tsp salt, plus more to taste $0.01
- 1 pinch black pepper $0.01
- 2 Tbsp finely chopped cilantro (plus a few whole leaves for garnish) $0.05
Salad
- 2 medium tomatoes $0.90
- 1/2 medium yellow onion $0.38
- 2 medium avocados $1.98
- 3/8 tsp salt, divided $0.02
Instructions
- Make the dressing. In a mason jar, add white vinegar, apple cider vinegar, olive oil, finely chopped cilantro, salt, and pepper. Cover and give it a good shake.
- Slice the tomatoes into 1/4-inch thick rounds, then slice the rounds into halves. Slice the yellow onion into 1/4-inch thick half-moons. Slice the avocados into 1/4-inch thick half moons. If the avocados are large, then slice the half-moons in half.
- Add half the tomato slices to a large dinner plate in one layer. Spoon 2 teaspoons of the dressing on the tomatoes and sprinkle with 1 pinch of salt.
- Add half the onions in a single layer and drizzle with 2 teaspoons of dressing and a pinch of salt. Add half of the avocado slices in a single layer, and follow with 2 teaspoons of dressing and a pinch of salt.
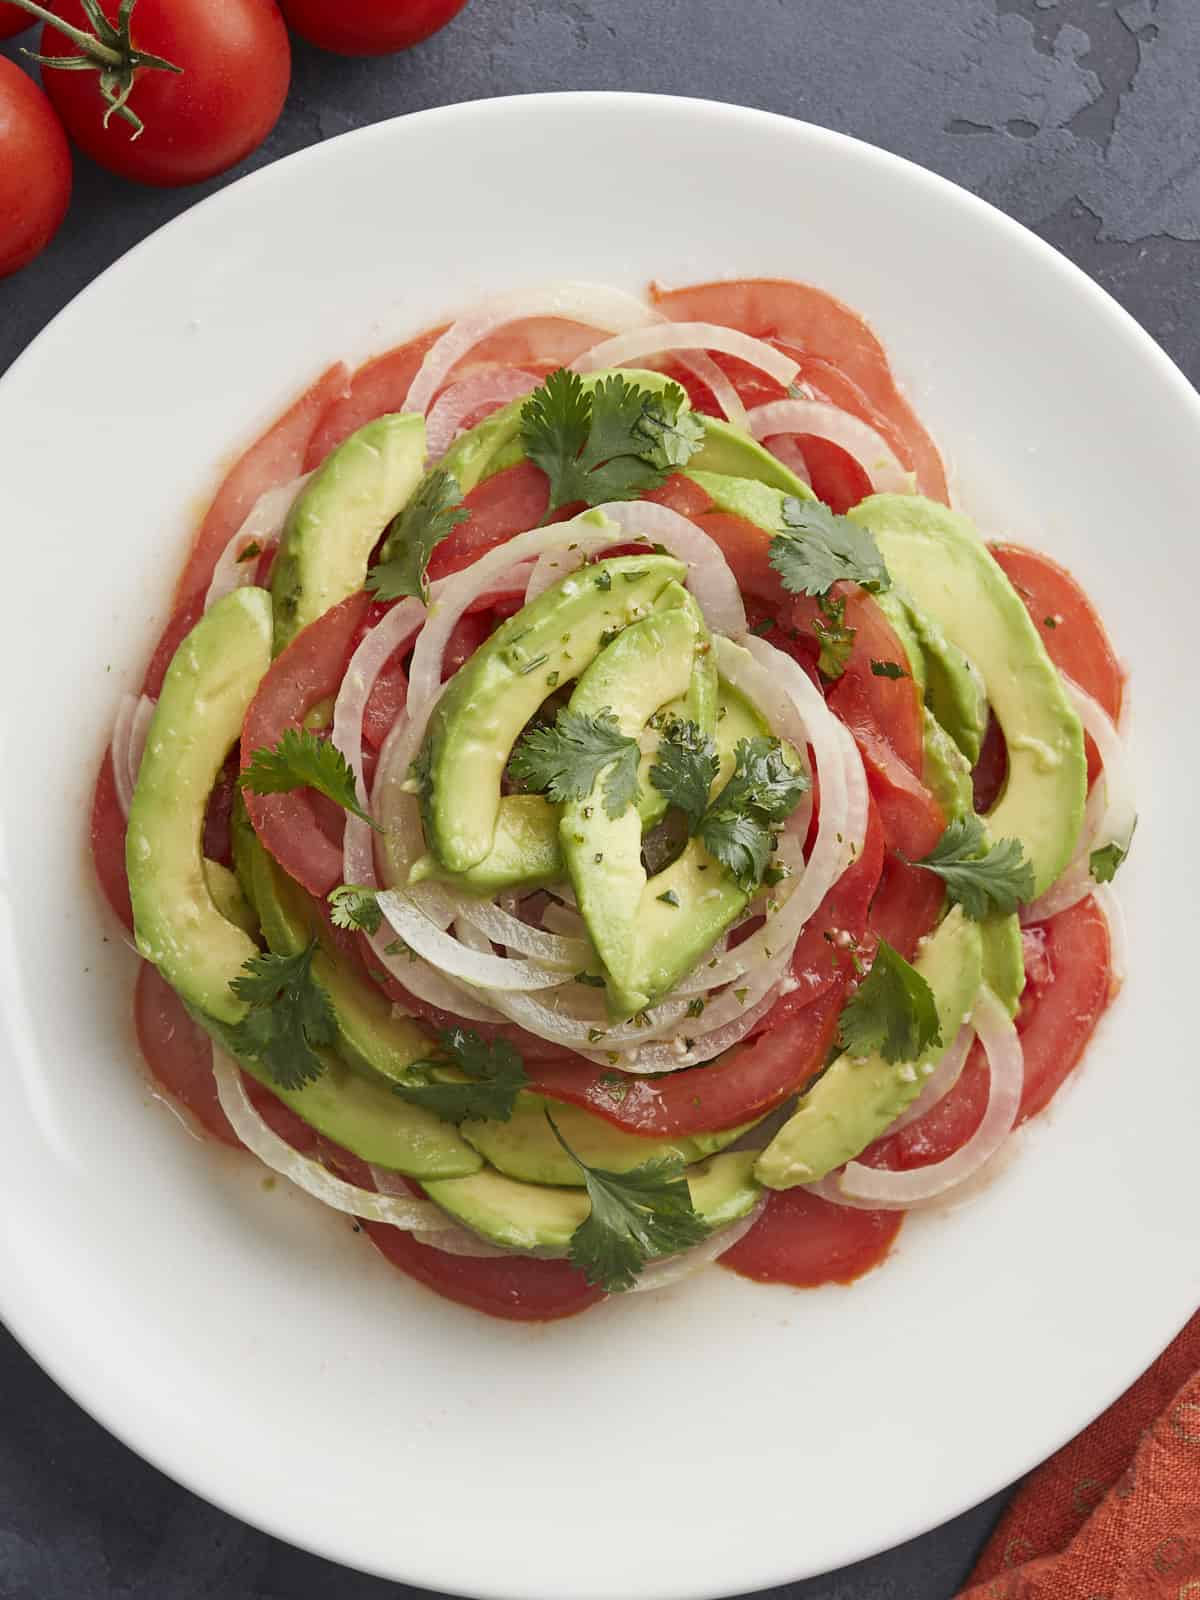
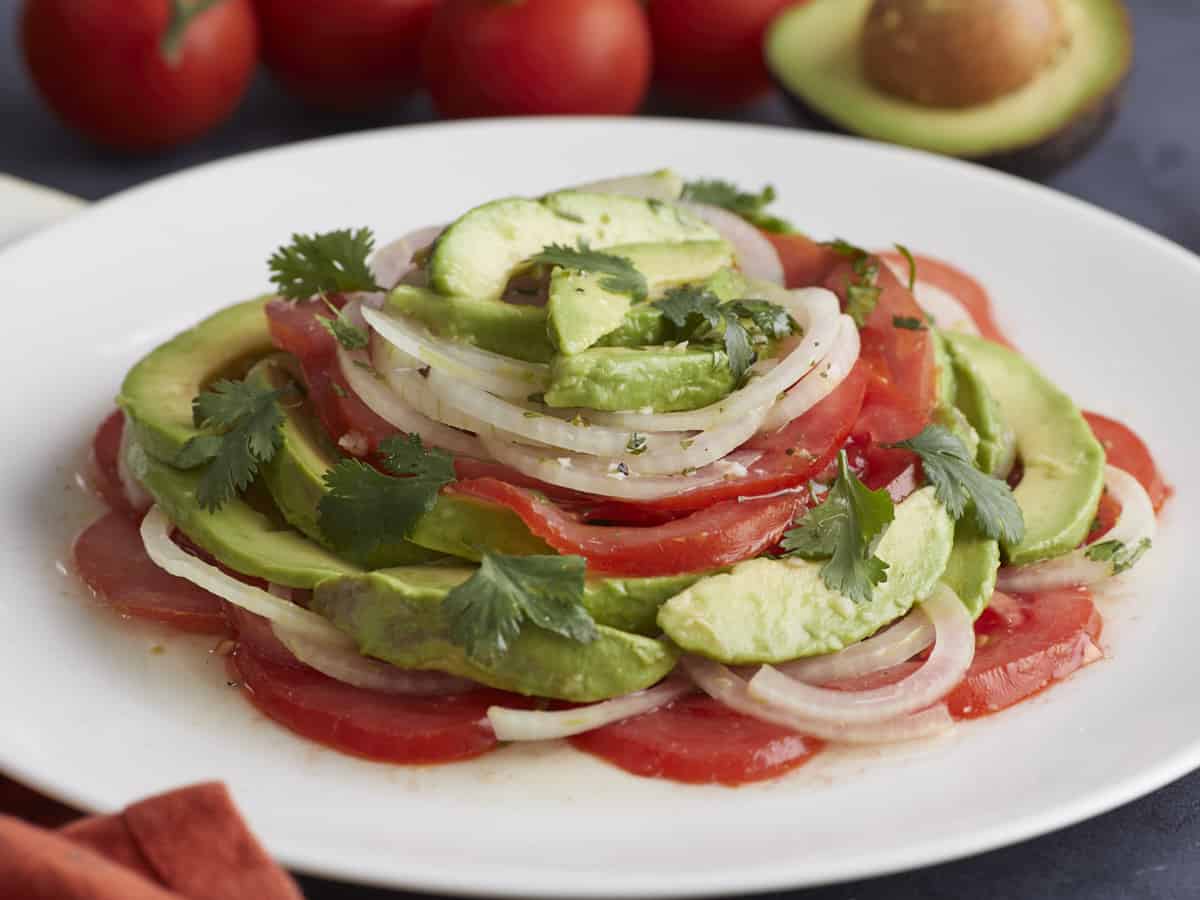
- Repeat the layering process with the remaining slices of tomatoes, onions, and avocados. Garnish with a few cilantro leaves and serve.
See how we calculate recipe costs here.
Nutrition
How to Make Ensalada De Aguacate – Step by Step Photos
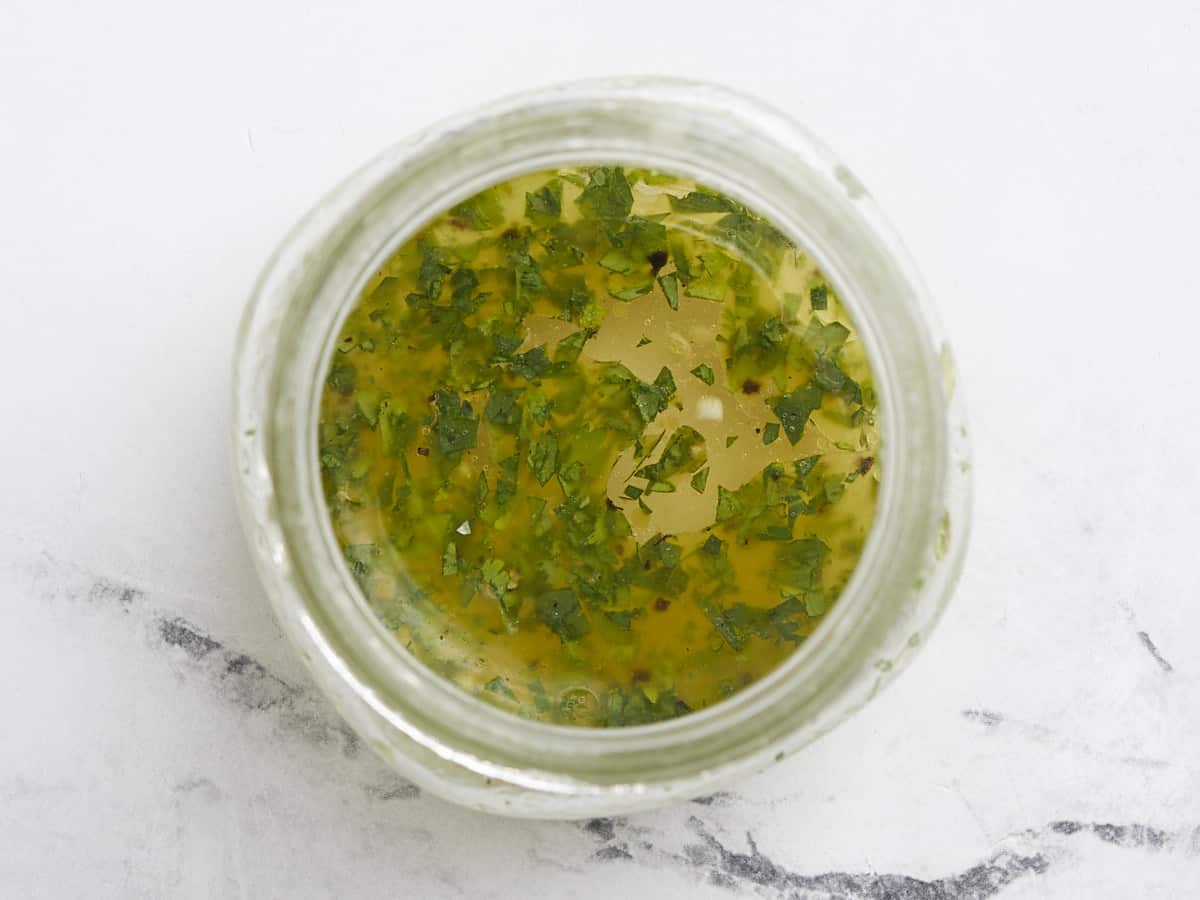
Make the dressing. In a mason jar, add 2 tablespoons white vinegar, 1 tablespoon apple cider vinegar, 1 tablespoon olive oil, 2 tablespoons finely chopped cilantro, 1/8 teaspoon salt, and a pinch of black pepper. Cover and give it a good shake.

Slice two medium tomatoes into 1/4 inch rounds, then slice the rounds into halves. Then cut half a medium yellow onion into 1/4 inch into half moons. Finally, slice two medium avocados into 1/4-inch half moons. Add a touch of the dressing to the surface of the avocados to keep them from turning brown.
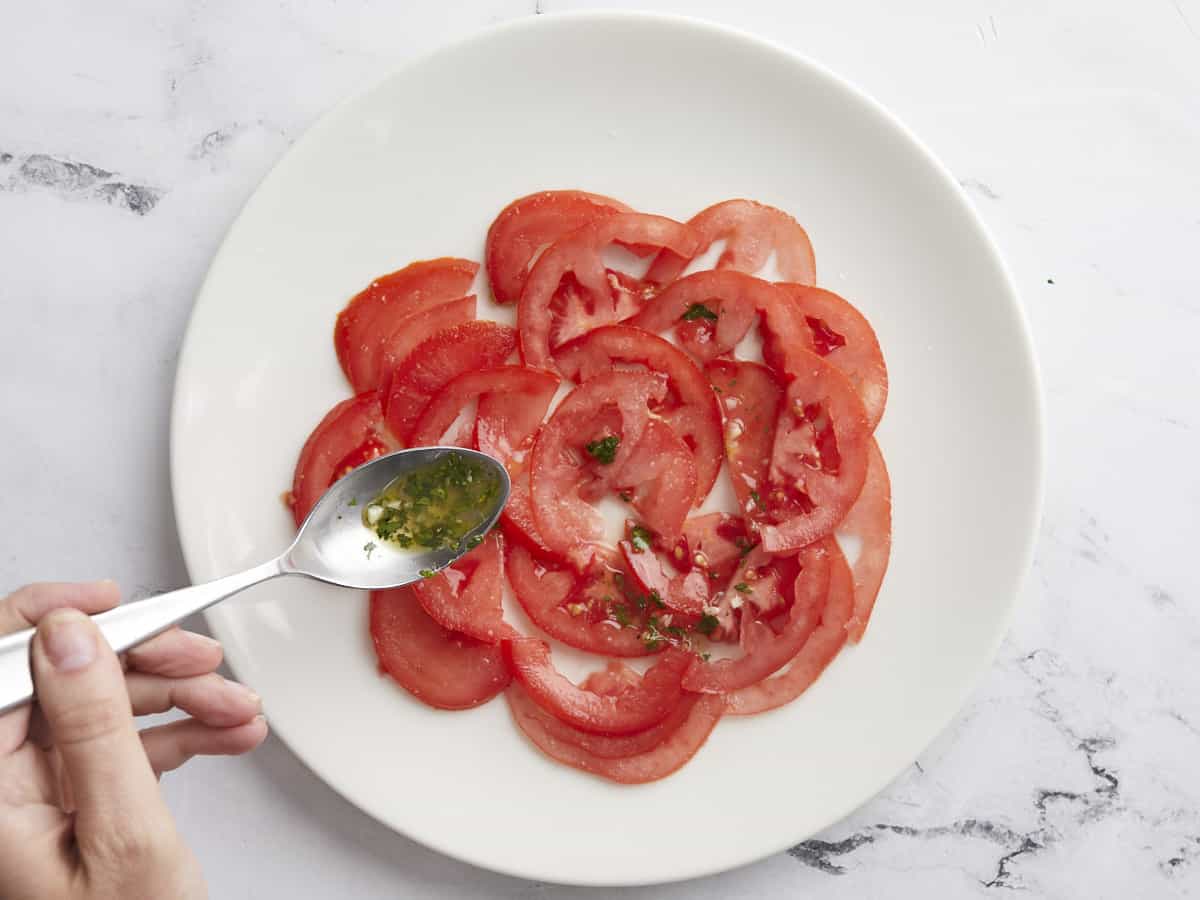
Add half the tomato slices to a large dinner plate in one layer. Spoon 2 teaspoons of the dressing on the tomatoes and sprinkle with a pinch of salt.
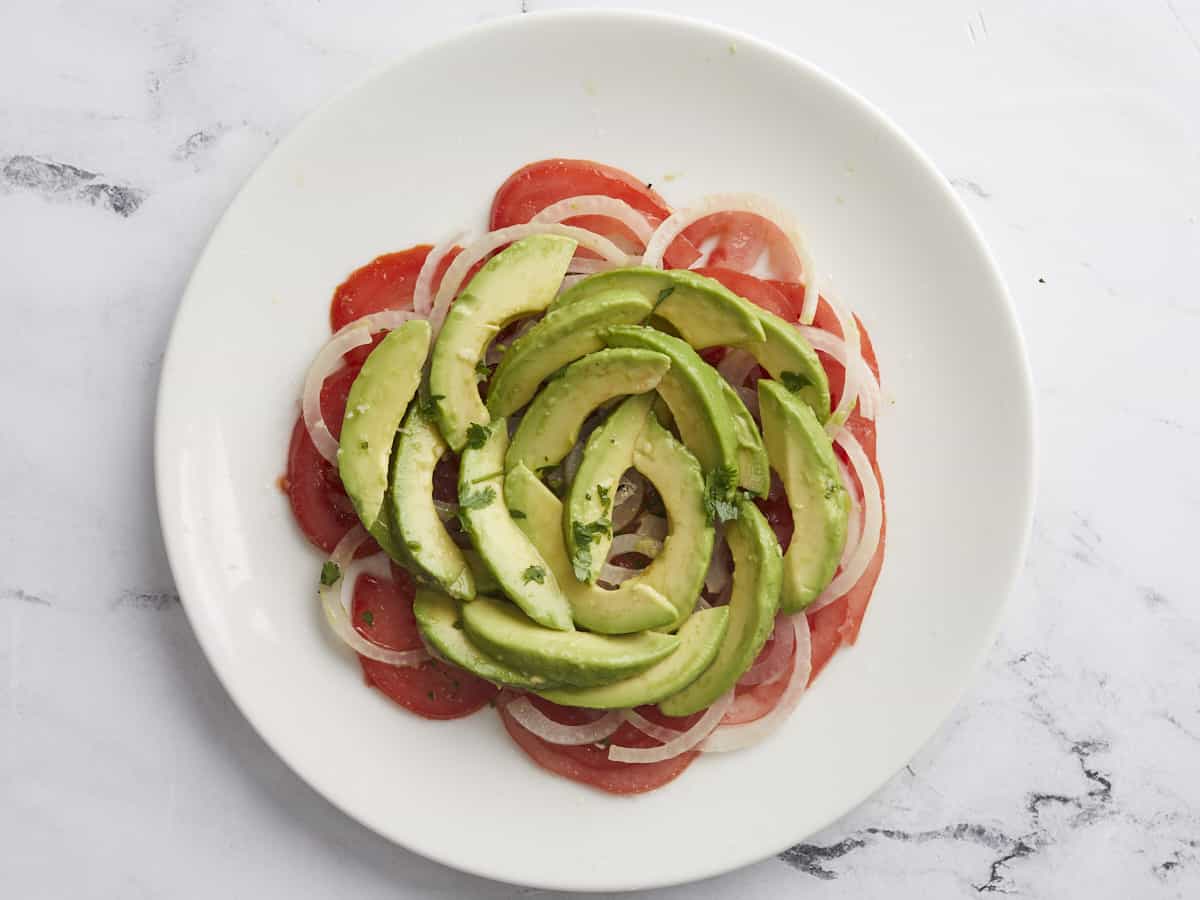
Add half the onions in a single layer on top of the avocado and drizzle with 2 teaspoons of dressing and a pinch of salt. Next, add half of the avocado slices in a single layer on top of the sliced onion, and follow with 2 teaspoons of dressing and a pinch of salt.
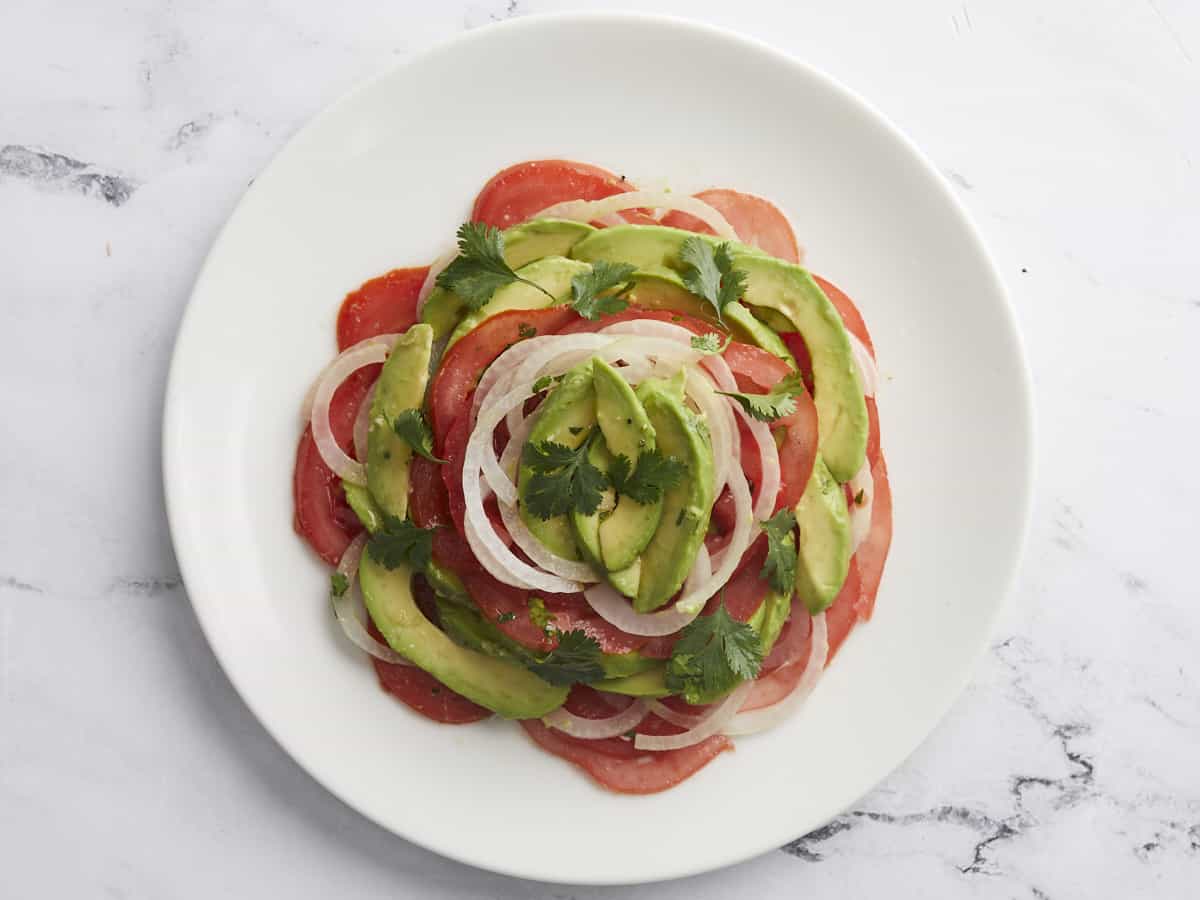
Repeat the layering process with the remaining tomato, onion, and avocado slices. Garnish with a few cilantro leaves and serve. Guaranteed this will be one of the most refreshing summer salads you’ve ever had!
More Easy Summer Salads


The post Ensalada de Aguacate (Avocado Salad) appeared first on Budget Bytes.