Lamb Kofta Burgers
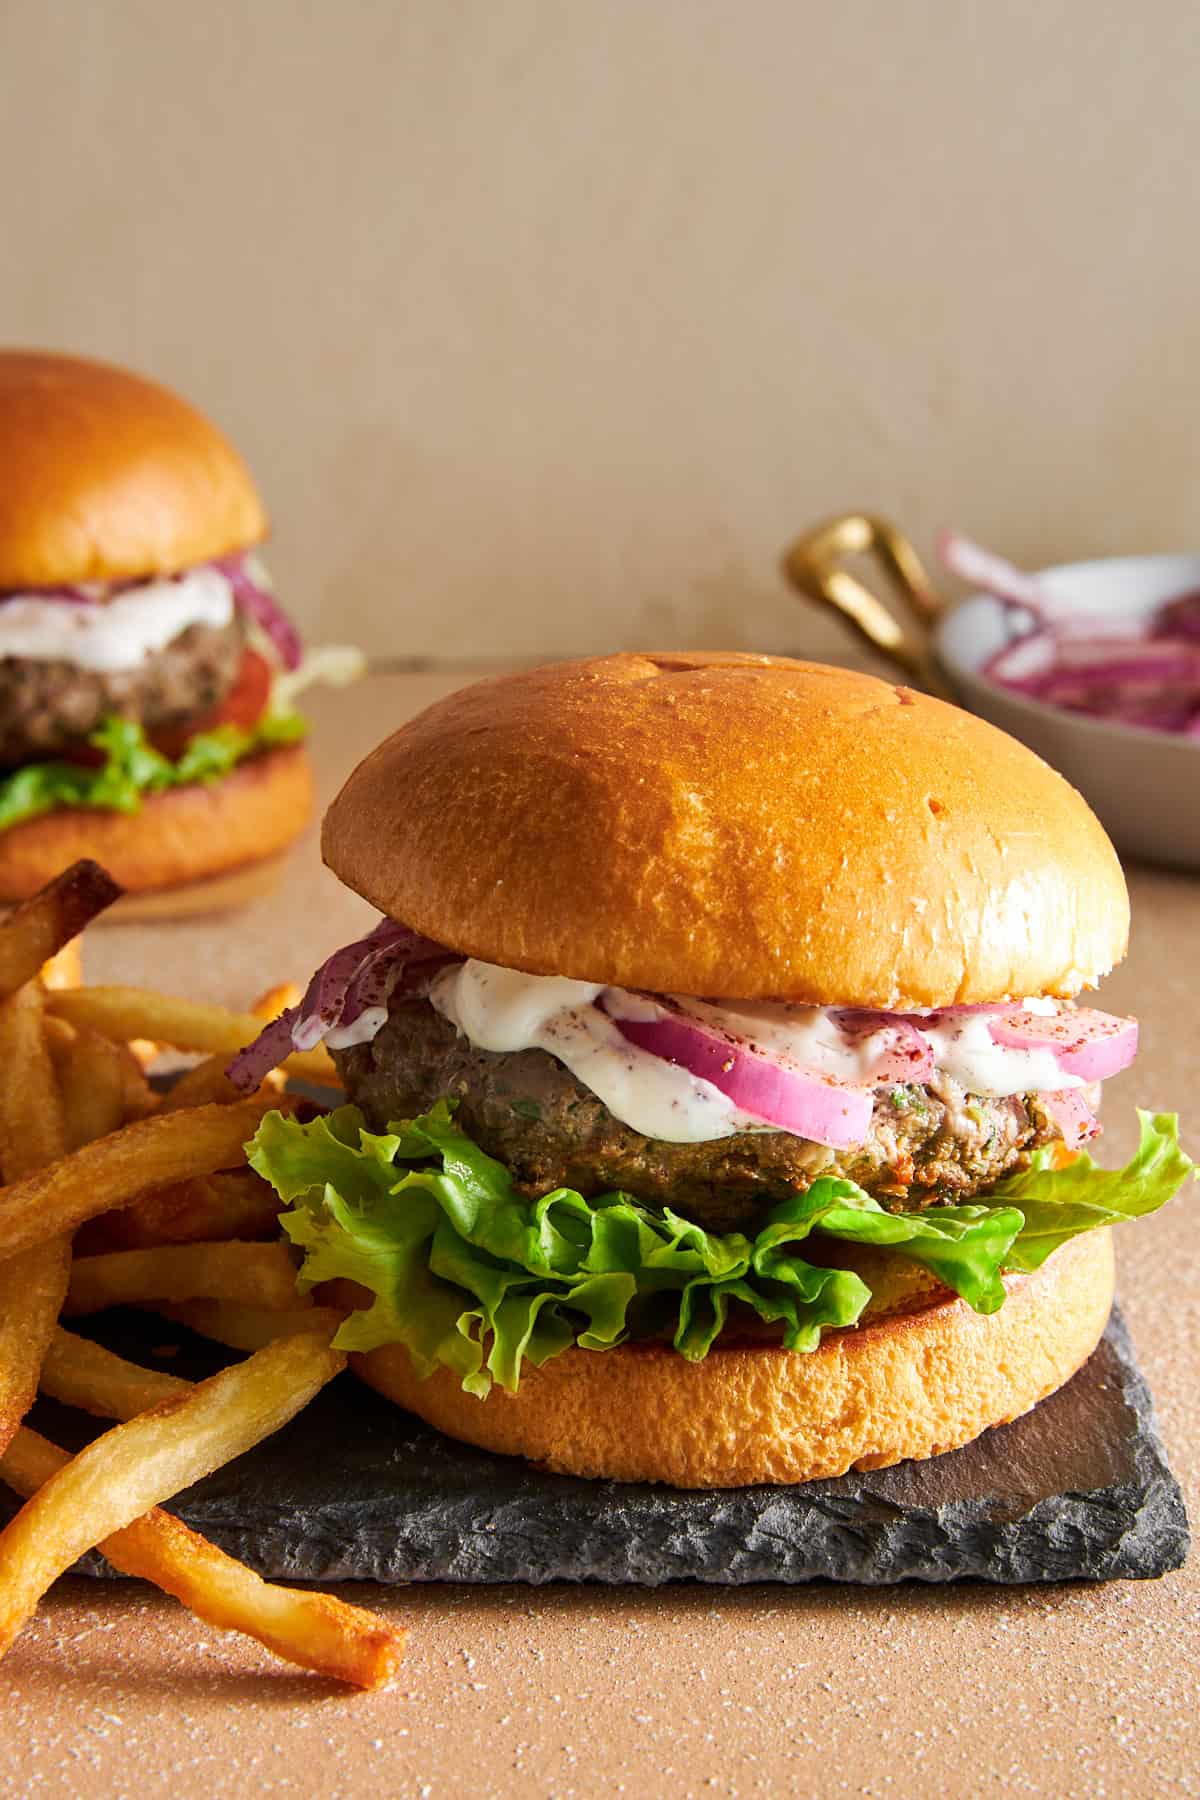 Experience kofta in a whole new way with the juicy texture and warm, savory flavors of these lamb kofta burgers!
Experience kofta in a whole new way with the juicy texture and warm, savory flavors of these lamb kofta burgers!
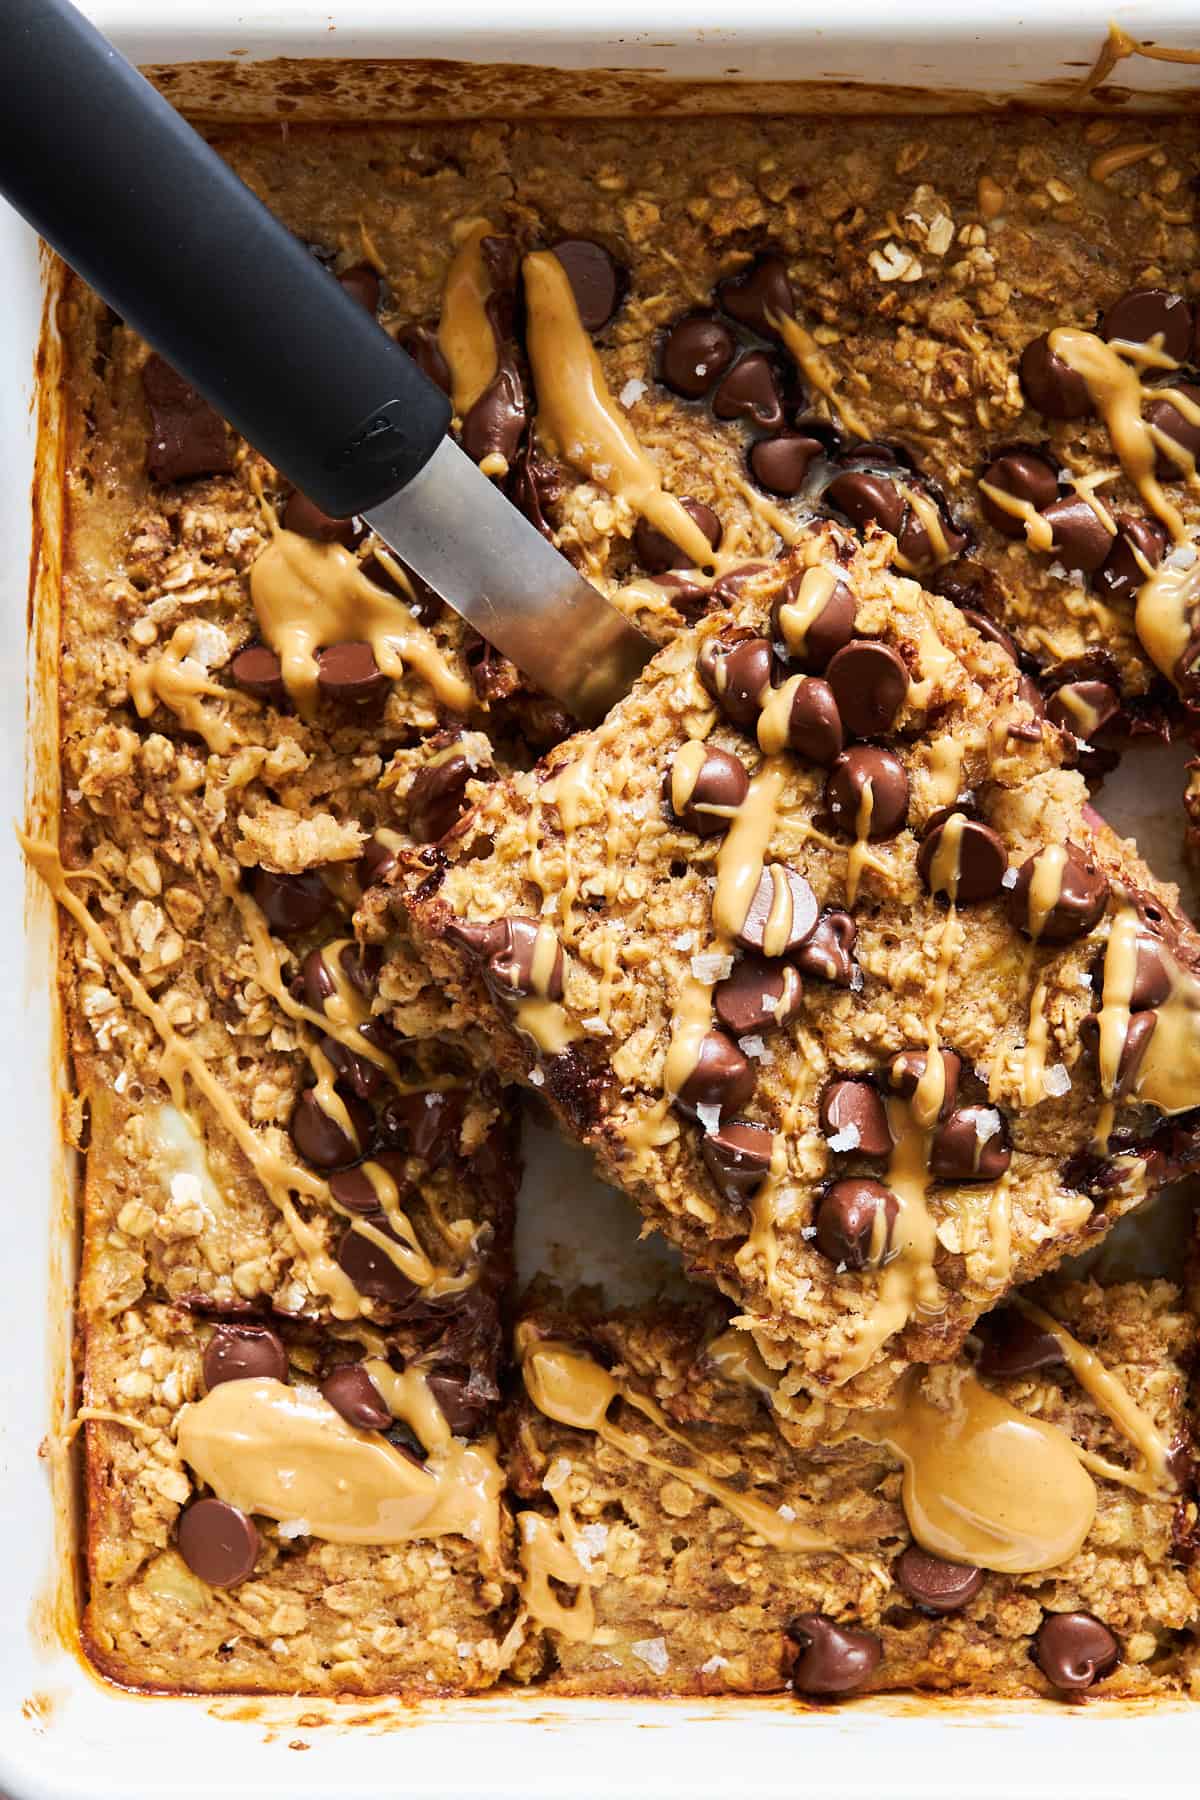 These peanut butter banana baked oatmeal bars are soft, chewy, and studded with sweet chocolate chips in every bite!
 Sweet and creamy, this orange sherbert punch recipe combines just 5 simple ingredients for a fruity drink that doubles as dessert!
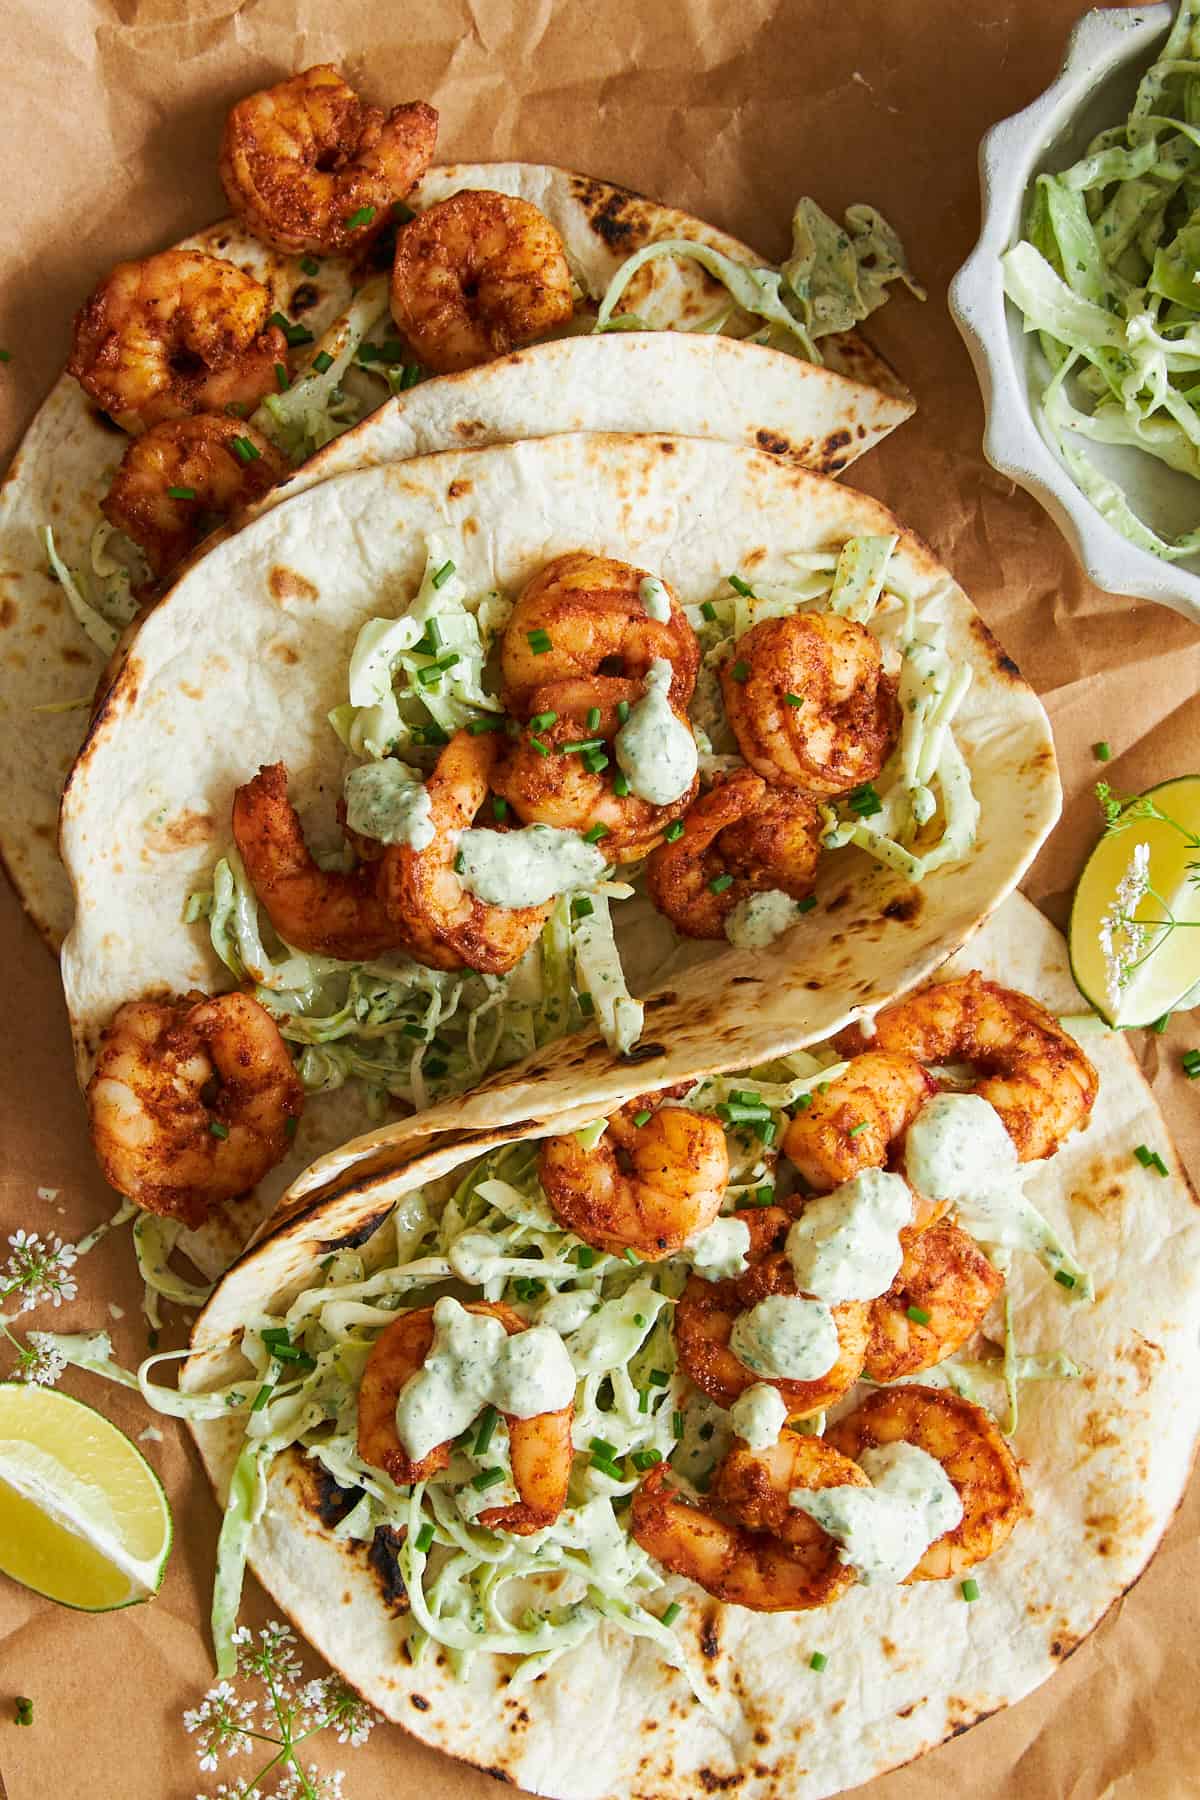 Make these blackened shrimp tacos with a refreshing slaw for a savory, satisfying main course ready in less than 20 minutes!
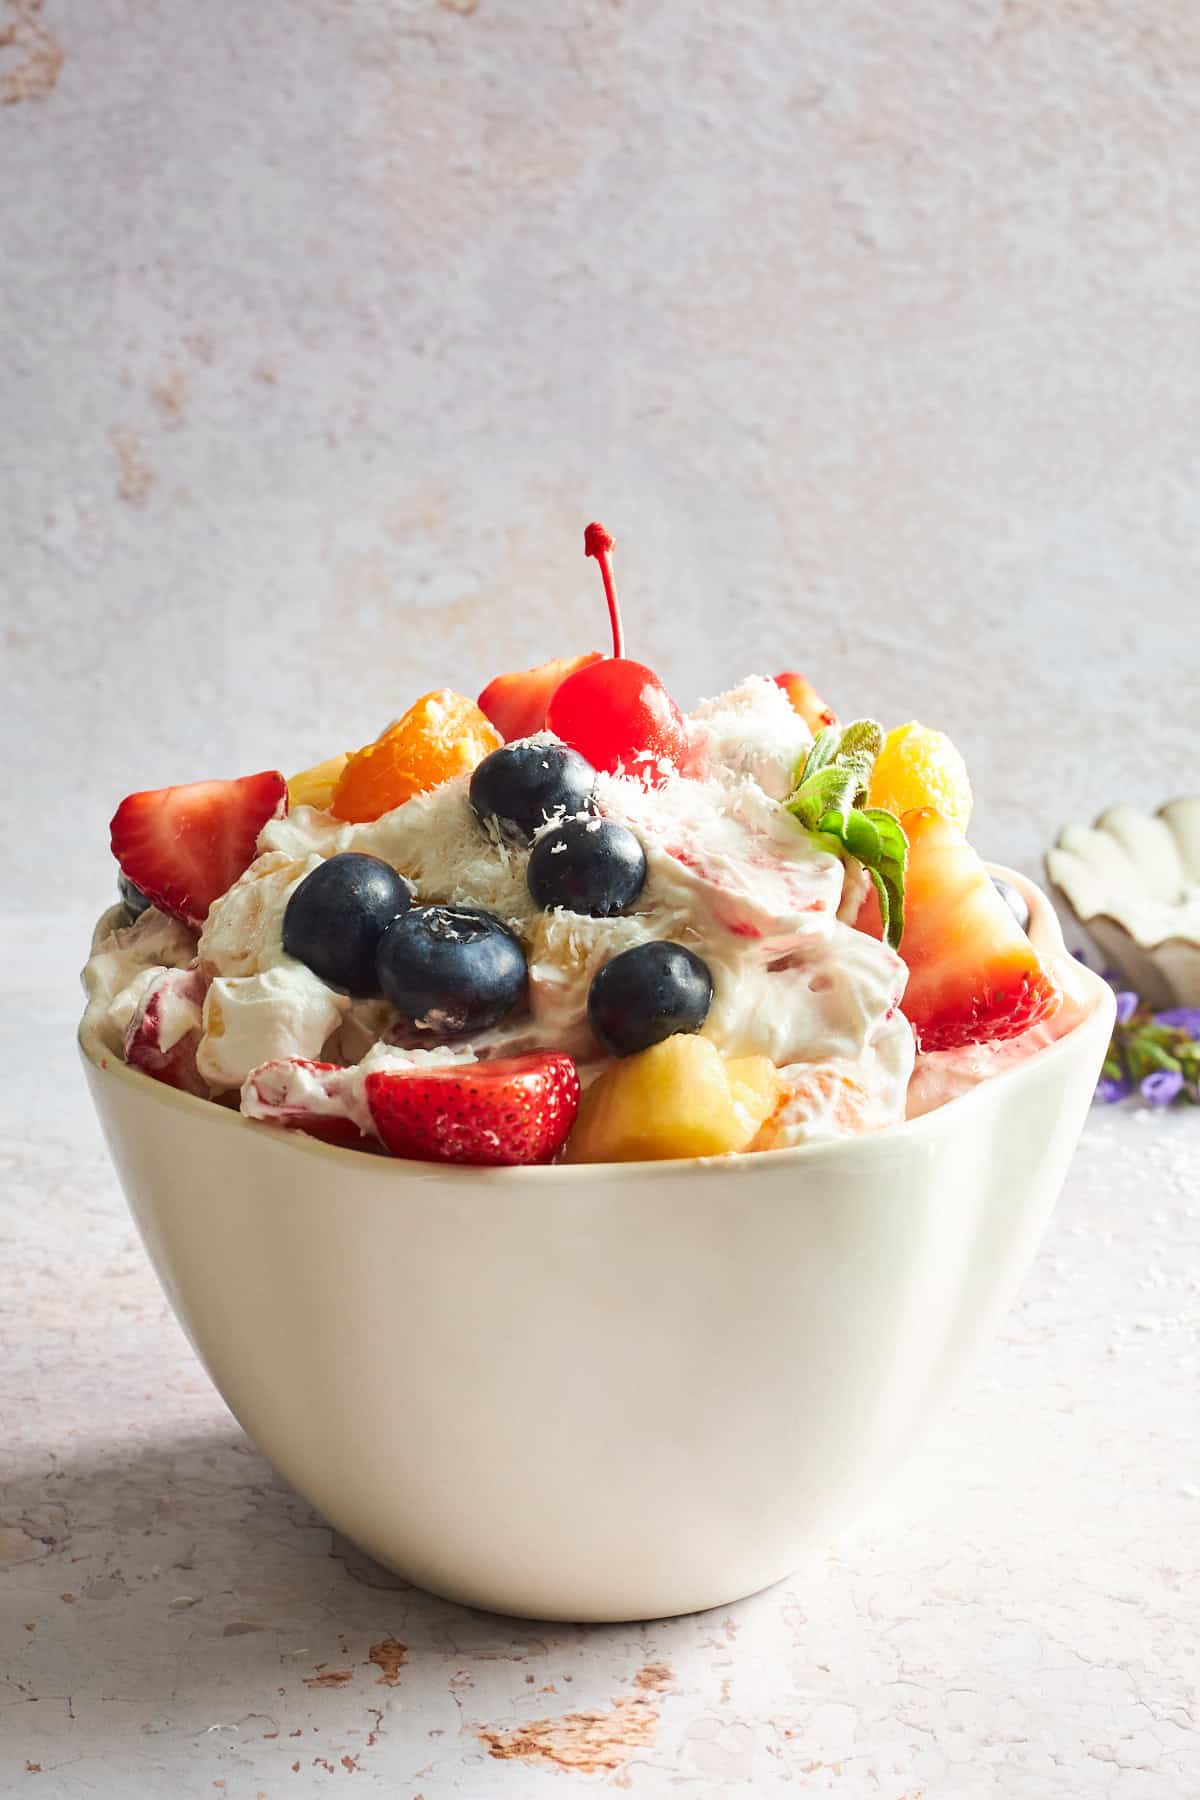 This ambrosia fruit salad recipe is loaded with fresh fruit, coconut, flakes, and whipped topping for a fun and easy side dish or dessert!
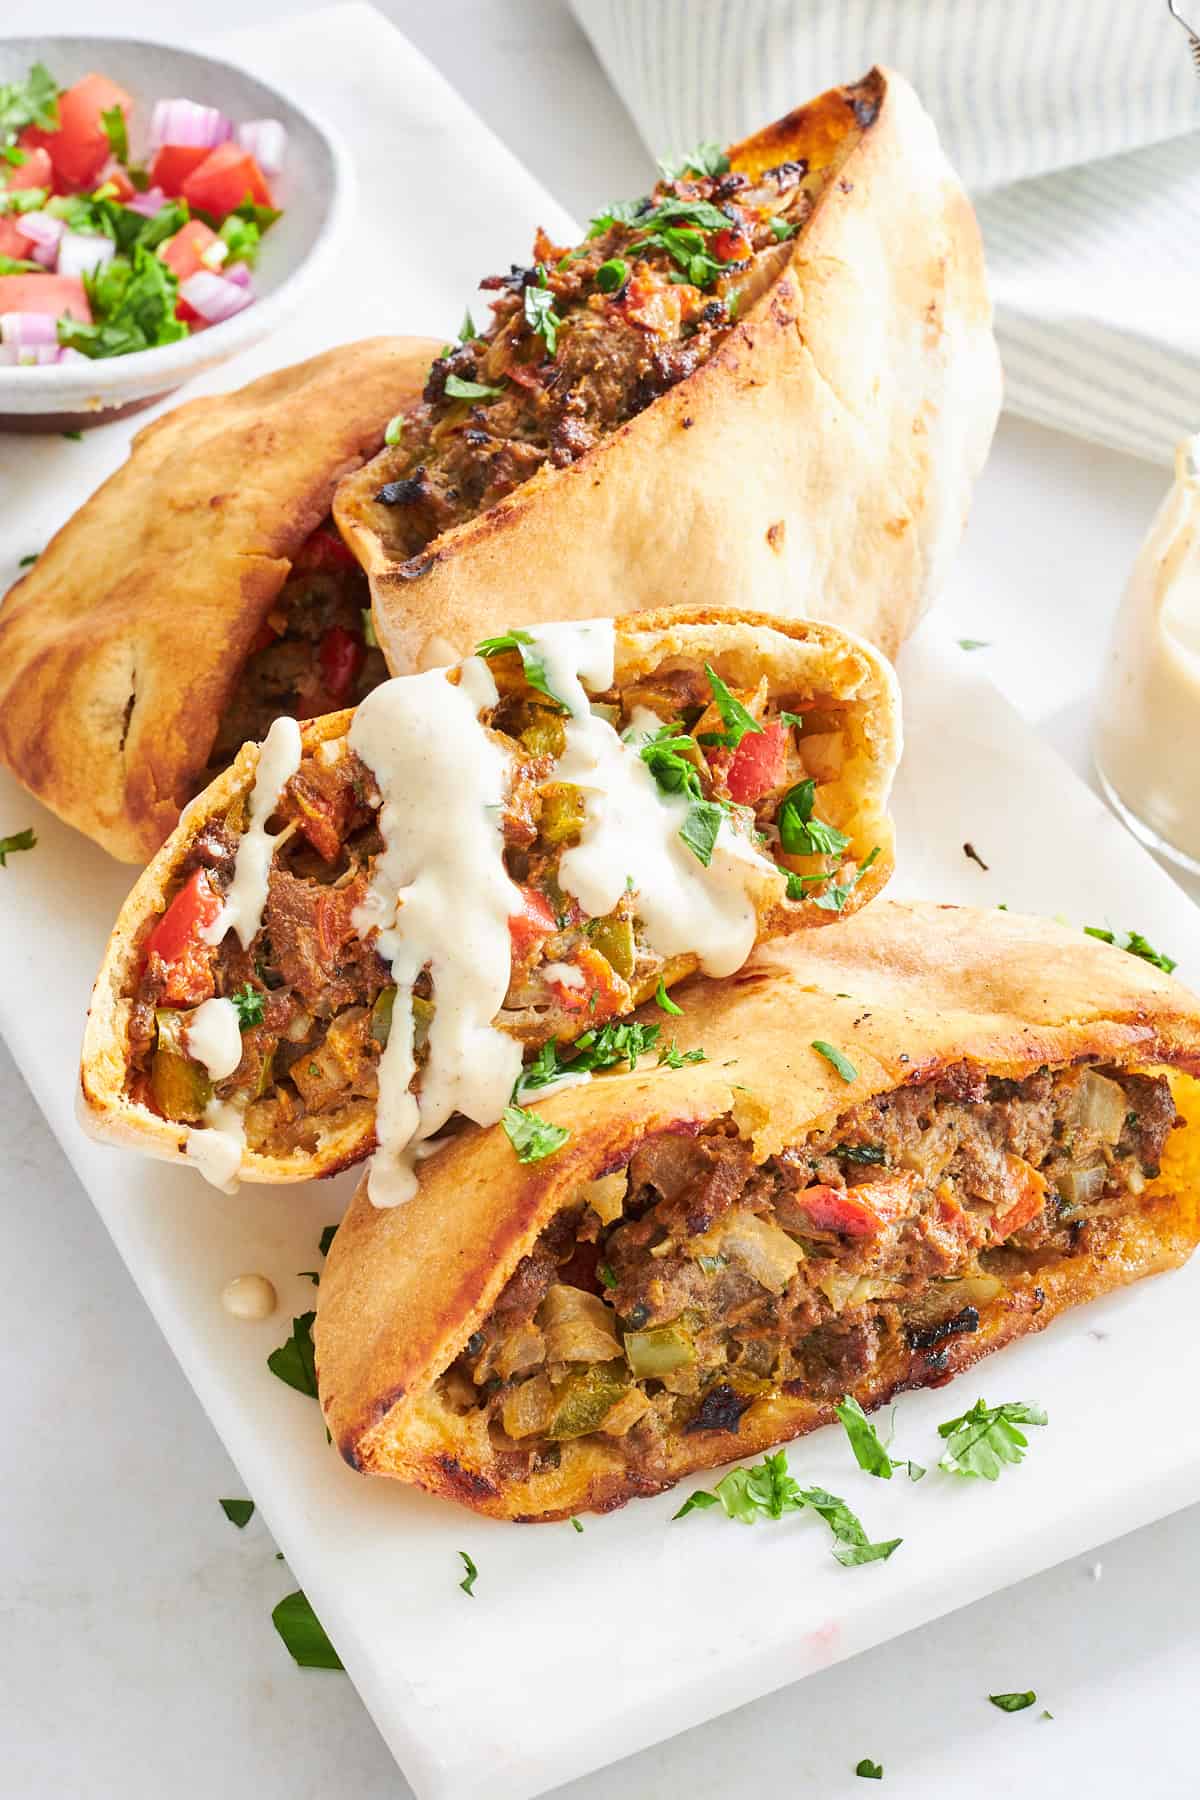 Learn how to make veggie-packed Hawawshi, a kofta-like mixture stuffed into pita bread and baked until crisp!
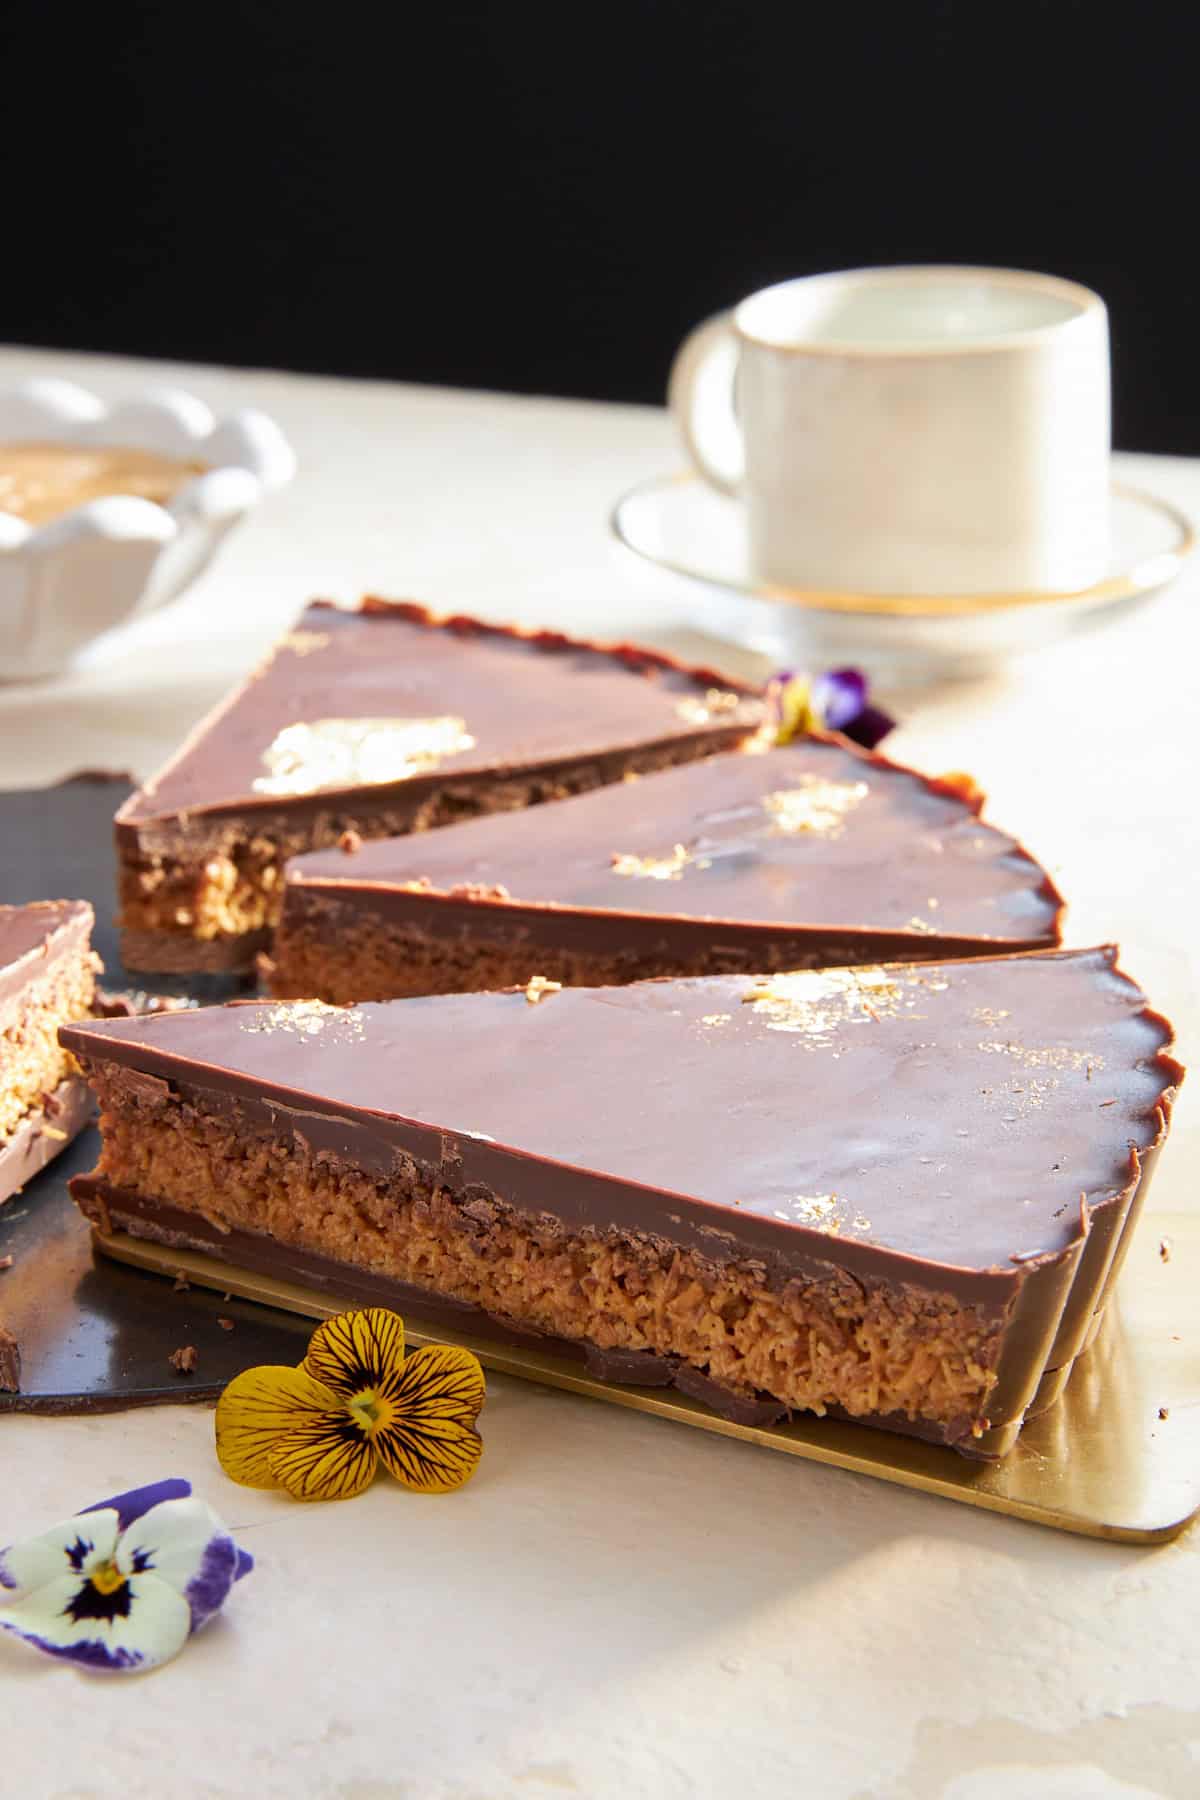 If you’re looking for a sweet snack that’s simultaneously crunchy and creamy, you’re going to want to run to your…
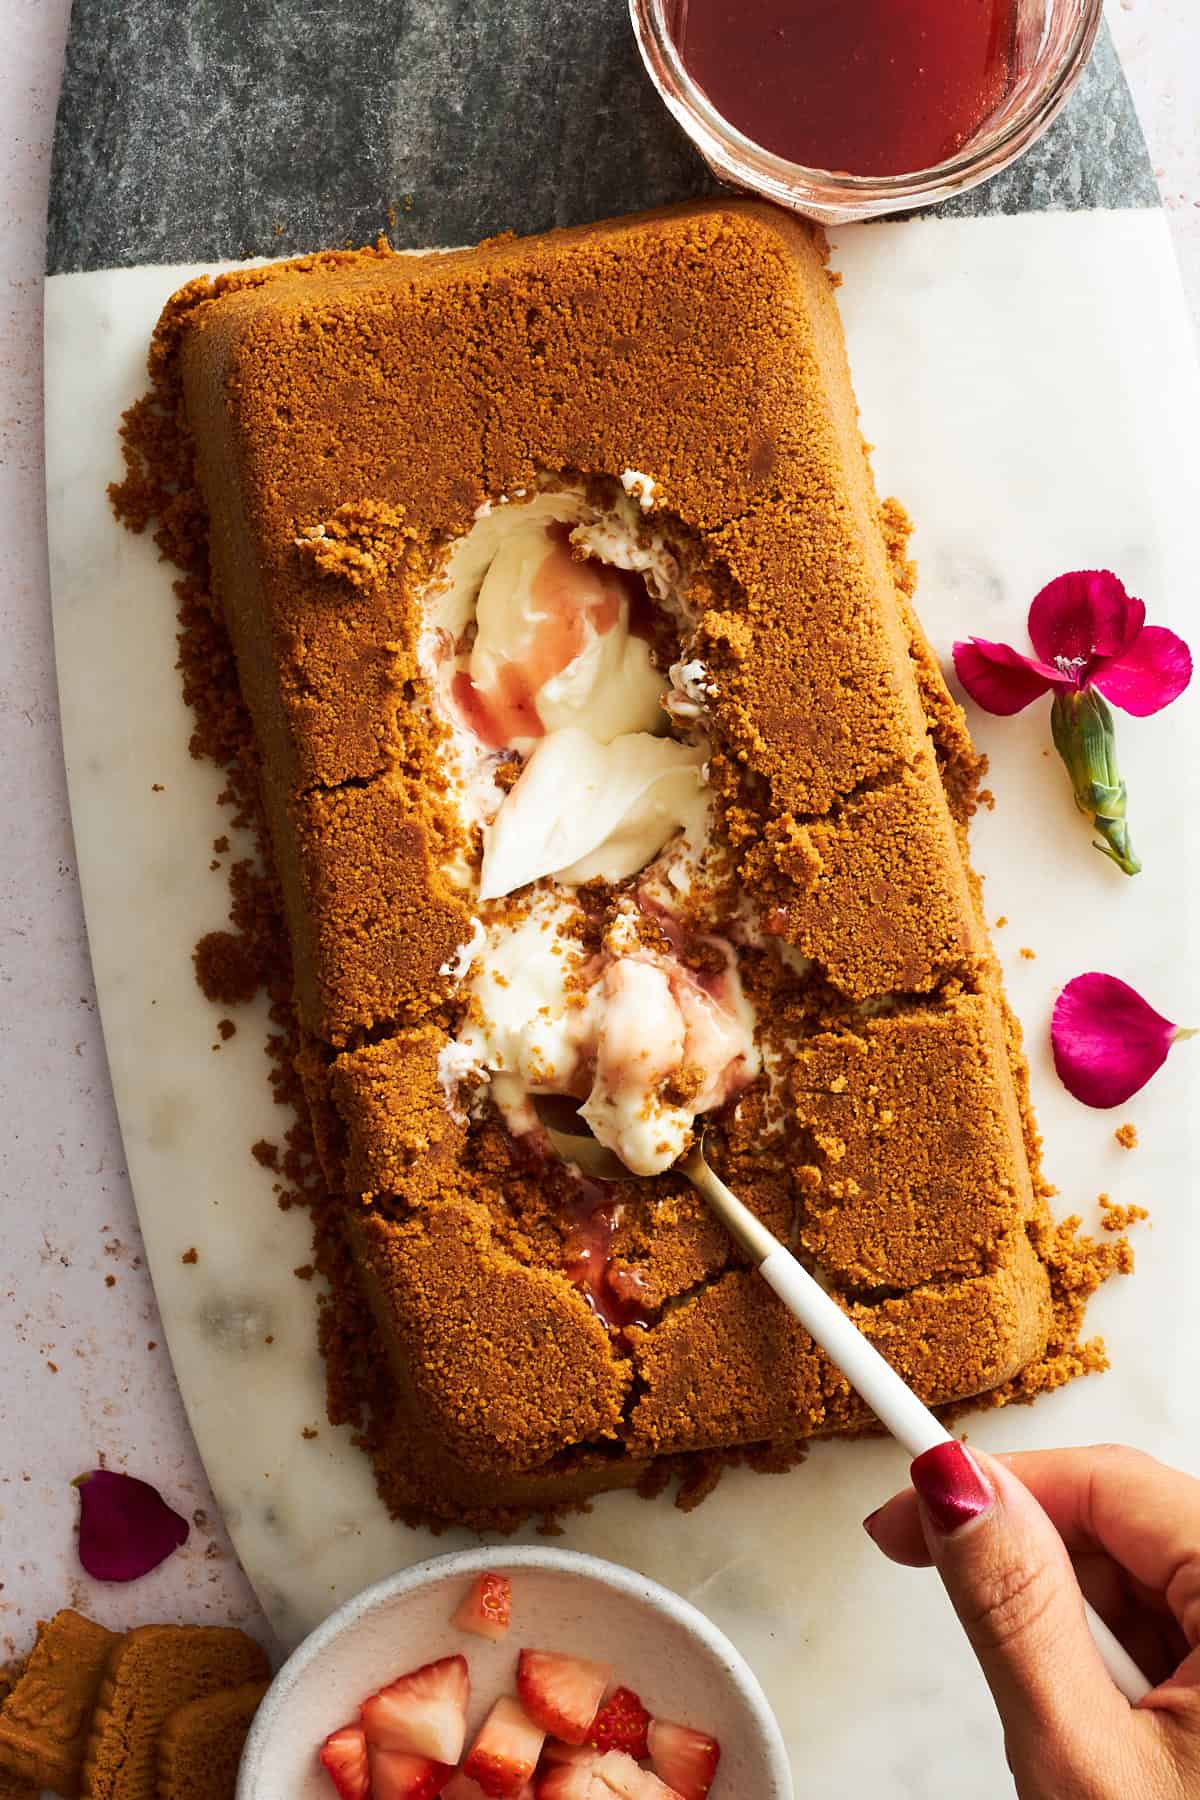 This upside down cheesecake features a Biscoff cookie crust and a creamy strawberry and cookie filling for a truly showstopping dessert!
 Prepare this mixed berry cobbler recipe with four different berries in under an hour for the ultimate crowd-pleasing summer dessert!
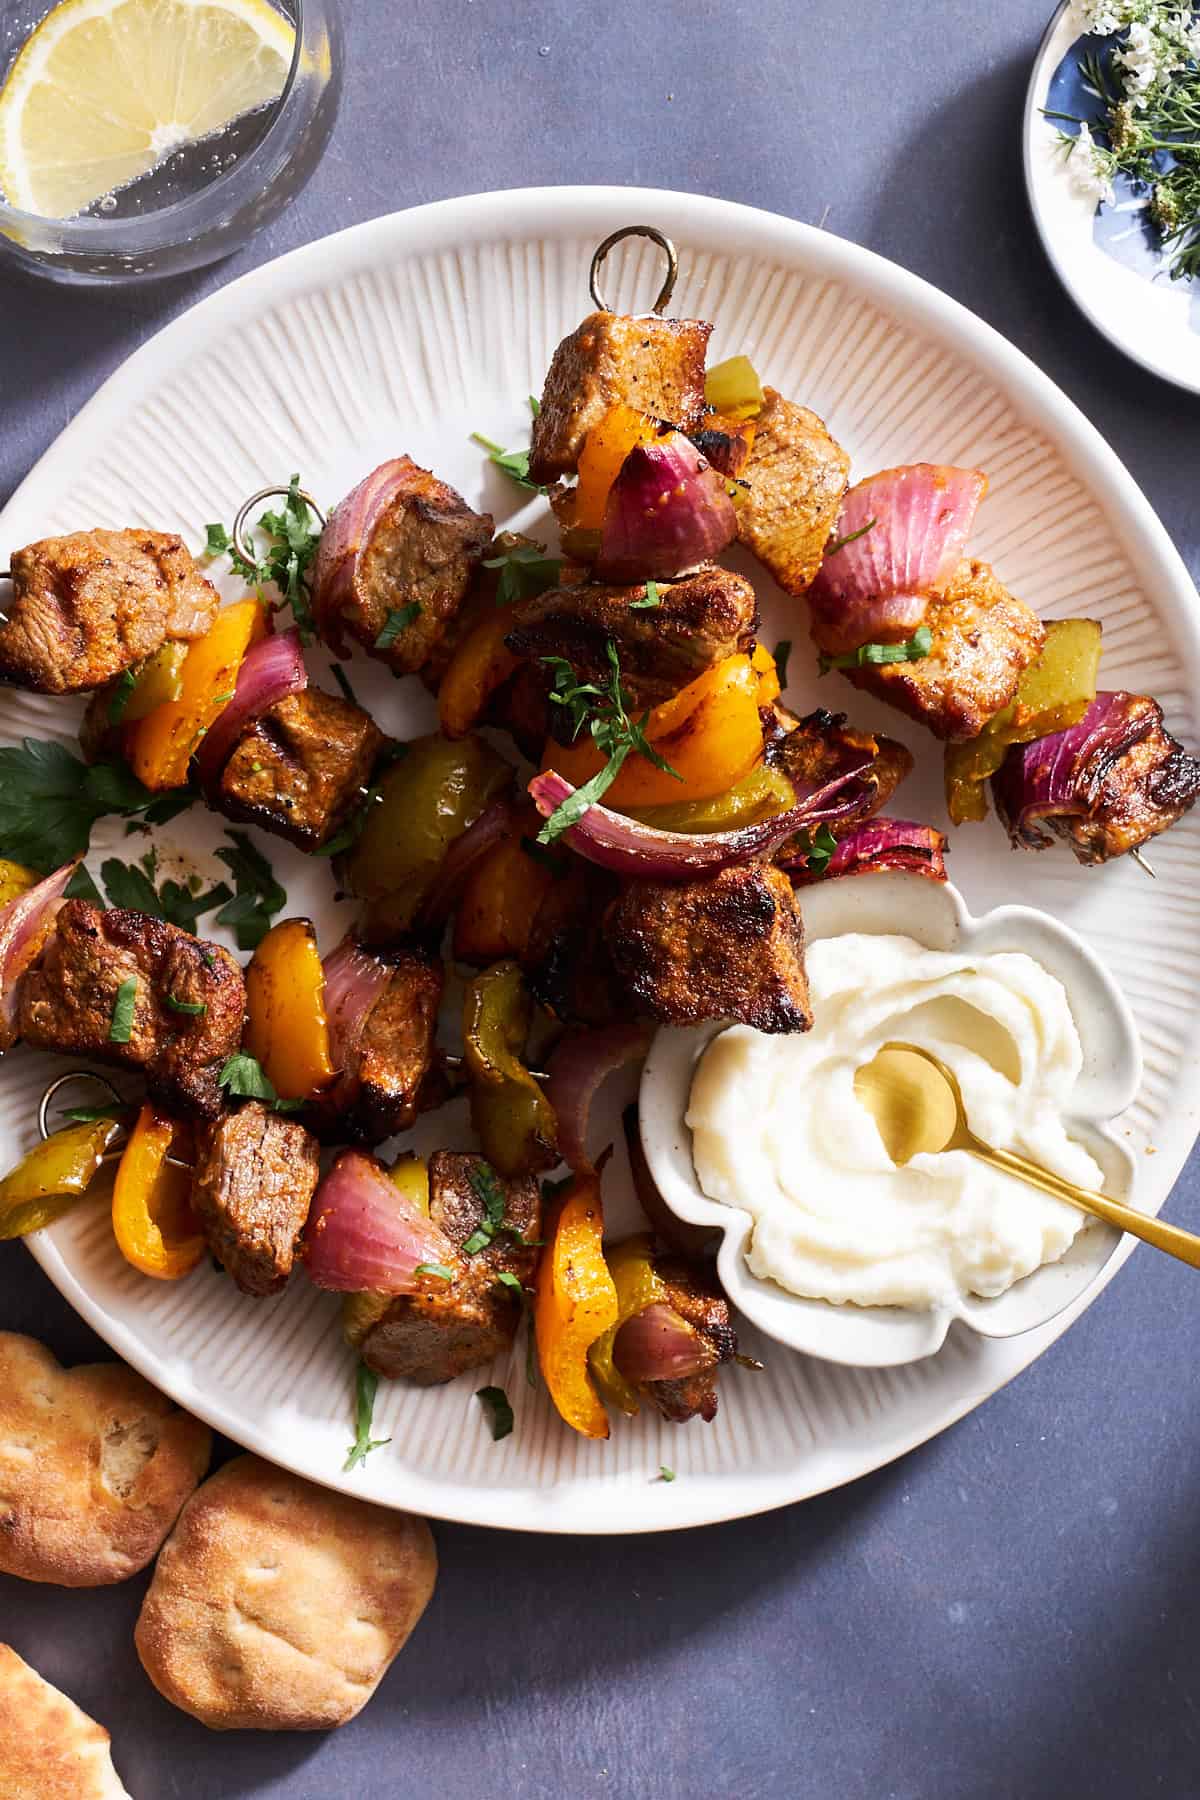 Learn how to make savory grilled steak skewers with veggies for an easy warm-weather meal that cooks in minutes!
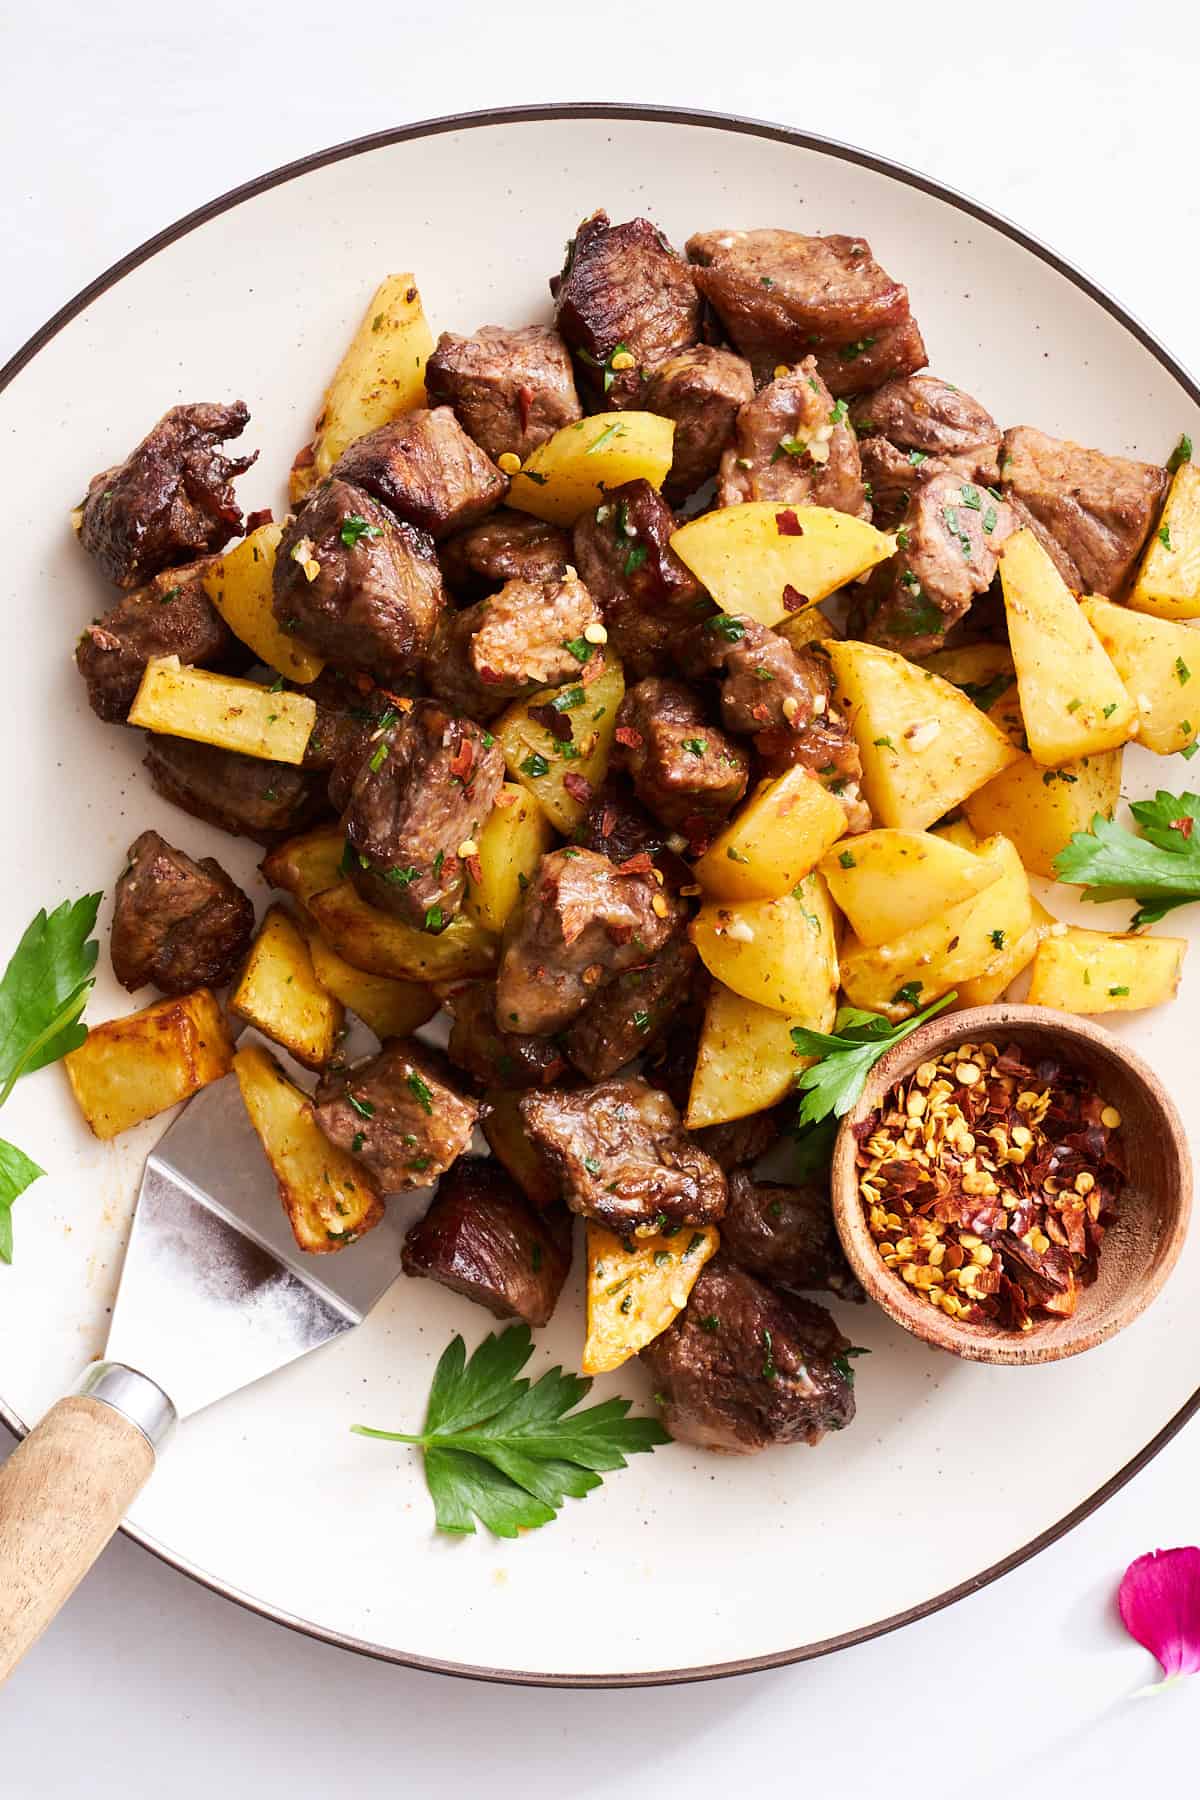 This air fryer garlic steak bites and potatoes recipe cooks in less than 20 minutes for a restaurant-worthy meal at home!
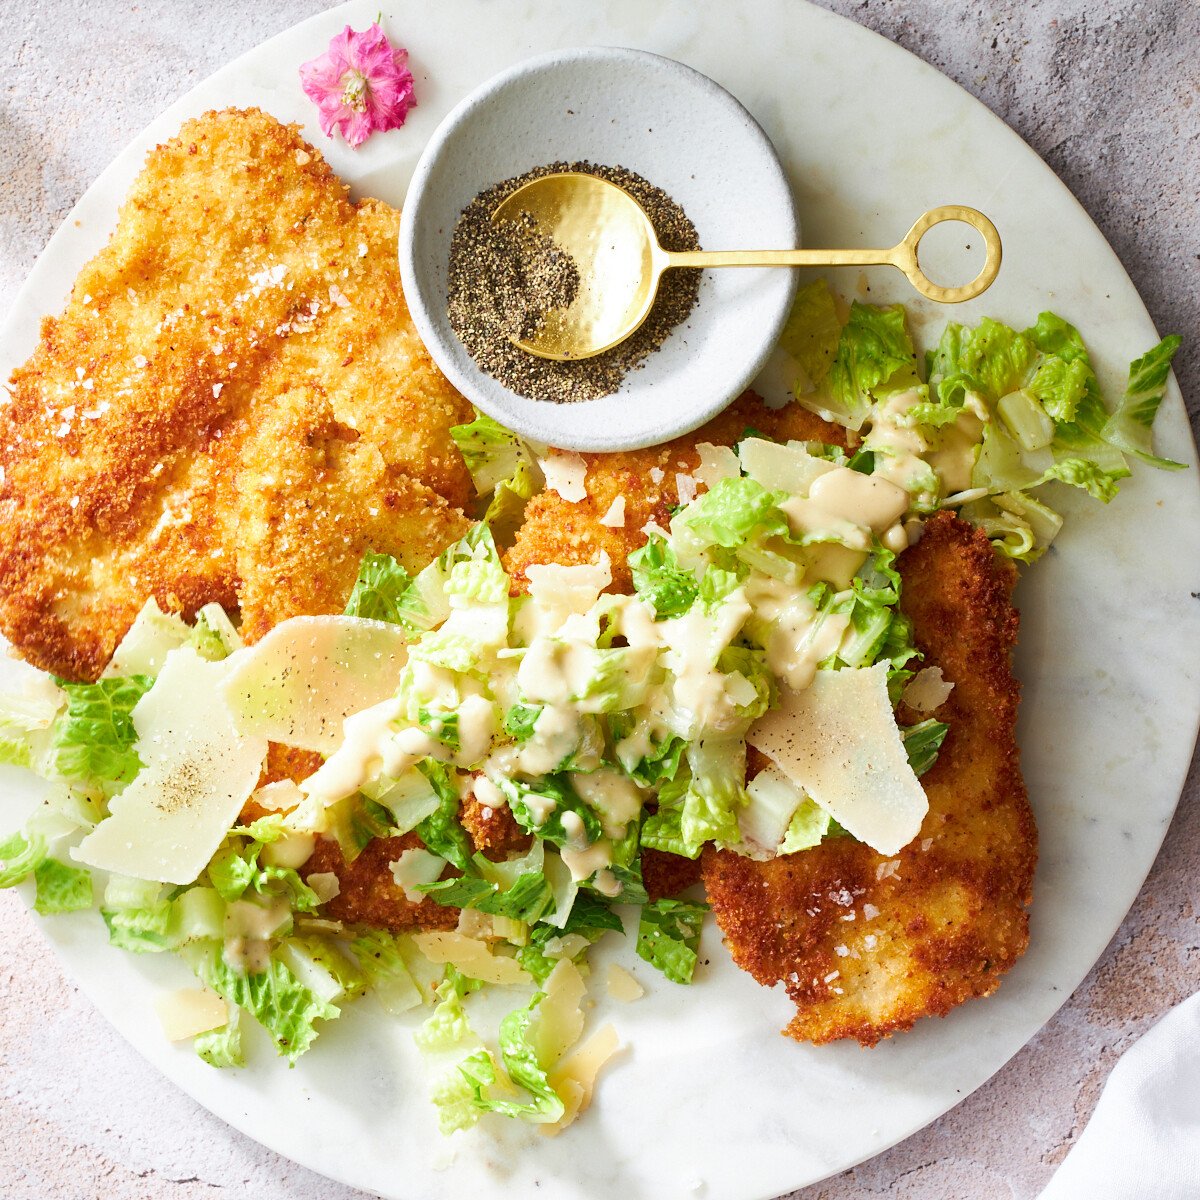 Prepare this crispy breaded chicken Milanese recipe for a hearty meal, and balance it out with a crisp, refreshing Caesar salad!
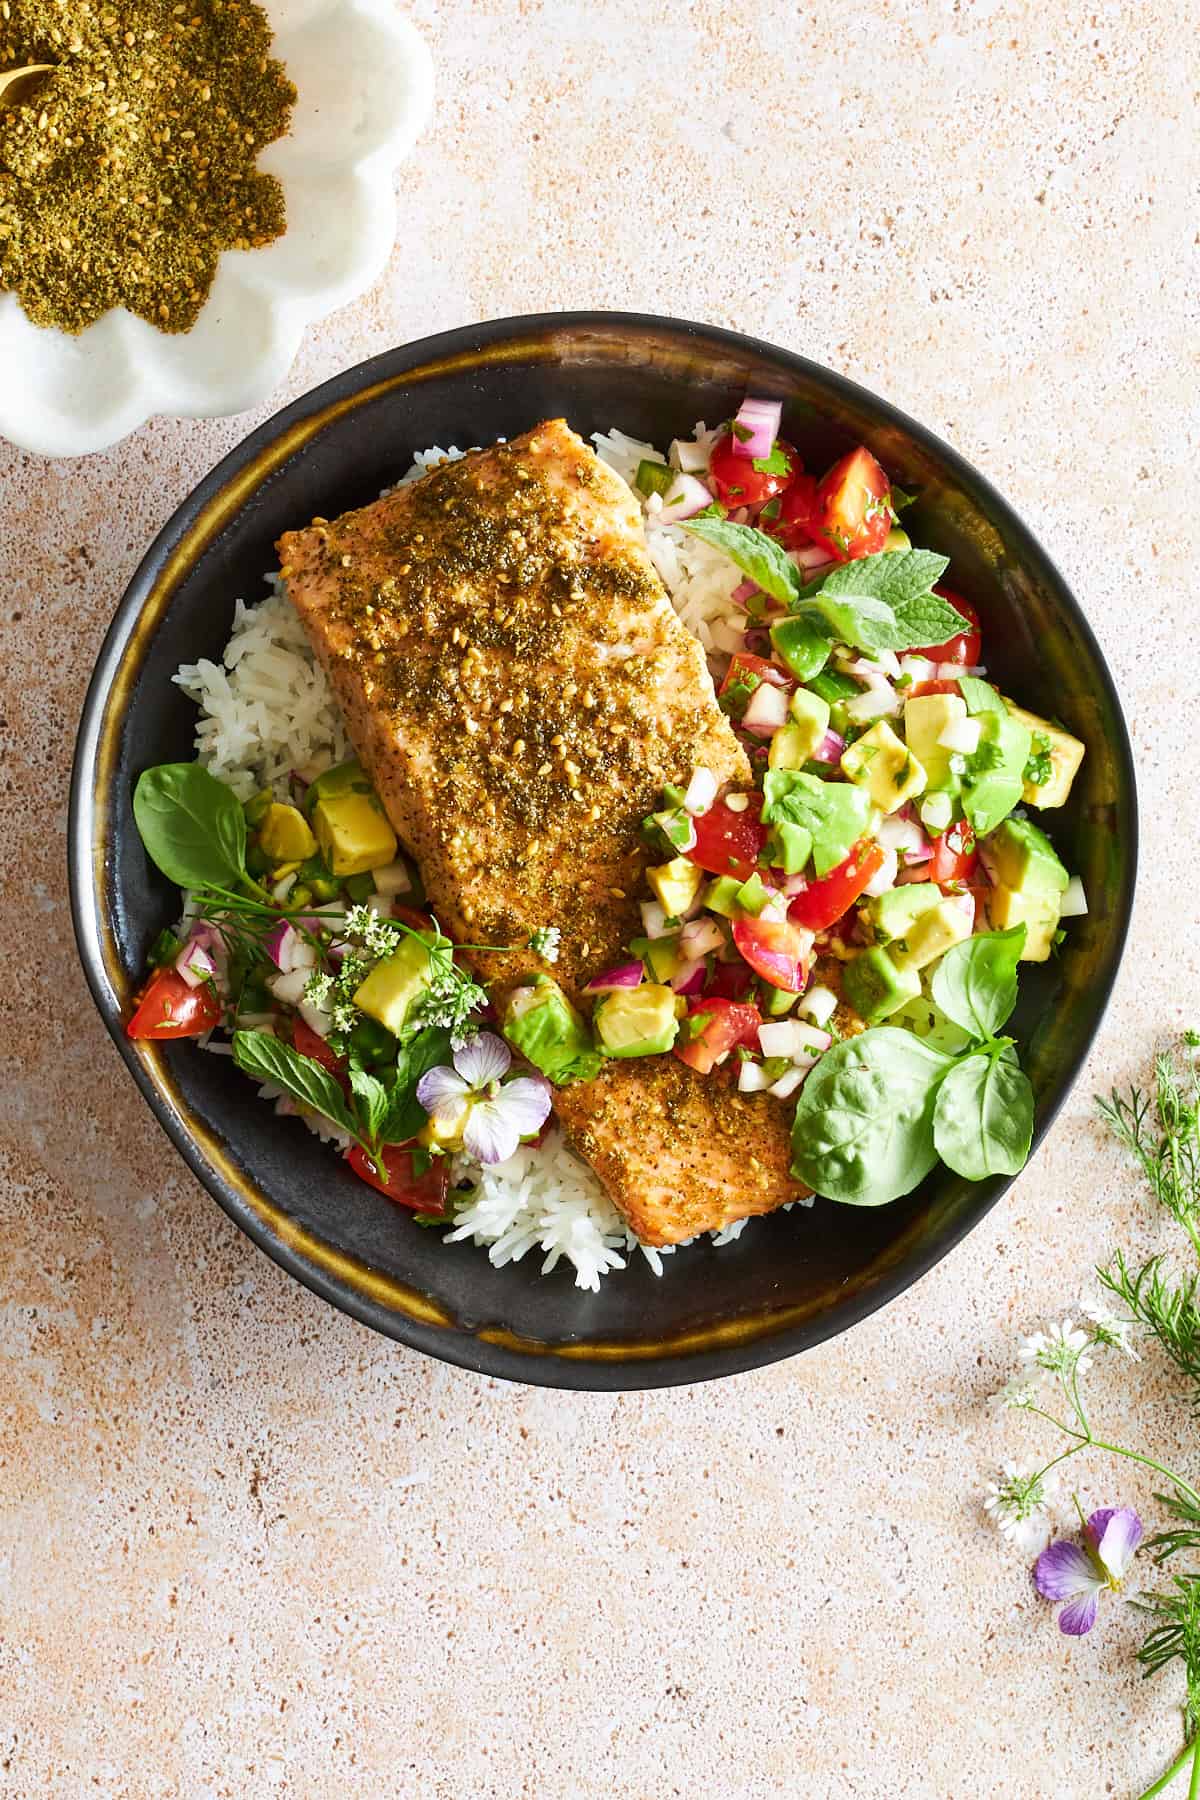 Learn how to make flakey baked salmon with za’atar and Egyptian avocado salsa for a healthy meal full of flavor!
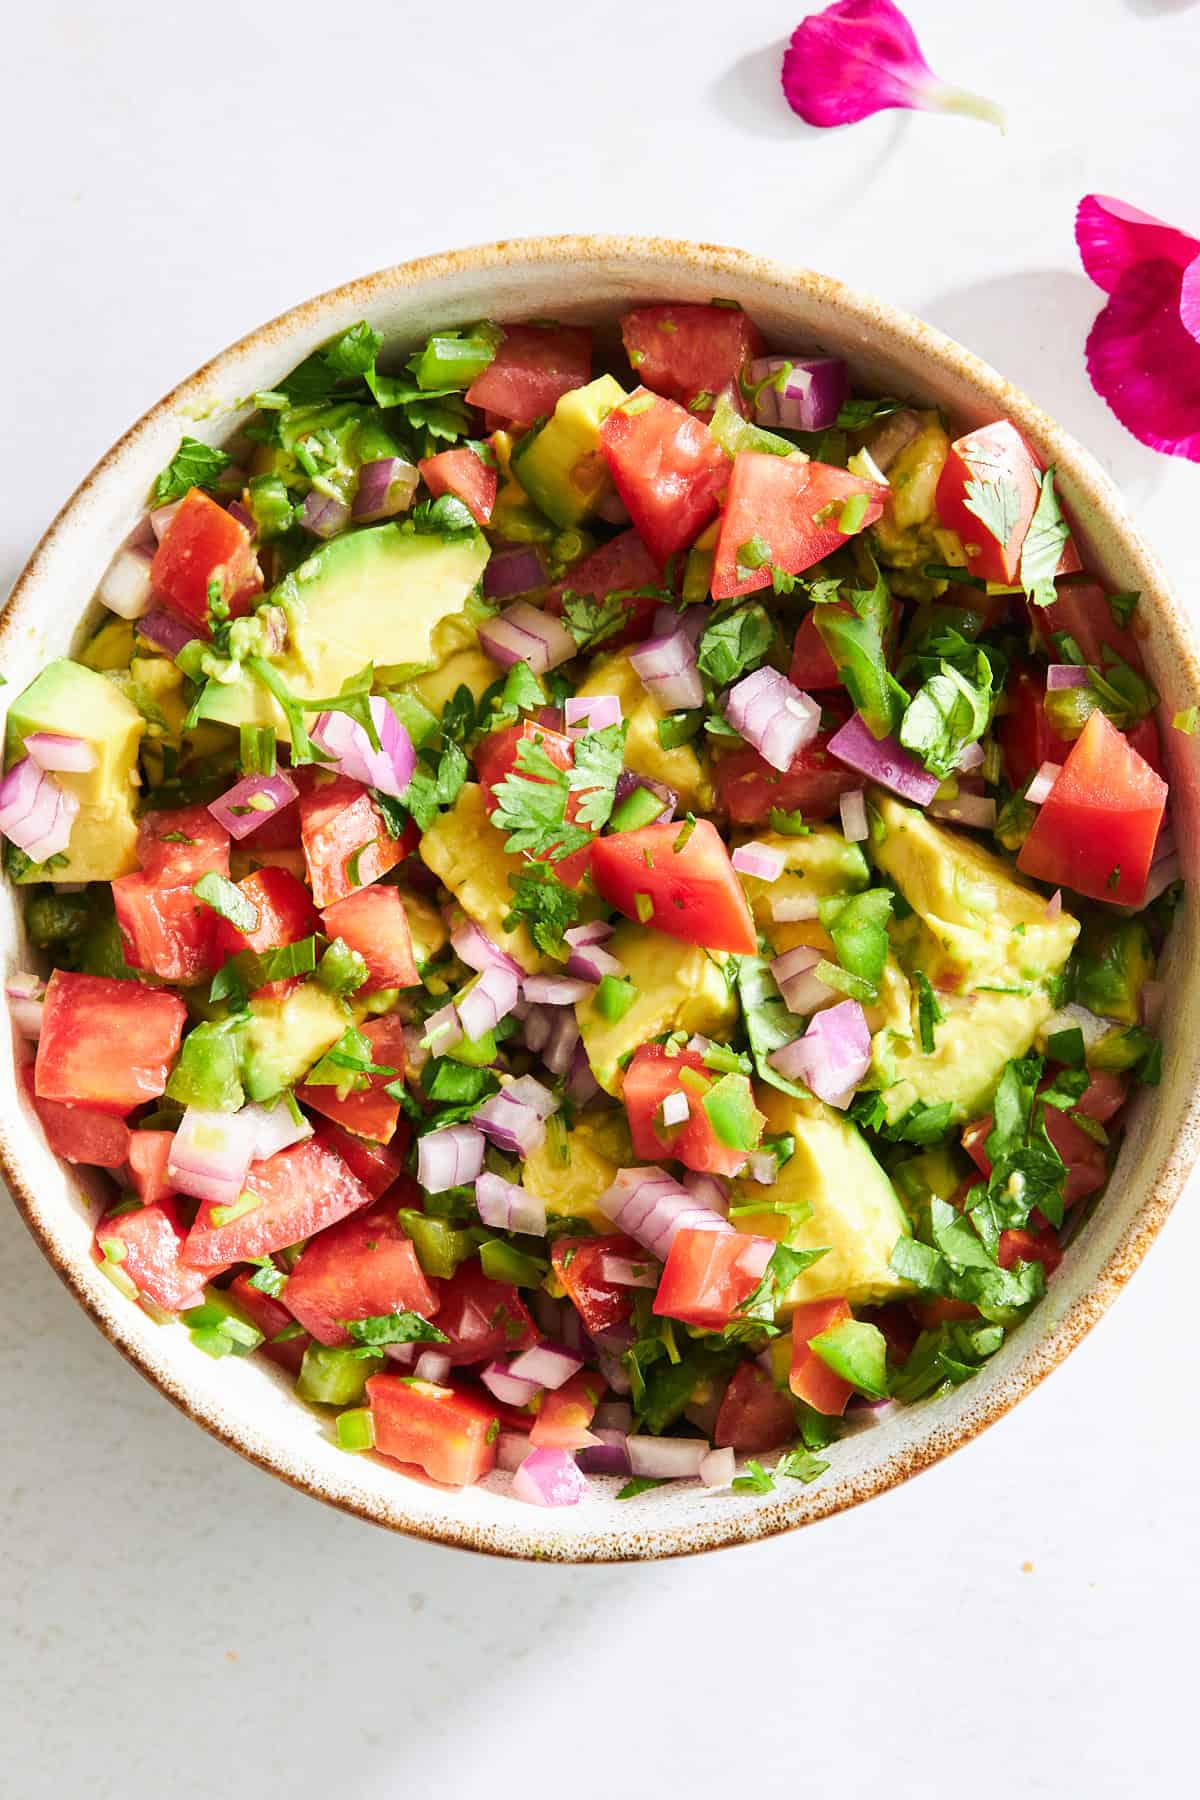 This Egyptian-inspired avocado salsa recipe features creamy avocado, tomatoes, red onion, and jalapeños for a sweet and spicy condiment!
 Make these caramel muffins with dinner rolls, a warm oat crumble topping, and sweet caramel sauce for an easy treat!
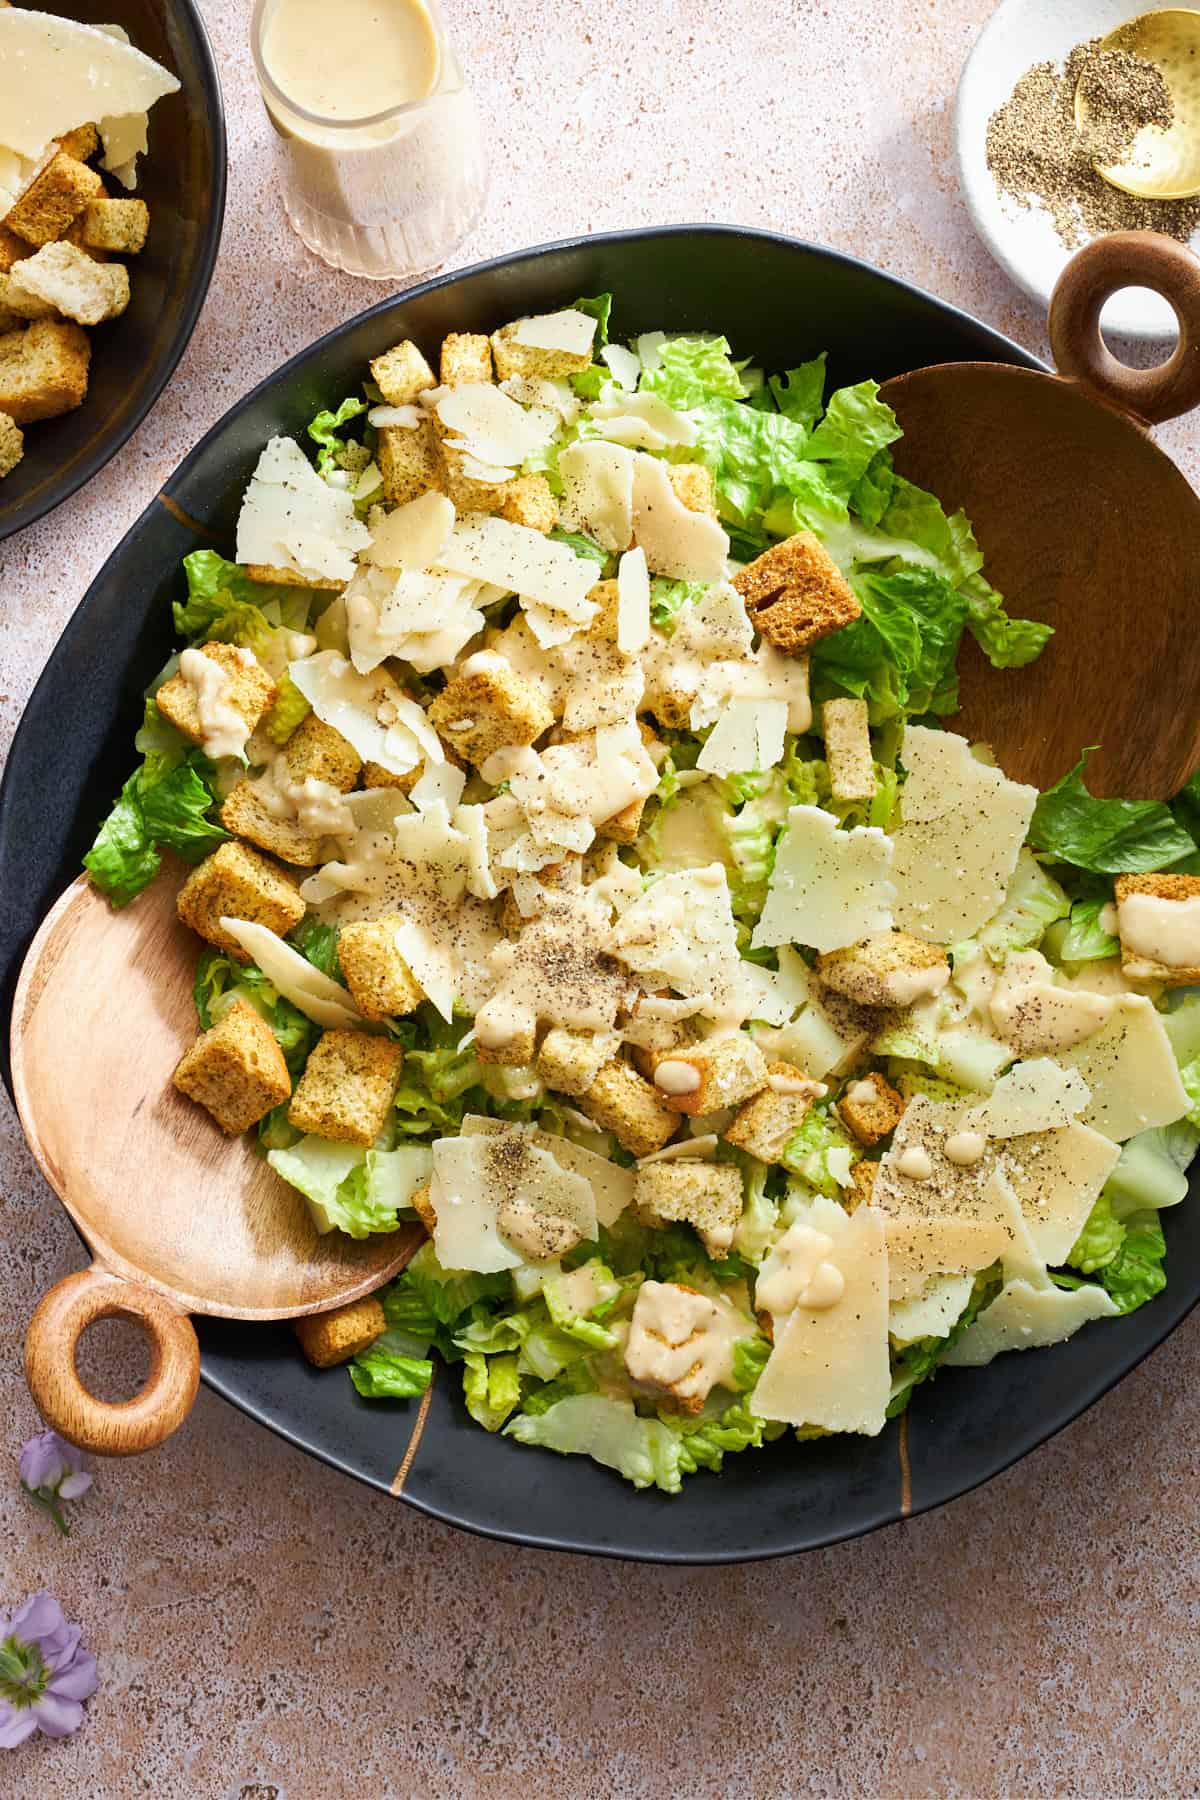 Learn how to make the best Caesar salad recipe with with lettuce, parmesan, croutons, and a creamy homemade dressing!
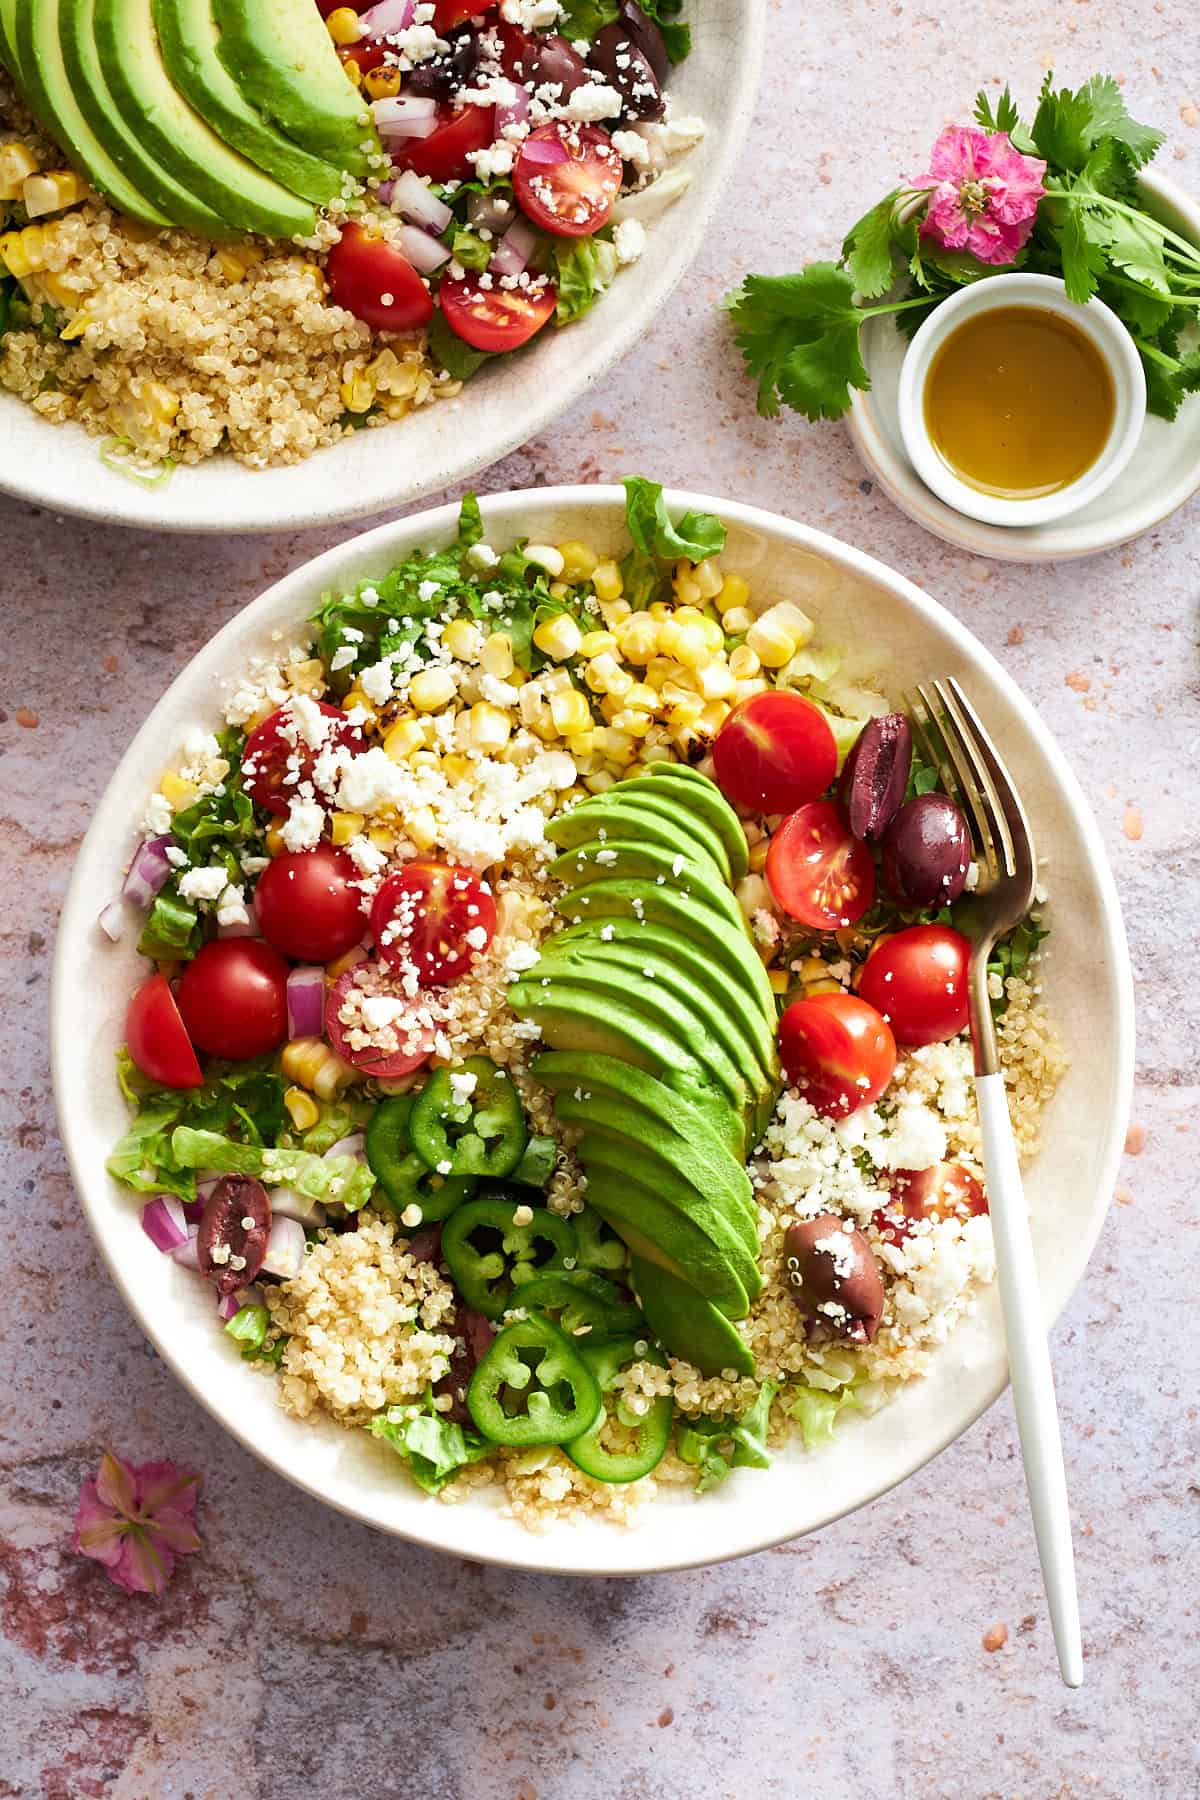 This vibrant Mexican quinoa salad features fresh veggies, quinoa, feta cheese, and a pesto dressing for a savory salad full of nutrients!
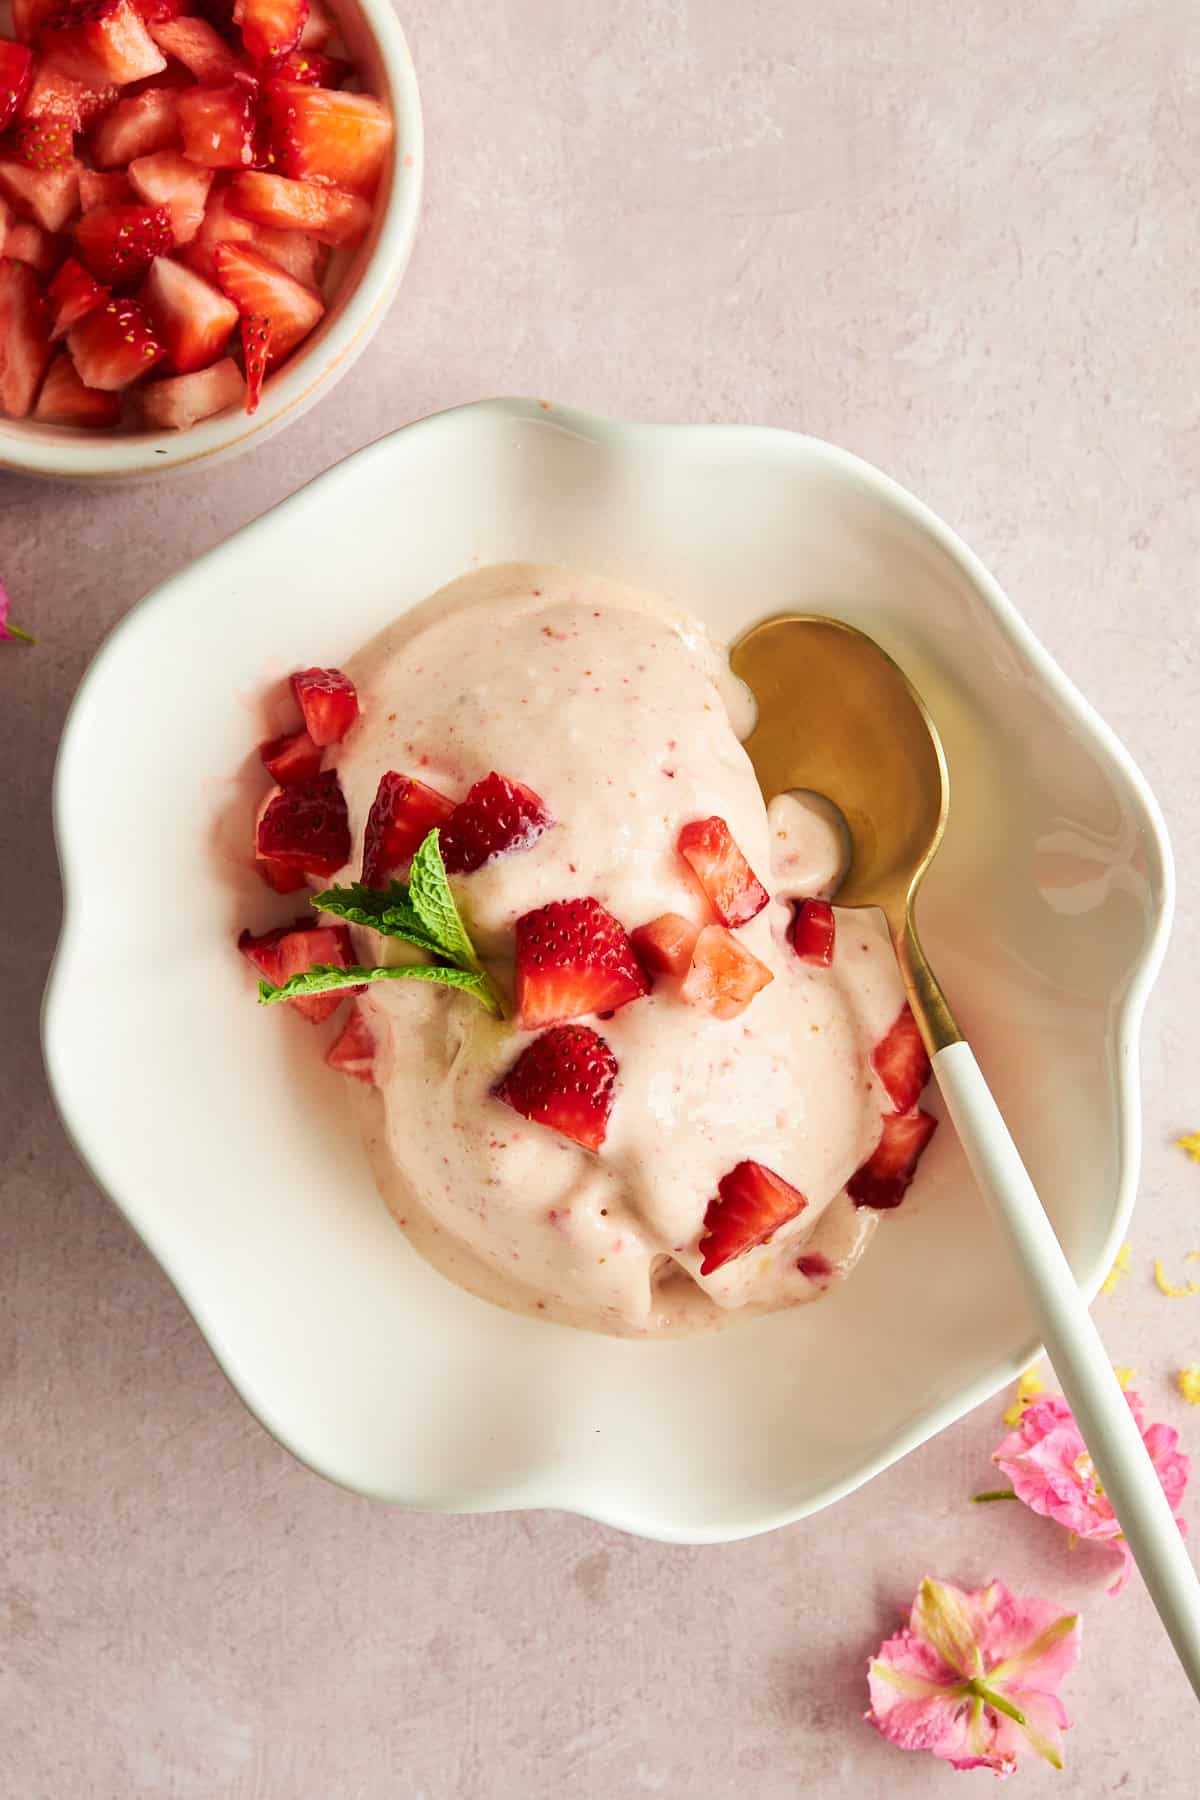 Make this easy cottage cheese ice cream recipe with just 4 ingredients for a sweet, fruity treat that’s healthier than normal ice cream!
 Upgrade your favorite breakfast with this sweet mango chia pudding topped with a fresh fruit salad perfect for summer!
 Whether you’re a seasoned chef or a budding home cook, well-equipped, organized kitchen workstations can truly transform your kitchen space.
 Take your grilling game to the next level with this restaurant-worthy grilled tomato basil chicken with burrata!
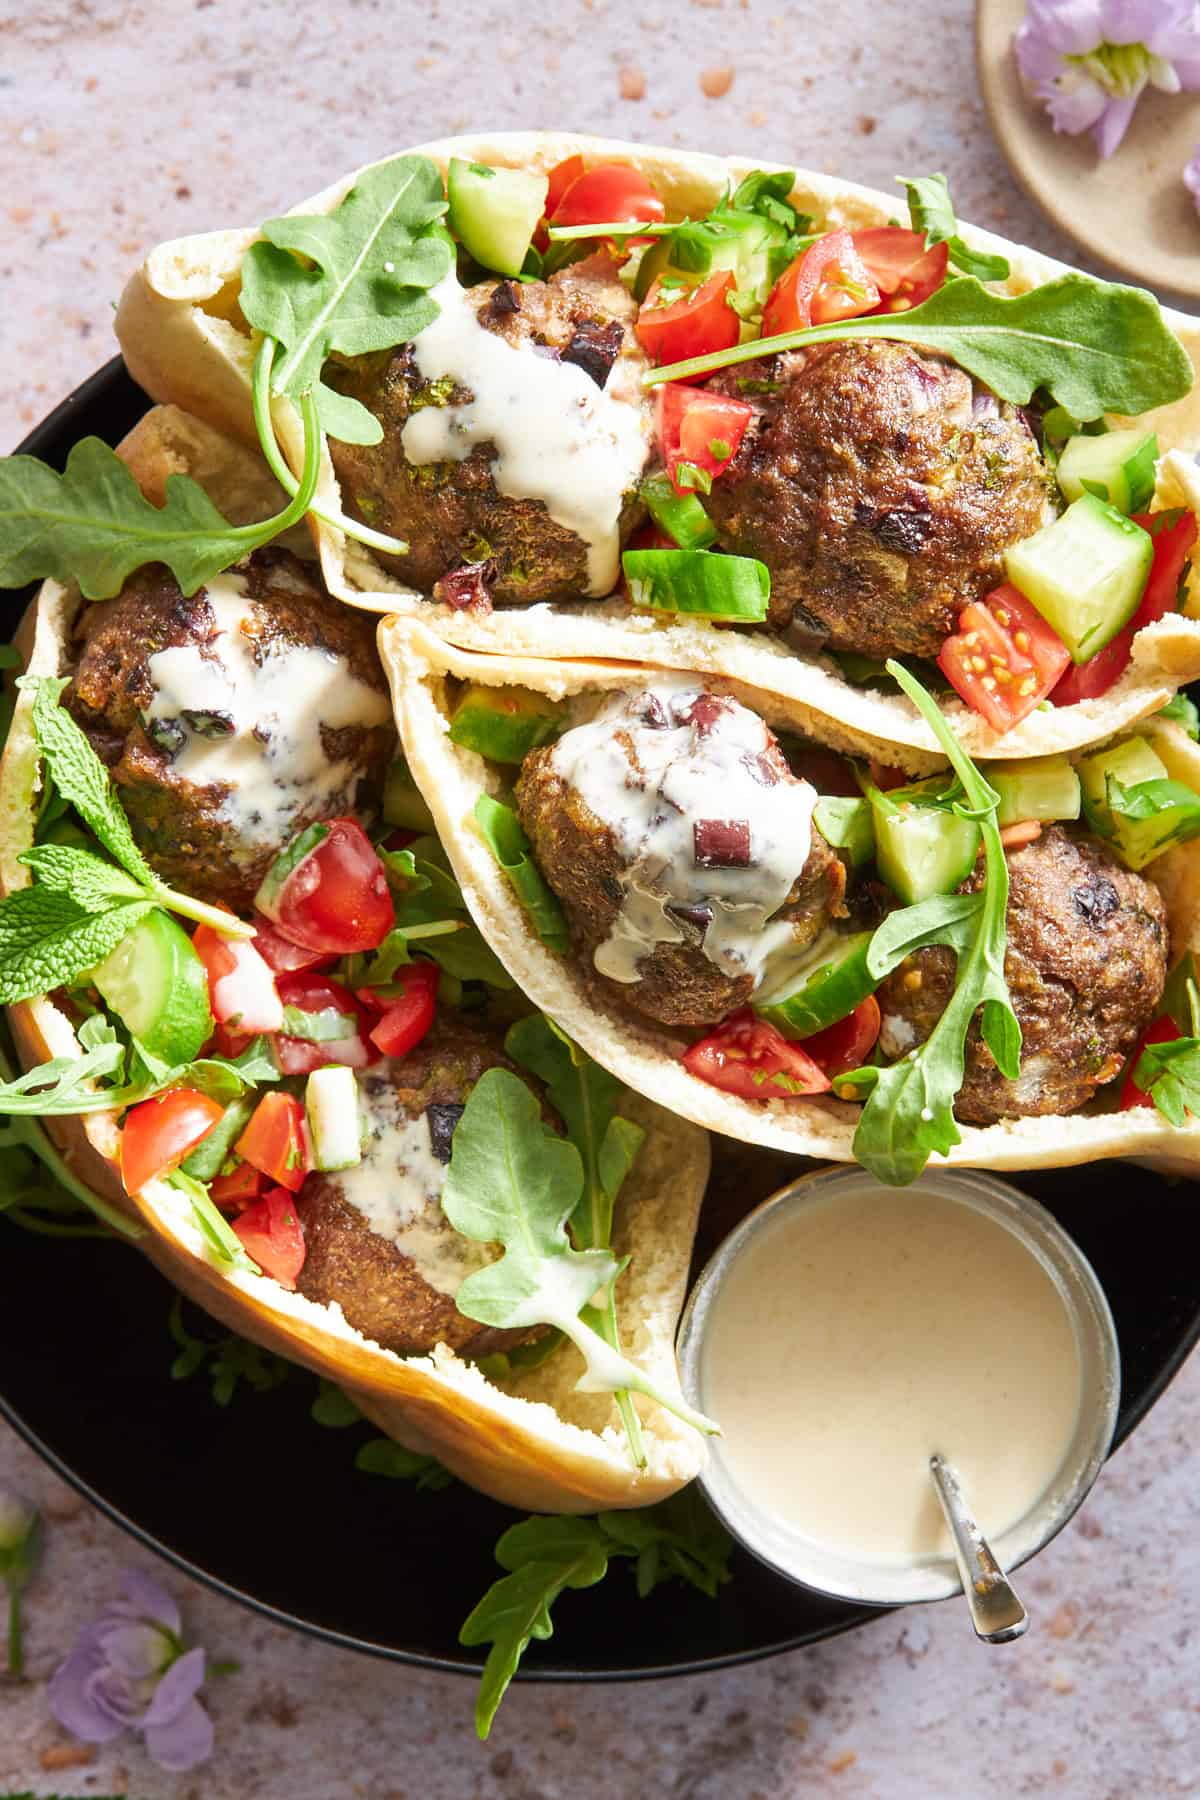 This ground beef meatballs recipe features ground beef, fresh herbs, & tahini, for savory, refreshing meatballs full of Mediterranean flavors!
 These key lime pie bars feature a buttery crust, creamy filling, and a mascarpone whip topping in bite-sized bars!
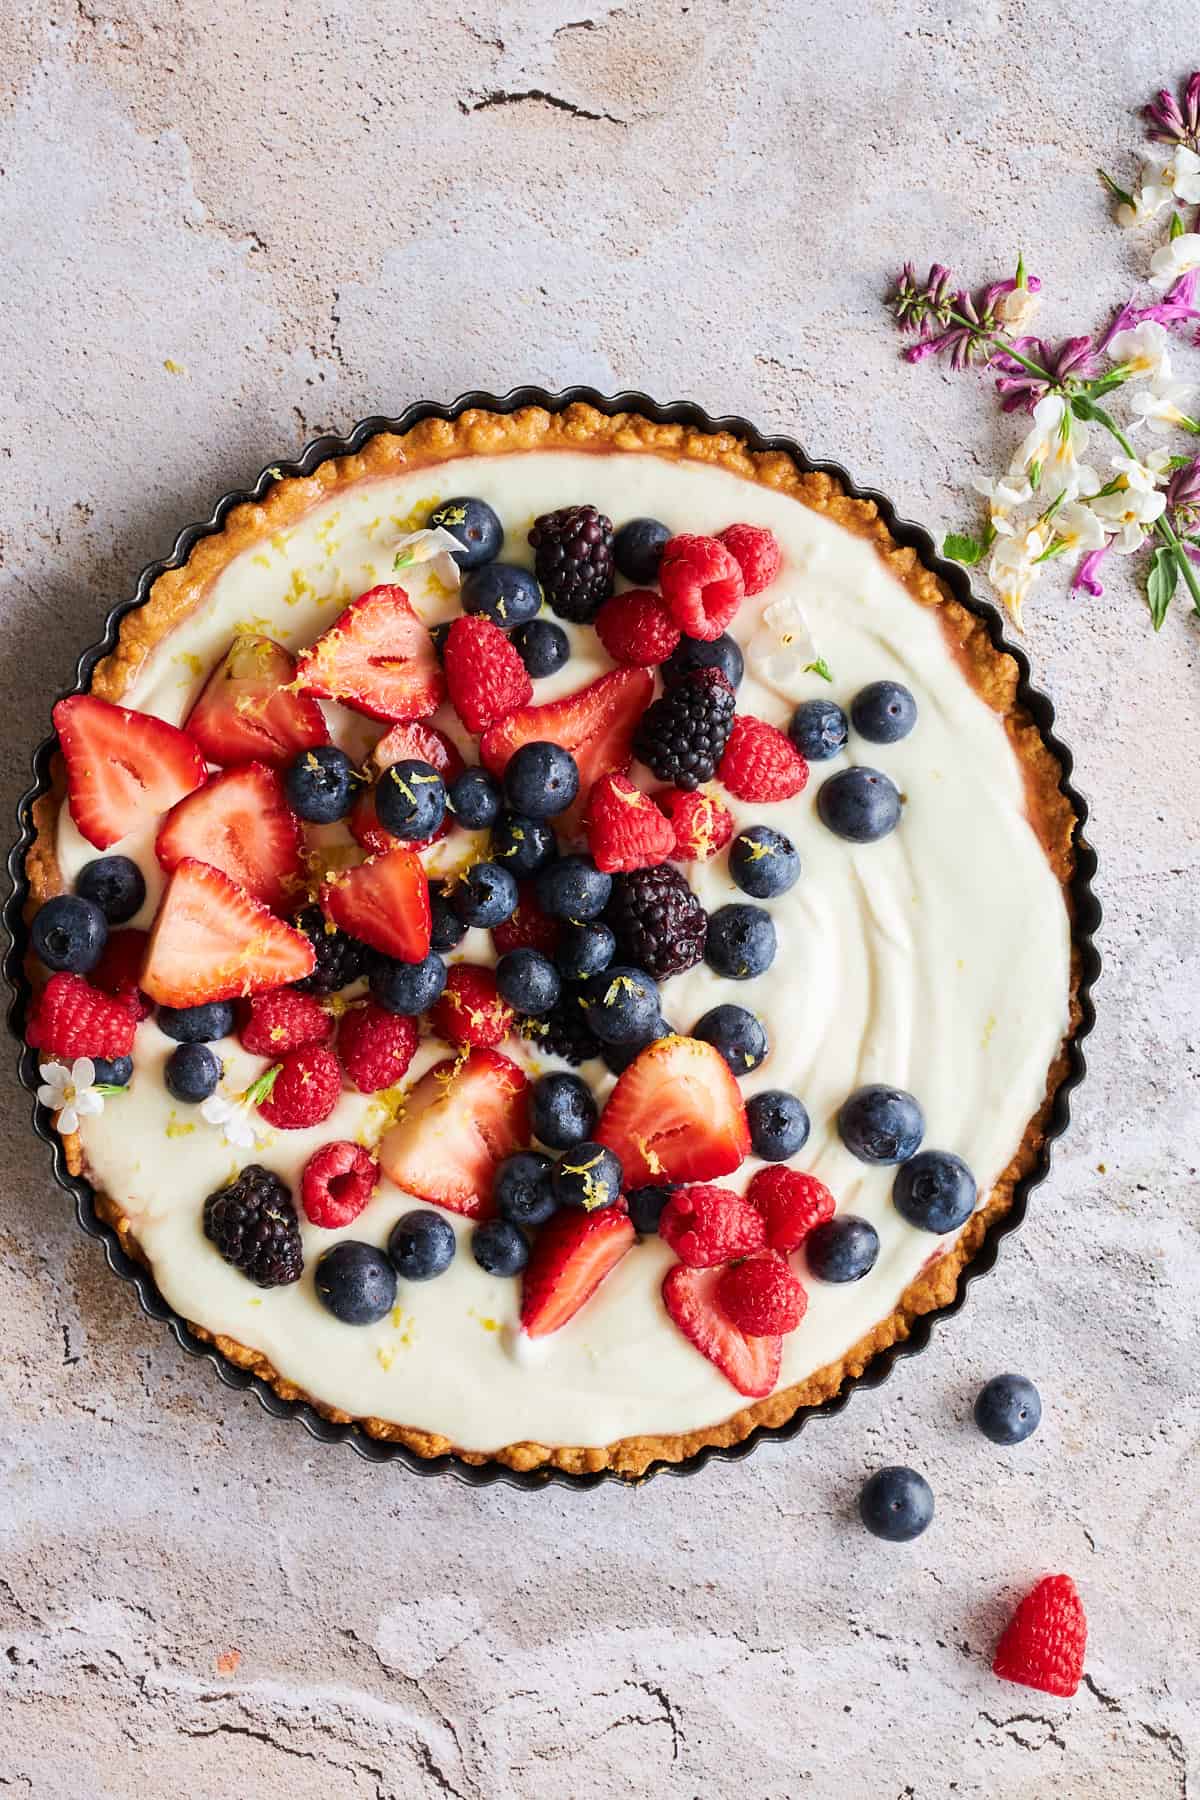 This simple cheesecake fruit tart recipe brings together a buttery crust, rich and creamy filling, and fresh fruit for the ultimate dessert!
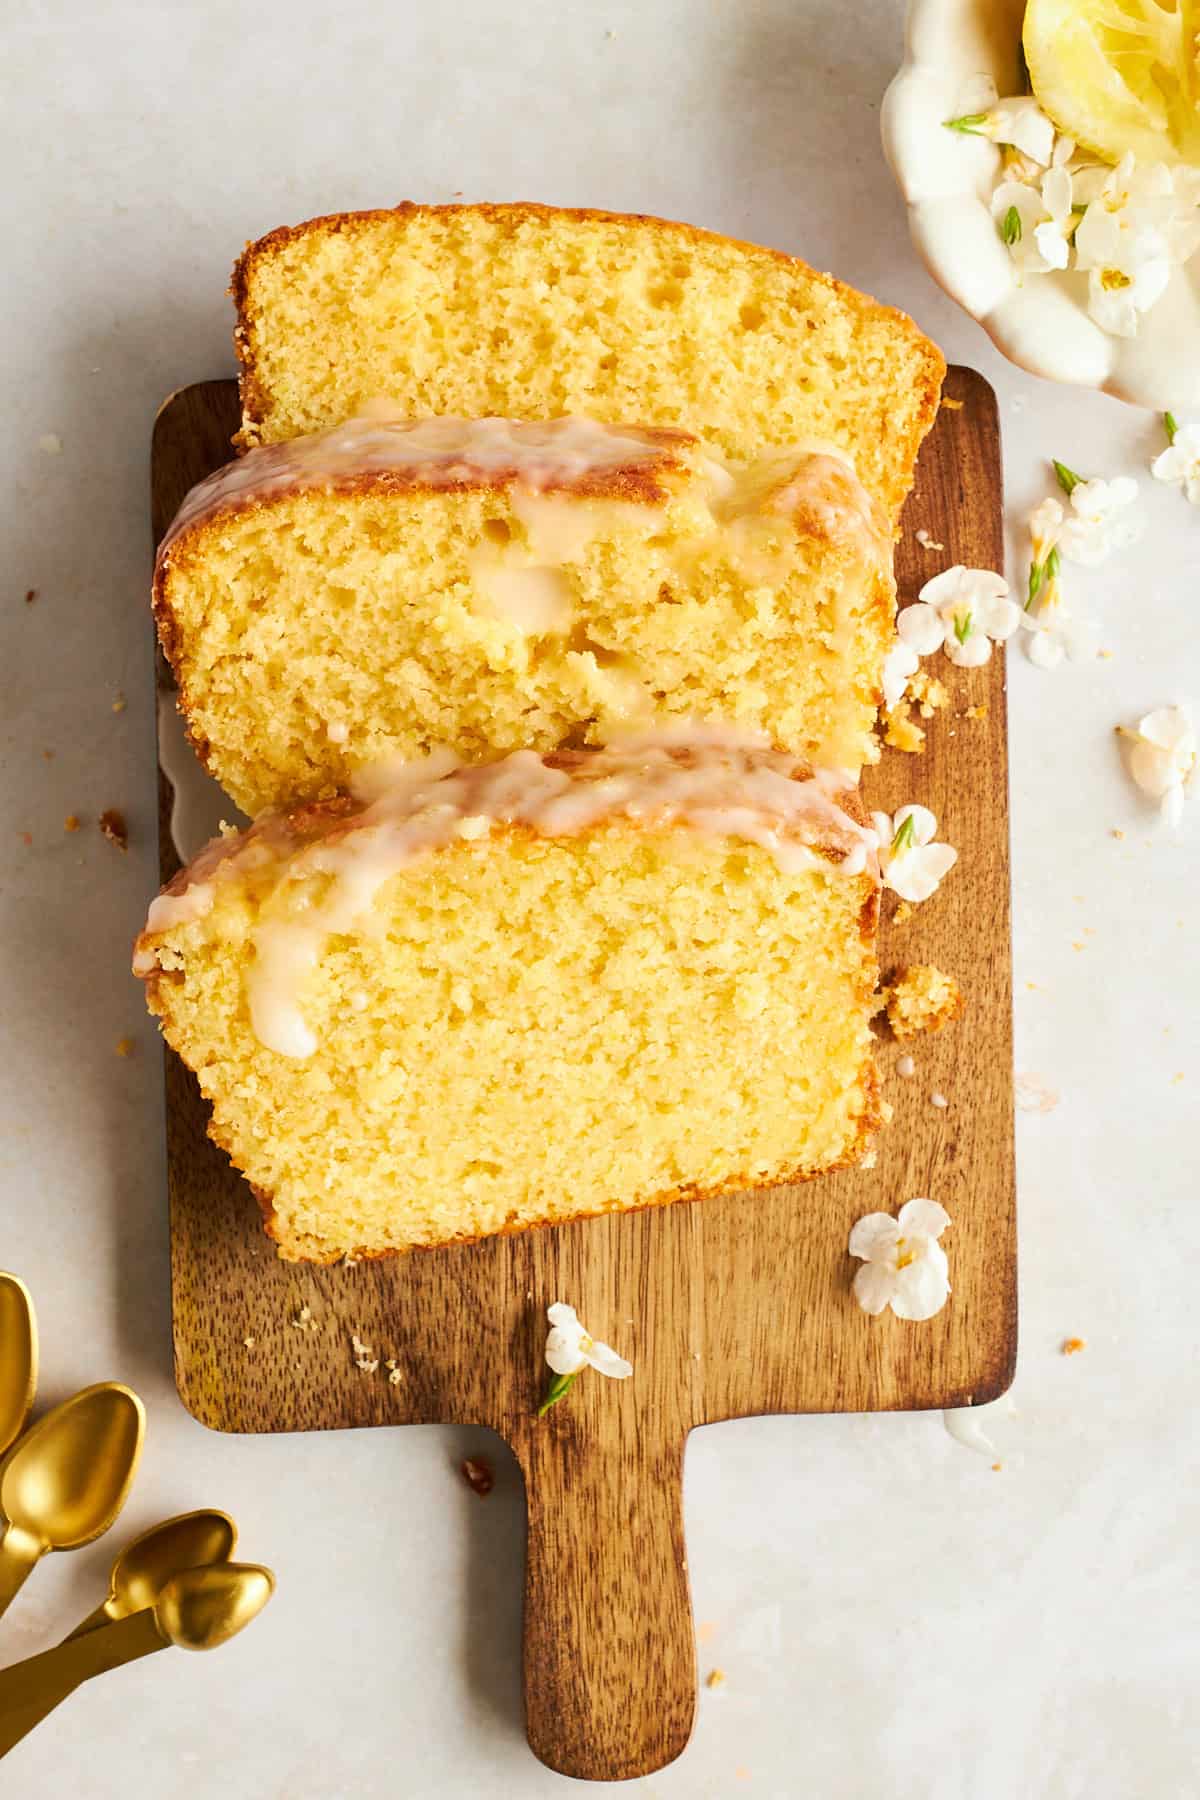 This zesty, moist loaf is bursting with fresh lemon flavor, topped with a sweet glaze, and comes together in a snap!