Moussaka
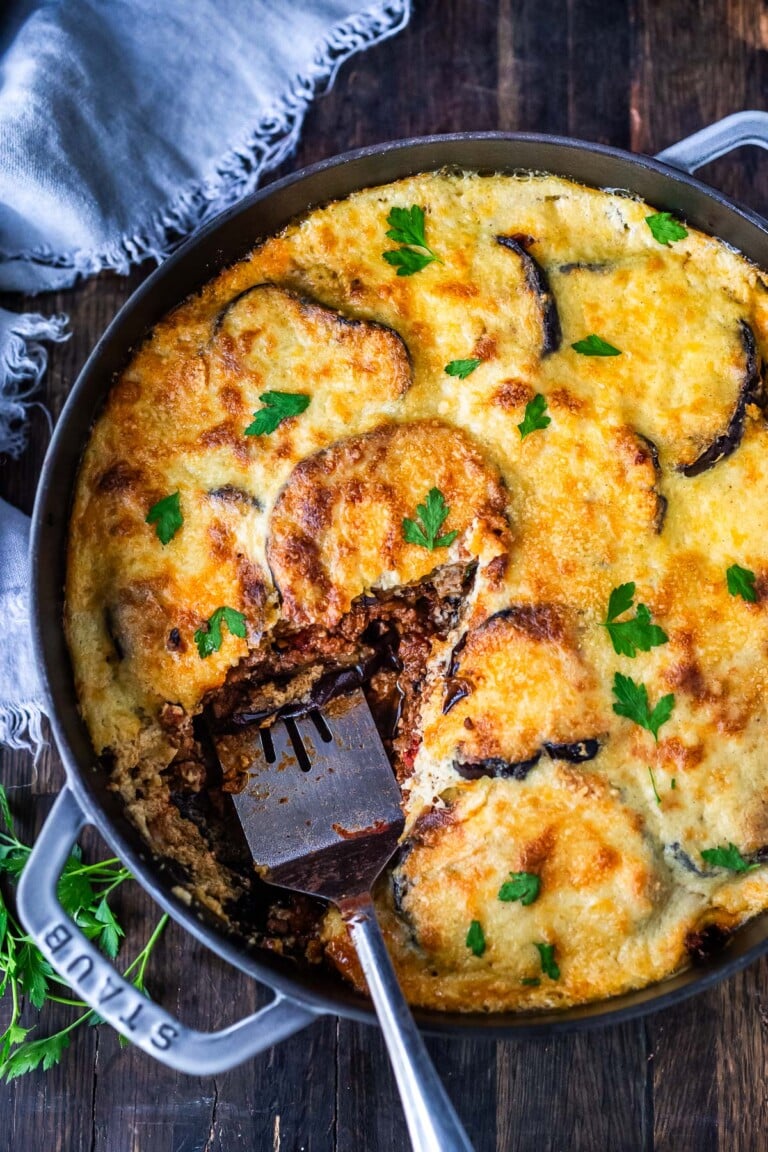
This traditional Moussaka Recipe is made with thick layers of succulent eggplant in a rich tomato-meat sauce, topped with a creamy bechamel sauce. Vegetarian & Vegan adaptable. Video!
all things food
This traditional Moussaka Recipe is made with thick layers of succulent eggplant in a rich tomato-meat sauce, topped with a creamy bechamel sauce. Vegetarian & Vegan adaptable. Video!
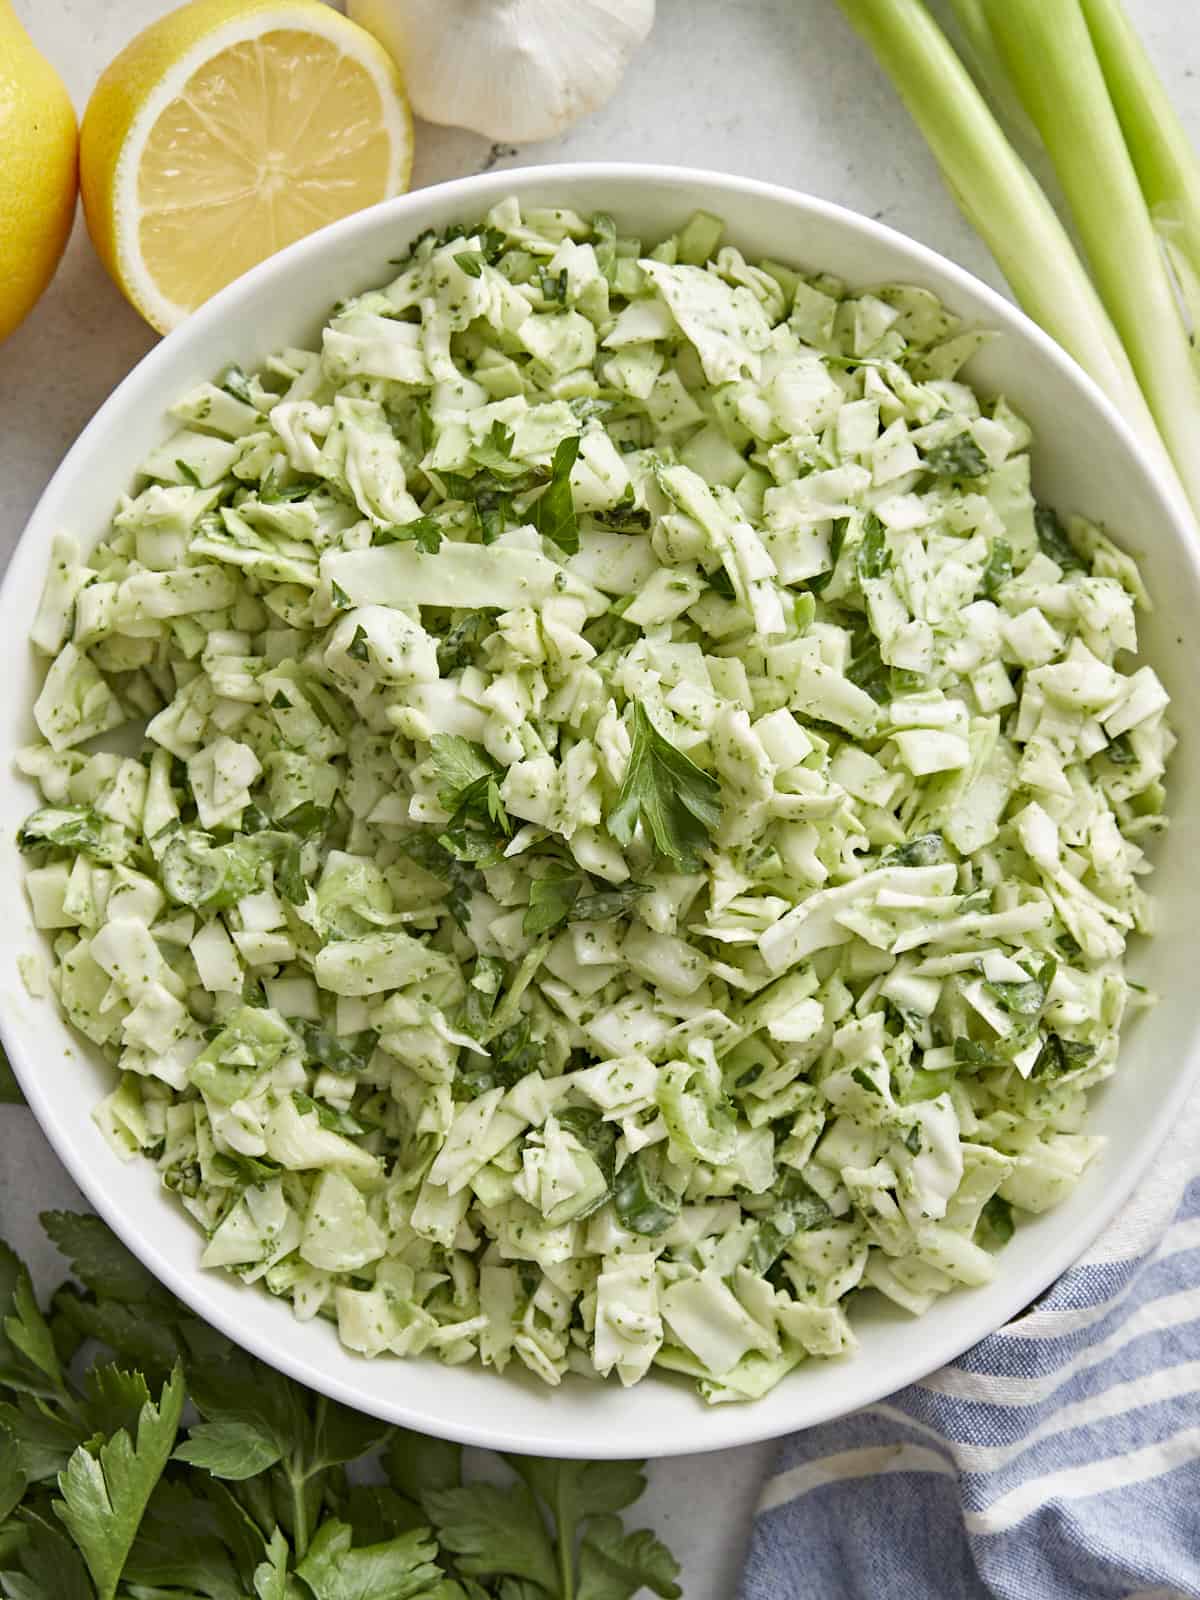
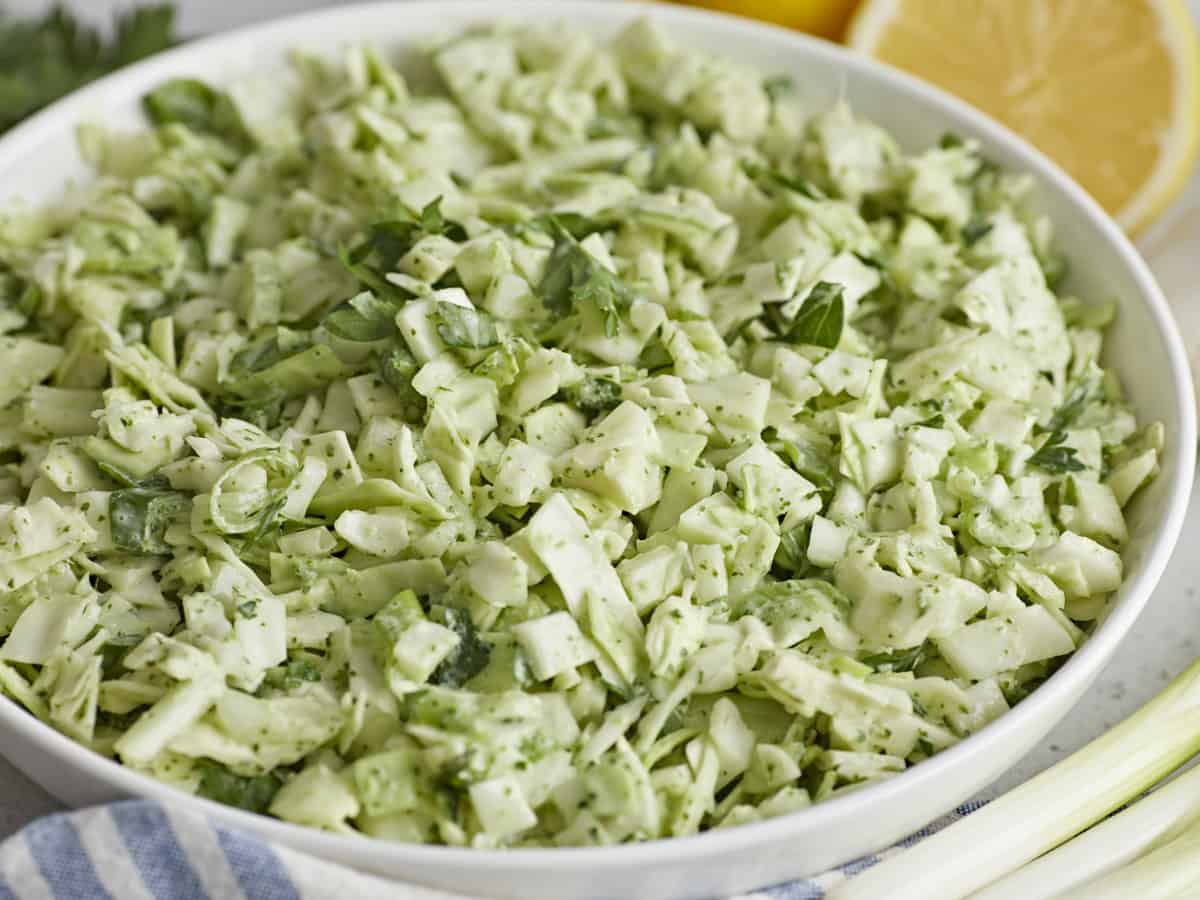
This creamy, crunchy, and tangy Green Goddess salad is as delicious as it is easy to make, plus it’s ridiculously budget-friendly.
The post Green Goddess Salad appeared first on Budget Bytes.
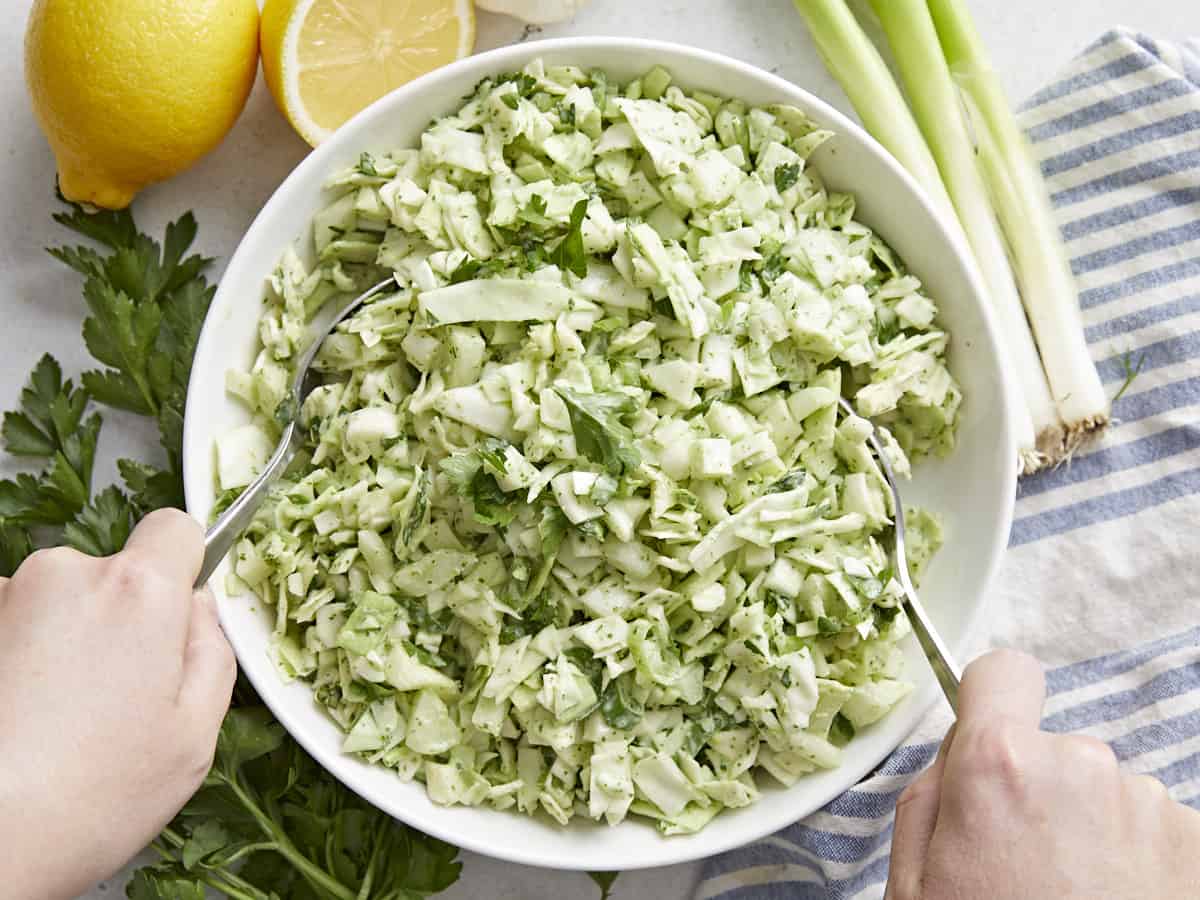
This Green Goddess Salad recipe is so good every time I take a bite, I feel like screaming, “I can’t believe this is cabbage!”. If you’re looking for a delicious and refreshing salad that’s super easy to make and ridiculously budget-friendly (you will never pay for bagged salad again), then you need to try Green Goddess Salad. The creamy, herb-packed Green Goddess Dressing it’s made with is to die for.
Green Goddess Salad is believed to have been created in the 1920s in San Francisco as an homage to an actor in the play The Green Goddess. It’s usually a mixture of leafy greens and a zesty, herbaceous Green Goddess Dressing.
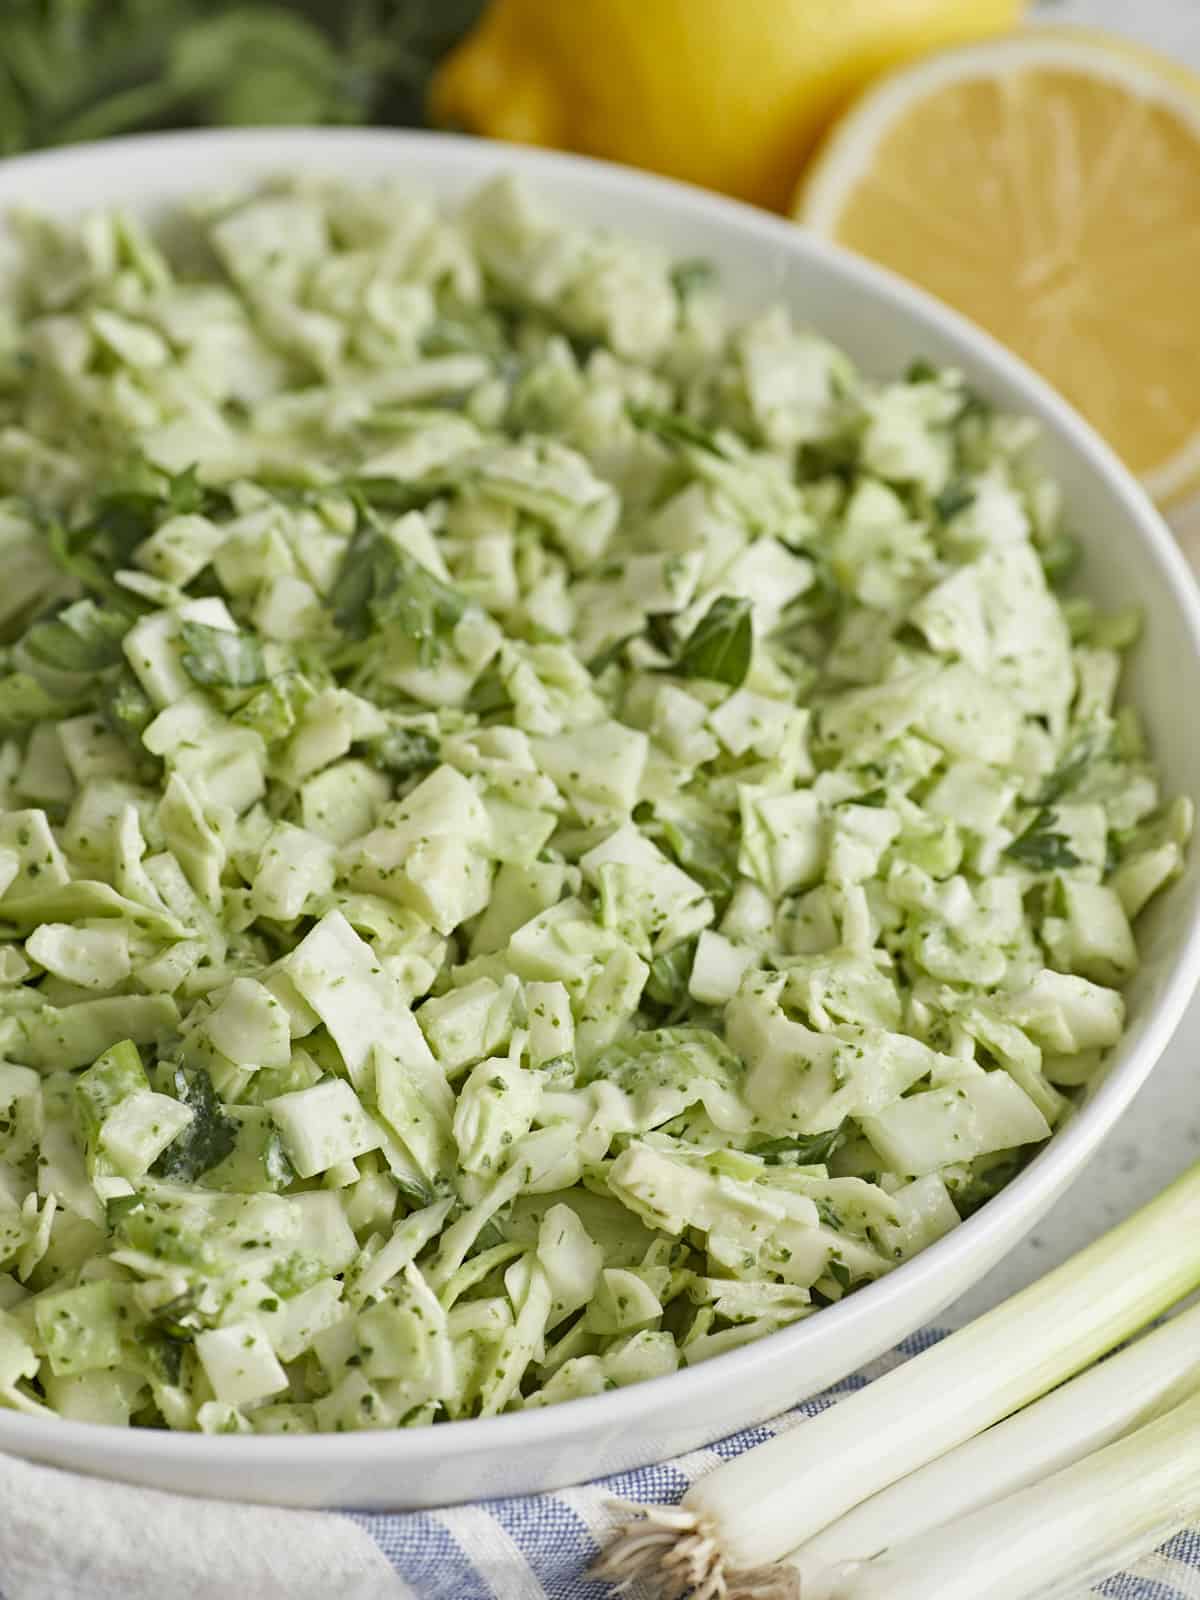
My recipe for Green Goddess Salad uses cabbage as the primary green, so this salad keeps well, making it a perfect choice for potlucks. Though I keep things simple to keep this recipe budget-friendly, this salad is often served with croutons and grilled shrimp or chicken. Here’s what you’ll need to make Green Goddess Salad:
This salad keeps really well. Though you can mix the dressing into the greens and refrigerate the salad for up to 5 days, the flavors mellow considerably. If you’re going to premix, I recommend giving it a good stir, tasting the greens, and adding a few pinches of salt and maybe a crack or two of black pepper before serving. I do not recommend freezing this salad, as the textures of the greens will change considerably as they thaw.
This is a perfect salad to bring to a get-together because it travels really well. Its herbaceous tangy notes make it a perfect pairing for lighter dishes like Easy Fish Tacos with Cumin Lime Slaw, Salmorejo, Tuna Patties, or Chicken Lettuce Wraps. But it is also hearty enough to pair with bolder flavors like BBQ Ribs, Sausage Kebabs, Roasted Chicken, and Classic Homemade Meatloaf.
See how we calculate recipe costs here.
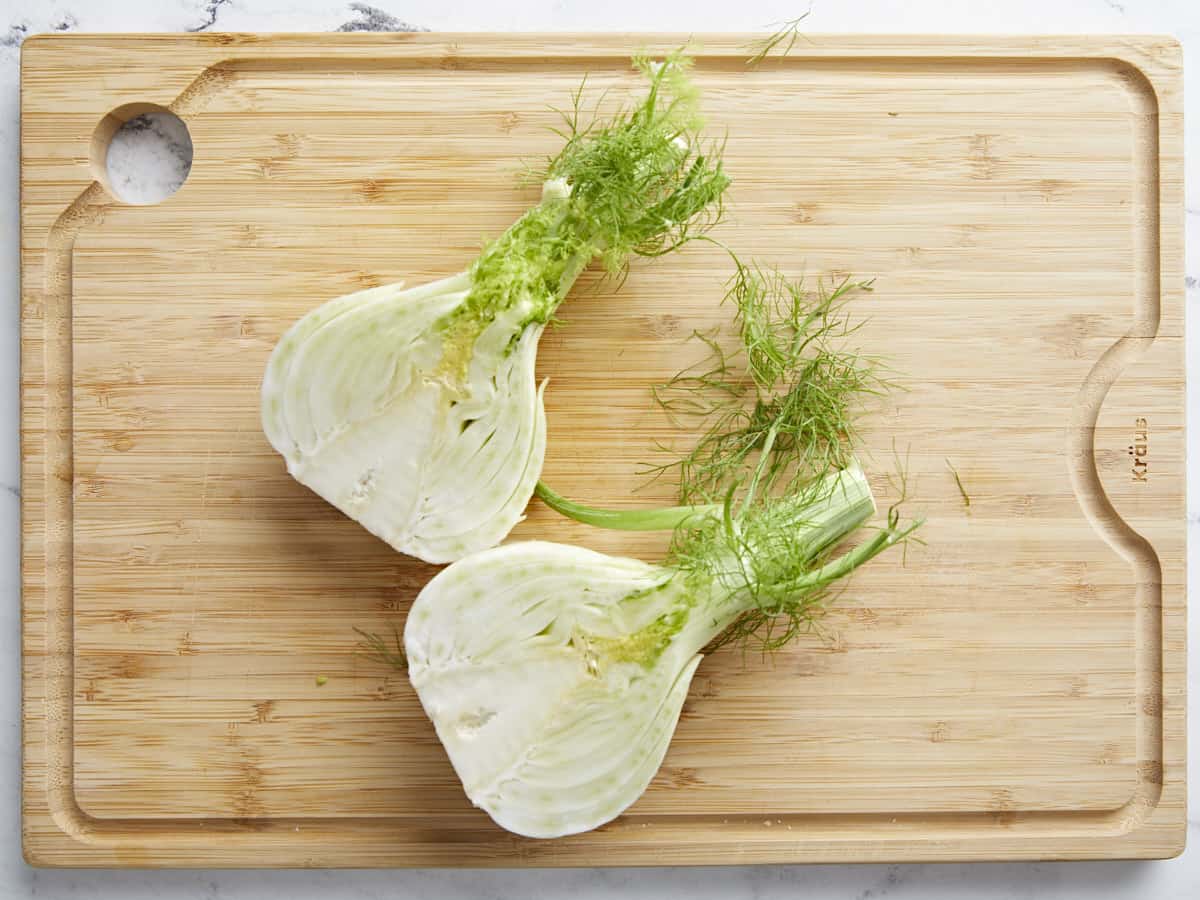
Rinse 1 fennel bulb under cool water. Slice the fennel bulb in half from root to stem. Trim off the stem, reserving the fennel fronds to use in the Green Goddess Dressing. If you’ve purchased pre-made dressing, use the fennel fronds as garnish.
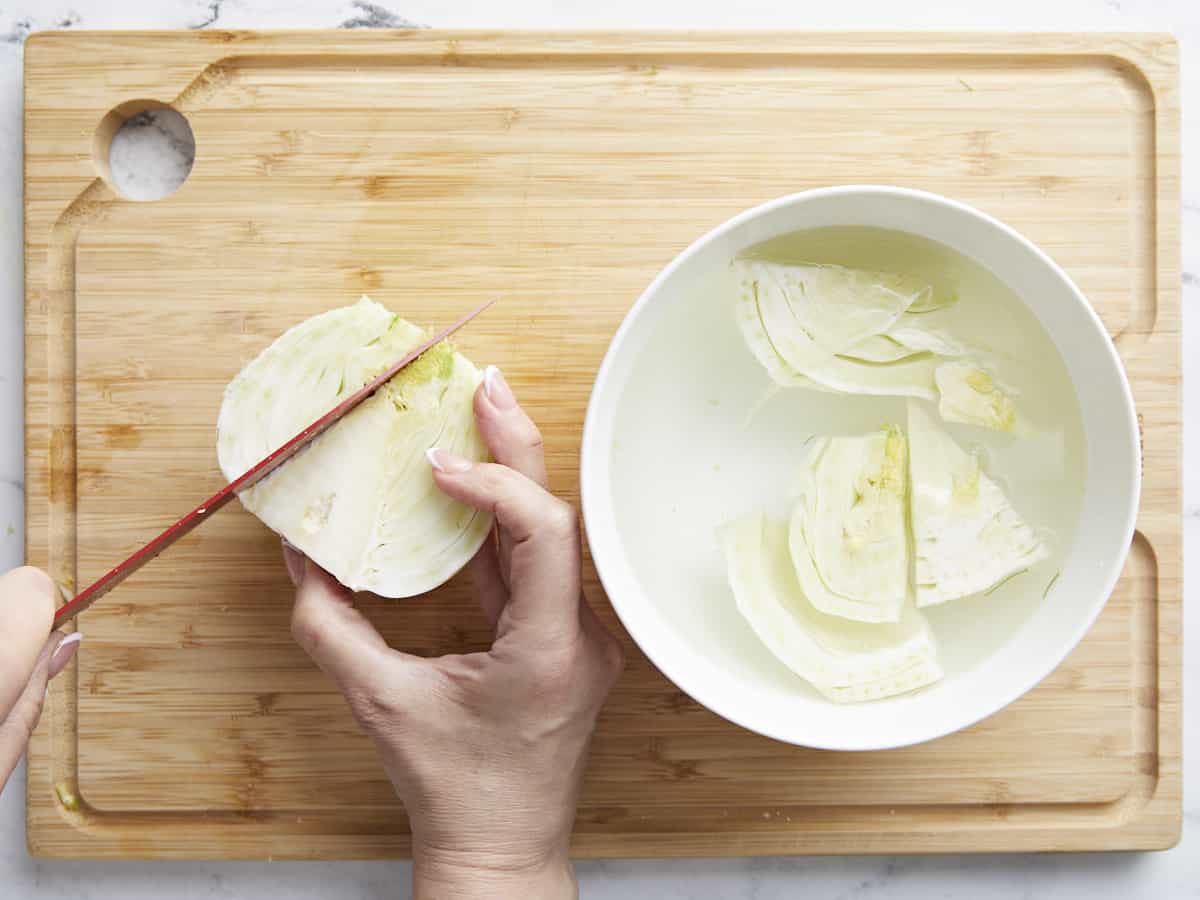
Slice around the triangle-shaped core of each fennel bulb half. Place each half in a bowl of water to prevent the fennel from browning. Then chop each fennel half into 1/4-inch thick slices. Finally, cut the fennel slices into 1/4-inch dice. (Squares of fennel slices that are 1/4 inch by 1/4 inch.) Keep the diced fennel in the water until ready to use.
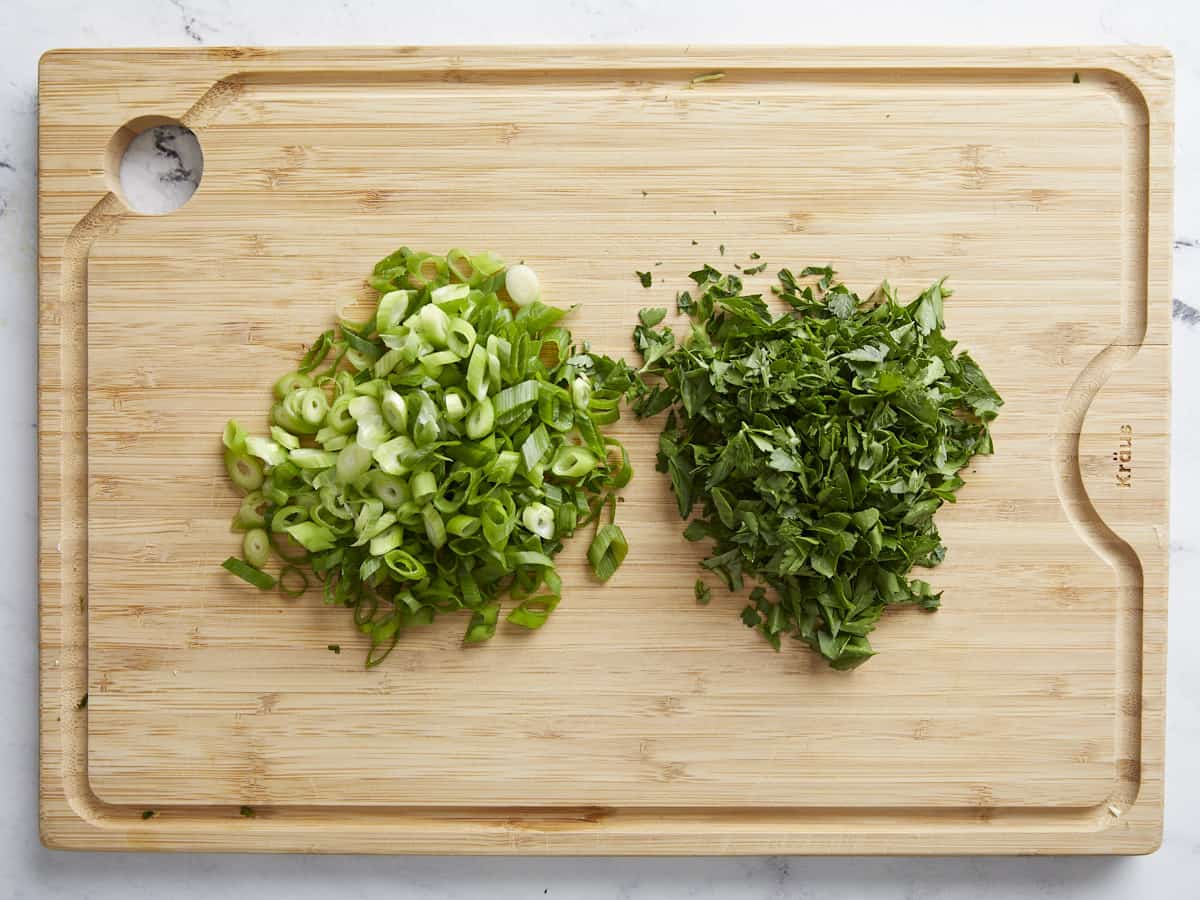
Remove the roots from 4 green onions and then slice in 1/8-inch slices on the diagonal. Rough chop 1 cup of Italian Parsley leaves.
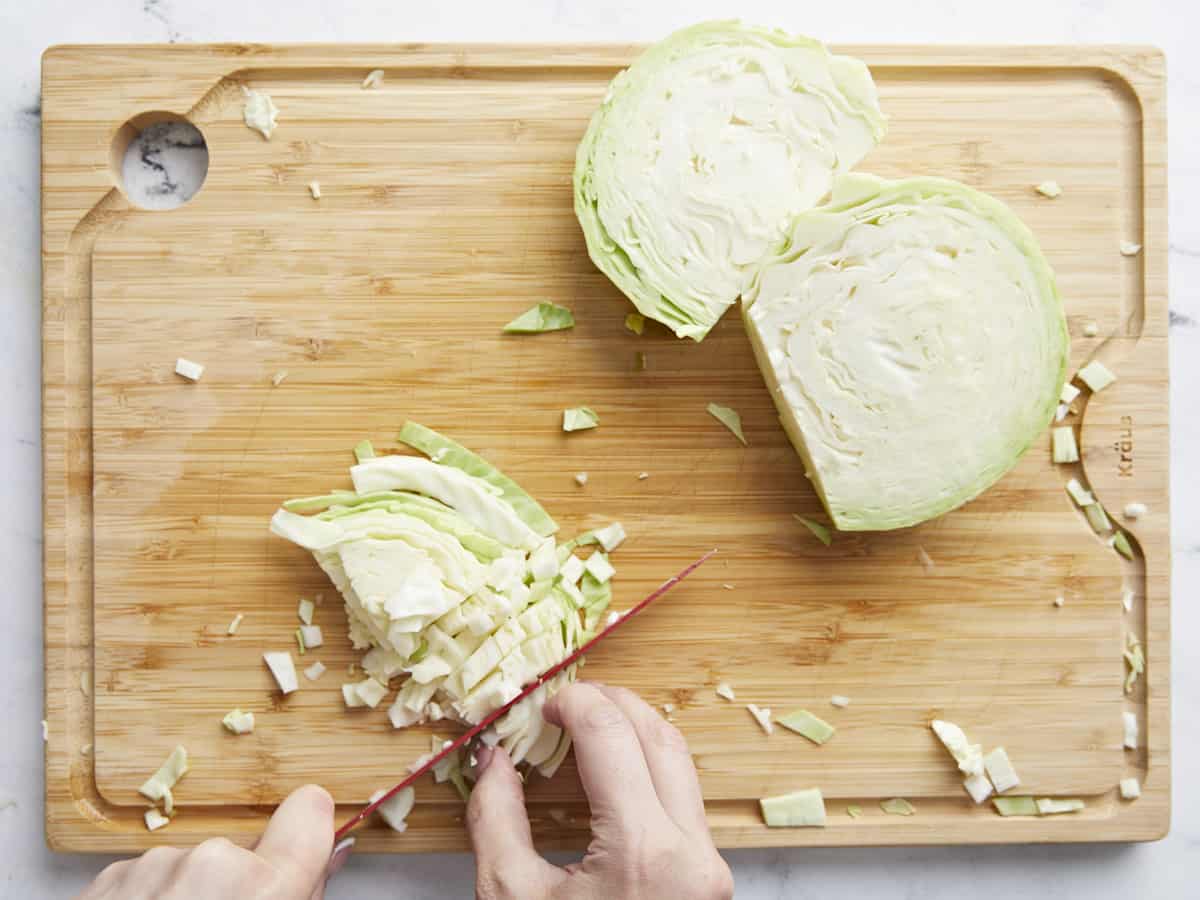
Slice 1 green cabbage in half, and cut around the core. Next, cut each cabbage half into 1/4-inch thick slices. Then cut each slice into 1/4-inch strips. Finally, cut each strip into 1/4-inch dice. You should have about 10 to 12 cups of chopped cabbage.
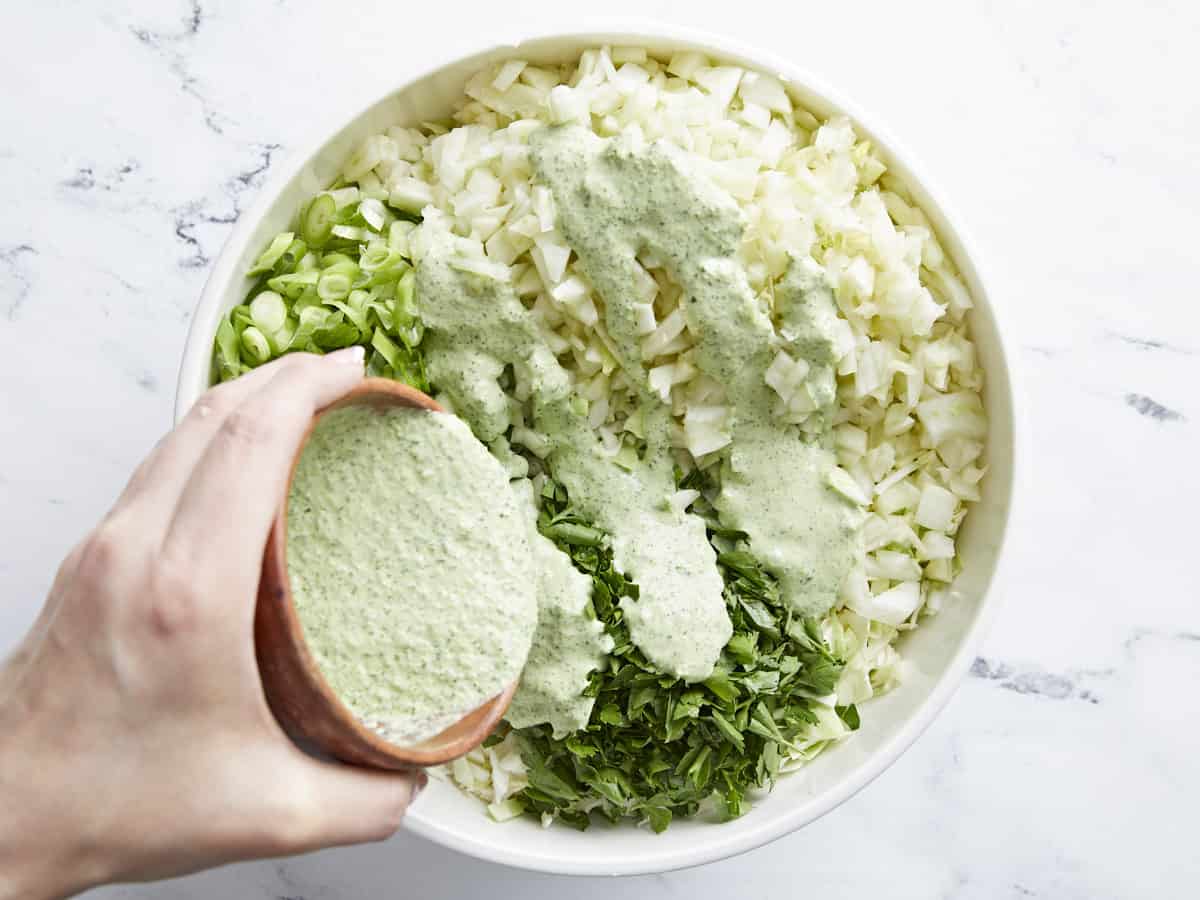
Place the cabbage, onions, Italian parsley, fennel fronds, and fennel in a large bowl. Top with 2 cups of Green Goddess Dressing. Toss the greens in the dressing.
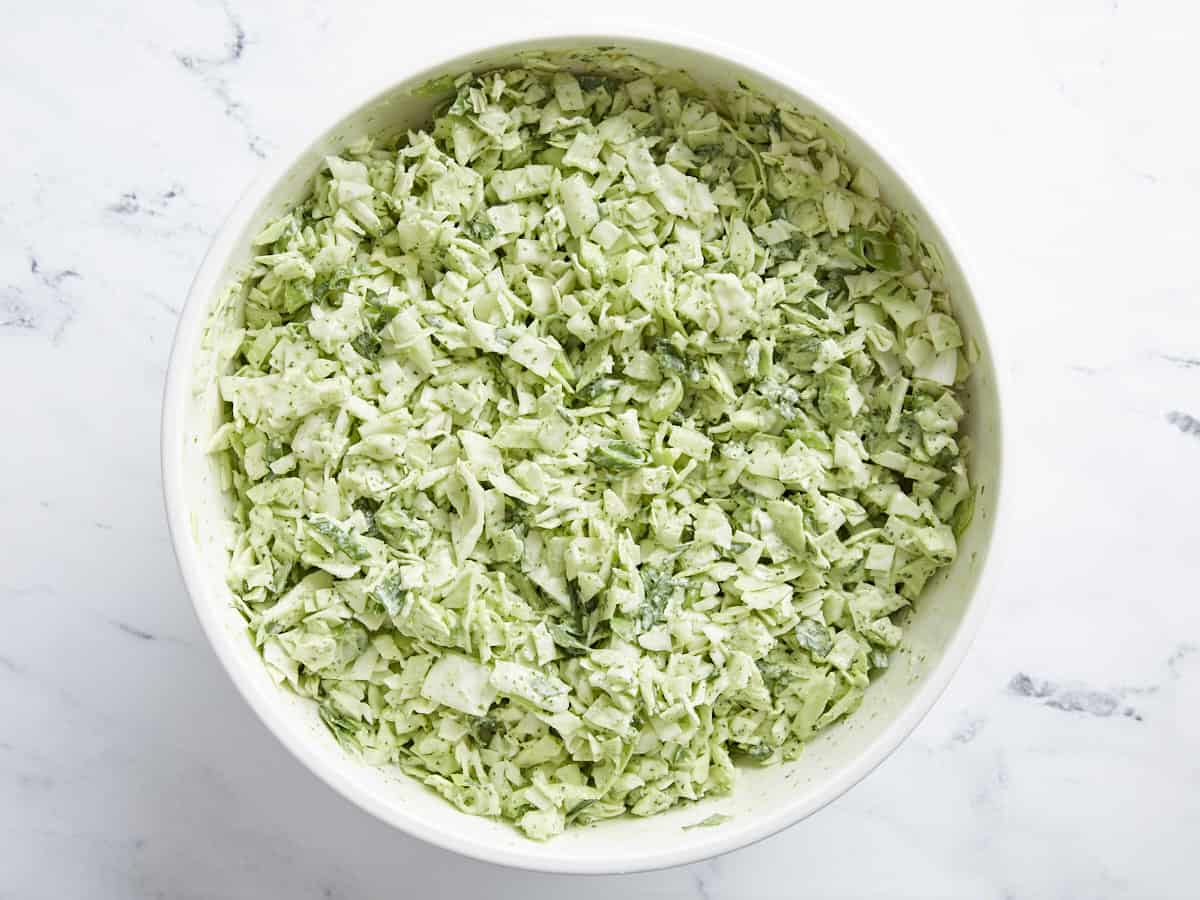
The dressing will add loads of flavor to the greens, but it will also extract some of their water. So taste them about ten minutes after adding the dressing, and if necessary, add salt and pepper to taste. If you are preparing the salad ahead of time, give it a big stir before serving, and add more salt and pepper if necessary. I hope you enjoy this one as much as we did! Beth and I both couldn’t stop eating it!
The post Green Goddess Salad appeared first on Budget Bytes.
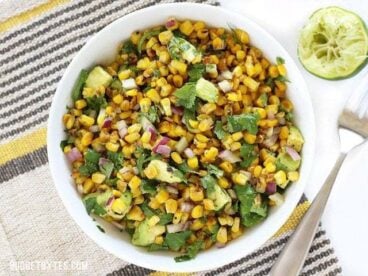
Southwest Pasta Salad is so satisfying with just the right amount of zesty kick. Tender pasta, crunchy fresh veggies, corn, and black beans dressed with a delicious Chipotle Ranch Dressing. The perfect side dish for potlucks, cookouts, and BBQS.
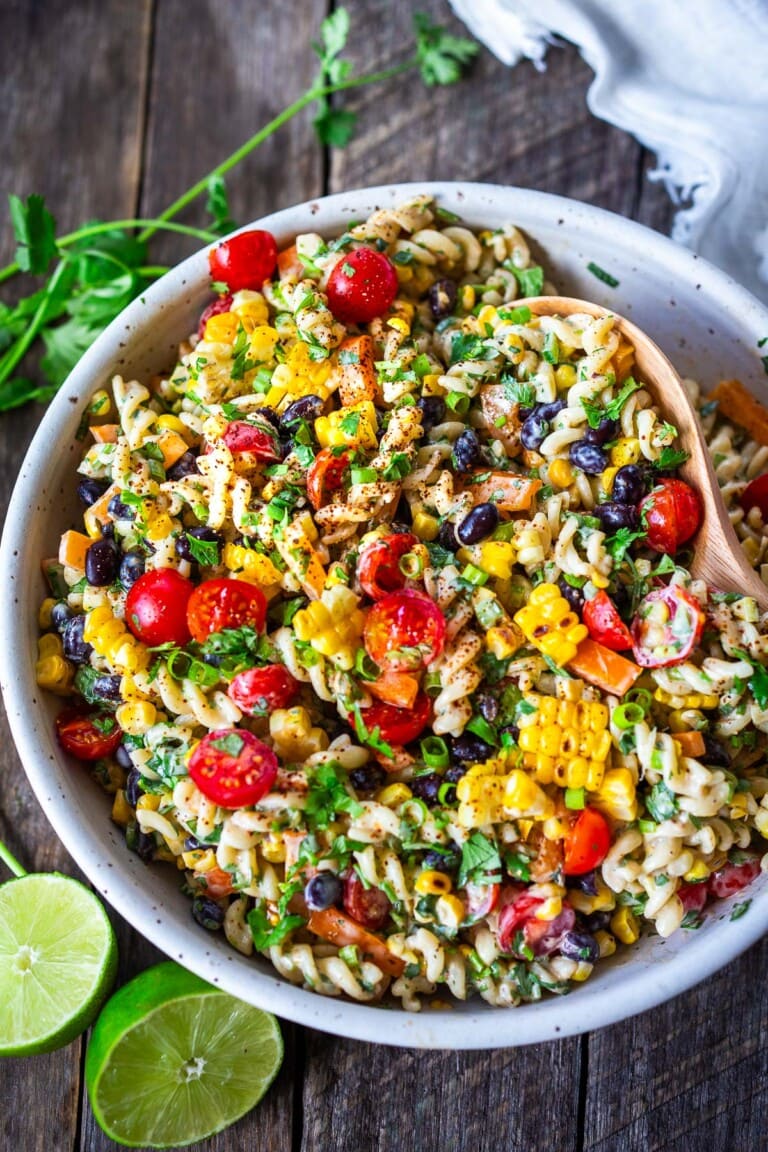
If you’ve been here a while, you’ll know how much we love to cook seasonally with the best produce available. This is usually found in your own garden (if you are lucky) or at your local Farmer’s Market. Not only does this produce tas…
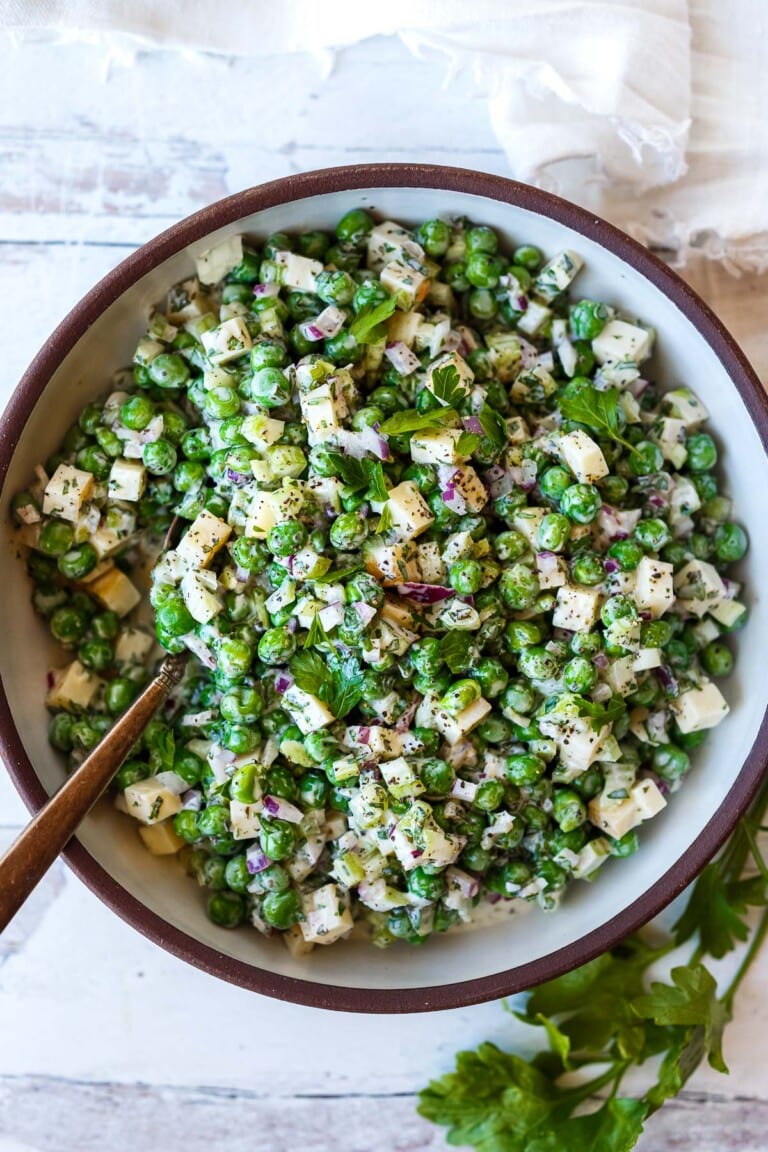
A healthy spruced-up version of classic Pea Salad tossed in a creamy Greek yogurt dressing with lots of fresh herbs and smoked cheese. Tangy, delicious, and made in one bowl in about 20 minutes! Vegetarian, GF, Vegan-adaptable!
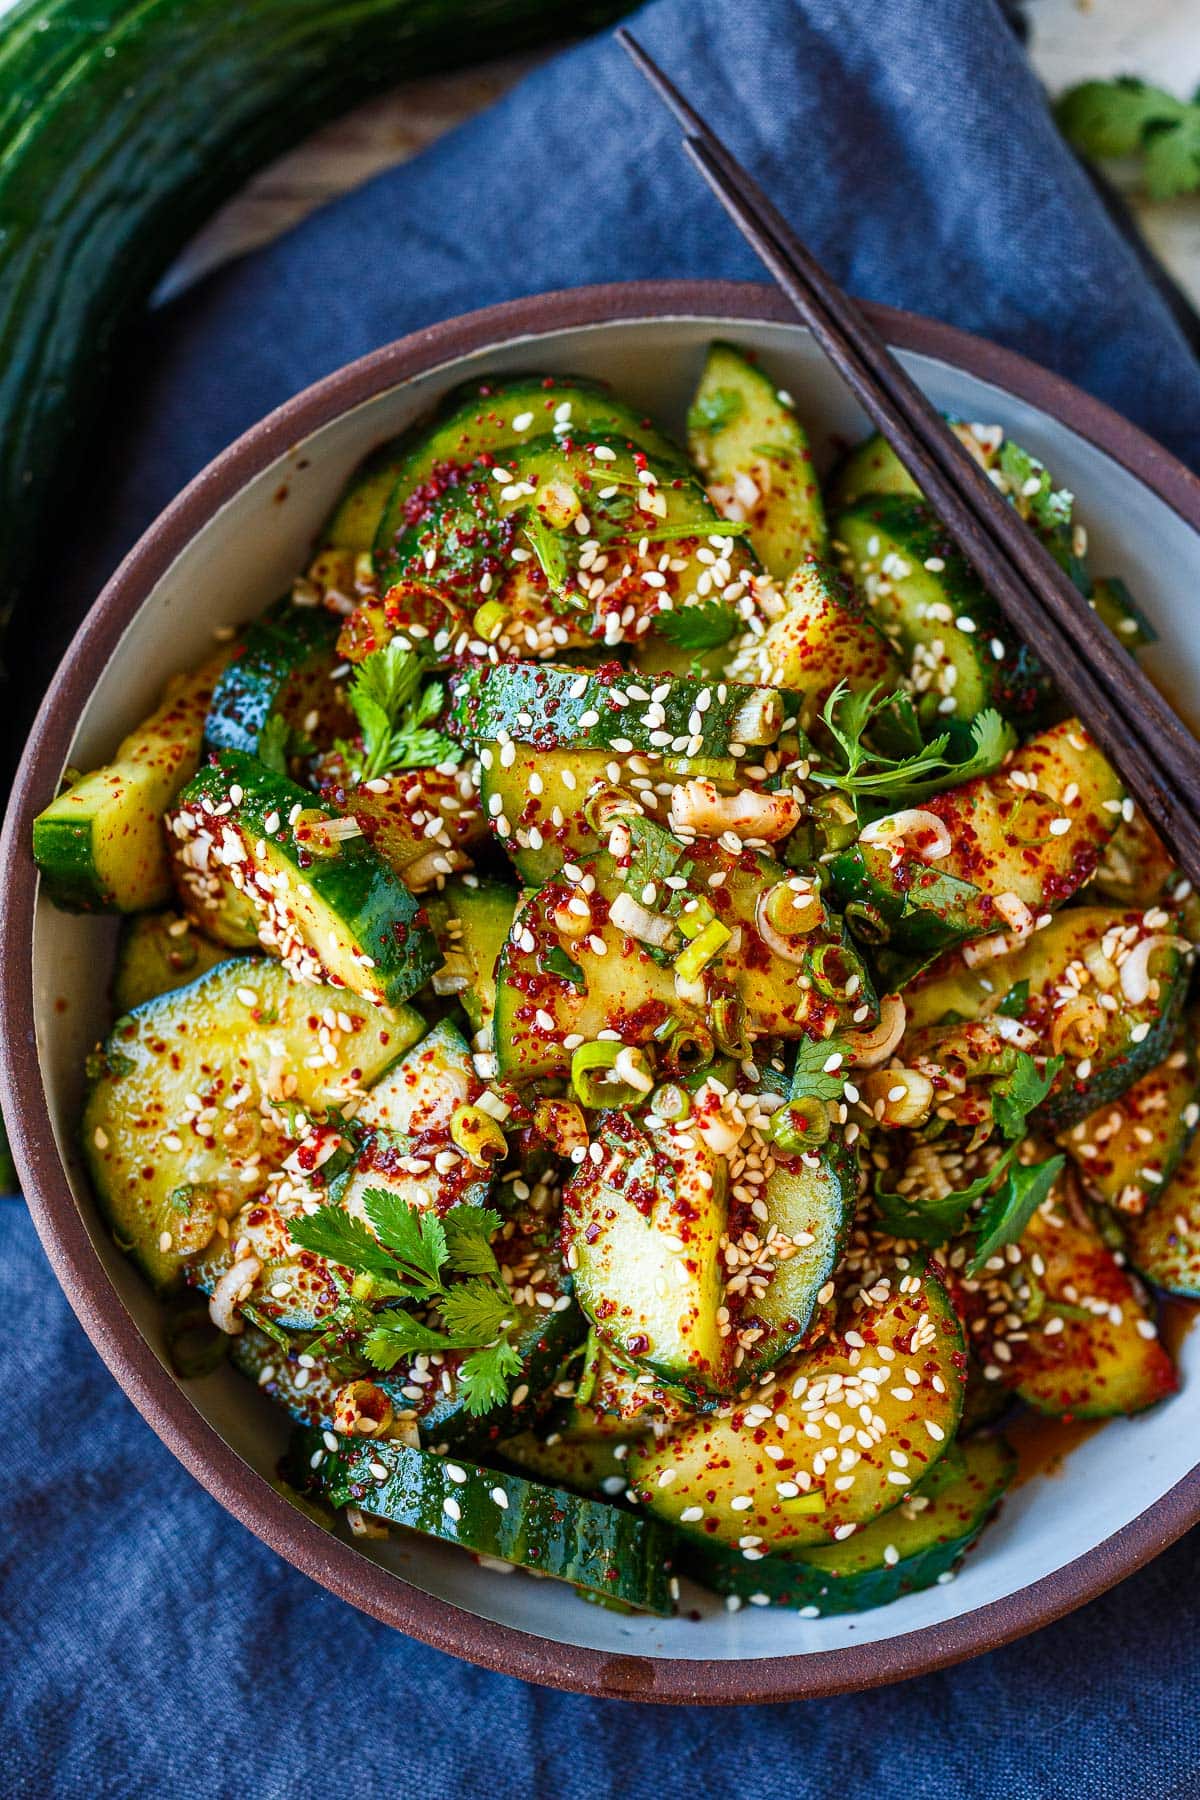
Tangy spicy Korean Cucumber Salad (Oi Muchim) is crunchy, cool, and refreshing. An easy-to-make Korean cucumber side dish that is healthy and delicious.
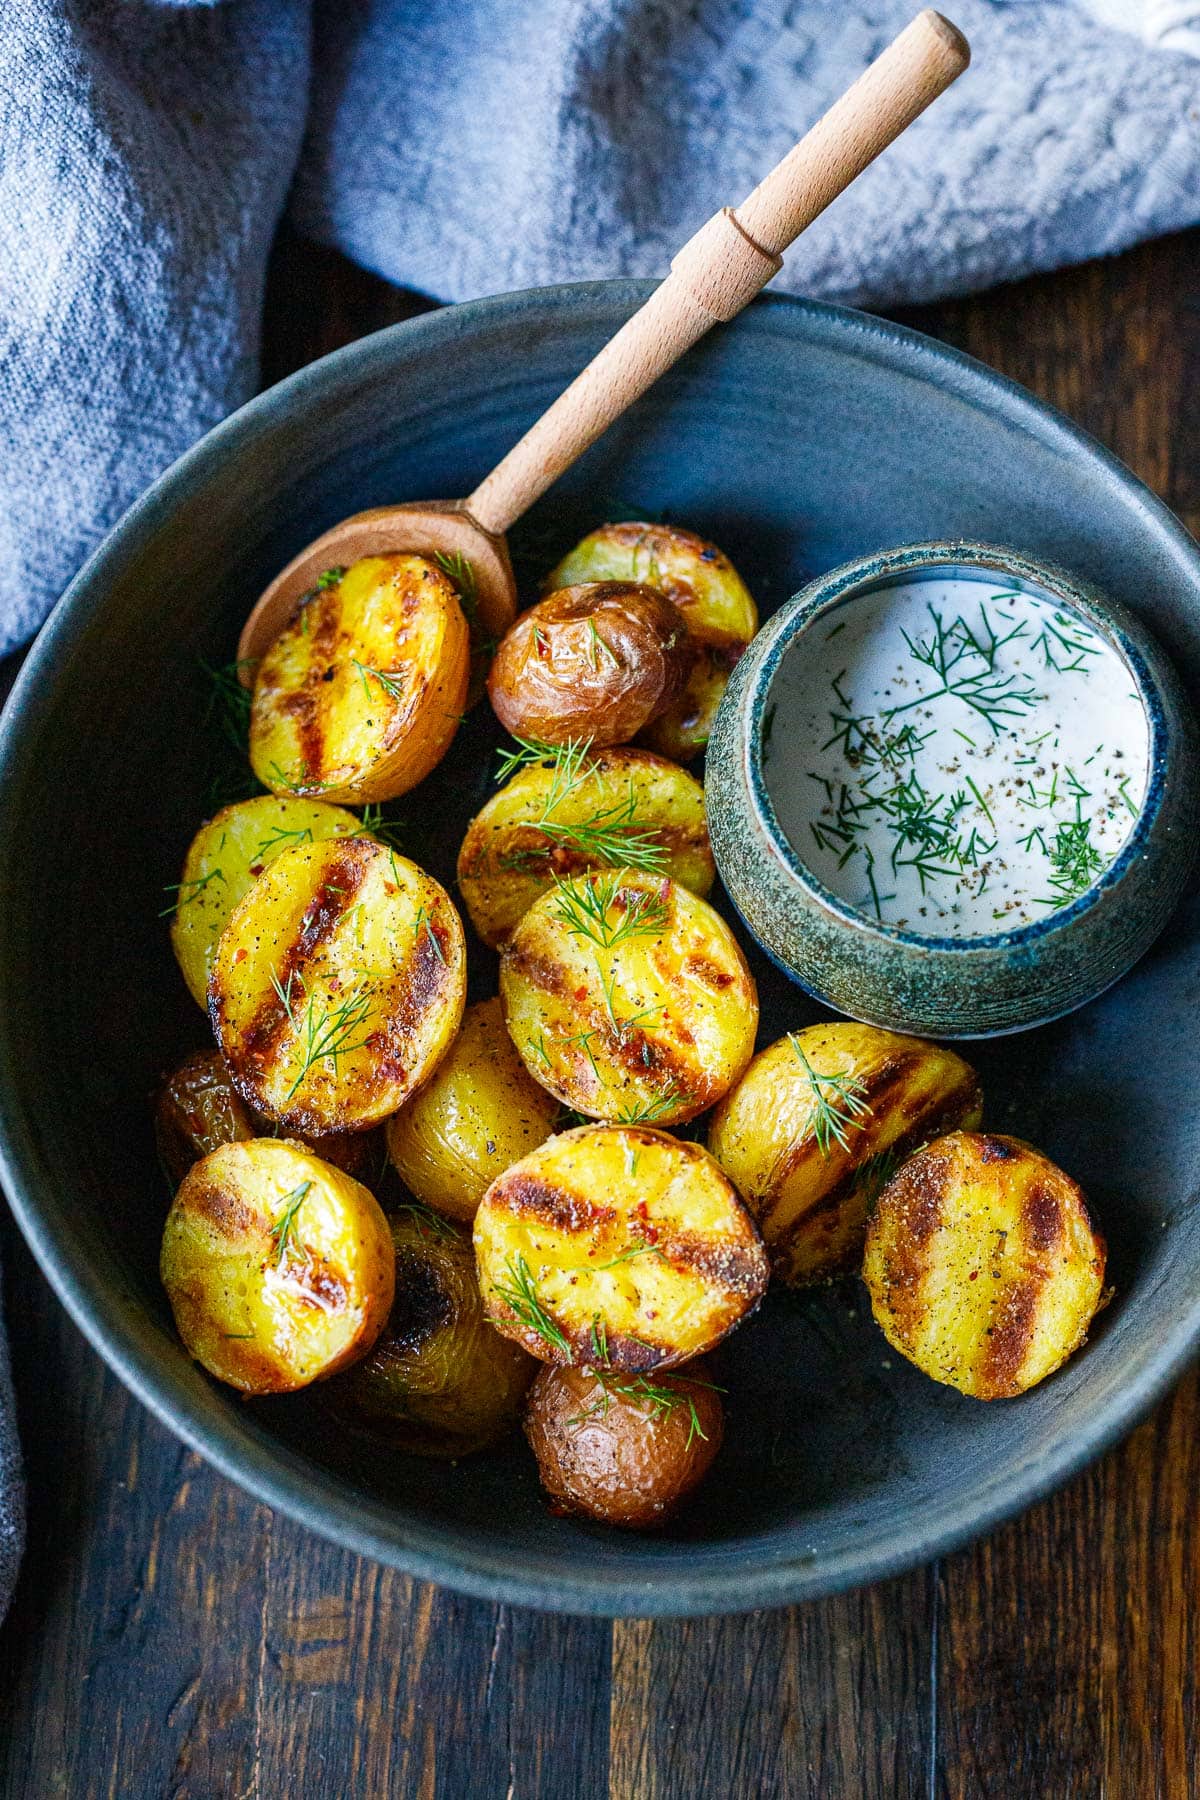
Grilled potatoes are delicious, healthy and couldn’t be any easier! This no-foil recipe results in a creamy interior with a deliciously crispy exterior that will have you grilling up your potatoes for the rest of the summer! Served with Creamy Dill Sau…
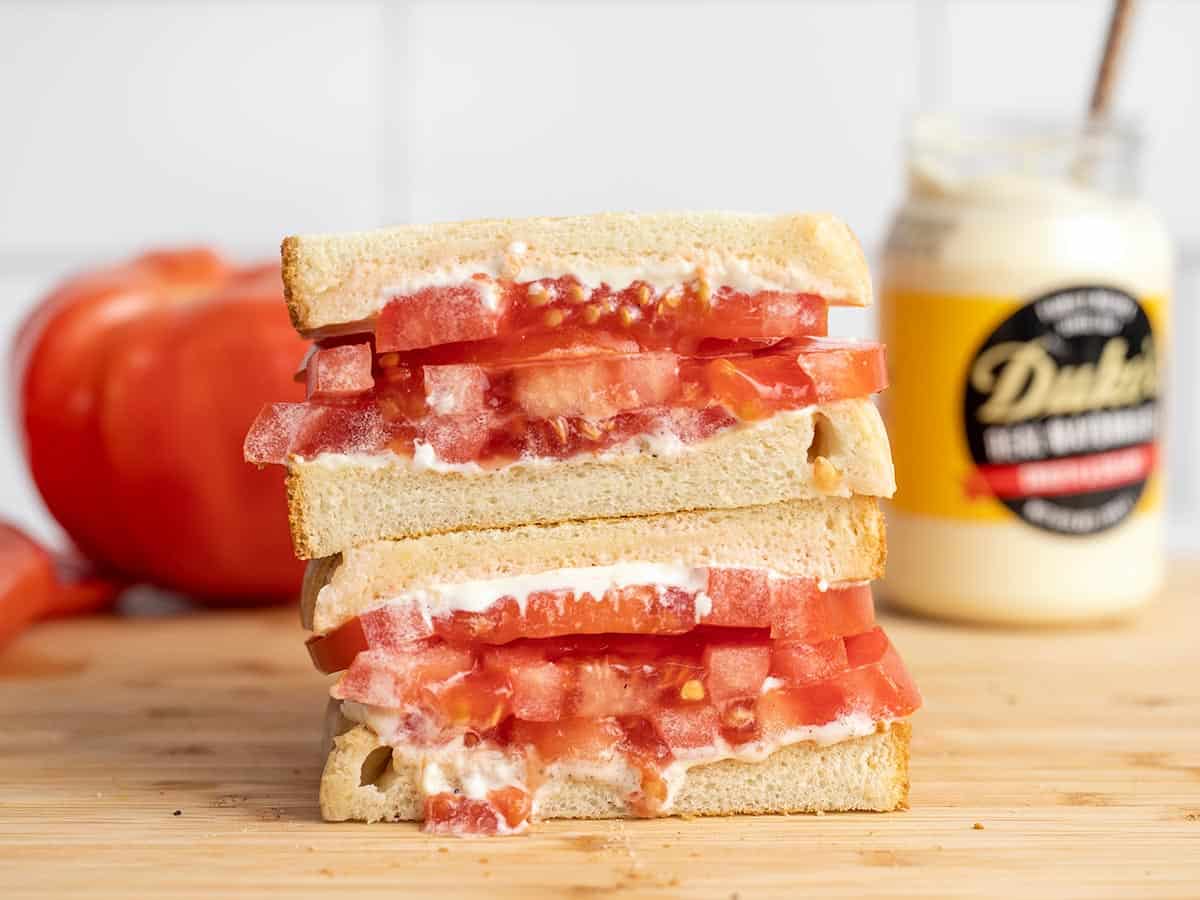
Tomato sandwiches are a summertime staple. With juicy ripe tomatoes, creamy mayonnaise, and soft bread, they’re a simple summer delight!
The post Classic Tomato Sandwiches appeared first on Budget Bytes.
This blog post is more of a love letter to my favorite summer meal than a “recipe.” Tomato sandwiches are one of the first foods I ever fell in love with, and I continue to look forward to summer every year just because of the tomato sandwiches. So it’s about time I formally celebrate their beautiful simplicity and share them with anyone who hasn’t yet had one. Tomato sandwiches are seriously my favorite thing. EVER.
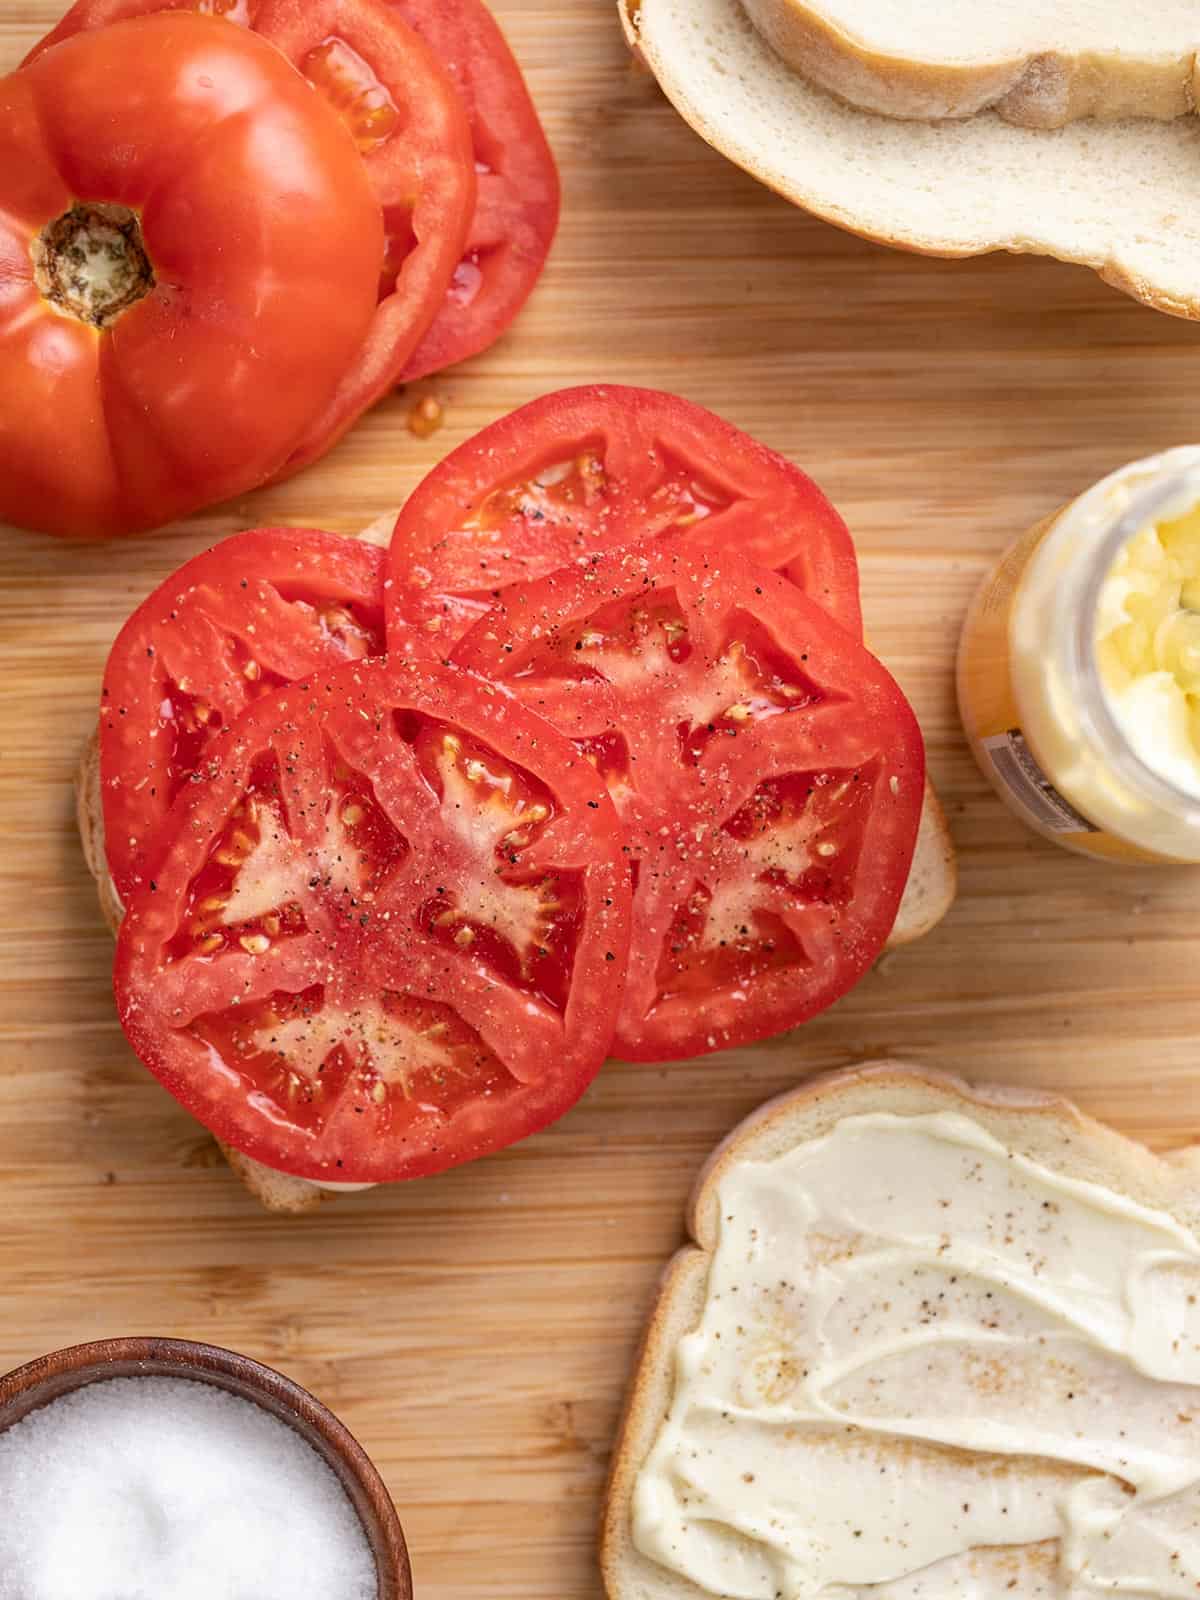
There are so many different versions of tomato sandwiches out there, but I’m partial to the classic tomato sandwich consisting only of juicy, ripe tomatoes, creamy mayonnaise, soft white bread, and salt and pepper. That’s it!
The juice from the tomatoes combines with the creamy mayo, salt, and pepper to form a sort of dressing that kind of soaks into the bread and creates the most delicious combo of flavors and textures. It’s so divine that I literally can not eat just one. As soon as I pop that last bite I always make second one!
This sandwich is all about enjoying the beautiful and delicious tomatoes of summer. If you can, buy tomatoes grown locally for the best flavor. Heirloom tomatoes are gorgeous and delicious, but they will probably increase the price of your sandwich a bit. If you can, hit up your local farmer’s markets or neighbors who might be growing tomatoes to grab a few of those fresh summer beauties!
A lot of tomato sandwich lovers insist on soft white bread, but I’m a bit more flexible when it comes to the bread. I do like a little texture, so if my bread is very soft I’ll pop it in the toaster just to give it a little tan. I also like whole wheat bread for tomato sandwiches quite a bit, but I think I’m in the minority there. Most bread will work for tomato sandwiches, but I would try to avoid super crusty or chewy bread, like a baguette, because it will overpower the soft texture of the tomatoes inside.
Talk to any Southerner and they’re likely to have very strong feelings when it comes to their favorite mayonnaise, especially for tomato sandwiches. Dukes and Blue Plate are both popular choices, but a good ol’ classic Hellmann’s mayo is also good, IMHO! Bottom line, it’s got to be CREAMY.
A couple of years ago I posted a video about my love for tomato sandwiches on social media and I asked YOU how you like to make your tomato sandwiches. I got some wonderful responses! Here are some other ingredients people love to put on tomato sandwiches:
What do you like to put on YOUR tomato sandwiches?? Let us know in the comments below!

See how we calculate recipe costs here.
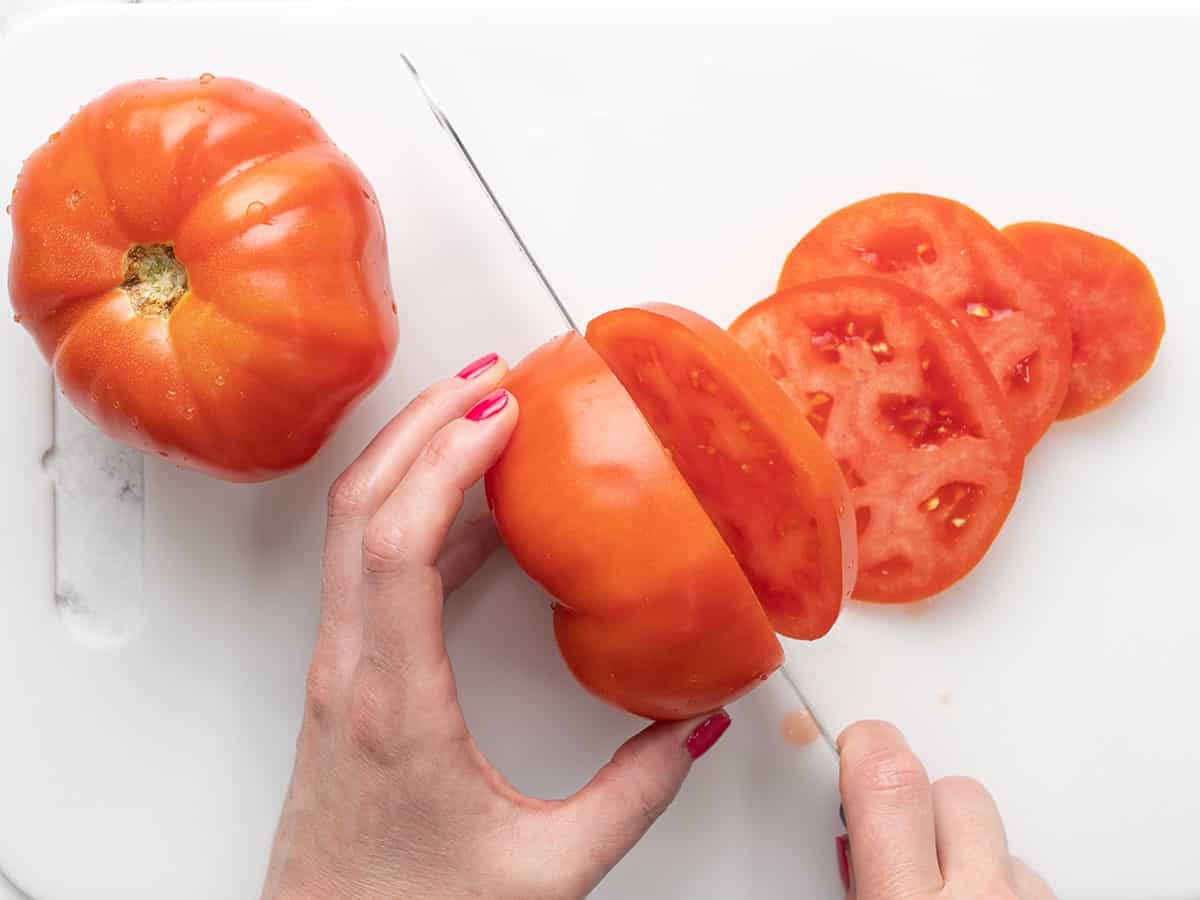
Slice your tomato first. I like to slice horizontally across the tomato to get the biggest slices possible. The thickness of the slices are up to you, but I like to do a medium-width. Not too thin so I don’t have to do too many layers, but not so thick that I can’t overlap them at all.
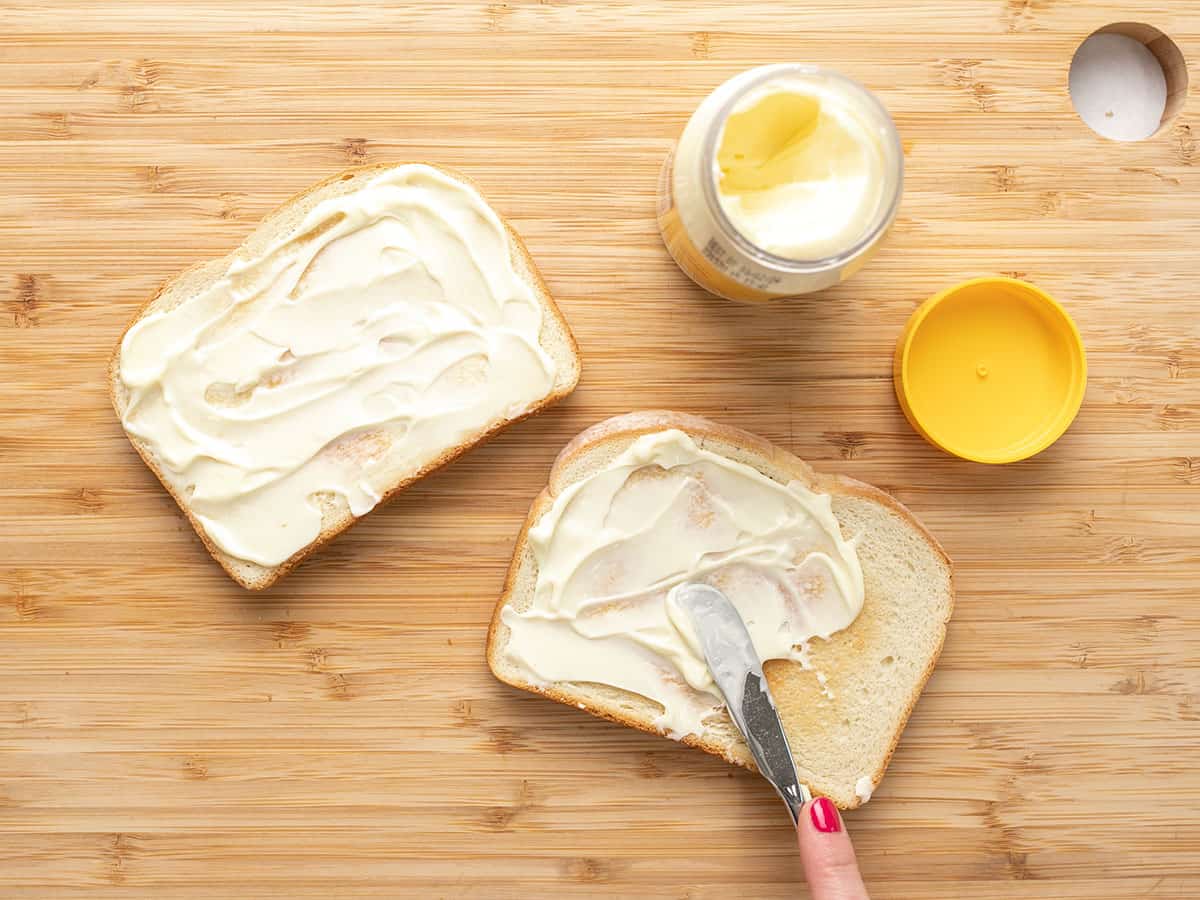
If you prefer to have toasted bread, make sure you’ve got that going while you’re slicing the tomatoes. Spread a nice layer of mayonnaise over each piece of bread (about 1.5 Tbsp per slice, depending on the size of your bread).
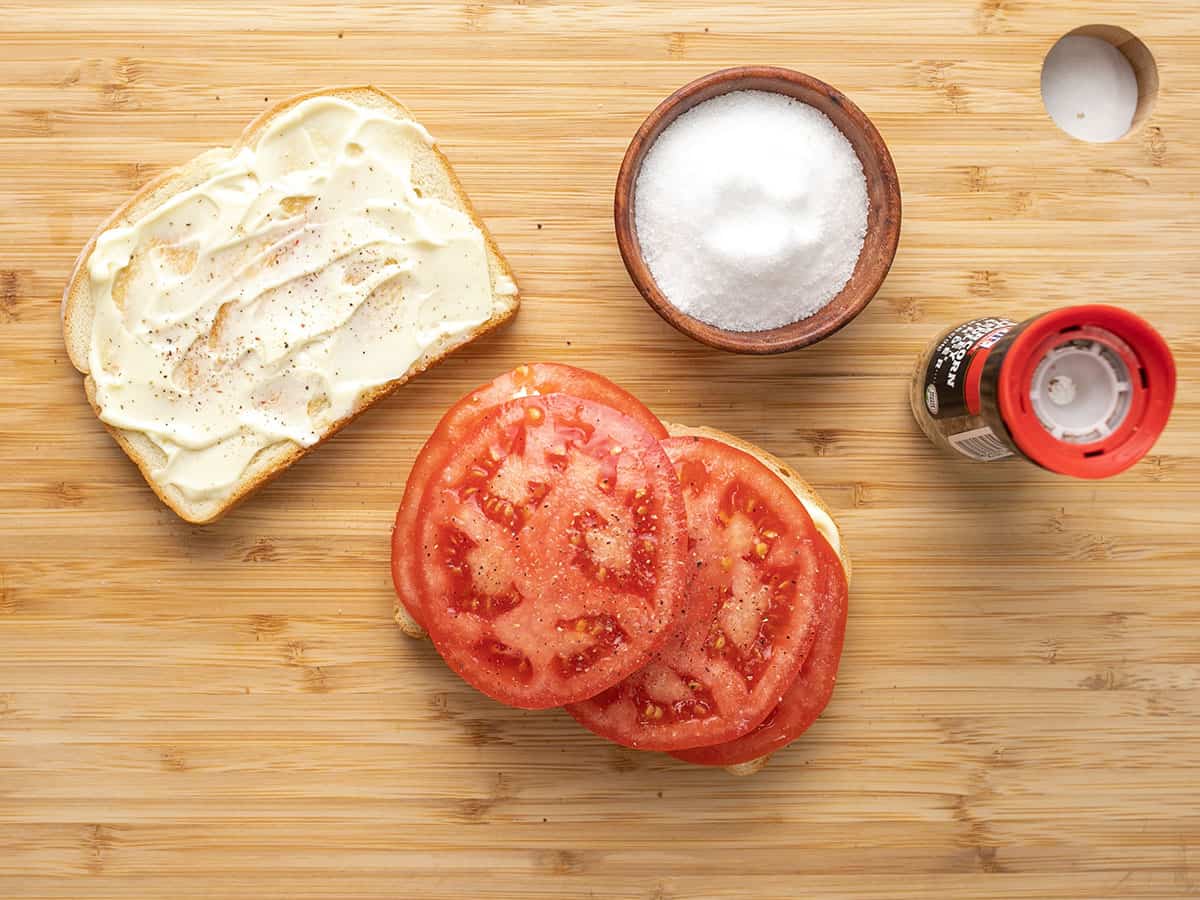
Layer the tomatoes onto the bread, using as much as you’d like (this part is just personal preference). Top the tomatoes and the other slice of bread with a generous pinch of salt and pepper.
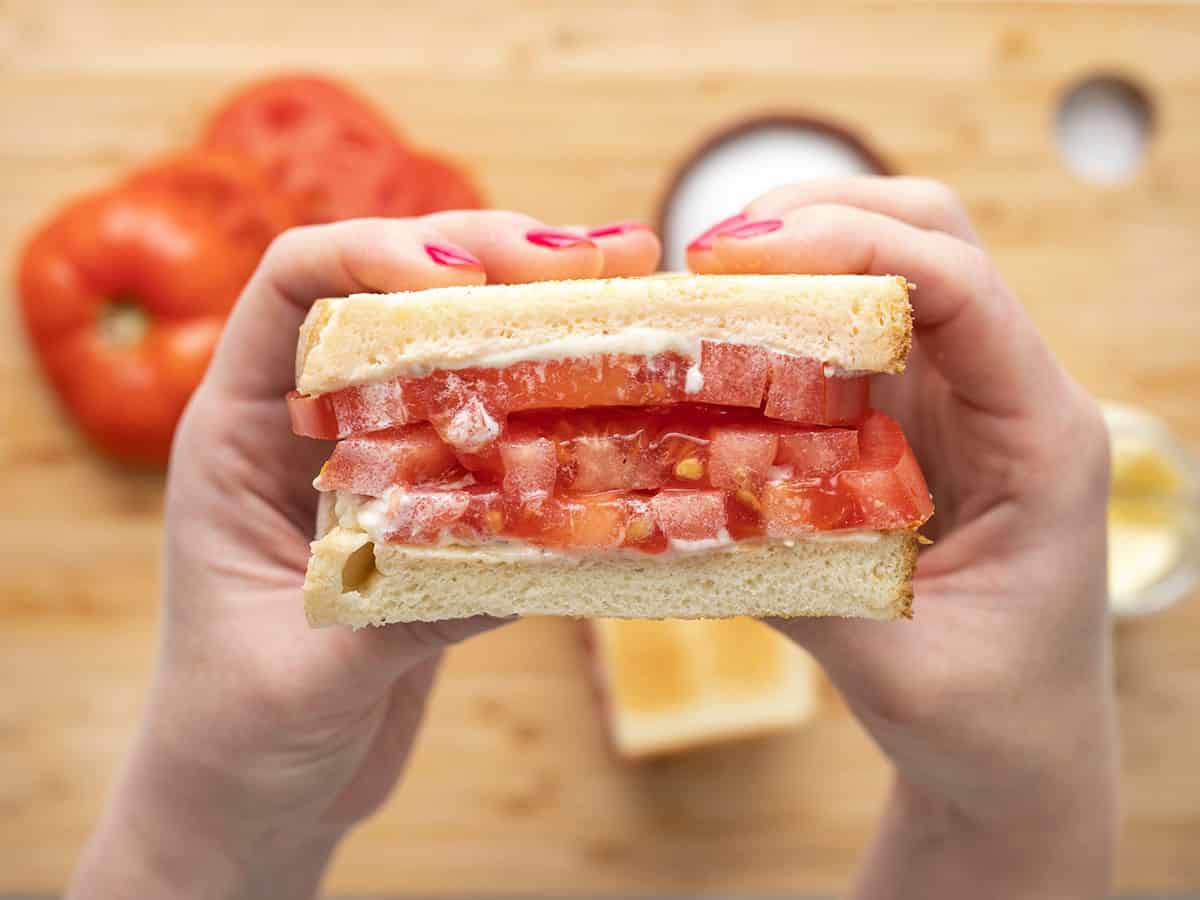
Place the other slice of bread on top and slice the sandwich in half (horizontal or diagonal, you do you). Enjoy the sandwich immediately. …And then make a second one. ;)
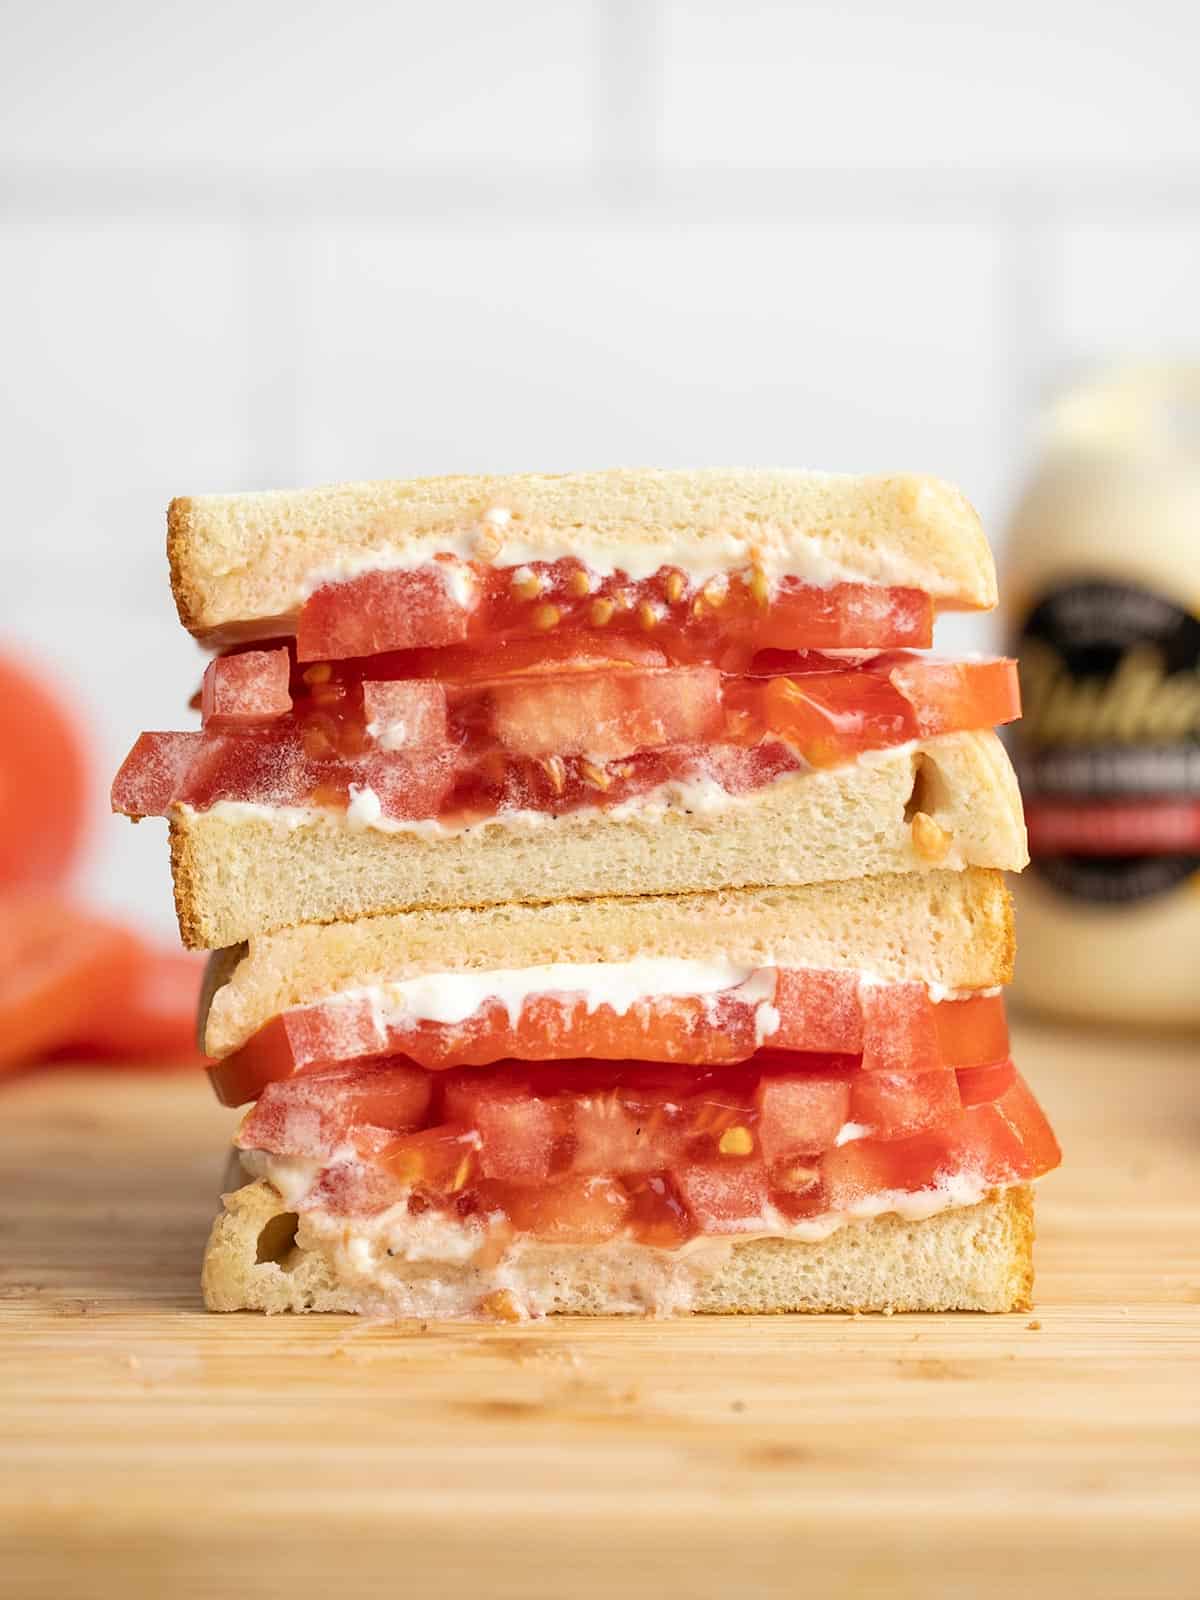
Seriously. My mouth is watering just looking at that. 🤤
The post Classic Tomato Sandwiches appeared first on Budget Bytes.
Looking for a quick and easy way to cook corn on the cob? Look no further than Microwave Corn On The Cob! This recipe is foolproof!
The post Microwave Corn On The Cob appeared first on Budget Bytes.
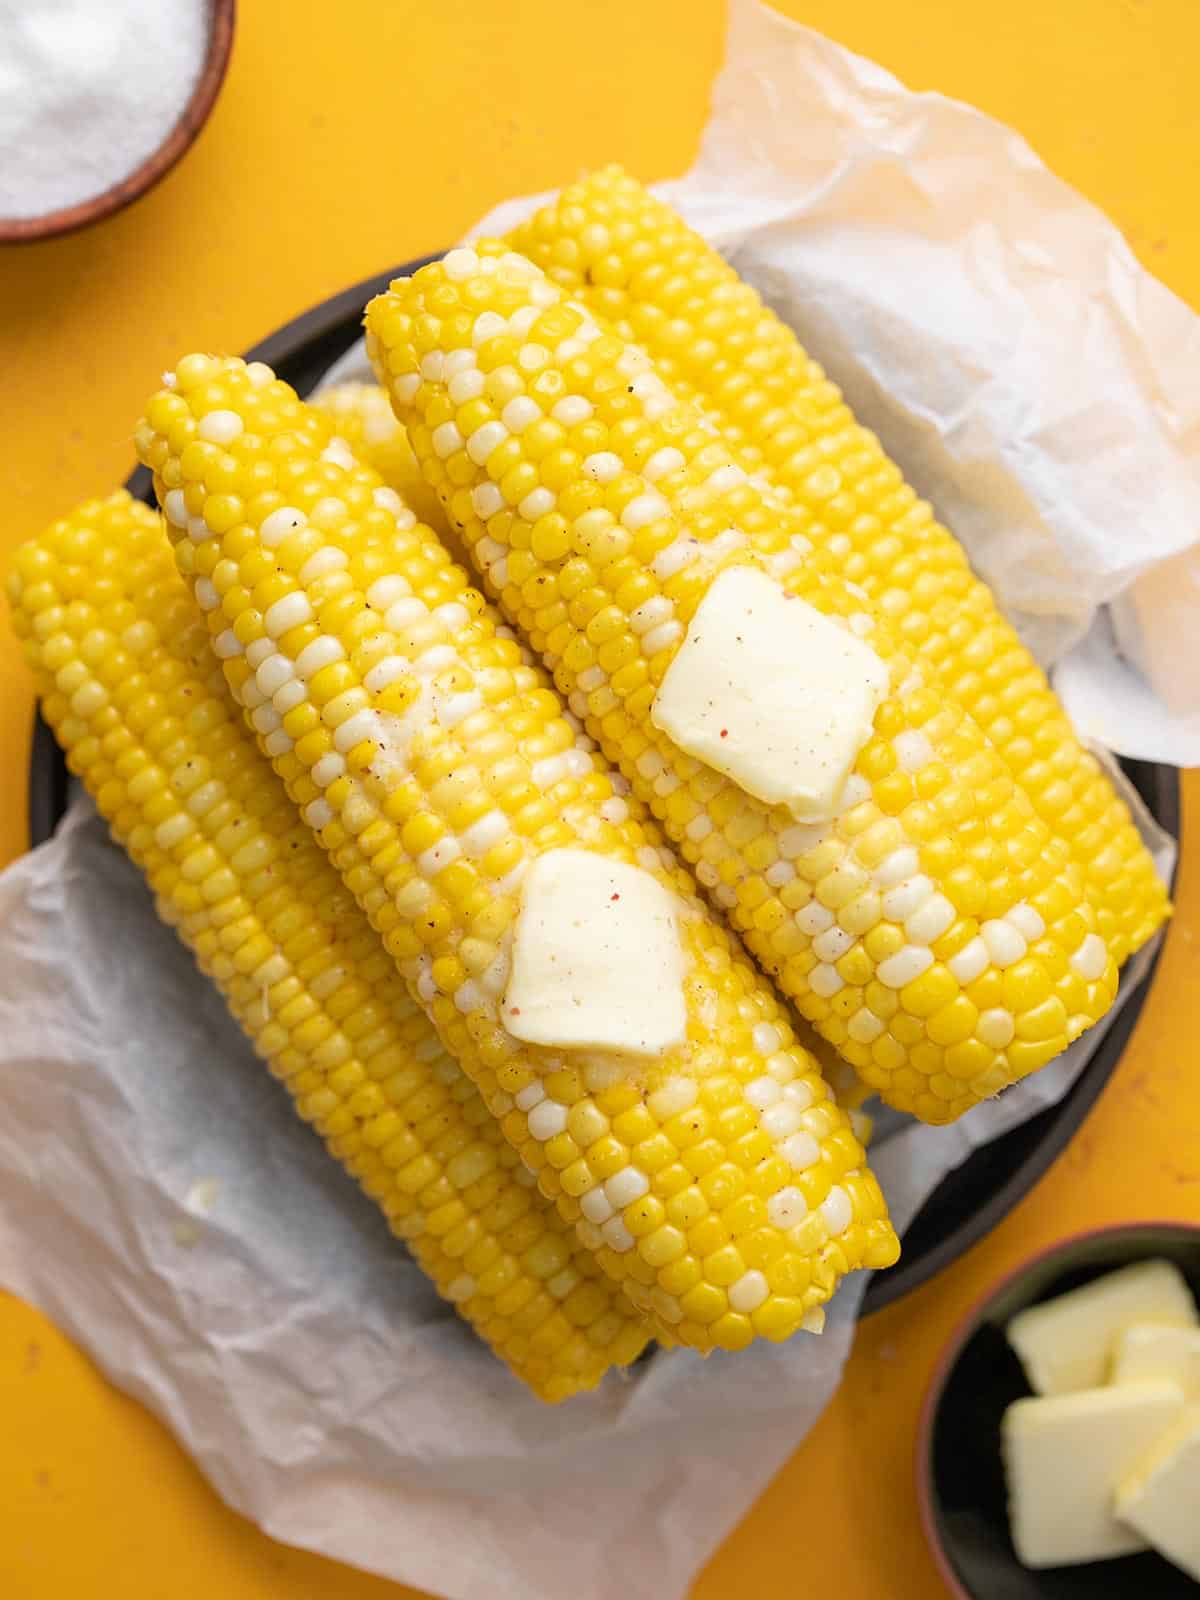
Save this foolproof recipe for buttery, perfectly cooked Microwave Corn On The Cob because the last thing you want to do when it’s 156 bazillion degrees outside is turn on a grill, stove, or oven. #amiright?!?!? Cooking corn on the cob in a microwave gives you kernels that pop with sweet juiciness, and there’s no large pot of water to boil, no grill to heat and then scour clean, and no air-conditioning-killing oven to preheat. Let’s do this!
With its air-tight and even-heat cooking, a microwave creates the perfect environment for corn on the cob to steam itself. It is hands-free easy-breezy cooking at its finest, and the results are spectacularly yummy. You’re not boiling all the flavor out of the cob or masking it with loads of char because you stepped away from the grill for a minute. (I love char, don’t get me wrong. But not when it’s all you can taste.)
This is about as simple as a recipe gets. Here’s what you’ll need for perfectly cooked, buttery, Microwave Corn On The Cob.
A fresh, full-sized ear of corn on the cob (about 8 inches long) should be microwaved on high for about 4 minutes, depending on your microwave’s wattage. If you stack the cobs, it still means 4 minutes per ear. So 4 corn cobs should cook for 16 minutes on high. If the cobs are frozen, go to at least 5 minutes per ear. If they are half-cobs do 3 minutes per ear.
High is 1000 watts in an average microwave. Yours might be more or less strong, so you will need to adjust the timing. If you don’t know the wattage of your microwave, check the manufacturer’s website for your model number, which can usually be found on the inside of the door.
Summer salads like Panzanella or Summer Vegetable Pasta Salad pair perfectly with Microwave Corn On The Cob. You can also serve it as a side for BBQ Ribs or Sloppy Joes, along with other classics like Cumin Lime Coleslaw, Baked Beans, or Southern Style Potato Salad.
A great ear of corn in its husk should have corn silk tassels (which stick out of the top of the ear) that are golden brown. When you touch the tassels they should feel dampish and fresh. Dry or black tassels mean your corn is old. If you peel back the husk a little, the kernels should be plump. If they are missing or dry, the corn cob is old. Uncooked corn on the cob should be stored in its husk open-air in the fridge to prevent it from drying out and losing its flavor. You can freeze cooked cobs for up to a year. Dry them well and wrap each one in wax paper, then aluminum, and then store them in an airtight container.

See how we calculate recipe costs here.

First, cut the 4 cobs to fit your microwave. If unsure about what size will fit in your microwave, use its inner revolving plate as your guide. Do not peel off the husks. If your corn cobs don’t have a husk, they’re probably already cut to fit, so just go to step 2.
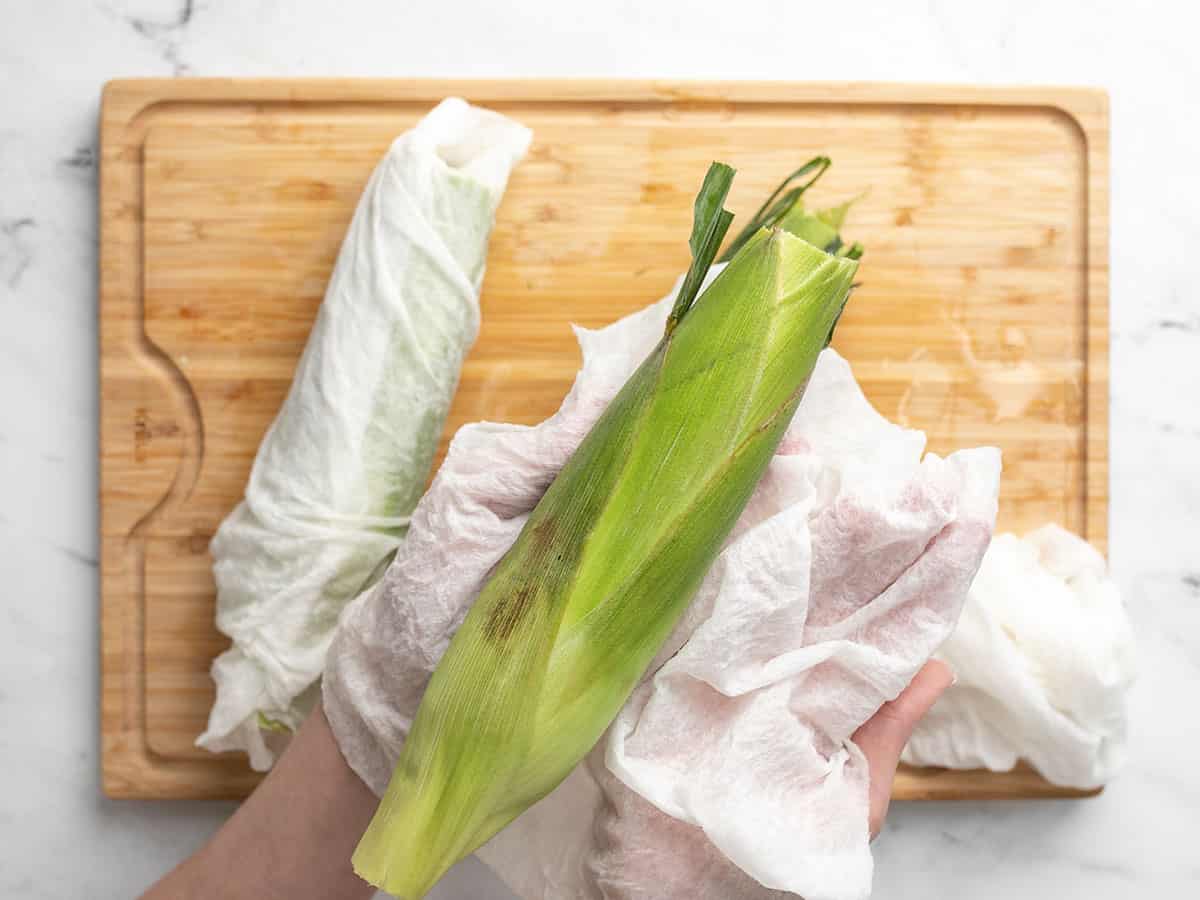
Place the cobs under running water for a few seconds and wrap each one in a wet paper towel. Zap the cobs on high power for about 4 minutes per cob. This doesn’t mean you have to nuke them one by one. You can stack 4 cobs on a microwave-safe plate and cook them all at once, adjusting the time to 4 minutes per fresh cob, or 5 minutes per frozen cob. Cooking time can vary depending on the strength of your microwave.
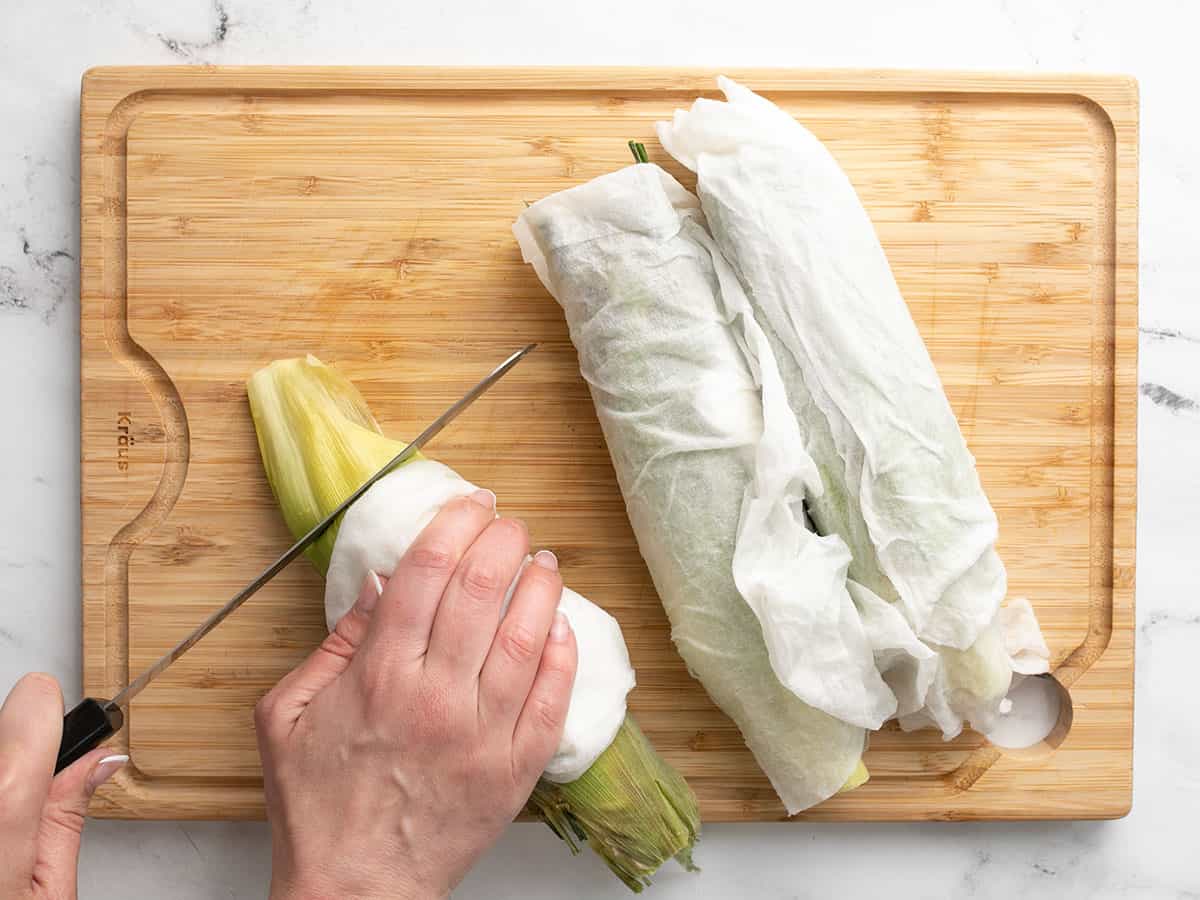
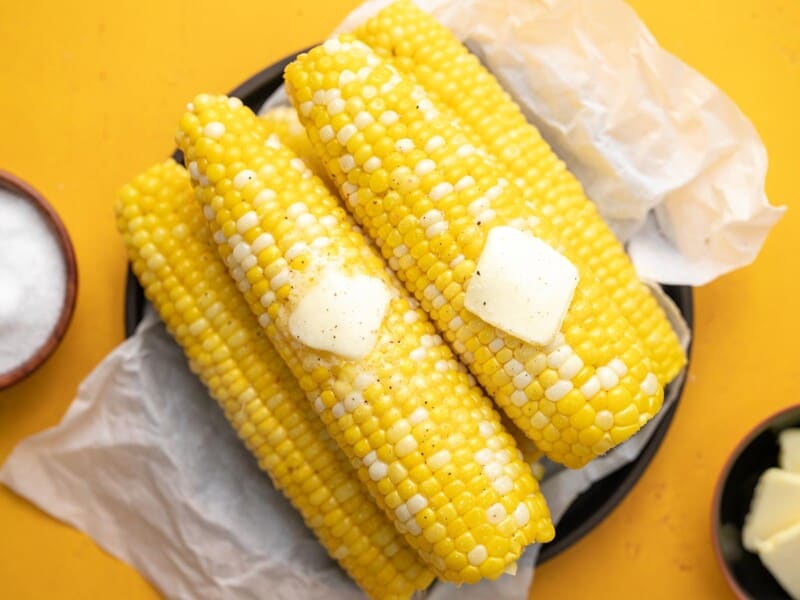
The cobs are done when the kernels’ color has deepened and become glossy. Allow the cobs to cool until you can hold them without burning yourself. Remove the paper towel and cut off the stem end of the cobs.
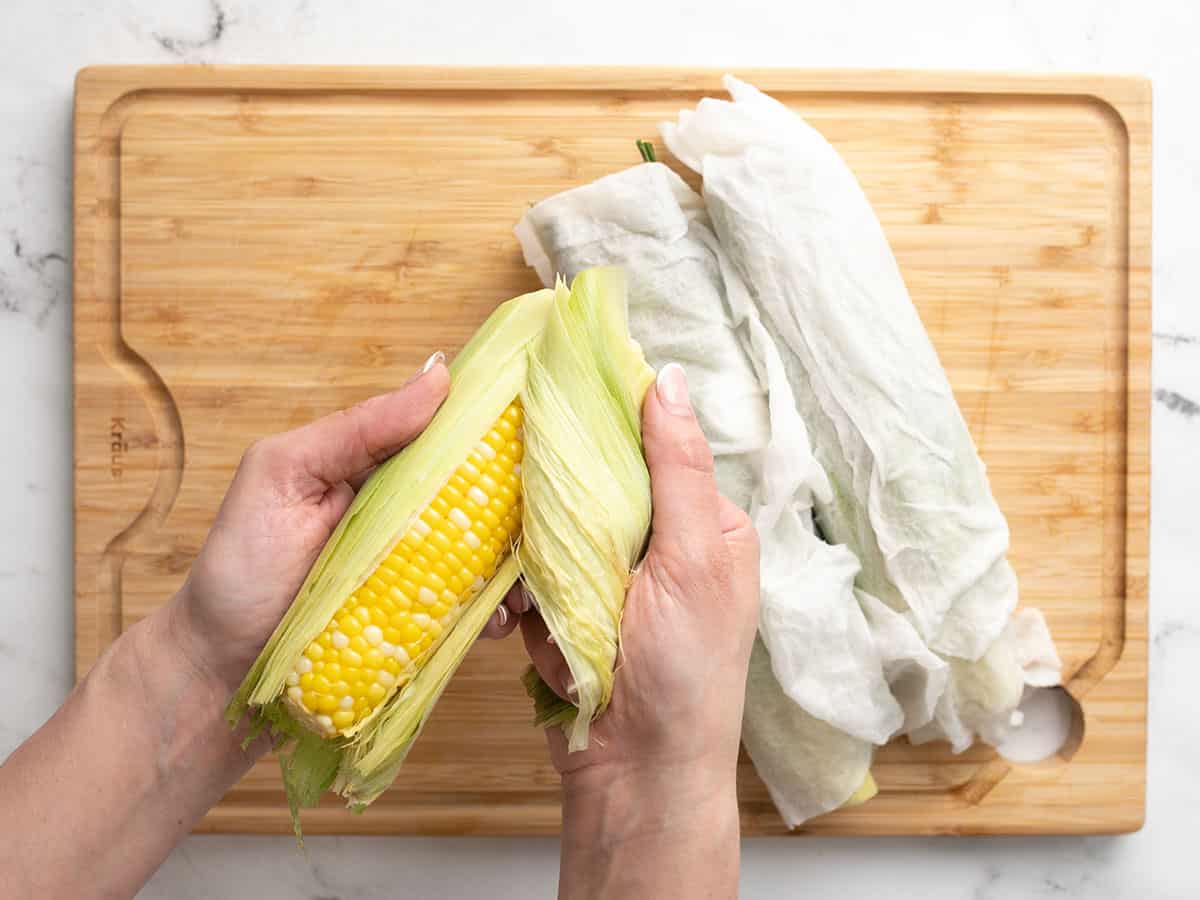
Peel the husk off. It will come off super easy, taking almost all of the silk along with it.
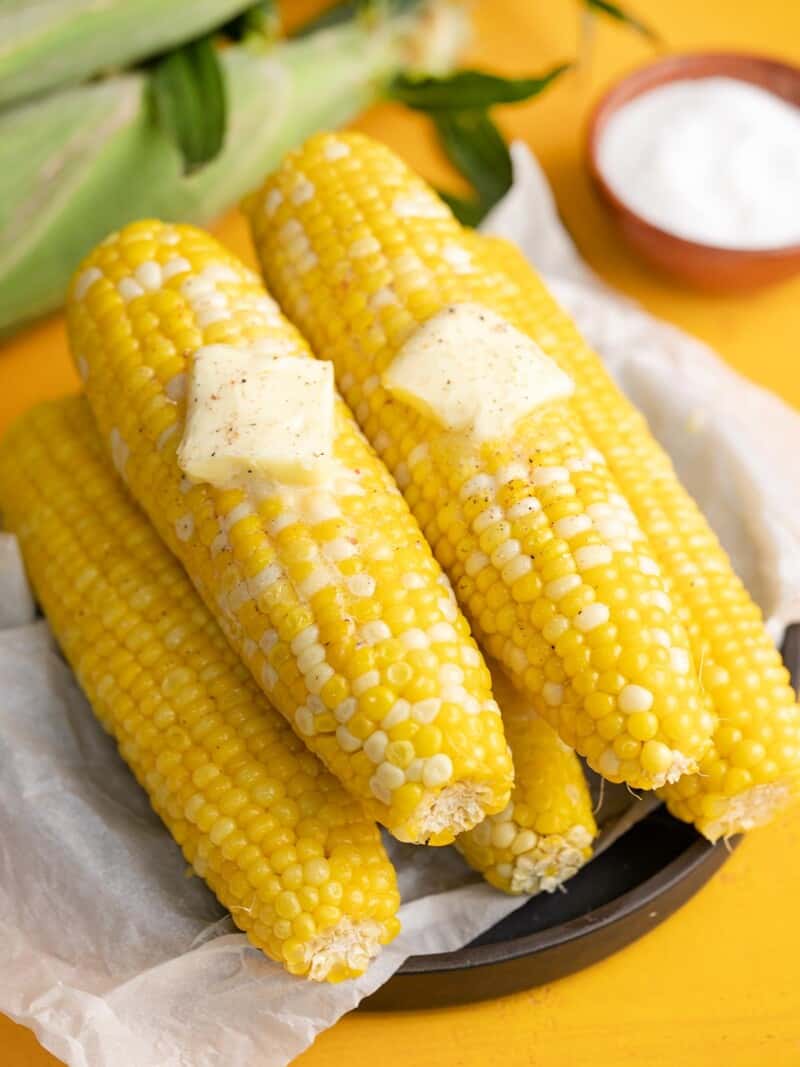
That’s it! Top each cob with 1 tablespoon of salted butter and you’re done. Serve with grilled or roasted proteins, summer sides, or salads, or eat them as is. I ate 8 cobs after testing this recipe and then passed out in a corn cob-induced afternoon naptime bliss. I can’t recommend it enough!
The post Microwave Corn On The Cob appeared first on Budget Bytes.
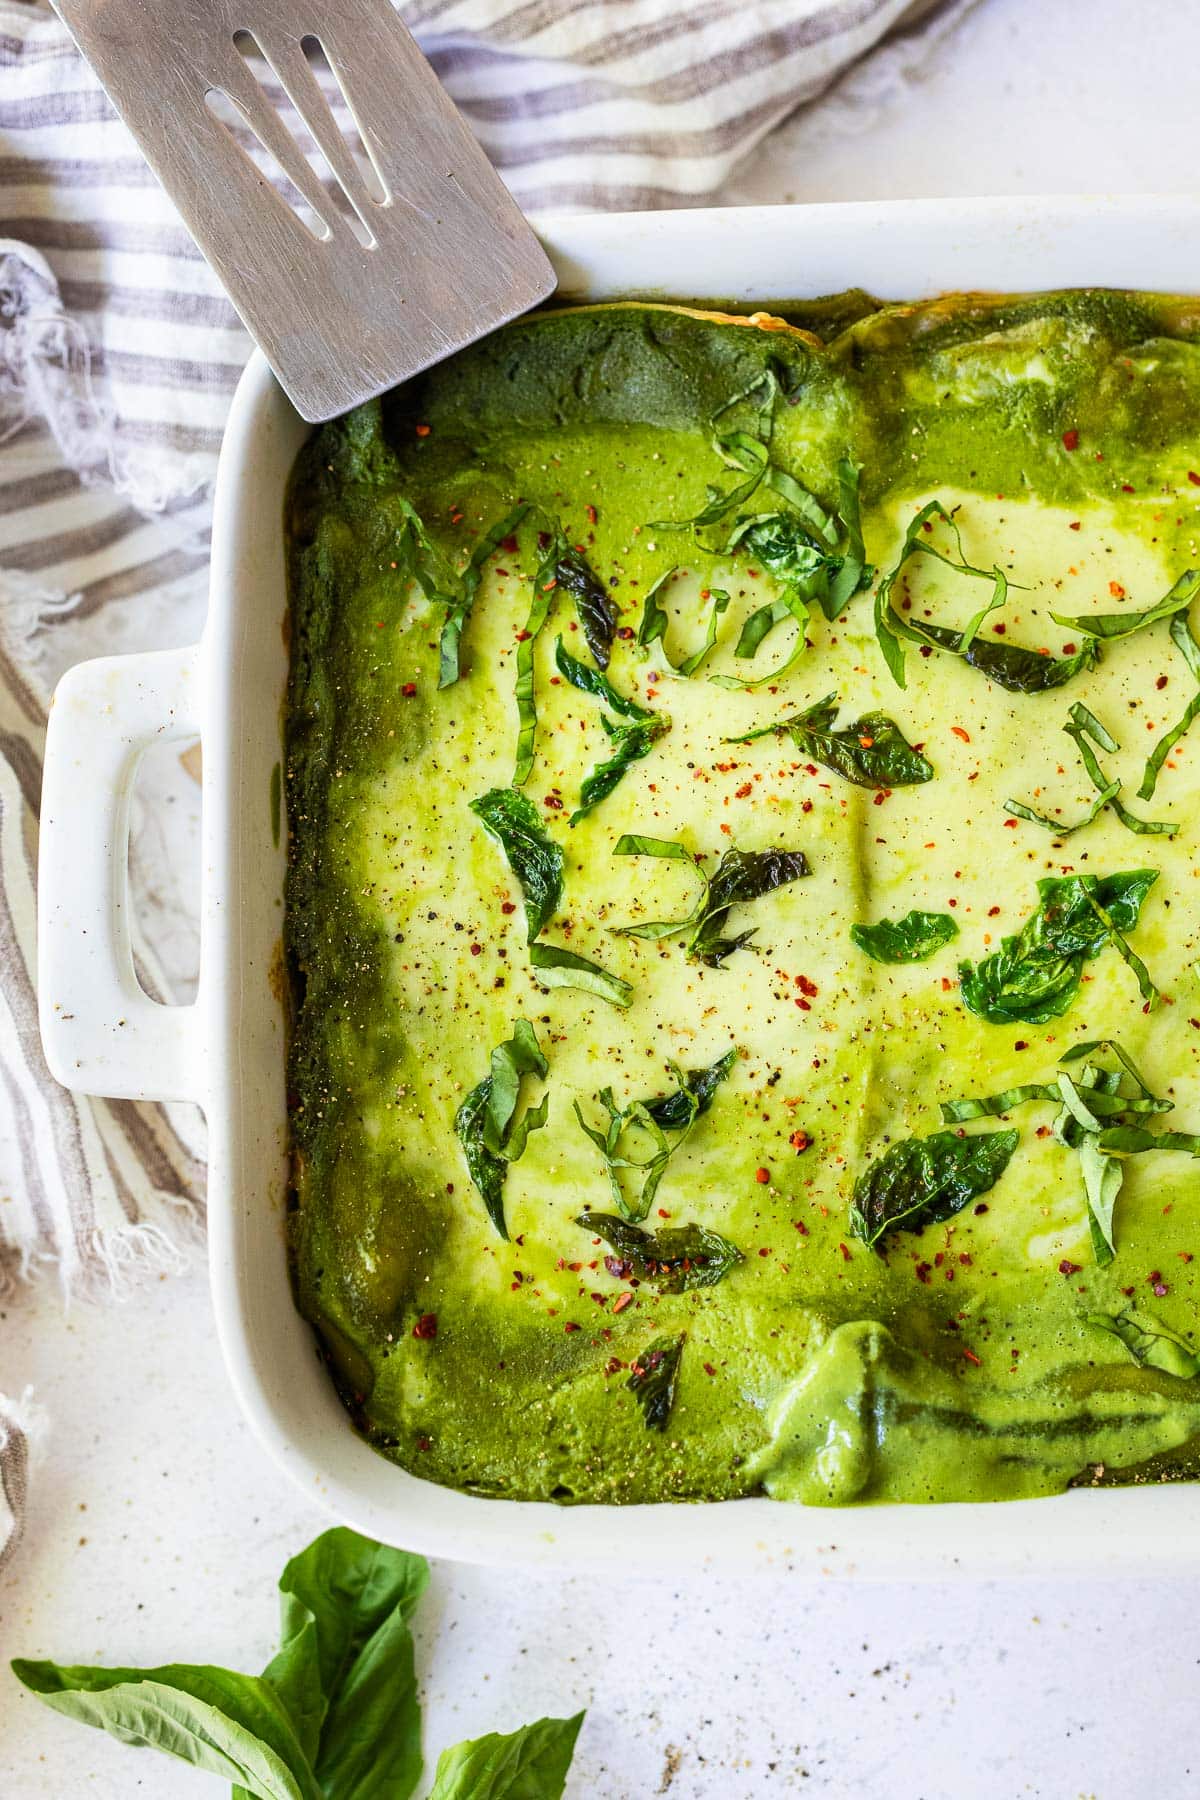
A delicious recipe for Spinach Lasagna filled with a savory mixture of spinach and veggies, layered with a luscious Basil Spinach Sauce. Keep it vegetarian, or add chicken. Vegan-adaptable.