Spicy Peanut Vermicelli with Soy Curl “Chicken” (20-Minute Meal)
 These 20-minute Vegan Spicy Peanut Noodles toss vermicelli and pan-fried soy curl “chicken” pieces in the best peanut sauce. Affordable, quick, and full of flavor, this easy vegan dinner is perfect for lazy weeknights! Just like these peanut noodles, my Easy Drunken Noodles, my Creamy Gochujang Noodles with Mushrooms, and my Garlic Noodles are quick…
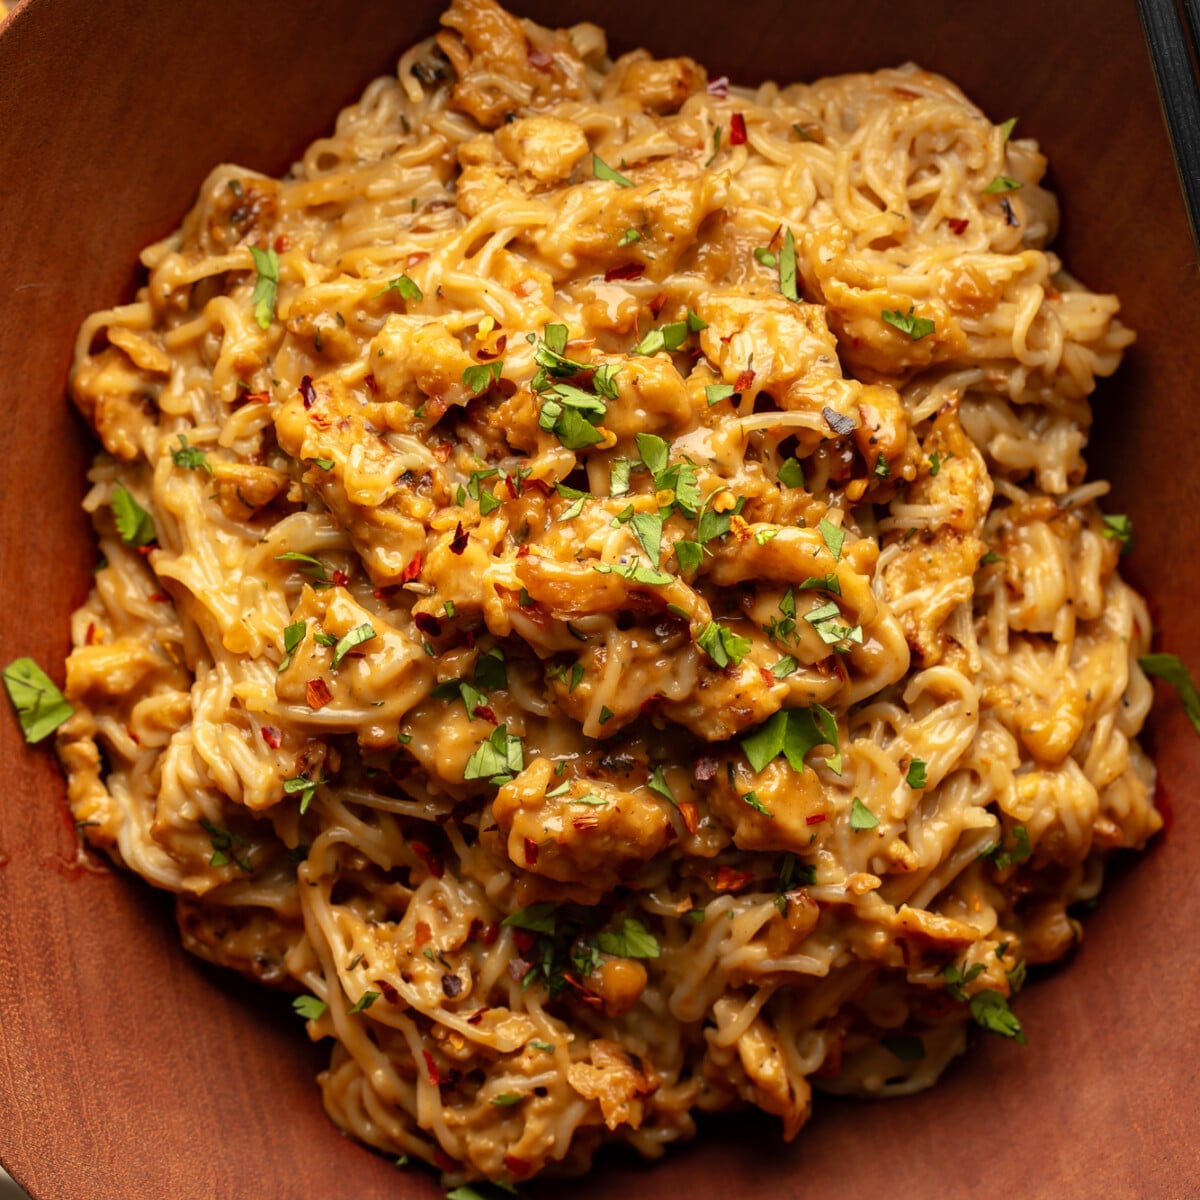