Lately I’ve been loving how easy it is to cook vegetables in the air fryer. Just prep, season, and air fry. It’s almost too easy. And carrots are a great inexpensive vegetable to cook any time of the year. Plus, they last a long time in the fridge…WIN! We have lots of roasted carrots recipes on our site, but these Air Fryer Carrots are my new favorite. They’re seasoned with a savory and herby seasoning mix and they’re the perfect compliment for any weeknight dinner meal.

Ingredients For Air Fryer Carrots
Here’s everything you need to make these easy Air Fryer Carrots:
- Carrots: Look for whole carrots that are fairly even in length and girth so they’ll cook more evenly. You can either scrub or peel the carrots, however I prefer to peel them.
- Olive Oil and Butter: I used both olive oil and butter for this recipe to keep the carrots moist and to combine with the seasoning mix. And I just love the flavor that you get from using both butter and olive oil.
- Seasoning: A simple seasoning mix of salt, pepper, garlic powder, and dried dill is all you’ll need. And I decided to double down on the dill by adding a little fresh dill at the end to garnish. You can certainly omit the dill if you want, although it does add a nice herby and savory flavor to the carrots. In case you want to switch things up, I’ll share a few more seasoning options below.
Can You Air Fry Baby Carrots?
To make this recipe super easy, you can certainly use baby carrots instead of peeling and cutting whole carrots. Just use the same seasoning mix for a pound of baby carrots and adjust the cook time. Air fry baby carrots at 370°F for approximately 8-10 minutes or until tender to your liking.
Seasoning Ideas
I used a mix of salt, pepper, garlic powder, and dried dill for these carrots, but there are so many flavors and spices to choose from. Here are some other seasoning ideas for your air fryer carrots:
- Curry powder
- Lemon pepper
- Italian seasoning
- Za’atar
- Balsamic vinegar
- Miso
- Chili powder
- Cinnamon and cayenne
- Honey and thyme
What To Serve With These Air Fryer Carrots
Air Fryer Carrots are so versatile and can be served with a number of meals. Try them with our Air Fryer Chicken Breasts, salmon, pork chops, or juicy Pan-Seared Chicken Breasts. And you can easily pair them with another side dish like these Air Fryer Brussels Sprouts or Steamed Green Beans to make a meal!

Air Fryer Carrots
Equipment
Ingredients
- 1 lb. whole carrots $1.50
- 1 Tbsp butter $0.13
- 1 Tbsp olive oil $0.16
- 3/4 tsp salt $0.05
- 1/2 tsp freshly cracked black pepper $0.02
- 1/2 tsp garlic powder $0.05
- 1/2 tsp dried dill $0.10
- 1 tsp fresh dill (optional) $0.50
Instructions
- Wash, peel, and cut the carrots diagonally into 1-inch pieces. Add the carrots to a large bowl.
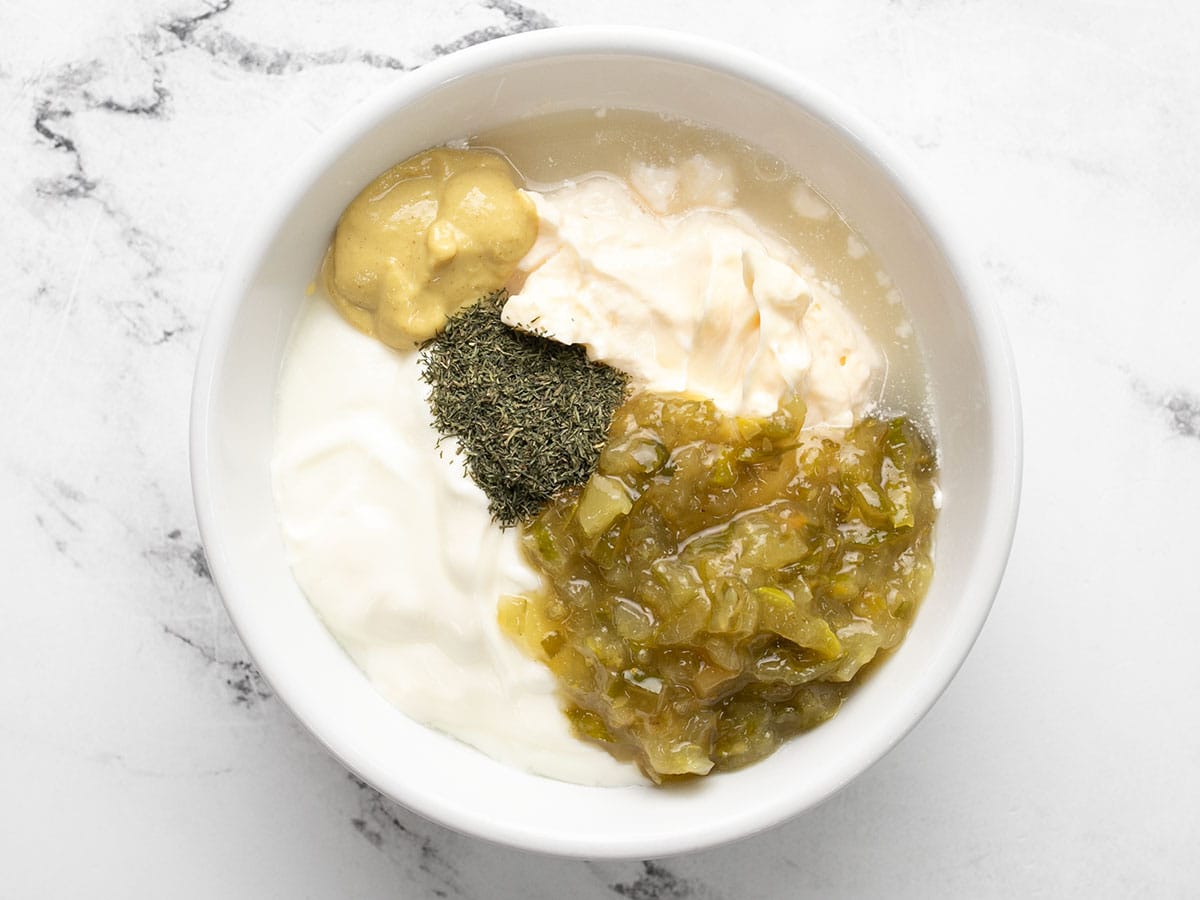
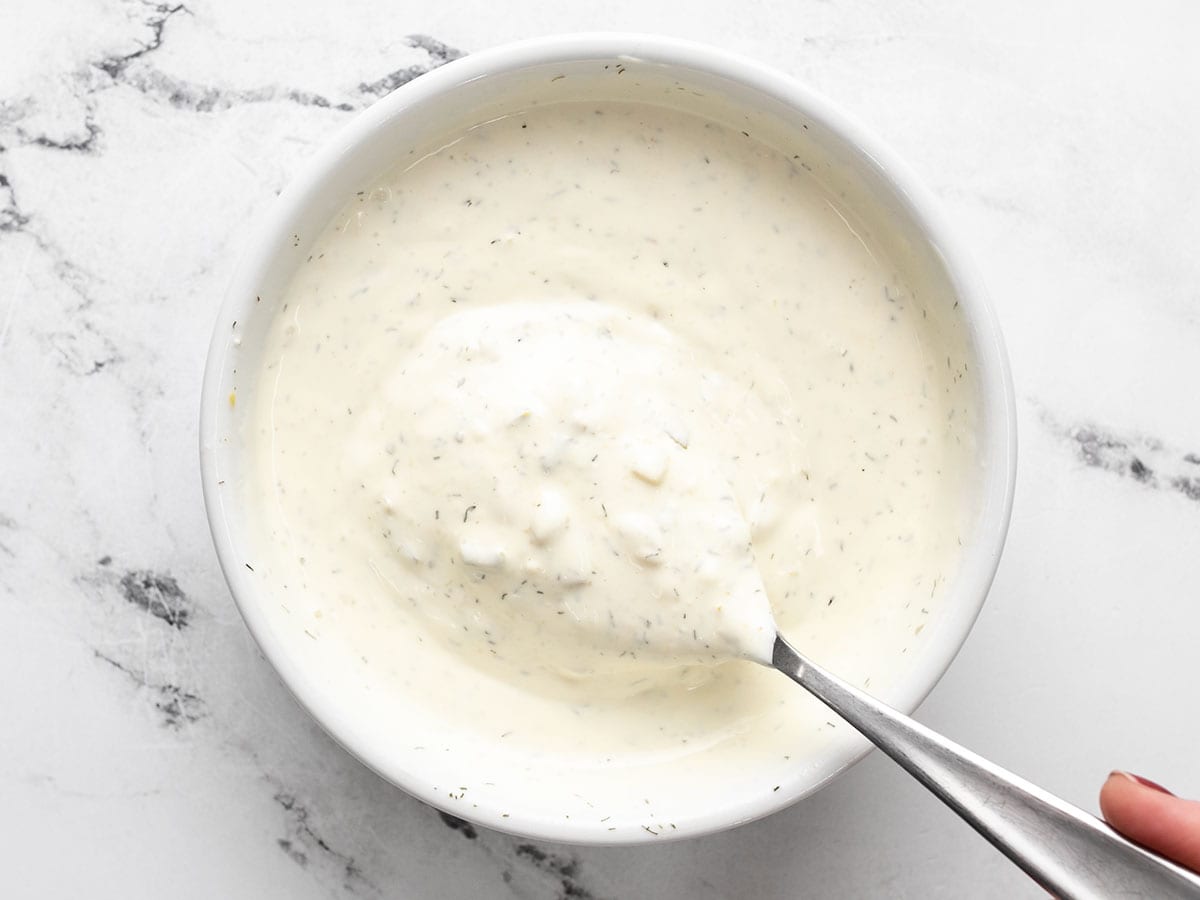
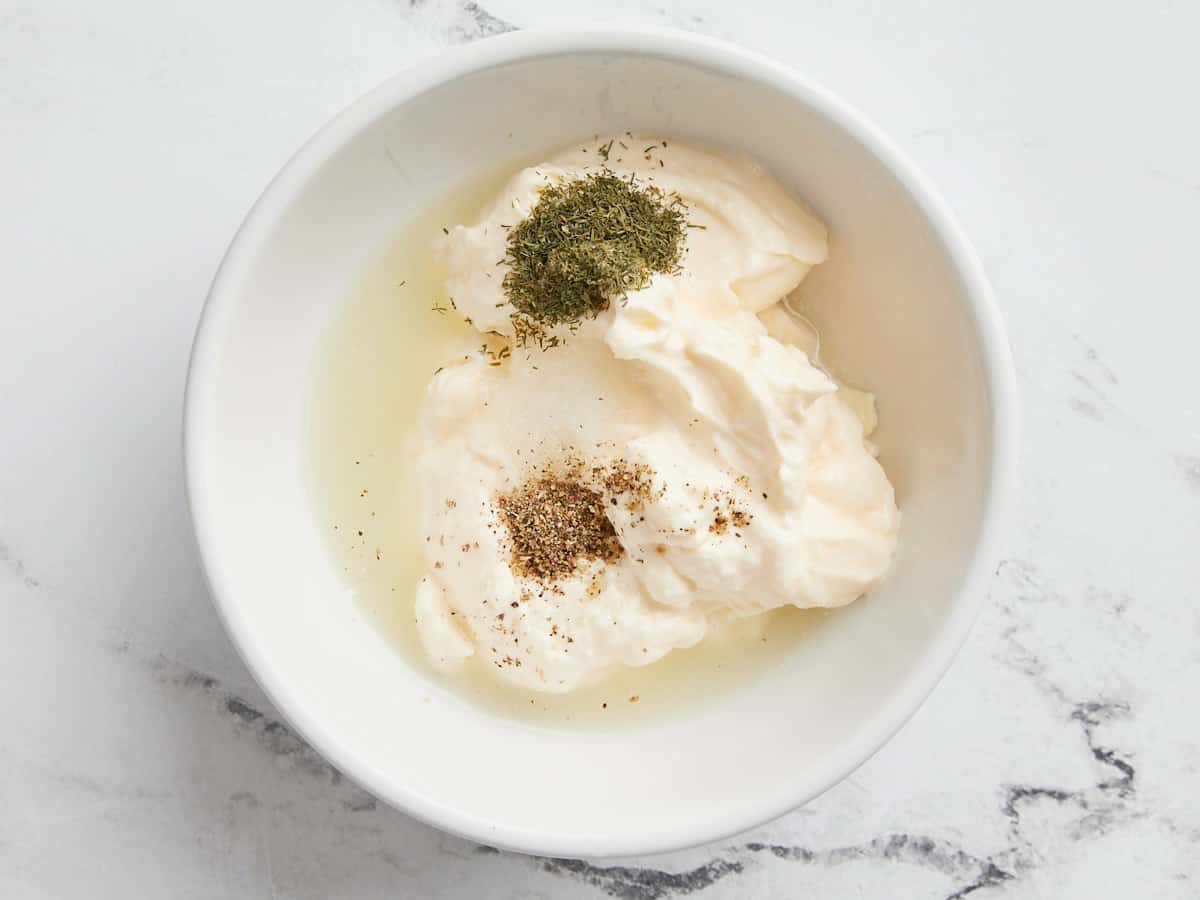
- In a separate small bowl, add the butter and melt in the microwave. Then add the olive oil, salt, pepper, garlic powder, and dried dill to the same bowl. Stir everything together to combine.
- Pour the butter mixture over the carrots. Toss or stir to coat all of the carrots.
- Add seasoned carrots to the air fryer basket. Air fry at 370°F for 12-14 minutes until tender, shaking the basket halfway through. Once done garnish with fresh chopped dill (optional).
See how we calculate recipe costs here.
Nutrition

How to Make Air Fryer Carrots – Step by Step Photos
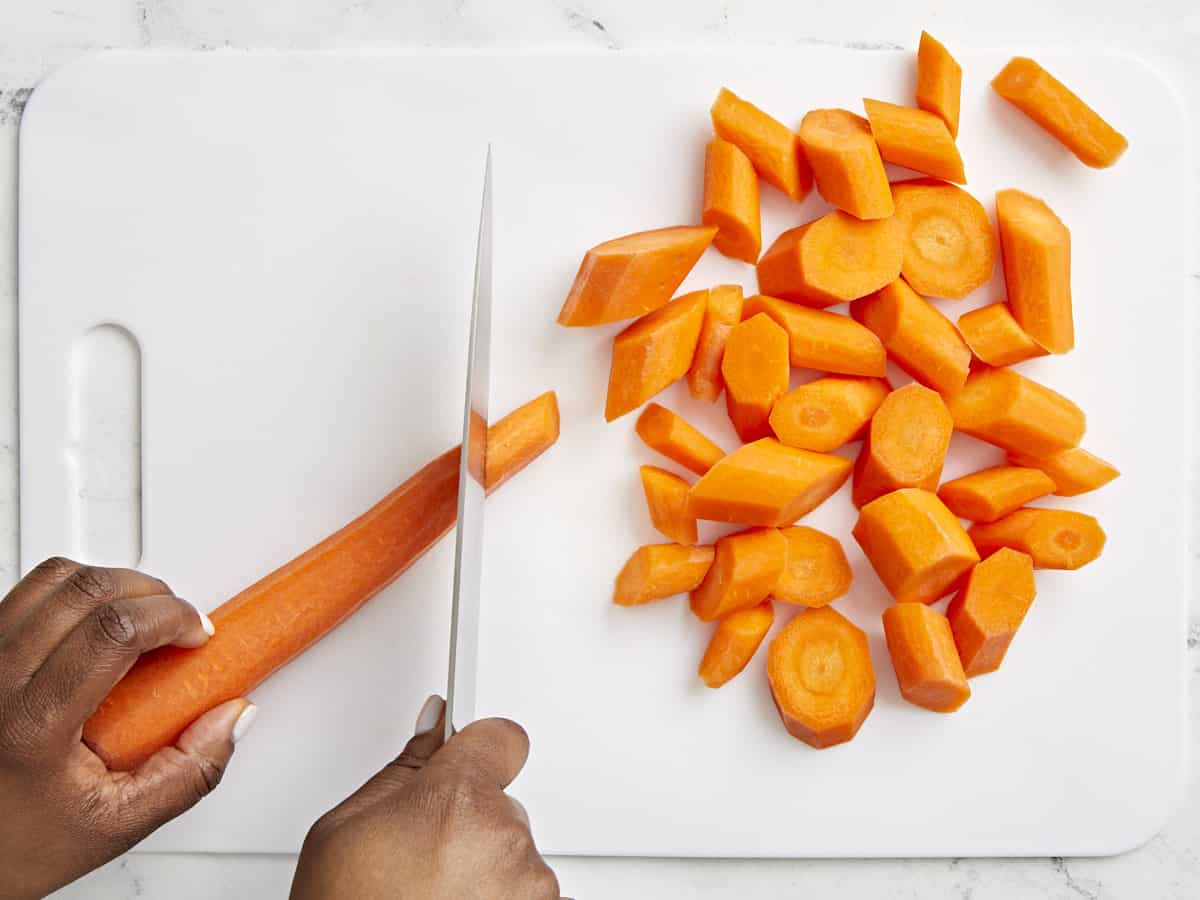
Wash, peel, and cut 1 lb. of carrots diagonally into 1-inch pieces. Add the carrots to a large bowl.
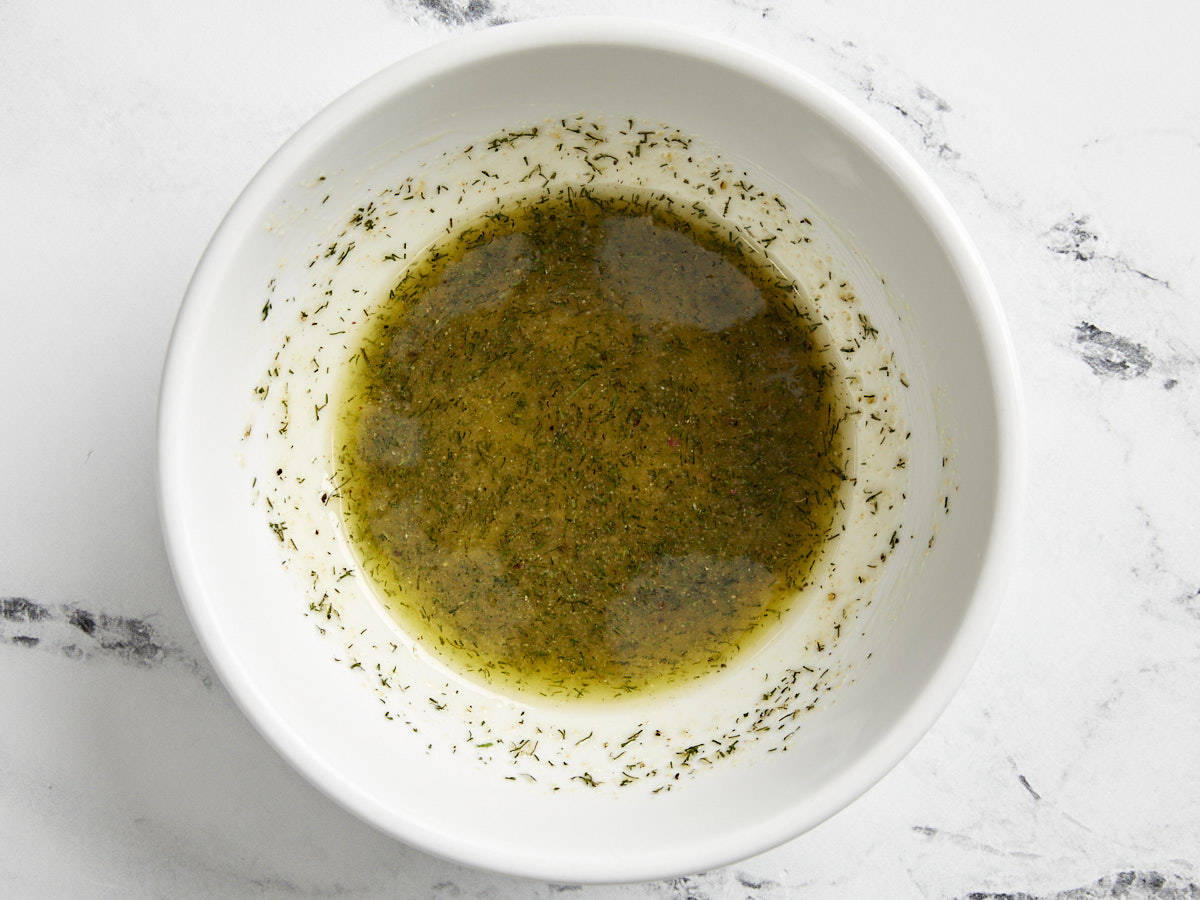
In a separate small bowl, add 1 Tbsp of butter and melt in the microwave. Then add 1 Tbsp olive oil, 3/4 tsp salt, 1/2 tsp freshly cracked black pepper, 1/2 tsp garlic powder, and 1/2 tsp dried dill to the same bowl. Stir everything together to combine.
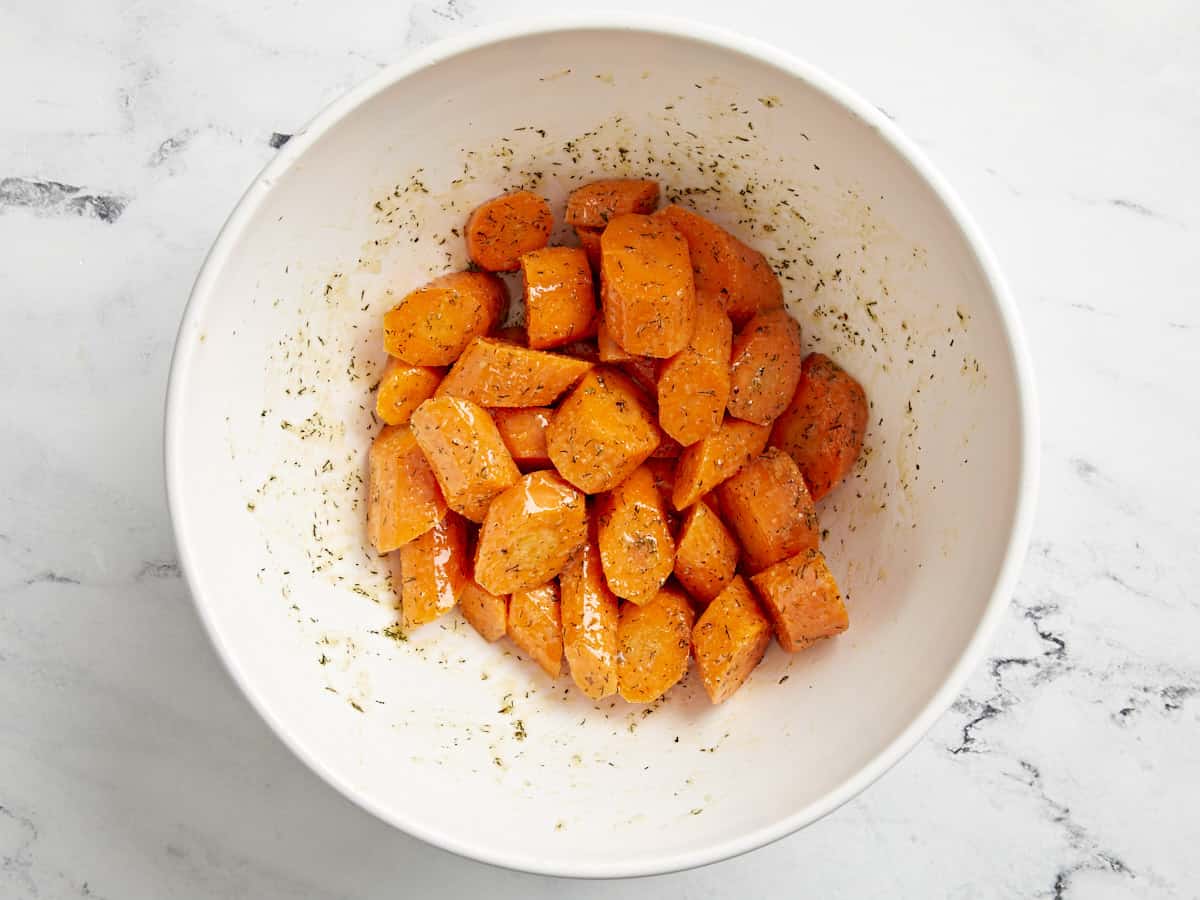
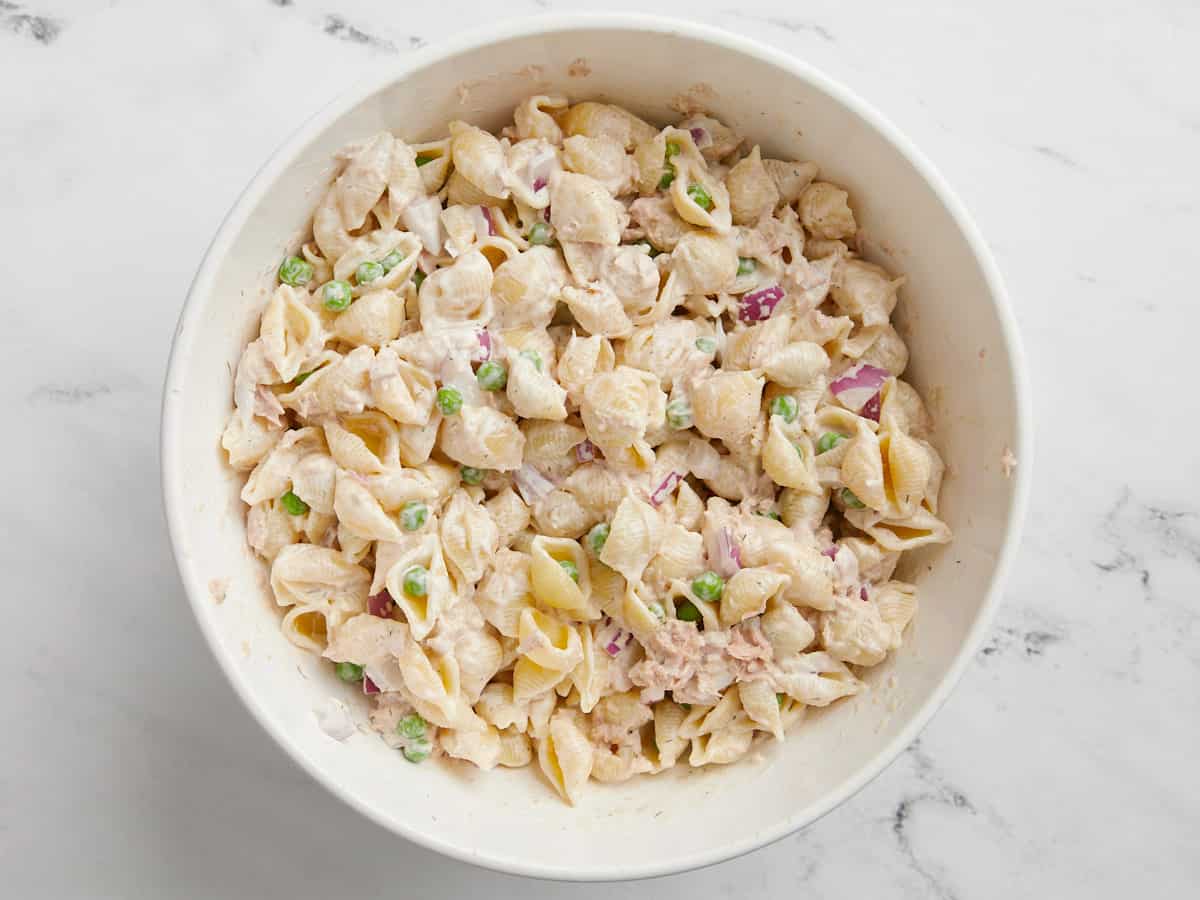
Pour the butter mixture over the carrots. Toss or stir to coat all of the carrots.
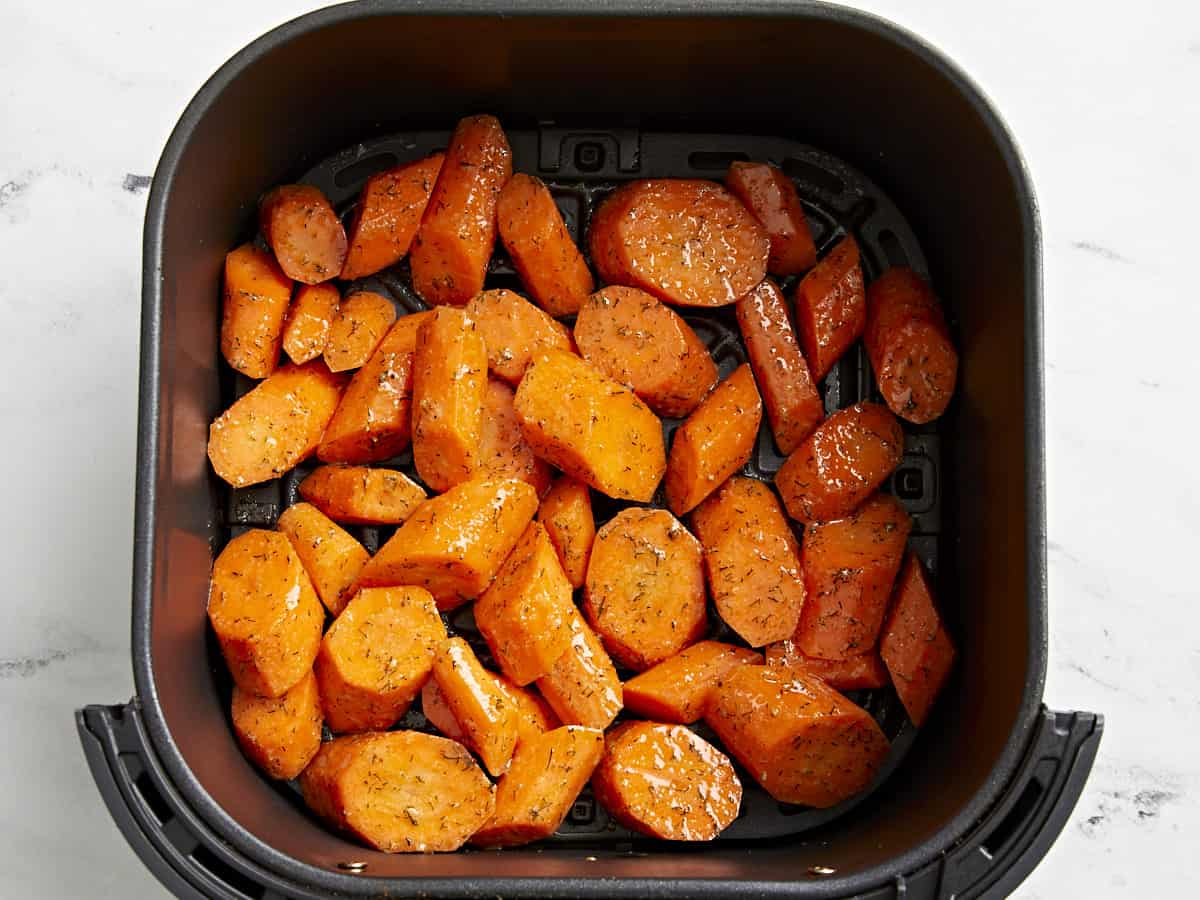
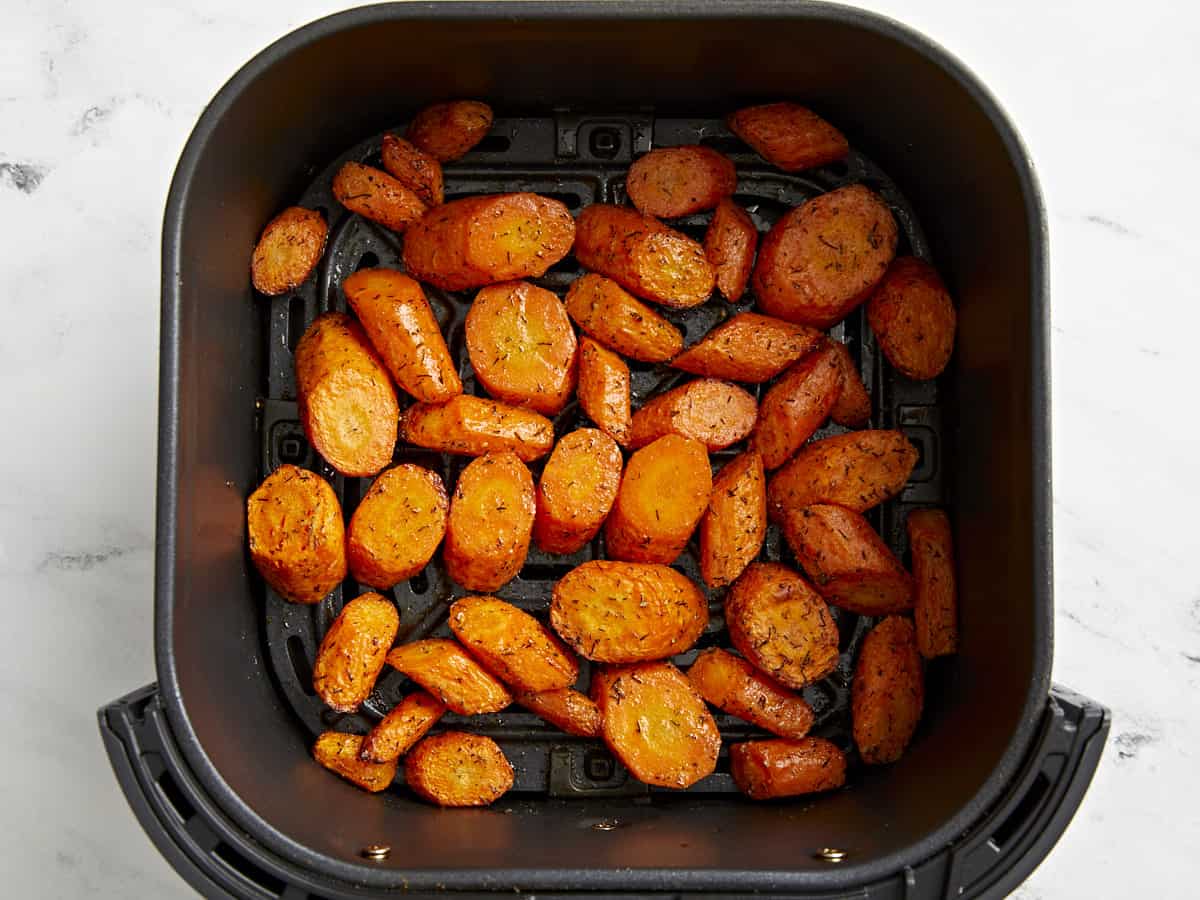
Add seasoned carrots to the air fryer basket. Air fry at 370°F for 12-14 minutes until tender, shaking the basket halfway through.
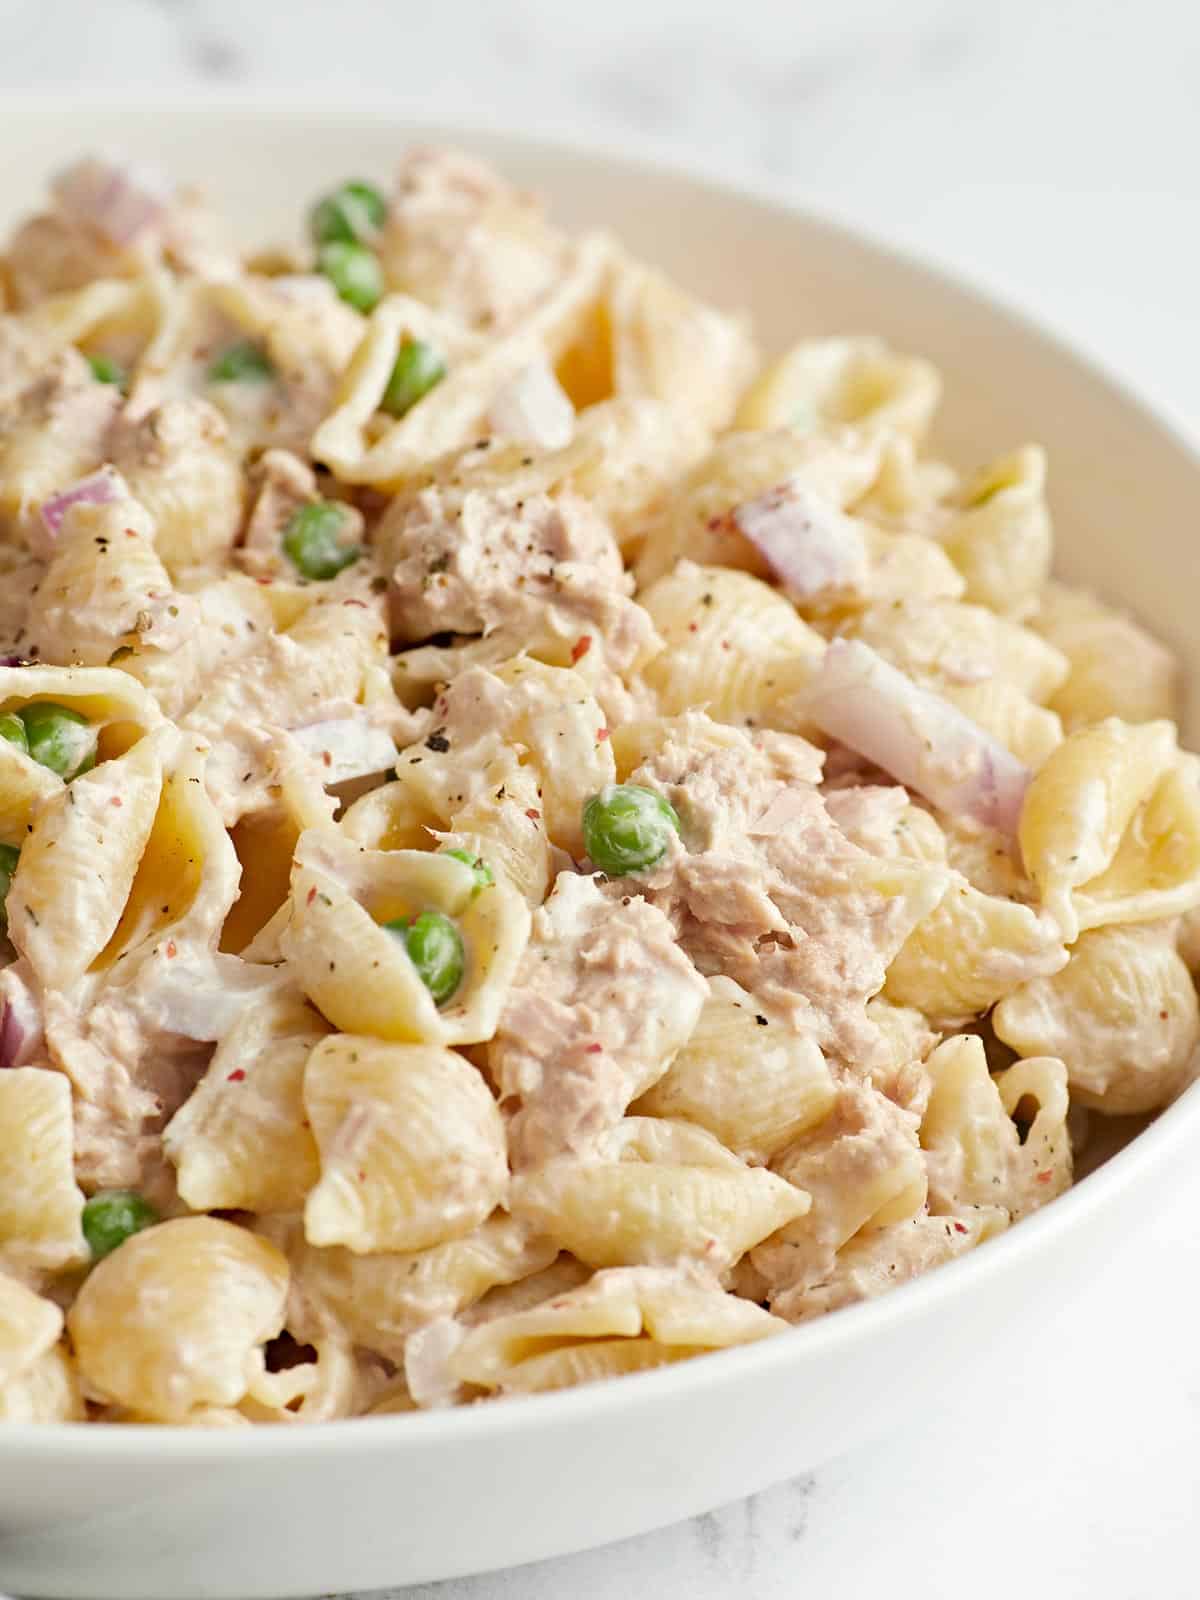
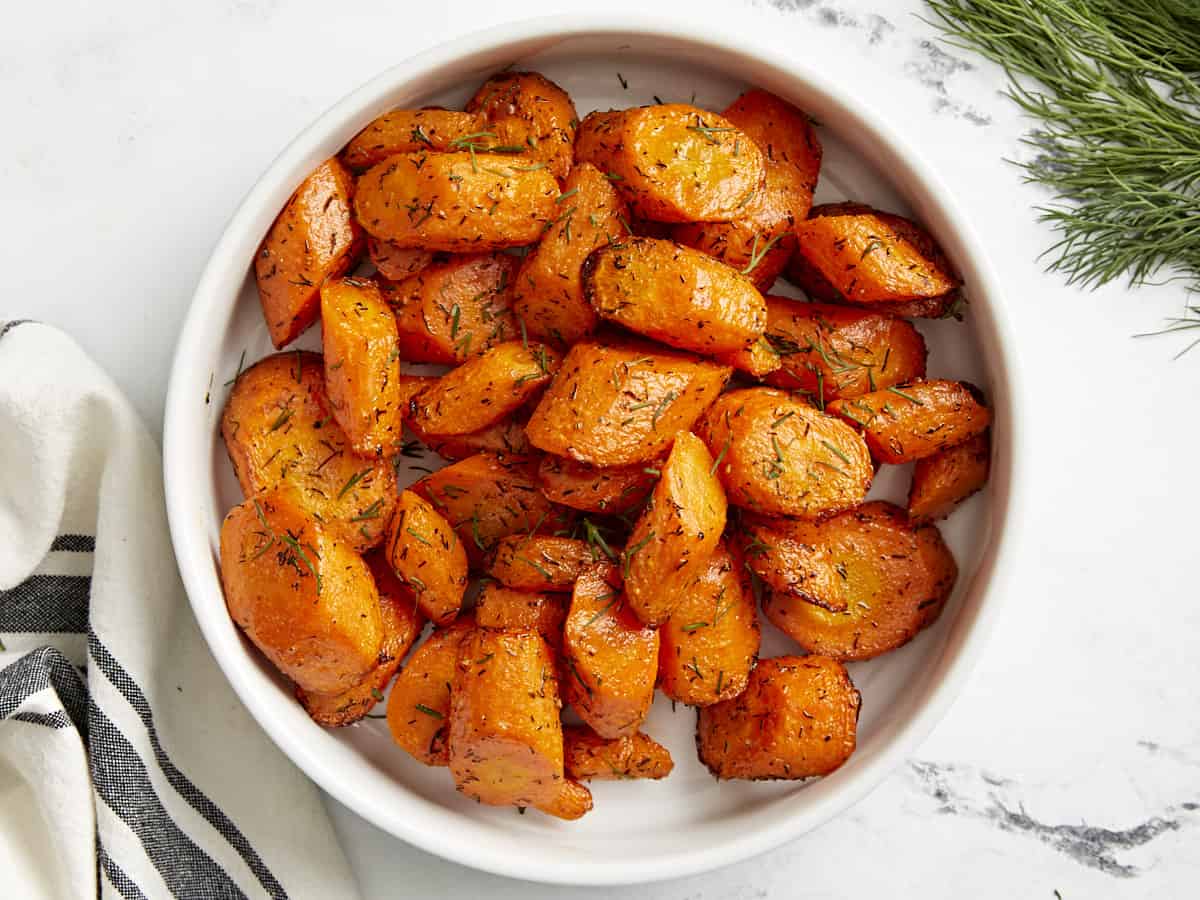
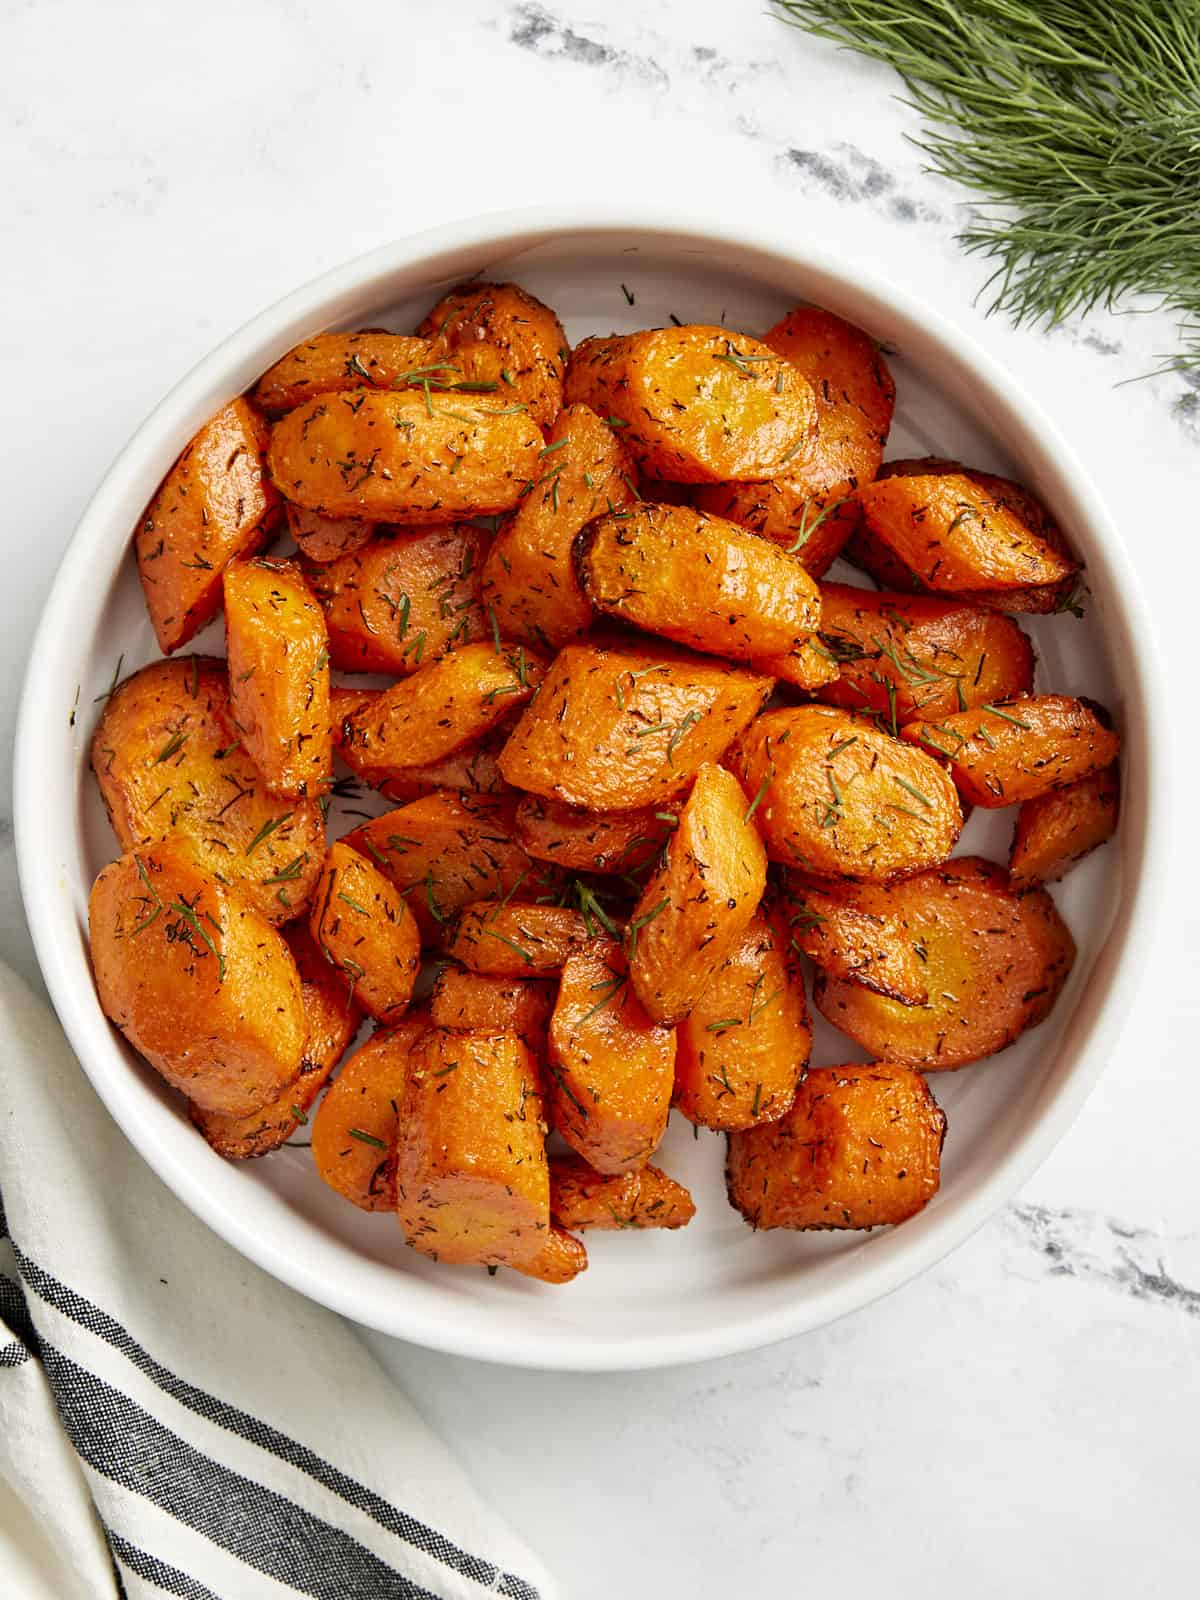
Once done garnish with 1 tsp fresh chopped dill (optional) and enjoy!
More Easy Air Fryer Recipes


The post Air Fryer Carrots appeared first on Budget Bytes.