These tasty little Ham and Cheese Sliders might just be the champion of all party food recipes! They’re extremely easy to make, perfect for feeding a hungry crowd, and they’re insanely delicious! With each bite you taste the sweetness of the Hawaiian rolls, the saltiness of the ham, the gooeyness of the cheese, and that irresistible buttery sauce. The combination of everything together is simply unmatched! And although these are absolutely perfect for the big football game tomorrow, they can also be enjoyed all year long!

Ham and cheese sandwiches remind me so much of my childhood, but these sliders are definitely the grown up version. My mom has been making these tasty little ham and cheese sliders for years. And every time she makes them, whether it’s for a family gathering, football game, or a holiday party, they are literally gone in minutes! Needless to say I consider these a must-have to enjoy during the Super Bowl game tomorrow!😉
Ingredients For Ham and Cheese Sliders
These buttery & savory ham and cheese sliders are made with just 7 simple ingredients! Here’s everything you’ll need:
- Deli Ham: When picking deli ham you’ll often find thinly sliced or regular sliced ham. I tested both and really liked the thickness of the regular ham slices. It also allowed me to use 1 slice per slider, whereas with the thinly sliced ham I needed to add 2 or 3 slices to make it a full slider sandwich.
- Swiss Cheese: Swiss cheese has a milder flavor and pairs perfectly with these sliders, but feel free to use a different cheese if you prefer.
- Hawaiian Sweet Rolls: Hawaiian rolls have just the right amount of sweetness to compliment the savory & salty taste of the ham. They’re also the perfect size to make party sliders. If you can’t find Hawaiian rolls at your local store you can also substitute with bakery dinner rolls. Dinner rolls are a little bigger than Hawaiian rolls so you may need to add more ham and cheese to accommodate.
- Sauce: The sauce we used to brush over the tops of the sliders is a simple combination of melted butter, Dijon mustard, Worcestershire sauce, and everything bagel seasoning. These flavors combined give the sliders a buttery, tangy taste and compliment the ham and the sweetness of the rolls perfectly!
Recipe Tips and Variations
- Use Leftover Ham – If you happen to be making these sandwiches around a special holiday and you have any leftover baked ham, then this recipe works perfectly with your leftover ham.
- Turkey and cheese – Not into ham? No worries, this recipe also works well as turkey and cheese sliders!
- Everything Bagel Seasoning – A lot of ham and cheese slider recipes use poppy seeds and dried minced onions as part of the butter sauce. However, we rarely have poppy seeds stocked in our pantry. The good news is that Everything Bagel Seasoning has those ingredients included in it along with dried minced garlic, sesame seeds, and a few other spices. So it works perfectly with these tasty little sandwiches!
Storing Leftovers
If you’re lucky enough to have any of these tasty sandwiches leftover, then just store them in an airtight container or a ziplock storage bag in the refrigerator for up to 4 days. Reheat in the microwave or in the oven until warmed through.


Ham and Cheese Sliders
Ingredients
- 12 Hawaiian sweet rolls $4.79
- 12 slices deli ham $3.00
- 6 slices Swiss cheese $1.86
- 8 Tbsp butter $1.07
- 1 1/2 tsp Dijon mustard $0.02
- 1 1/2 tsp Worcestershire sauce $0.05
- 1 1/2 Tbsp everything bagel seasoning $0.30
Instructions
- Preheat the oven to 350°F. Slice the rolls in half lengthwise.
- Place the bottom half of the rolls in a 9×13 baking dish. Fold 1 slice of deli ham and place it on top of each roll.
- Add the 6 slices of Swiss cheese on top of the deli ham in a single layer.
- Now make the butter mixture. Melt the butter in a small bowl in the microwave. Add the Dijon mustard, Worcestershire sauce and everything bagel seasoning to the bowl. Whisk all the ingredients together.
- Place the top rolls on top of the ham and cheese. Using a pastry brush, brush the butter mixture over the tops of the rolls and the sides of the sandwiches. Brush several layers of the butter making sure the rolls are well coated. You can also carefully pour the butter mixture over the top if you don't have a pastry brush.
- Loosely cover the baking dish with aluminum foil and bake for 15 minutes. After 15 minutes, remove the aluminum foil and continue baking for 5-7 minutes or until lightly golden brown.
See how we calculate recipe costs here.
Nutrition

How to Make Ham And Cheese Sliders – Step by Step Photos
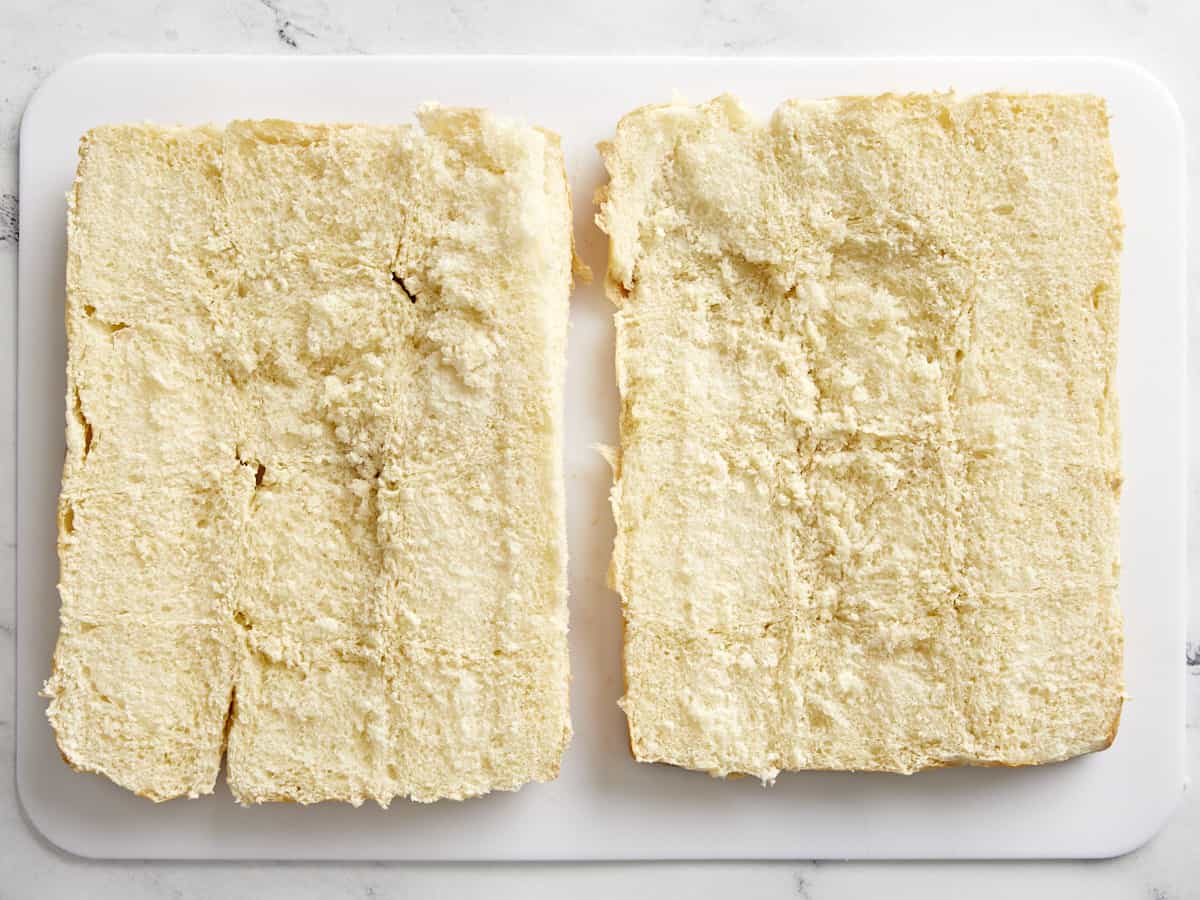
Preheat the oven to 350°F. Slice 12 Hawaiian sweet rolls in half lengthwise.

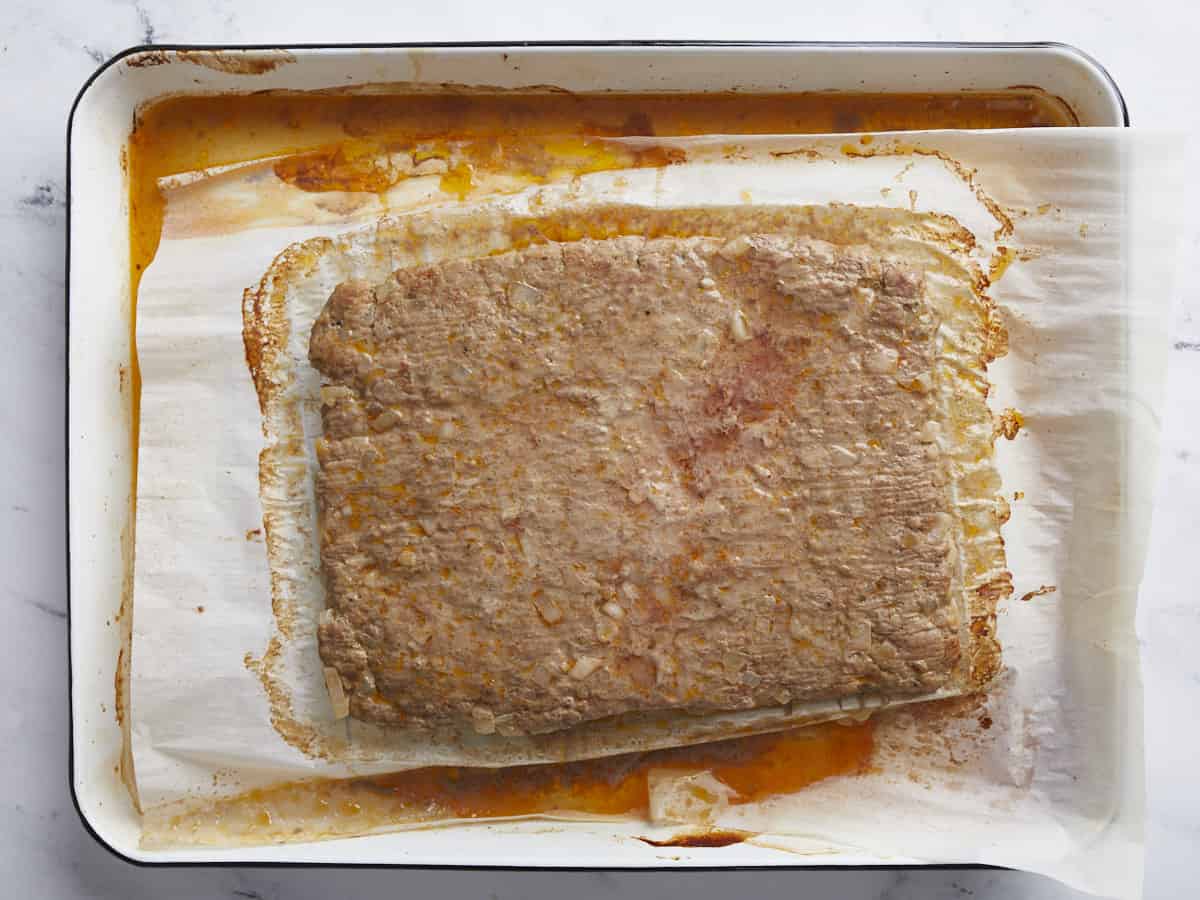
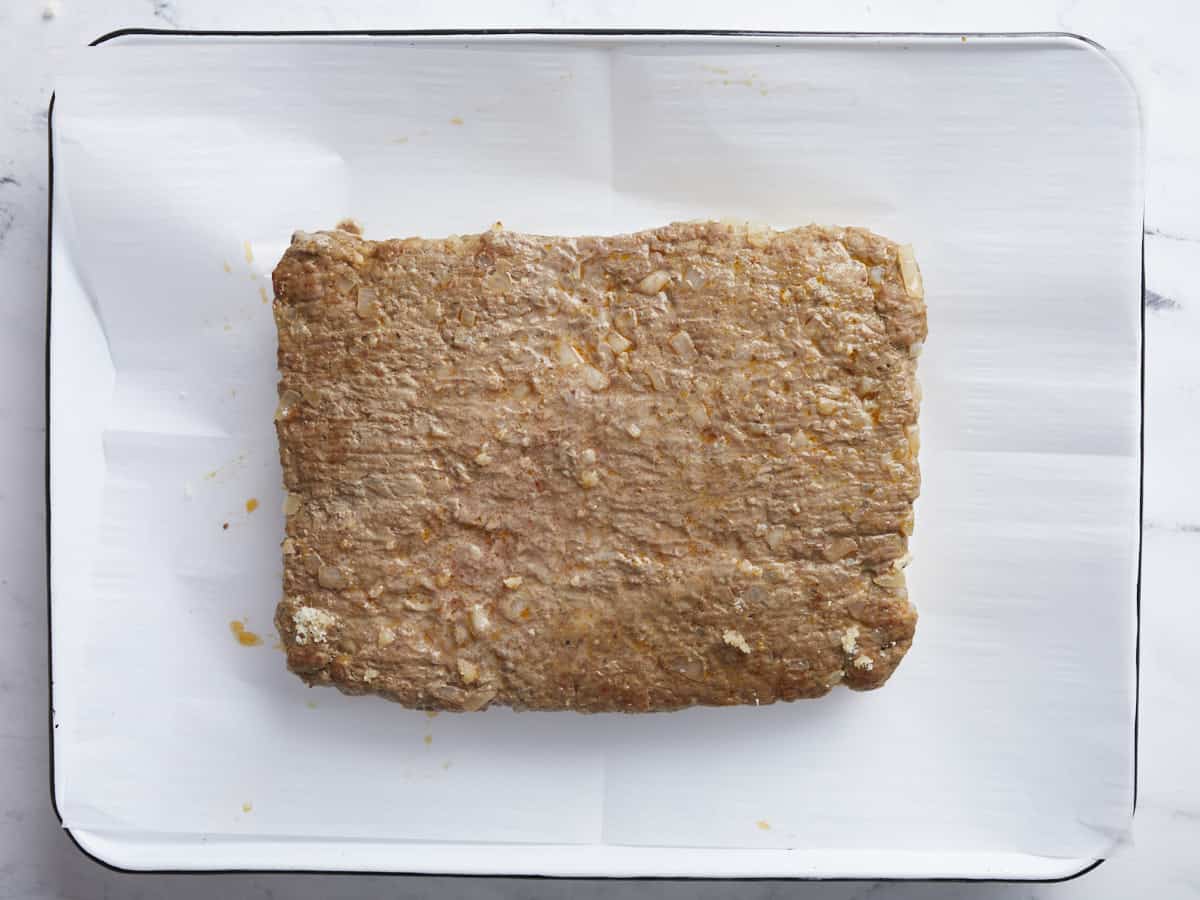
Place the bottom half of the rolls in a 9×13″ baking dish. Fold 1 slice of deli ham and place it on top of each roll.
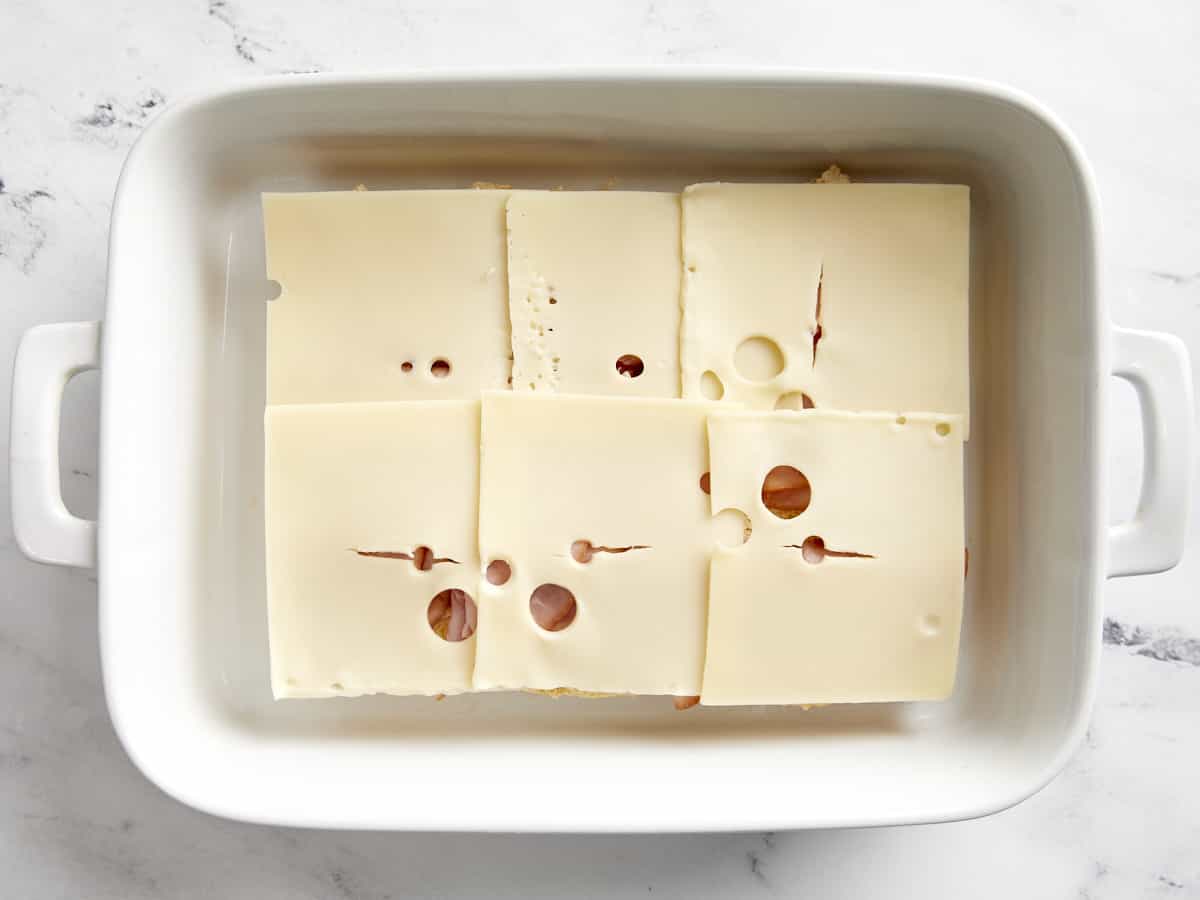
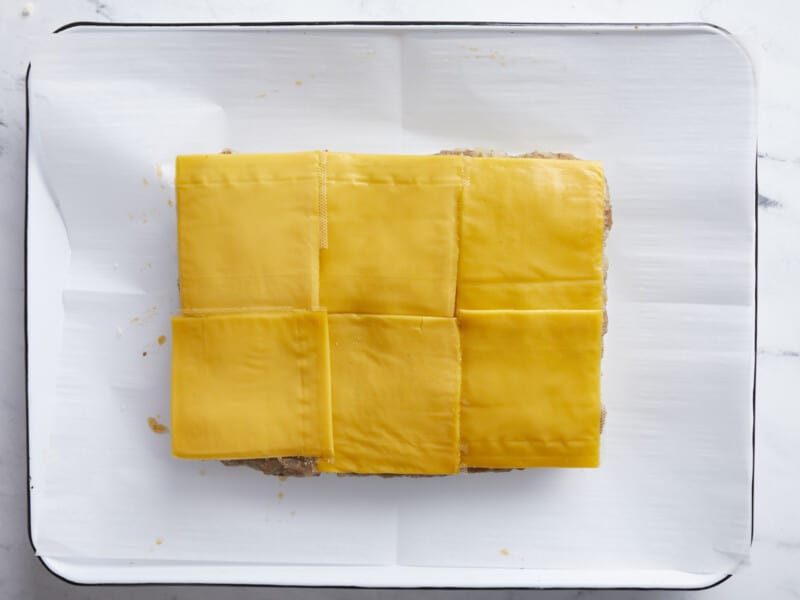
Add 6 slices of Swiss cheese on top of the deli ham in a single layer. It’s ok if the edges of the cheese overlap a little bit.

In a small bowl melt 8 Tbsp (1 stick) of butter in the microwave. Add 1 1/2 tsp Dijon mustard, 1 1/2 tsp Worcestershire sauce and 1 1/2 Tbsp everything bagel seasoning to the bowl. Whisk all the ingredients together until well combined.
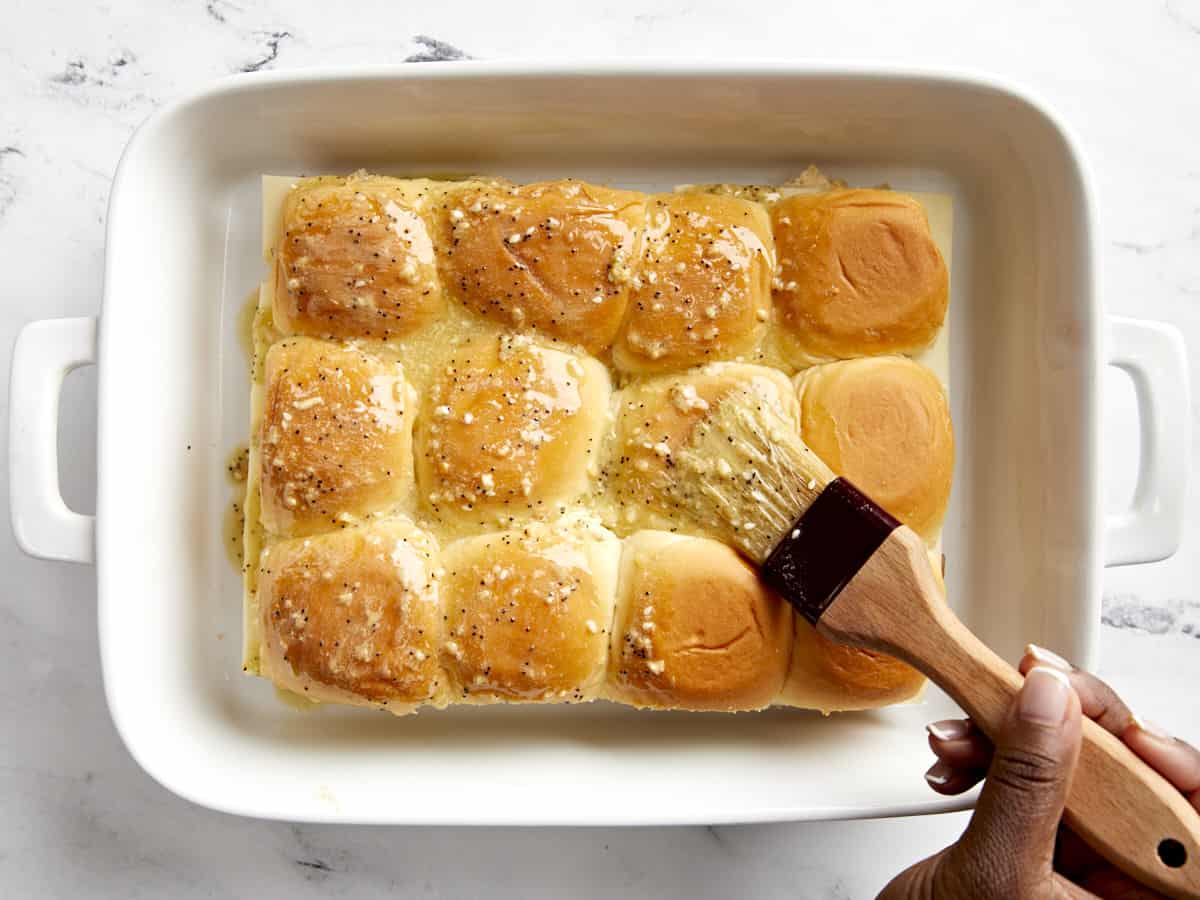
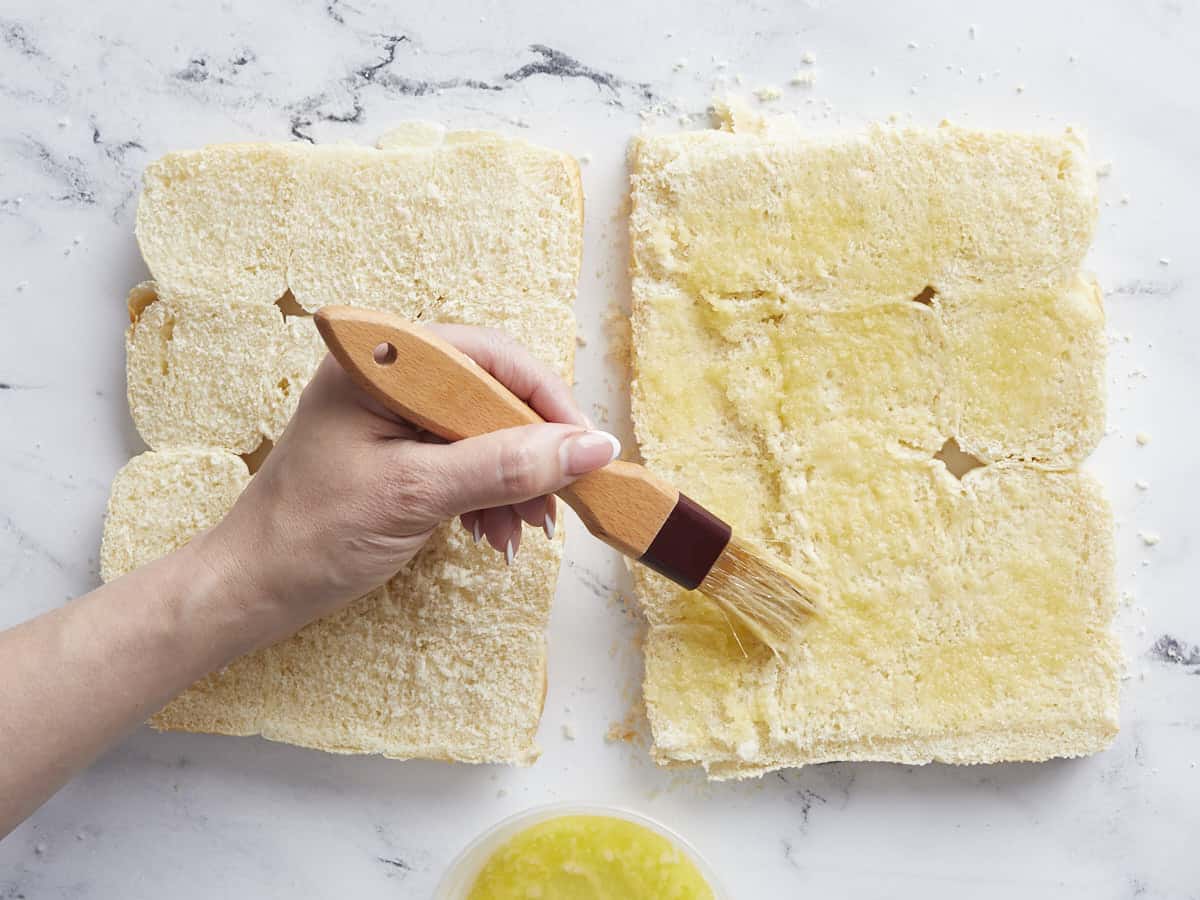
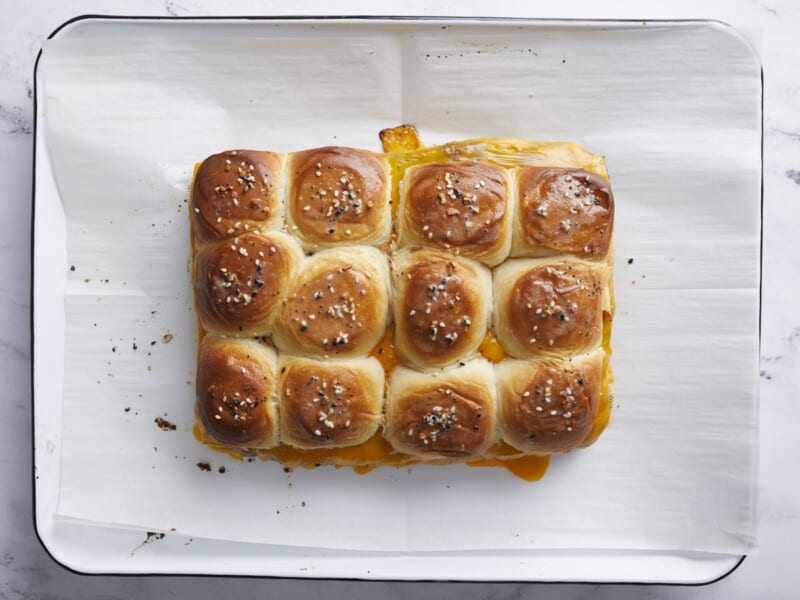
Place the top half of the rolls on top of the ham and cheese. Using a pastry brush, brush the butter mixture over the tops of the rolls and the sides of the sandwiches. Brush several layers of the butter making sure the rolls are well coated. You can also carefully pour the butter mixture over the top if you don’t have a pastry brush.
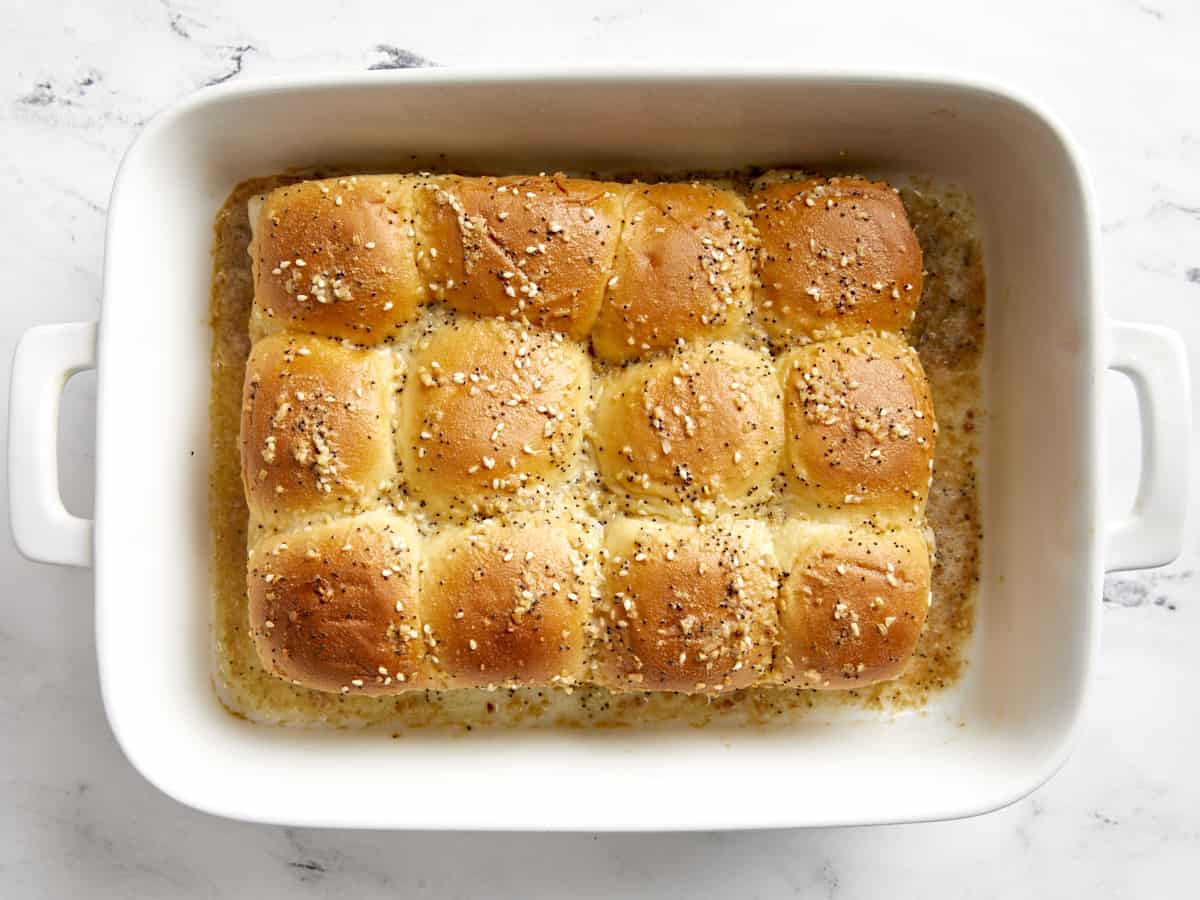
Loosely cover the baking dish with aluminum foil and bake for 15 minutes. After 15 minutes, remove the aluminum foil and continue baking for 5-7 minutes or until lightly golden brown.
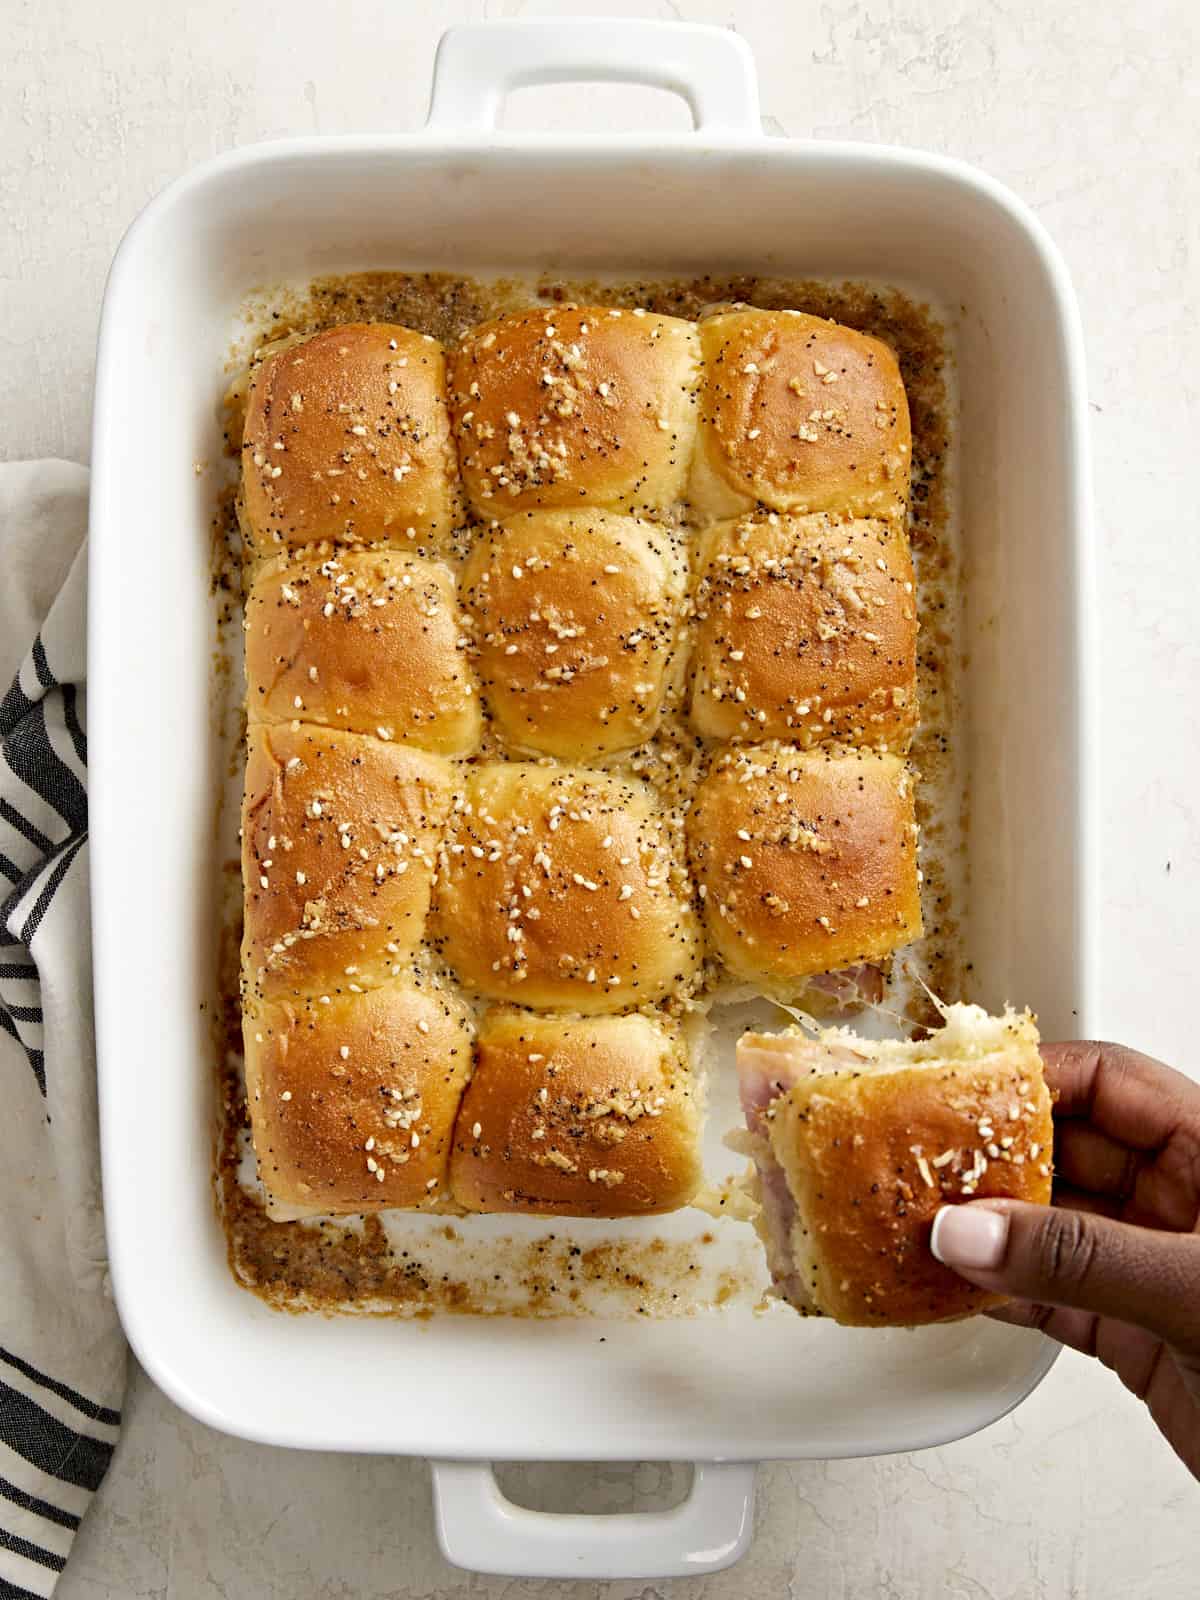
Time to enjoy that buttery goodness that’s baked into each ham and cheese slider. Trust me these won’t last long. Serve warm and enjoy!
More Party Recipes


The post Ham And Cheese Sliders appeared first on Budget Bytes.