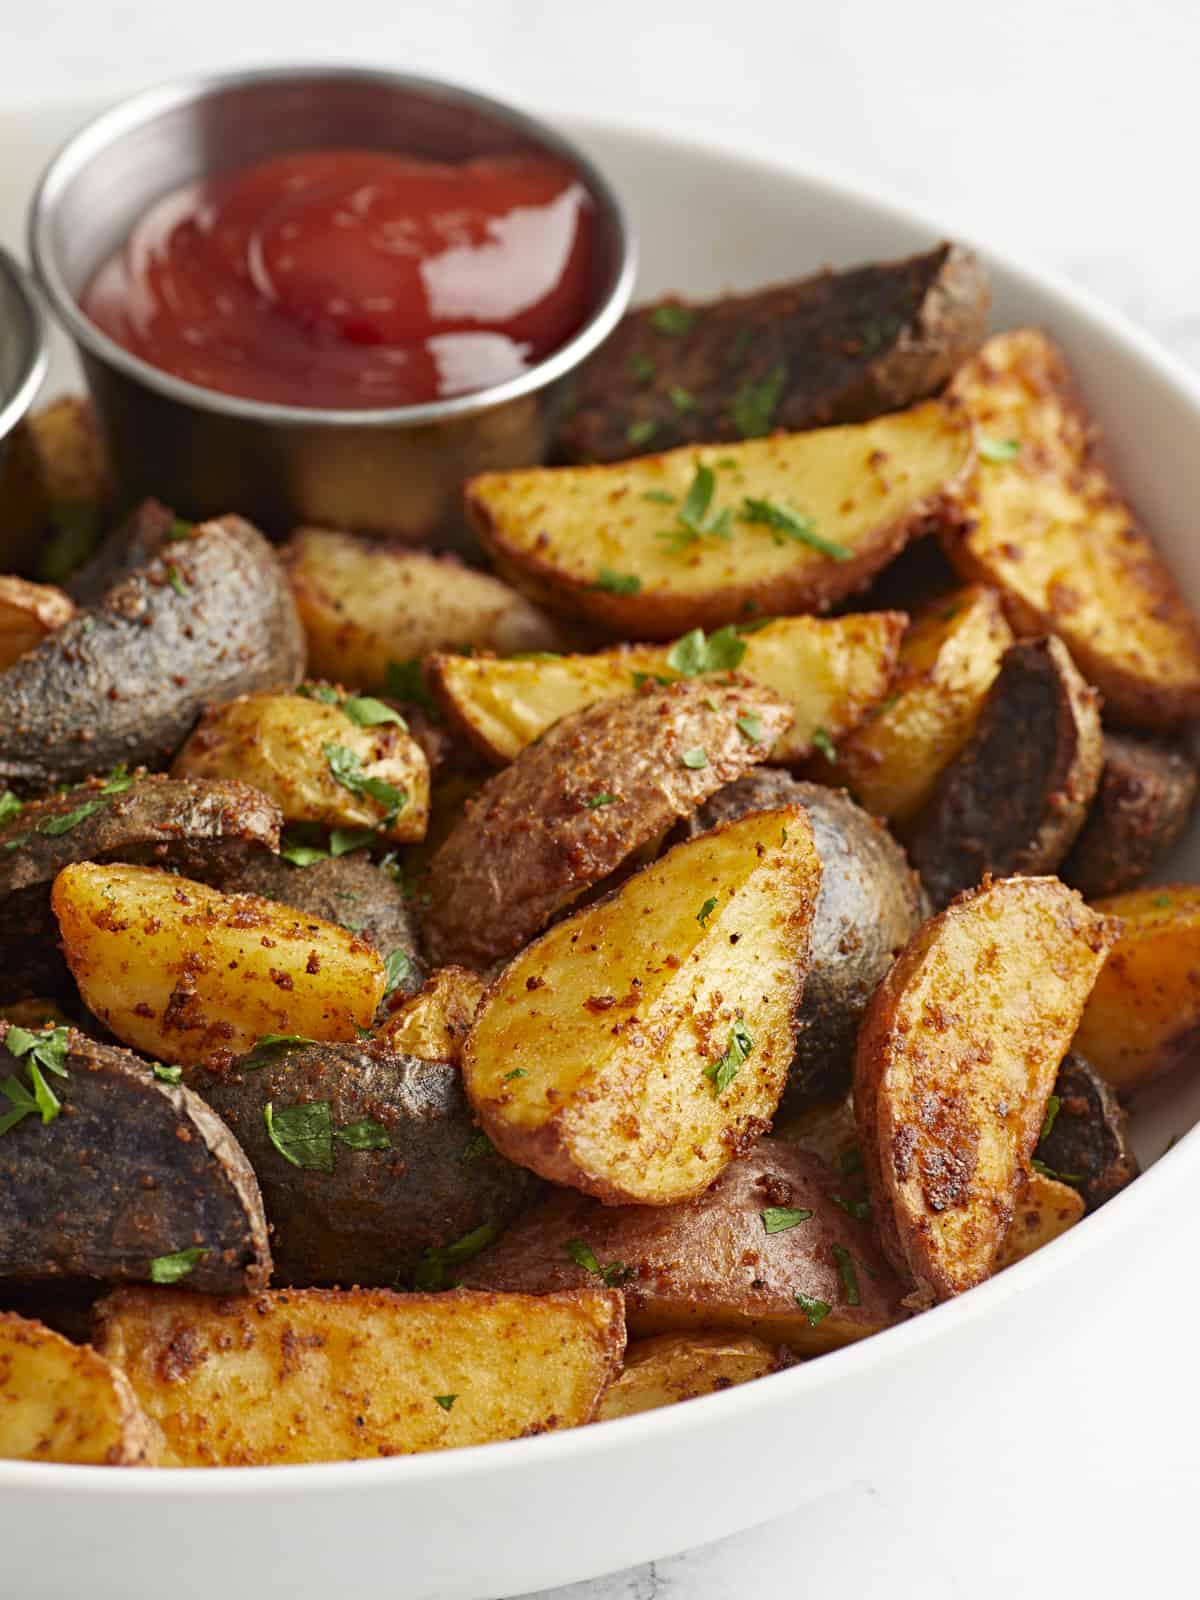
Potatoes, or “spuds” as my Irish brother-in-law affectionately calls them, are truly a favorite for just about everyone. Potatoes can be cooked 1,000 ways and they always steal the show! These air fryer potatoes are proof of that. Soft on the inside and crispy on the outside, they’re like mini baked potatoes. They are seriously delicious dipped in ketchup, mayo, or Comeback Sauce. This air fryer potato recipe is great to use with whatever potatoes you have on hand, making it the perfect recipe for fridge clean out day.
Why Make Potatoes in the Air Fryer?
Listen, we love roasted potatoes. They’re simple and delicious. But sometimes you need potatoes right now, and roasting just isn’t quick enough. Using an air fryer, these potatoes are roasted to perfection in less than half the time. So, the next time you have a potato emergency, this air fryer potato recipe is here for you. You can thank us later!
Ingredients for Air Fryer Potatoes
Here’s what you’ll need to make air fryer potatoes:
- Potatoes: You can use any variety of mini potatoes. We found some tri-color potatoes on sale, so we used those!
- Oil: Helps keep the potatoes moist as they cook and helps them get nice and crispy on the outside. We used olive oil, but you could also use vegetable or canola oil.
- Spices: A combination of garlic powder, onion powder, smoked paprika, salt, and pepper creates a smoky and savory flavor and the paprika adds a pop of color.
- Fresh Parsley: Adds a little bit of greenery and freshness.
Should I Soak the Potatoes?
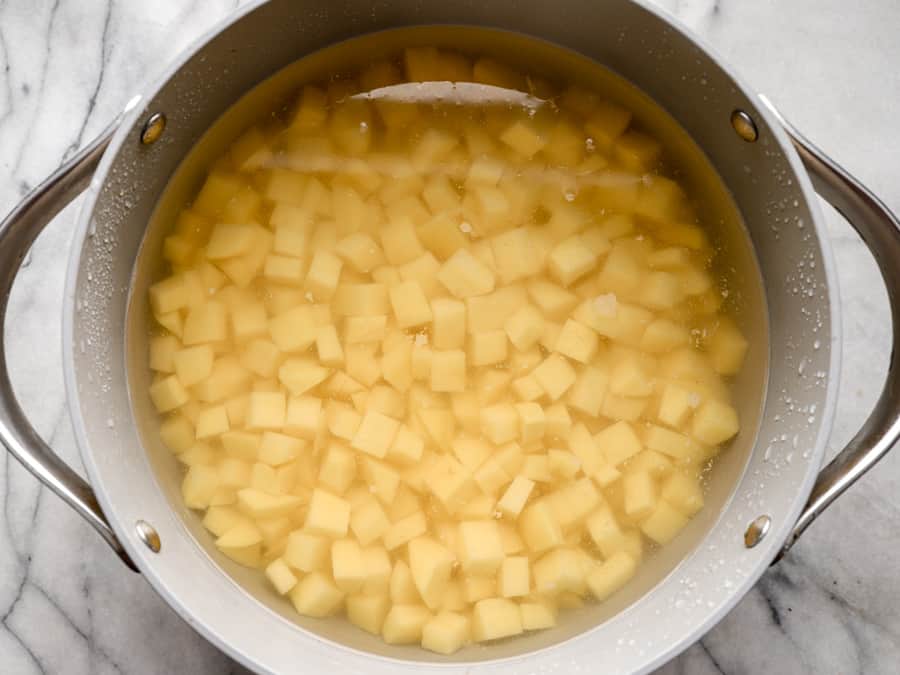
We did not do this, but cutting and soaking potatoes in cold water releases some of the starches and can make the potatoes crispier! Our potatoes were more like tiny bites of the perfect baked potato!
What Else Can I Put On Air Fryer Potatoes?
We love the seasoning mix listed in the recipe below, but the sky is the limit! Here are some other ways you can season your air fryer potatoes:
- Italian seasoning
- Cajun seasoning
- Greek seasoning
- Garlic Herb Seasoning
- Ranch seasoning
- Steak seasoning
What To Serve With Air Fryer Potatoes
These air fryer potatoes are a great side dish for breakfast, lunch, or dinner. They go great with dishes like Breakfast Frittatas, Air Fryer Bacon, Homemade Meatloaf, or Baked Chicken Drumsticks.
Or, if you want to just add some dip and serve them as a snack, try dipping them in Comeback Sauce, Lemon Dill Tahini Dressing, Chimichurri Sauce, or Homemade Ranch Dressing.

Air Fryer Potatoes
Equipment
Ingredients
- 1 lb. baby potatoes, quartered $3.16
- 1/2 Tbsp olive oil $0.09
- 1/2 tsp garlic powder $0.05
- 1/2 tsp onion powder $0.05
- 1/2 tsp smoked paprika $0.10
- 1 pinch salt and pepper to taste $0.10
- 1 tsp freshly chopped parsley, for garnish $0.05
Instructions
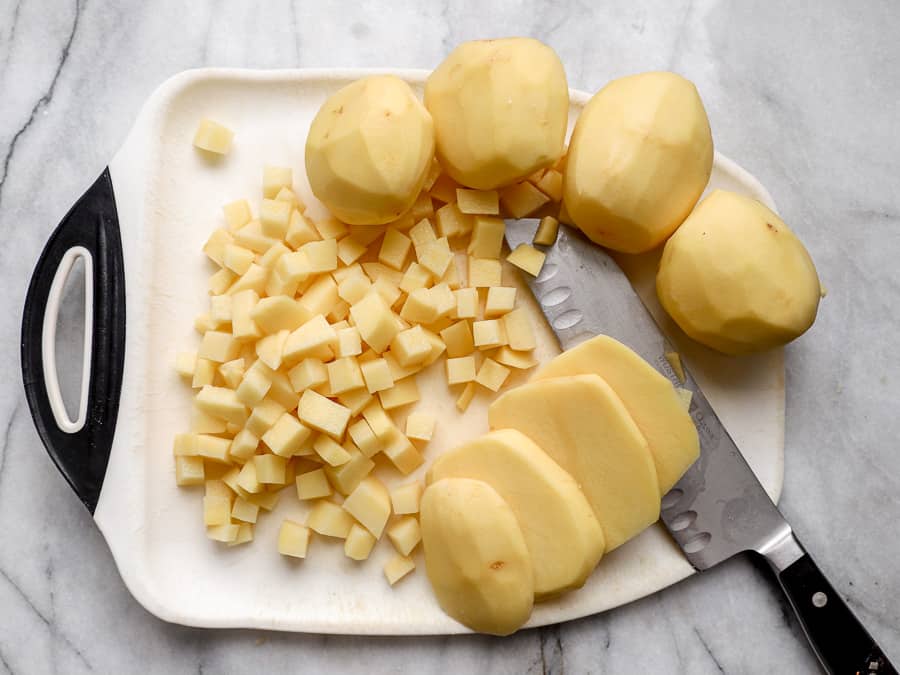
- Preheat air fryer to 400°F for 4 minutes. Wash and quarter the baby potatoes.
- Add the potatoes to a large bowl. Toss the potatoes with olive oil, garlic powder, onion powder, smoked paprika, salt and pepper.
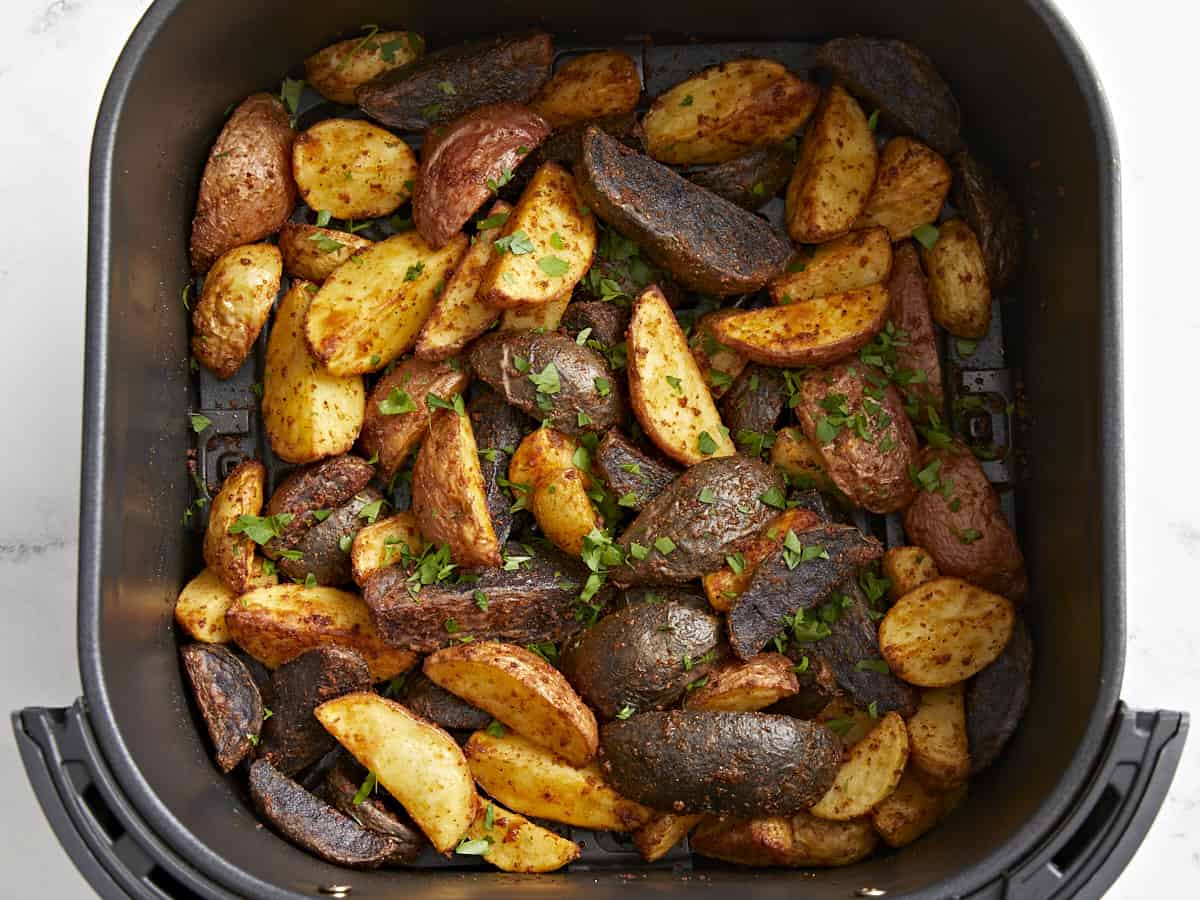
- Cook for 15 minutes in the air fryer, until golden brown with crispy edges, stopping halfway through to shake.
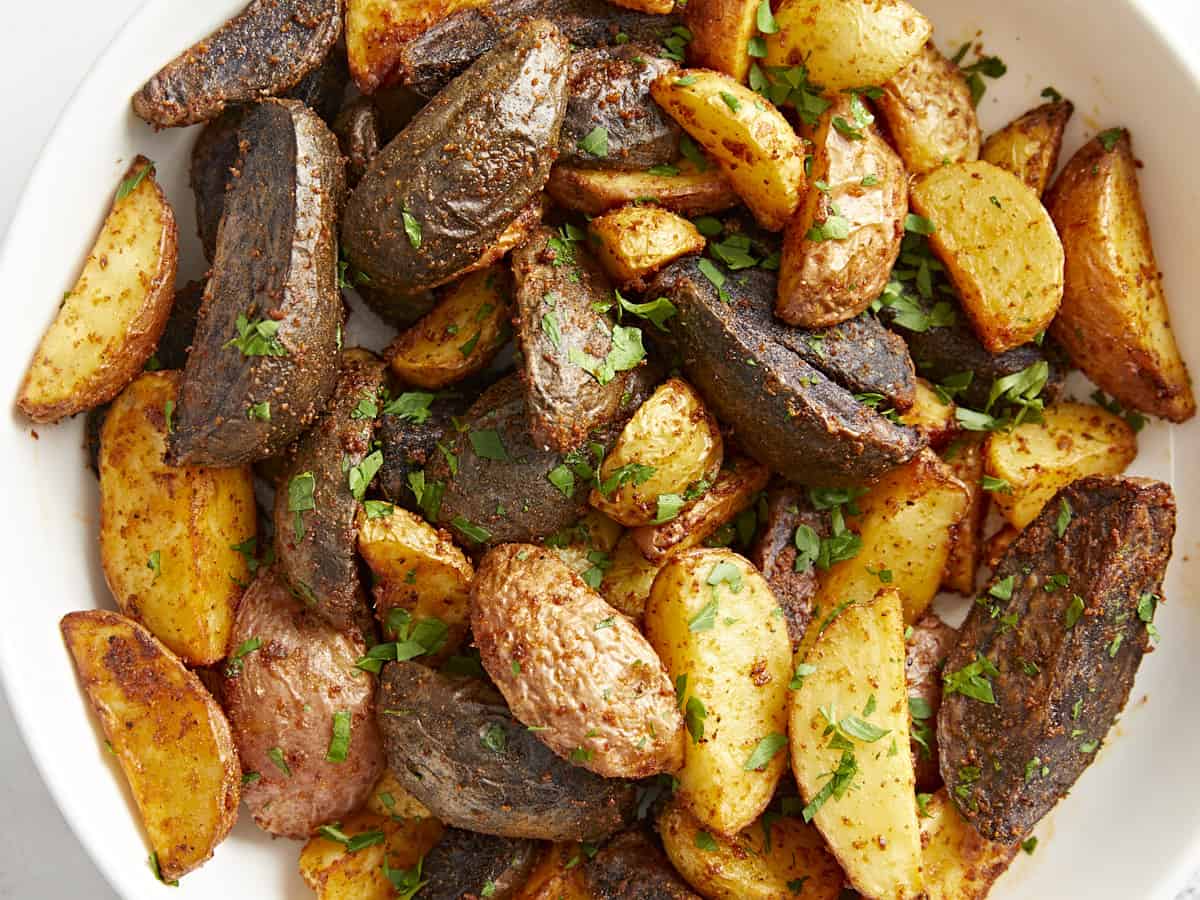
- Garnish with minced parsley and additional salt and pepper, if needed.
See how we calculate recipe costs here.
Nutrition
how to make Air Fryer Potatoes – step by step photos
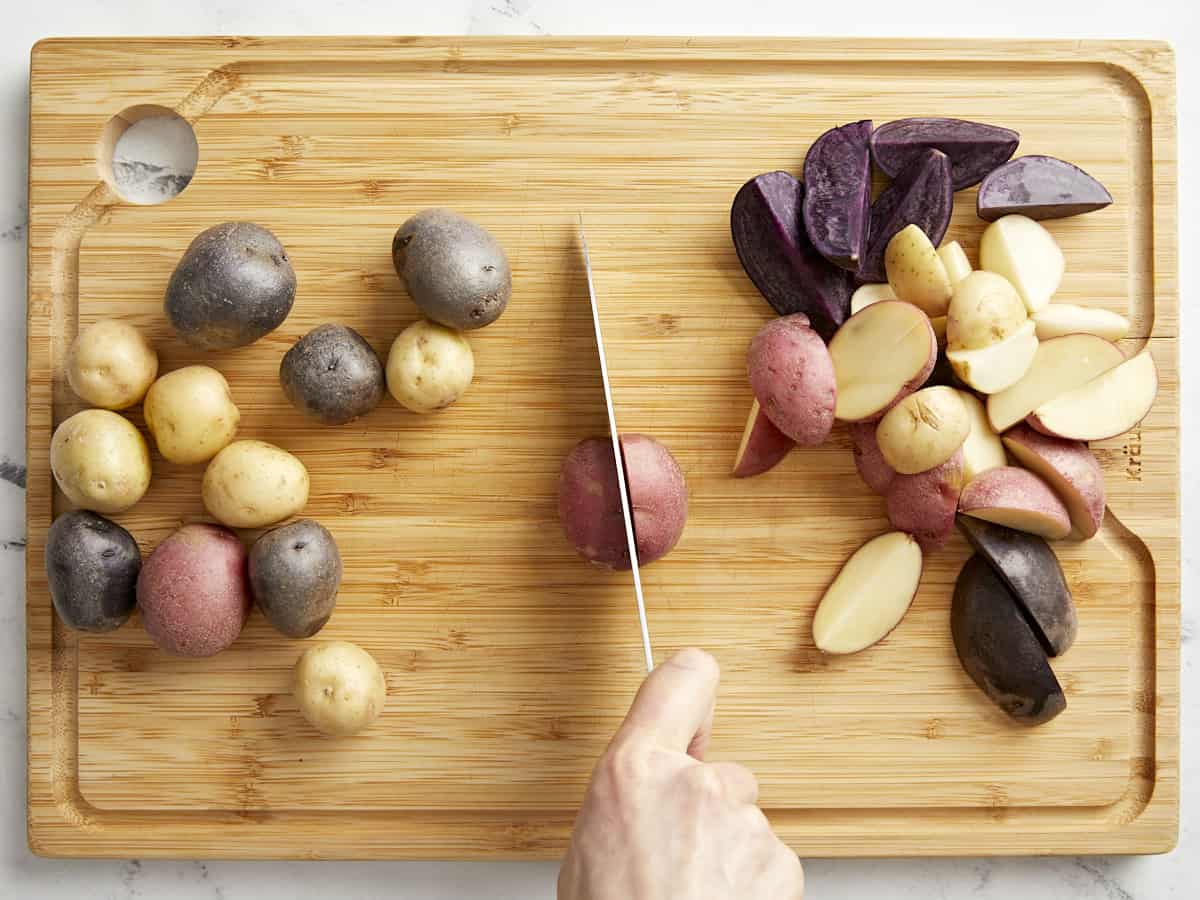
Preheat the air fryer to 400°F for 4 minutes. Quarter 1 lb. of baby potatoes.
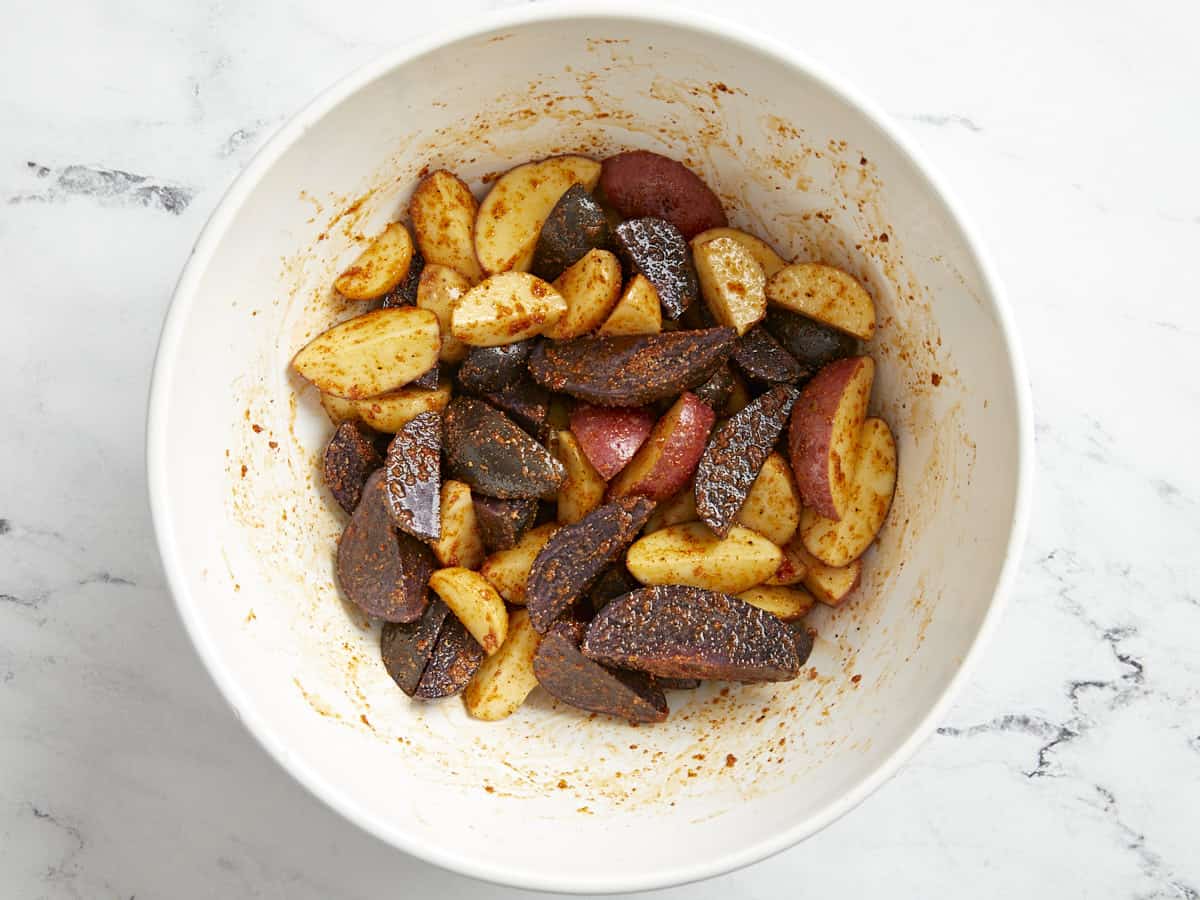
Add the potatoes to a large bowl. Toss the quartered baby potatoes with 1/2 Tbsp olive oil, 1/2 tsp garlic powder, 1/2 tsp smoked paprika, 1/2 tsp onion powder, and a pinch of salt and pepper.
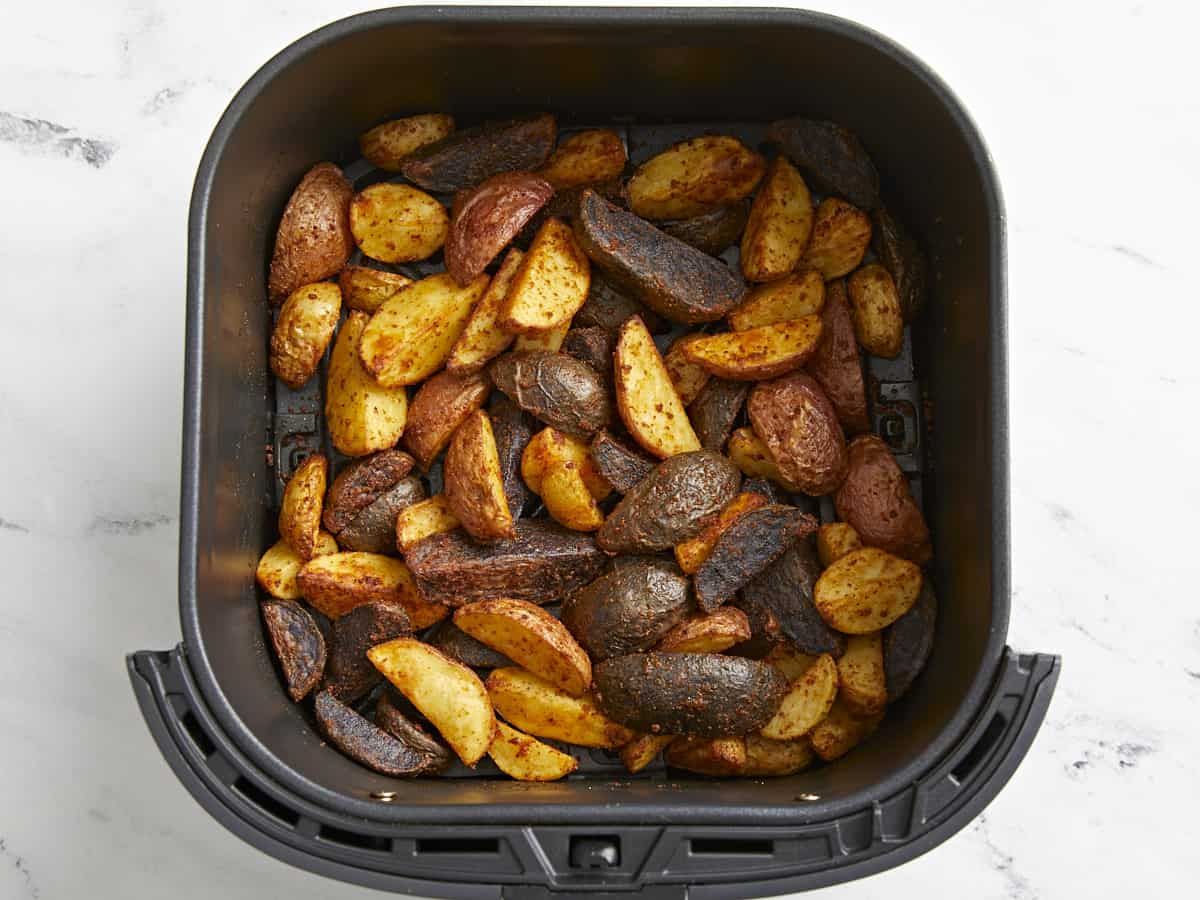
Cook for 15 minutes in the air fryer, until golden brown with crispy edges, stopping halfway through to shake. Garnish with 1 tsp minced fresh parsley and additional salt and pepper, if needed.
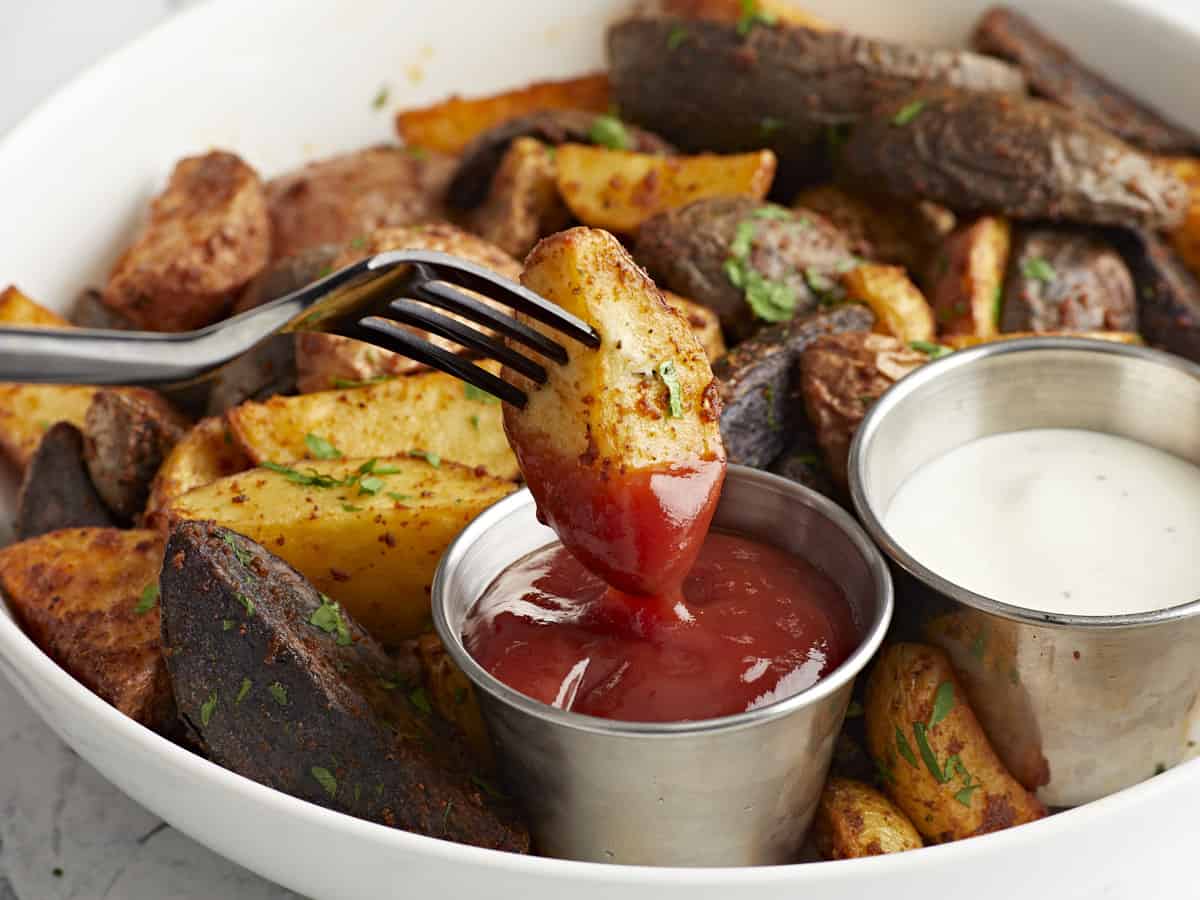
These air fryer potatoes are the ultimate crispy side dish!
More Air Fryer Recipes


The post Air Fryer Potatoes appeared first on Budget Bytes.