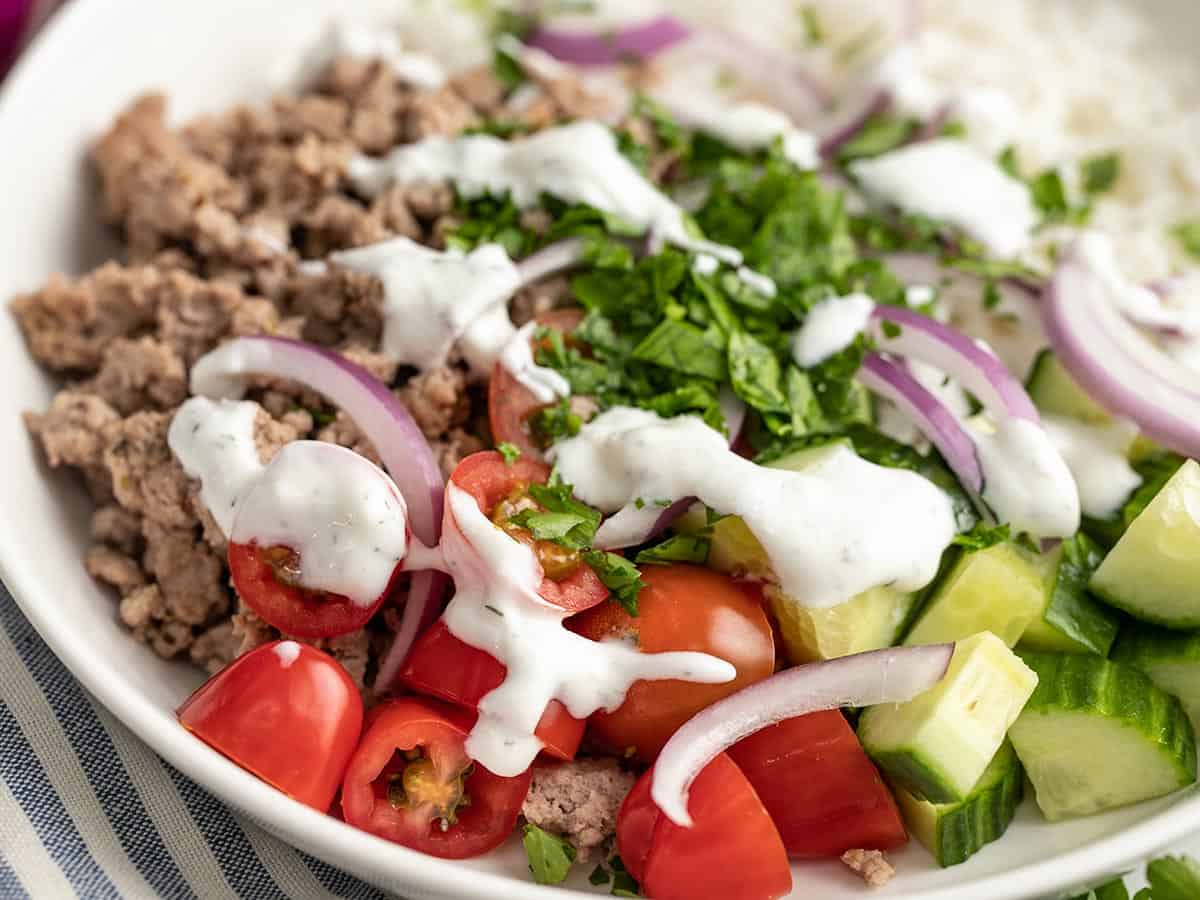
Bowl meals have always been my favorite type of meal because they’re super flexible, you get a lot of colors, textures, and flavors in every bowl, and they’re perfect for meal prep (I LOVE having grab-n-go lunches ready). This week, I made these Mediterranean Turkey Bowls. They’re simple, super fresh, and very filling. Plus, I can swap out ingredients depending on what I have on hand, or what I’m craving. So if you’re looking for something new, easy, and fresh to prep for lunch, give these bowls a try!
Can I Use Different Meat?
These bowls are endlessly customizable, and that includes the meat or protein. I used some ground turkey that I seasoned with garlic and oregano, but you could easily swap that out for ground beef, or make some Yogurt Marinated Chicken and chop it into pieces before adding it to your bowl.
Want to make it vegetarian? Toss some chickpeas or cannellini beans with the same seasonings that I used for the ground turkey, and maybe a small squeeze of lemon, then add them to your bowl.
What Else Can You Add?
Comb your fridge and freezer for ingredients that have a Mediterranean flair and toss ’em in your bowl! Here are a few delicious ideas:
- Feta
- Olives
- Chickpeas
- Capers
- Spinach
- Green Onion
- Hummus
- Bell peppers
- Artichoke hearts
- Quinoa
- Zucchini (fresh or grilled)
P.S. You can also make these bowls over a bed of greens instead of a bed of rice!
How Long Do They Last?
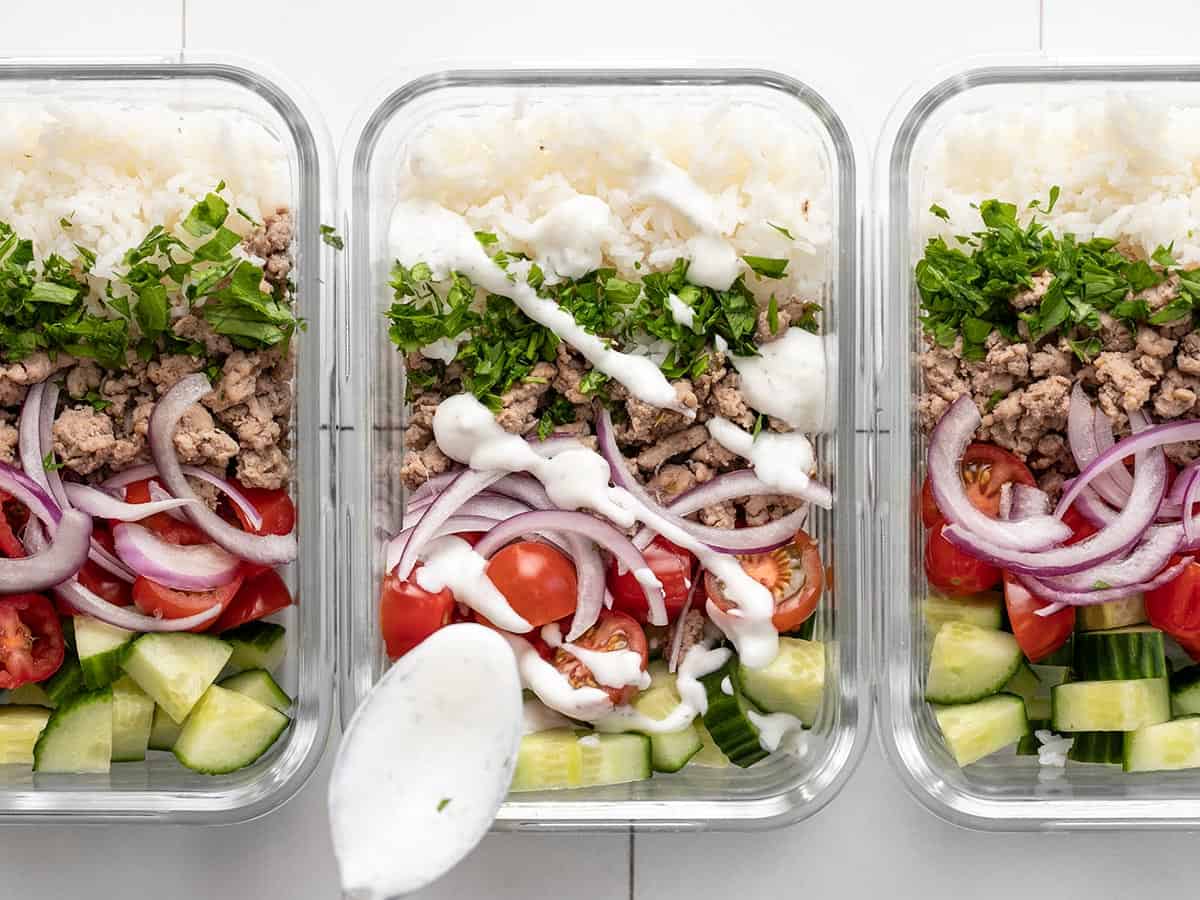
I prepared these bowls for my meal prep and, in general, I only like to prep for four days at a time because I find that the freshness of my prepared meals degrade too much after that amount of time. So I suggest keeping these bowls for up to four days in the fridge for the best flavor and texture. These Mediterranean Turkey Bowls are not a good candidate for freezing due to the fresh vegetables and yogurt sauce.
Are They Served Hot or COld?
I love these bowls both warm and cold. When eating them just after preparation, the rice and turkey will be warm, which contrasts nicely with the fresh cold vegetables. When eating the leftovers as meal prep, I eat them cold like a salad. I think they’re delicious both ways! If you prefer to reheat the rice and turkey for meal preps, just package the rice and turkey in one container and the fresh vegetables in a separate container so you can reheat one and then top with the cold vegetables just before eating.

Mediterranean Turkey Bowls
Equipment
Ingredients
Garlic Dill Yogurt Sauce
- 1 cup full-fat plain yogurt $1.12
- 1 Tbsp lemon juice $0.06
- 1/4 tsp garlic powder $0.02
- 1/4 tsp dried dill $0.03
- 1/4 tsp salt $0.02
Ground Turkey
- 1 Tbsp olive oil $0.12
- 1 lb. ground turkey $4.99
- 2 cloves garlic, minced $0.16
- 1/2 tsp dried oregano $0.05
- 1/2 tsp salt $0.02
- 1/4 tsp freshly cracked pepper $0.02
Bowls
- 1 cup uncooked rice* $0.43
- 1 pint grape tomatoes $1.89
- 1 cucumber $0.79
- 1/4 red onion $0.19
- 1/4 cup chopped parsley $0.20
Instructions
- Make the garlic dill yogurt sauce first, so the flavors have time to blend. Stir together the yogurt, lemon juice, garlic powder, dill, salt, and pepper in a bowl. Refrigerate until ready to serve.
- Next, begin cooking the rice using your preferred method (rice cooker or stove top). You can use any type of rice, just make sure to follow cooking instructions for the type of rice you're using.
- While the rice is cooking, cook the ground turkey. Add the olive oil to a large skillet and heat over medium. Once hot, add the ground turkey and continue to cook over medium heat.
- When the turkey is almost cooked through, add the minced garlic, dried oregano, salt, and pepper to the skillet. Stir to combine with the turkey and continue cooking for 2-3 minutes more or until the turkey is cooked through. Remove the turkey from the heat.
- Slice the grape tomatoes in half, chop the cucumber into quarter-rounds, thinly slice the red onion, and finely chop the parsley.
- When all of the ingredients are prepped, it's time to build your bowls. Divide the rice, ground turkey, tomatoes, cucumber, red onion, and parsley between four bowls or meal prep containers. Drizzle with the yogurt sauce just before serving and enjoy!
See how we calculate recipe costs here.
Notes
Nutrition
How to Make Mediterranean Turkey Bowls – Step by Step Photos
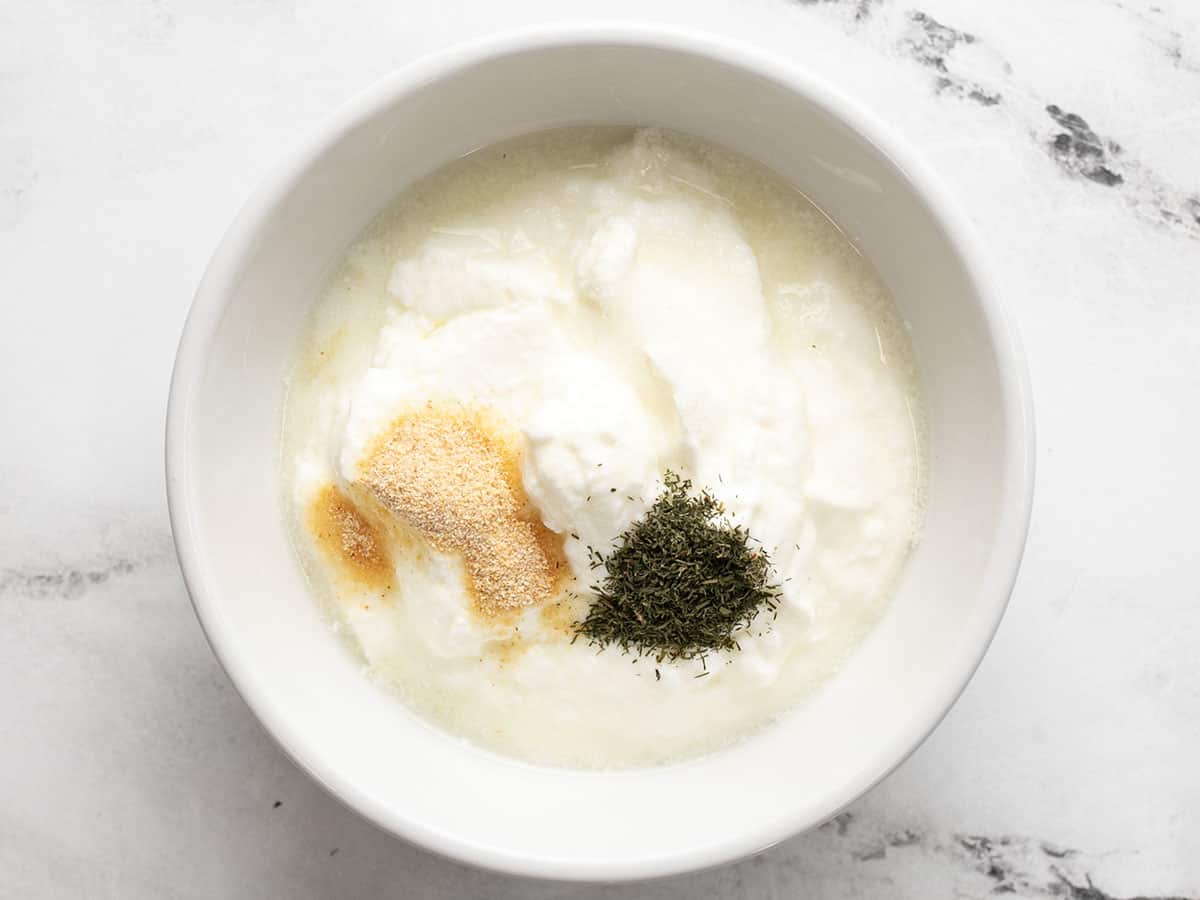
Prepare the garlic dill yogurt sauce first so the flavors have some time to blend. Combine 1 cup full-fat plain yogurt with 1 Tbsp lemon juice, ¼ tsp garlic powder, ¼ tsp dried dill, and ¼ tsp salt. Refrigerate the sauce until ready to serve.
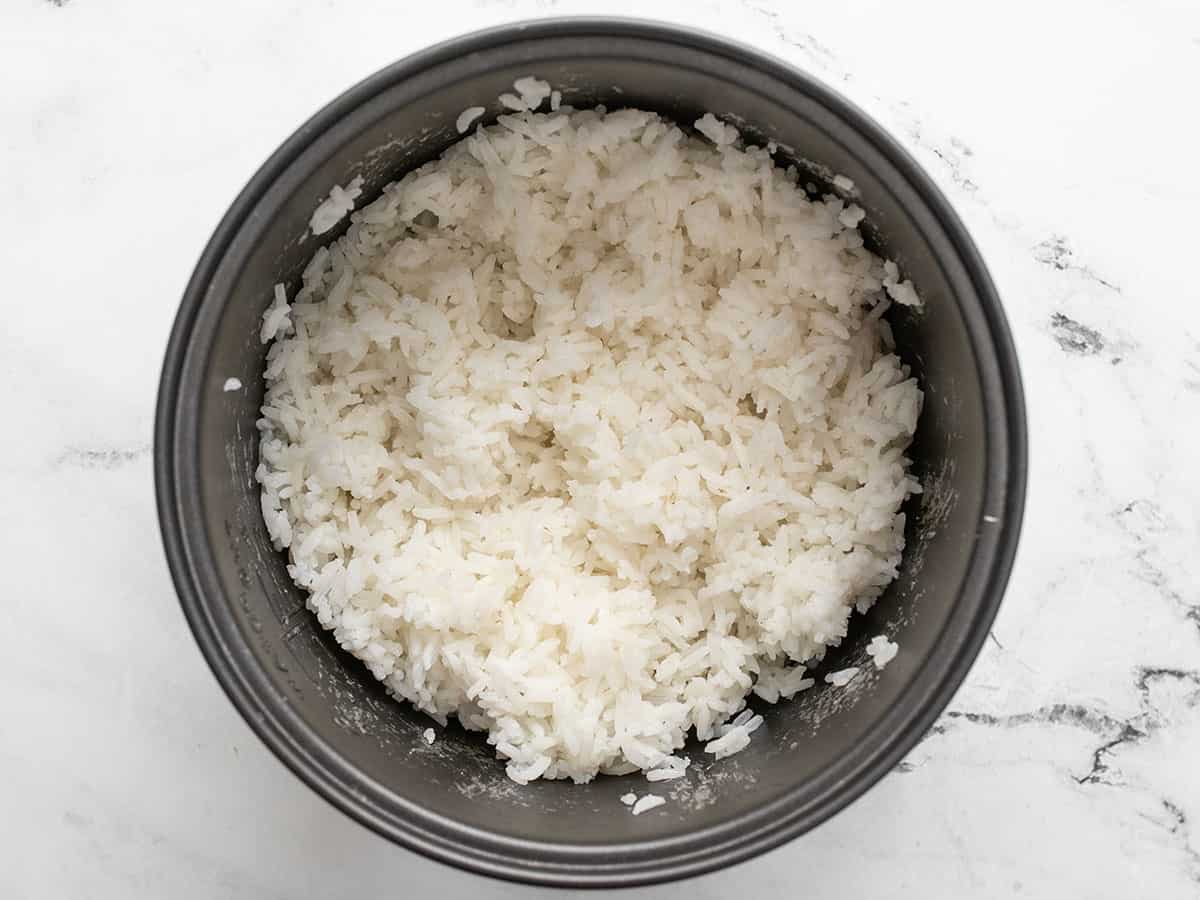
Next, cook one cup rice (one cup uncooked yields about 3 cups once cooked). I used a rice cooker for convenience, but if you’d like to do it on the stove top, check out our How to Cook Rice tutorial.
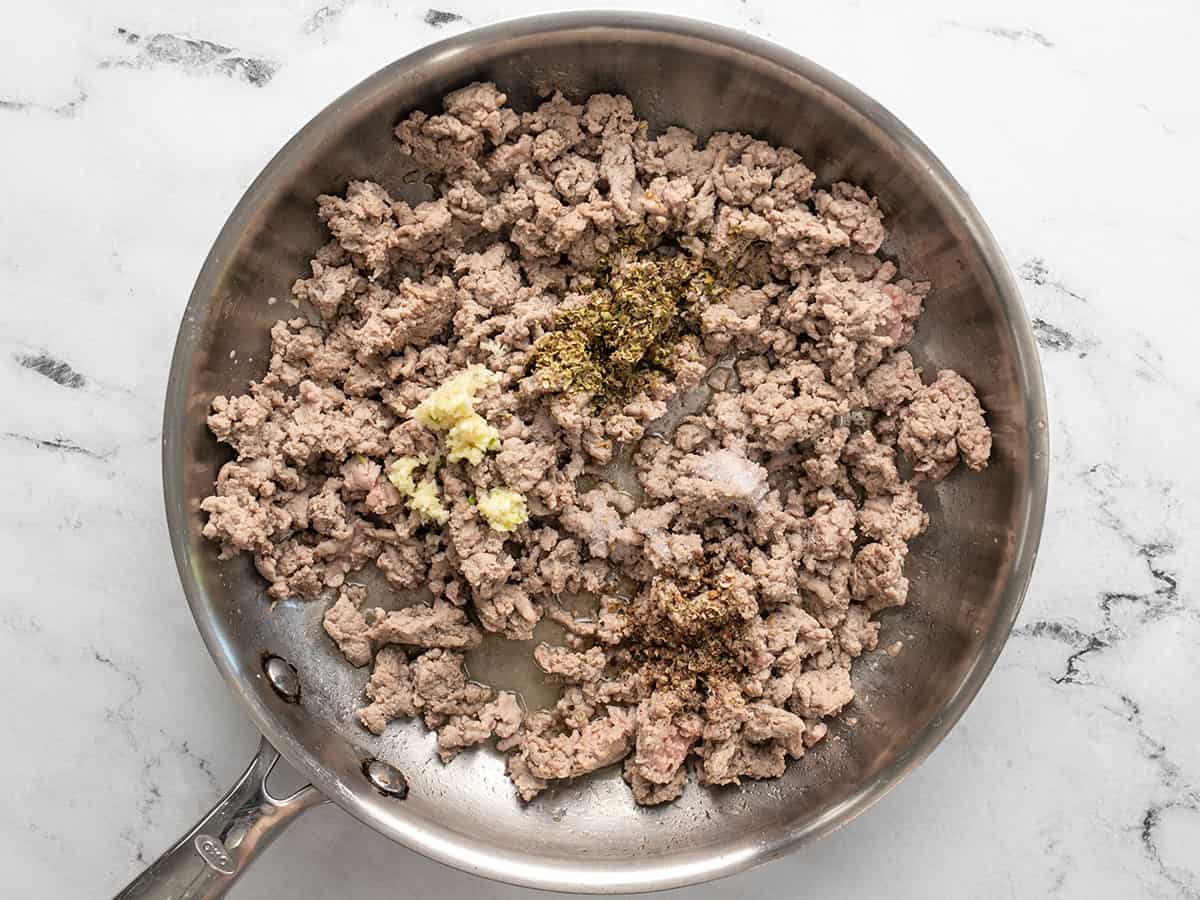
While the rice is cooking, prepare the ground turkey. Add 1 Tbsp olive oil to a large skillet and heat over medium. Once hot, add 1 lb. ground turkey. Cook the turkey over medium heat until it’s almost cooked through. At that point, add 2 minced cloves of garlic, ½ tsp dried oregano, ½ tsp salt, and ¼ tsp freshly cracked pepper. Continue to cook for 2-3 minutes more, or until the turkey is cooked through. Remove the turkey from the heat.
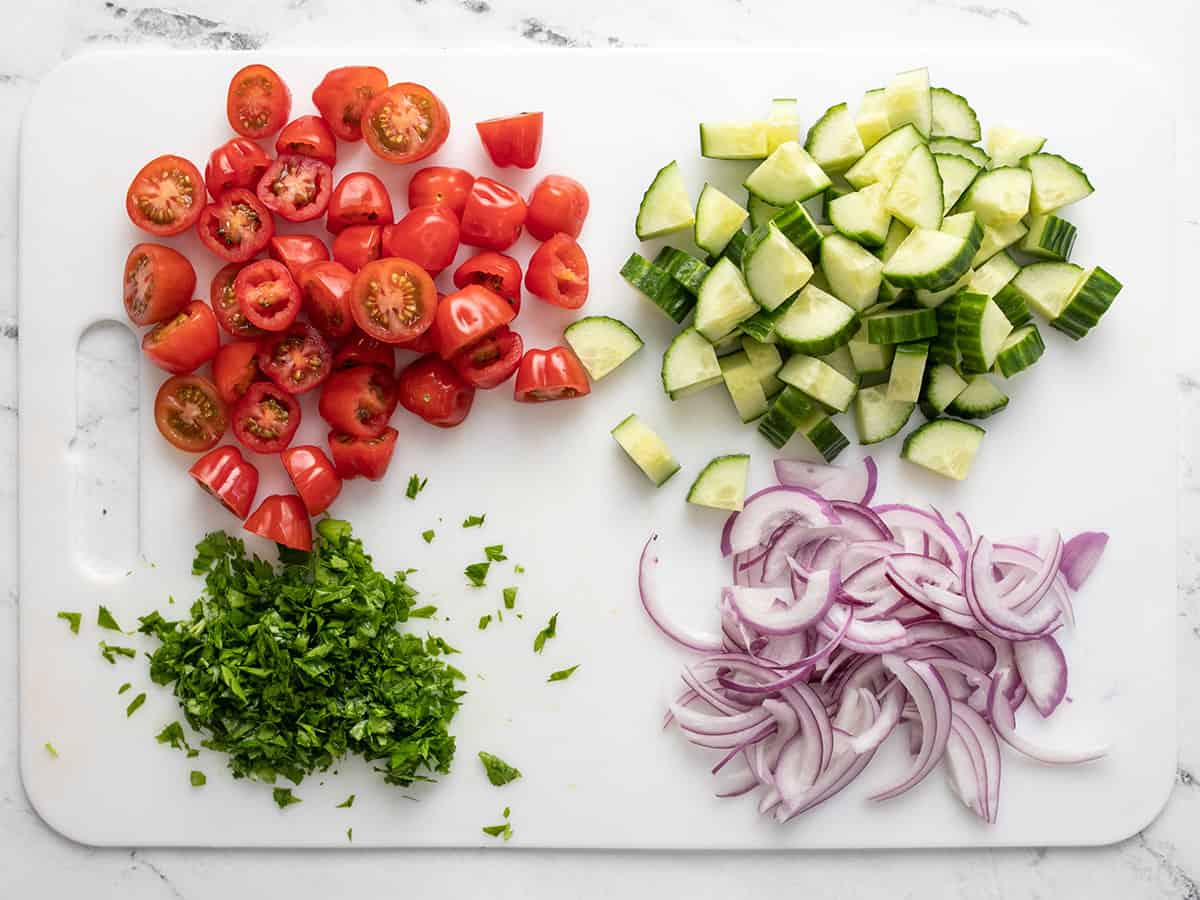
Slice one pint of grape tomatoes in half, chop one cucumber into quarter-rounds, thinly slice ¼ of a red onion, and finely chop about ¼ cup of fresh parsley. If you want the red onions to be a little more mild, you can soak them in ice water for about five minutes.
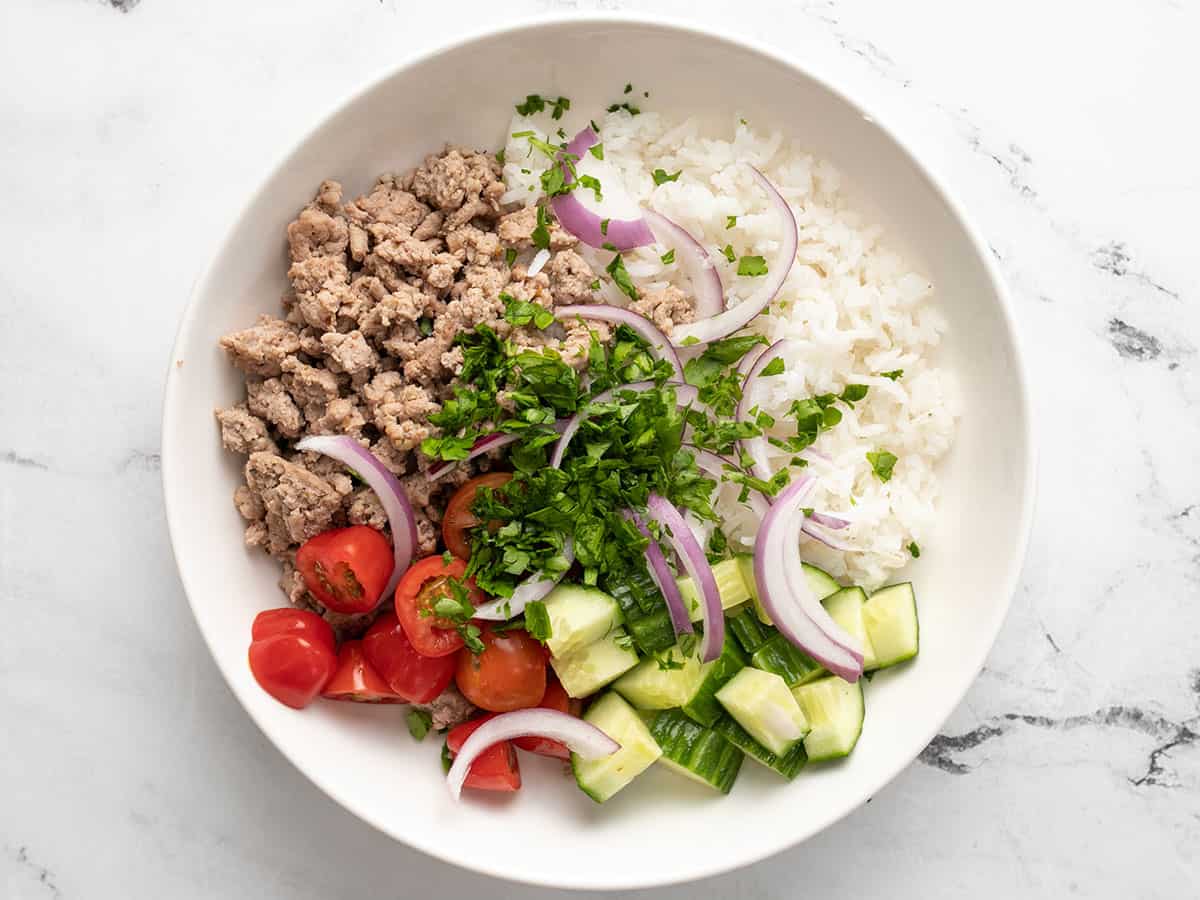
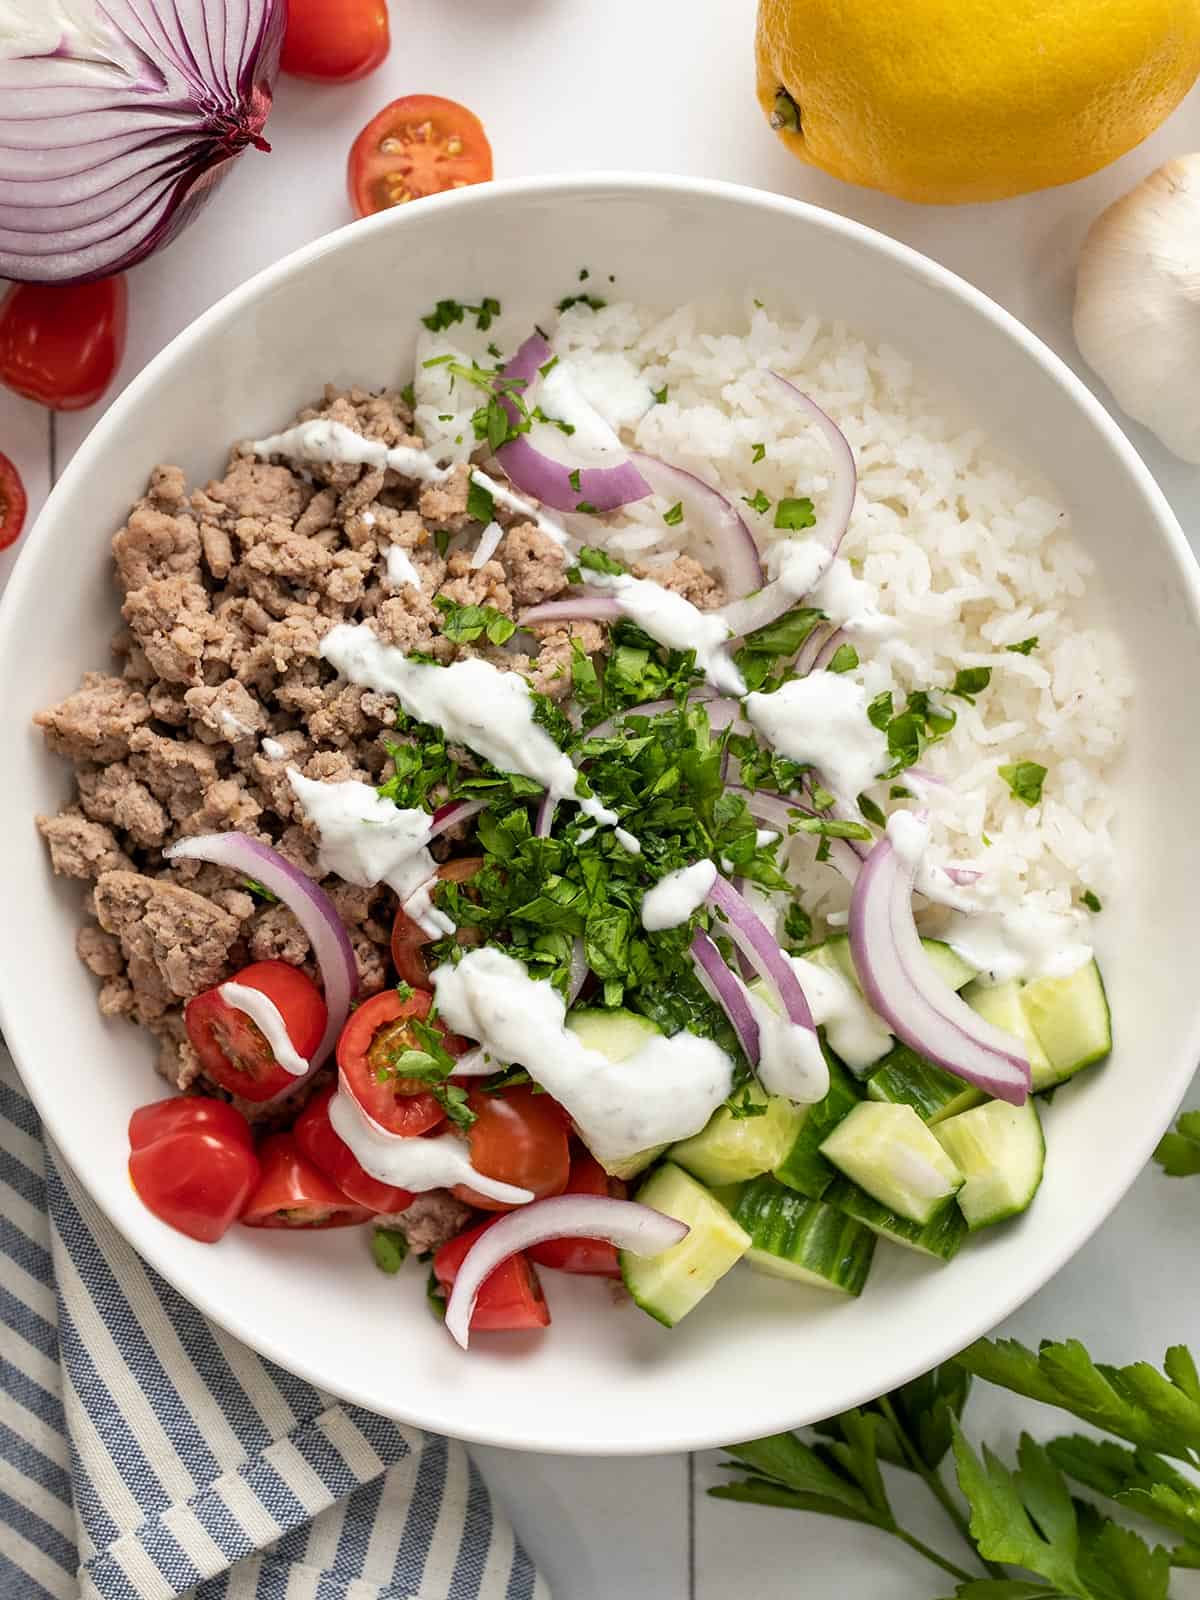
Once all of the ingredients are prepped, begin to build the bowls. Add about ¾ cup cooked rice to each bowl, then top with ¼ of the ground turkey. Divide the tomatoes, cucumber, onion, and parsley between the four bowls.
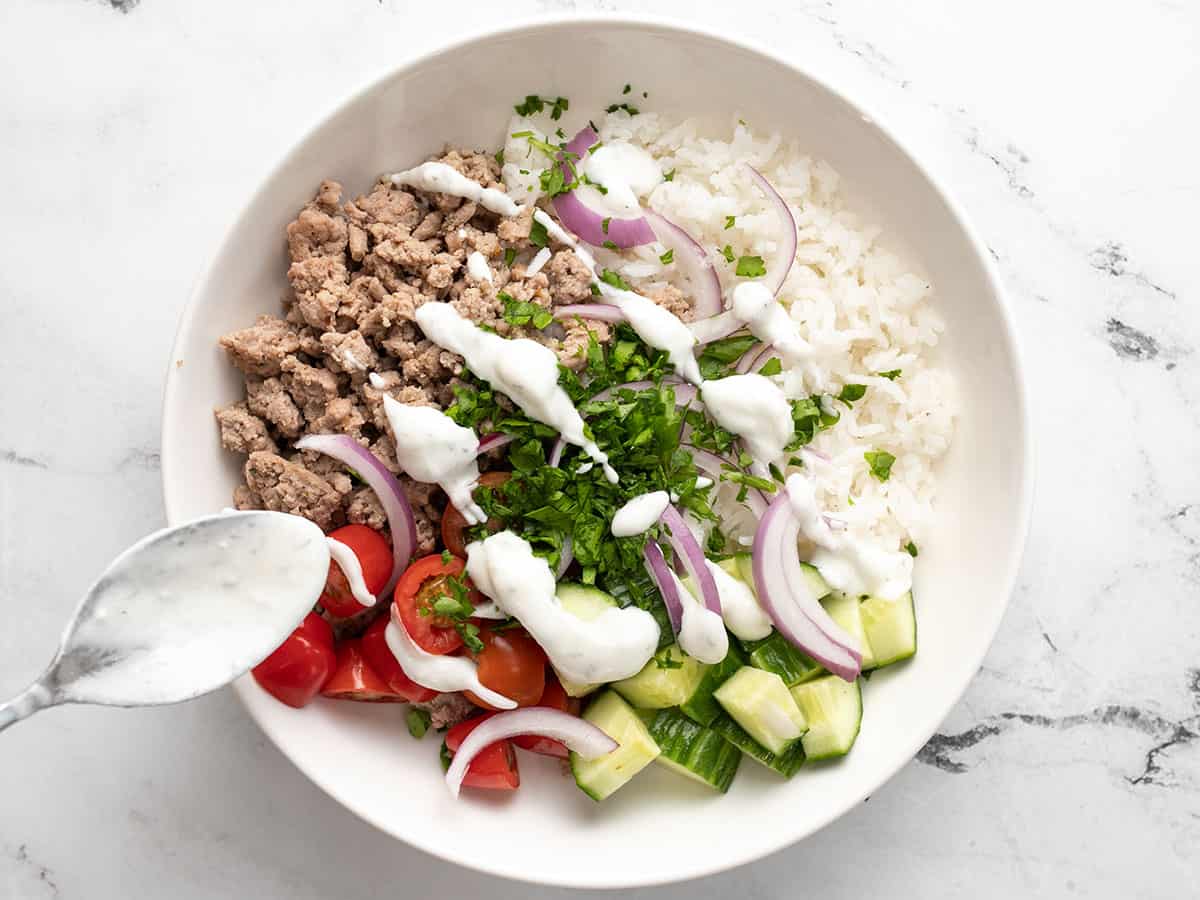
Just before you’re ready to eat, drizzle the yogurt sauce (about ¼ cup per bowl) over top.
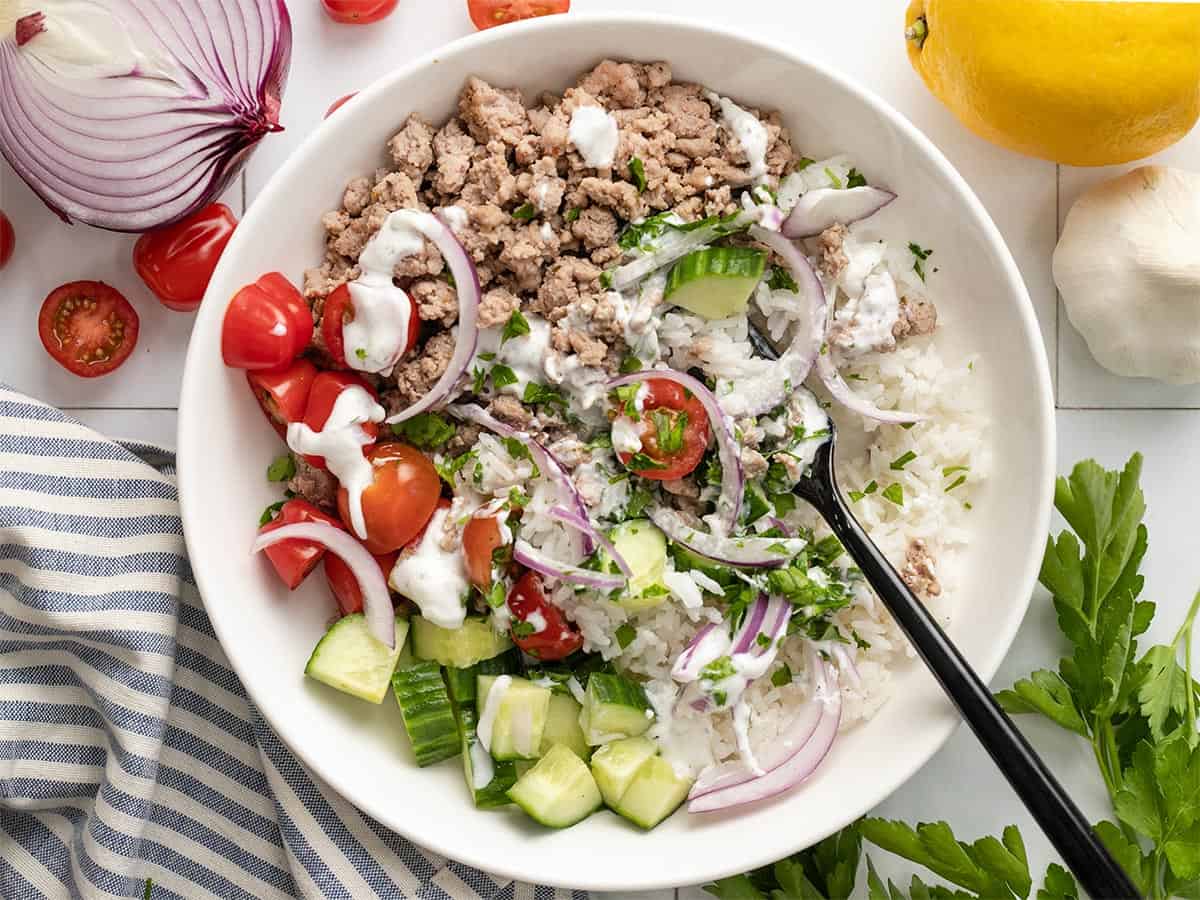
Dig in and enjoy all the fresh flavors!
More Meal Prep Bowl Meals


The post Mediterranean Turkey Bowls appeared first on Budget Bytes.