When I’m feeding skeptical meat-eaters vegetarian cuisine, mushrooms are one of my favorite magic tricks. Mushrooms are one of the few vegetarian ingredients that are included when chefs talk about umami. Umami is a savory, rich, “meaty” taste sensation that’s one of the five basic tastes, and these Stuffed Mushrooms are packed with it. I stuff button mushrooms with a herby cream cheese filling, which is made even more delicious thanks to the garlic, parmesan cheese, sun dried tomatoes, and crispy breadcrumbs. Everything comes together in one savory, bite-sized package. These make the best appetizer, game-day snack, or veggie side dish on a budget!

Ingredients
Here’s what you’ll need to make these cream cheese stuffed mushrooms:
- Fresh Button Mushrooms: You can use any type of button mushroom you like! The filling is enough to fill 20 mushroom caps, which is approx 16 oz. of button mushrooms. Just note larger mushrooms will use more filling, so the total serving size will vary.
- Cream Cheese: Makes the filling creamy, tangy, and rich—just like the stuffed mushrooms you get at a restaurant.
- Yellow Onion & Garlic: These infuse the cream cheese filling with more flavor.
- Salted Butter: Sautes the onion, garlic, and rosemary and adds richness to the filling.
- Italian Breadcrumbs: Like in my Tuscan white bean stuffed tomatoes recipe, breadcrumbs help bind the filling together and add texture. Plain panko breadcrumbs will also work if you don’t have Italian breadcrumbs on hand.
- Crushed Walnuts: Gives the filling a little crunch and texture.
- Sun Dried Tomatoes in Oil: We had some left over from our pesto sun dried tomato grilled cheese recipe, and they add even more umami flavor to this dish. (They’re also one of my favorite ingredients for minimally processed meat substitutes!) I recommend getting the sun dried tomatoes in oil, as we use both the tomatoes and the oil. Alternatively, you could use olive oil and dehydrated sun dried tomatoes—I’ve included steps for rehydrating dried tomatoes in the recipe card notes below.
- Shredded Parmesan: Adds a salty and slightly nutty flavor to the filling.
- Fresh Rosemary & Parsley: A sprig of rosemary and minced parsley add freshness, aroma, and even more flavor to the mushrooms.
- Salt & Black Pepper: Enhances the other flavors and brings everything together.
A note on Button Mushrooms
Did you know white button mushrooms are the same mushroom as crimini? And the brown mushroom, as well as the portobello? The difference is simply their age; they are all “Agaricus bisporus“. The brown crimini and the large, brown portobello are more mature versions of the very same mushroom. White button mushrooms are almost always cheaper than baby Bella and portobello mushrooms, so use this knowledge to your advantage when you’re working on your food budget! ($2.18 for “baby bella” mushrooms vs. $1.98 for “white button mushrooms” when I checked earlier this week!)
Recipe Tips and Suggestions
- I clean my mushrooms using a dry towel to gently wipe off any dirt or debris. If your mushrooms are particularly dirty, you can also wipe them with a damp (not soaking wet) cloth or a mushroom brush. Avoid submerging mushrooms in water as they’re extremely porous and will absorb liquid, making them soggy when cooked! This is one of the reasons why they are so great for marinating!
- You could make this stuffed mushrooms recipe an omnivore’s delight by using ground Italian sausage instead of sun dried tomatoes or by adding some chopped bacon to the filling.
- Vegan? No problem! You can easily substitute dairy-free cream cheese and cheese in this recipe to make these stuffed mushrooms completely plant-based.
- For a make-ahead option, prepare the filling and mushroom caps, stuff, cover, and refrigerate. When ready to bake, continue with the recipe as directed. I’d use the pre-prepared ingredients within 2 days of refrigeration.
- Don’t throw out the mushroom stems! Instead, use them in homemade mushroom soup, mushroom rice, mushroom herb gravy, or make an easy vegetable stir fry. They can also be added to stocks and broths for extra flavor.
What Goes with Stuffed Mushrooms?
I’d serve these mushrooms with other finger foods like bruschetta, baked zucchini fries, and mini broccoli cheddar quiches for a fun appetizer spread! You could also enjoy them as a side dish with anything you like, such as sweet corn risotto, grilled salmon, chicken Parmesan, or pasta dishes like our orzo pasta salad.
However, I also love these mushrooms as a veggie-packed main dish! Try them with a side of rice (arroz verde would be amazing) or served over creamy polenta or mashed potatoes—so satisfying and tasty!
Storage Instructions
Once baked, you can keep these vegetarian stuffed mushrooms in the fridge for 3-4 days. Let them cool completely before storing them in an airtight container. Reheat them in the oven before serving.


Stuffed Mushrooms
Ingredients
- 2 Tbsp salted butter $0.26
- ½ yellow onion, diced small $0.47
- 1 sprig rosemary $0.29
- 3 garlic cloves, minced $0.09
- 1 tsp parsley, minced (reserve a pinch for garnishing) $0.05
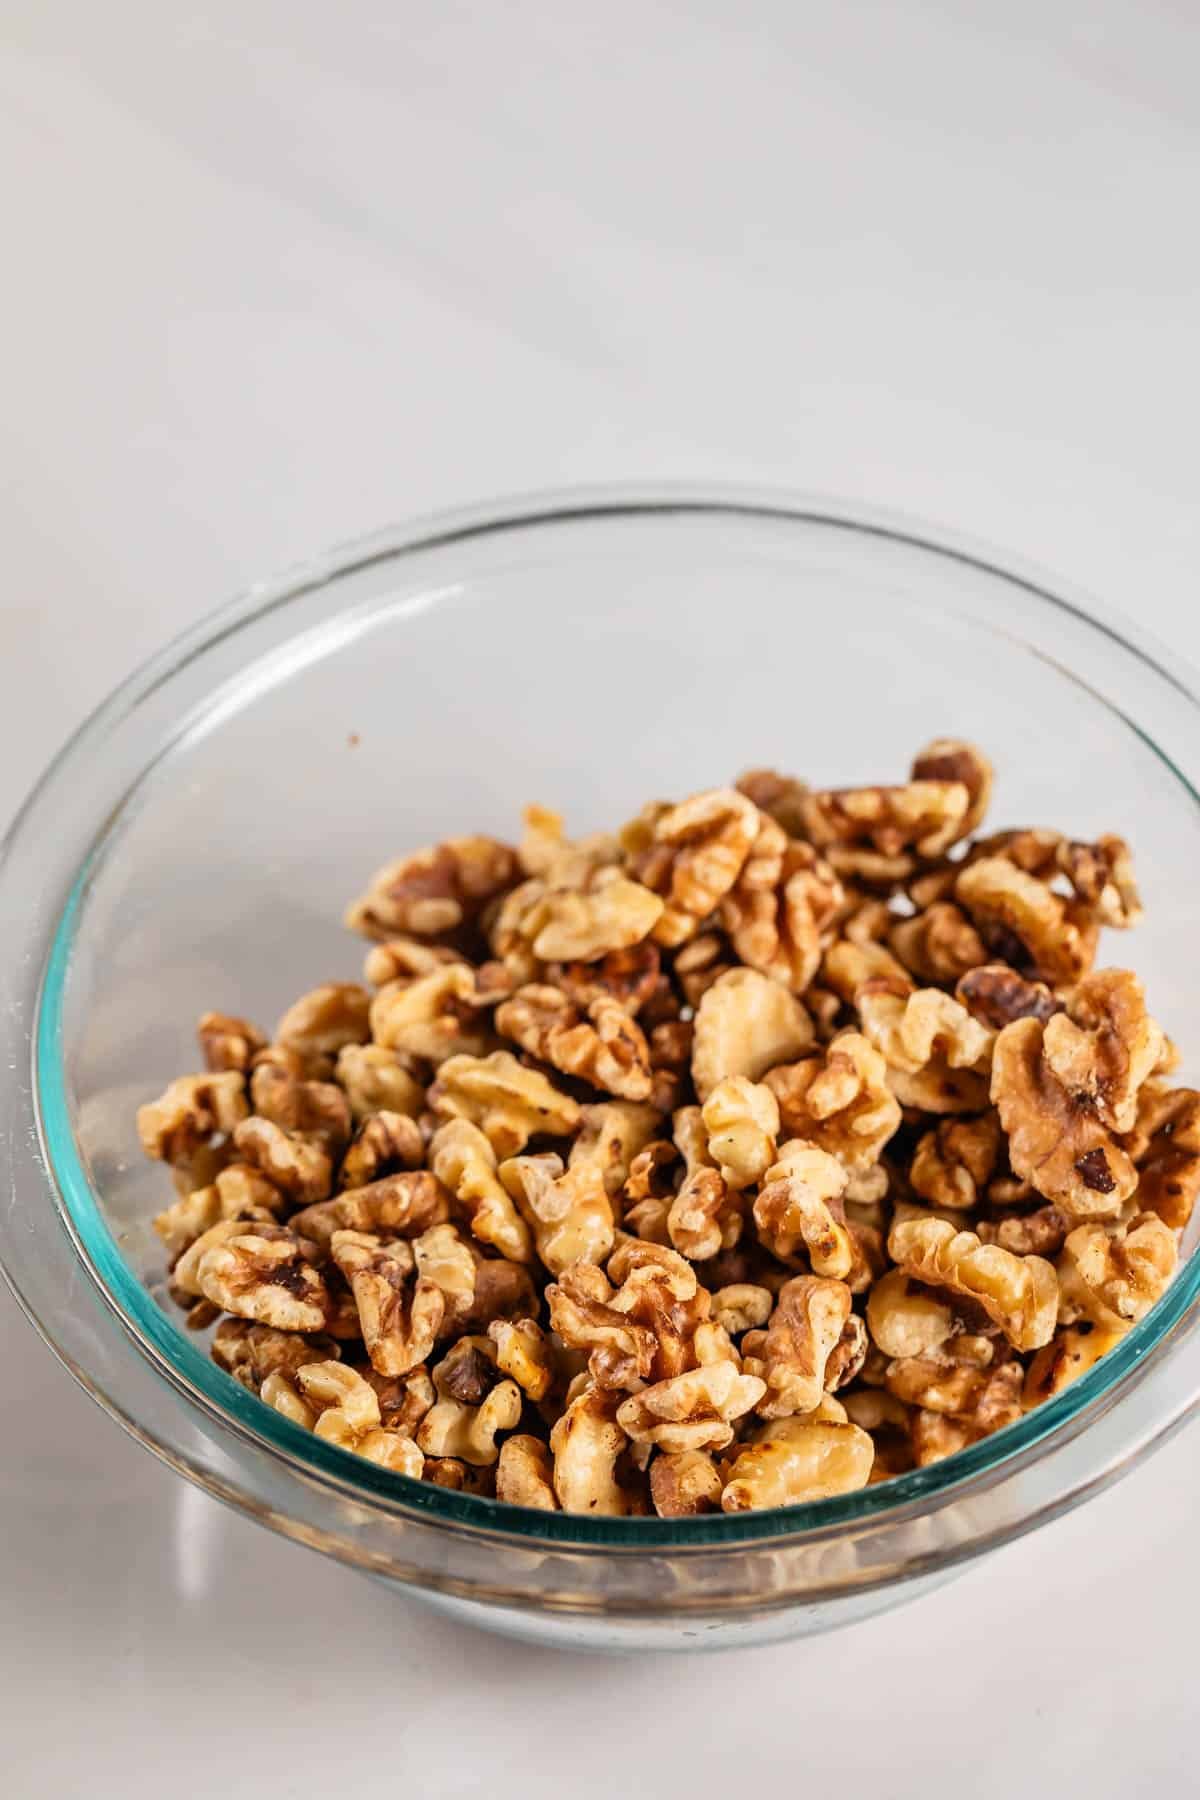
- 2 Tbsp crushed walnuts $0.42
- 1 8 oz package of cream cheese $1.83
- ½ tsp salt $0.01
- ½ tsp freshly cracked black pepper $0.08
- ½ cup Italian breadcrumbs (or plain panko) $0.93
- ⅓ cup shredded Parmesan $2.21
- 3 Tbsp sun dried tomatoes in oil, minced + 1 Tbsp oil, reserved* $0.96
- 16 oz fresh button mushrooms $3.98
Instructions
- In a medium size skillet, melt butter and sauté diced onion with rosemary sprig over medium heat until soft and translucent, about 4 minutes.
- Add garlic and cook until fragrant, about 2 minutes.
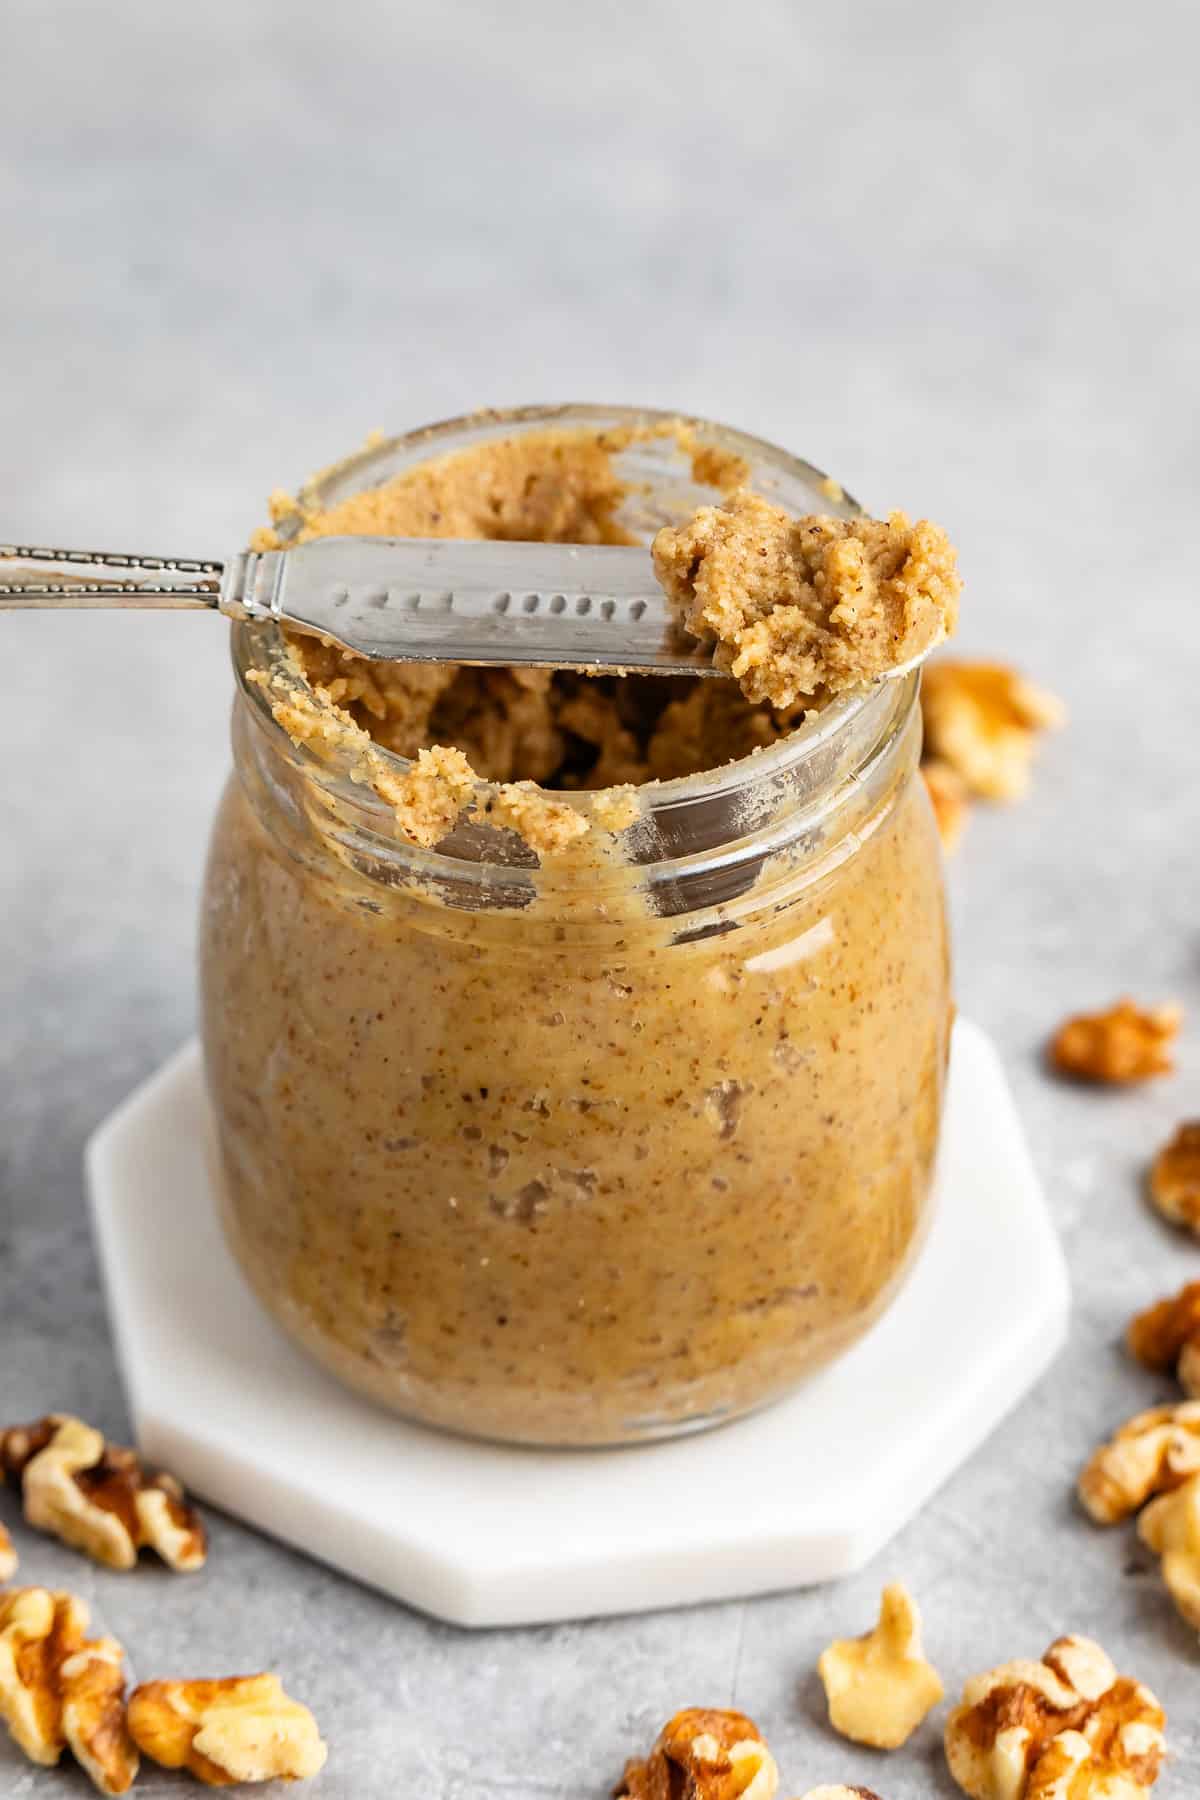
- Remove the rosemary leaves from the sprig and discard the stem. Add the rosemary leaves, cooked onions, garlic, and butter from the pan to a food processor on top of fresh minced parsley (reserve a pinch for garnishing), walnuts, cream cheese, salt and pepper.
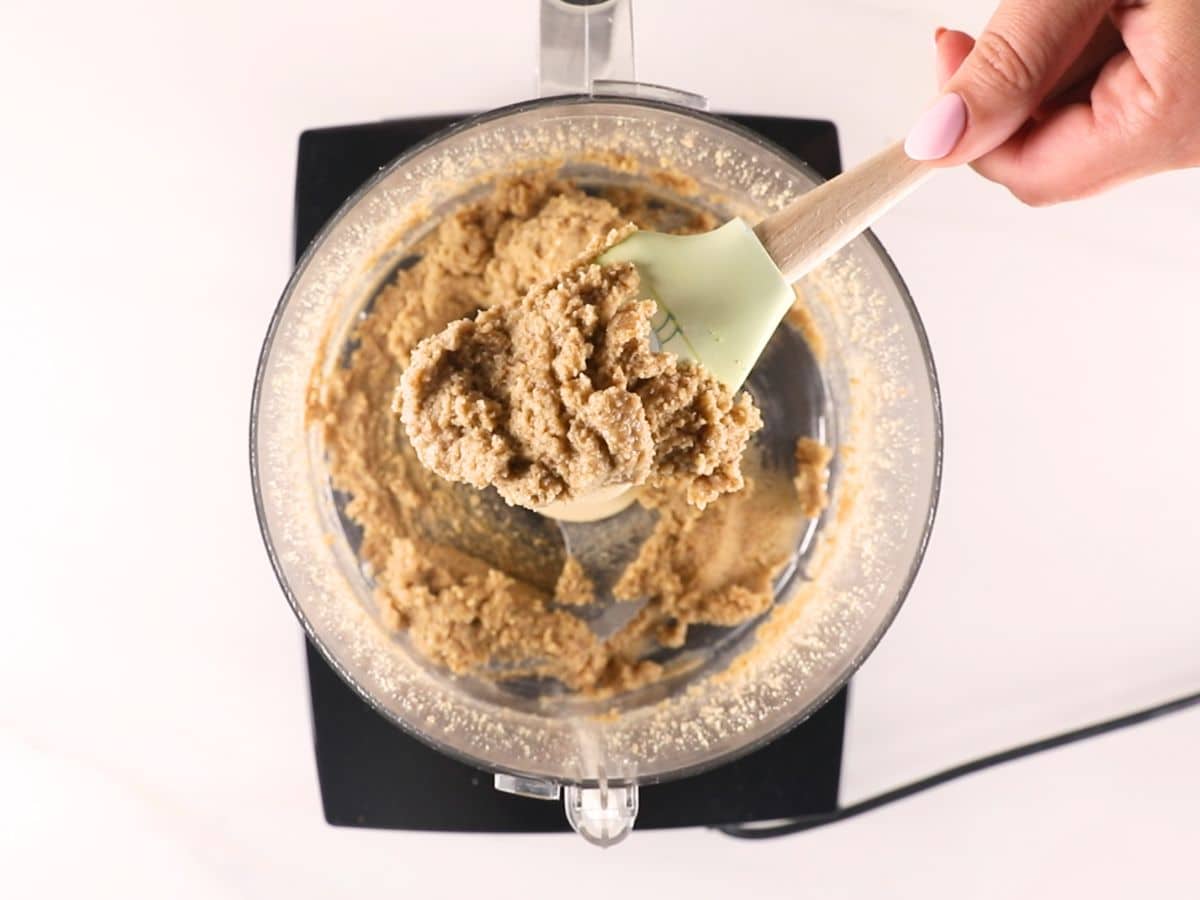
- Pulse in food processor until combined but still chunky
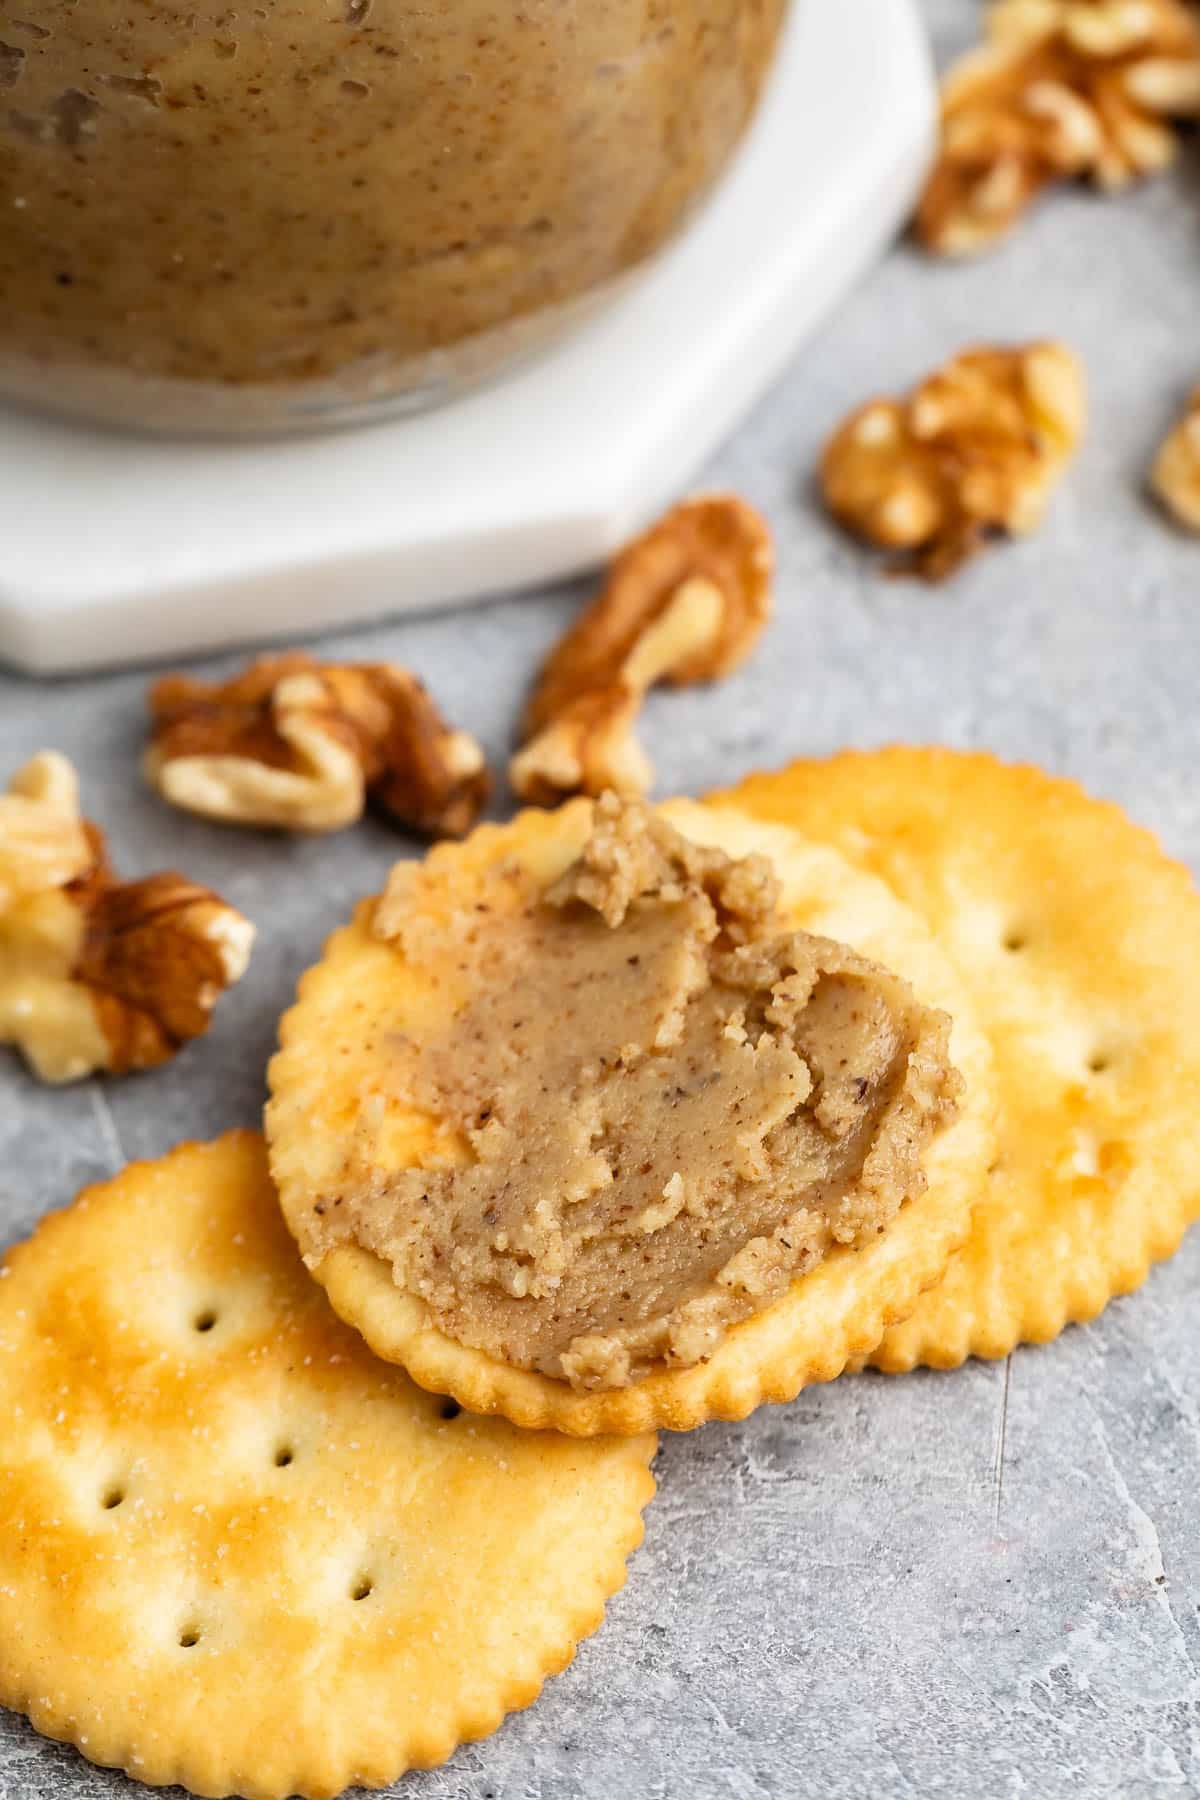
- Fold in breadcrumbs, Parmesan cheese, and minced sun dried tomatoes.
- Clean mushrooms with a dry towel to remove any dirt. Remove stems and use a spoon to scoop out the gills of the mushrooms. Discard the gills and stuff mushrooms gently with a spoon so they are overflowing.
- Drizzle with reserved sun dried tomato oil and rub the bottom of each mushroom in any oil that is leftover or has dripped onto your baking sheet.*
- Bake the mushrooms in 400 degree oven on a lightly greased, parchment-lined baking sheet for 15 minutes
- When done, simply garnish with the reserved minced parsley and a crank of salt and pepper on top! Enjoy.
See how we calculate recipe costs here.
Notes
Nutrition

how to make Stuffed Mushrooms – step by step photos

In a medium size skillet, melt 2 Tbsp salted butter and sauté ½ a diced yellow onion with 1 rosemary sprig over medium heat until soft and translucent, about 4 minutes.

Add 3 minced garlic cloves and cook until fragrant, about 2 minutes.

Remove the rosemary leaves from the sprig and discard the stem. Add the rosemary leaves, cooked onions, garlic, and butter from the pan to a food processor on top of 1 tsp fresh minced parsley (reserve a pinch for garnishing), 2 Tbsp crushed walnuts, 1 8oz package of cream cheese, ½ tsp salt, and ½ tsp pepper.
Pulse in food processor until combined but still chunky.

Fold in ½ cup breadcrumbs, ⅓ cup shredded Parmesan, and 3 Tbsp minced sun dried tomatoes.

Clean 16 oz of fresh button mushrooms with a dry towel to remove any dirt. Remove stems and use a spoon to scoop out the gills of the mushrooms. Discard the gills and stuff mushrooms gently with a spoon so they are overflowing.

Drizzle with 1 Tbsp reserved sun dried tomato oil and rub the bottom of each mushroom in any oil that is leftover or has dripped onto your baking sheet.*

Bake the mushrooms in 400 degree oven on a lightly greased, parchment-lined baking sheet for 15 minutes. When done, simply garnish with the reserved pinch of minced parsley and a crank of salt and pepper on top! Enjoy.

I love serving these easy stuffed mushrooms at parties and gatherings. They’re quick to prepare, budget-friendly, and always disappear quickly!
The post Stuffed Mushrooms appeared first on Budget Bytes.