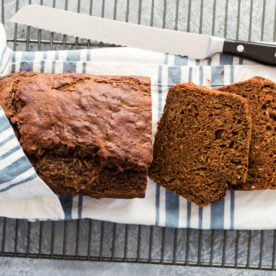
Who knew that a single loaf of bread could combine the richness of chocolate, the wholesome goodness of zucchini, and have no refined sugar? Chocolate Zucchini Bread is moist, delicious, and even healthy! It’s incredibly easy to make and perfect for breakfast, a snack, or dessert. This recipe is sure to become a family favorite in no time.
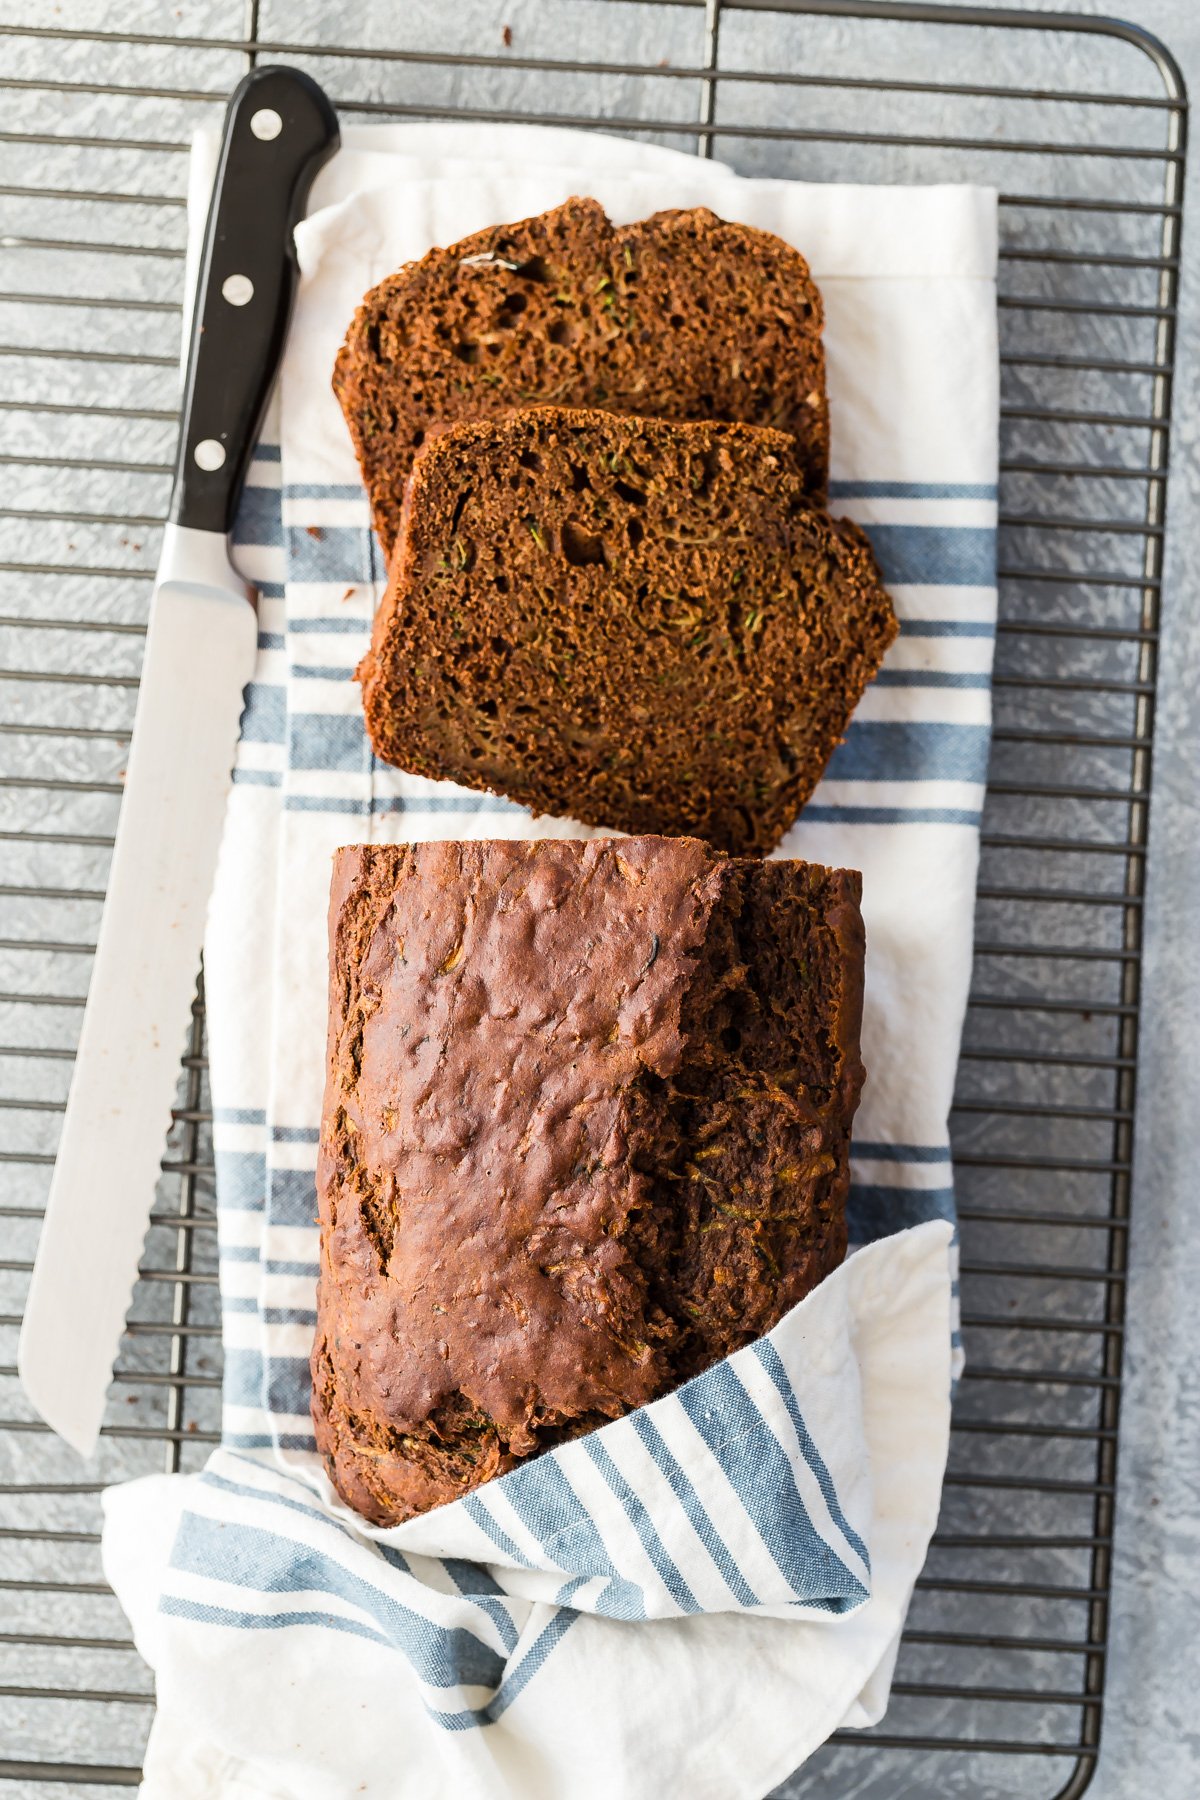
Table of Contents
Why You’ll Love This Recipe
- It’s Super Moist and Delicious: Just like my zucchini cheddar bread and zucchini muffins recipes, this bread stays incredibly moist and tender. Even better, every bite is packed with rich, chocolatey goodness that melts in your mouth.
- A Nutritious Twist: You’ll feel great about indulging in this chocolatey goodness. The whole wheat flour and zucchini add a nutritional boost, while the honey and banana naturally sweeten it, making this bread a treat you can enjoy any time of day.
- Easy and Fun to Make: This recipe is straightforward and perfect for bakers of all levels. Plus, it’s a fantastic way to get the kids involved in the kitchen – older kids will love grating the zucchini and littler ones can help mix the batter.
- Versatile and Convenient: Whether you’re having it for breakfast, a snack, or dessert, this bread fits the bill. It also freezes beautifully, so you can always have some on hand.
The Ingredients

- Flour: A mixture of all purpose and whole wheat flour provides a light and airy texture with a little added fiber and whole wheat nutty flavor.
- Unsweetened Cocoa Powder: Gives the zucchini bread a rich chocolate flavor without added sweetness.
- Baking Soda and Baking Powder: These ingredients help the bread rise and achieve the perfect texture.
- Vanilla Extract: Adds a subtle sweetness and enhances the chocolate flavor.
- Vegetable or Canola Oil: The oil keeps the bread moist and tender.
- Large Eggs: Help hold everything together and provides structure to the bread.
- Banana: Adds natural sweetness and moisture, complementing the zucchini.
- Honey: A natural sweetener that adds a rich flavor and also keeps the bread moist.
- Grated Zucchini: The star ingredient that adds moisture and a nutritional boost without being detectable in taste. Grate your zucchini using the largest holes on a box grater.
*For a full list of ingredients and instructions, see the recipe card below*
Variations and Substitutions
- Flour: Substitute your favorite cup-for-cup gluten-free flour for a gluten-free version. You can also combine flours by using gluten-free flour in place of the all-purpose flour and almond flour instead of whole wheat flour.
- Eggs: If you need to substitute the eggs in this recipe, I would suggest using a banana or applesauce. You could also use a flax egg which is 1 tablespoon ground flaxseed mixed with 3 tablespoons water per egg.
- Oil: Feel free to use melted coconut oil or olive oil instead of vegetable or canola oil.
- Sweeteners: Use maple syrup or agave nectar in place of the honey.
- Add-Ins: Want to double down on perfection? You can also add a big handful of chocolate chips or walnuts for a little added crunch.
How to Make Chocolate Zucchini Bread
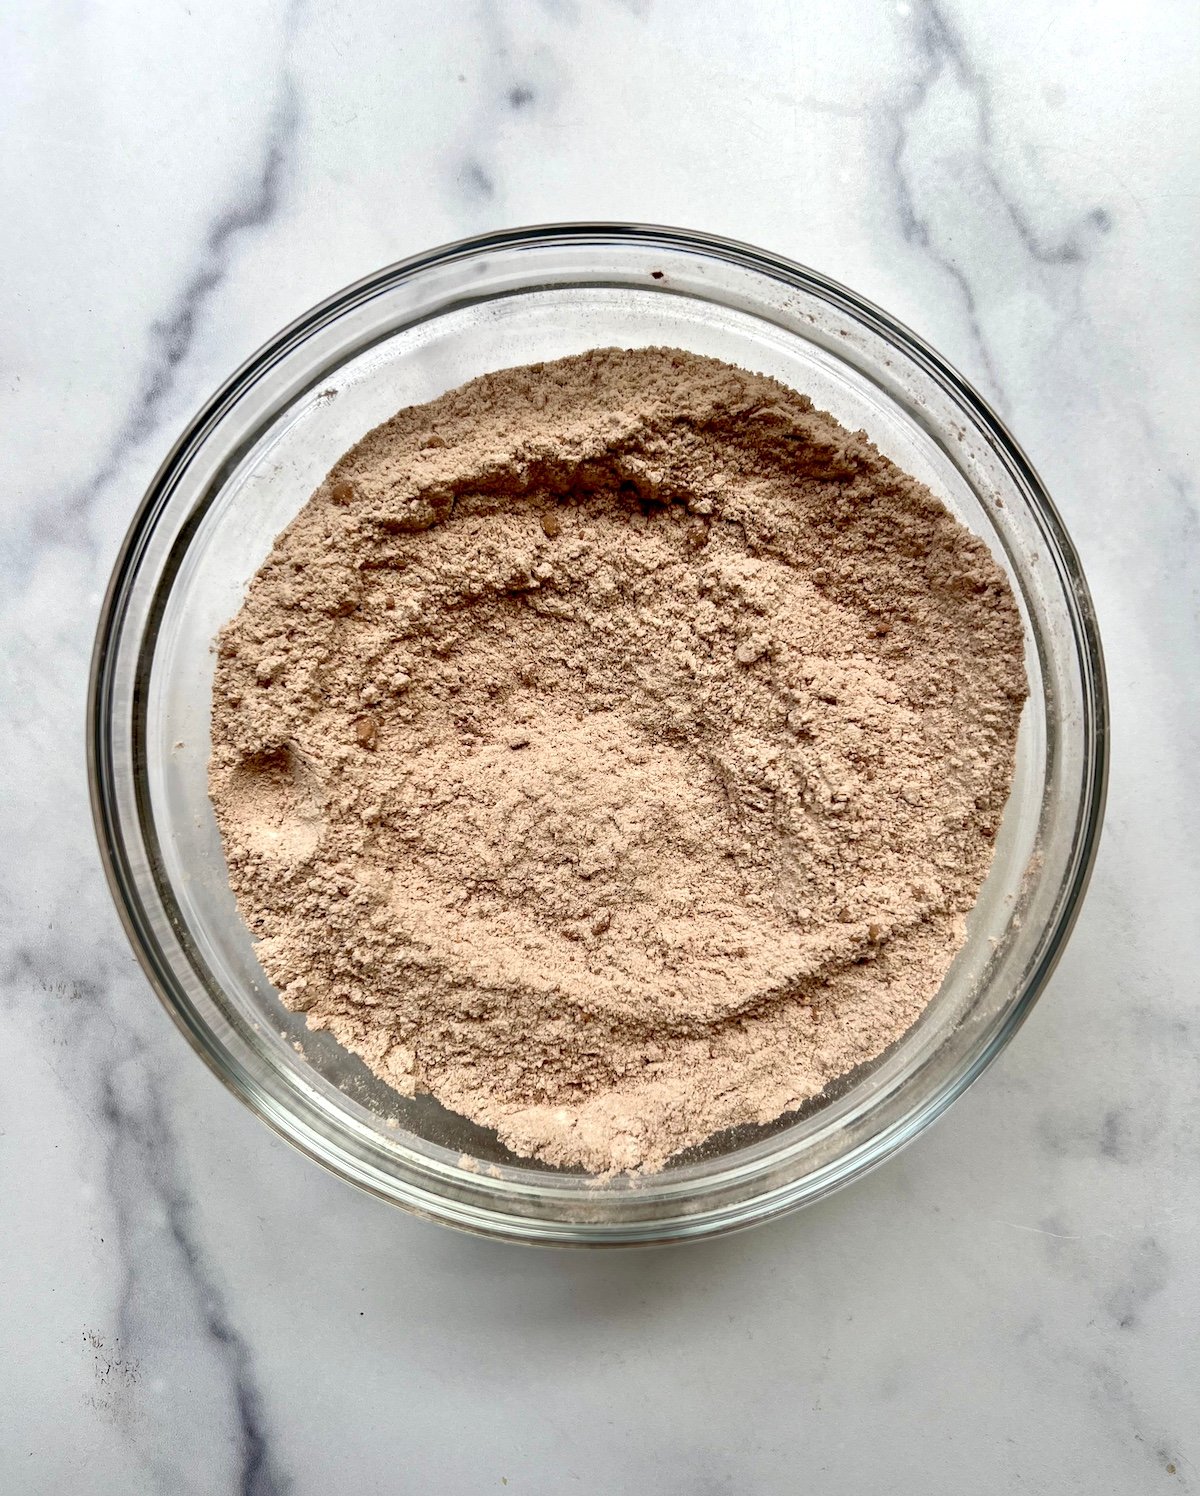
Step 1: In a bowl, combine the all purpose flour, whole wheat flour, cocoa powder, baking soda, baking powder and salt.

Step 2: In a separate large bowl, beat the vanilla, oil, eggs, banana and honey until combined.
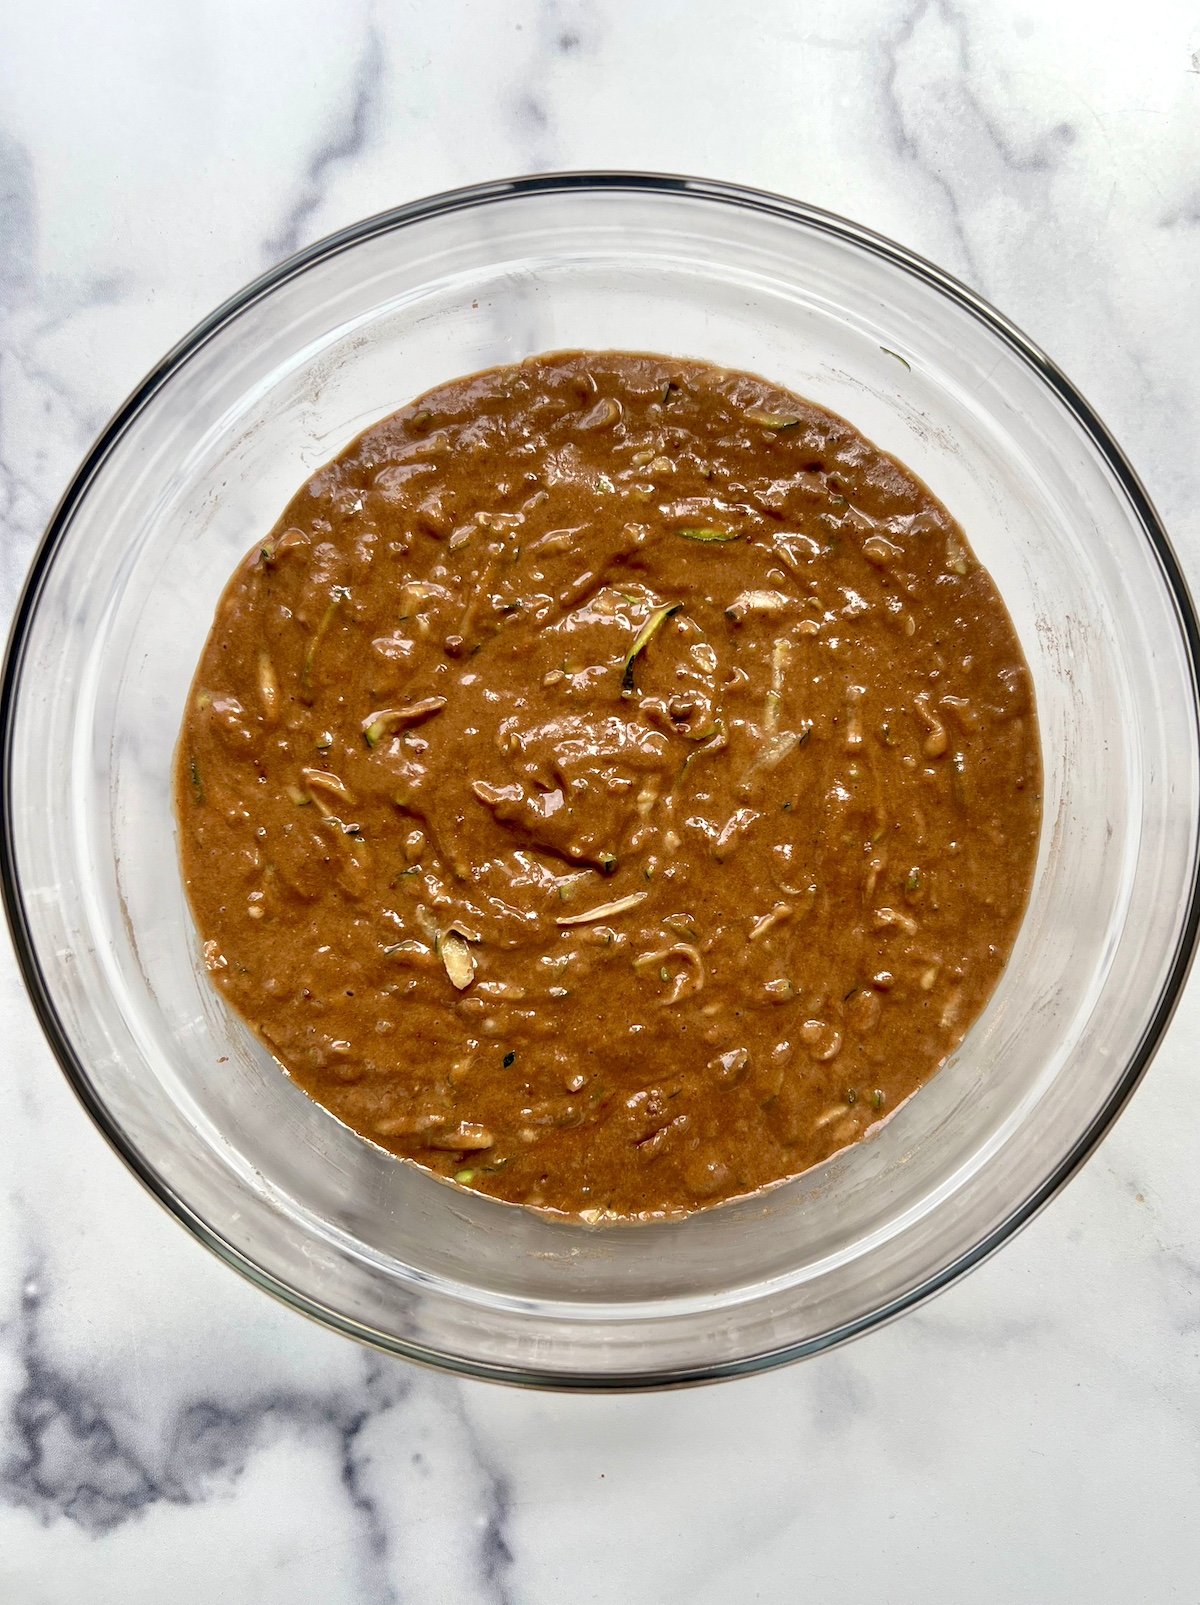
Step 3: Slowly combine the dry ingredients into the wet then stir in the grated zucchini.
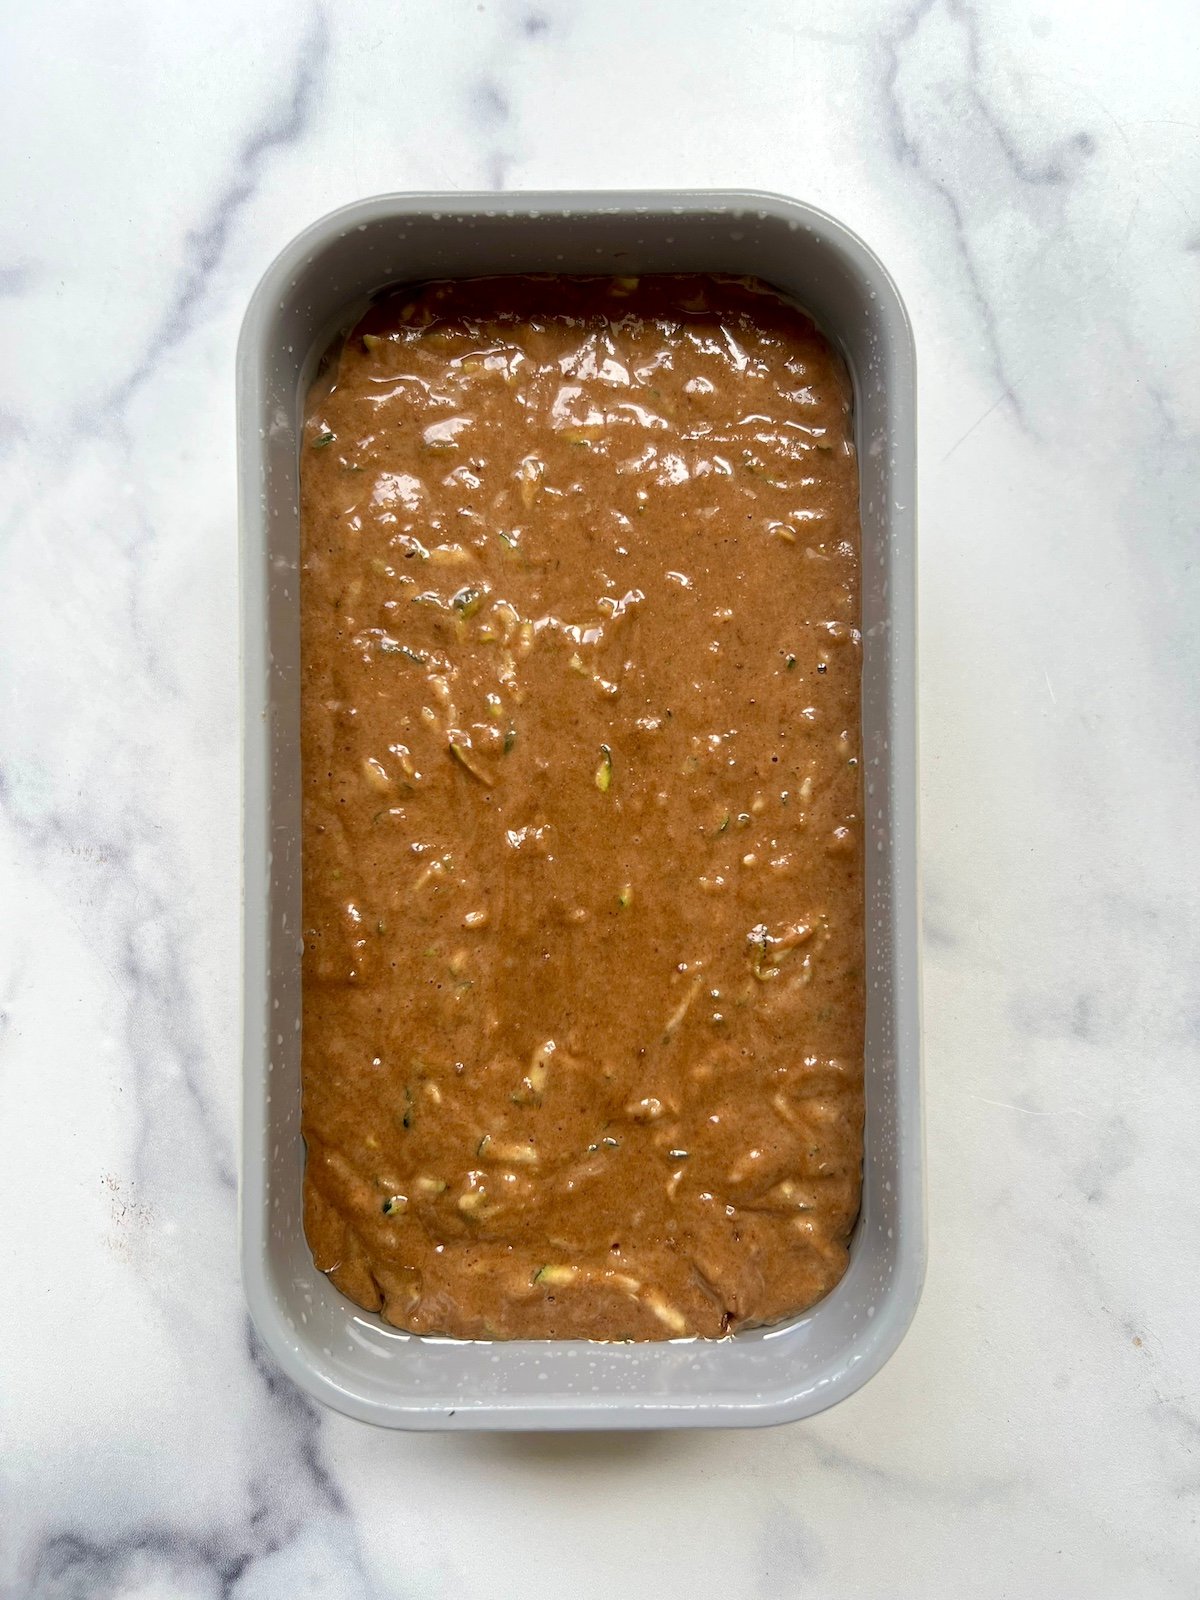
Step 4: Pour the batter into a greased 9×5 inch loaf pan.
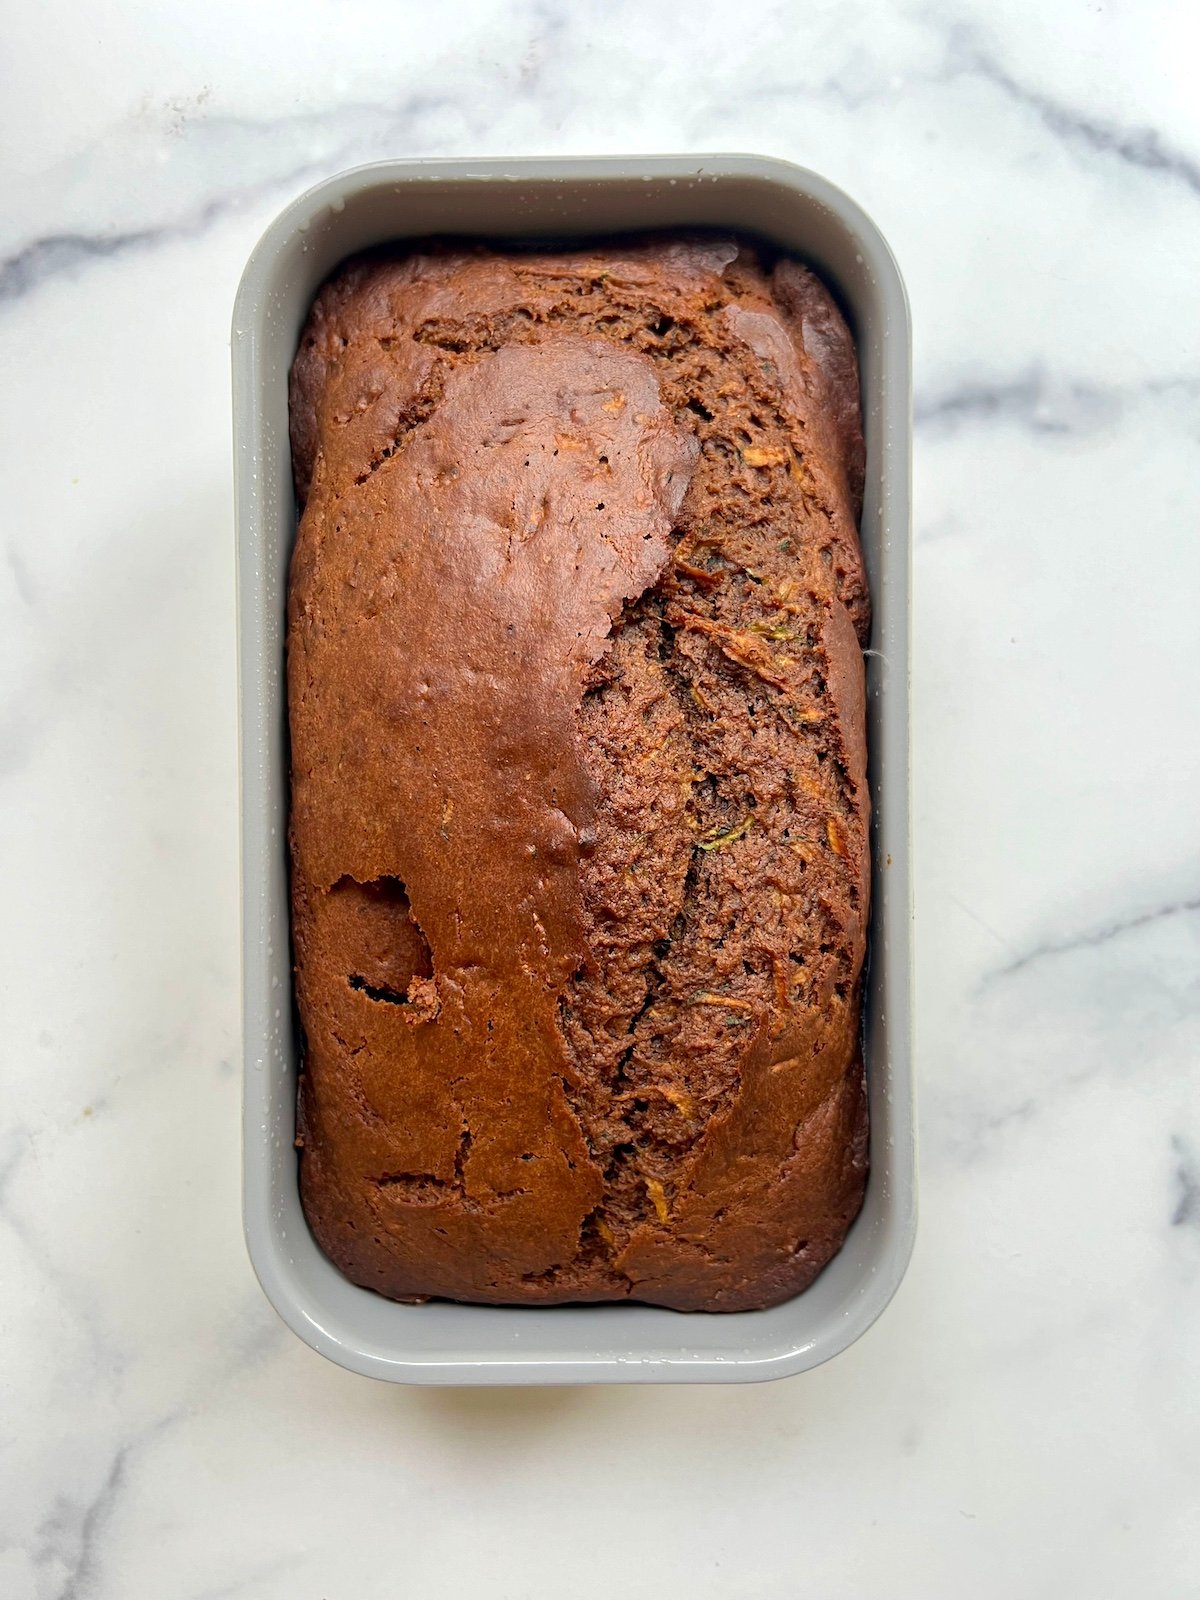
Step 5: Bake for 45-50 minutes or until a toothpick comes out clean.
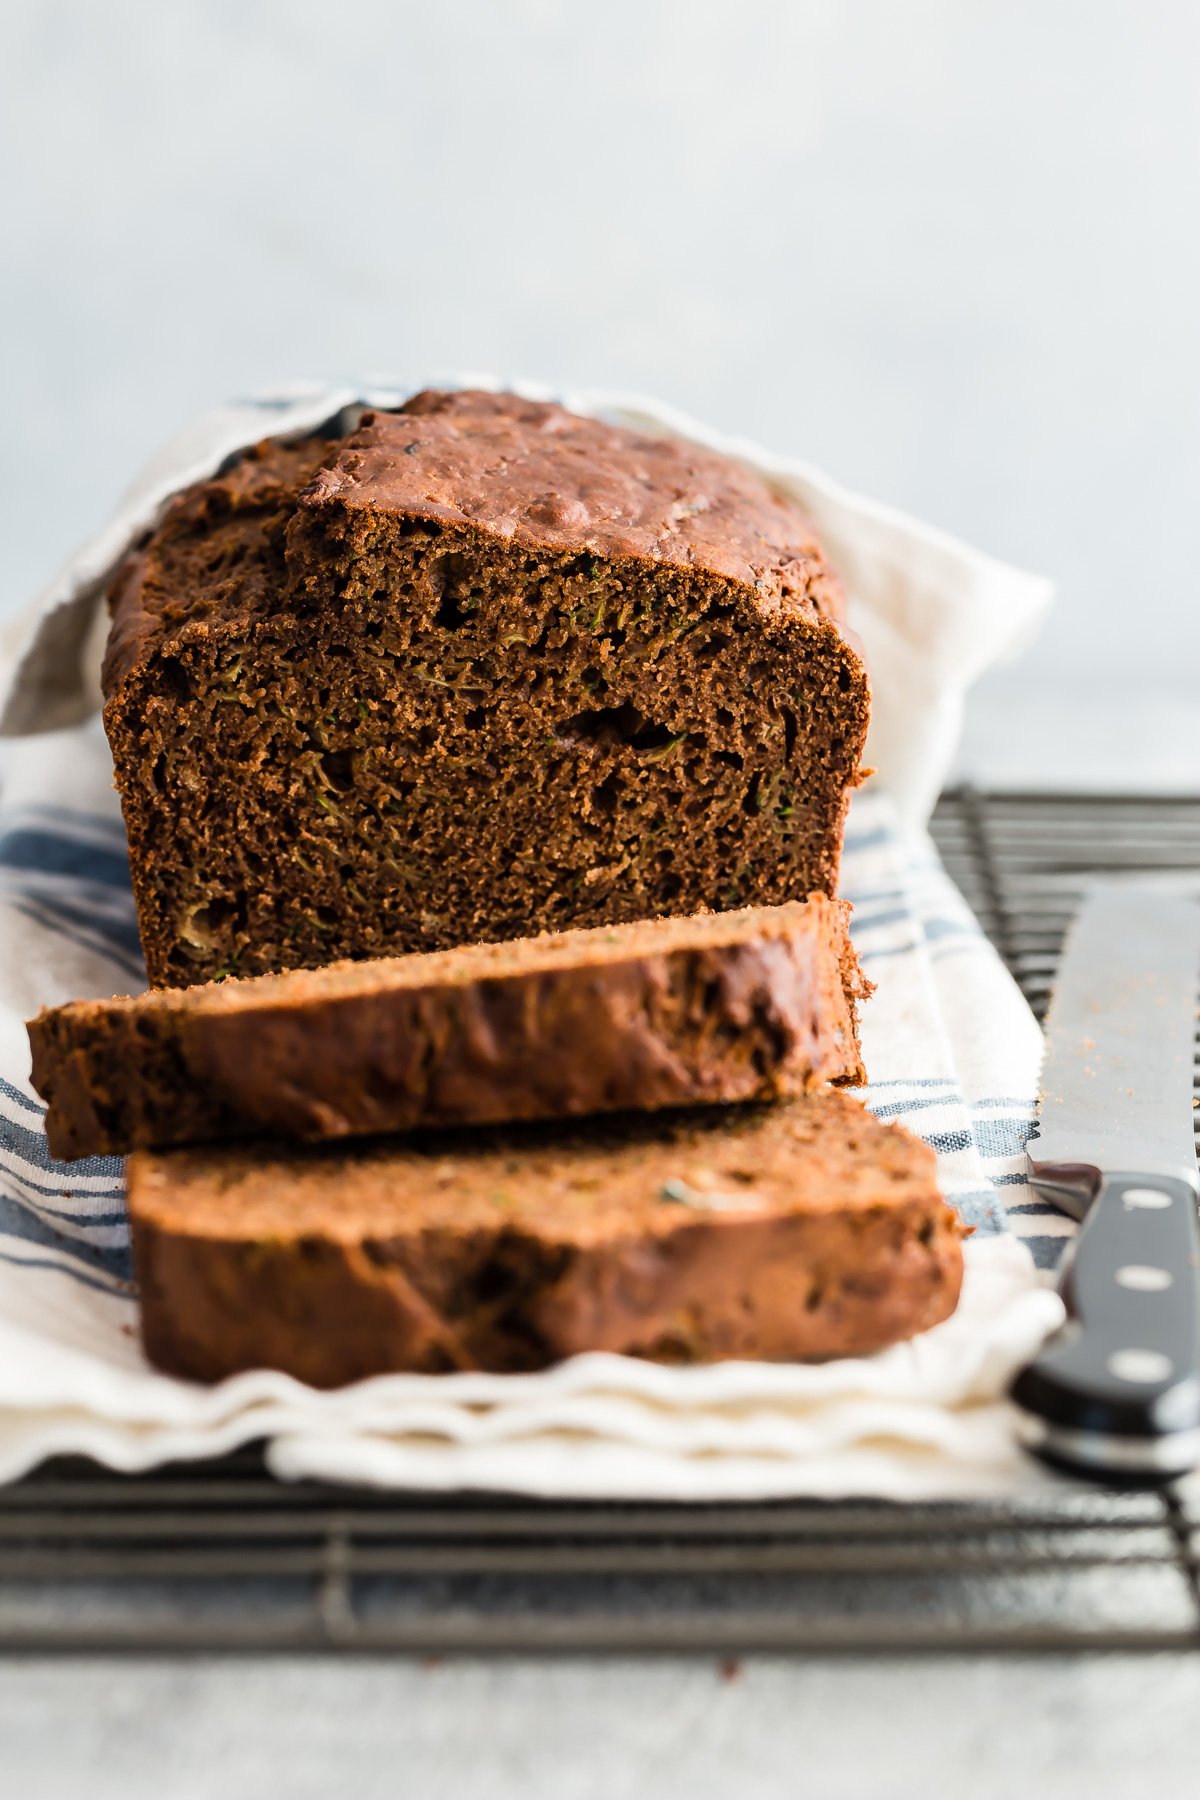
Step 6: Cool in the pan for 10 minutes, then remove bread from the pan and cool completely on a wire rack. Slice and serve.
Tips and Tricks
- Grating Zucchini: No need to peel the zucchini before grating. You also don’t need to strain the water out of the grated zucchini before adding it to the batter.
- Don’t Overmix: Stir the batter until just combined to avoid a dense loaf.
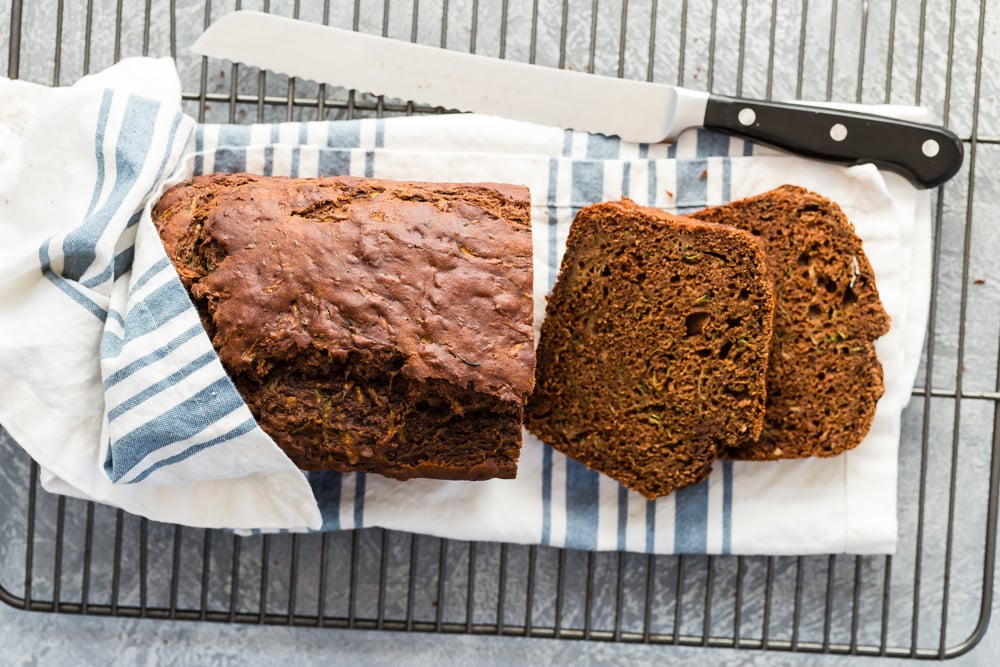
- Cooling: Let the bread cool completely before slicing. This helps the bread hold together better.
- Make Muffins: This quick bread batter can easily be used to make muffins. Bake at the same temperature for 18-20 minutes.
FAQs
Store your Chocolate Zucchini Bread in an airtight container at room temperature for up to 3 days or in the refrigerator for up to a week. It also freezes well; wrap it tightly in foil, placed in freezer bags labeled with the date and freeze for up to 3 months.
A box grater is the easiest way to shred zucchini. Hold the zucchini firmly and grate it on the medium or large holes of the box grater. Be careful with your fingers as you near the end of the zucchini.
No, you don’t need to strain out the water from the shredded zucchini. The moisture from the zucchini helps keep the bread moist and delicious.
More Quick Bread Recipes
This chocolate zucchini bread will be one you make all summer long! It’s delicious yet healthy and a perfect recipe for the surplus of zucchini you might have. Let me know what you think of this recipe by leaving a rating and comment below!
Want more Weelicious? Subscribe to my newsletter and follow me on Instagram, Facebook and TikTok for all the newest recipes!
Chocolate Zucchini Bread
Equipment
- 9×5 inch loaf pan (or 3 mini loaf pans)
Ingredients
- 1 cup all purpose flour
- 1 cup whole wheat flour
- 1/3 cup unsweetened cocoa powder
- 1 teaspoon baking soda
- 1 teaspoon baking powder
- 1/2 teaspoon kosher salt
- 1 teaspoon vanilla extract
- 1/2 cup vegetable or canola oil
- 2 large eggs, whisked
- 1 banana, mashed
- 1/2 cup honey
- 2 cups grated zucchini
Instructions
- Preheat oven to 350° F.
- In a bowl, combine the first 6 dry ingredients.
- In a separate large bowl, beat the vanilla, oil, eggs, banana and honey until combined.
- Slowly combine the dry ingredients into the wet then stir in the grated zucchini.
- Pour the batter into a 9×5 inch loaf pan.
- Bake for 45-50 minutes or until a toothpick comes out clean.
- Cool for 10 minutes in the pan, then remove bread from the pan and cool completely.
- Serve.
Notes
Nutrition
The post Chocolate Zucchini Bread appeared first on Weelicious.