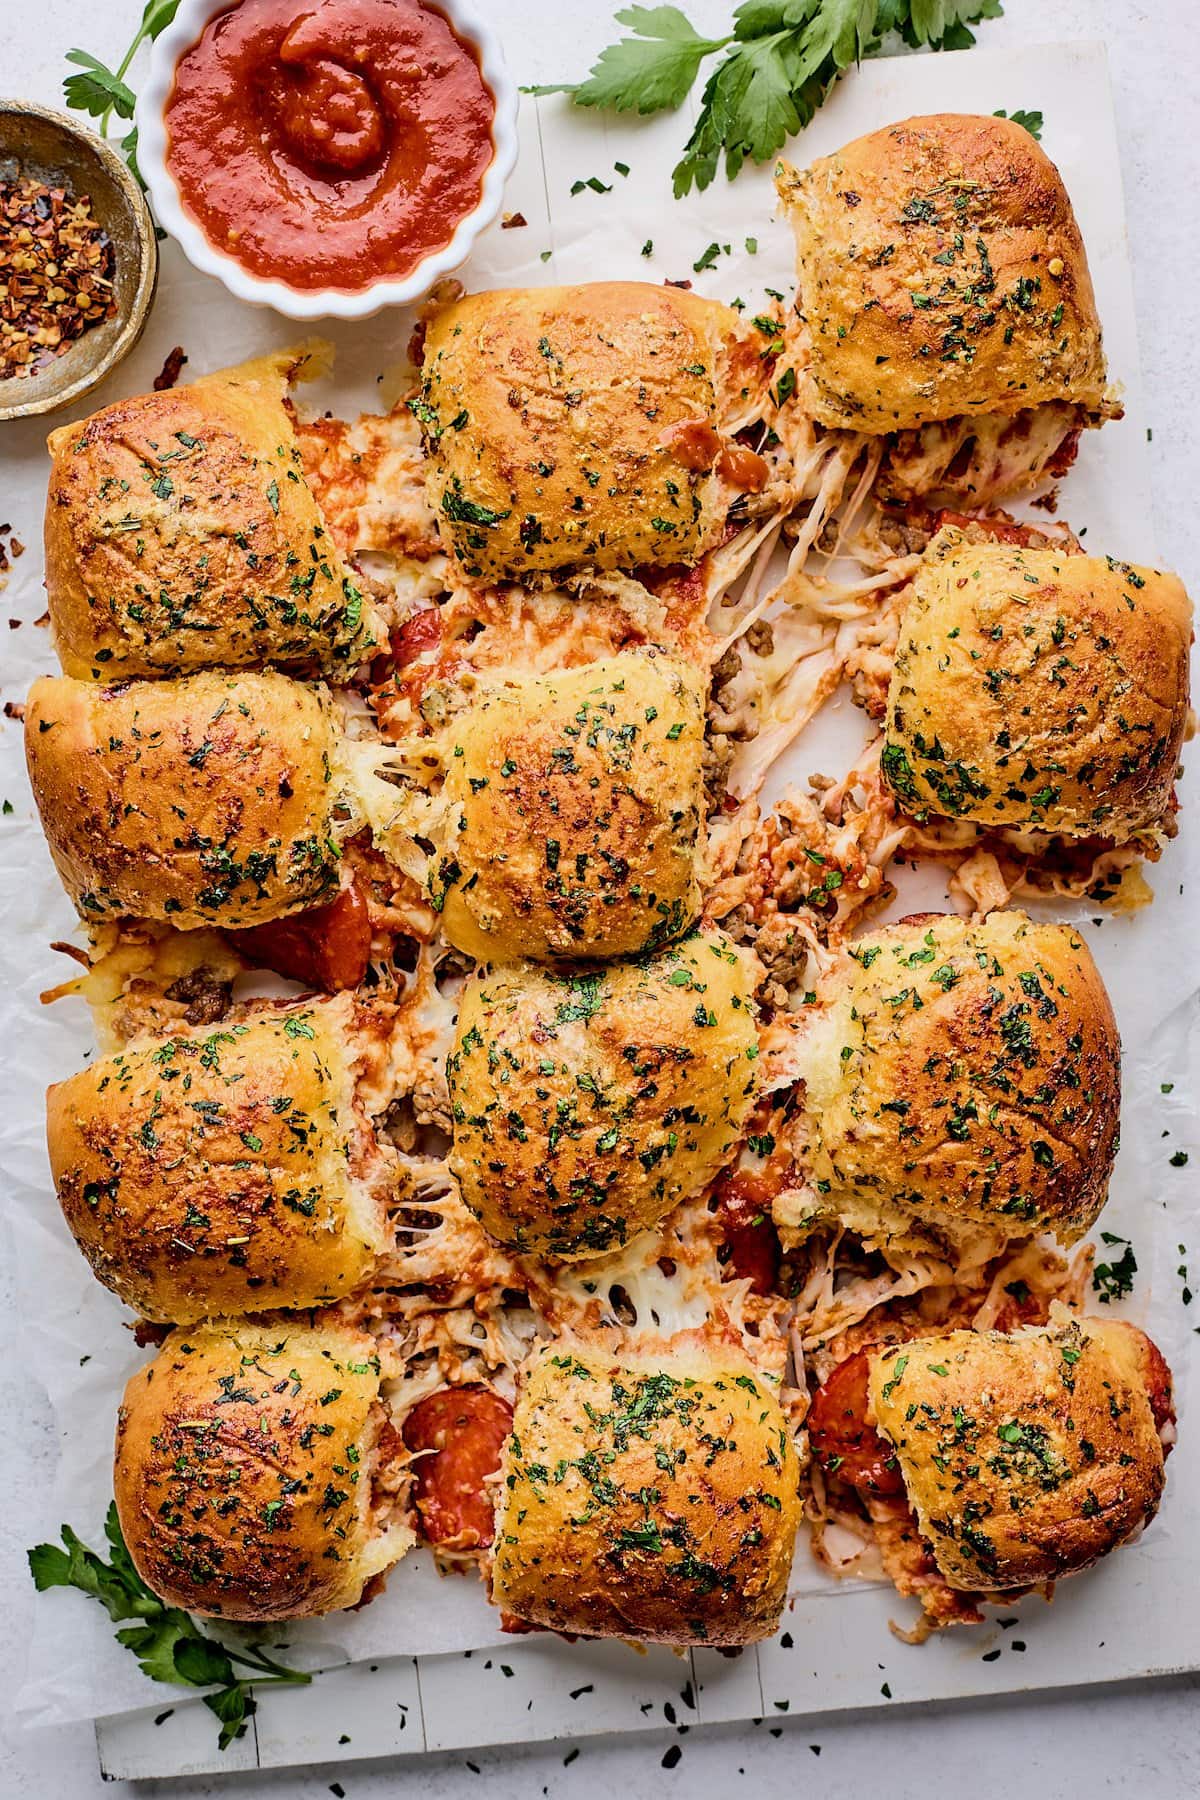
Pizza is a forever favorite food, but have you tried Pizza Sliders? They are a fun twist on classic pizza and always a crowd pleaser. You have to try them. These Hawaiian roll pizza sliders are filled with pizza sauce, shredded mozzarella cheese, peppe…
Pizza is a forever favorite food, but have you tried Pizza Sliders? They are a fun twist on classic pizza and always a crowd pleaser. You have to try them. These Hawaiian roll pizza sliders are filled with pizza sauce, shredded mozzarella cheese, pepperoni, sausage, and brushed with garlic butter. Bake until golden brown and…
Our classic grilled cheese sandwich is PERFECTION. Have you tried it? It really is the best. But what do you do when you are craving pizza and grilled cheese? You make a Pizza Grilled Cheese, the best of both worlds. This grilled cheese is made with he…
Our classic grilled cheese sandwich is PERFECTION. Have you tried it? It really is the best. But what do you do when you are craving pizza and grilled cheese? You make a Pizza Grilled Cheese, the best of both worlds. This grilled cheese is made with hearty Italian bread that gets slathered with garlic butter,…
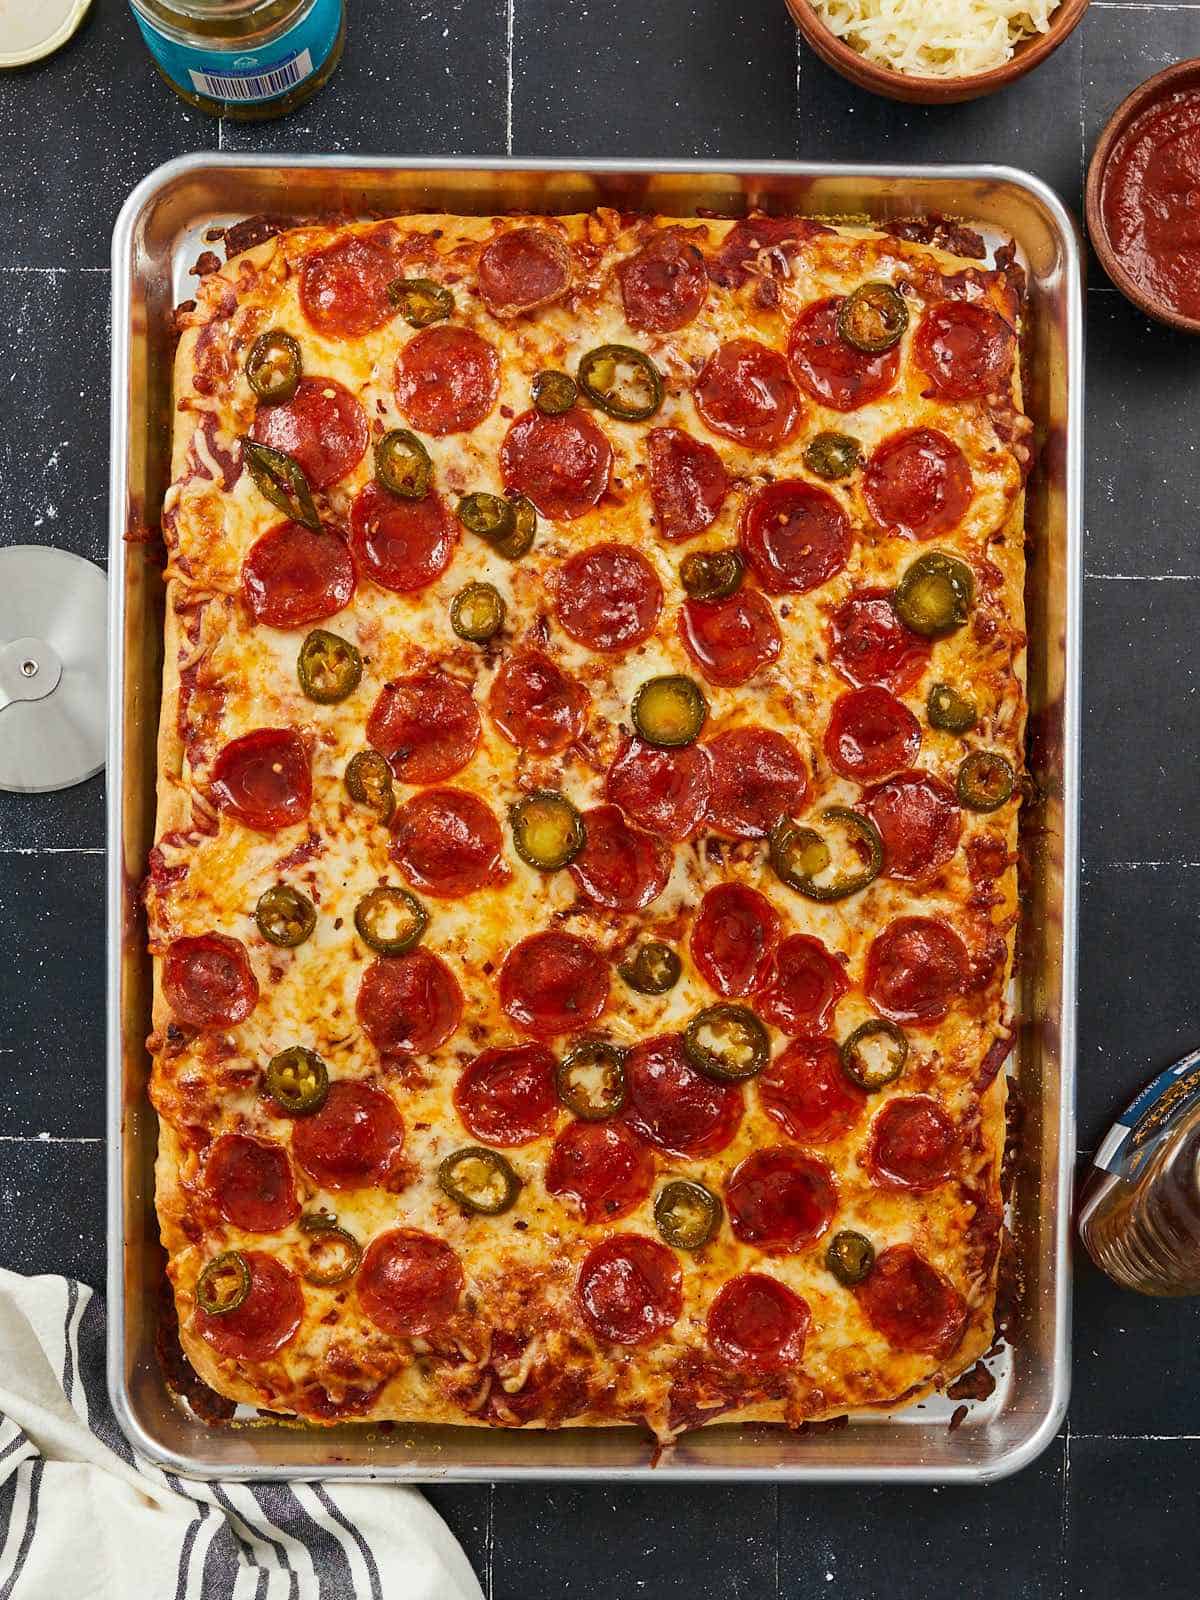
Sheet Pan Pizza is the solution for anyone hoping to make crave-worthy, restaurant-quality pizza at home—at half the cost of carry-out! Our recipe for Sheet Pan Pizza will level up any casual date night in, make for an unforgettable family dinner, or serve as an interactive party dish where everyone helps pick the toppings. Sheet Pan Pizza is not just for special occasions. It’s also the perfect “take-out fake out” meal for two that will yield enough leftovers to check off some weekly meal prep!
WHAT IS SHEET PAN PIZZA?
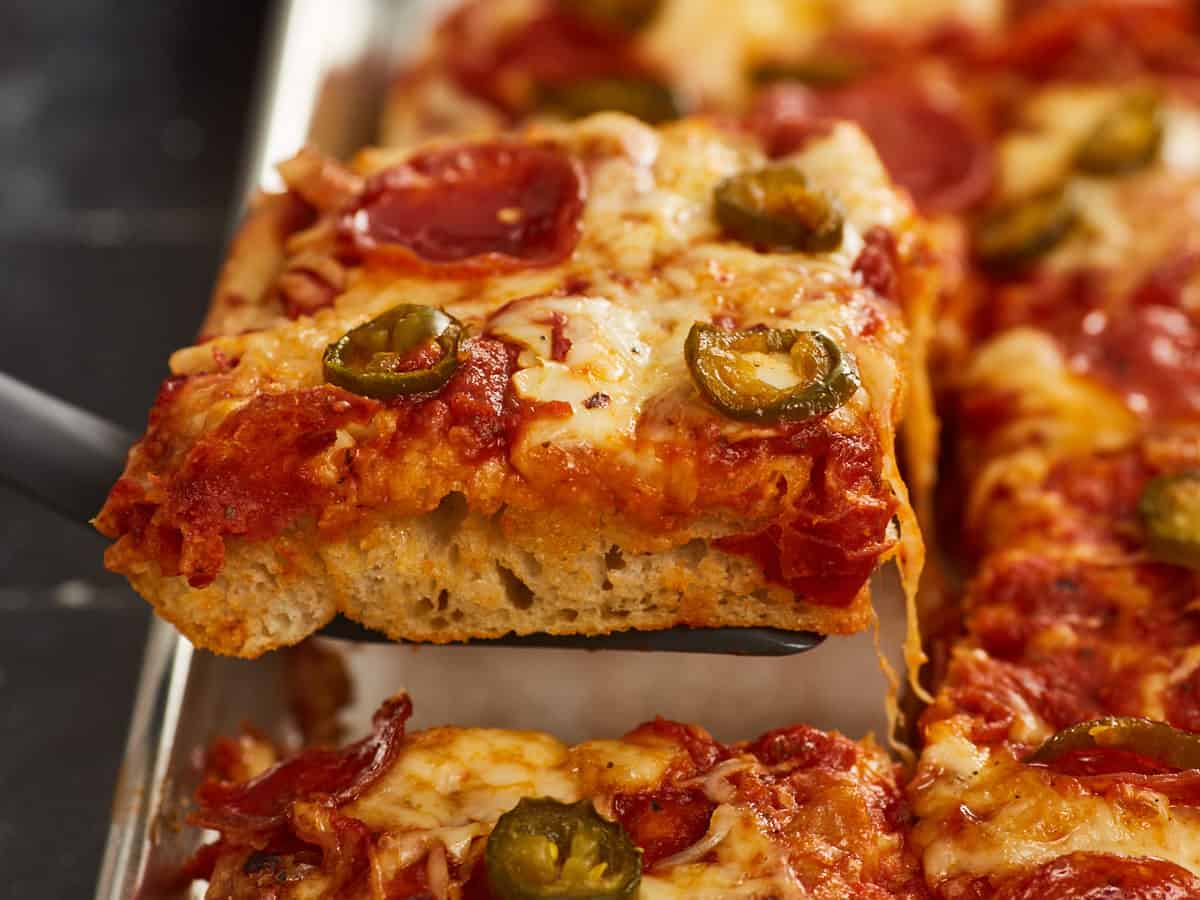
This recipe for Sheet Pan Pizza combines my two favorite kinds of take-out pizza. The crust is a sturdy Foccacia bread, typically used for Sicilian-style “Grandma Pie,” that is baked and then covered edge-to-edge with tons of cheese and toppings—sort of like a Detroit-Style pizza—and then baked again! Sheet Pan Pizza is a fun way to feed a crowd and can easily be divided into sections so everyone in the family gets to have a few slices with their favorite sauce and toppings.
WHAT YOU NEED TO MAKE A SHEET PAN PIZZA:
A SHEET PAN: We suggest using a standard 18” x 13” rimmed metal baking sheet or the 16″ x 12.5″ x 1″ enamelware pan in our Shop.
PIZZA DOUGH: Our No-Knead Focaccia is oh-so-tasty on its own, but next level as the base of a giant pizza. Totally worth the extra time to make it from scratch! (You can also use store-bought pizza dough—see note below.)
OLIVE OIL: We used as little olive oil as possible to make this recipe budget-friendly. (Feel free to use a bit more!) You can substitute or mix it with plain cooking oil to reduce costs even more, but the pizza crust will lack the distinctive taste olive oil provides.
STORE-BOUGHT SAUCE: We chose a store-bought, traditional pizza sauce in order to keep things simple. You can totally make your own homemade pizza sauce! Or swap it out for a jar of alfredo sauce, vodka sauce, prepared pesto, or BBQ sauce!
TONS OF SHREDDED CHEESE: You need a good amount of cheese for this recipe, but it’s totally worth the extra ingredients to balance out all the bread, sauce, and toppings.
YOUR FAVORITE PIZZA TOPPINGS: Keep it classic or mix it up—anything goes when it comes to Sheet Pan Pizza!
DO I HAVE TO MAKE MY OWN CRUST?
I would highly suggest making the pizza crust in this recipe – our shockingly-easy No-Knead Homemade Focaccia. It pretty much does the work on its own! You can substitute the homemade crust with 1 lb. of store-bought pizza dough for this Sheet Pan Pizza recipe (and start with the second set of instructions on the recipe card), but the results will be slightly different from the pizza we made.
TIP: Making Two Pizzas
If doubling the recipe: Prepare a doubled amount of pizza dough at once in a very large mixing bowl. Slice the large ball of dough in half (after the first ferment), and transfer each to its own 1/2 sheen pan for the second rise. Follow the recipe as written, also rotating and flipping the baking sheets halfway through both bakes so both pizzas cook evenly.
Alternatively, when making two smaller pizzas: Slice the risen ball of dough in half and transfer each to its own 1/4 sheet pan for the second rise. Split the remaining ingredients between the pizzas, and reduce both baking times by about 5 minutes each (also relying on the visual cues as a guide to prevent over-baking or under-baking the crust).
MAKE AHEAD & MAKE IT EASIER
You can make the dough for this Sheet Pan Pizza ahead and store it tightly covered in the fridge for up to 24 hours before baking it. Let it sit out at room temperature for about 30 minutes before transferring it to the sheet pan.
You can also pre-bake the pizza crust up to 8 hours ahead. Let the bread cool completely before covering it to keep it from getting soggy. When you’re ready to eat, just top the crust with sauce and toppings and bake it again for 10-15 minutes.
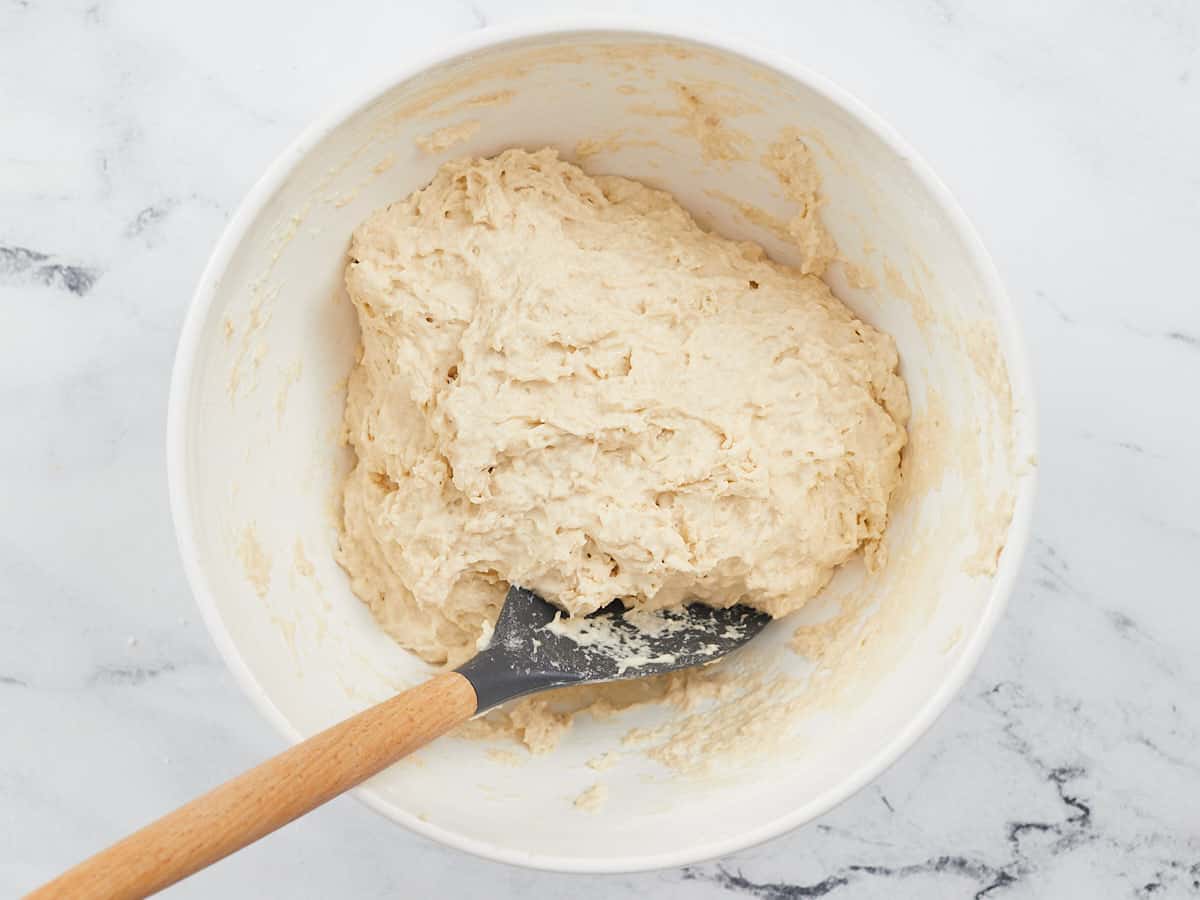
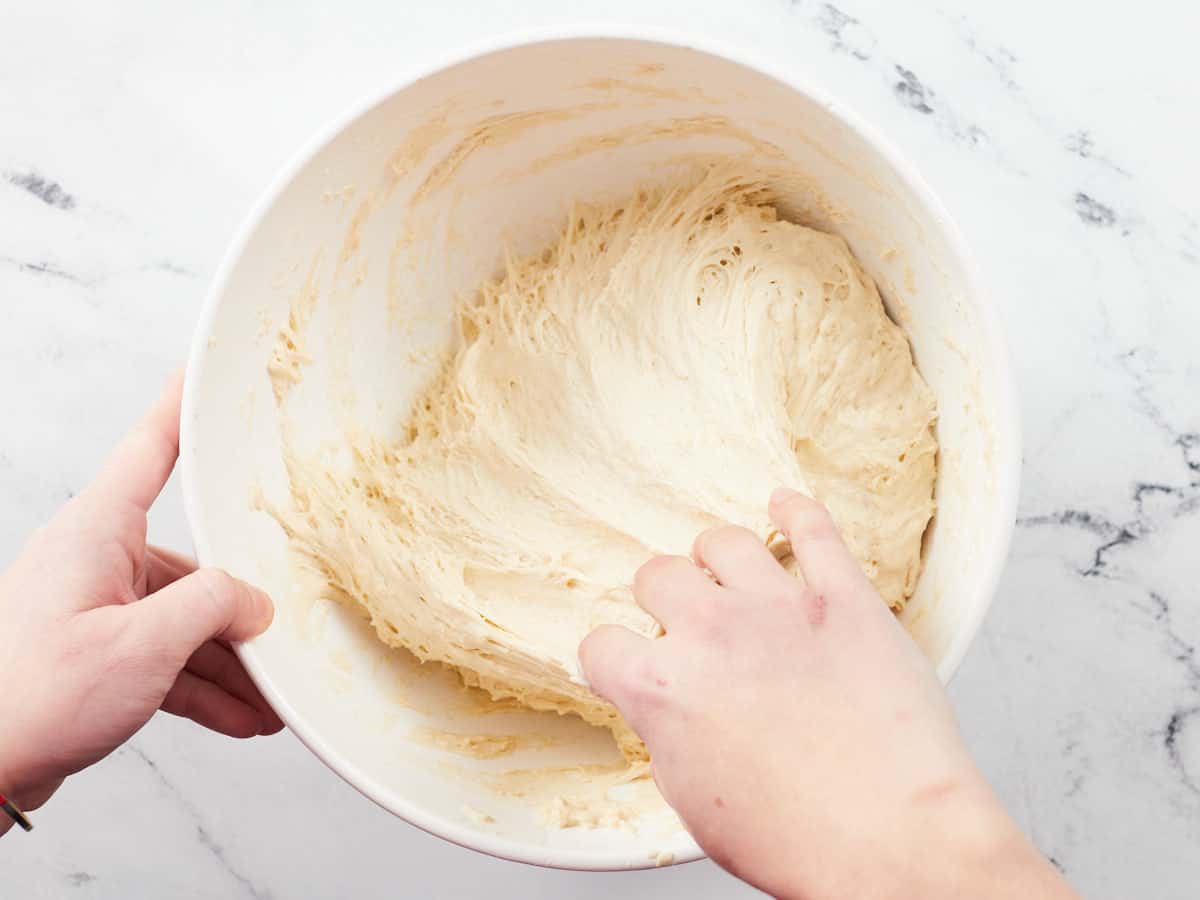
In a large mixing bowl, combine the flour, water, salt, and instant yeast. Stir until just combined and no streaks of flour remain.
Drizzle 1 tablespoon of olive oil around the sides of the bowl, and lift the dough with your hands to make sure the bottom and sides of the bowl are well-coated with the oil.
Cover the bowl and let the dough rise in a warm, dry place for 2 hours, or in the refrigerator for up to 24 hours. The dough should double in size and appear bubbly, wet, and very fluffy.**
Coat your fingers with a few drops of olive oil and then scrape the dough from the sides of the bowl, turning it over a few times to form a ball. Rest the dough for 5 minutes.
Pizza:
Brush 1 tablespoon of olive oil on the bottom and sides of 1 rimmed baking sheet and then sprinkle 2 tablespoons of cornmeal evenly on the bottom of the pan.
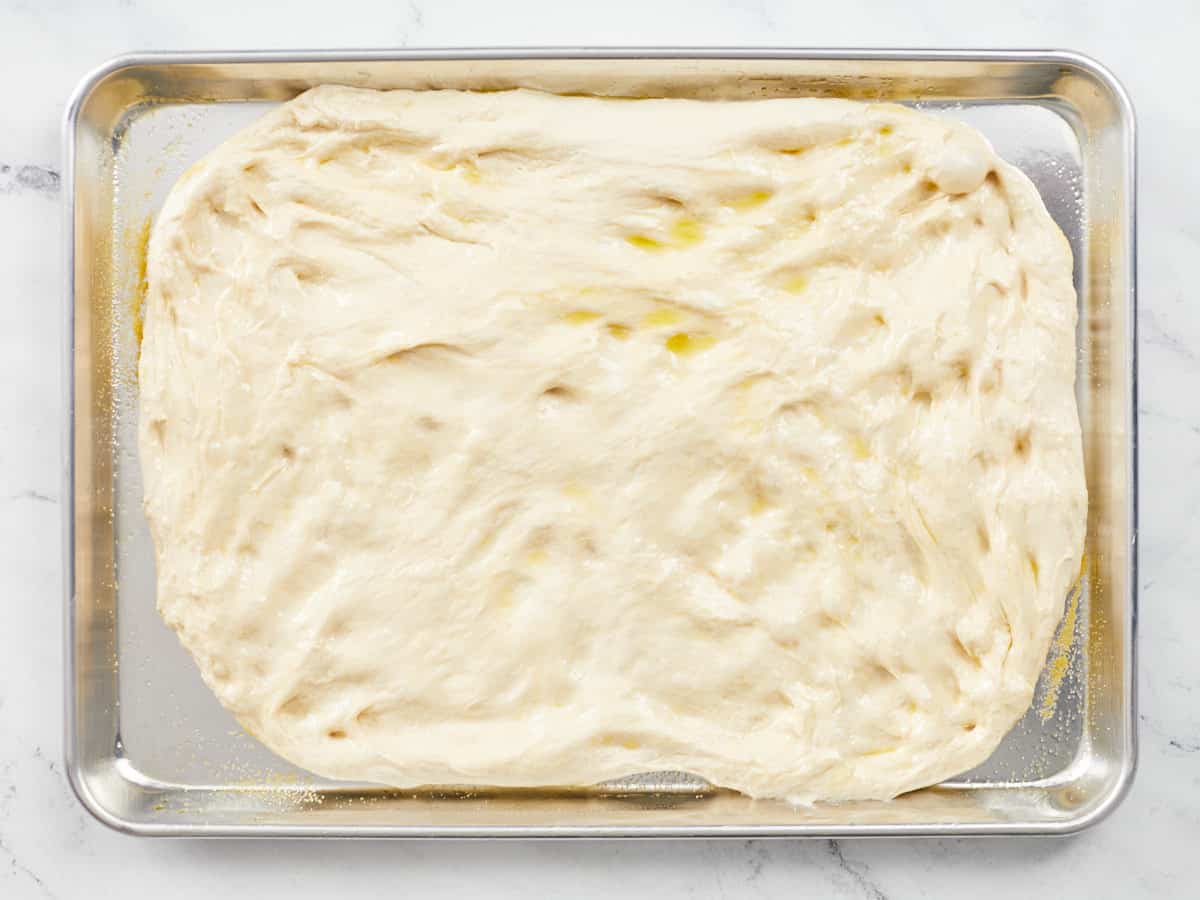
Coat the ball of pizza dough with 1 tablespoon of oil and flip it out of the bowl (oil side down) on the rimmed baking sheet, using a spatula to scrape any oil left in the bowl on top of the dough.
Gently press down the center of the dough and push it outward toward each corner of the pan. Let the dough rest again, uncovered, until it rises slightly and spreads to fill the sheet pan completely (About 30-45 minutes). While the dough rests, preheat the oven to 425℉.
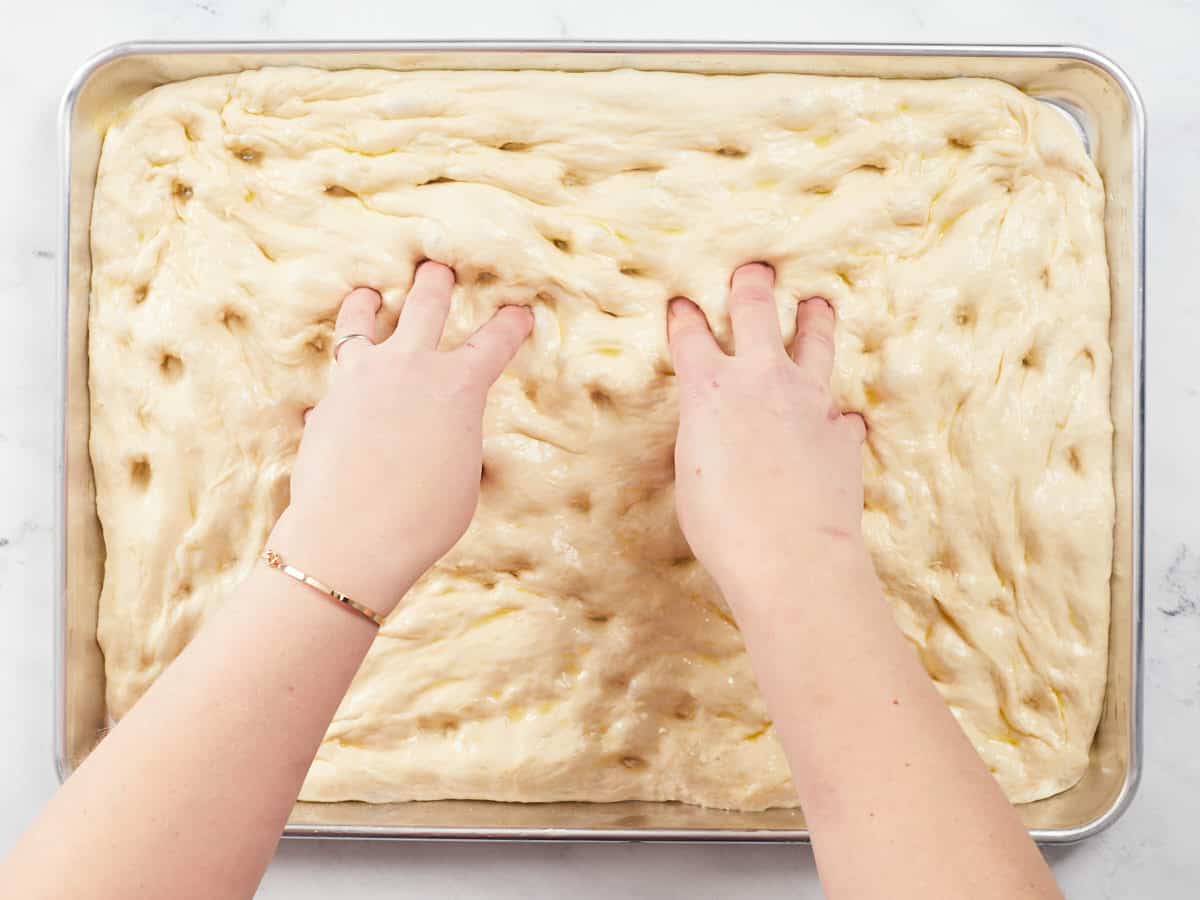
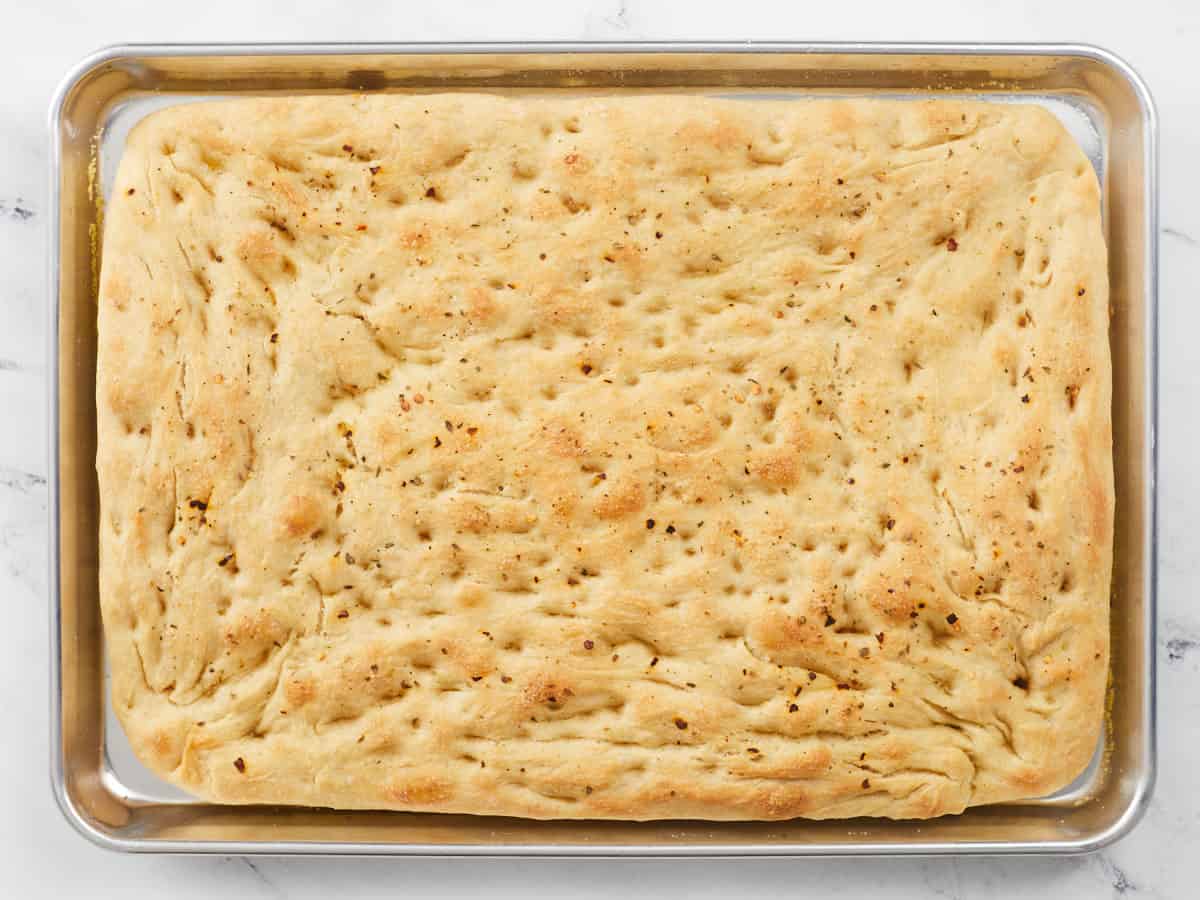
Coat your fingers with oil and make dimples all over the dough, also pushing the dough into the corners again if needed. Brush the dough with the remaining 1 tablespoon of olive oil and sprinkle over the salt, fresh-cracked black pepper, Italian seasoning, and red pepper flakes. Bake the crust for 25 minutes, or until the surface of the bread is evenly golden brown.
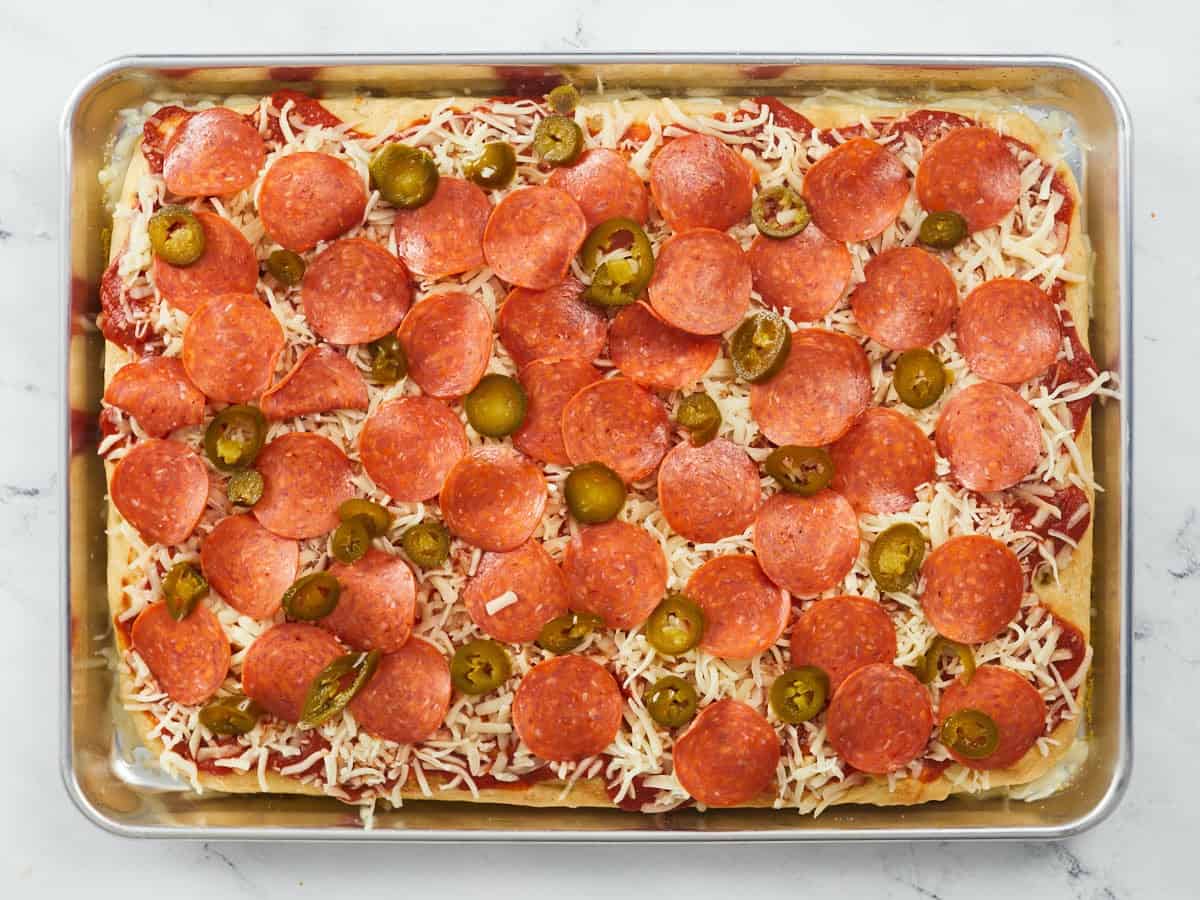
Remove the crust from the oven and carefully spread the pizza sauce on top from edge to edge. Then top with the mozzarella cheese, parmesan cheese, pepperoni, pickled jalapenos, and if desired, a pinch of salt, pepper, and other seasonings
Bake the pizza for another 10-15 minutes or until the cheese has melted and started to brown.
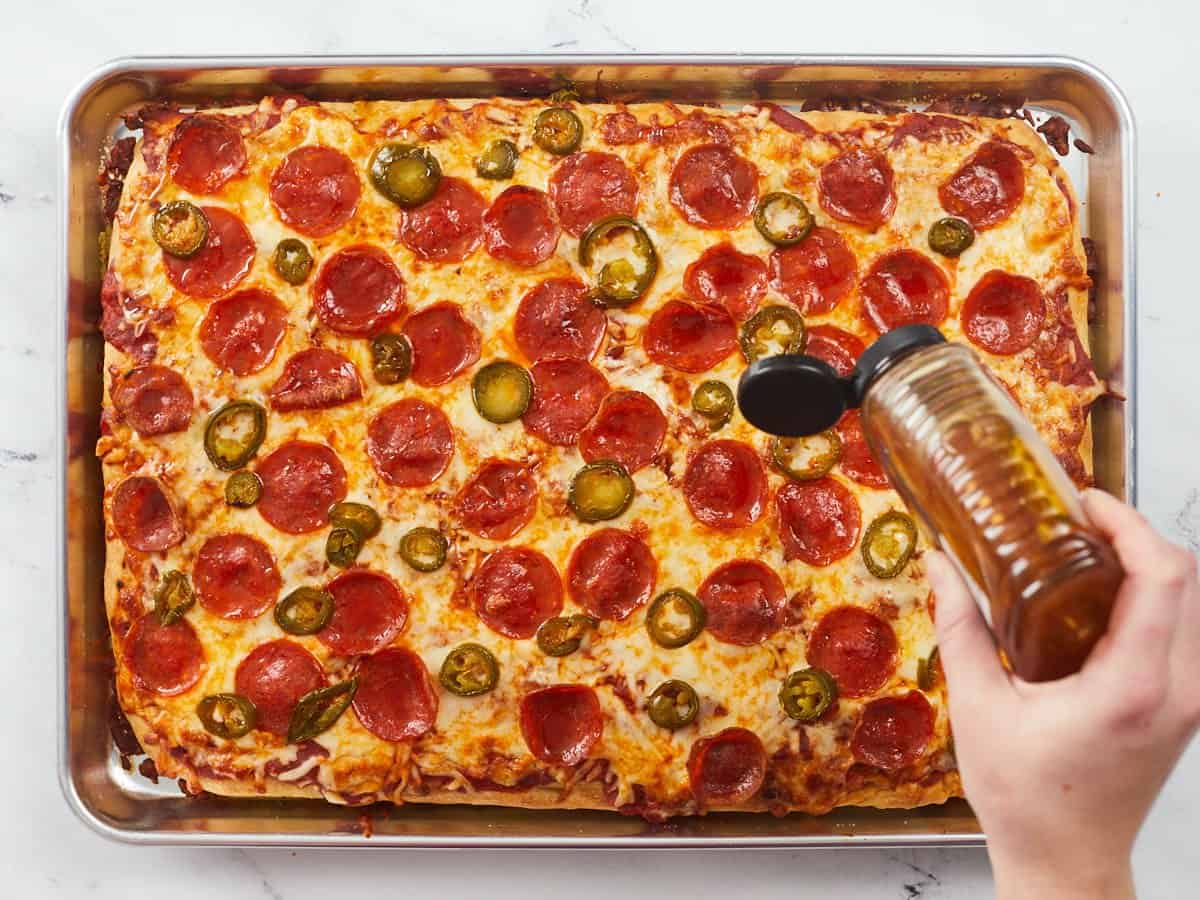
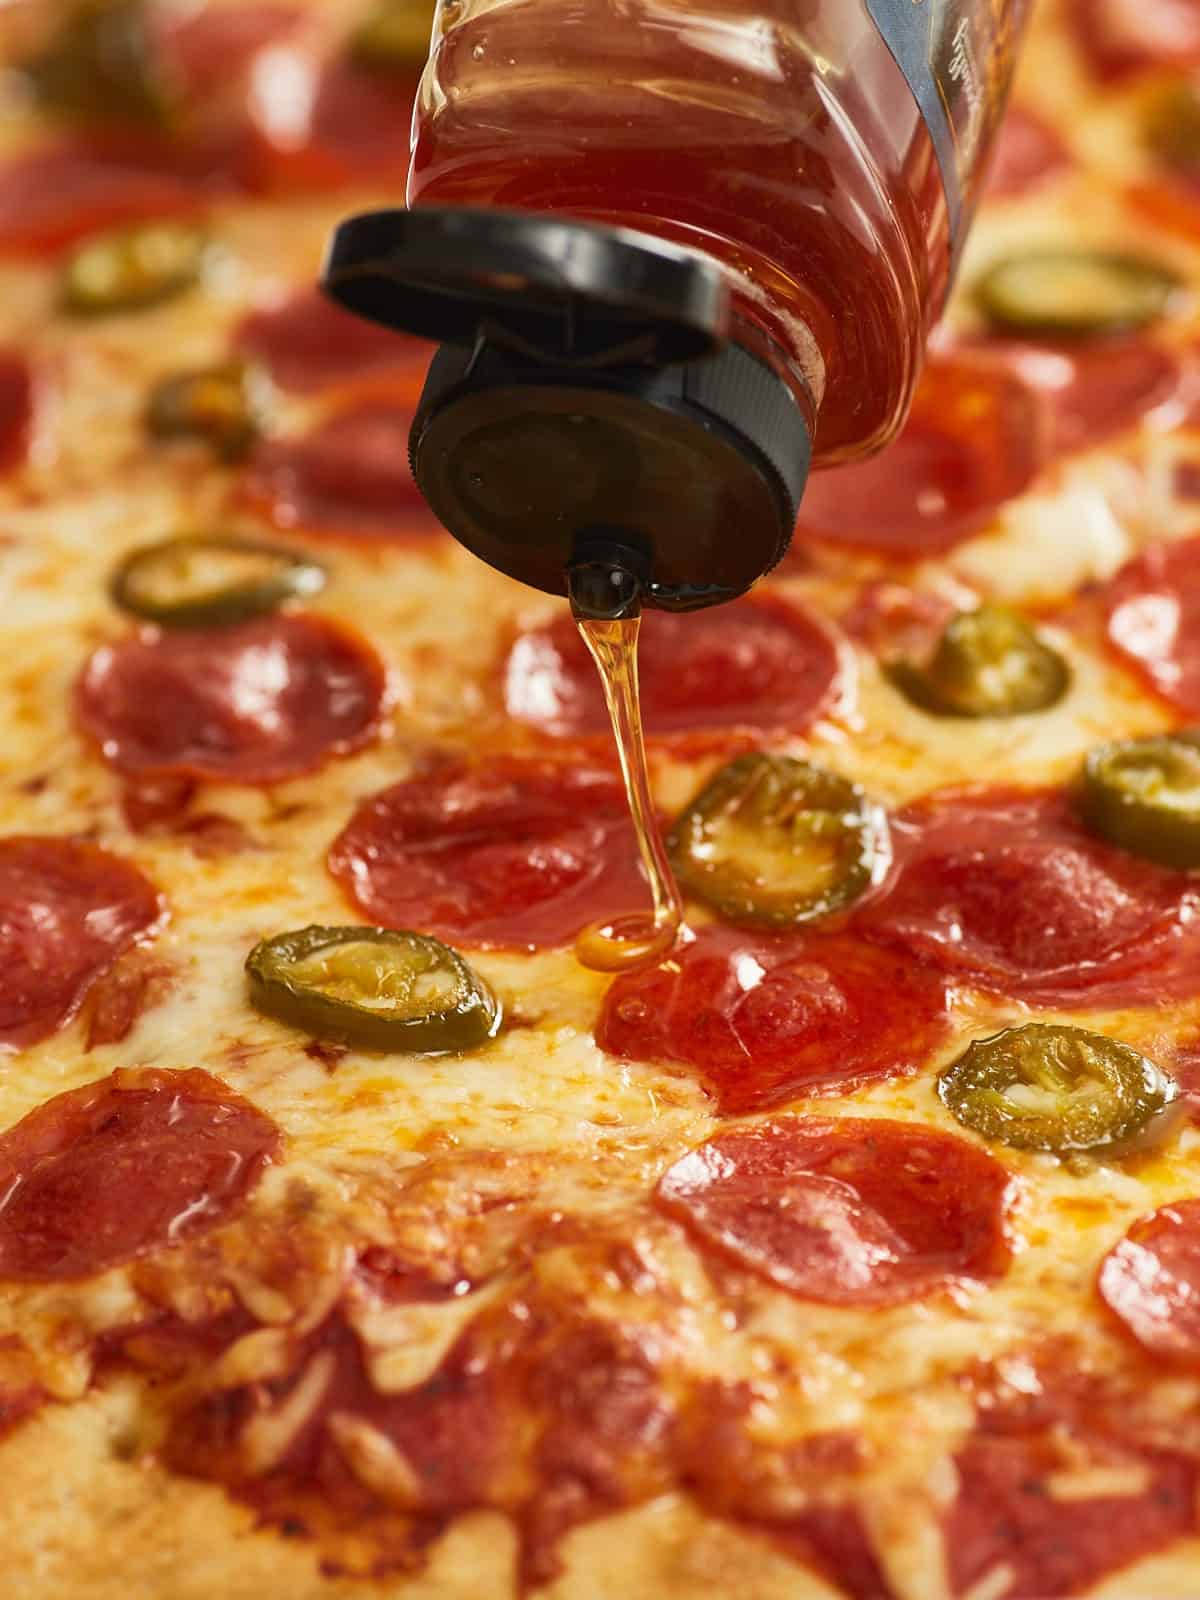
Remove the pizza from the oven and drizzle the entire surface lightly with honey. Let it cool for 5 minutes and then slice the pizza into 15 squares. Serve each slice topped with more parmesan cheese and fresh-cracked black pepper.
* Olive oil will add a distinct flavor to the pizza crust but can be substituted (or mixed) with cooking oil to make this recipe more budget-friendly. ** The dough may need more time to rise in the sheet pan if coming out of a cold refrigerator.
Combine 4 cups of all-purpose flour, 2 cups of water, 1 ½ teaspoons of salt, and 2 teaspoons of instant yeast in a large bowl. (If using a single-serving packet of yeast, which contains about 2 1/4 teaspoons, you can use the whole thing!) Stir until just combined and no streaks of flour remain. Drizzle 1 tablespoon of olive oil around the sides of the bowl, and lift the dough with your hands to make sure the bottom is also coated. Cover the bowl and let it ferment in a warm, dry place for 2 hours or in the refrigerator for up to 24 hours. (If coming from the fridge, the dough may need an additional 30 minutes of resting time at room temperature.)
After the first ferment, the dough should roughly double in size and appear bubbly, wet, and very fluffy. Scrape the dough off the sides of the bowl with your hands, turning it over a few times to form a ball. Let it rest in the bowl for about 5 minutes to prevent the dough from tearing. Brush the bottom and sides of the sheet pan with 1 tablespoon of olive oil and sprinkle 2 tablespoons of cornmeal evenly on the bottom.
Coat the ball of pizza dough with 1 tablespoon of olive oil and flip it out of the bowl onto the prepared sheet tray (oil side down), using a spatula to scrape any oil left in the bowl on top of the dough. Gently press down the center of the dough and push it outward toward each corner of the pan. Let the dough rest again, uncovered, until it spreads to fill the sheet pan completely (about 30-45 minutes). Preheat the oven to 425℉.
Coat your fingers with oil and make dimples all over the dough, also pushing the dough into the corners again if needed. Brush the dough with the remaining 1 tablespoon of olive oil and sprinkle over a 1/2 teaspoon of salt, 1/2 teaspoon of freshly-cracked black pepper, 1/2 teaspoon of Italian seasoning, and 1/4 teaspoon of red pepper flakes.
Bake the crust for 25 minutes, or until the surface of the bread is lightly golden brown and has developed a still-tender, but firm crust. When pressed lightly (And carefully, don’t burn yourself!), the center of the crust should spring back and should look and feel fully cooked – not squish and soft.
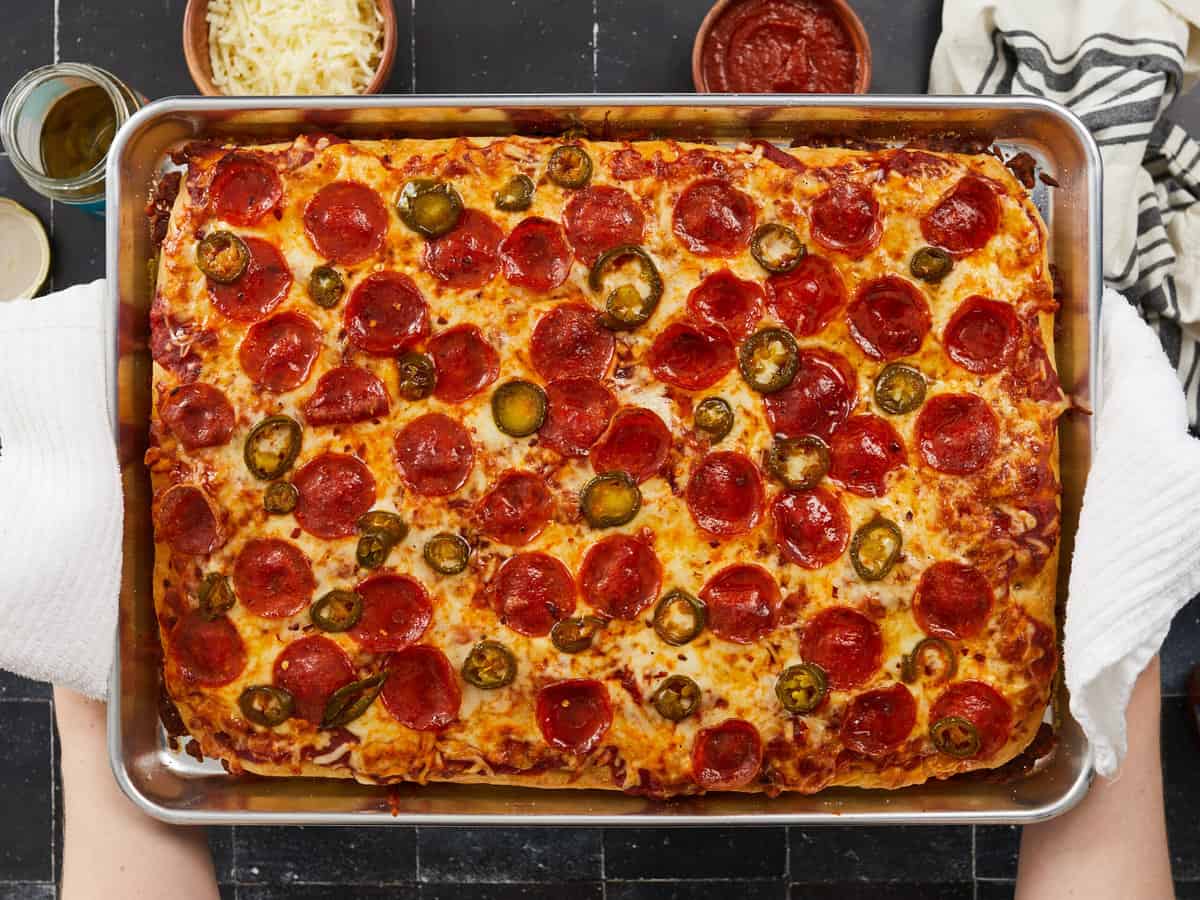
Top the fully-baked pizza crust evenly from edge-to-edge with 1 1/2 cups of prepared pizza sauce (from a 14 oz. jar), 2 cups of shredded mozzarella cheese, 1/2 cup of shredded or grated parmesan cheese, 1/2 cup of pepperoni slices (about 3 oz. or half a standard package), 1/3 cup of pickled jalapenos (about 1/3 of a standard jar), and if desired, another pinch of salt, pepper, and other seasonings.
Bake the pizza for another 10-15 minutes or until the cheese has melted and started to brown. Remove the pizza from the oven and drizzle the entire surface lightly with honey. Let it cool for about 5 minutes (so the toppings don’t slide off), and slice the pizza into 15 squares. Serve each slice topped with more parmesan cheese and fresh-cracked black pepper.
Y’all, I love the combo of sweet & spicy toppings we used in this recipe, but I’m always looking for new ideas for my next Sheet Pan Pizza Party! What sauces and toppings will you put on your Sheet Pan Pizza? Tell us in the comments! ~ Marion :)
 Pizza is a forever favorite food, but have you tried Pizza Sliders? They are a fun twist on classic pizza and always a crowd pleaser. You have to try them. These Hawaiian roll pizza sliders are filled with pizza sauce, shredded mozzarella cheese, pepperoni, sausage, and brushed with garlic butter. Bake until golden brown and…
 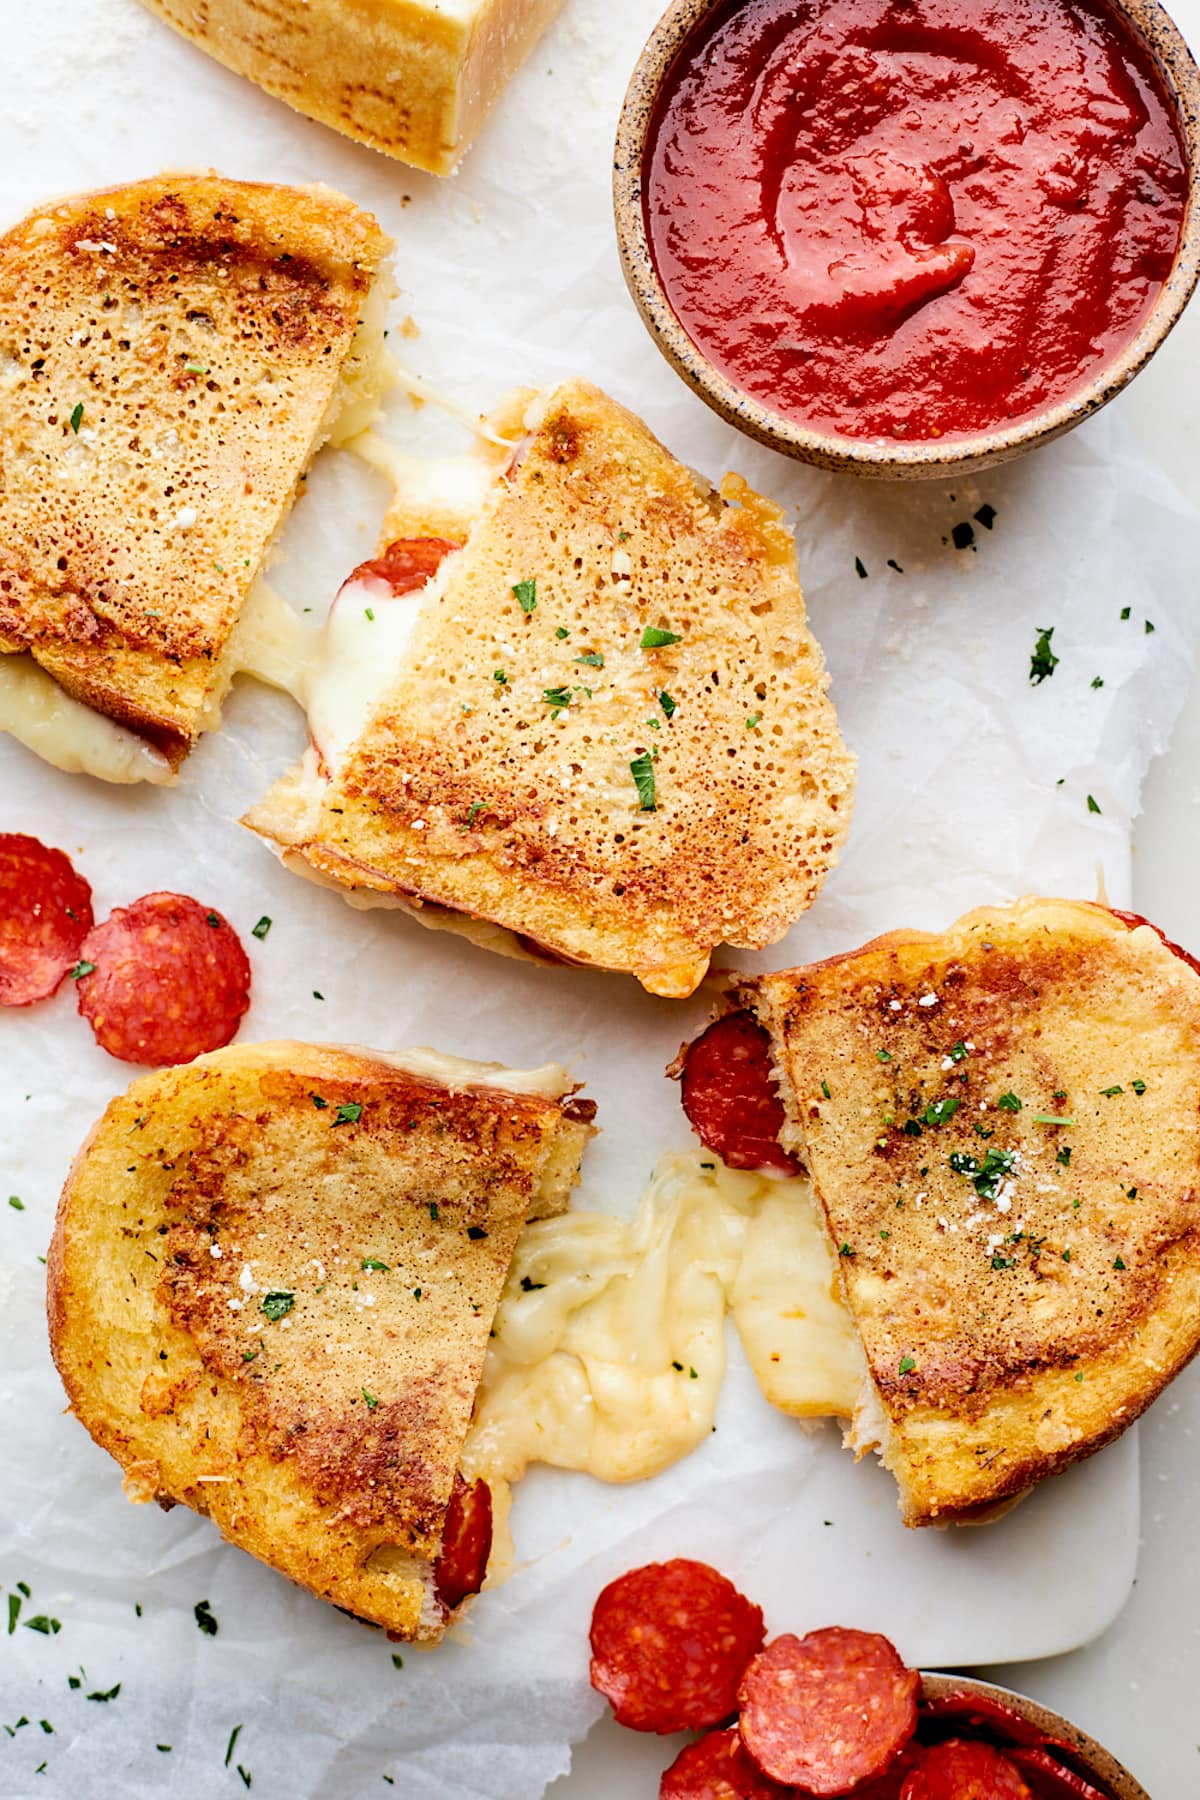 Our classic grilled cheese sandwich is PERFECTION. Have you tried it? It really is the best. But what do you do when you are craving pizza and grilled cheese? You make a Pizza Grilled Cheese, the best of both worlds. This grilled cheese is made with hearty Italian bread that gets slathered with garlic butter,…