In my opinion, a bright and refreshing soup is the perfect way to welcome spring, and this vegan Mediterranean Lentil Soup is the perfect comforting meal for the rainy days to come. A rich and flavorful broth loaded with veggies, lentils, and kale will fill you up for pennies and is a great recipe for fridge clean out day. Finish it off with a squeeze of lemon juice for a delicious and easy weeknight meal.

Why Make Mediterranean Lentil Soup?
The first time I experienced cinnamon in a savory dish was while cooking at a Lebanese restaurant and it was life changing! This Mediterranean Lentil Soup is the perfect introduction to the savory use of cinnamon. This clean and flavorful lentil soup is a vegan flavor explosion. It’s loaded with protein and fiber, naturally gluten-free, and super versatile. You can toss in just about any veggie or green, so raid the fridge and get cooking!
Ingredients for Mediterranean Lentil Soup
Here’s what you’ll need to make Mediterranean lentil soup:
- Oil: Olive oil is our preferred choice in this recipe for its Mediterranean flavor profile, but vegetable or canola oil will work in a pinch.
- Mirepoix: A combination of small diced yellow onion, carrots, and celery creates an earthy and sweet base of flavor for this soup.
- Garlic: The large pieces of crushed garlic versus mincing it fine is intentional to bring out the natural sweetness and flavor of cooked garlic instead of the sometimes-overwhelming bite it has when minced.
- Cumin: Adds a savory and nutty Mediterranean flavor to this soup.
- Cinnamon: A great savory application of the spice! It will warm you up from the inside out and make your house smell fantastic.
- Lentils: We used brown lentils for their firm texture.
- Vegetable Broth: We used Vegetable flavored Better Than Bouillon in this recipe. If using another brand, make sure salt is not the first ingredient or it’s a waste of money!
- Lemon Juice: Gives the soup a brightness that is seriously addictive. You can use fresh-squeezed lemon juice and save half of your lemon for garnishing each bowl, or you can use a bottled lemon juice. I always have lemons in the kitchen, so we had some to garnish with, too!
- Kale: Swiss chard, rainbow chard, spinach, escarole, and all varieties of kale work great, too.
- Salt and Pepper: Enhance the natural flavors of the soup.
Which color lentils are best for soup?
Brown or green lentils work best for this soup, as they will keep their shape after cooking, which is what we’re looking for texture-wise. Red lentils are not recommended because they cook quicker and will dissolve into the soup as they cook, creating a thick and mushy texture.
How to Store Leftovers
Store leftover Mediterranean lentil soup in an air-tight container in the refrigerator for up to 4 days. This soup also freezes super well for up to 3 months when stored properly in an air-tight container. Let thaw overnight in the refrigerator before reheating in a pot set over medium-low heat until warmed through.


Mediterranean Lentil Soup
Equipment
Ingredients
- 2 Tbsp olive oil $0.32
- 1 large yellow onion, diced small $0.78
- 2 medium carrots, diced small $0.24
- 3 stalks celery, diced small $0.36
- 5 cloves garlic, crushed $0.30
- 2 tsp ground cumin $0.20
- 1 tsp cinnamon $0.16
- 1 cup uncooked brown or green lentils $0.68
- 8 cups vegetable broth $1.44
- 4 oz. lemon juice $0.48
- 3 cups kale, chopped and lightly packed $2.48
- 1 tsp salt $0.05
- 2 tsp freshly cracked black pepper $0.10
Instructions
- Rinse the lentils in a strainer under cold water until the water runs clear.
- Heat the oil in a large soup pot set over medium-high heat. Add in the onions, carrots, and celery and cook until they become tender, about 6-7 minutes, stirring frequently. Season with salt and pepper.
- Stir in the garlic, cumin, and cinnamon. Heat until fragrant, about 60 seconds. Add the lentils to the pan and heat for 1-2 minutes to slightly toast.
- Pour in the vegetable broth, water, and lemon juice, then bring the pot to a boil. Reduce heat to low and simmer until the lentils are tender, about 30-45 minutes.
- Stir in the greens, season with additional salt, pepper, and lemon juice to taste before serving.
See how we calculate recipe costs here.
Nutrition

how to make Mediterranean Lentil Soup – step by step photos
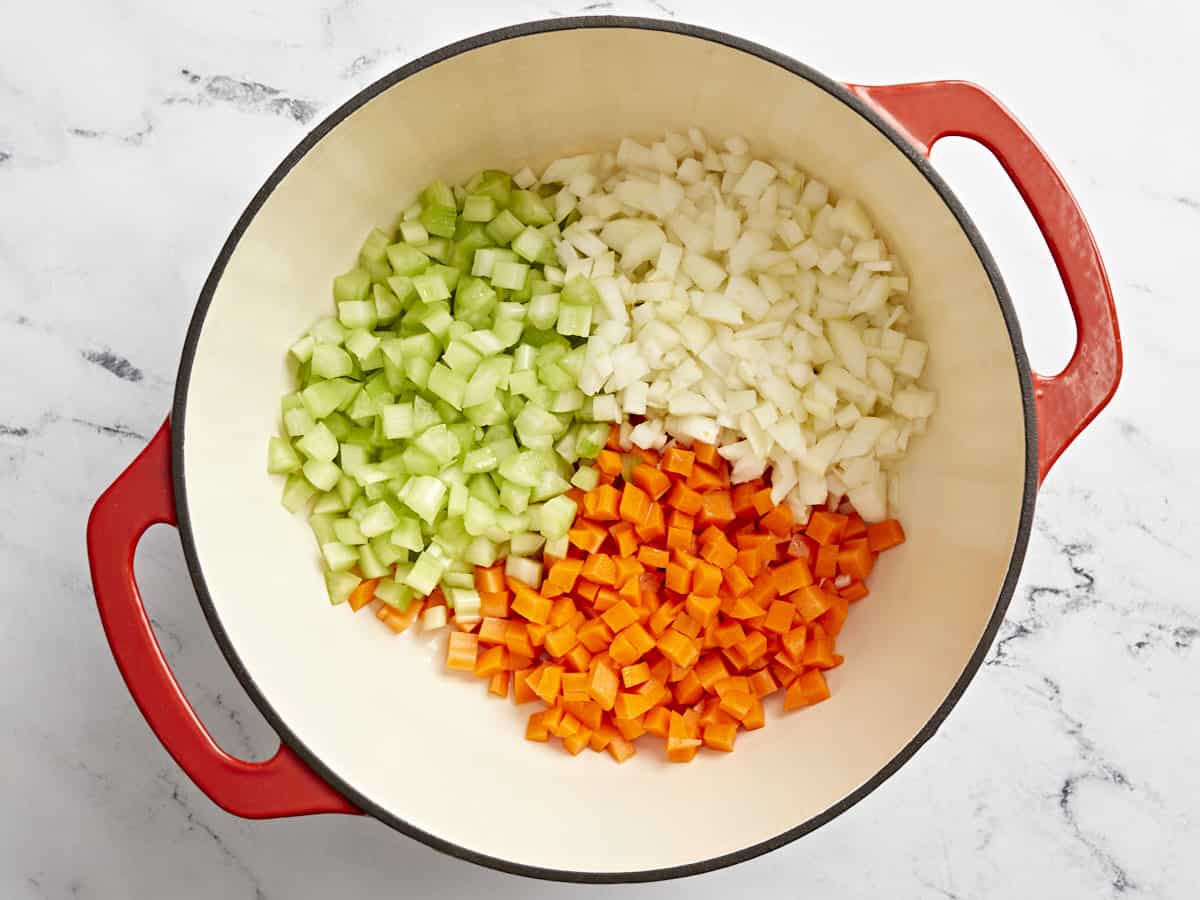
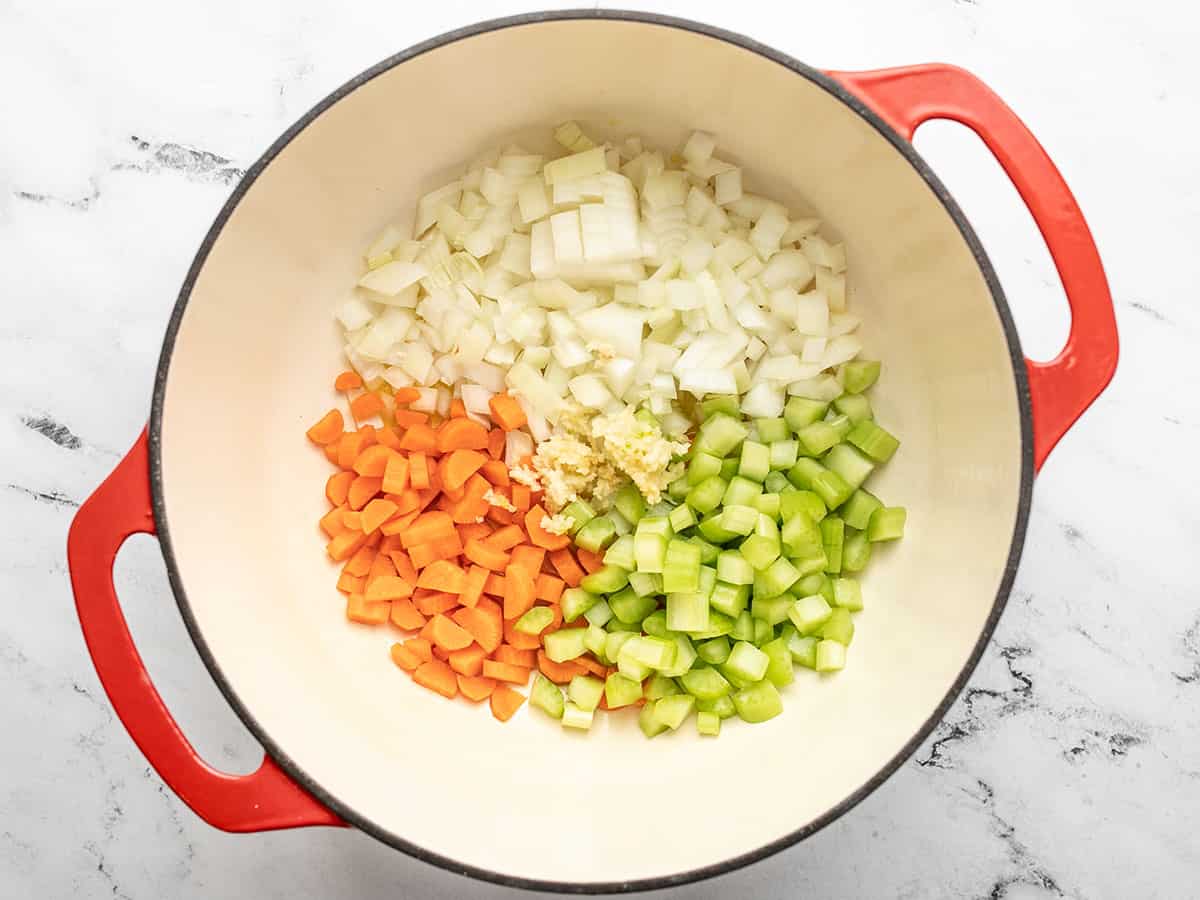
Rinse 1 cup brown or green lentils in a strainer under cold water until the water runs clear. Heat 2 Tbsp olive oil in a large soup pot set over medium-high heat. Add in 1 diced yellow onion, 2 diced medium carrots, and 3 diced stalks celery and cook until they become tender, about 6-7 minutes, stirring frequently. Season with 1 tsp salt and 2 tsp pepper.
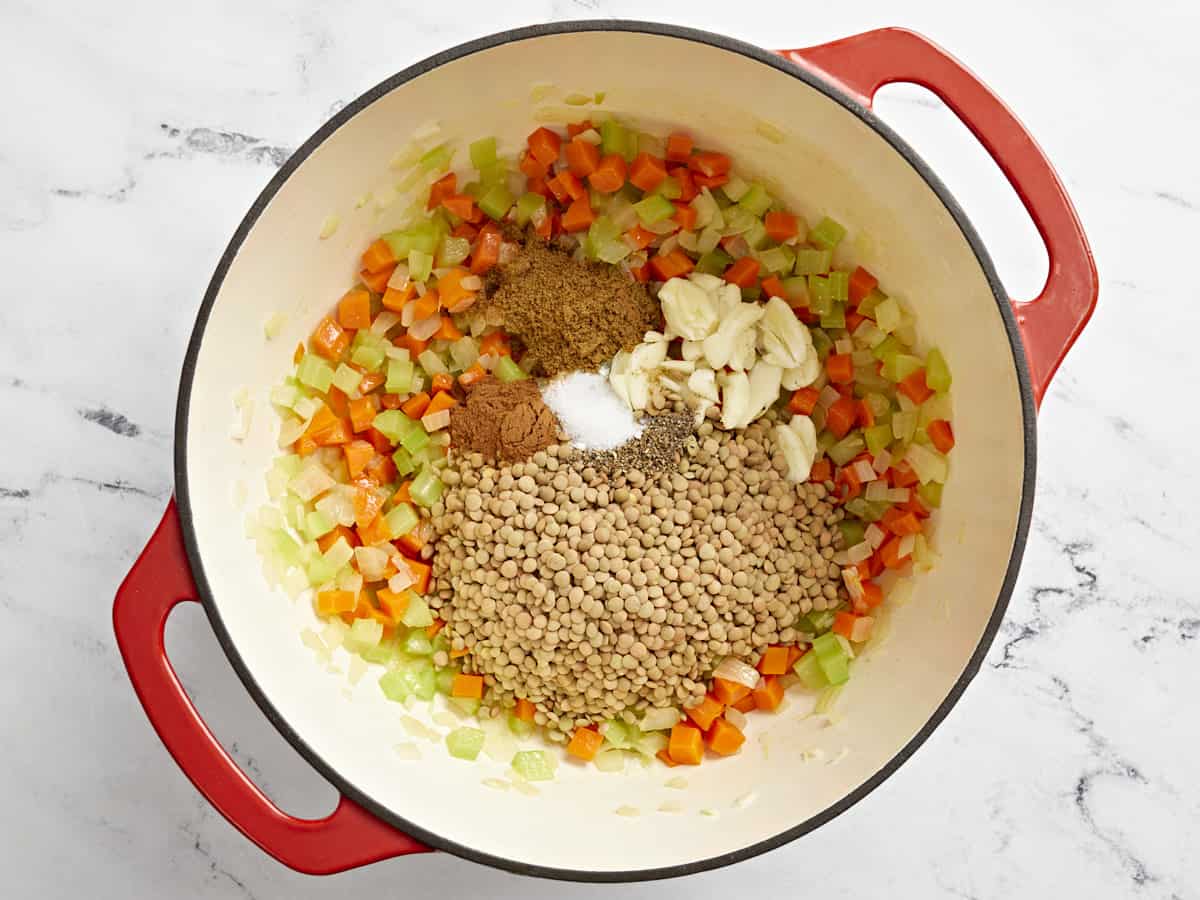
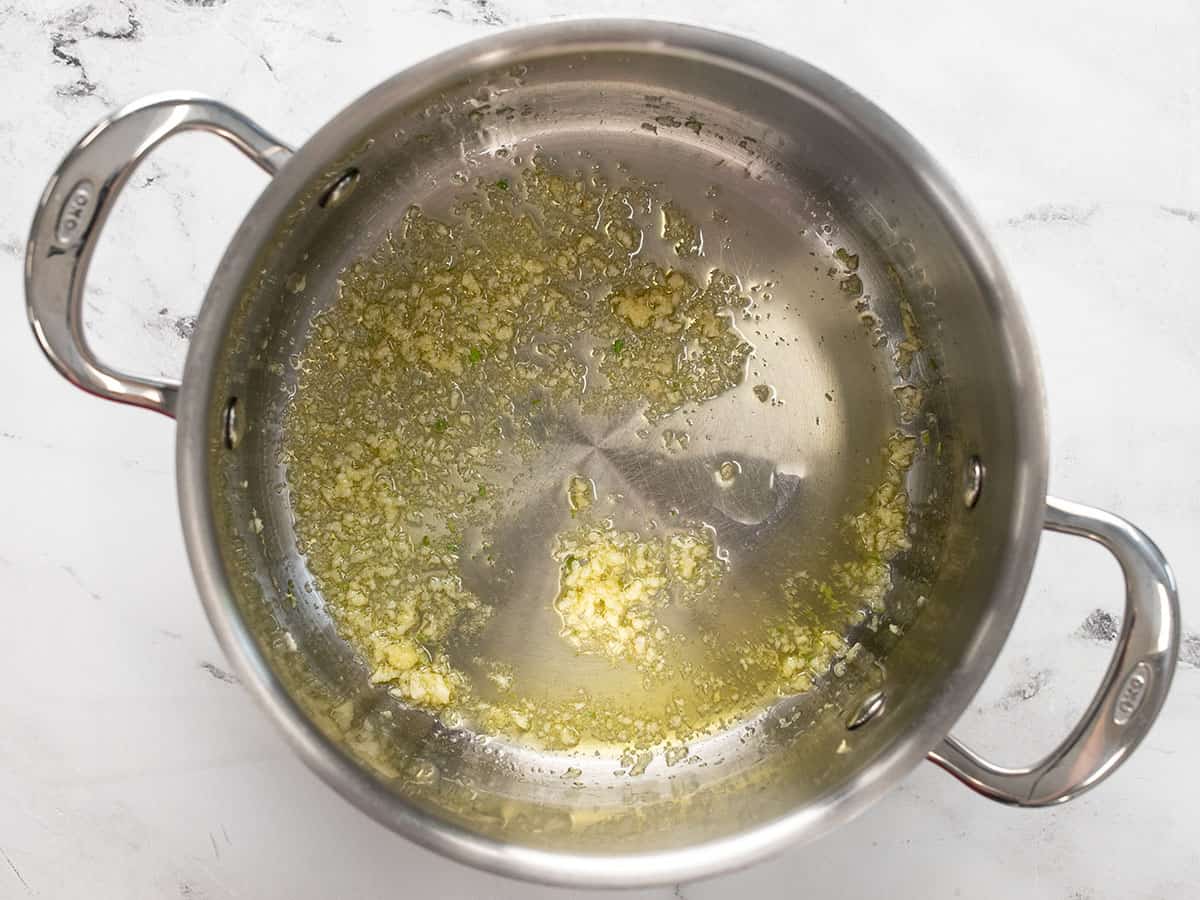
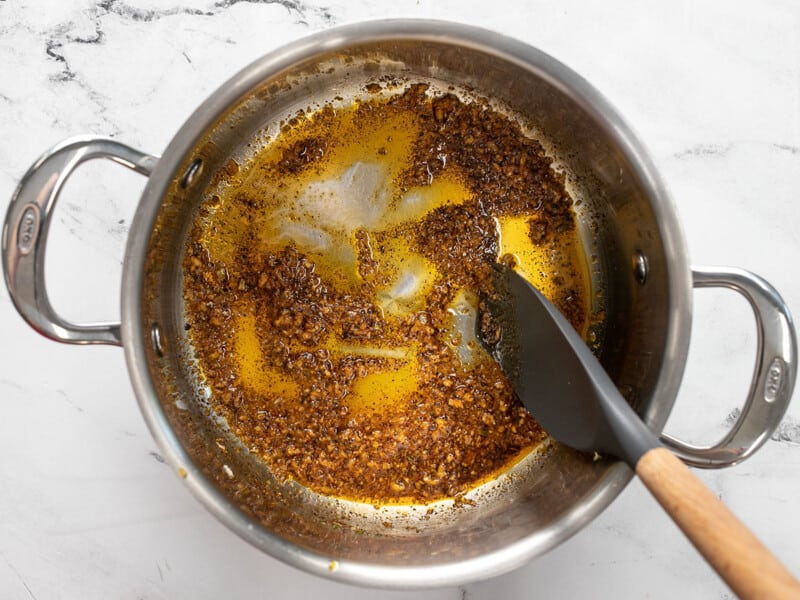
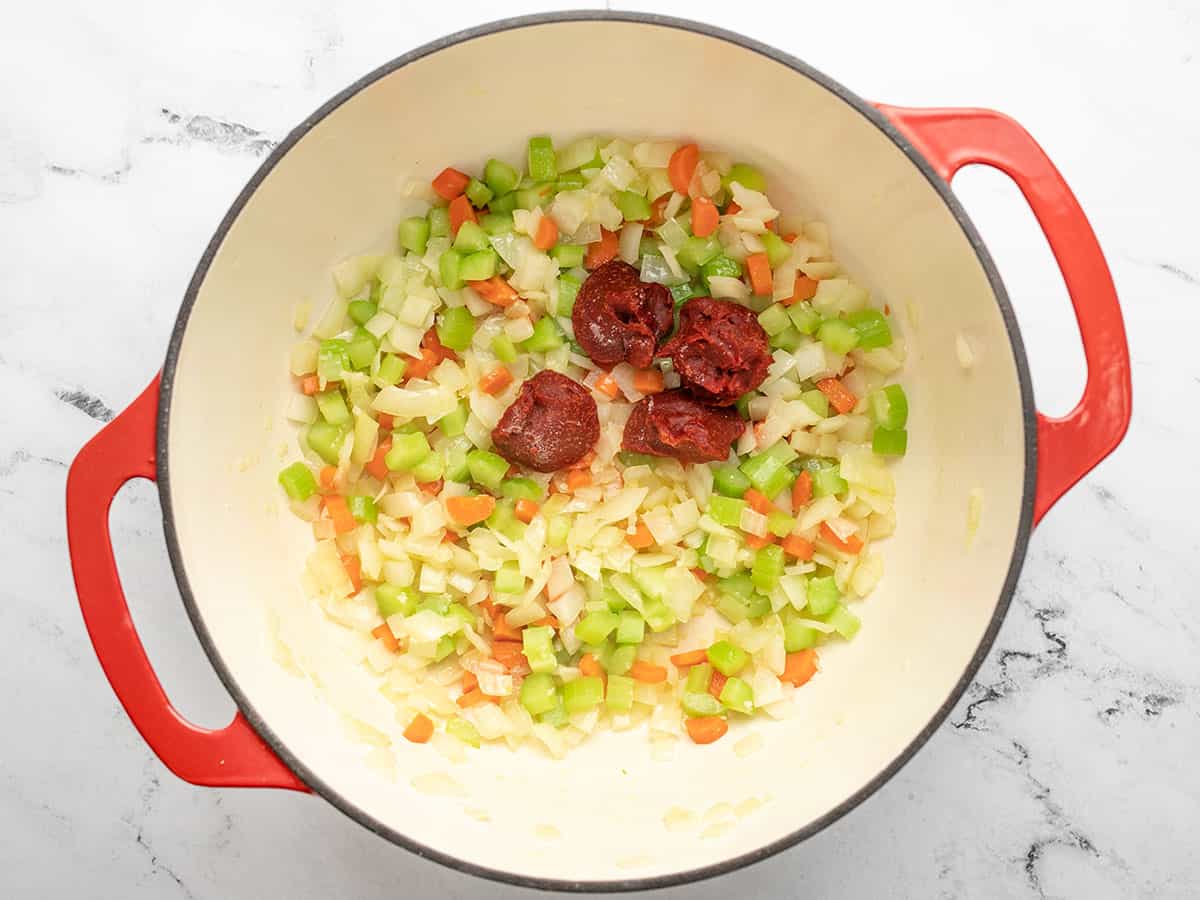
Stir in 5 crushed cloves garlic, 2 tsp ground cumin, and 1 tsp cinnamon. Heat until fragrant, about 60 seconds. Add the lentils to the pan and heat for 1-2 minutes to slightly toast.

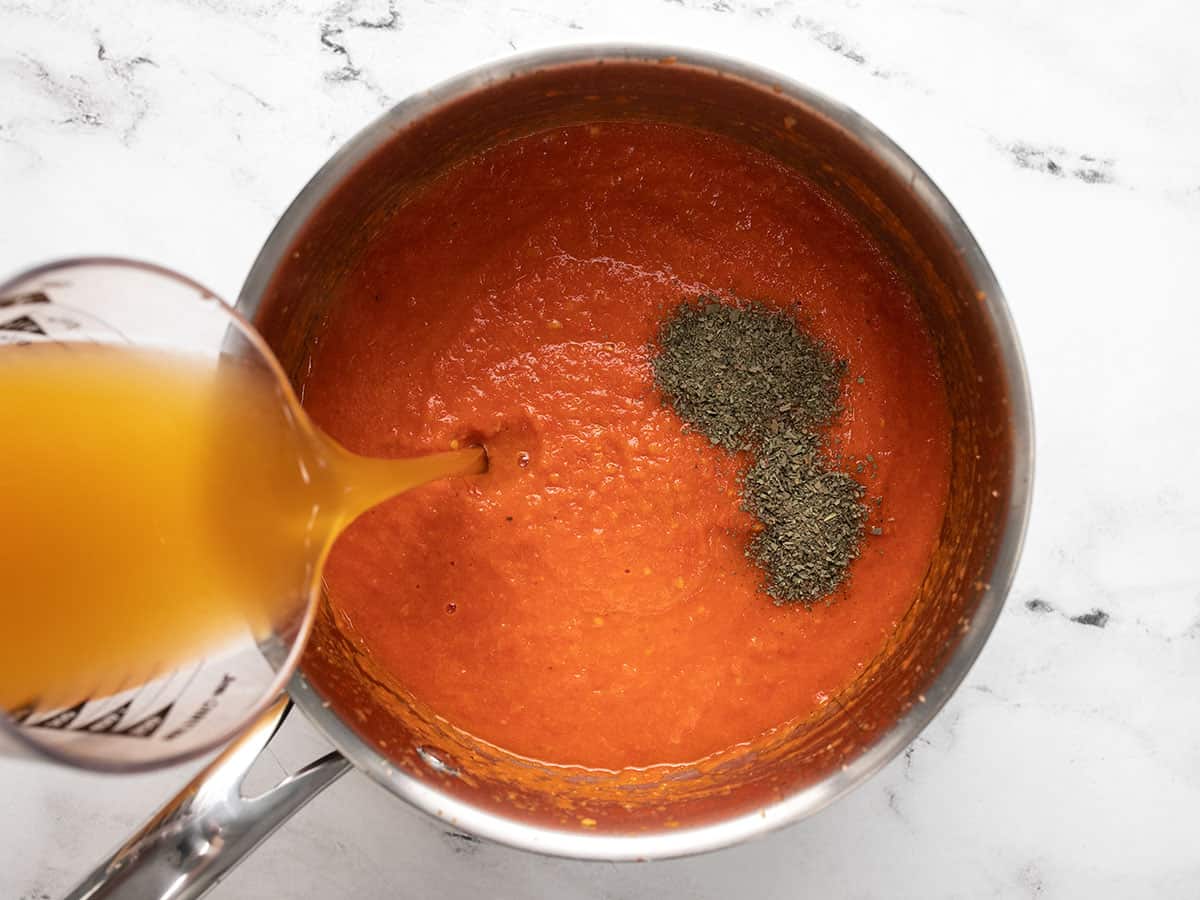
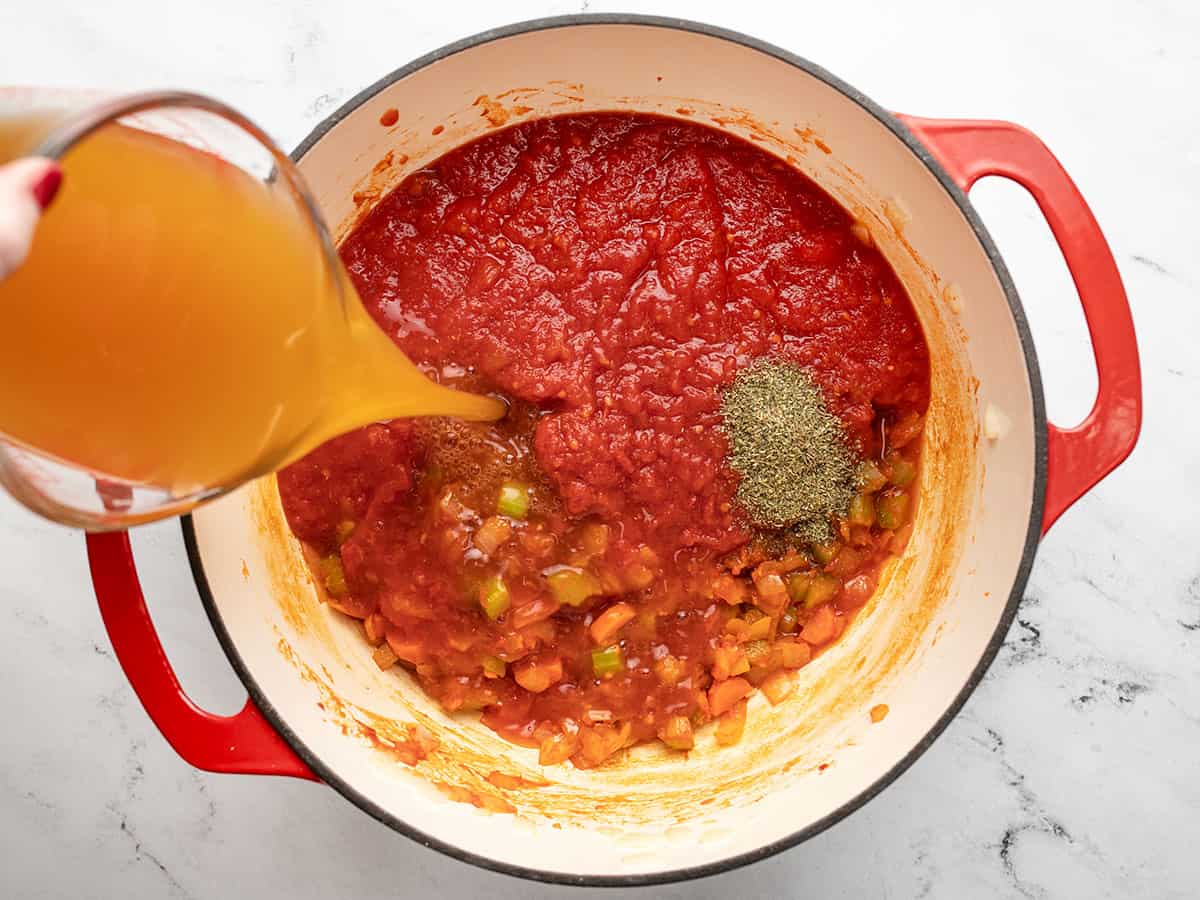
Pour in 8 cups vegetable broth and 4 oz. lemon juice, then bring the pot to a boil. Reduce heat to low and simmer until the lentils are tender, about 30-45 minutes.
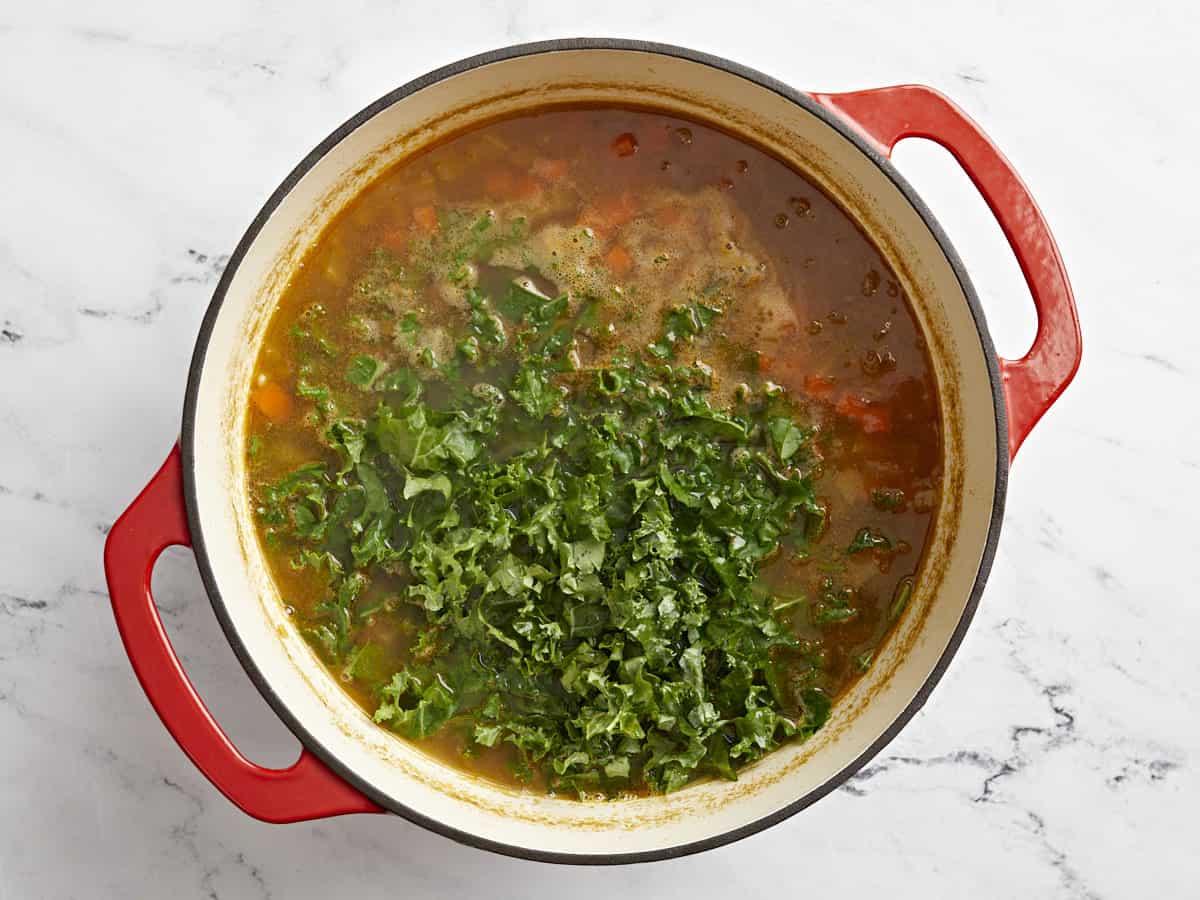
Stir in 3 cups chopped kale, season with additional salt, pepper, and lemon juice to taste before serving.

This Mediterranean lentil soup is going to be your new favorite!
More Vegan Soup Recipes


The post Mediterranean Lentil Soup appeared first on Budget Bytes.