This boozy twist on a classic chocolate layer cake is made with red wine for a rich and robust chocolate cake with unique fruity undertones and an incredible depth of flavor unlike any other chocolate cake you’ve had before.
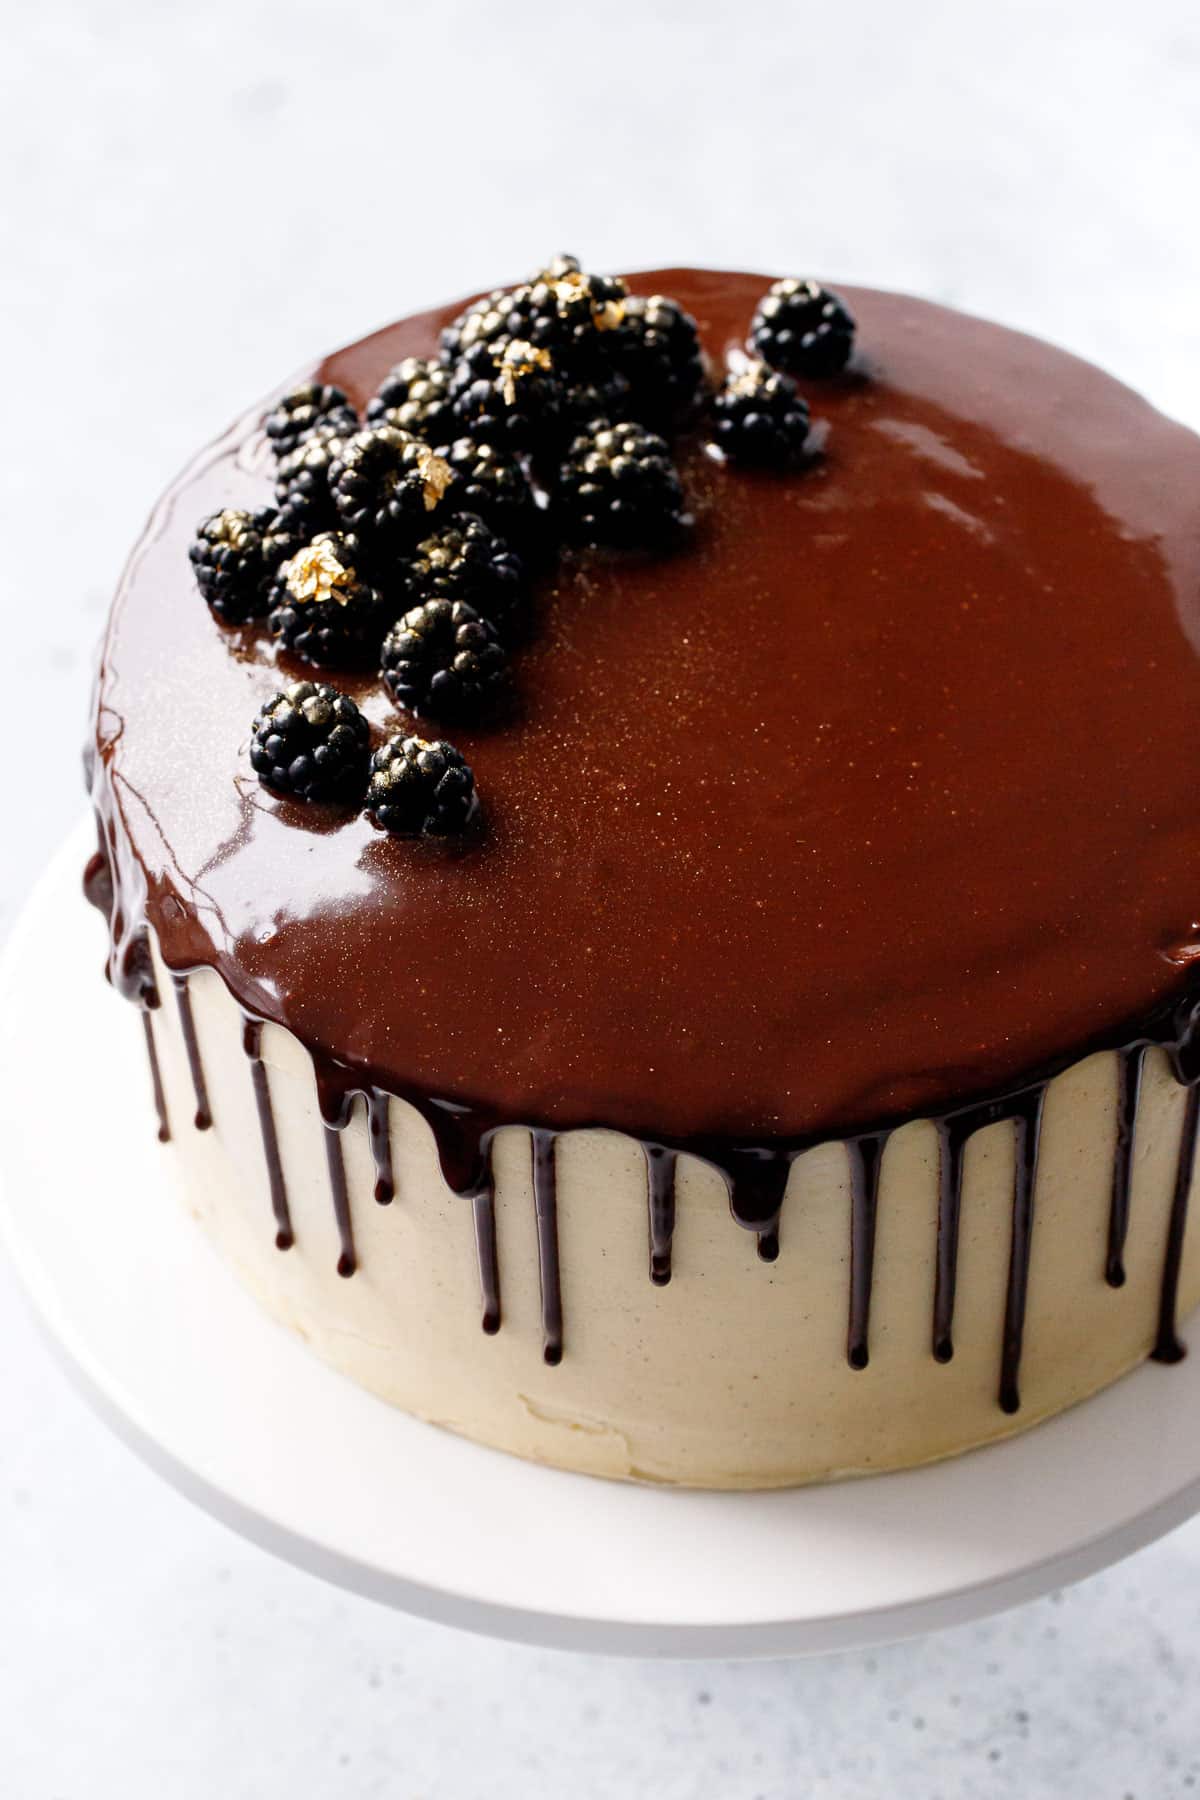
Three layers of moist, deeply chocolate cake, with blackberry preserves and a fluffy vanilla bean buttercream in between, and a drizzle of dark chocolate glaze for a dramatic effect that’s as easy as it is impressive. Top it with some gold-brushed blackberries for some serious flair!
Taylor recently celebrated a milestone birthday, and it felt appropriate to re-make one of our all-time favorite cake recipes (and yours too!) This cake was first made back in 2012, 11 years ago to the day actually (scroll down to the bottom to see the original photos if you’re looking for a laugh). Since then it’s been made and loved by countless readers and fans, for birthdays and celebrations and non-celebrations alike.
Why is it so beloved? Other than being gosh darn delicious, and easy to boot, I suspect the glamor of red wine adds to the mystique of this recipe. It just sounds fancy, doesn’t it? At its most basic it is a classic chocolate layer cake, yes, but the red wine brings out the fruity notes of the chocolate, adding a unique depth of flavor that makes for a truly unforgettable cake. Add to that a layer of blackberry preserves, a fluffy vanilla bean buttercream, and a drizzle of dark chocolate glaze… what you end up with is simply perfection (frankly there’s no other way to put it).