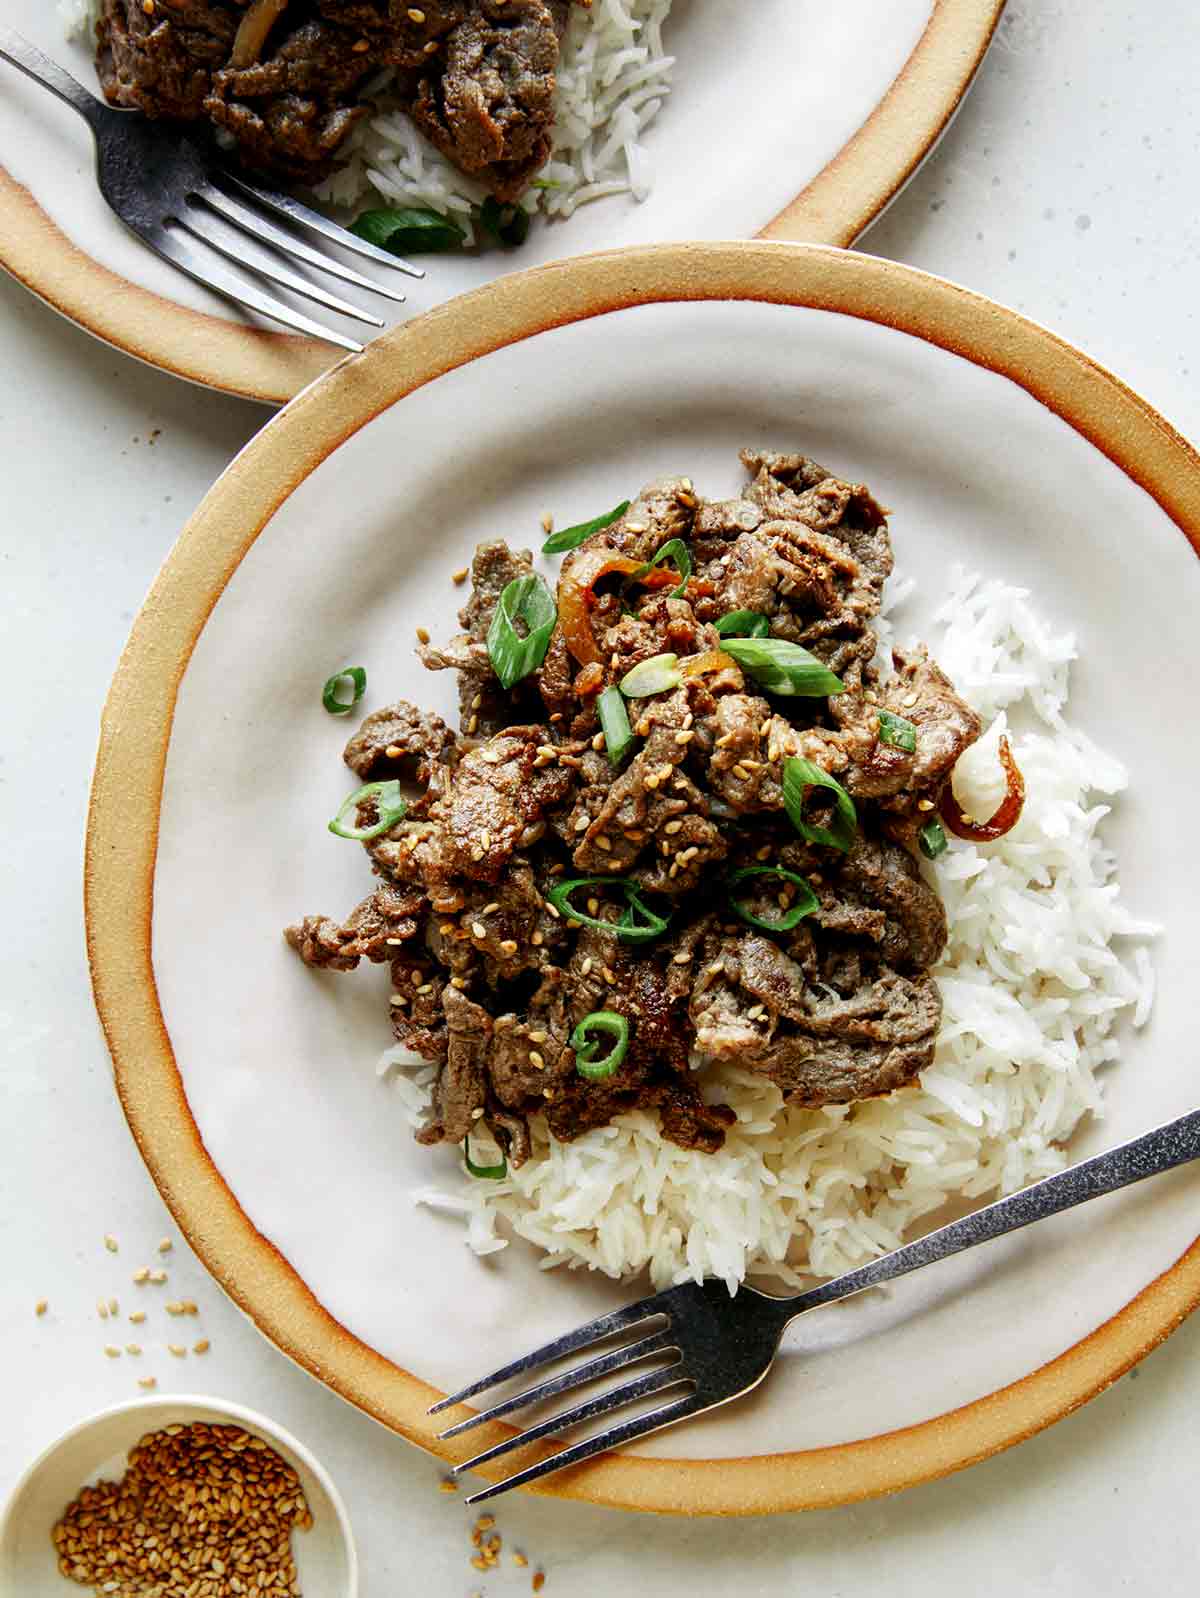
Korean Beef Bulgogi is something my mom made for dinner frequently while I was growing up. My mom’s bulgogi is a family favorite and I still look forward to it whenever we get together. Since my parents live in Chicago and I live in LA, I decided I needed to learn to make it myself, so I could enjoy it whenever I wanted.
I love that this dish can be enjoyed in so many ways. You can simply serve it with a side of steamed rice, in tacos and burritos, as a filling ingredient for kimbap, in nachos, tossed together with noodles, diced and cooked into a fried rice, the options are really endless!
What is Bulgogi and What Does it Taste Like?
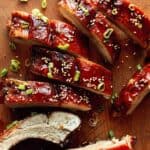
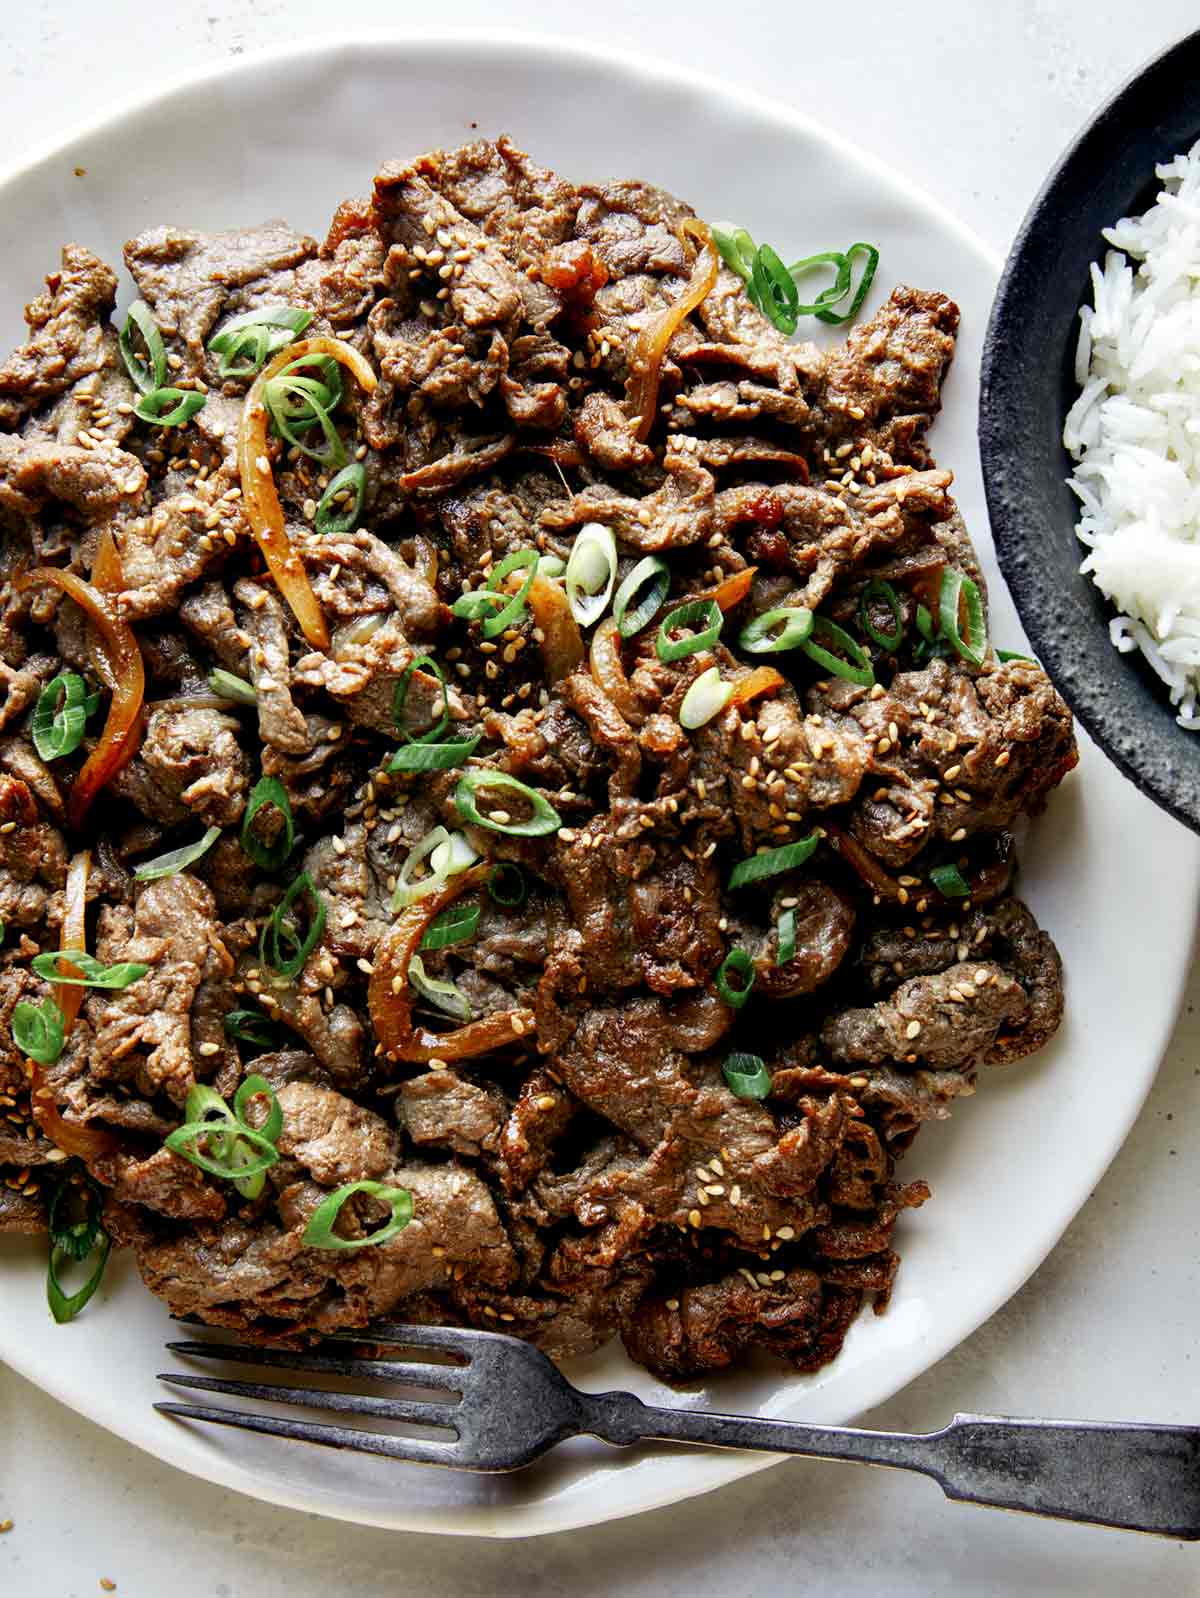
Bulgogi is a popular Korean BBQ dish (literally translating to “fire meat”) made of thinly sliced marinated beef ribeye or sirloin. The beef is marinated in a blend of soy sauce, sesame oil, onion, garlic, ginger, sugar, asian pear, and black pepper. It’s marinated for several hours which flavors and tenderizes the meat.
The flavor of bulgogi is savory, salty and sweet. Our recipe has a mildly sweet and salty flavor – more mild than other recipes or what you may have tasted from a Korean bbq restaurant. If you want to up the sweetness or the saltiness or both, just add a couple more teaspoons of brown sugar and soy sauce (or a couple extra pinches of salt) to the marinade. Also, always taste the marinade before combining it with the beef to ensure the flavor is to your liking.
How to Make Our Korean Beef Bulgogi
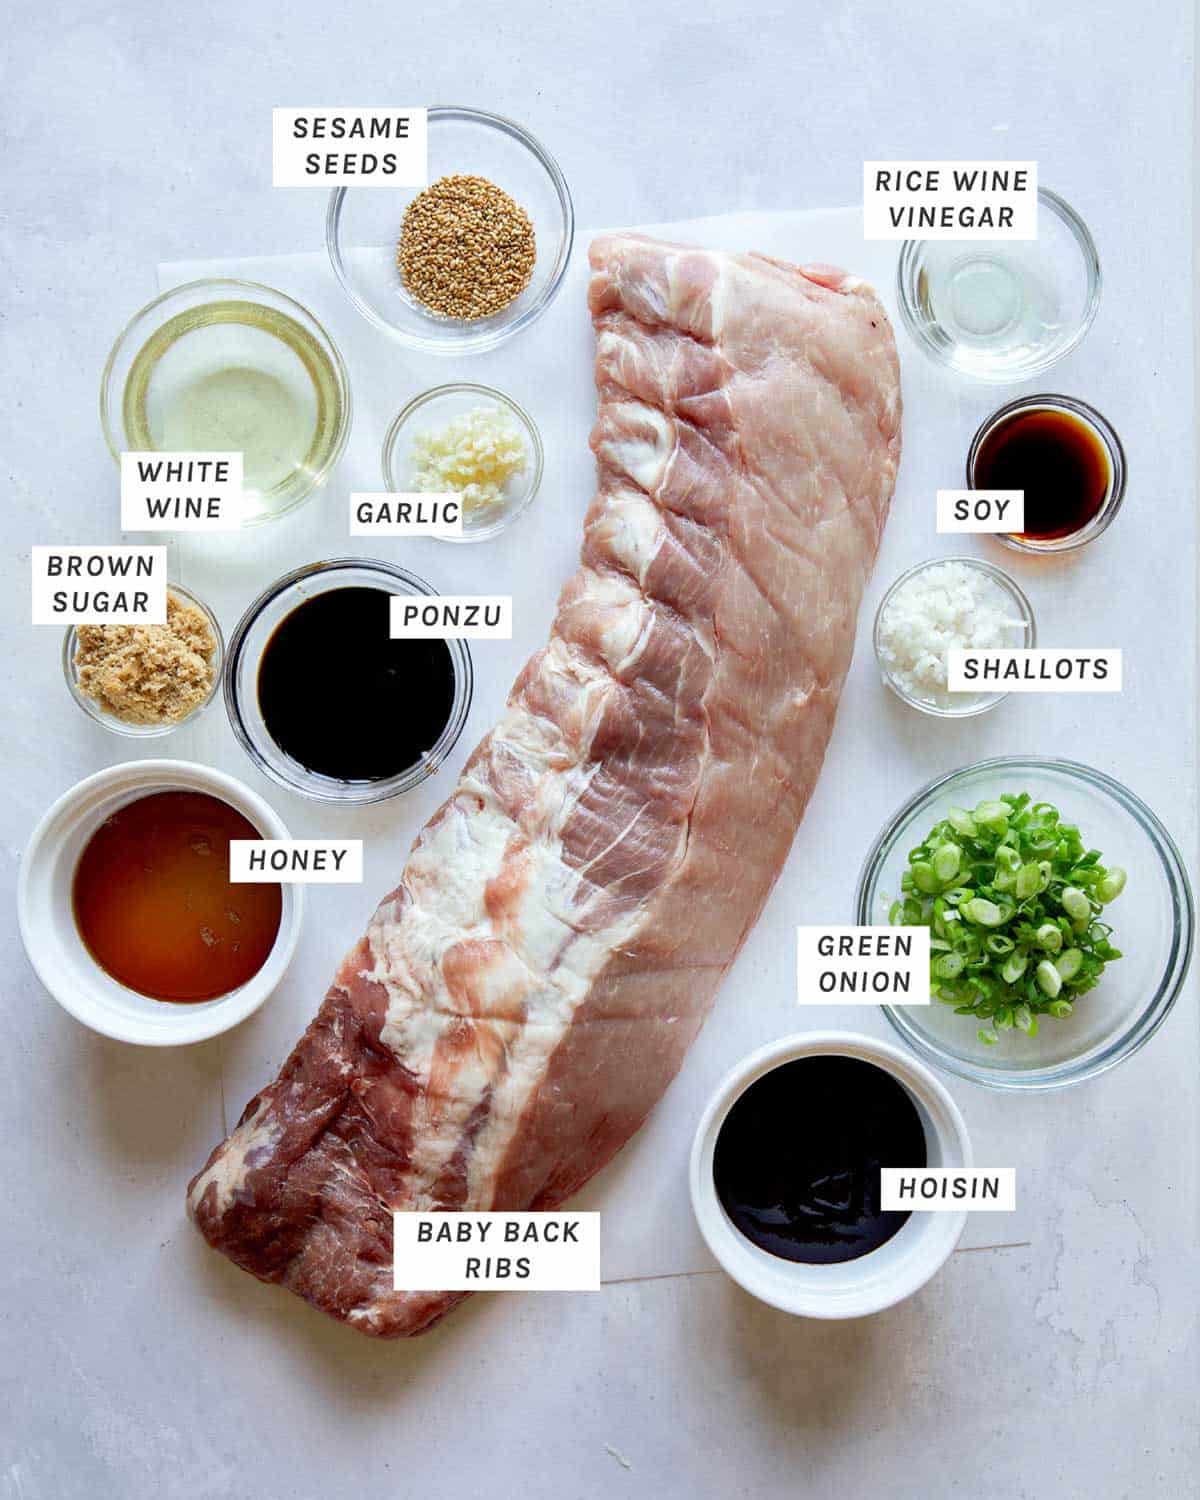
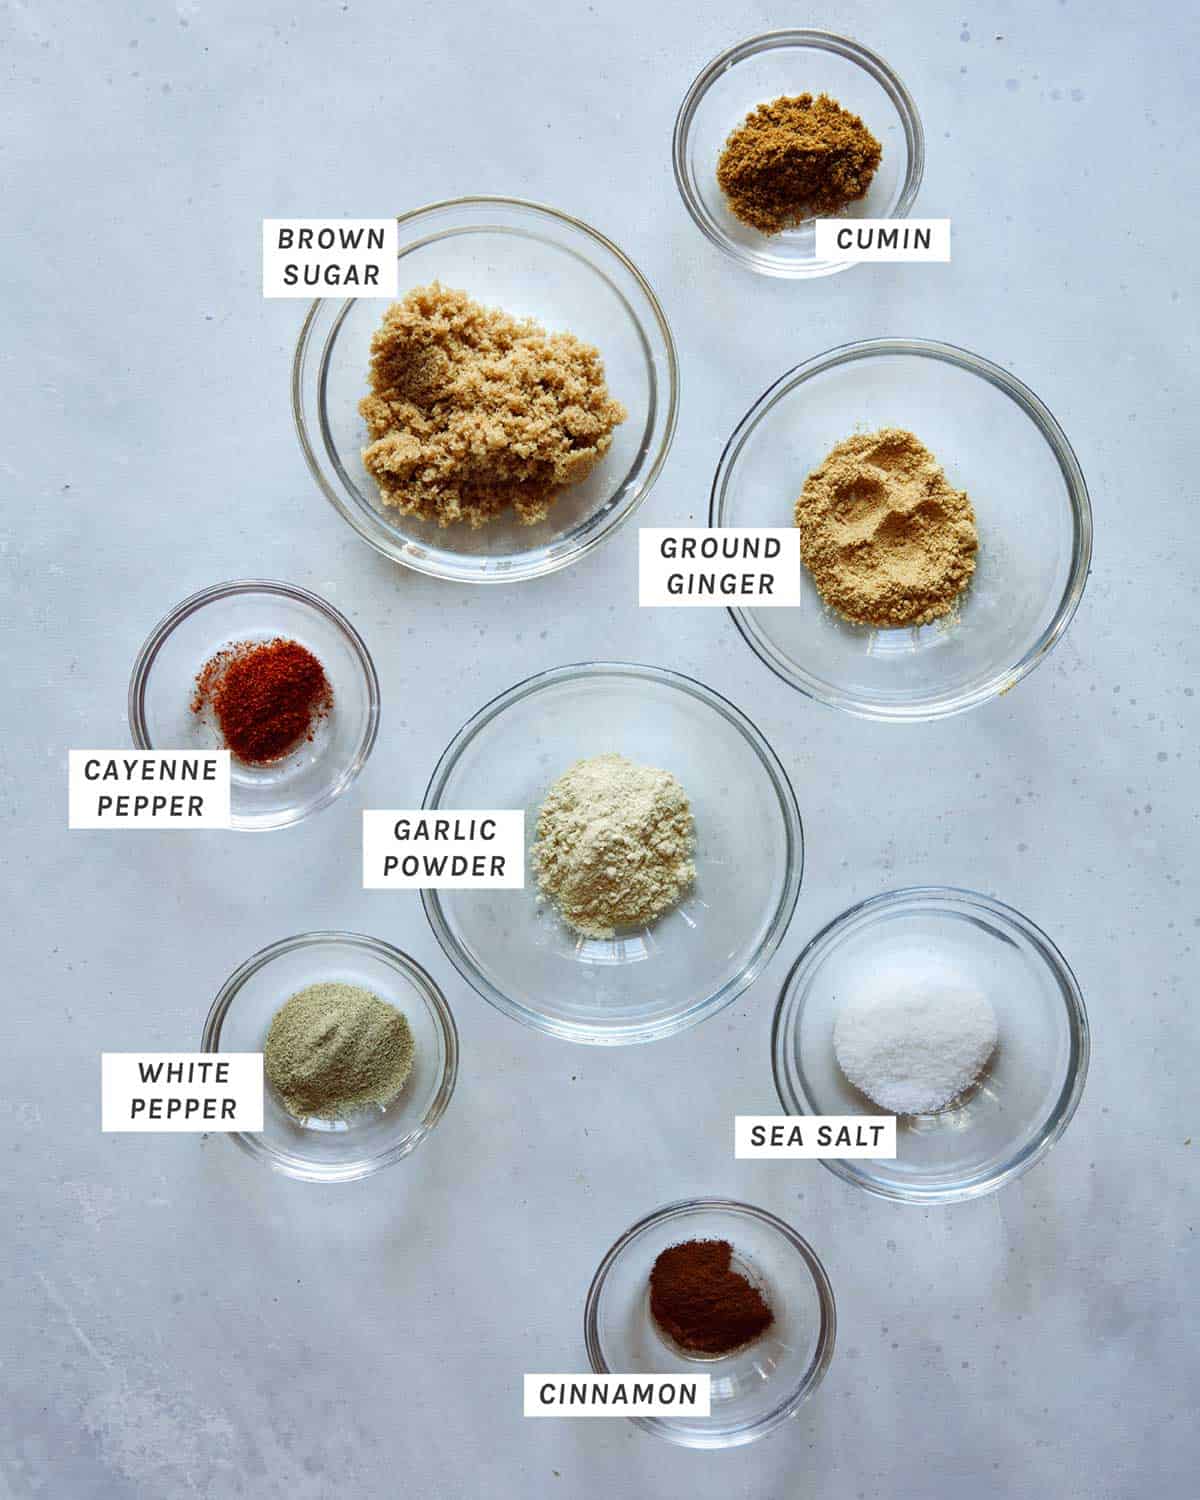
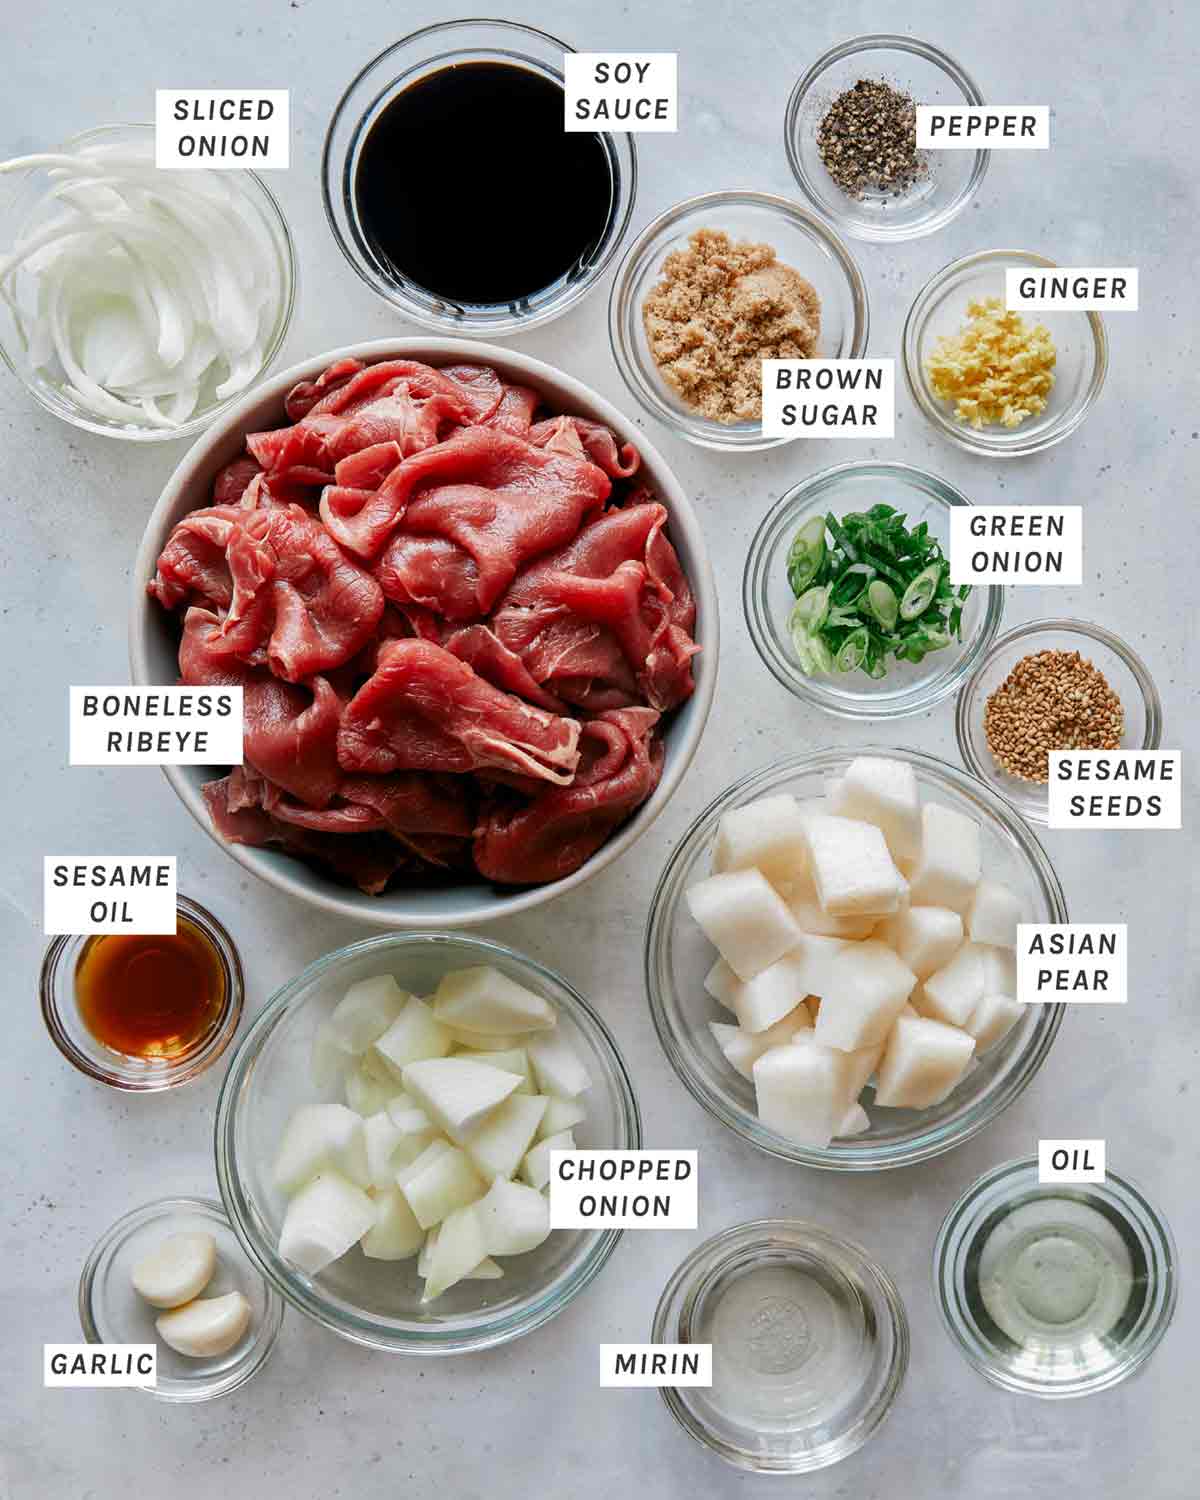
Ingredients
Process
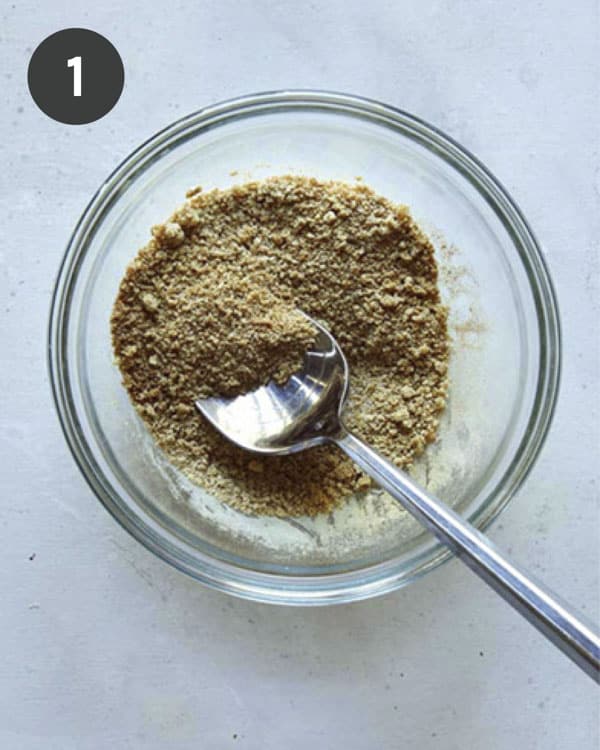
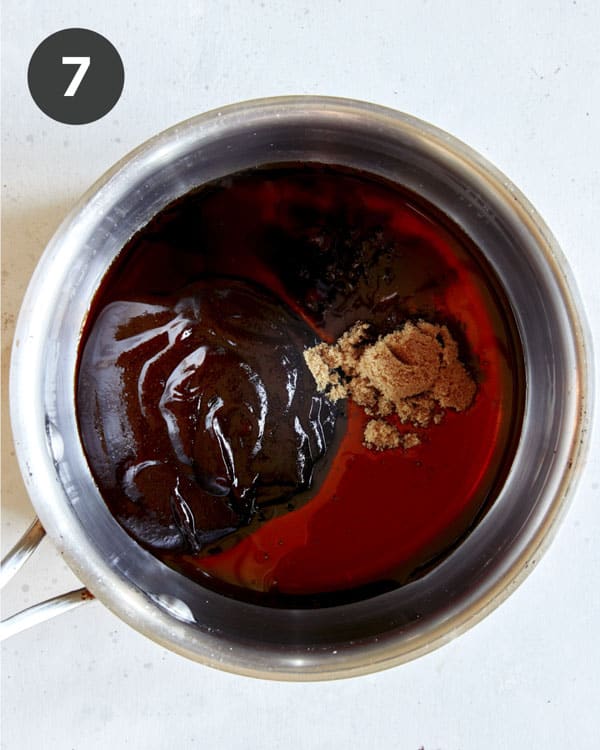
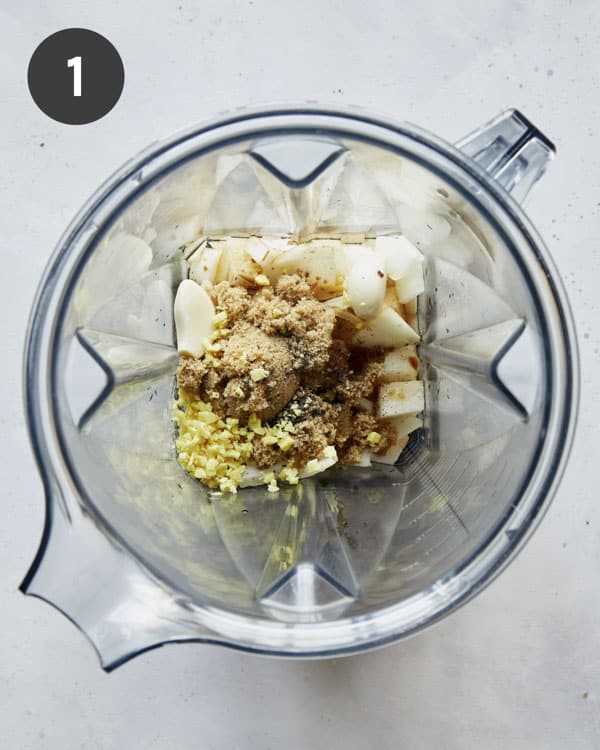
- Place all marinade ingredients into a blender.
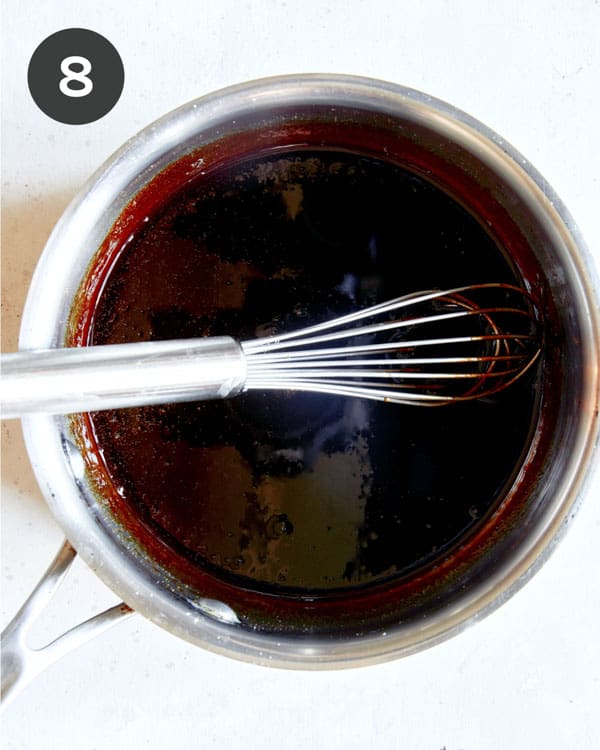
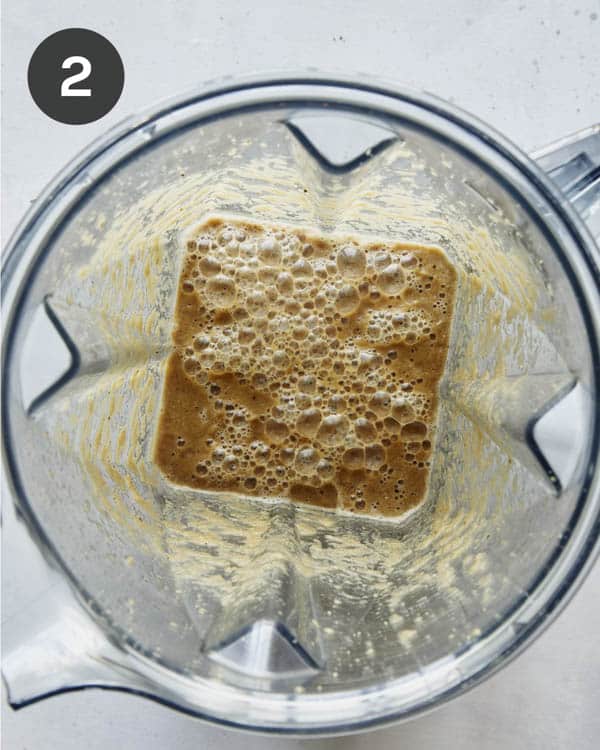
- Blend until smooth.
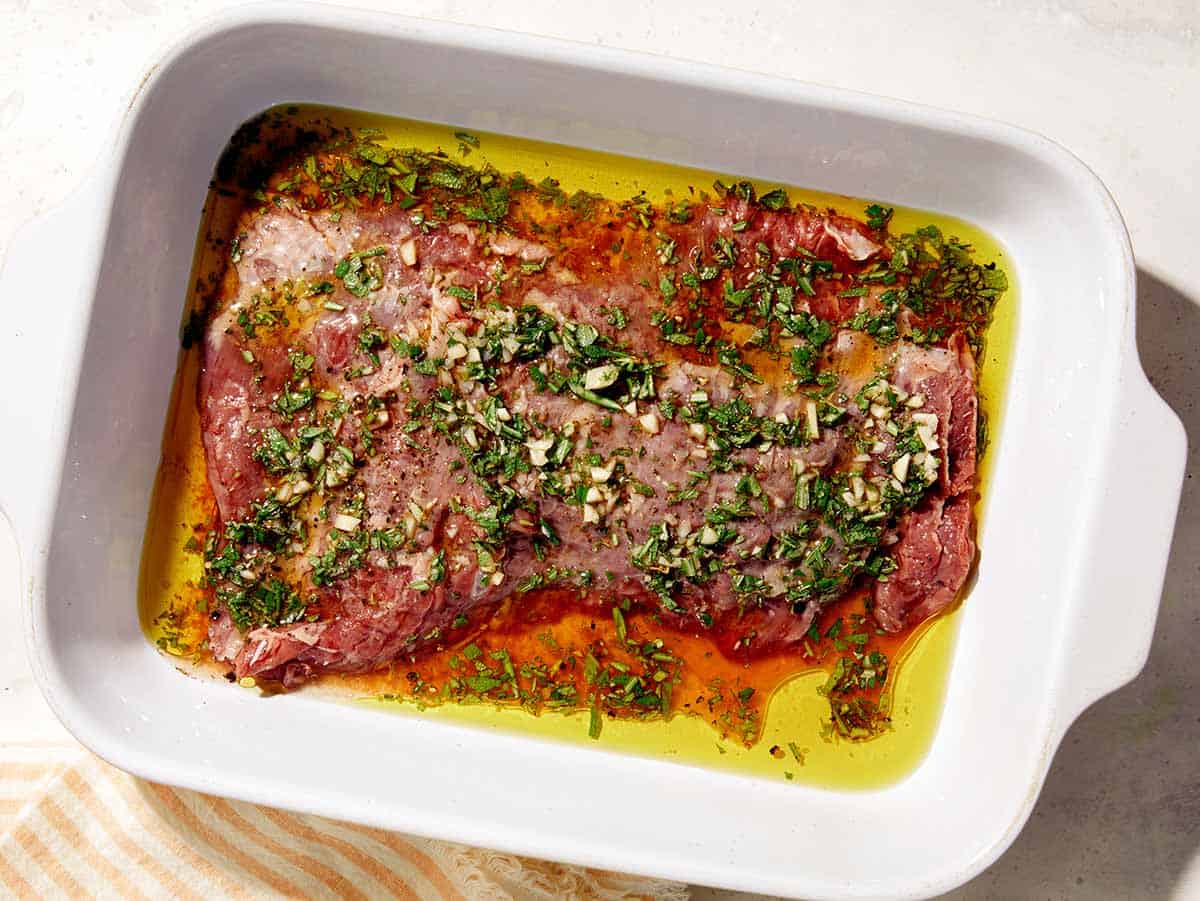
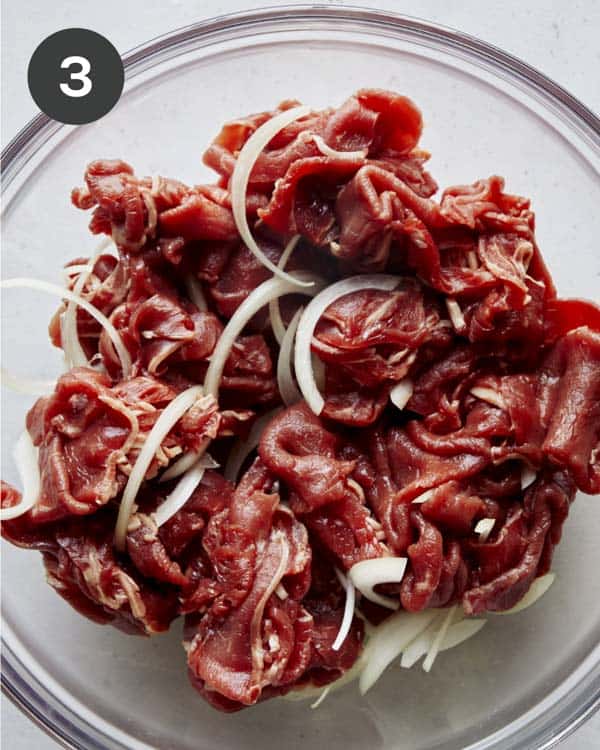
- Place beef and thinly sliced onion into a mixing bowl and toss together.
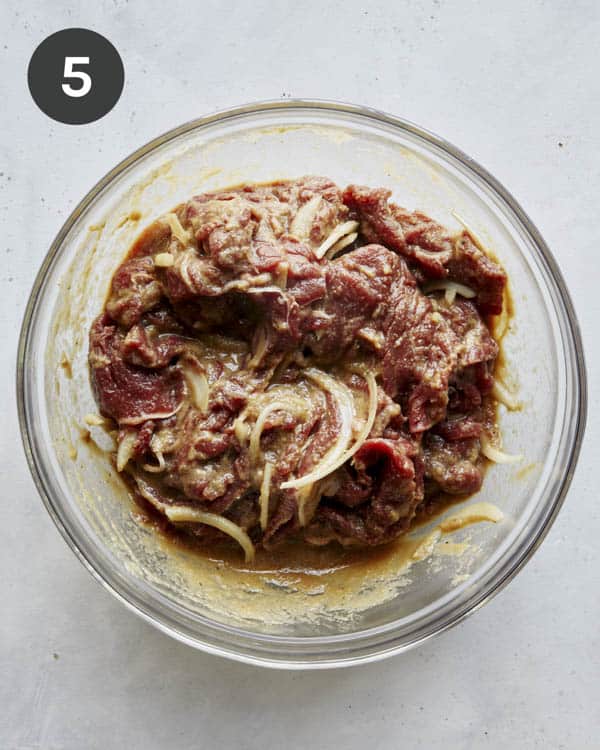
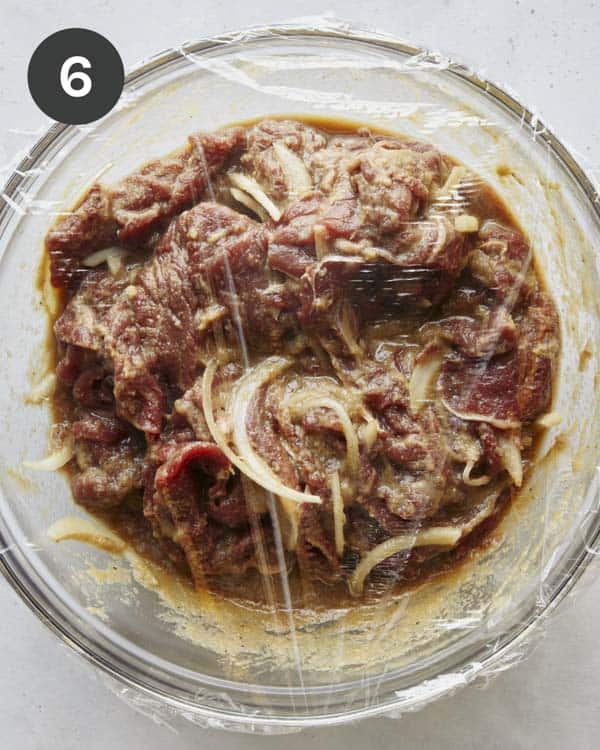
- Pour marinade over beef and onion mixture.

- Mix together until all beef is well and evenly coated.
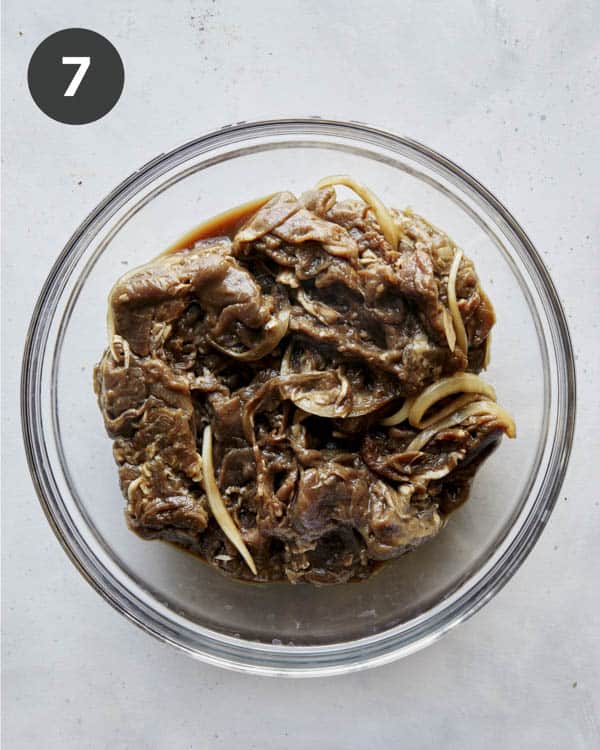
- Cover beef and refrigerate for at least 6 hours and up to 24 hours.
- Remove from refrigerator, uncover and allow mixture to sit for about 10 minutes.
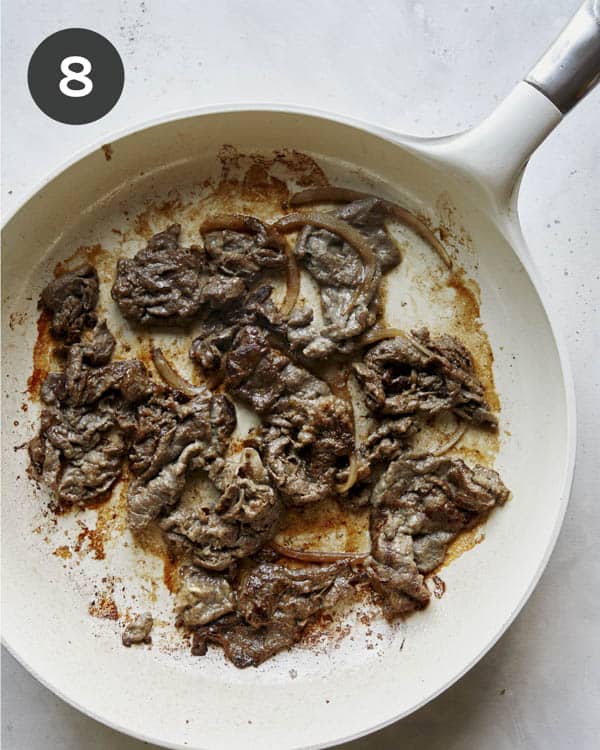
- Place a large skillet over medium-high heat. Once skillet is hot add half vegetable oil and swirl to coat. Add half beef and onion mixture and cook, stirring beef as needed until cooked through. Transfer beef to a plate. Add remaining oil to skillet followed by remaining beef and onion and repeat until beef has just cooked through and sliced onions just begin to soften. Remove from heat and combine with rest of the cooked bulgogi.
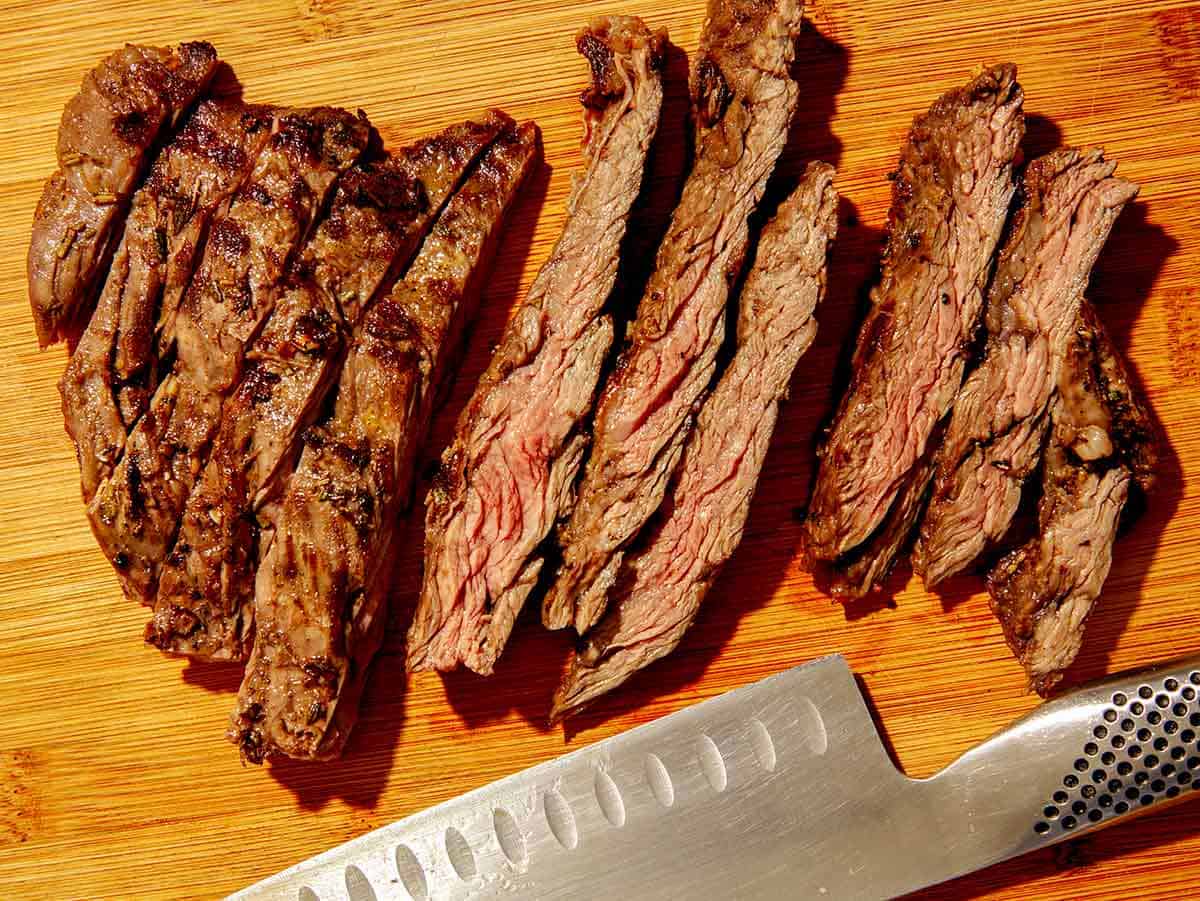
Best Cuts of Beef to Use for Bulgogi
Boneless ribeye steak is our cut of choice for this recipe and the most popular because it is tender and flavorful with nice marbling. Sirloin is also commonly used to make bulgogi and is slightly leaner that ribeye. You can also use flank steak in a pinch with good results, but the texture won’t be quite as tender.
Where to Find Pre-Shaved Beef for Bulgogi
Shaved (or very thinly sliced) beef can be found at practically all Korean, Chinese and Japanese markets and most other asian markets. Some Trader Joes locations also sell shaved ribeye!
If you’re unable to find pre-shaved or thinly sliced beef, you can buy a boneless steak and slice it yourself. If you do decide to slice it yourself make sure to partially freezing the beef first in your freezer (about 15 to 30 minutes) before attempting to slice it. Partially freezing the beef makes it way easier to slice very thin and even pieces.
Grilling vs Pan Searing
Bulgogi can be cooked on both a grill or in a pan/skillet. If using a pan or skillet natural juices will release and gather in the pan, which is often enjoyed with the cooked beef. If using a grill, there will be a distinct ‘char-grilled’ flavor. The flavors will be ever so slightly different depending on how the beef is cooked, but equally delicious!
Can Bulgogi be Frozen?
Yes, our Korean Beef Bulgogi recipe can be marinated and frozen (uncooked) ahead of time for up to 2 months.
Freezing Instructions
Marinate beef for at least 6 hours. Transfer mixture to a freezer-proof ziploc bag, removing all the air, and seal. Freeze for up to 2 months. When ready to use, thaw beef in the refrigerator overnight. Drain off any excess liquid from the bag. Cook bulgogi in skillet with oil over high heat for 4 to 6 minutes, flipping halfway through, and serve.
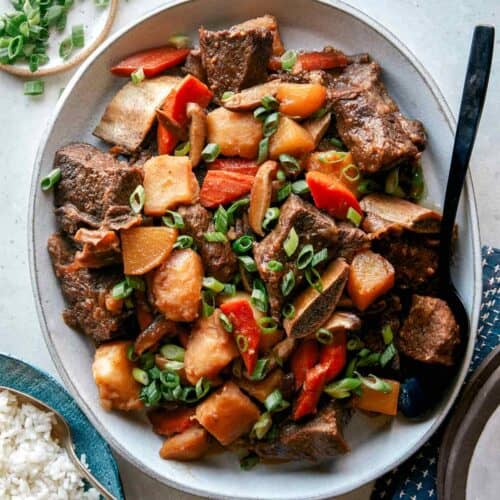
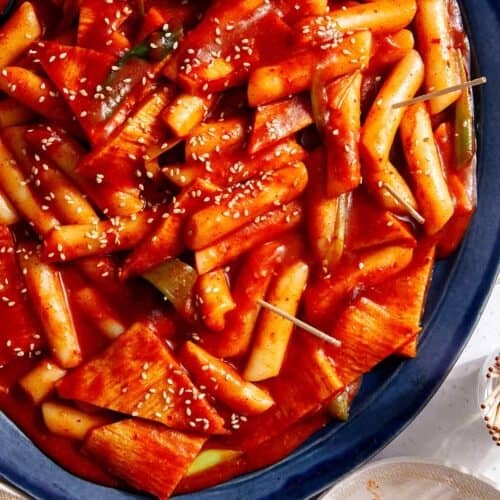
More Delicious Korean Recipes You Will Love


Korean Beef Bulgogi
Ingredients
beef
- 1½ pounds boneless ribeye shaved or very thinly sliced
- ½ small yellow onion thinly sliced
- 2 tbsp vegetable oil
beef marinade
- 1/2 cup soy sauce
- 3 tbsp brown sugar
- 2 tbsp mirin (rice wine)
- 1 tbsp sesame oil
- ¼ tsp cracked black pepper
- 1 small Asian pear (about 6 ounces) peeled cored and chopped (or 1 sweet apple such as gala)
- ½ small yellow onion chopped
- 2 garlic cloves
- 1 tsp minced ginger
garnish
- 1 green onion thinly sliced
- 1 tsp toasted sesame seeds
Instructions
beef
- Place beef and thinly sliced onion into a mixing bowl and toss together.
marinade
- Place all marinade ingredients into a blender and blend until smooth.
- Pour marinade over beef and onion mixture and mix together until all beef is well and evenly coated.
- Cover beef and refrigerate for at least 6 hours and up to 24 hours.
- Place a large skillet over medium-high heat. Once skillet is hot add half vegetable oil and swirl to coat. Add half beef and onion mixture and cook for 4 to 6 minutes, stirring beef as needed until cooked through. Transfer beef to a plate. Add remaining oil to skillet followed by remaining beef and onion and repeat until beef has just cooked through and sliced onions just begin to soften. Remove from heat and combine with rest of the cooked bulgogi.
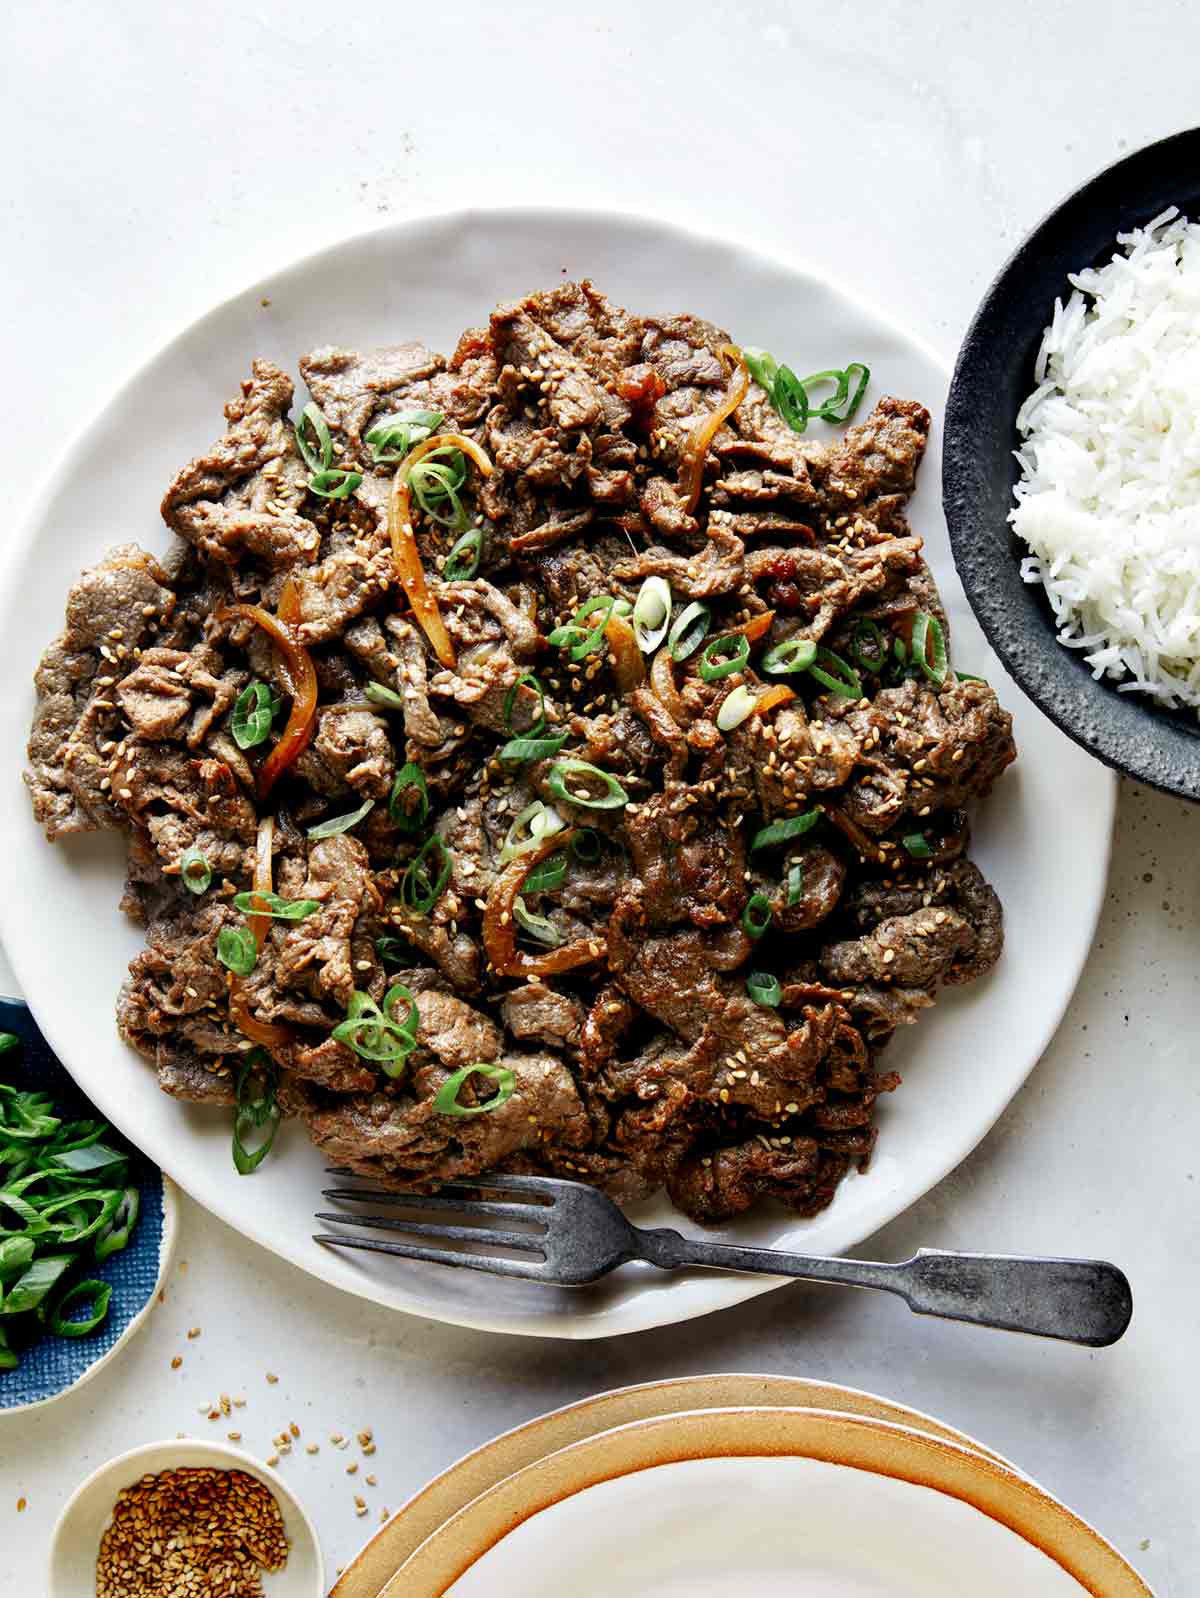
- Top bulgogi with remaining green onion and sesame seeds and serve with rice.
Notes
Nutrition
The post Korean Beef Bulgogi appeared first on Spoon Fork Bacon.