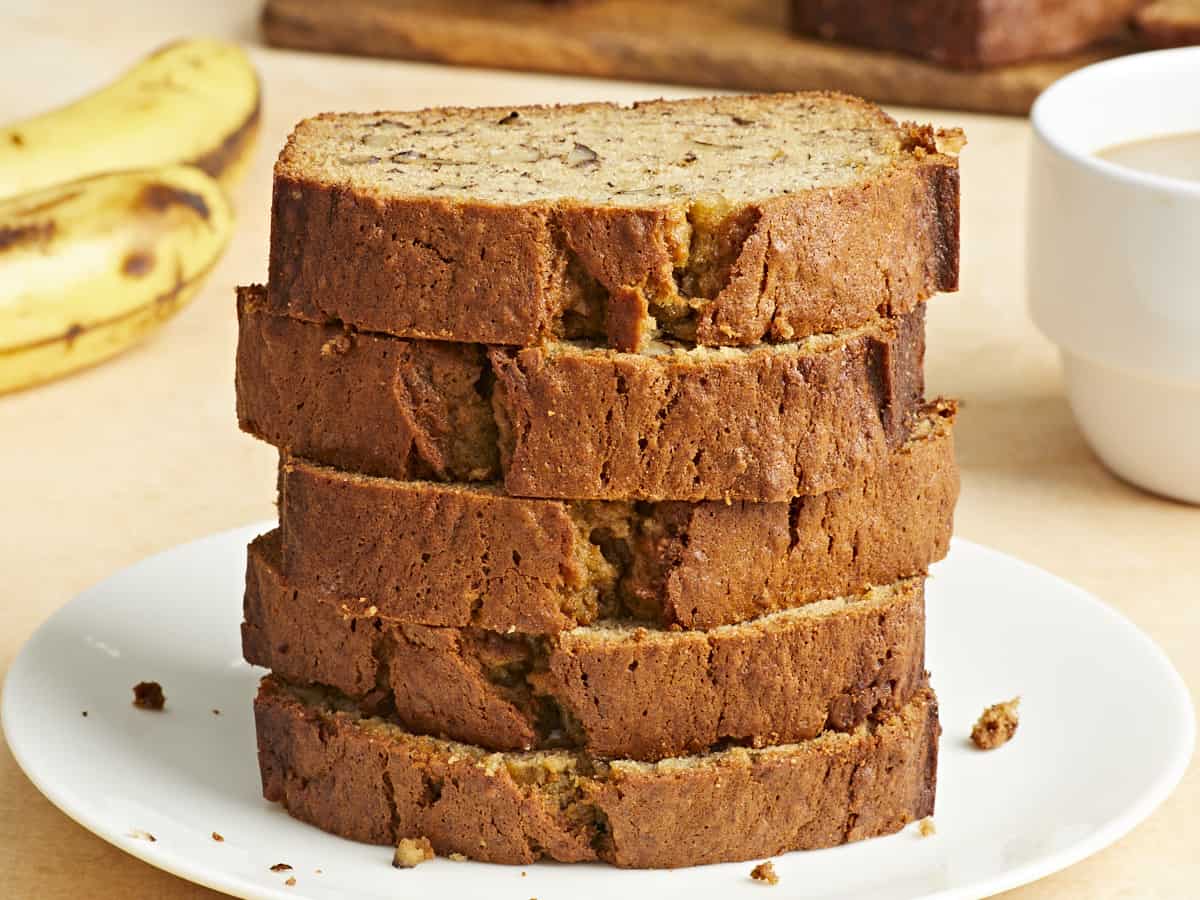
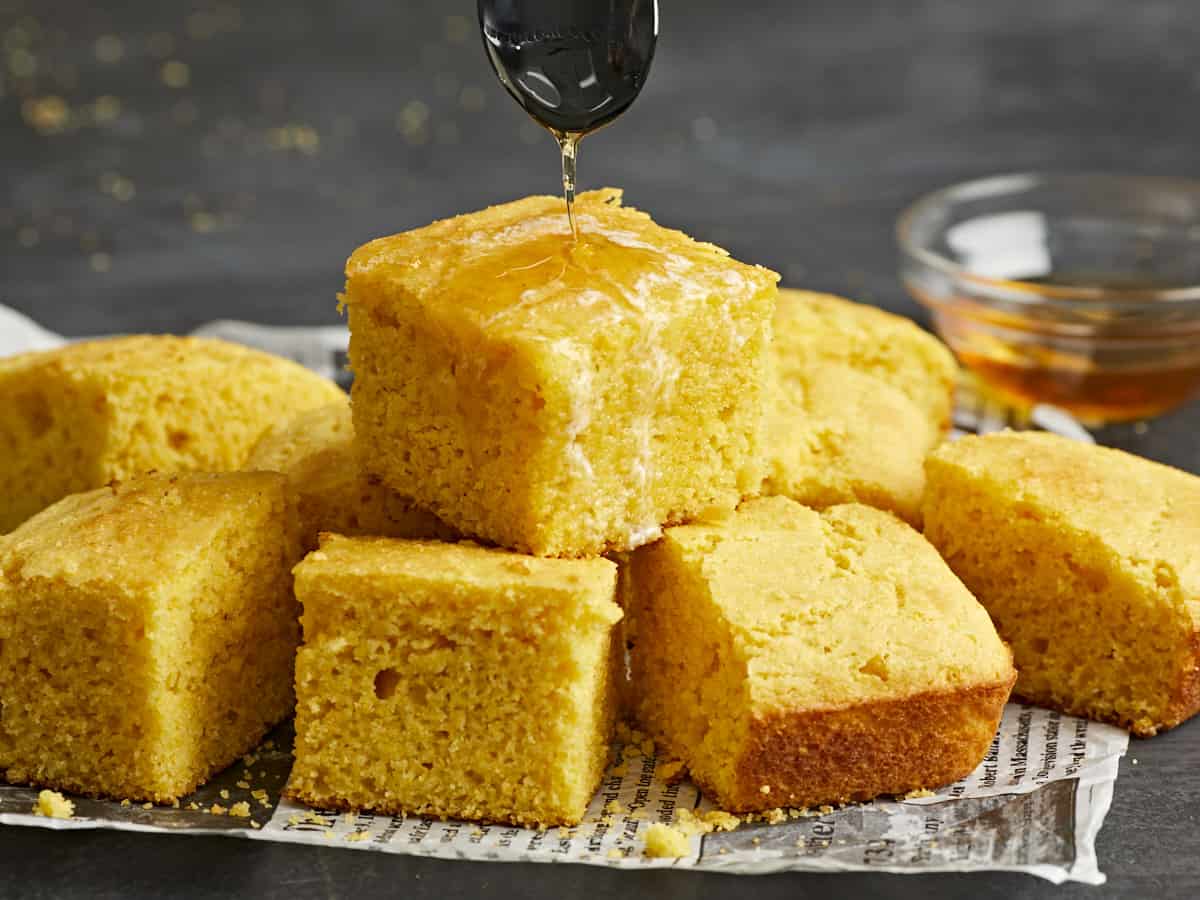
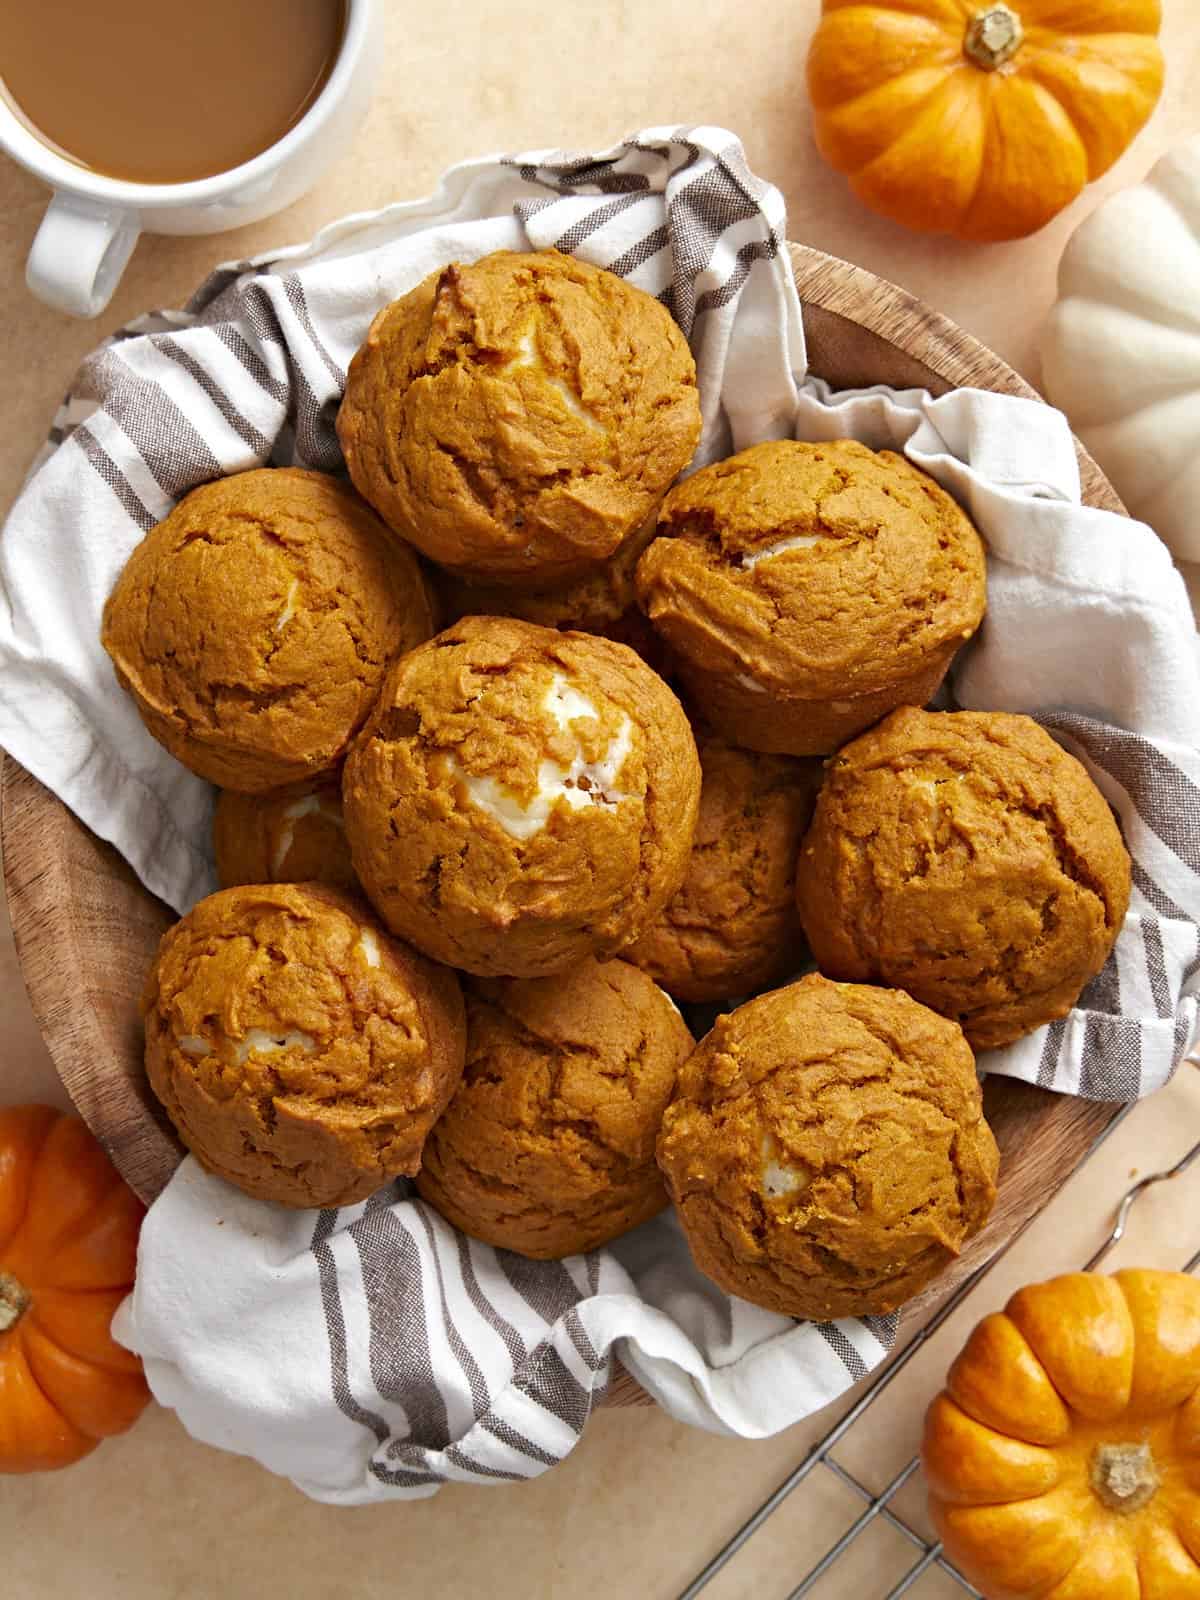
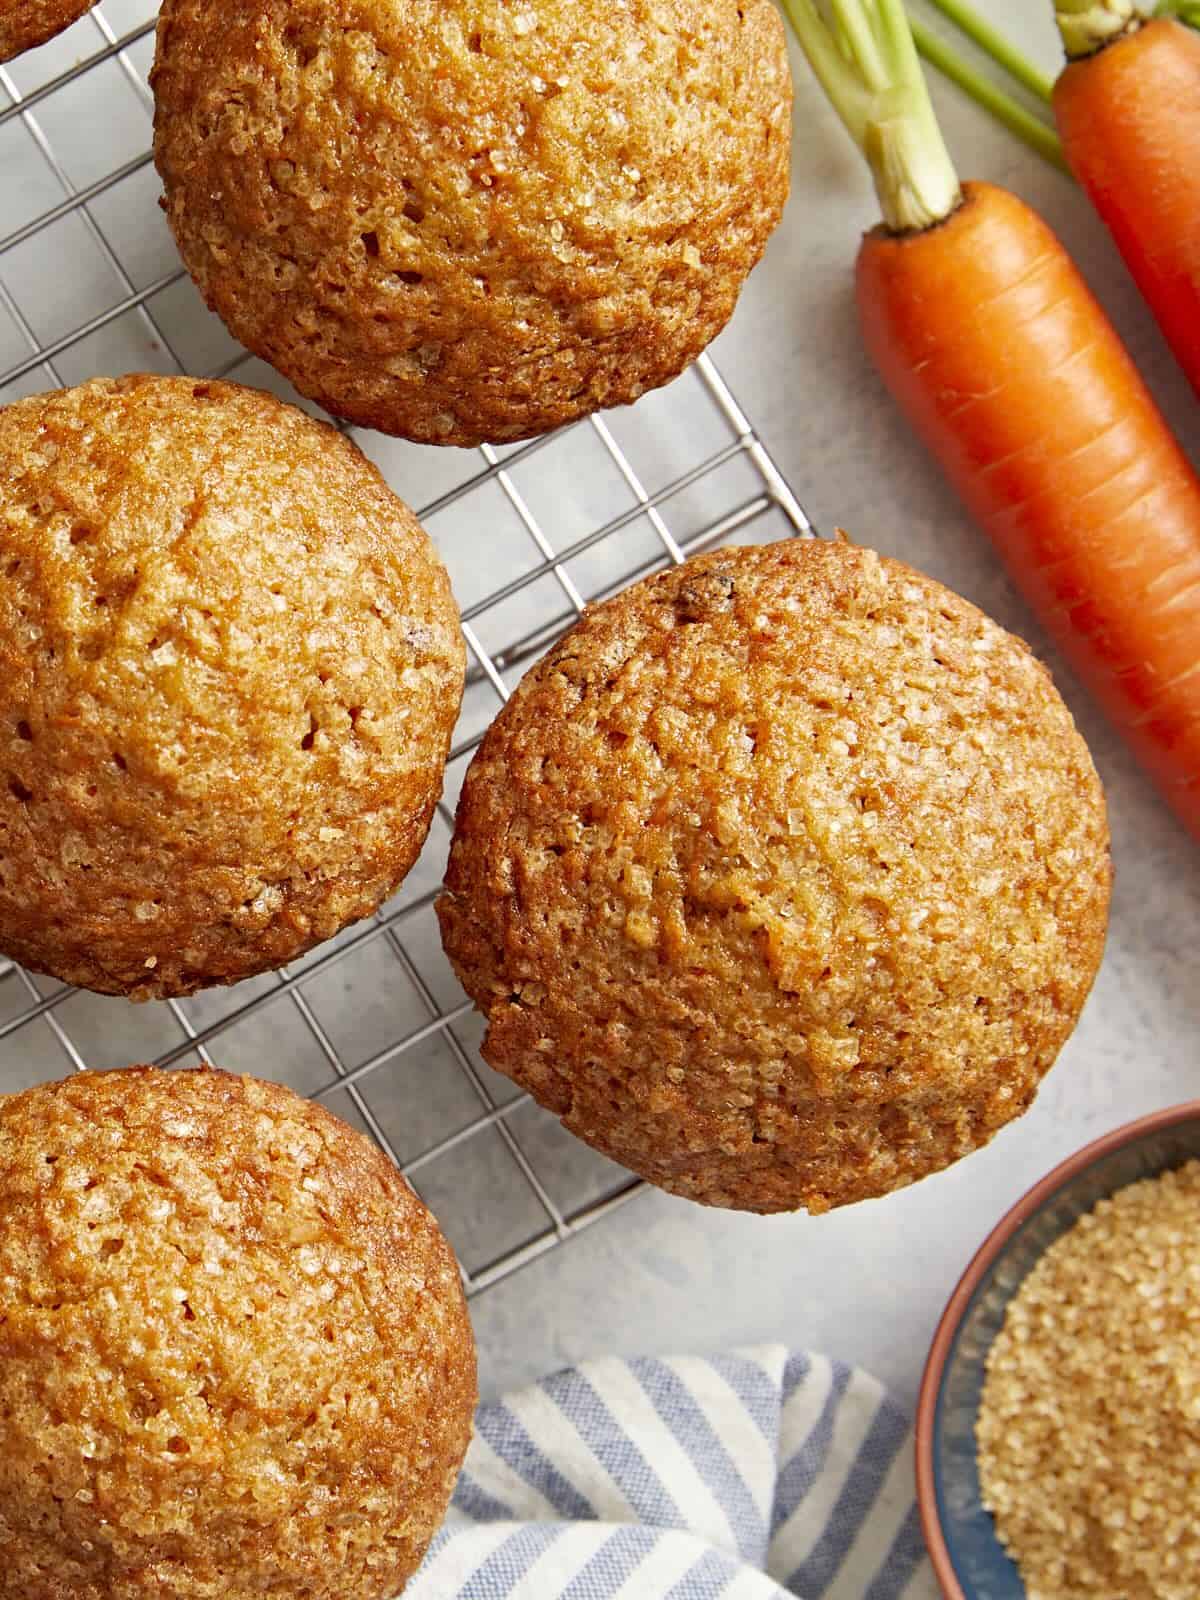
Carrot cake is one of those recipes where some people love it and others strongly dislike it. Well today, these Carrot Cake Muffins deserve to be in a class of their own. They’re soft, fluffy, and perfectly moist with all the wonderful flavors of carrot cake, but in a convenient, easy to share muffin size. And spoiler alert, I’m a carrot cake lover, so I’ll be enjoying these muffins all season long! Have fun adding your favorite carrot cake mix-ins like sweet raisins and walnuts, or you can keep things simple and save a little bit on your budget. Either way you’re guaranteed to love these delicious carrot cake muffins.

Ingredients For Carrot Cake Muffins
I used my zucchini muffins recipe, that I absolutely love, as inspiration for these muffins. I adjusted the measurements and added a few extra spices to fit the flavor profile of carrot cake. The results were absolutely ahhmazing! Here’s everything you need:
- Carrots: Carrots are of course the star of the show, so you’ll need about 3-4 large whole carrots, finely grated for this recipe.
- All-Purpose Flour: All-purpose flour gives the muffins structure. You can safely substitute up to half of the flour for whole wheat flour without affecting the flavor or texture too much.
- Baking Powder & Baking Soda: These are both leavening agents to help the muffins rise. I use both due to the extra acidity from the applesauce.
- Eggs: Eggs to help bind all of the muffin ingredients together.
- White Granulated Sugar & Dark Brown Sugar: The combination of both sugars help balance the sweetness, moisture and texture of the muffins.
- Applesauce & Oil: The combination of both cooking oil and applesauce keeps the muffins moist, but not too oily, and you gain more flavor and moisture by incorporating the applesauce.
- Cinnamon, Nutmeg & Ginger: These are classic spices that are often found in carrot cake. We use the right amount of each one to give these carrot cake muffins a wonderful flavor!
- Vanilla: A touch of vanilla extract adds more rich flavor to the carrot muffins.
- Golden Raisins: The added raisins were honestly my favorite part of the muffins. They added a subtle sweetness and more texture to the muffins. Feel free to use regular raisins instead of golden raisins if that’s what you have on hand.
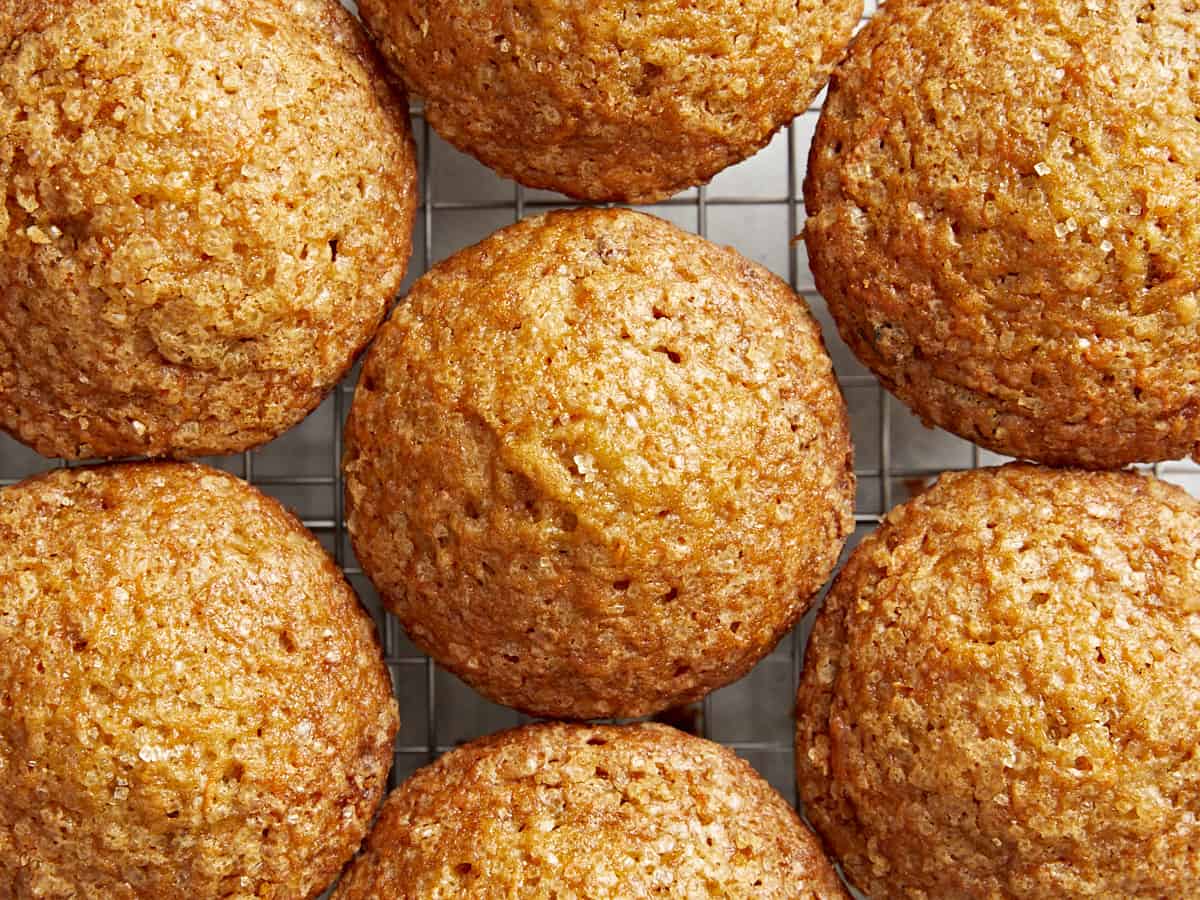
- Turbinado Sugar (optional): Adding a sprinkle of turbinado sugar on top of each muffin is totally optional, but such a special treat. It gives each muffin a sweet and light crunch on the top. If you don’t have turbinado sugar, no worries, these muffins are still delicious without it.
How To Grate Your Carrots
As I mentioned above, you definitely want to grate fresh whole carrots for this recipe. Although its tempting to buy pre-shredded matchstick carrots at the grocery store, they simply are not moist enough for these muffins. They also aren’t grated fine enough and won’t mix well with the batter. Grating fresh carrots yourself is the way to go!
Also, most box graters come with a coarse, medium, and fine grating side. I tested these muffins using both medium and finely grated carrots. The finely grated carrots were the winner! They blended better in the batter and provided a bit more moisture compared to the medium-size grated carrots.
Recipe Tips & Add-Ins
- Don’t over mix the batter! Over-mixing will cause the muffins to become dense instead of light and fluffy. Mix the dry and wet ingredients together until they are just barely combined and there are no traces of dry flour left in the bowl.
- Oil your muffin pan really well. Even if you are using a nonstick muffin pan, make sure to oil it well or use cupcake liners to prevent your muffins from sticking to the pan.
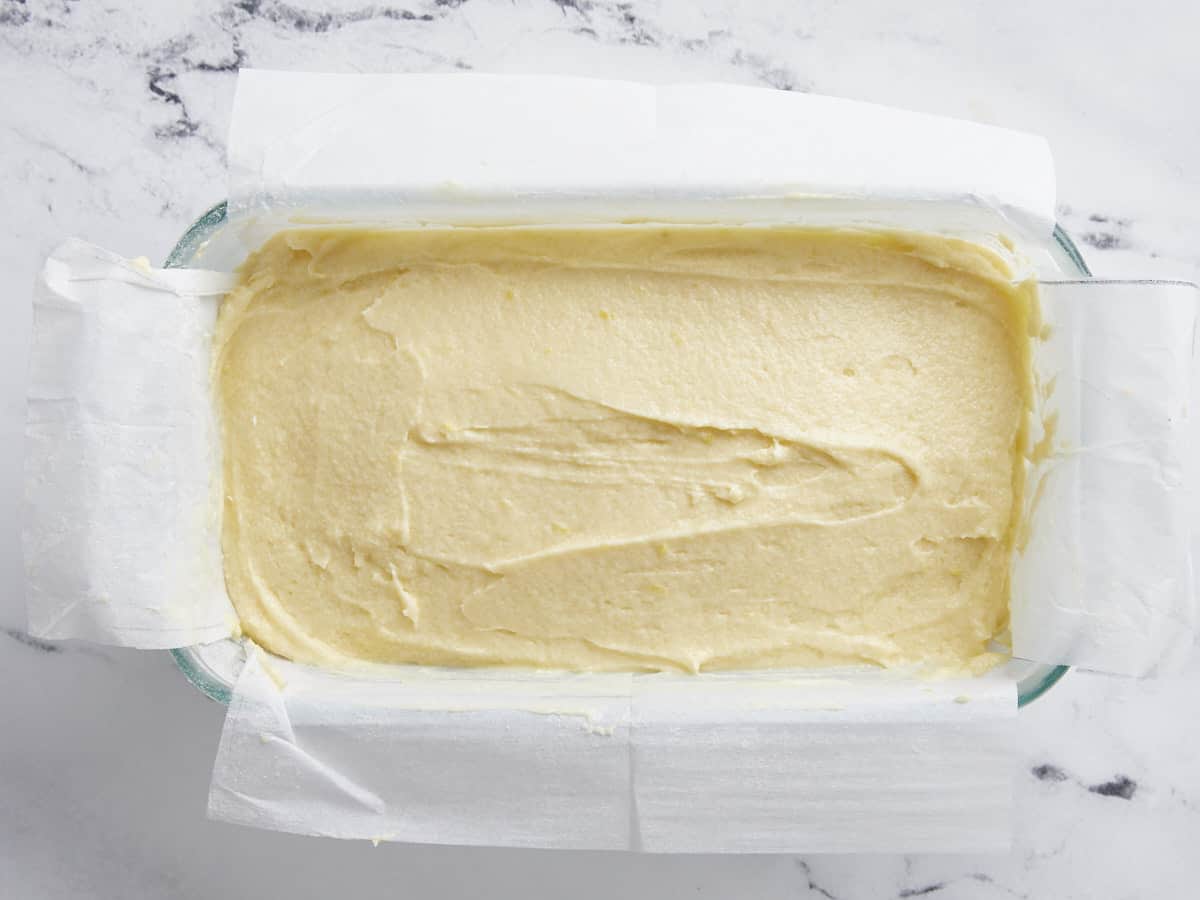
- You can easily stretch this batter and get 12 regular size muffins. I wanted larger, bakery style muffins, so I divided the batter into ten muffin wells.
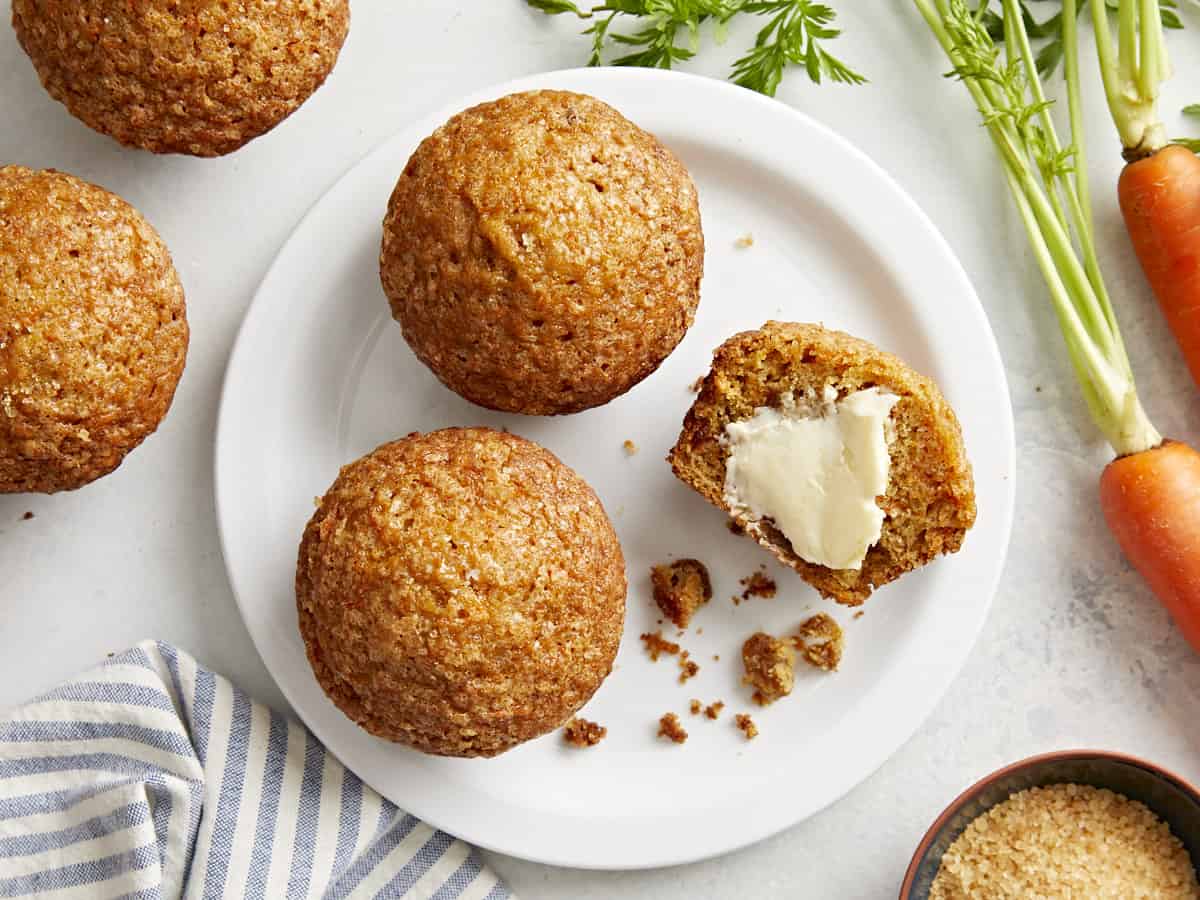
- If you want even more of a carrot cake taste, try adding some chopped walnuts, pecans, or shredded coconut to the batter. And if you really want to take these carrot muffins over the top, add some cream cheese frosting on top! ;)
How To STore Carrot Cake Muffins
Allow the muffins to cool completely at room temperature before storing. You can store leftover carrot cake muffins in an airtight container or a food storage bag in the fridge for 4-5 days. For longer storage, store in a freezer-safe storage bag for up to 3 months. Thaw frozen muffins at room temperature or microwave for about 30 seconds until warm.
Carrot Cake Muffins
Equipment
Ingredients
- 2 cups finely grated carrots (3-4 large carrots) $0.57
- 2 large eggs $0.33
- 1/2 cup dark brown sugar $0.28
- 1/2 cup granulated sugar $0.20
- 1/3 cup sweetened applesauce $0.18
- 1/2 cup cooking oil $0.32
- 1 tsp vanilla extract $0.50
- 1 1/2 cups all-purpose flour $0.30
- 1 tsp baking powder $0.06
- 1/2 tsp baking soda $0.02
- 1/2 tsp salt $0.04
- 1 tsp cinnamon $0.10
- 1/4 tsp ground nutmeg $0.05
- 1/2 tsp ground ginger $0.05
- 3/4 cup golden raisins $1.49
- 1 Tbsp turbinado sugar* $0.06
Instructions
- Preheat the oven to 350°F. Wash, peel and grate the carrots using the small/fine holes on a box grater. Set the grated carrots to the side.
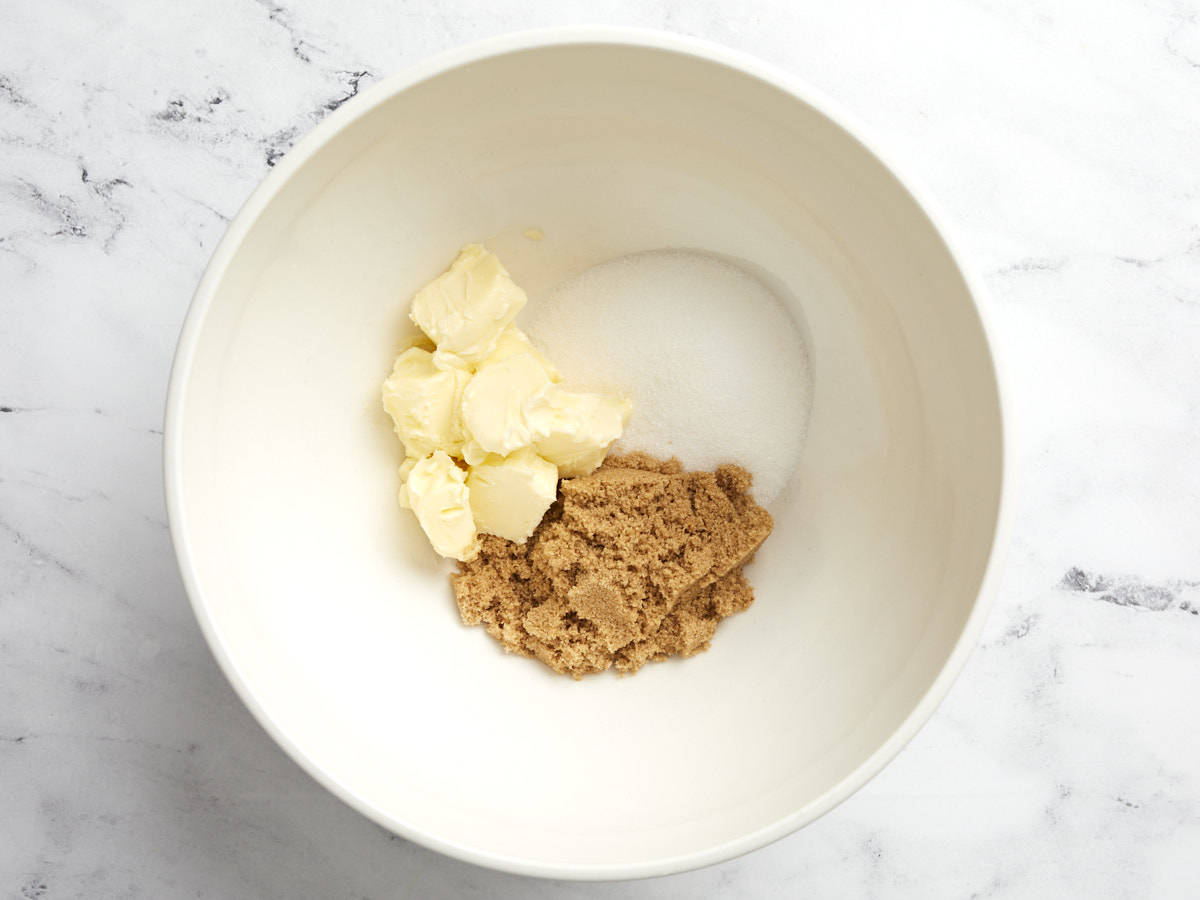
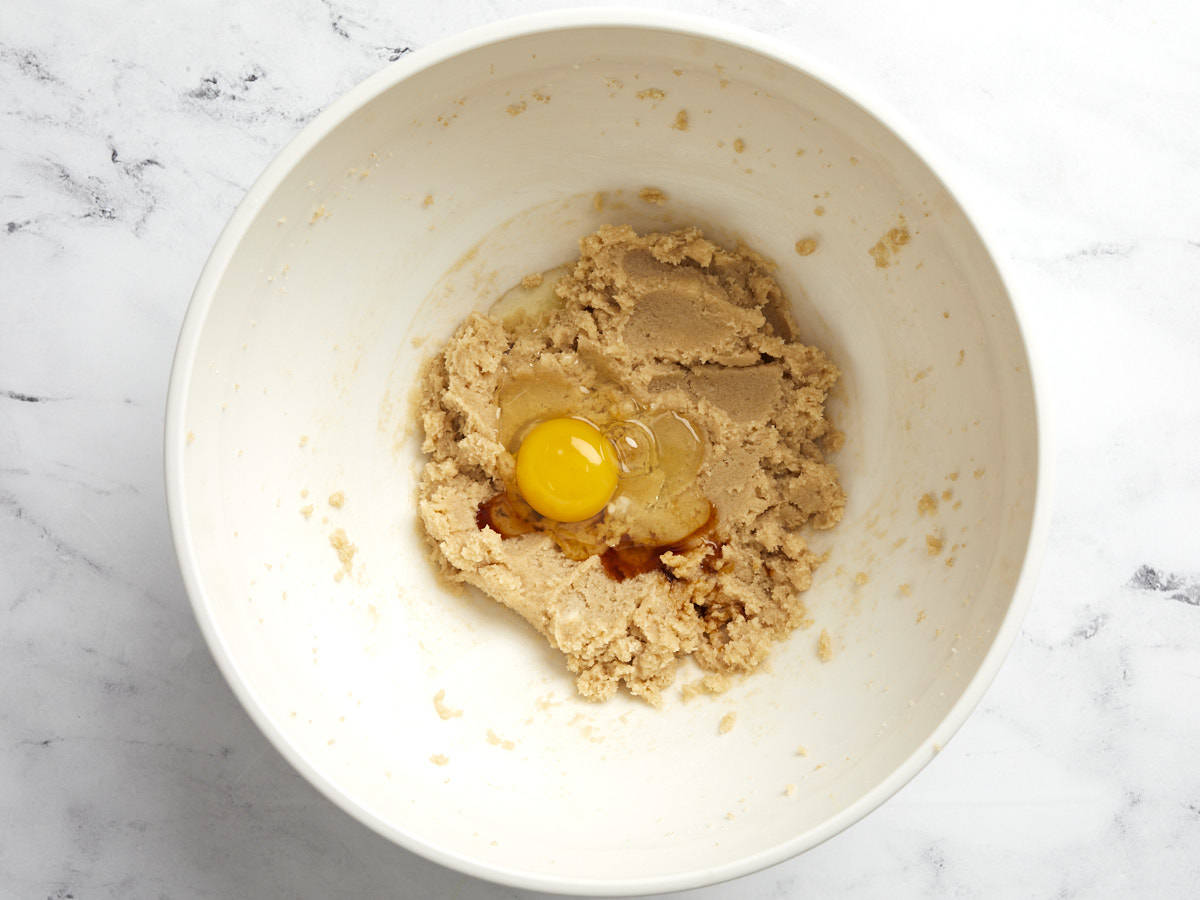
- In a large bowl, whisk together the wet ingredients (eggs, dark brown sugar, granulated sugar, applesauce, oil and vanilla extract) until well combined.
- Add the grated carrots to the bowl with the wet ingredients. Stir until combined.
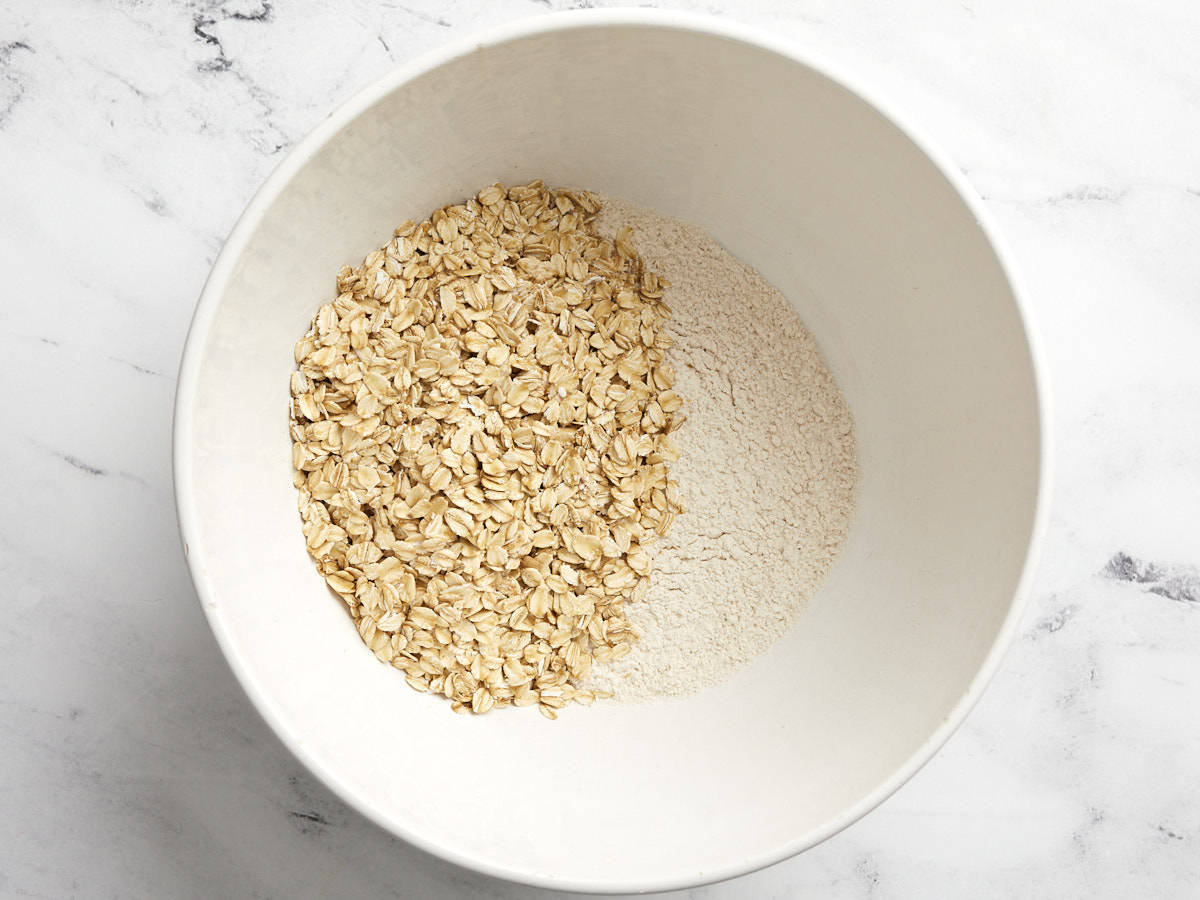
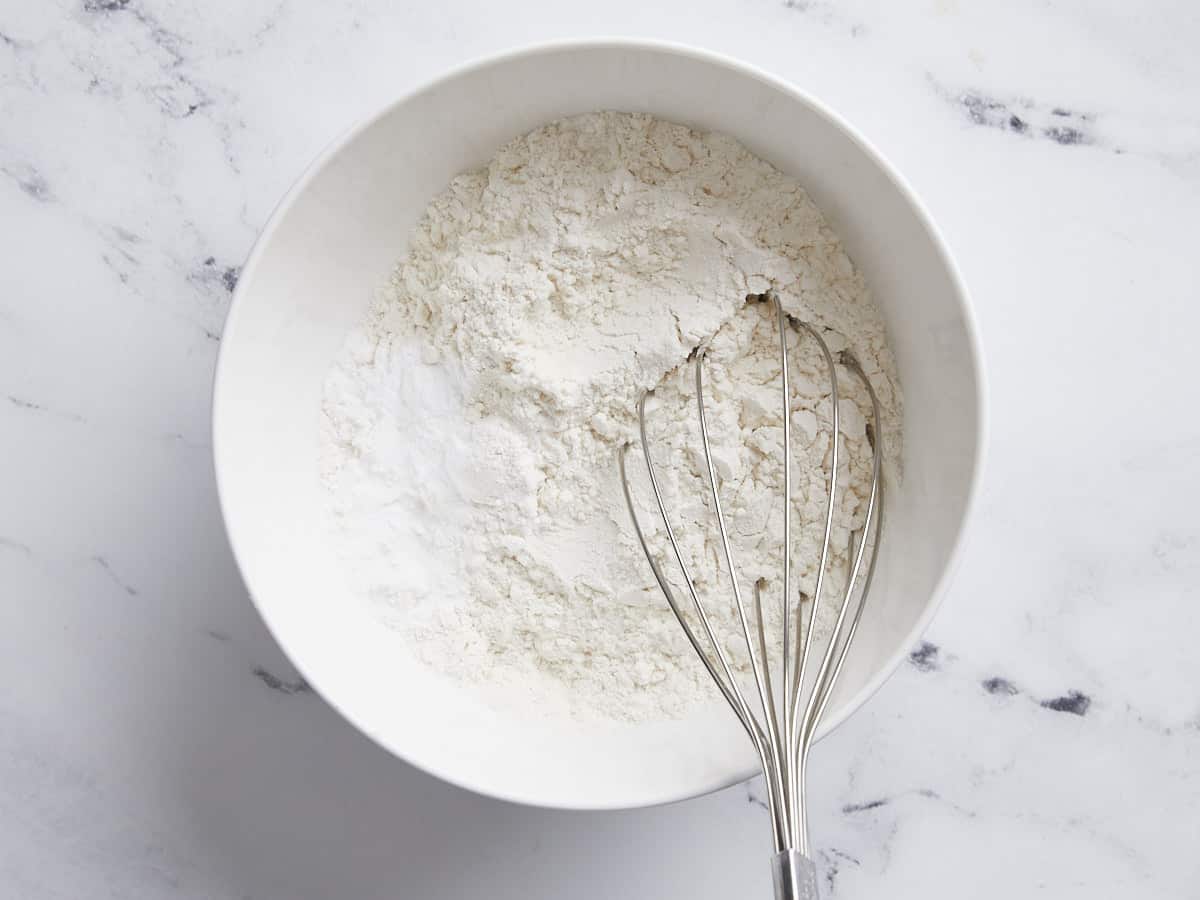
- In a separate bowl, whisk together the dry ingredients (flour, baking powder, baking soda, salt, cinnamon, ground nutmeg, and ground ginger) until well combined.
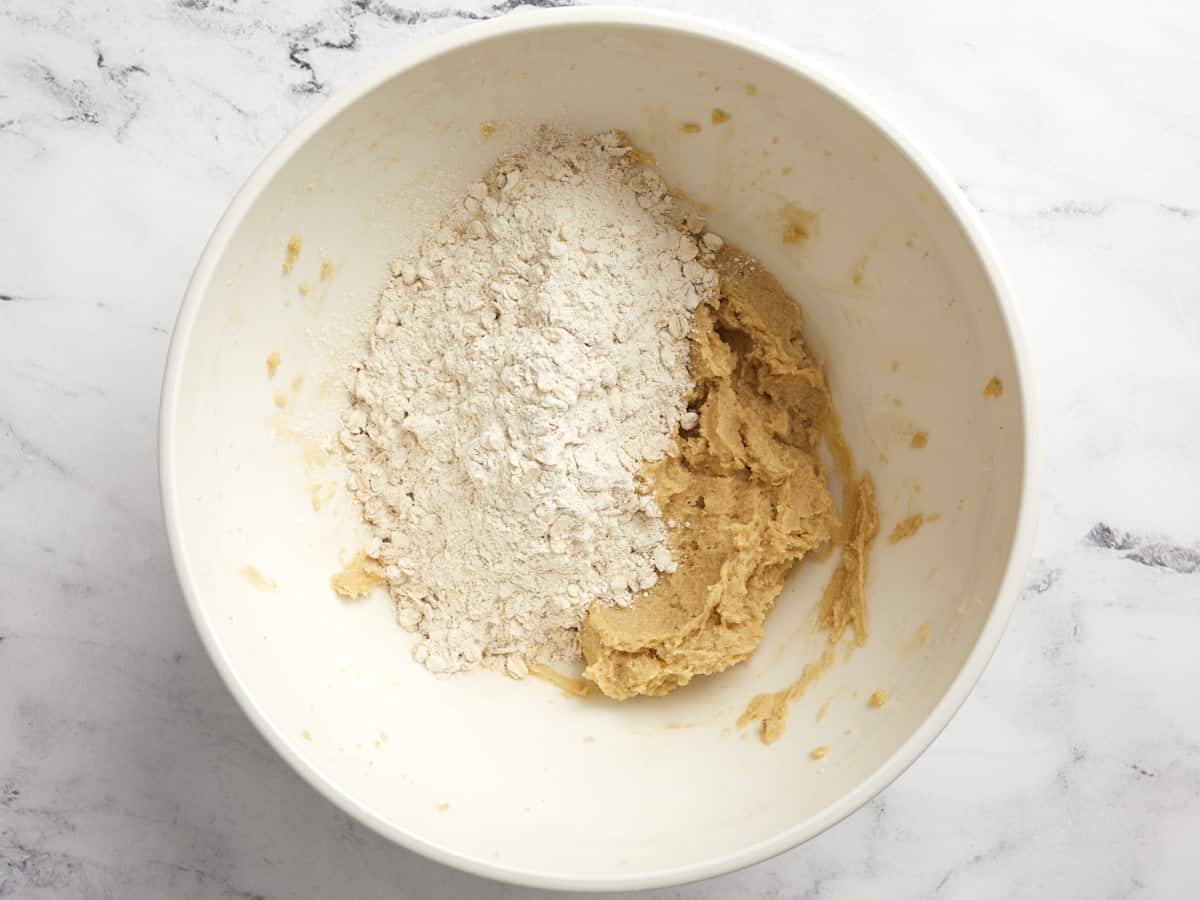
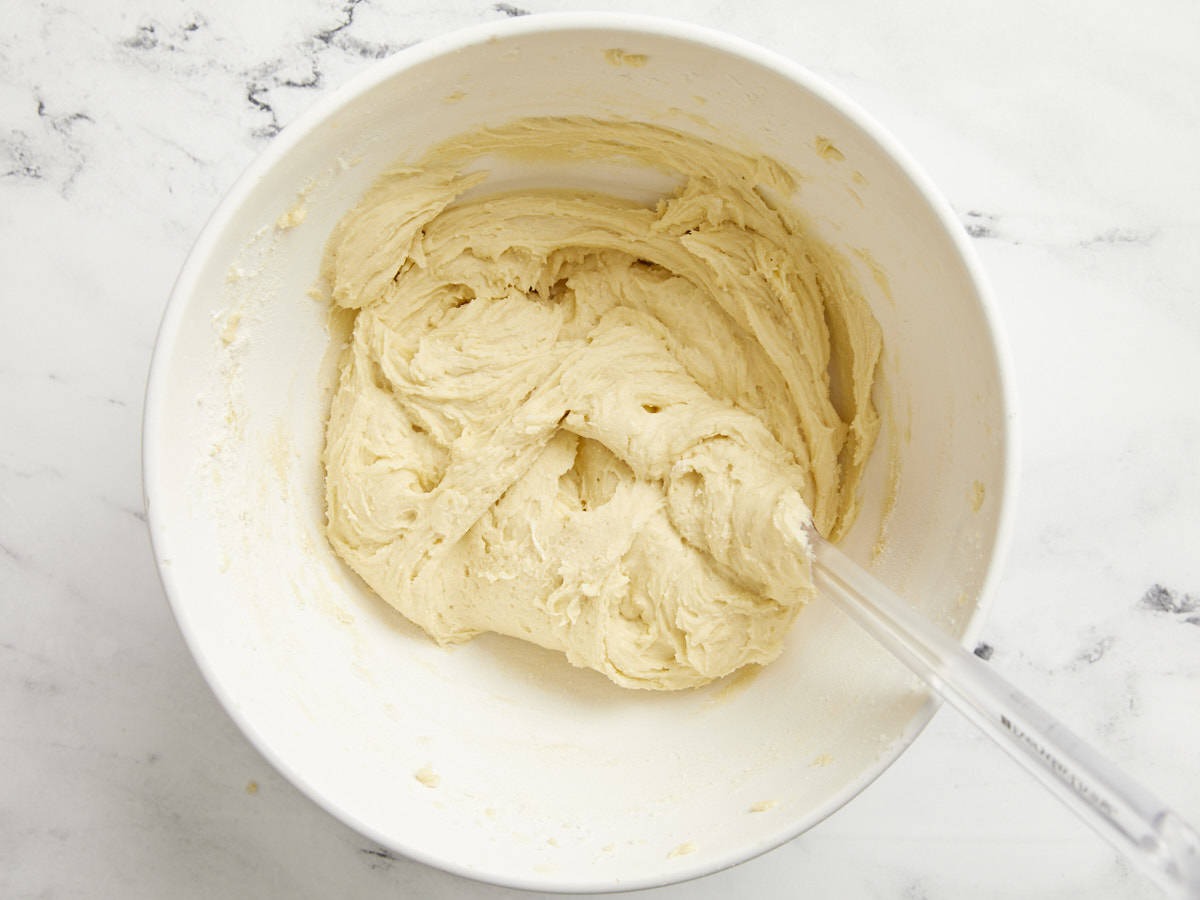
- Add the dry ingredients to the same bowl as the wet ingredients. Stir together until just combined. Be careful not to overmix at this point.
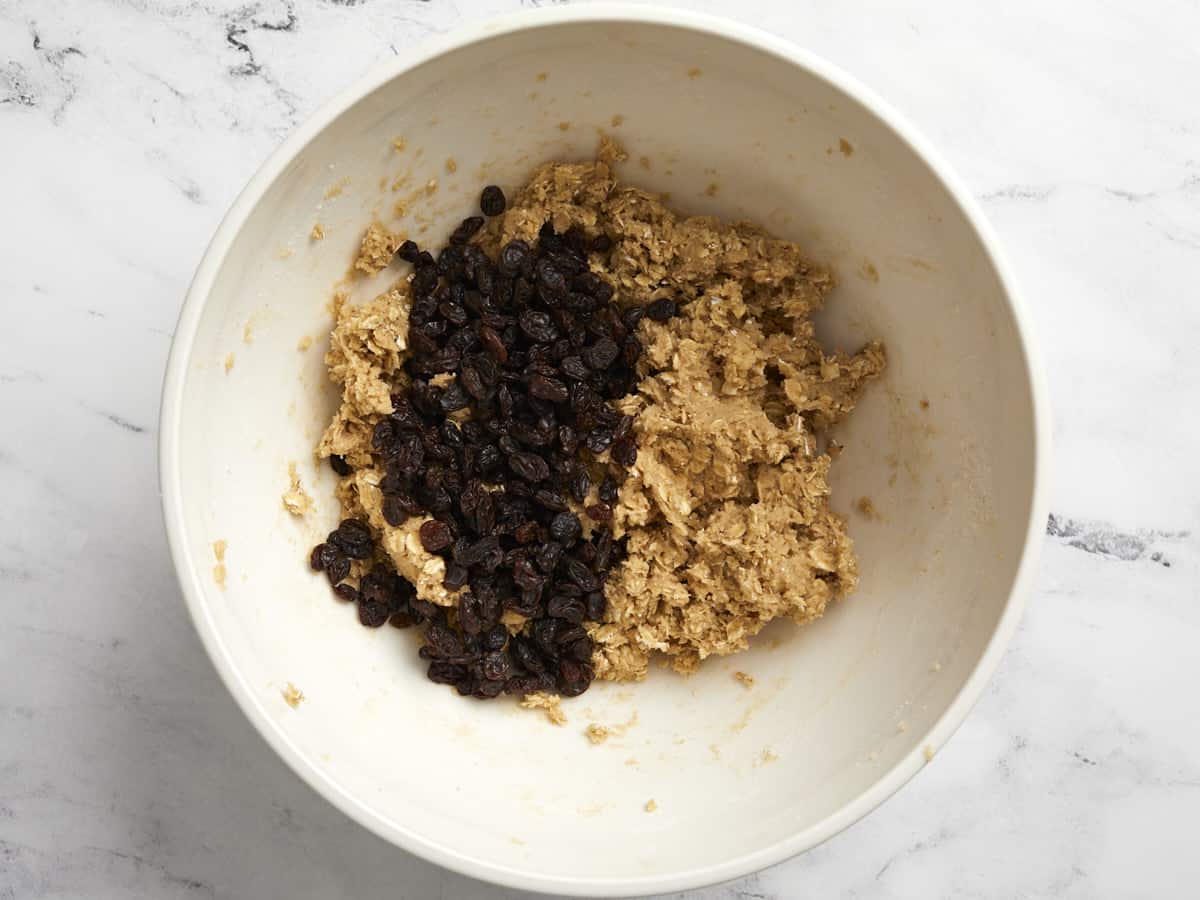
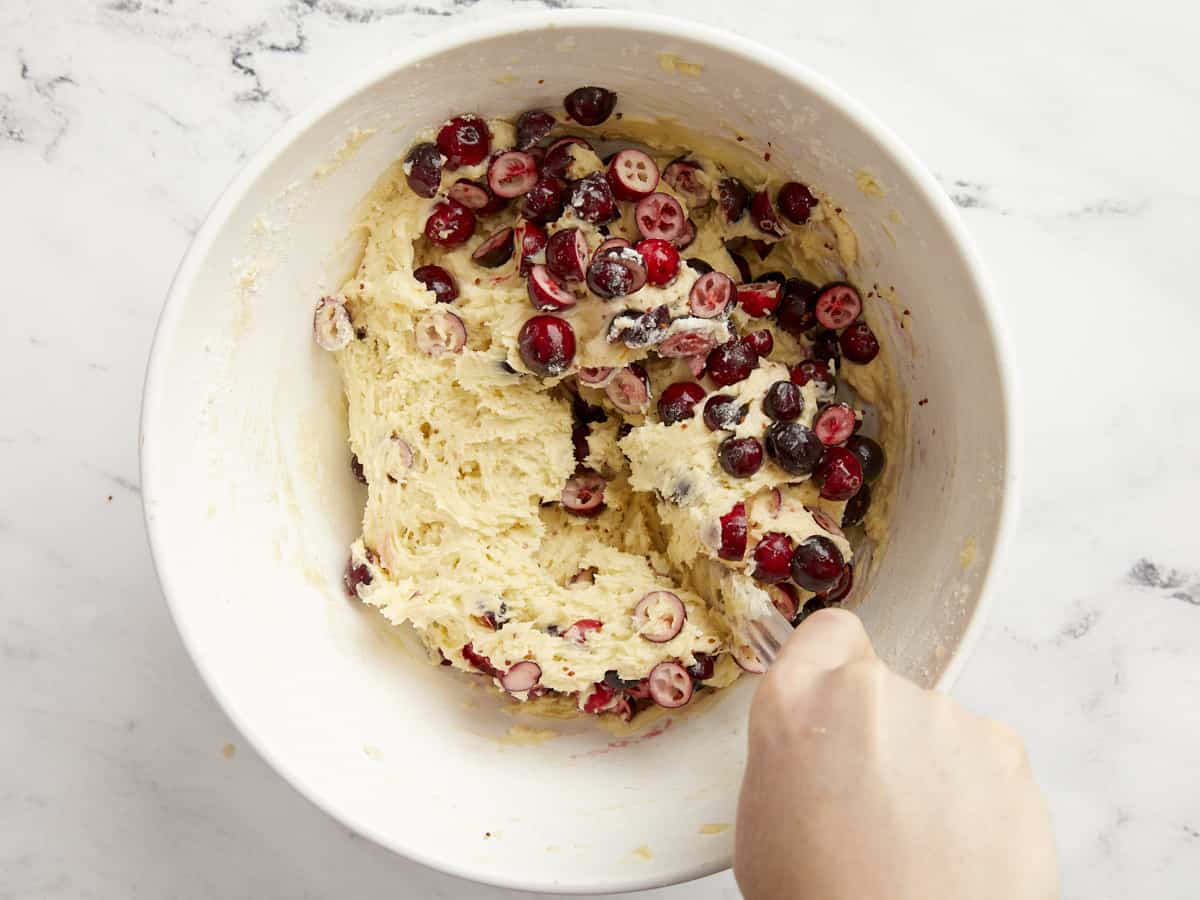
- Add the raisins to the bowl and fold them into the batter until just combined.
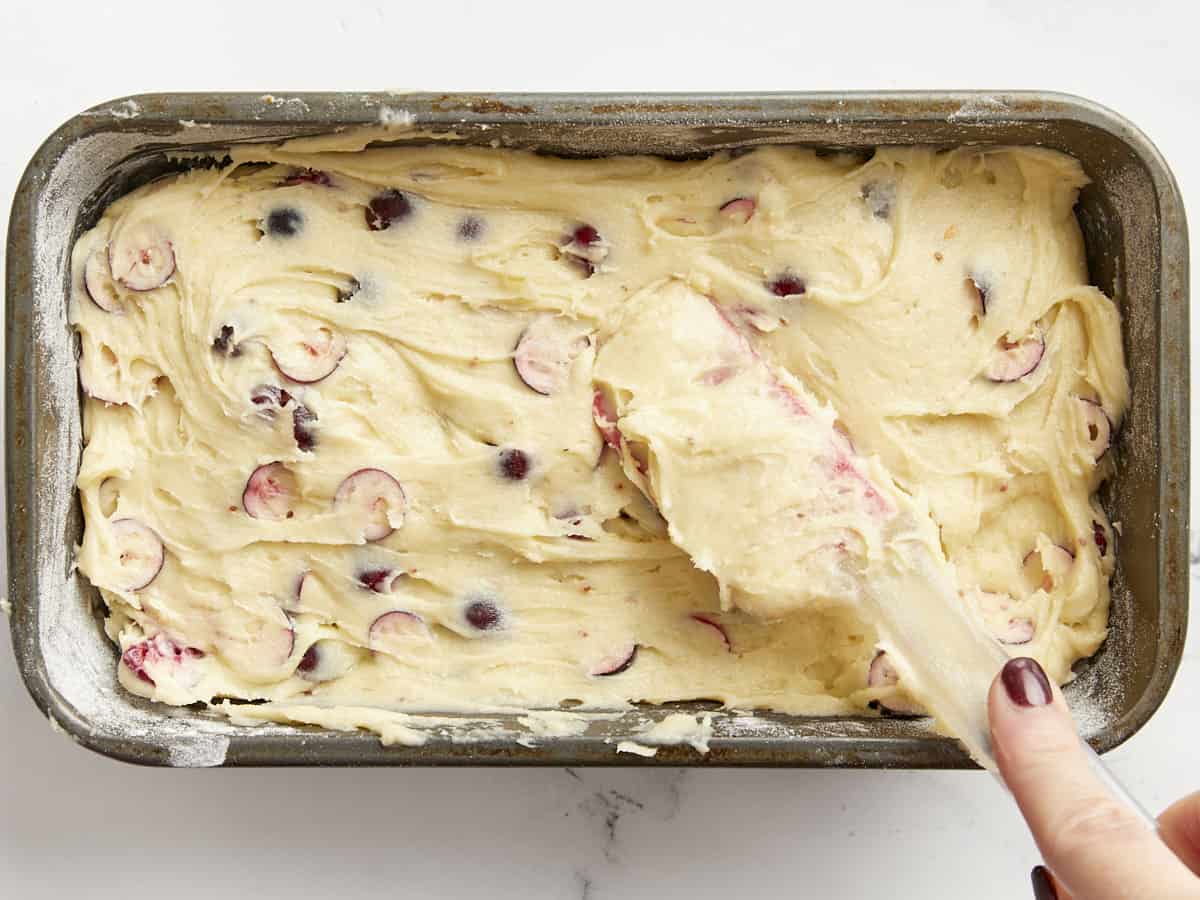
- Divide the batter between ten greased or lined muffin wells. Sprinkle a little turbinado sugar on top of each muffin, optional.
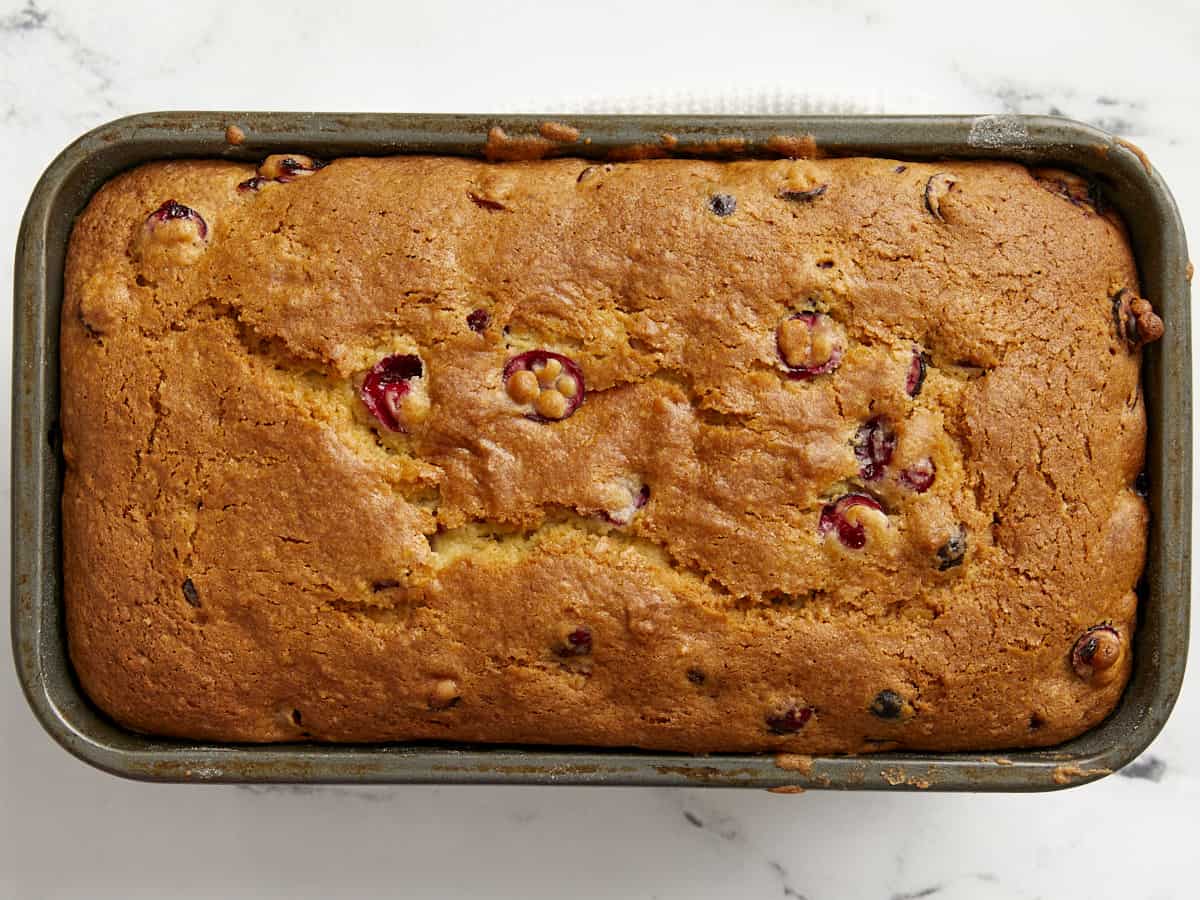
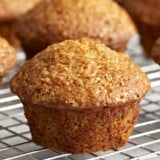
- Bake the muffins for 20-22 minutes or until golden brown and puffed in the center. Allow the muffins to cool for about 5 minutes, then carefully loosen the edges with a knife and transfer the muffins to a wire rack to finish cooling. Enjoy!
See how we calculate recipe costs here.
Notes
Nutrition
How to Make Carrot Cake Muffins – Step by Step Photos

Preheat the oven to 350°F. Wash, peel and grate 2 cups of finely grated carrots using the small/fine holes on a box grater. Set the grated carrots to the side.
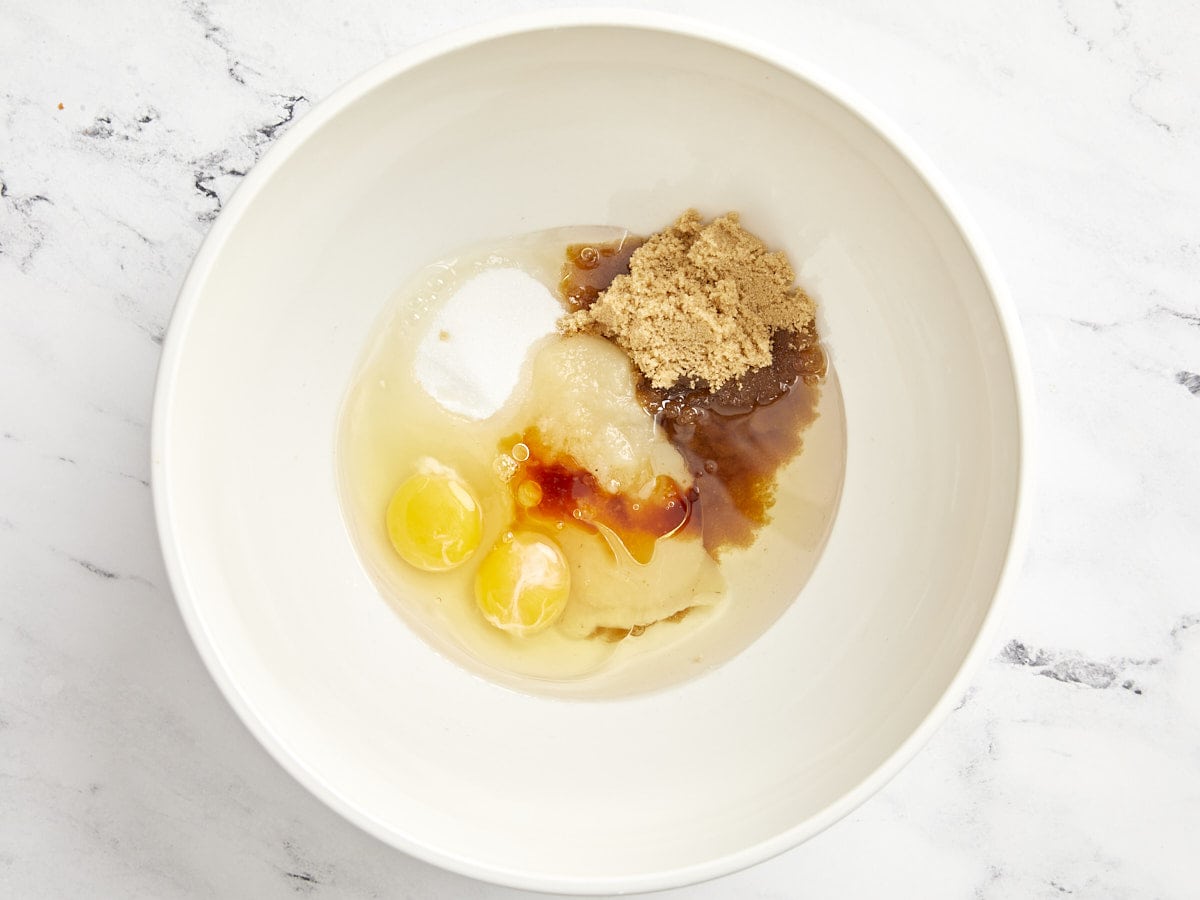
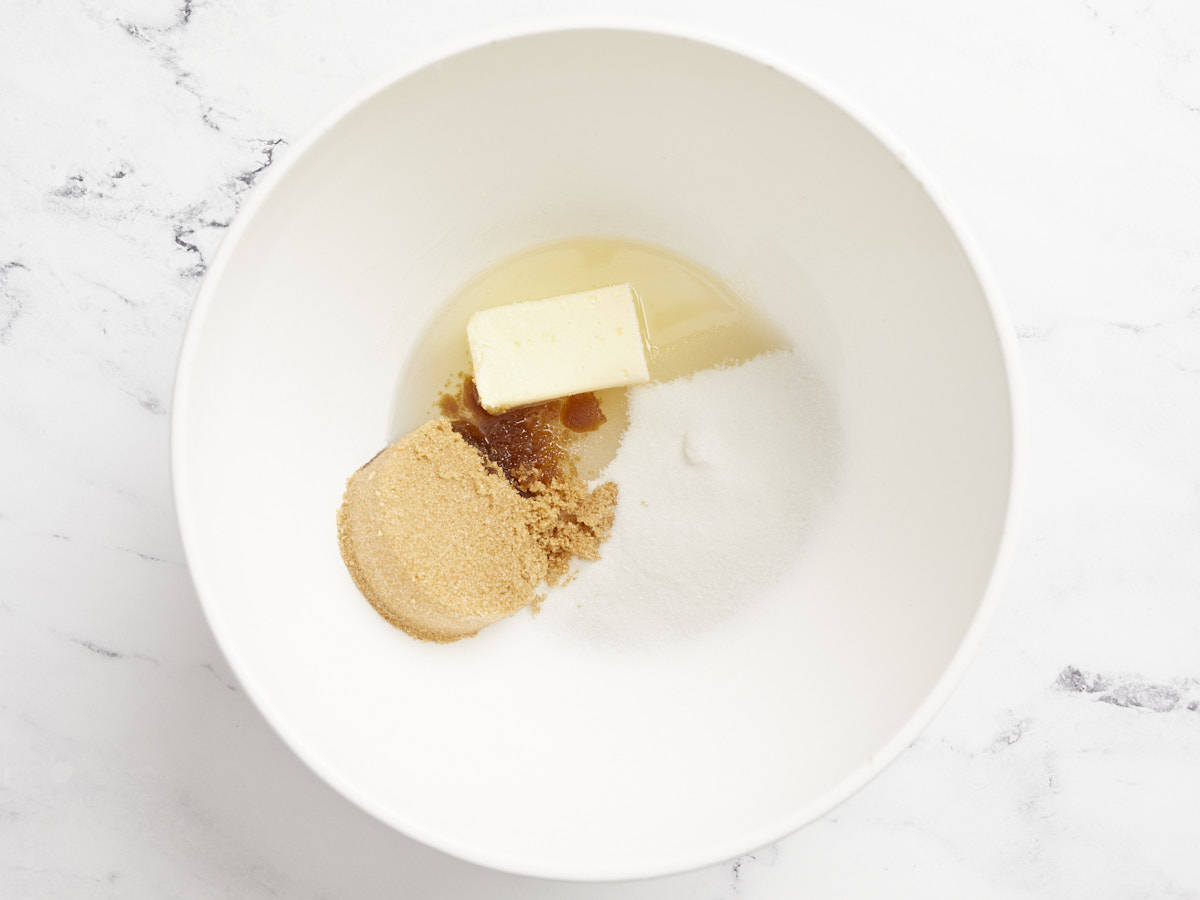
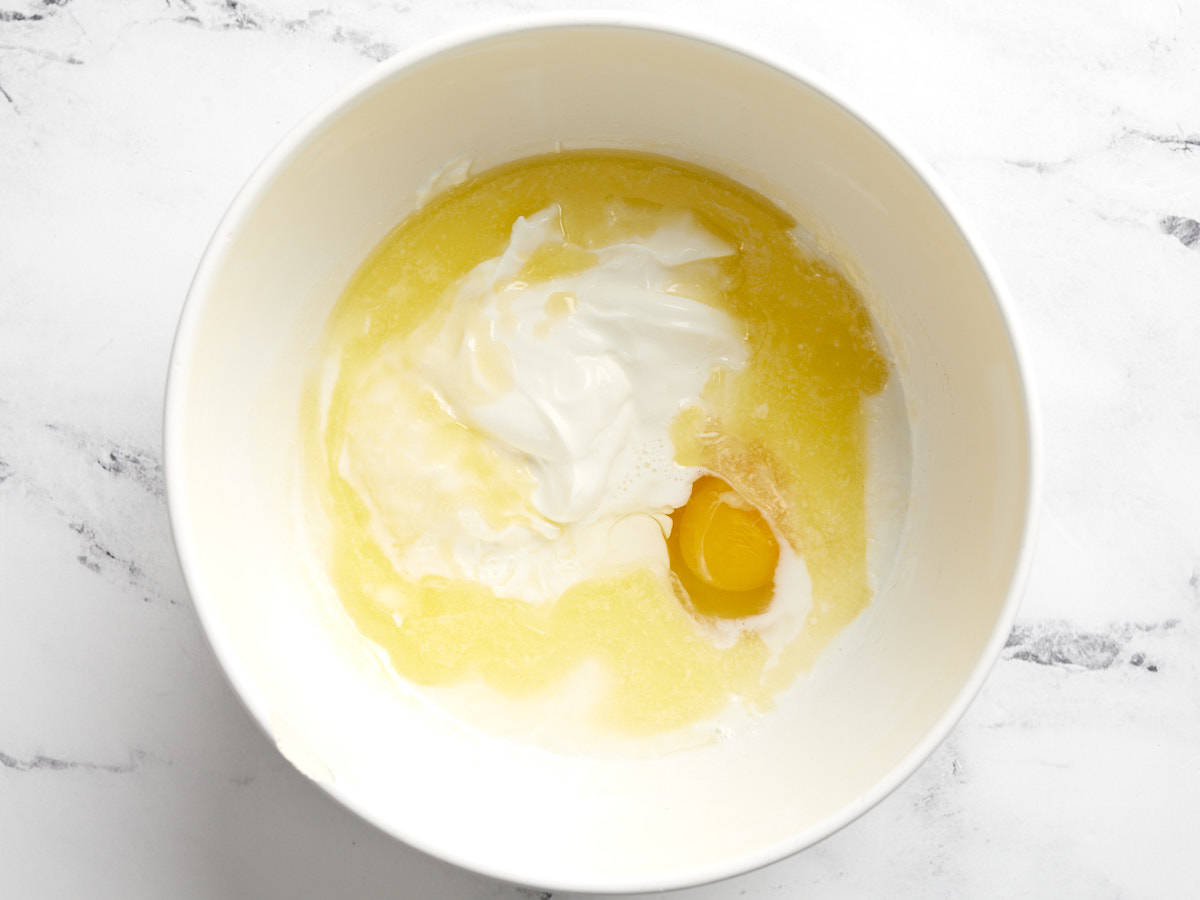
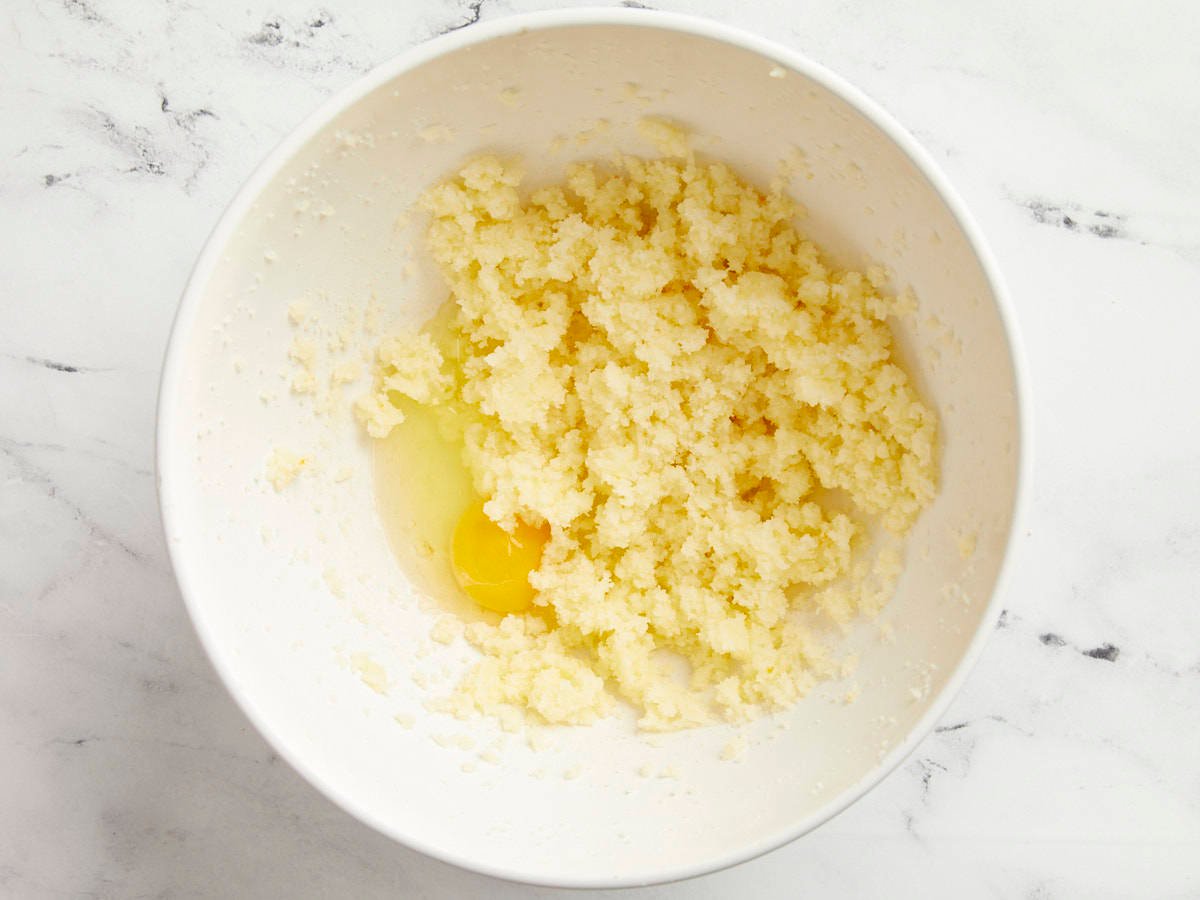
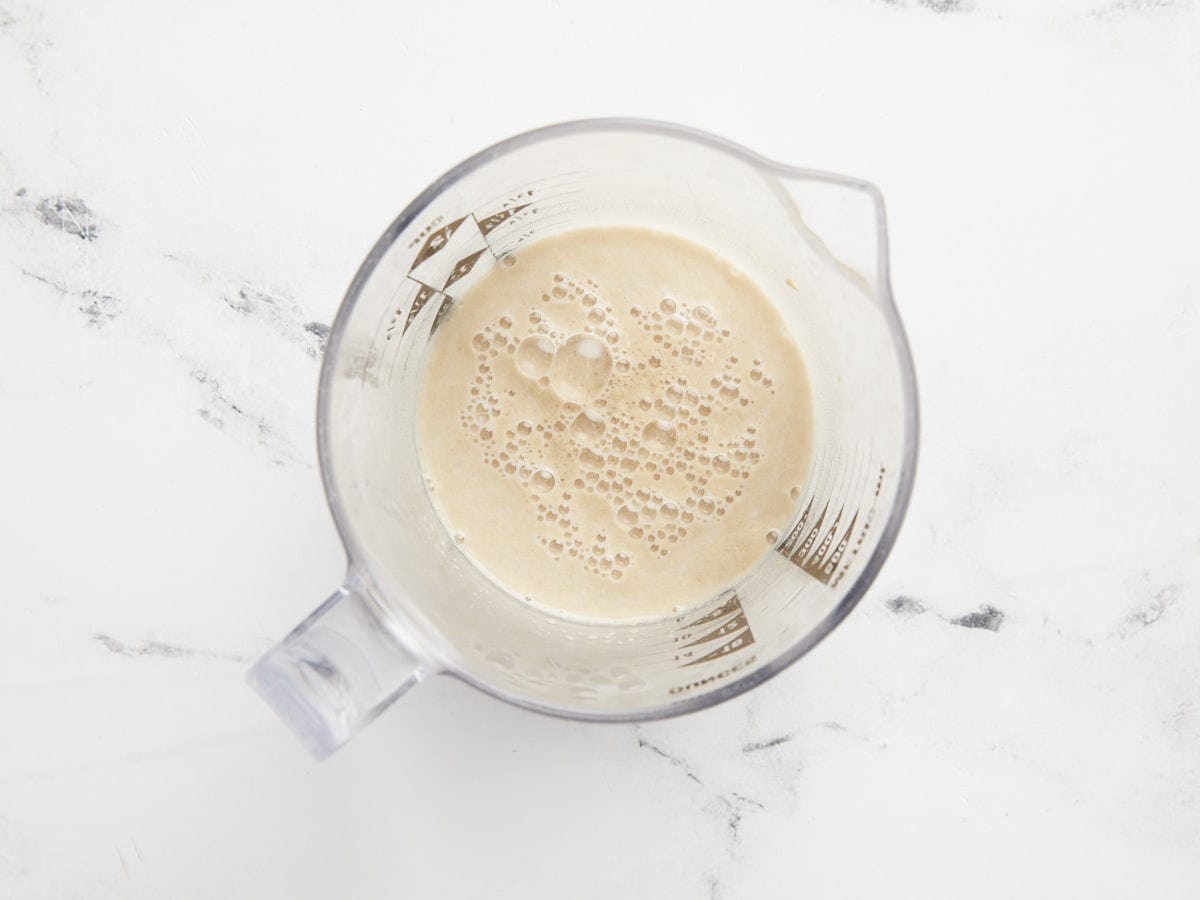
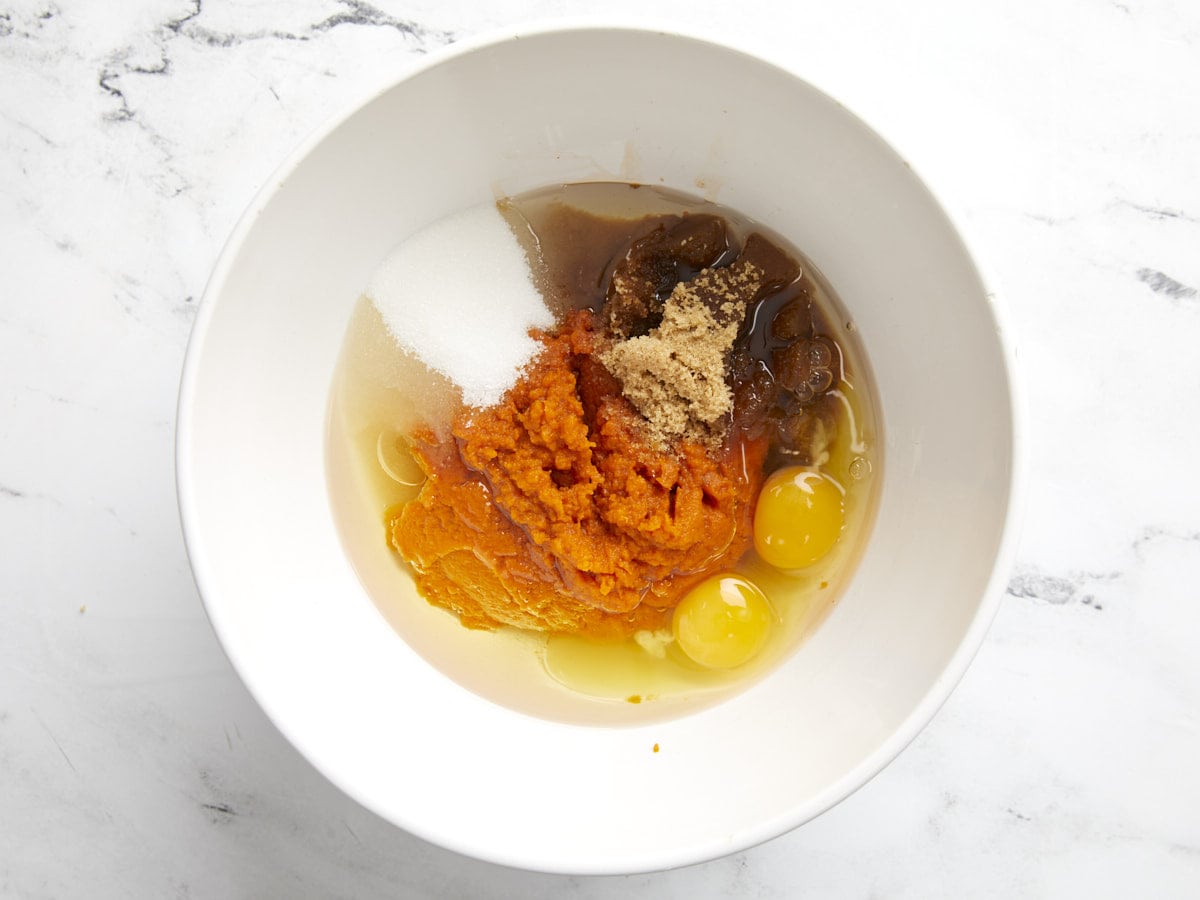
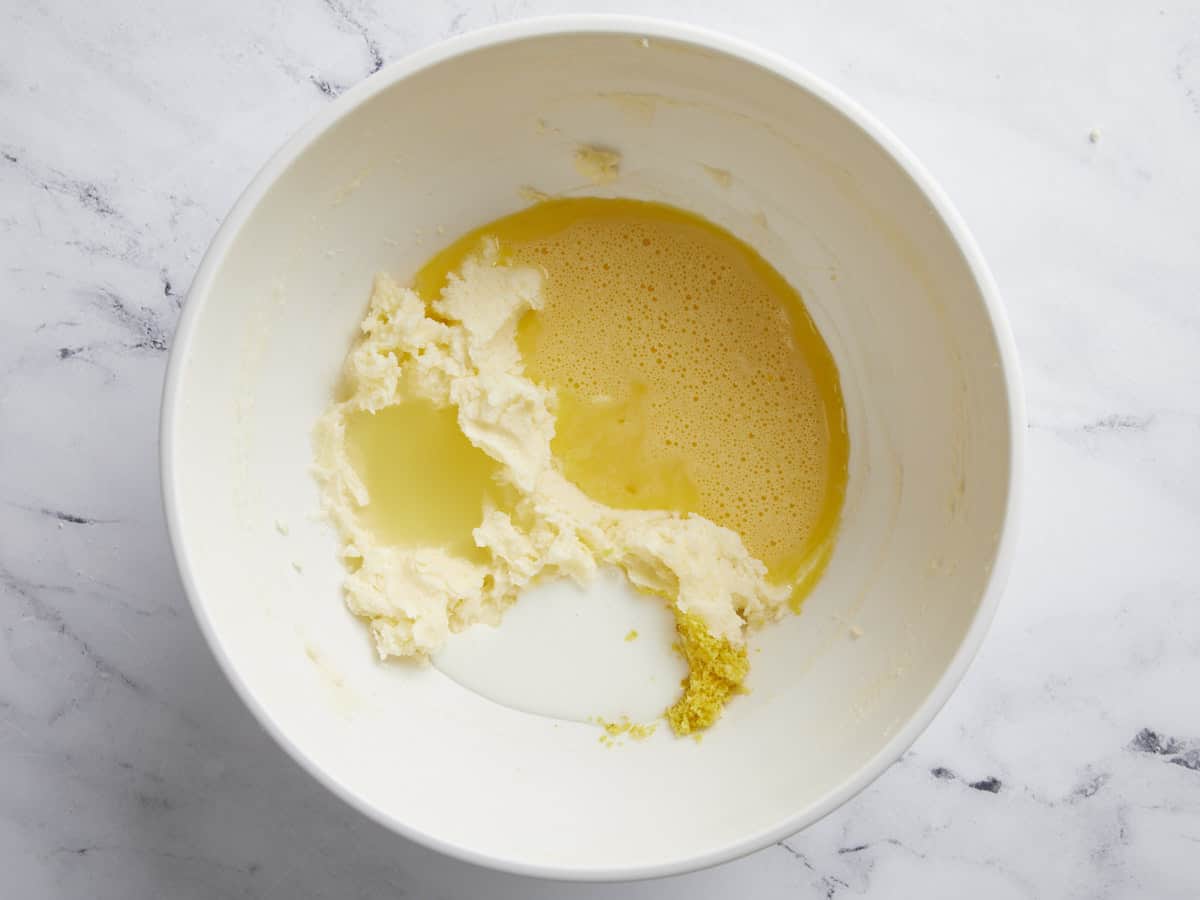
In a large bowl, whisk together 2 eggs, 1/2 cup dark brown sugar, 1/2 cup granulated sugar, 1/3 cup applesauce, 1/2 cup cooking oil and 1 tsp vanilla extract until well combined.
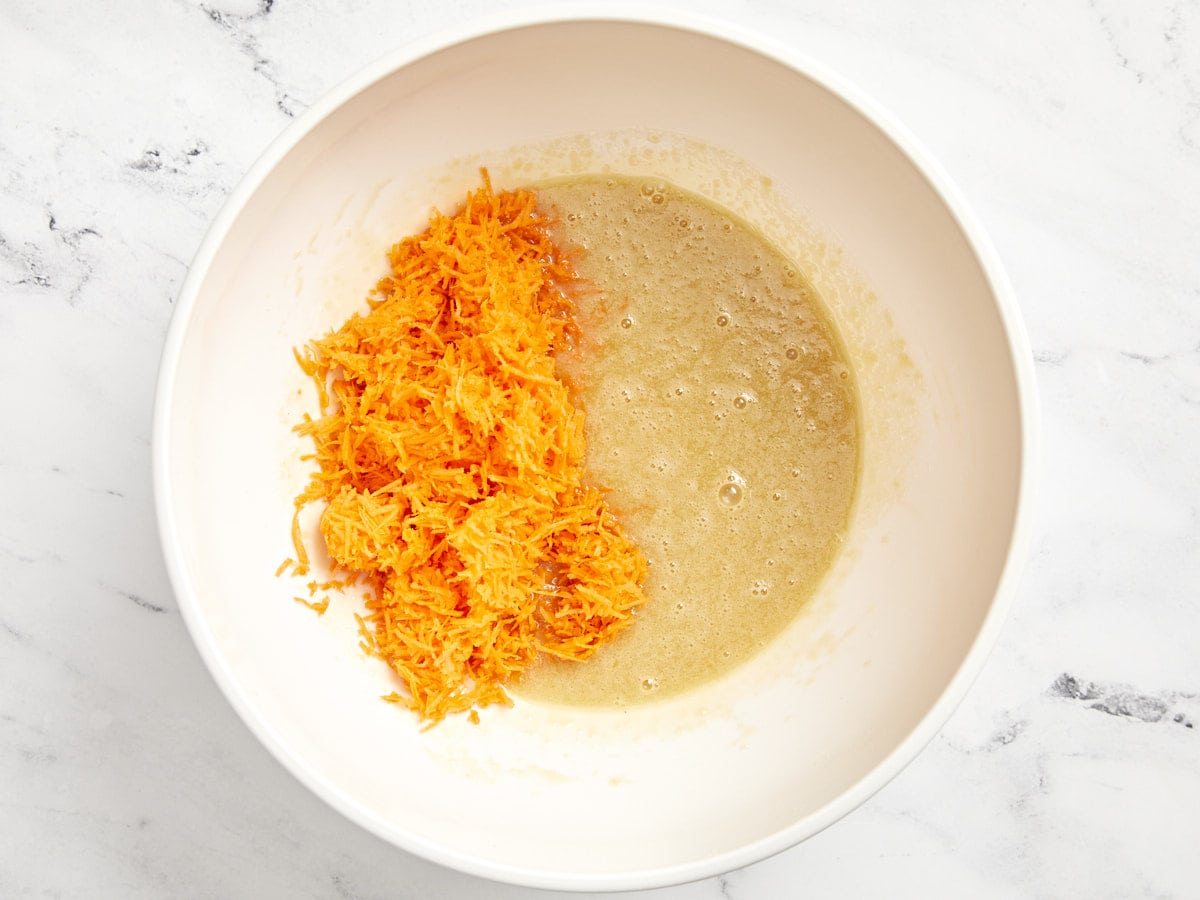
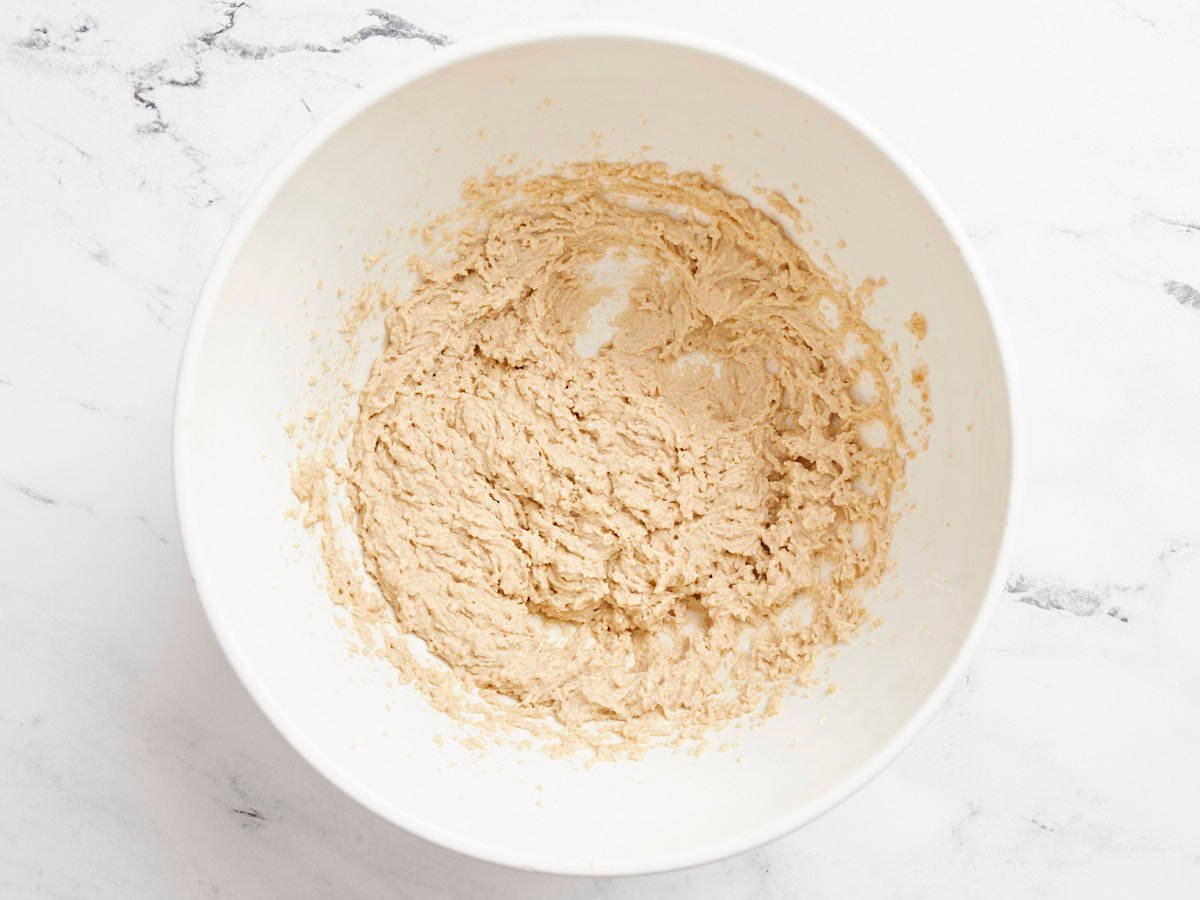
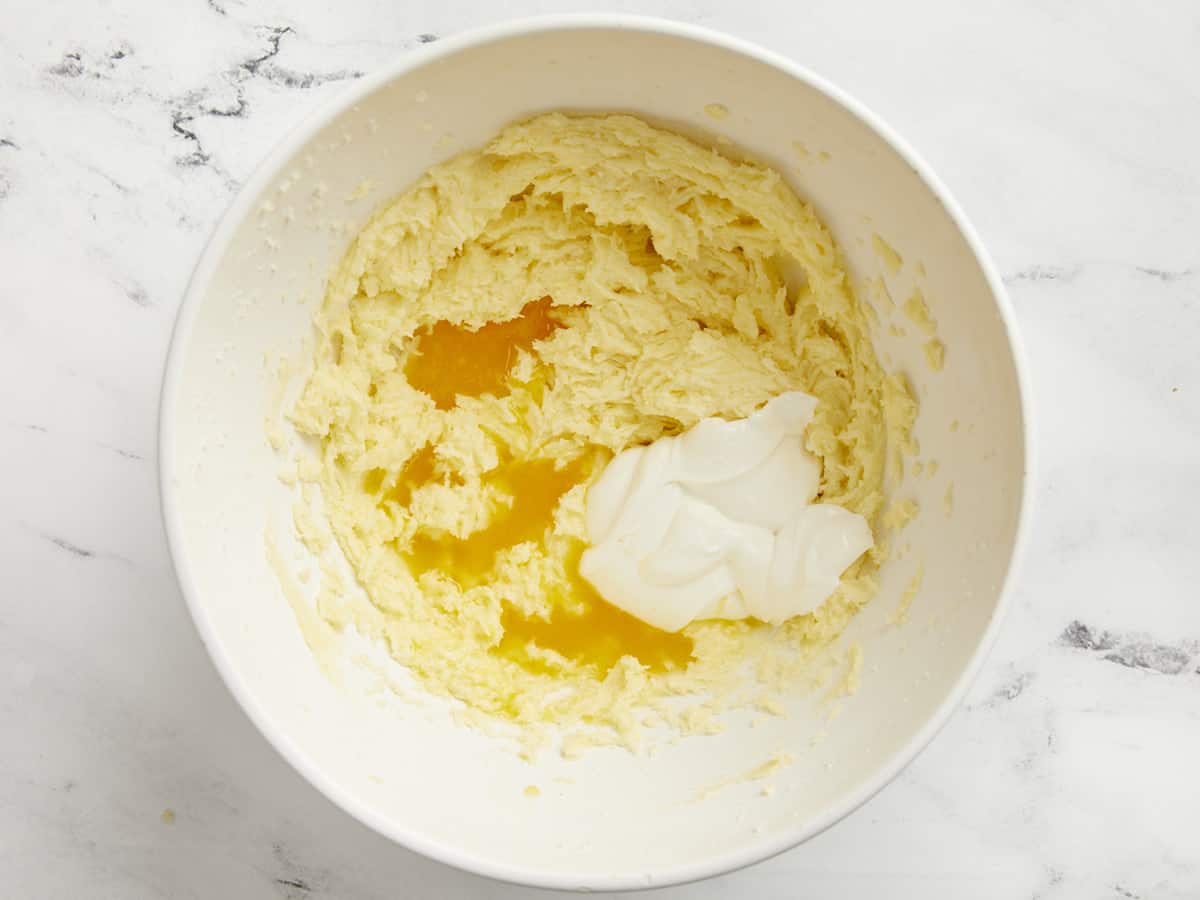
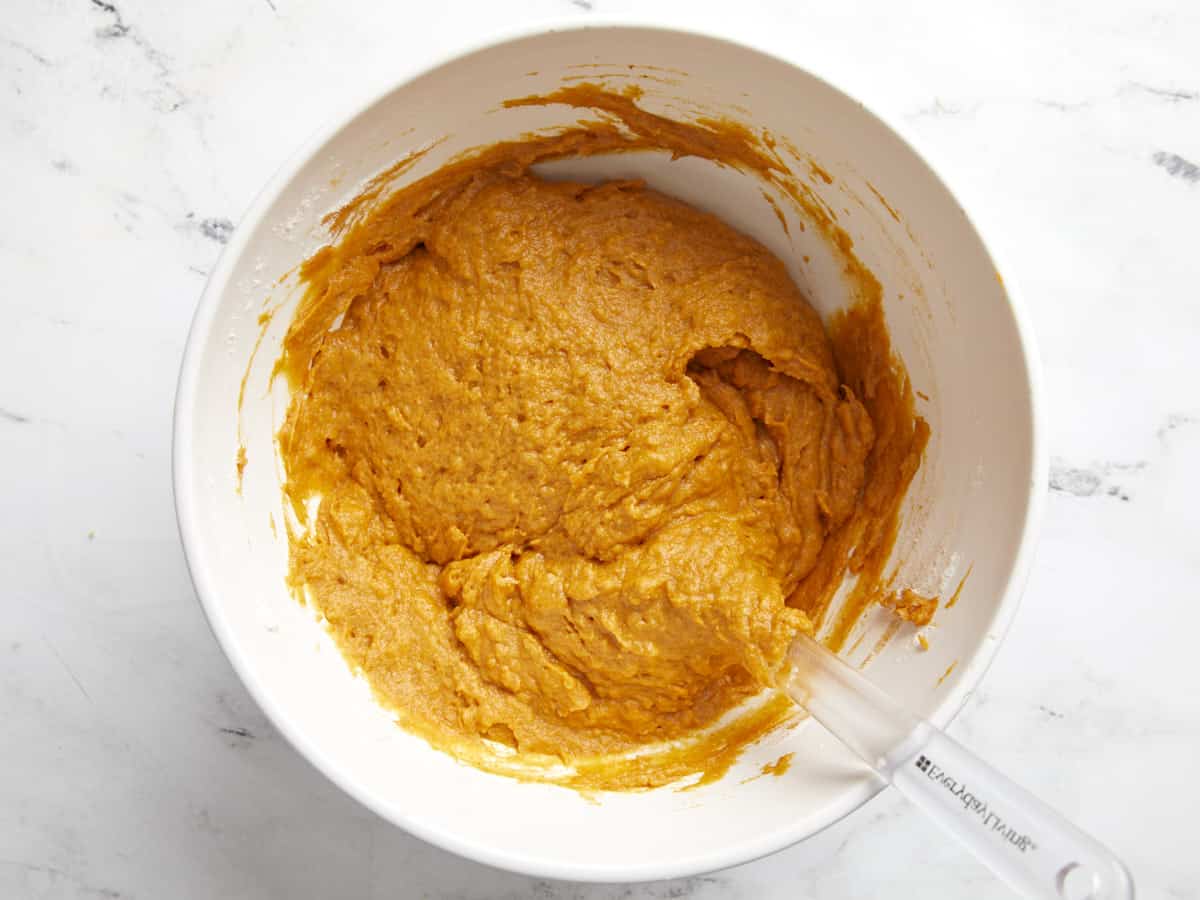
Add the grated carrots to the bowl with the wet ingredients. Stir until combined.
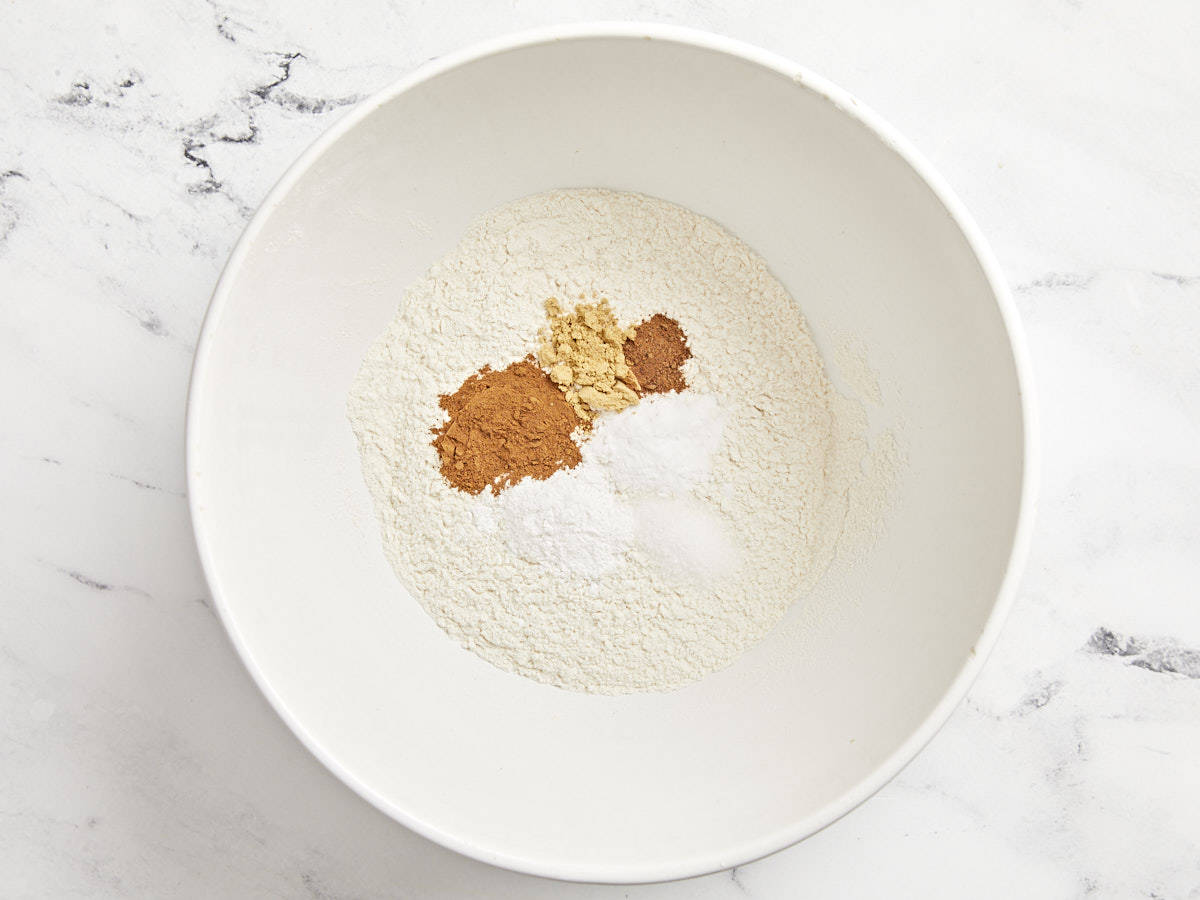
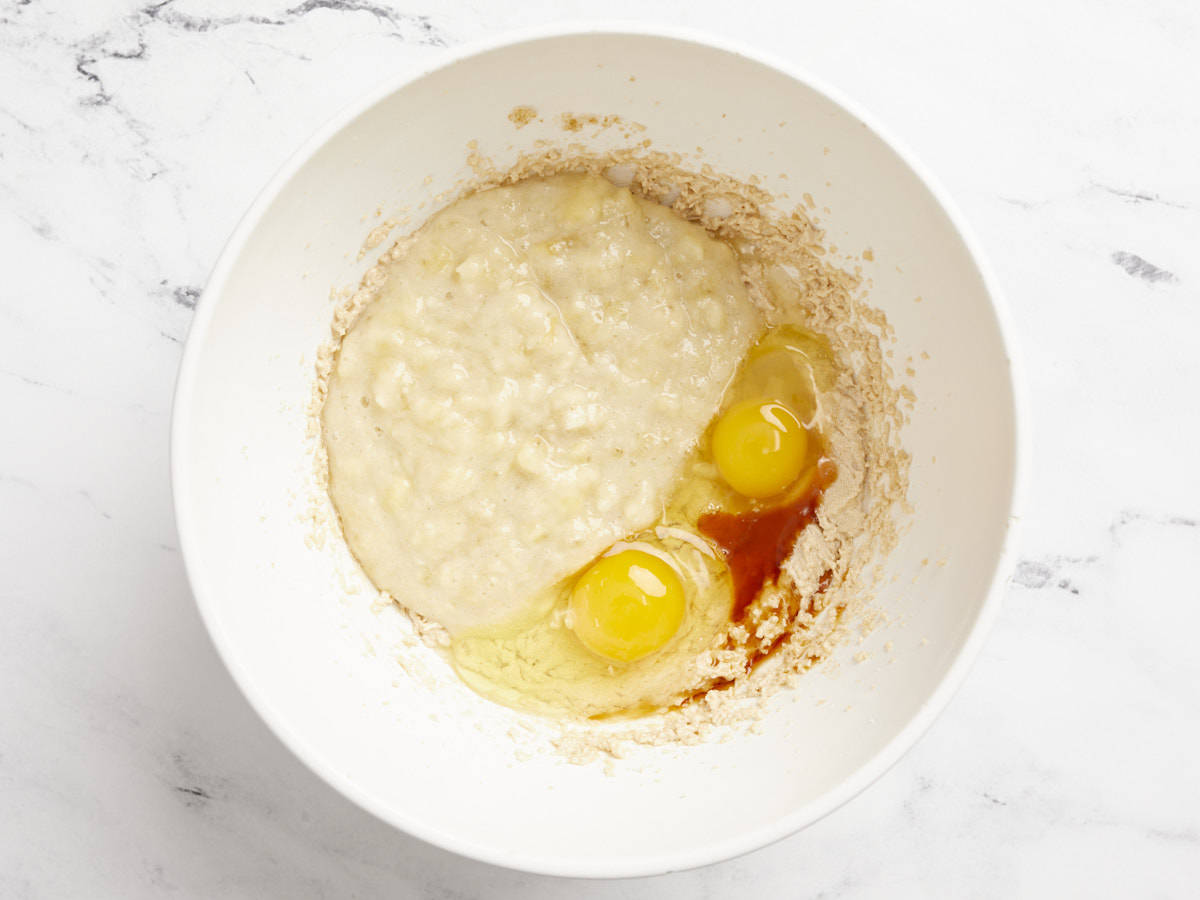
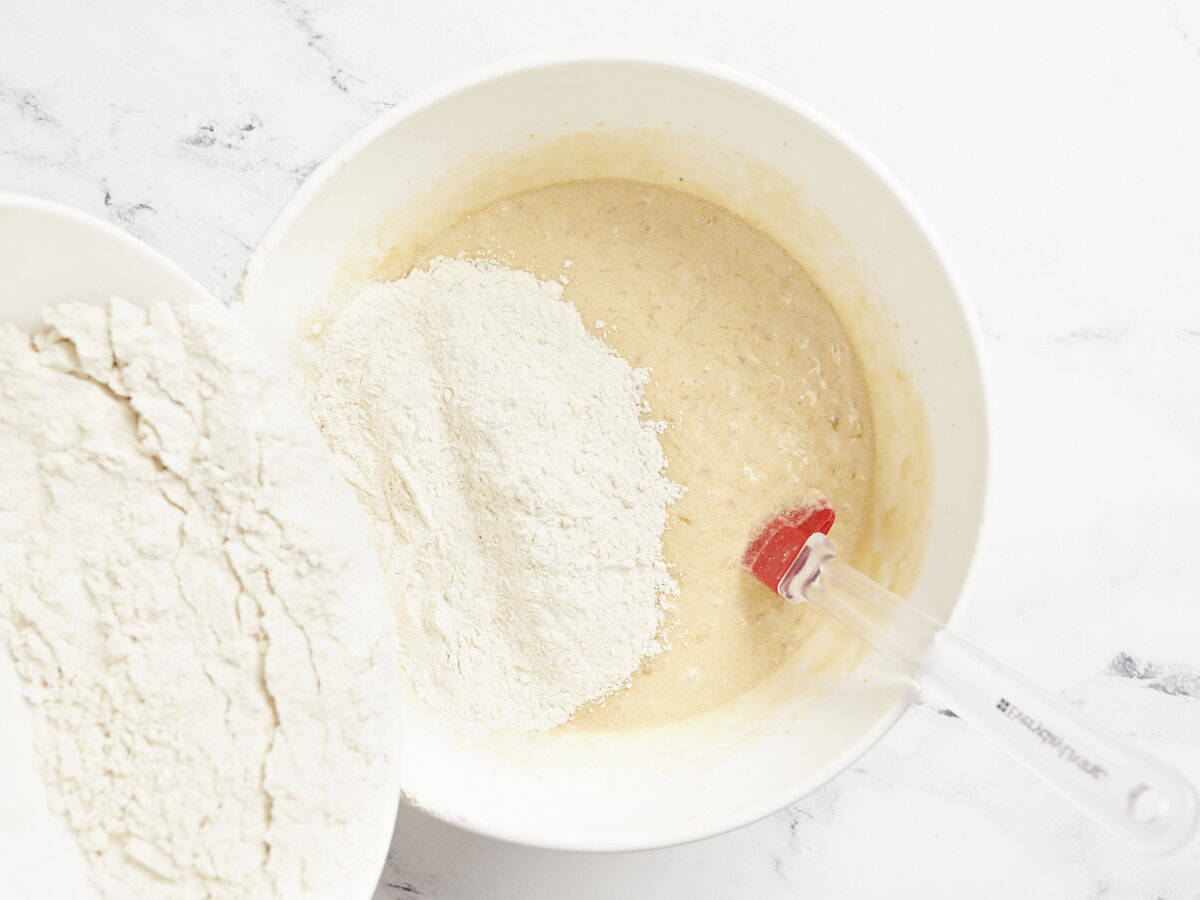
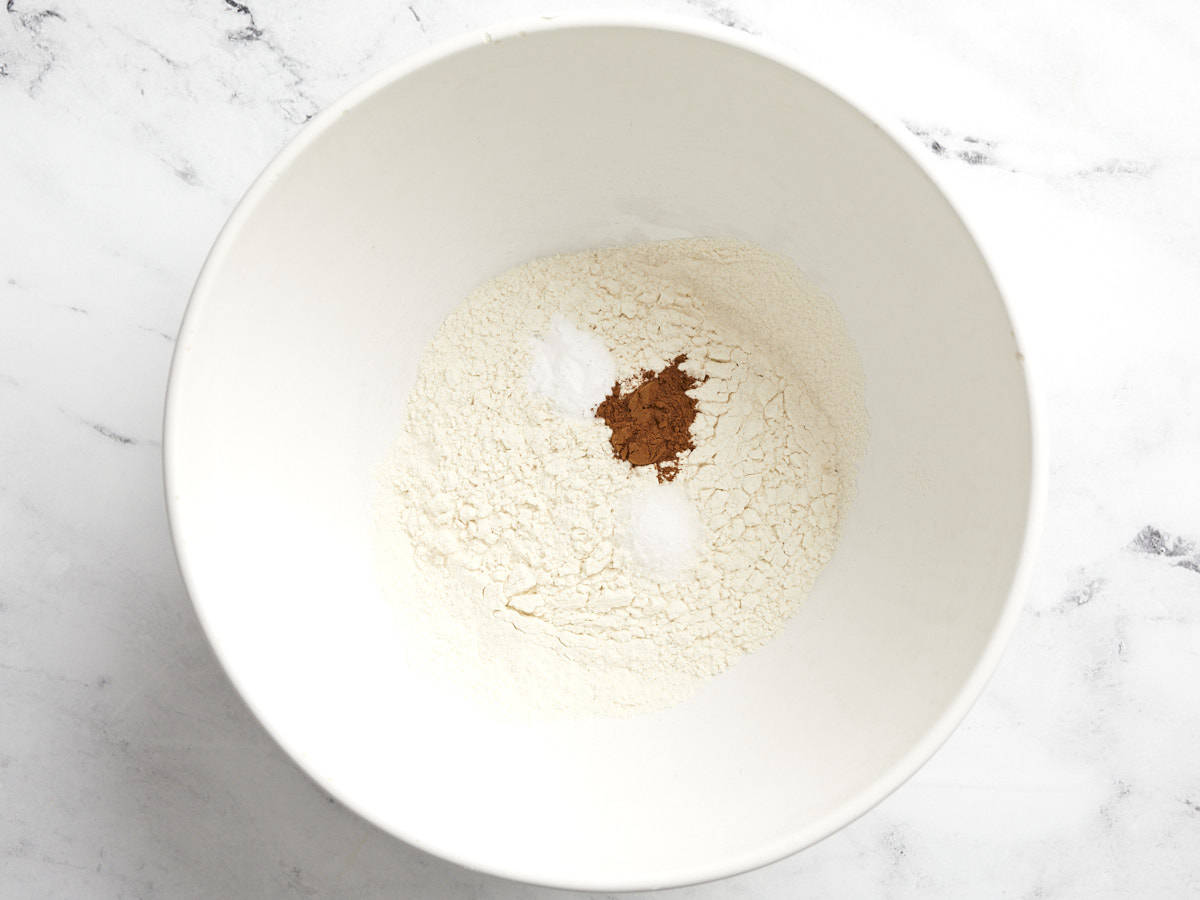
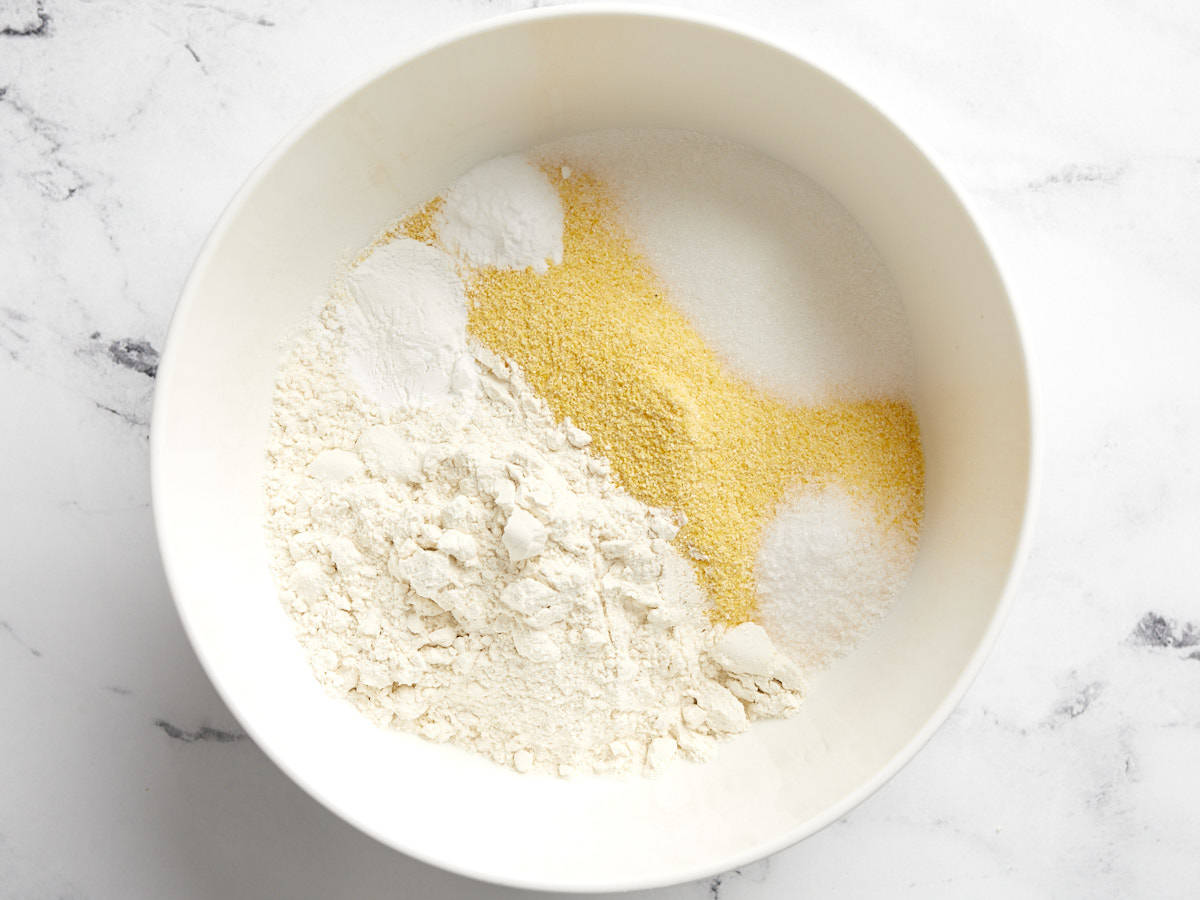
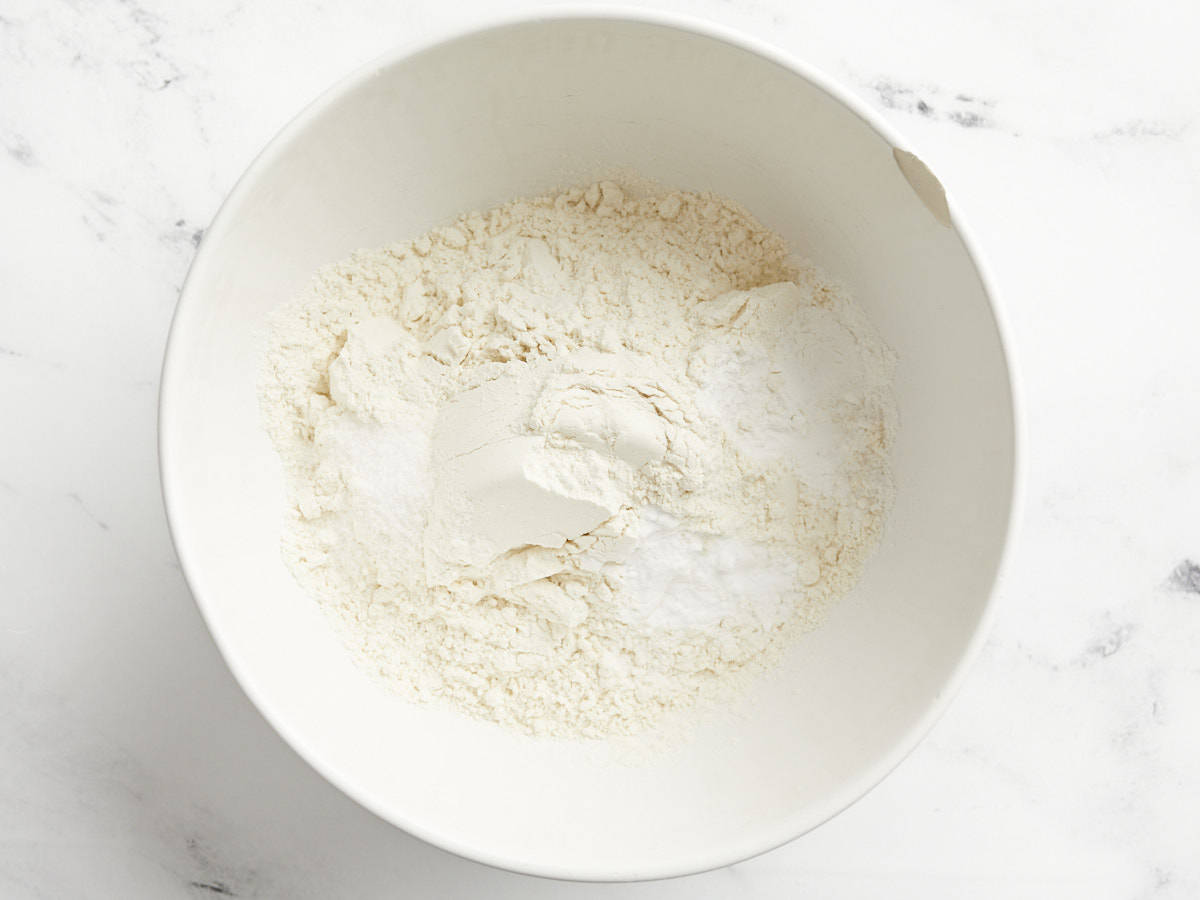
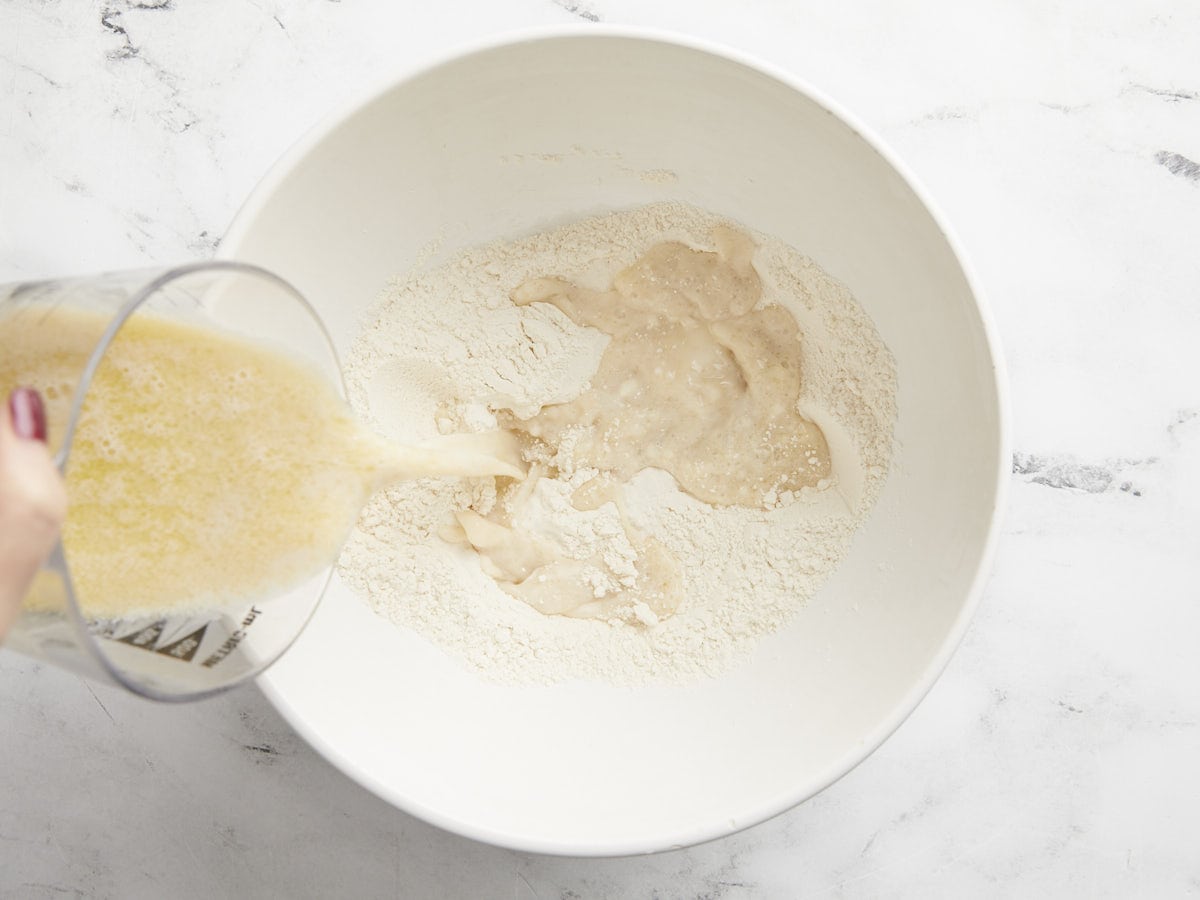
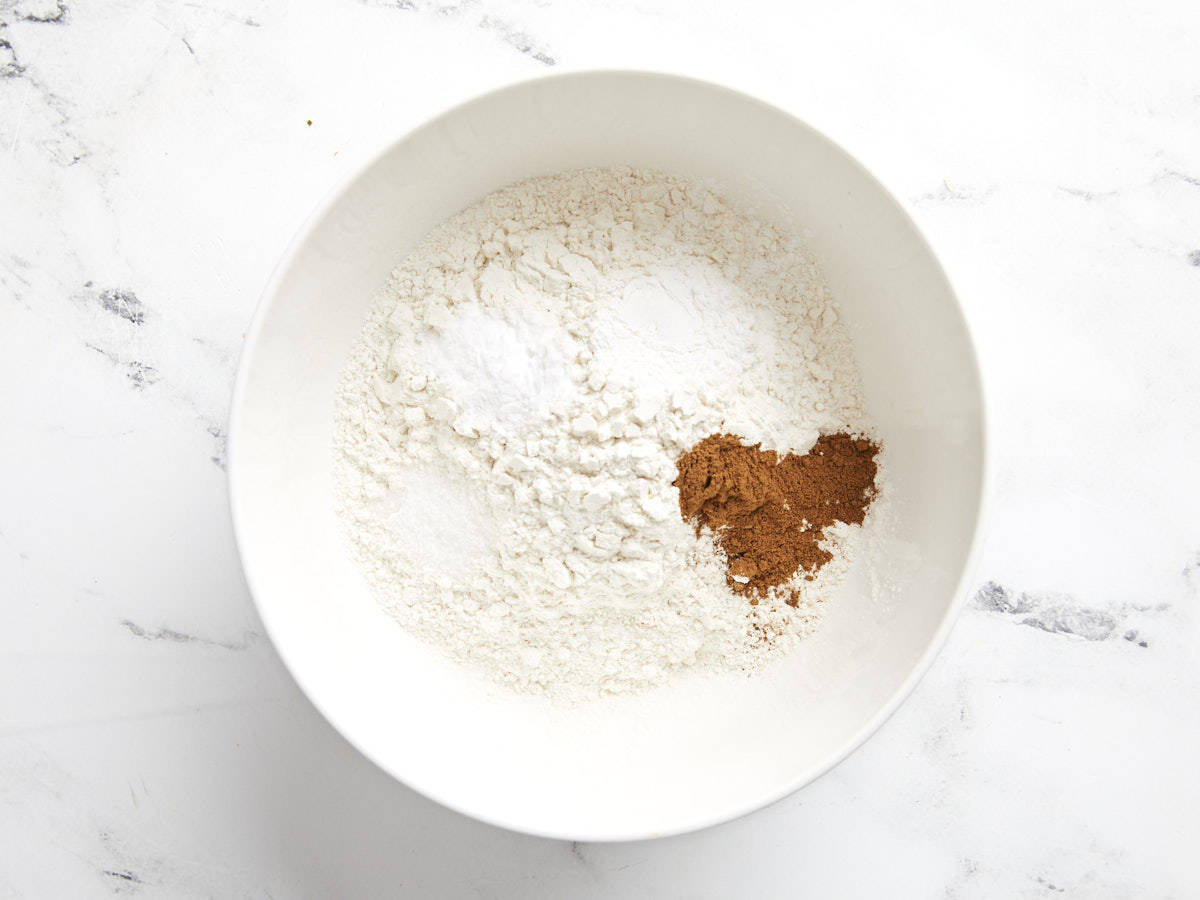
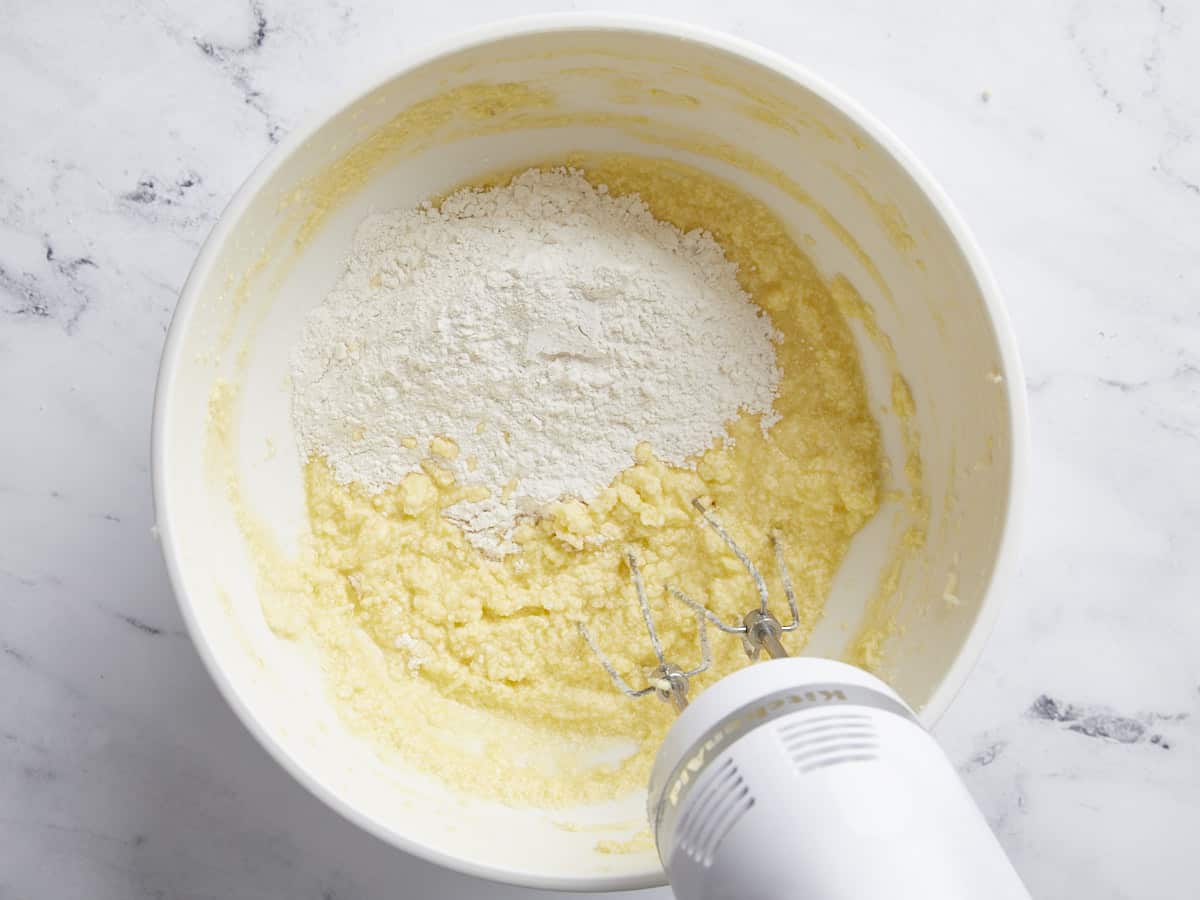
In a separate bowl, whisk together 1 1/2 cups all-purpose flour, 1 tsp baking powder, 1/2 tsp baking soda, 1/2 tsp salt, 1 tsp cinnamon, 1/4 tsp ground nutmeg, and 1/2 tsp ground ginger until well combined.
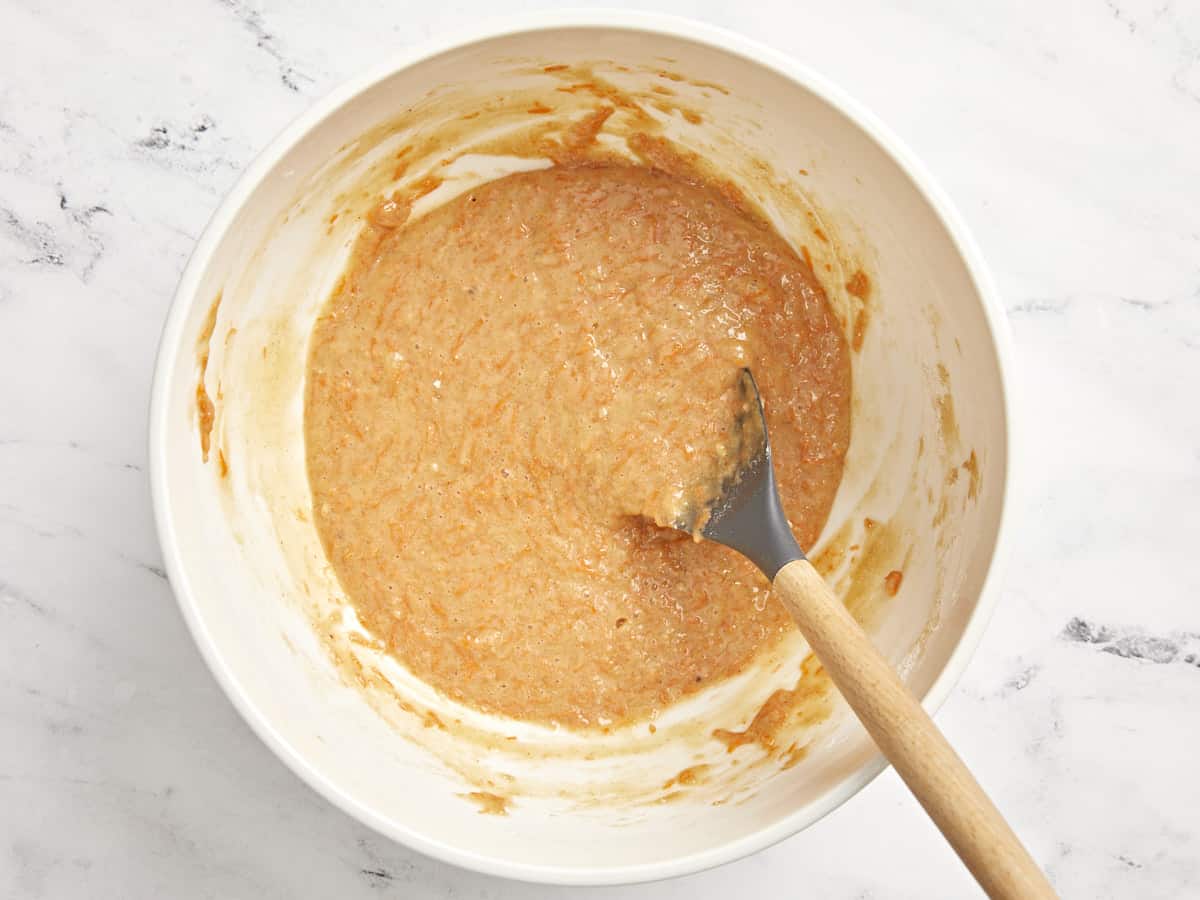
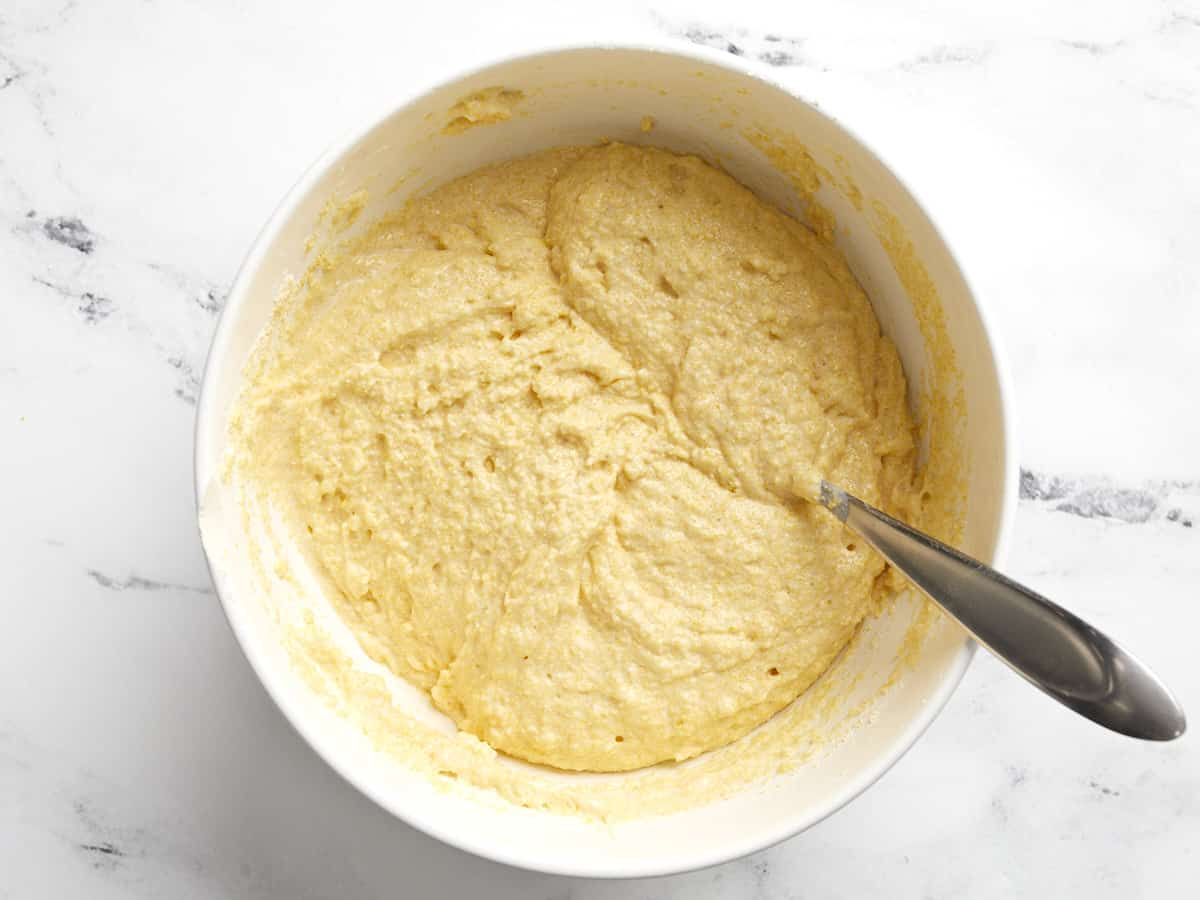
Add the dry ingredients to the same bowl as the wet ingredients. Stir together until just combined. Be careful not to overmix at this point.
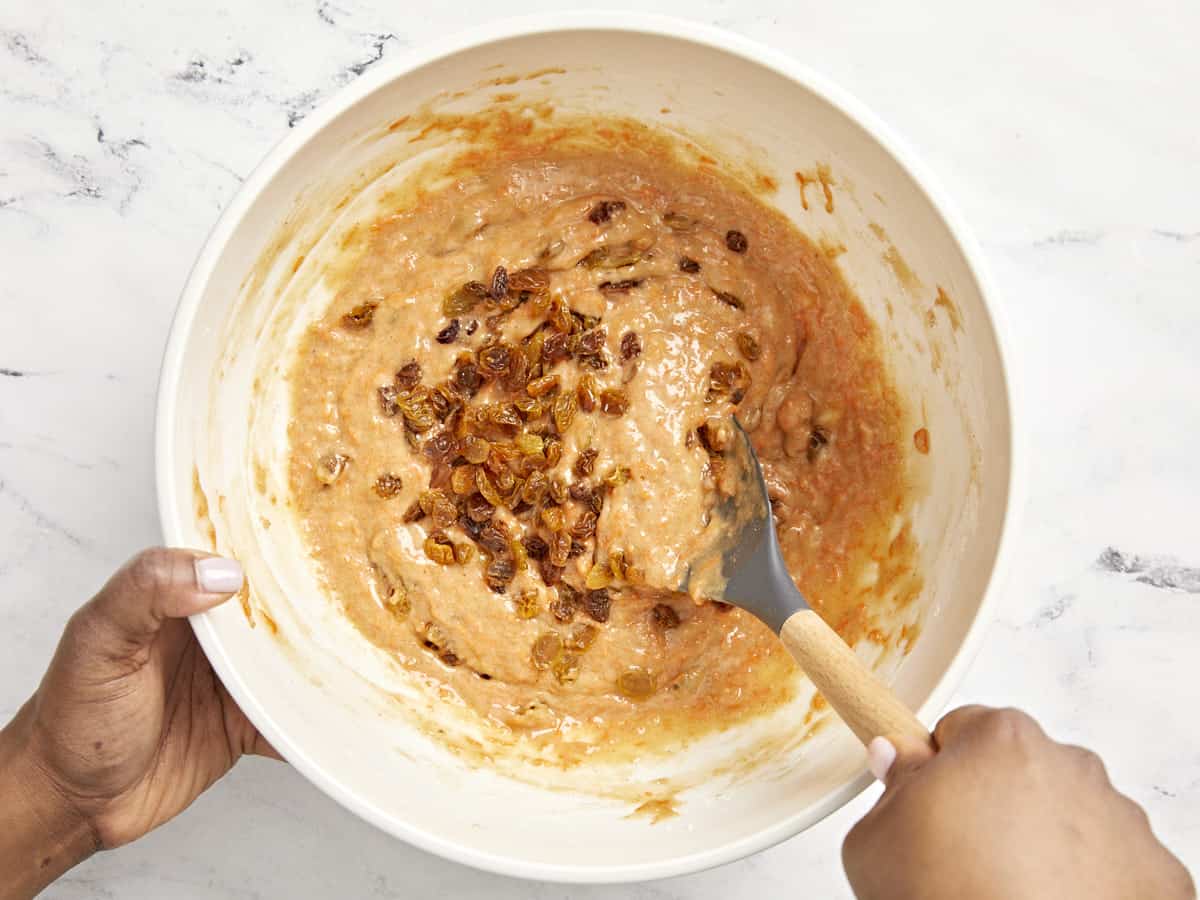
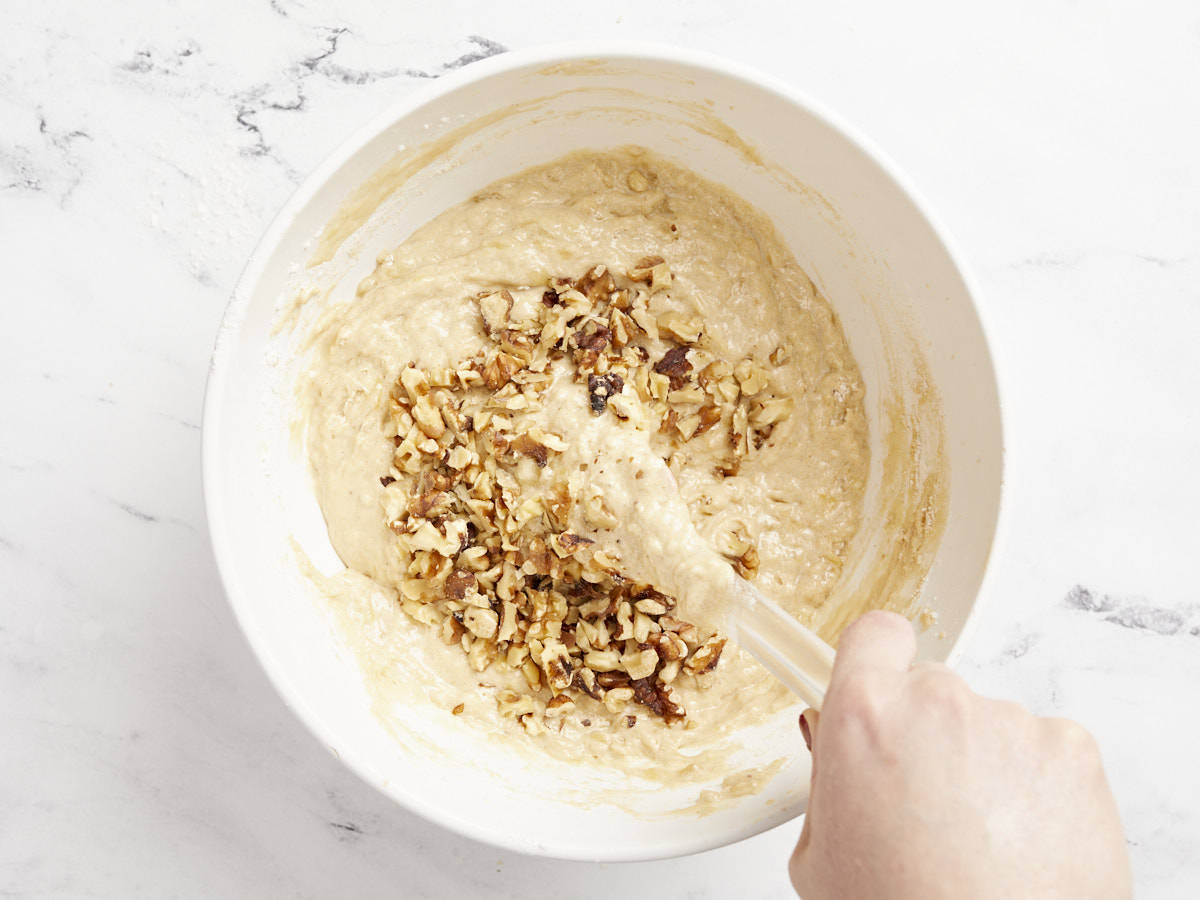
Add 3/4 cup golden raisins to the bowl and fold them into the batter until just combined.
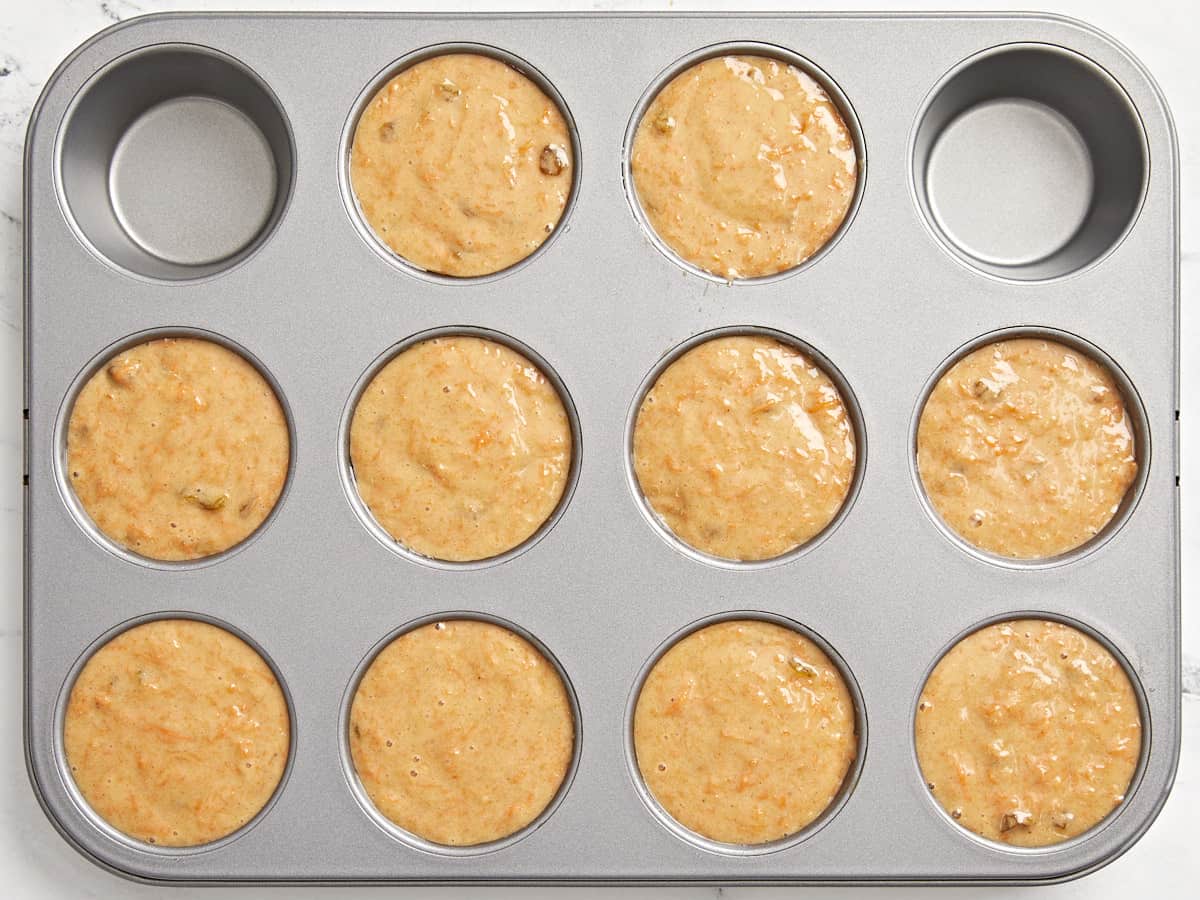
Divide the batter between ten well-greased or lined muffin wells.
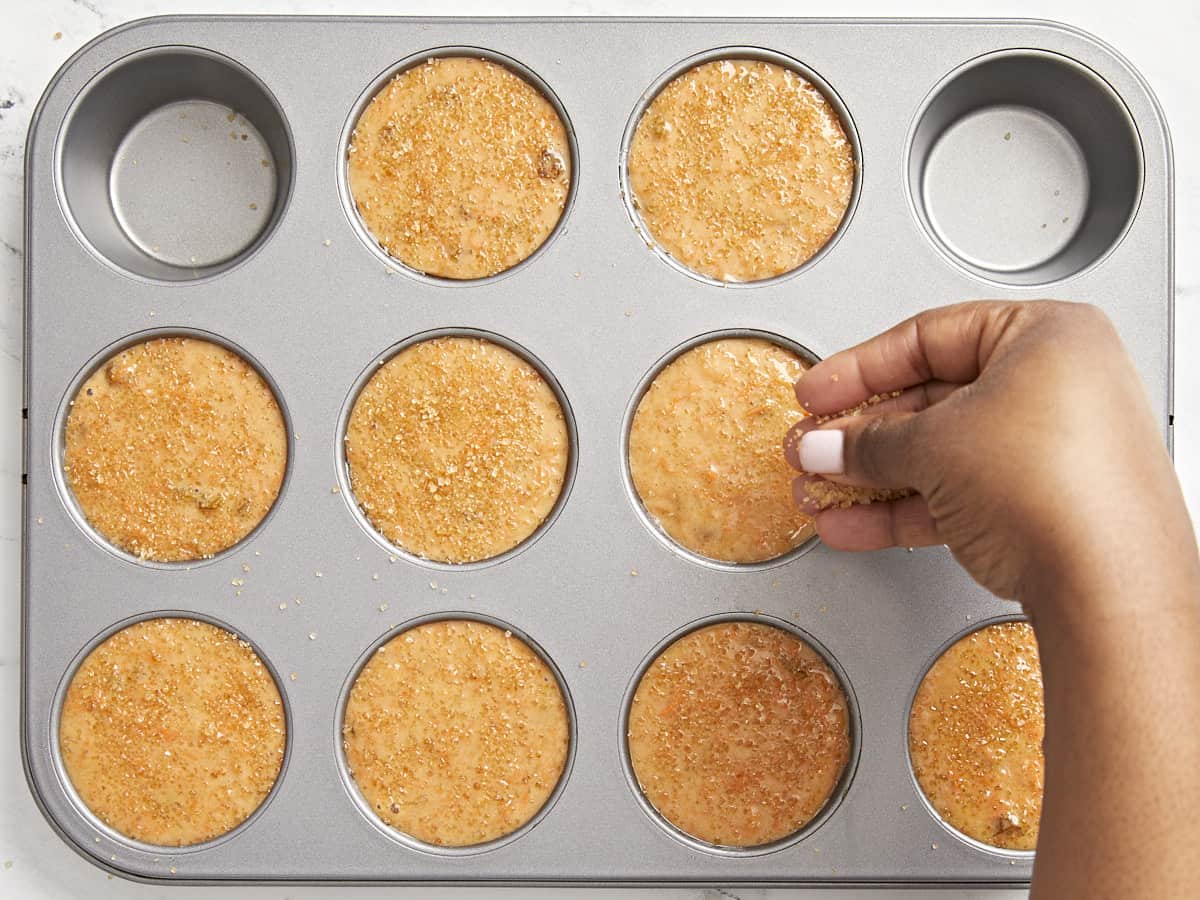
Optional: Divide 1 Tbsp turbinado sugar and sprinkle a little on top of each muffin.
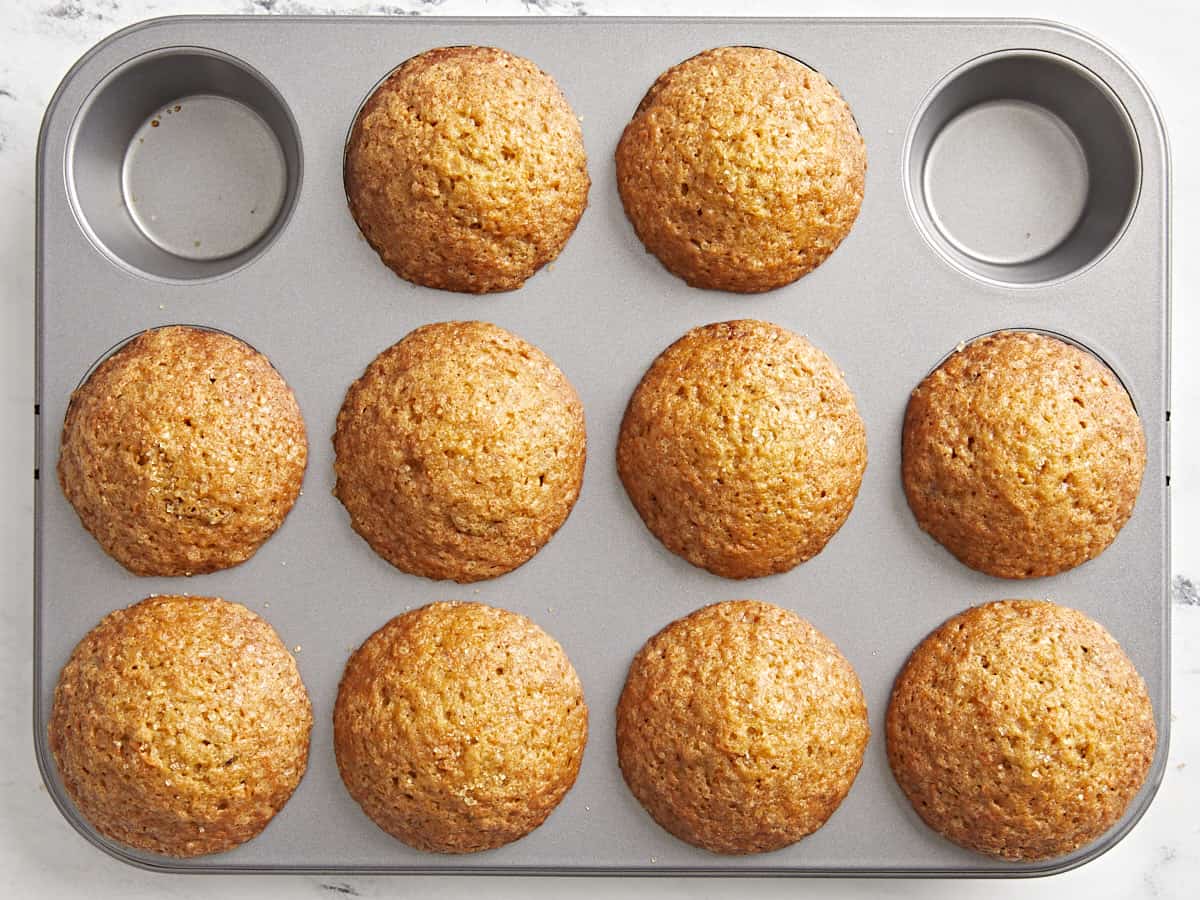
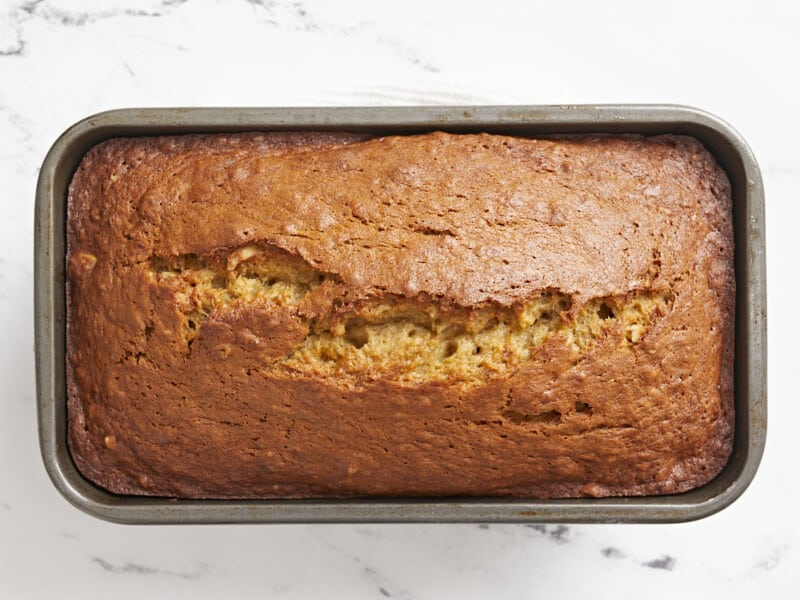
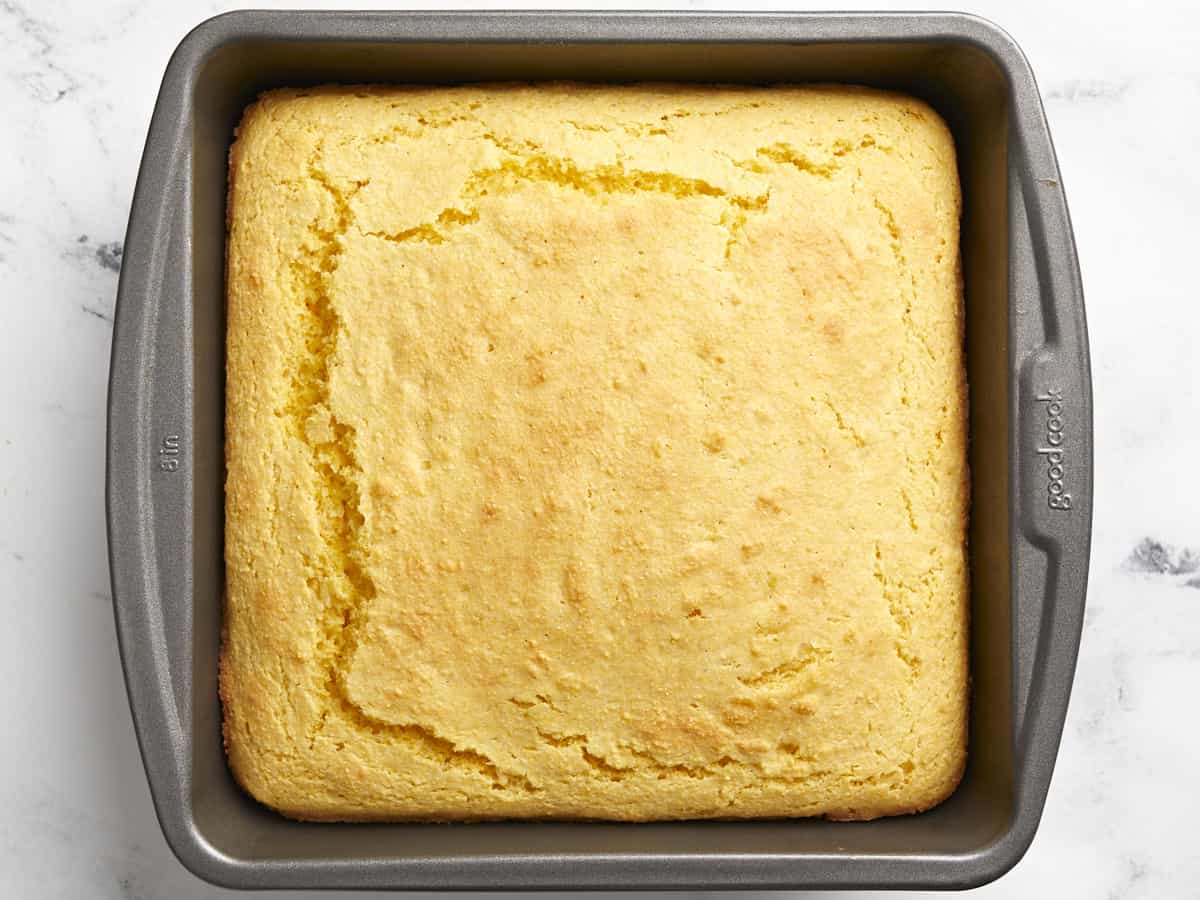
Bake the muffins for 20-22 minutes or until golden brown and puffed in the center. Allow the muffins to cool for about 5 minutes, then carefully loosen the edges with a knife and transfer the muffins to a wire rack to finish cooling. Enjoy!
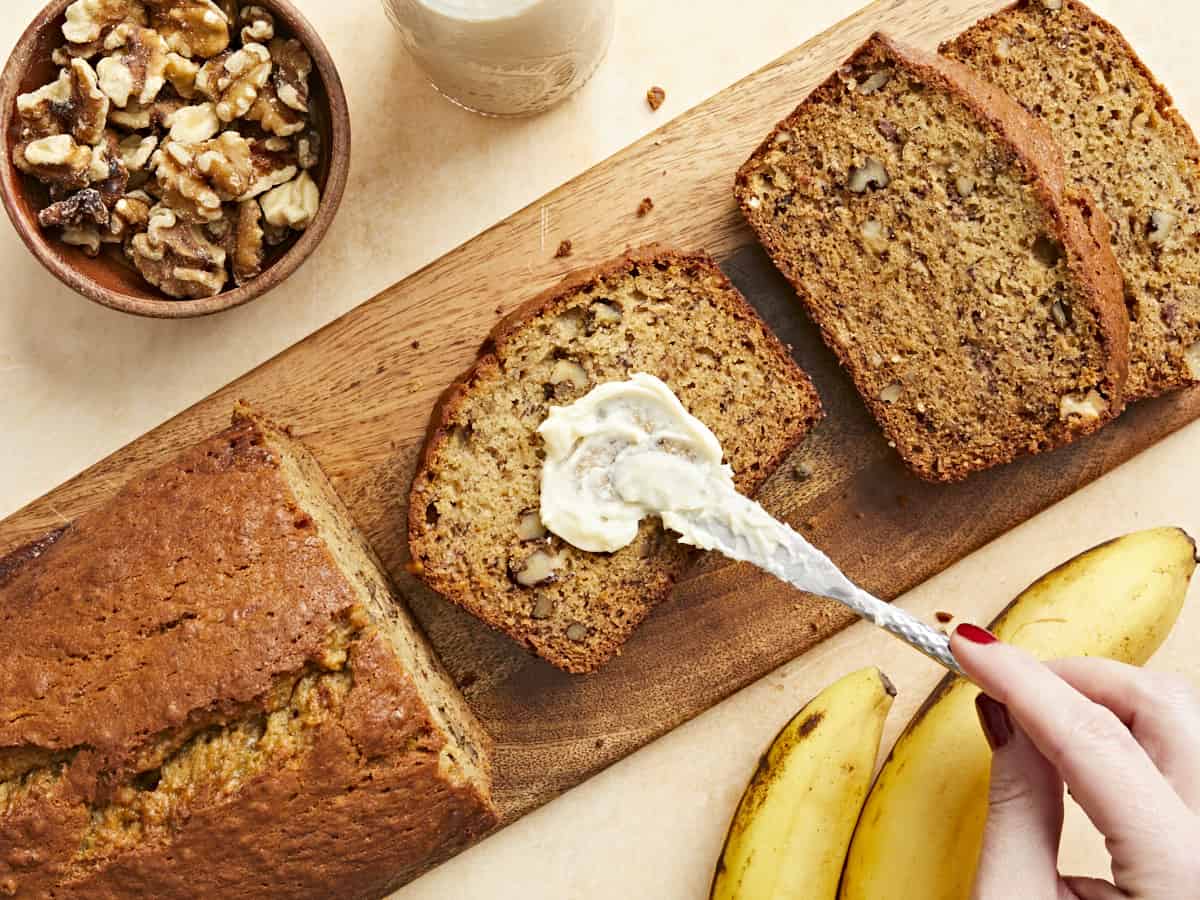
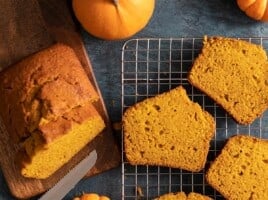
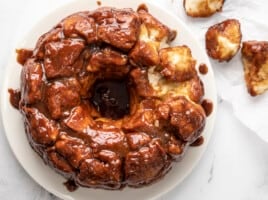
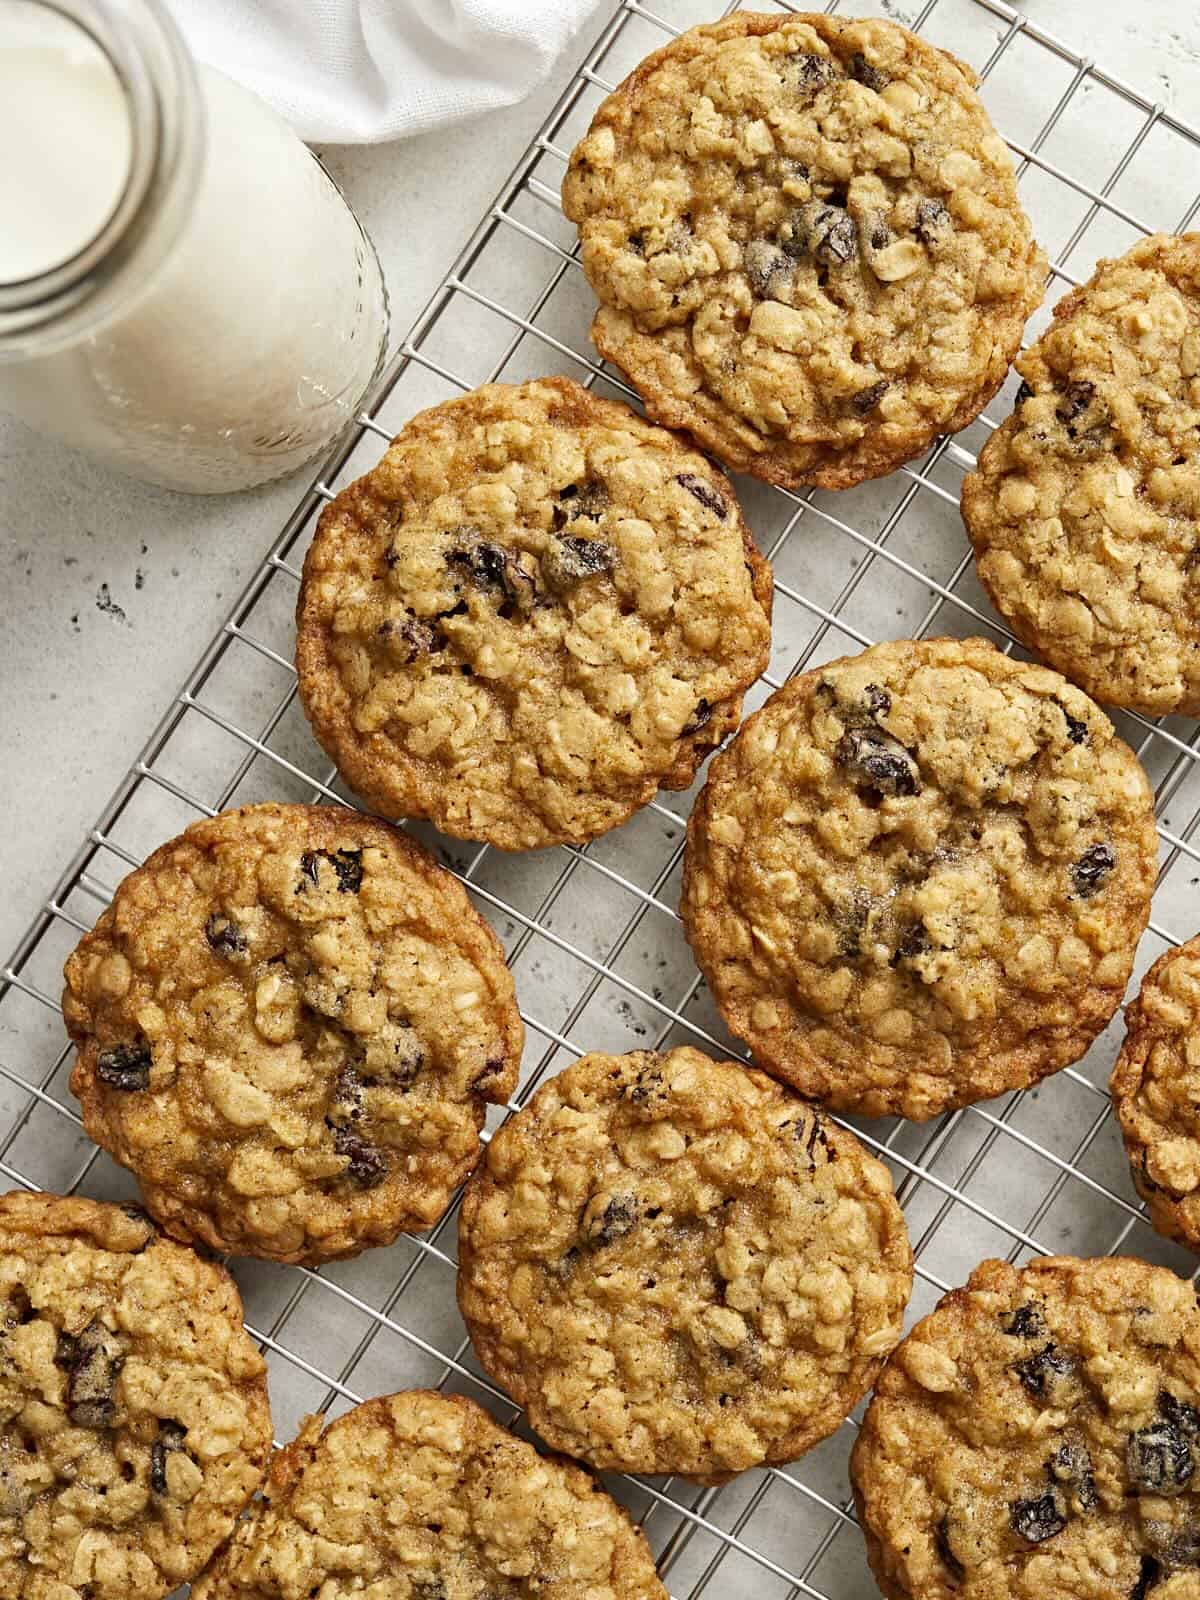
More Delicious Muffin Recipes


The post Carrot Cake Muffins appeared first on Budget Bytes.