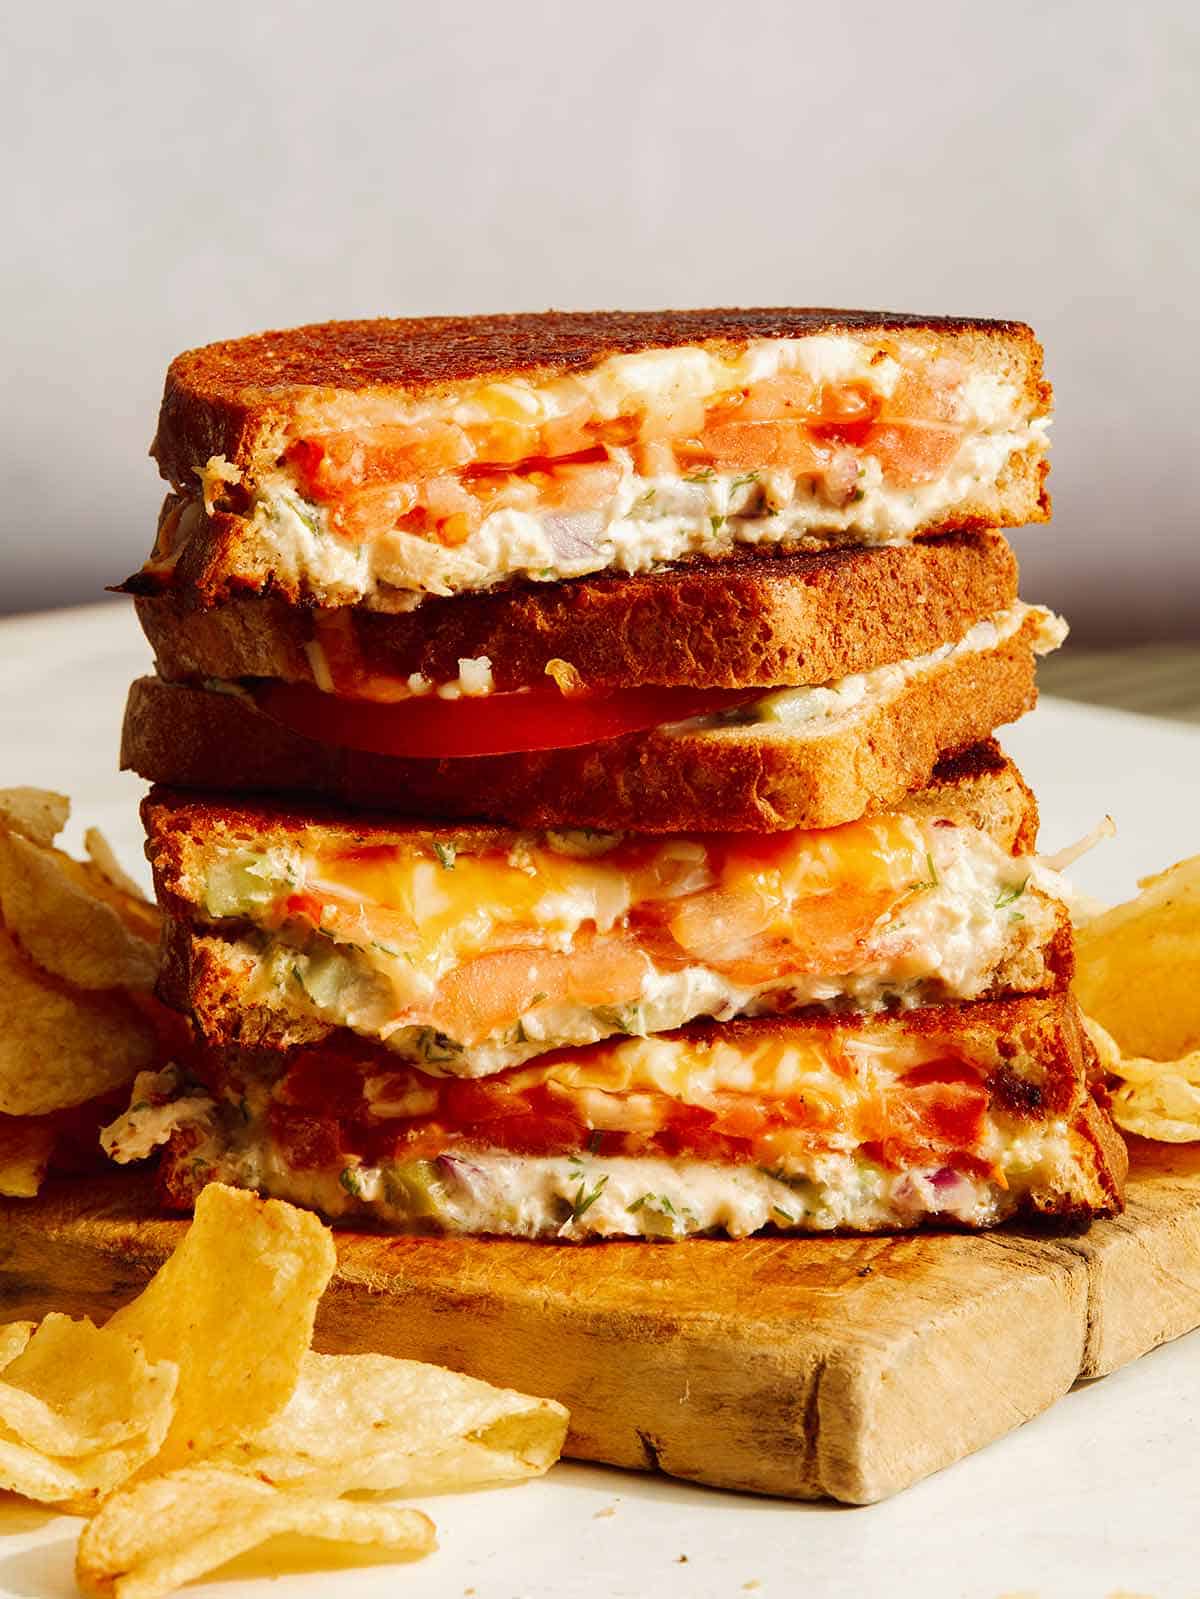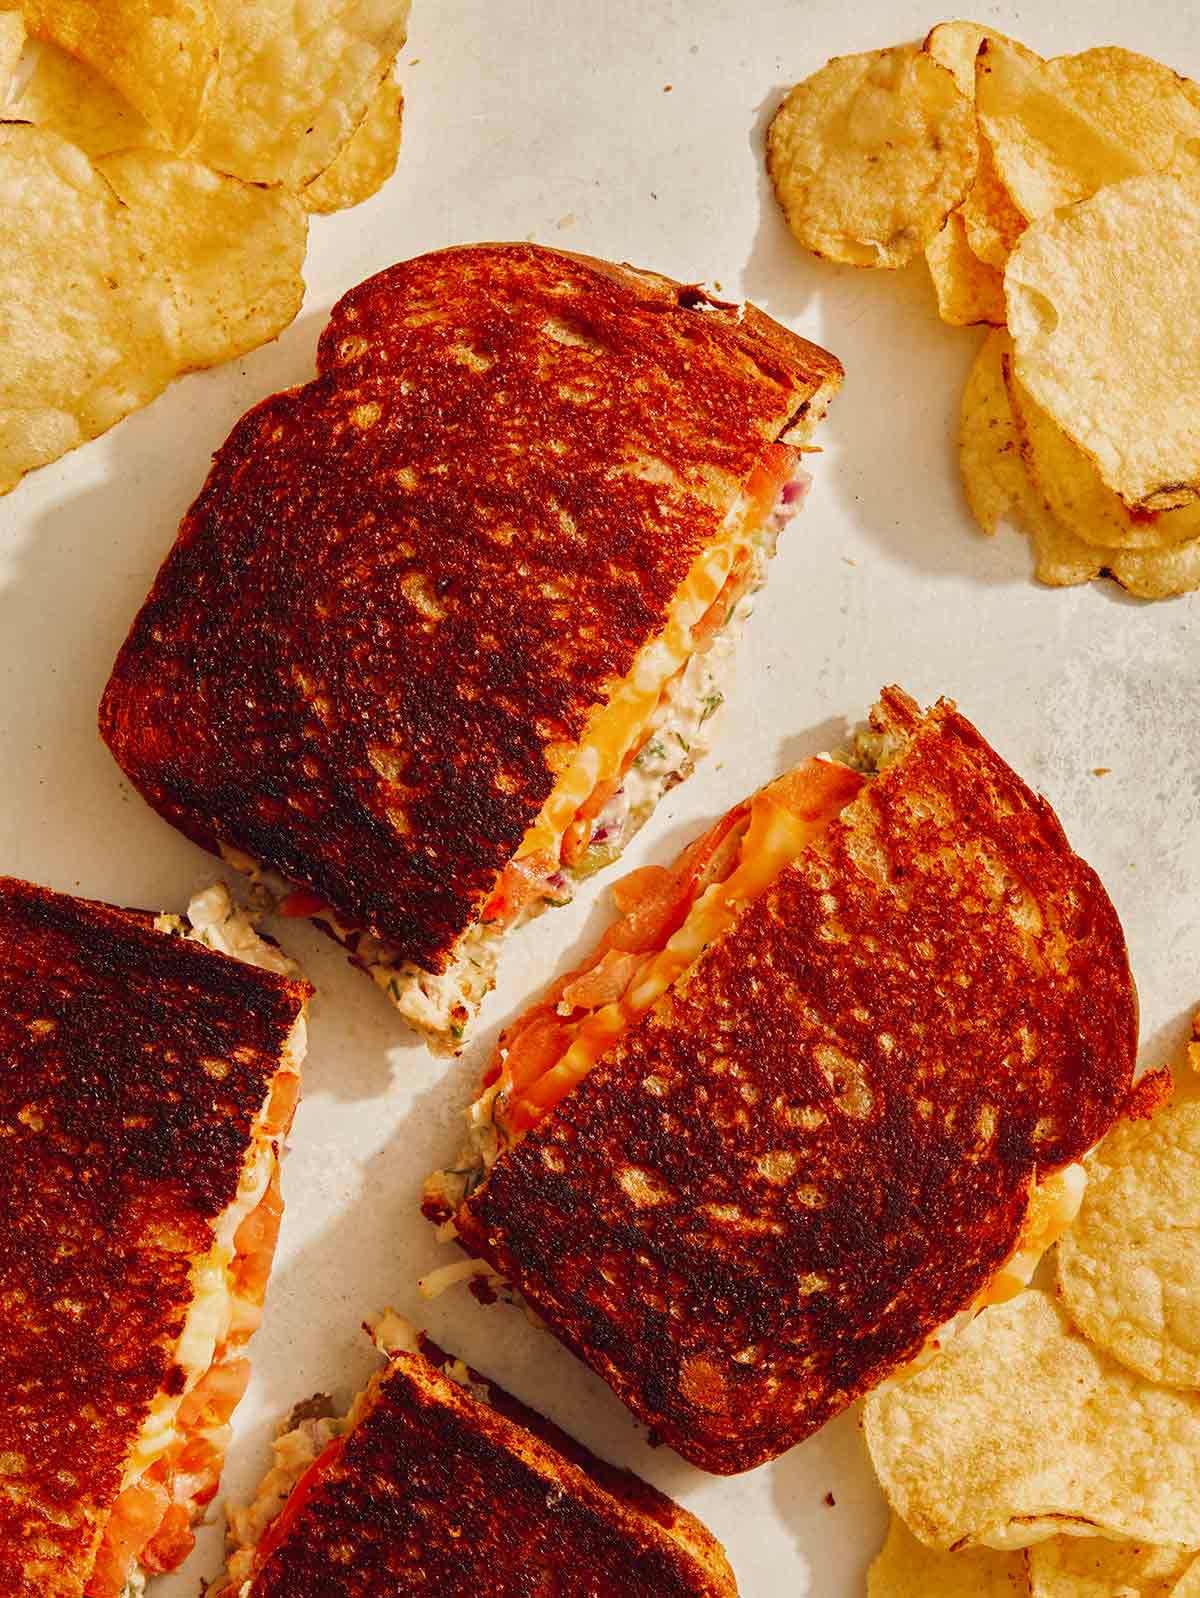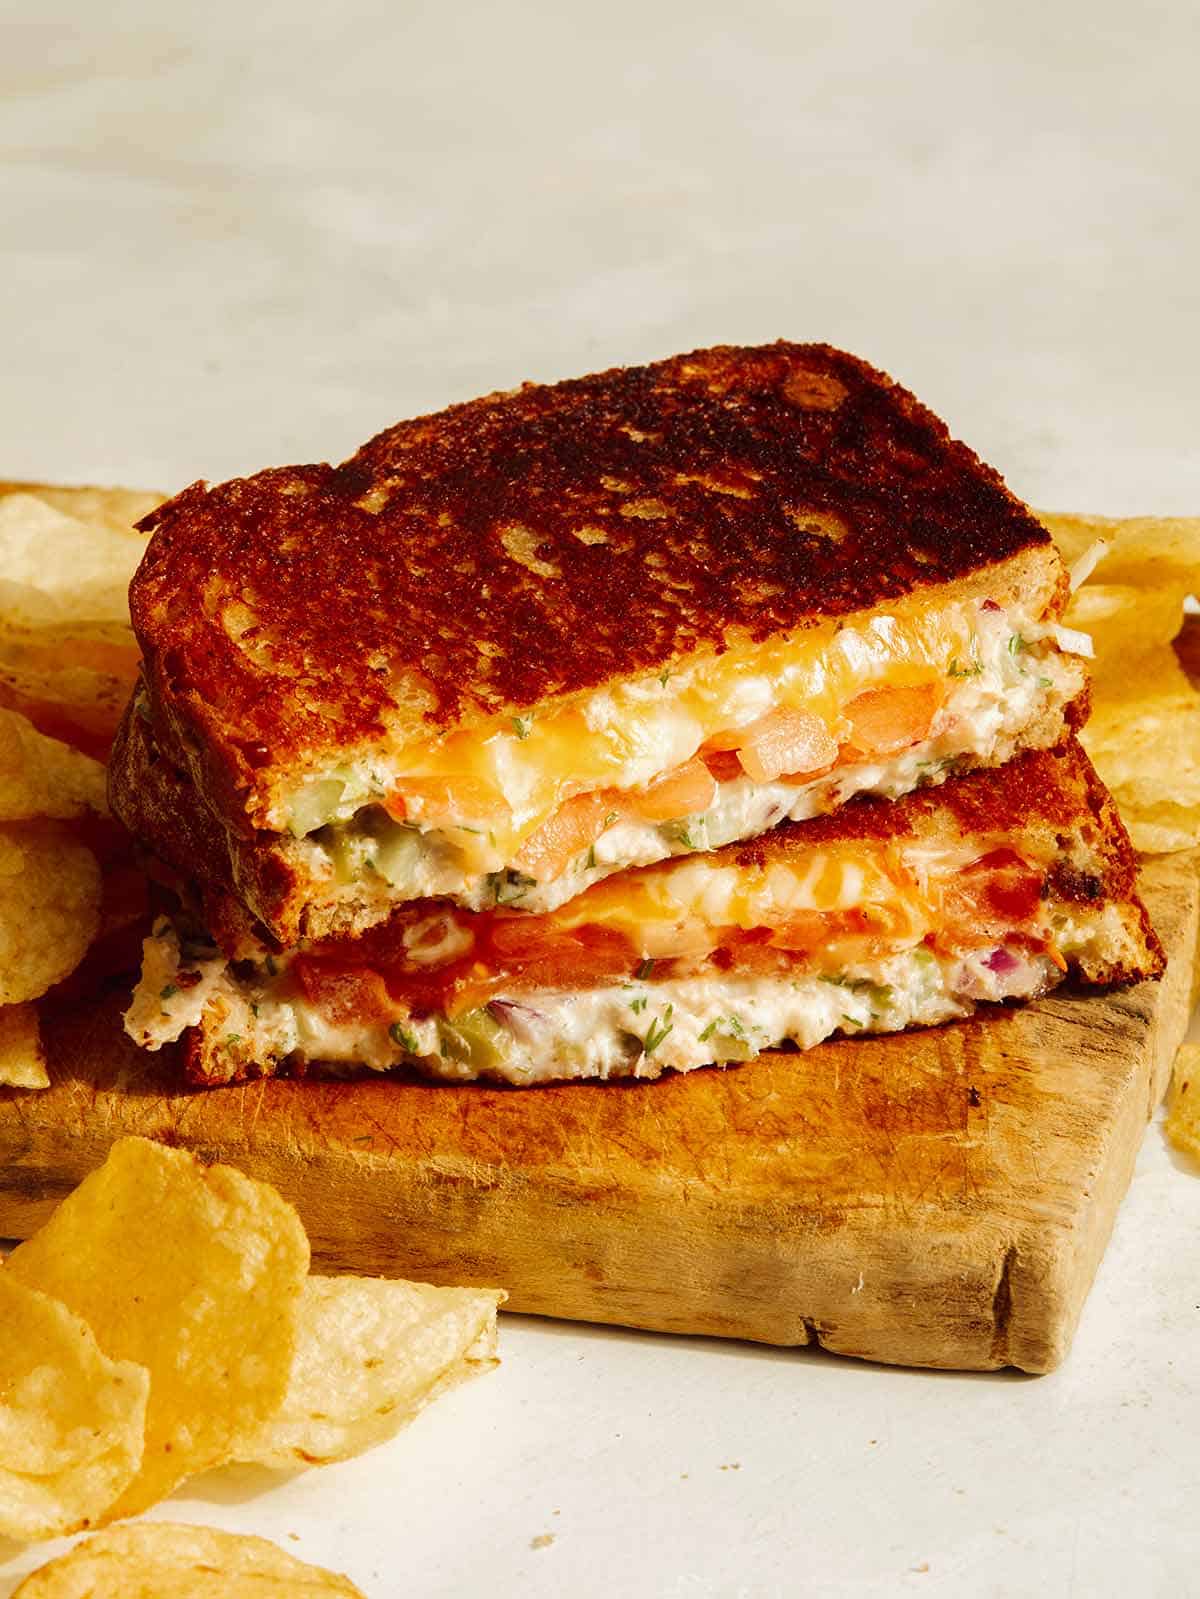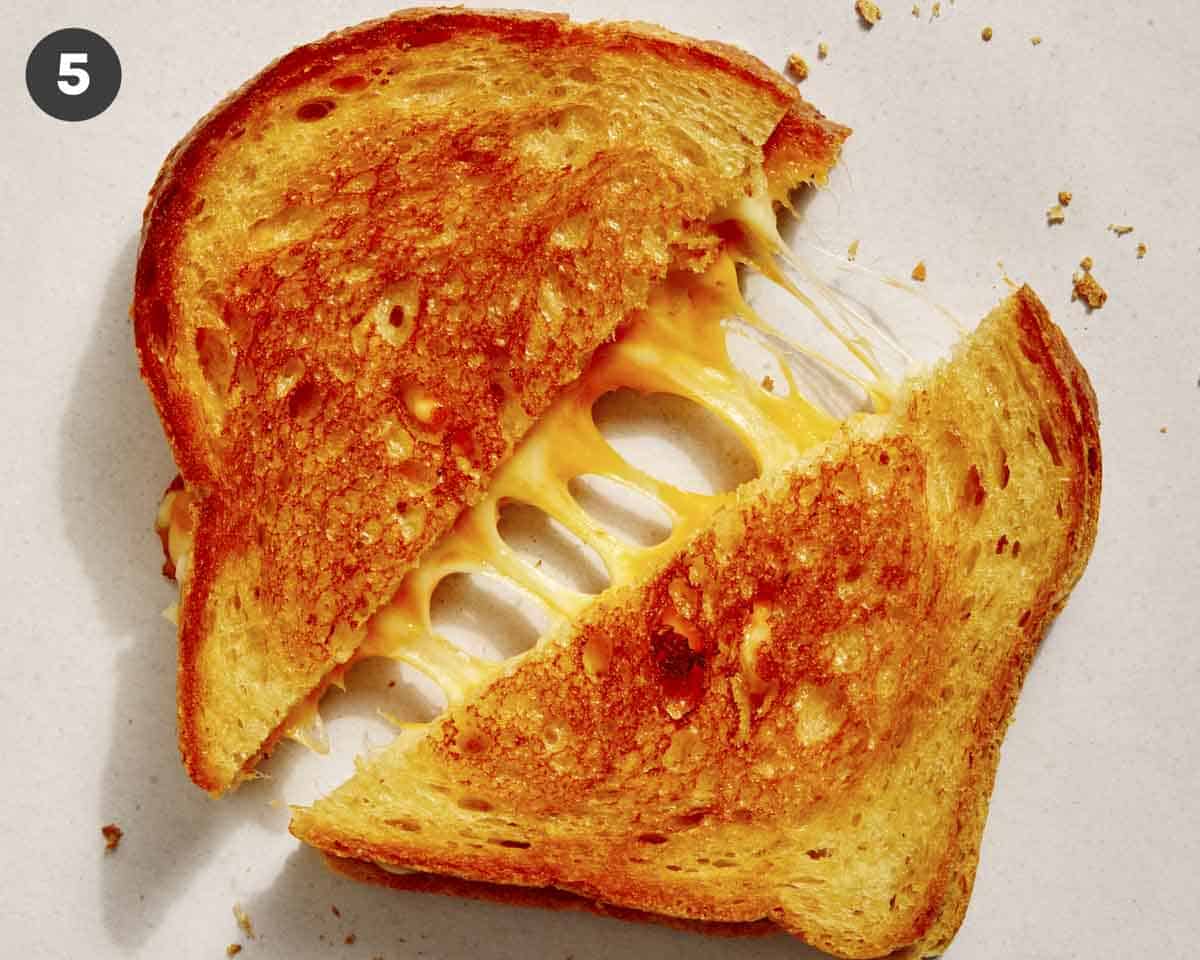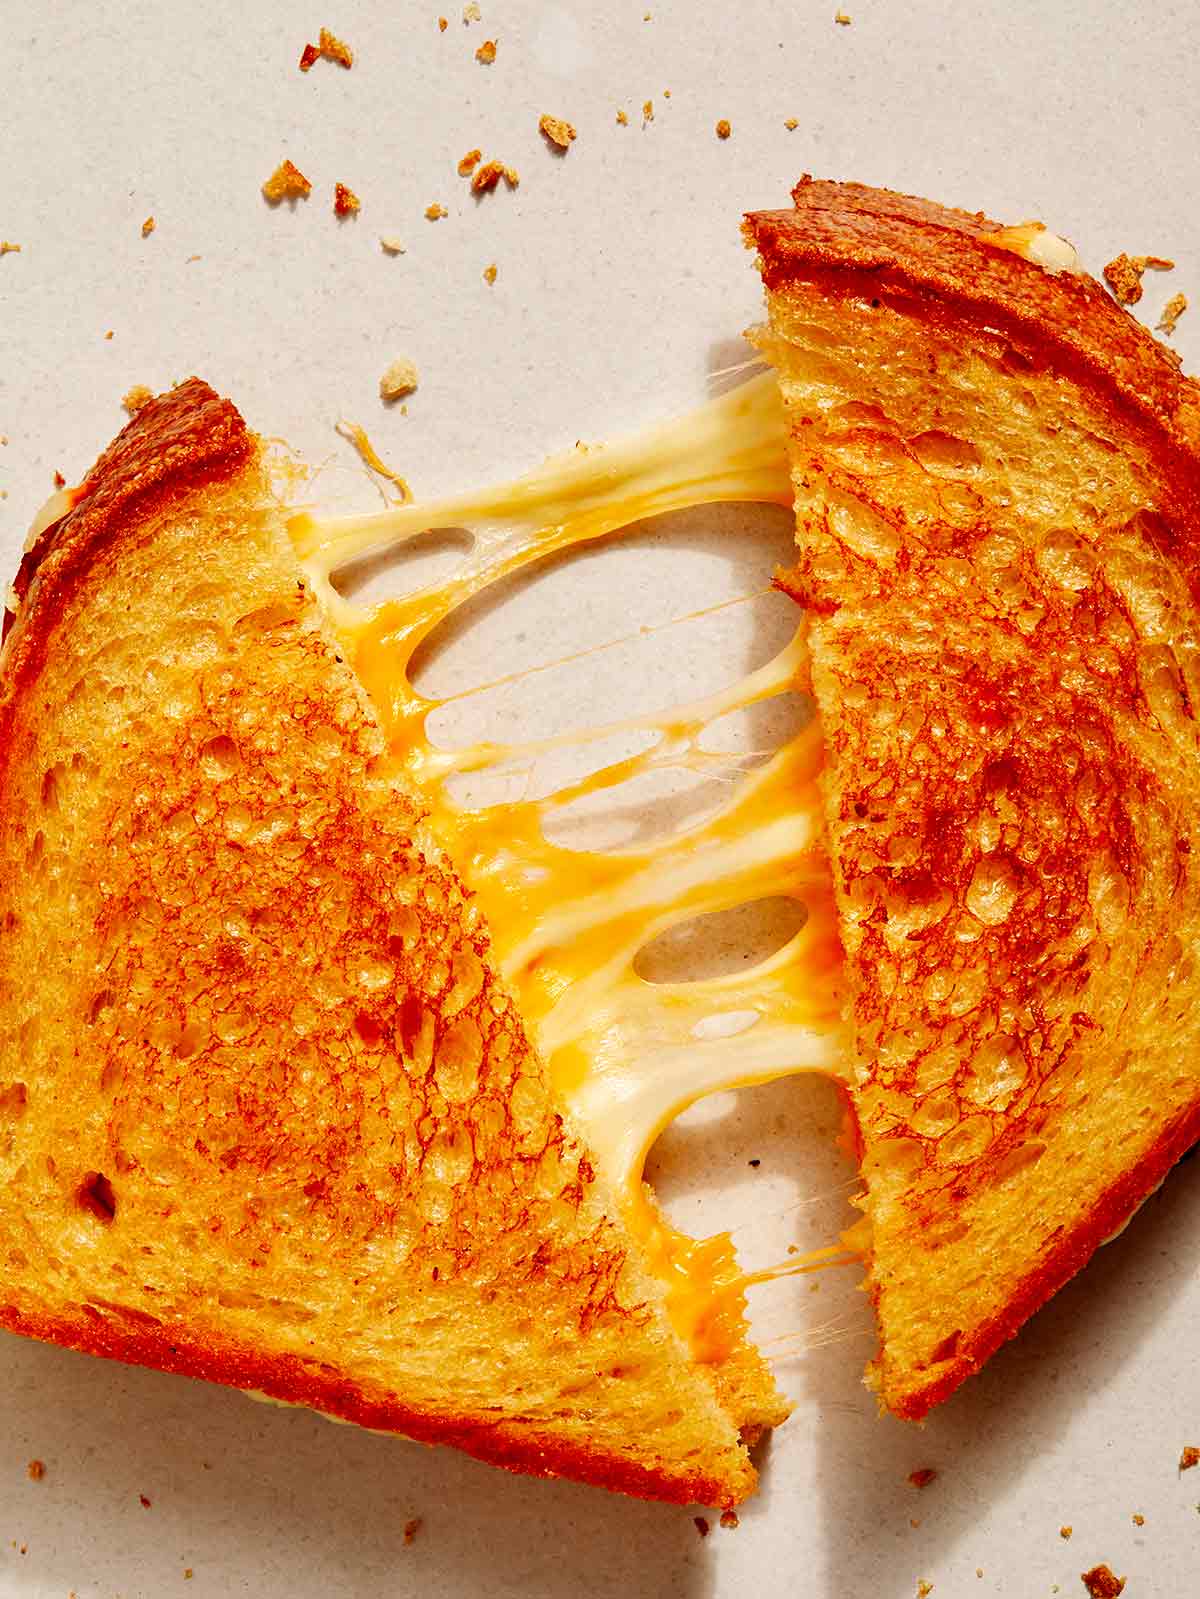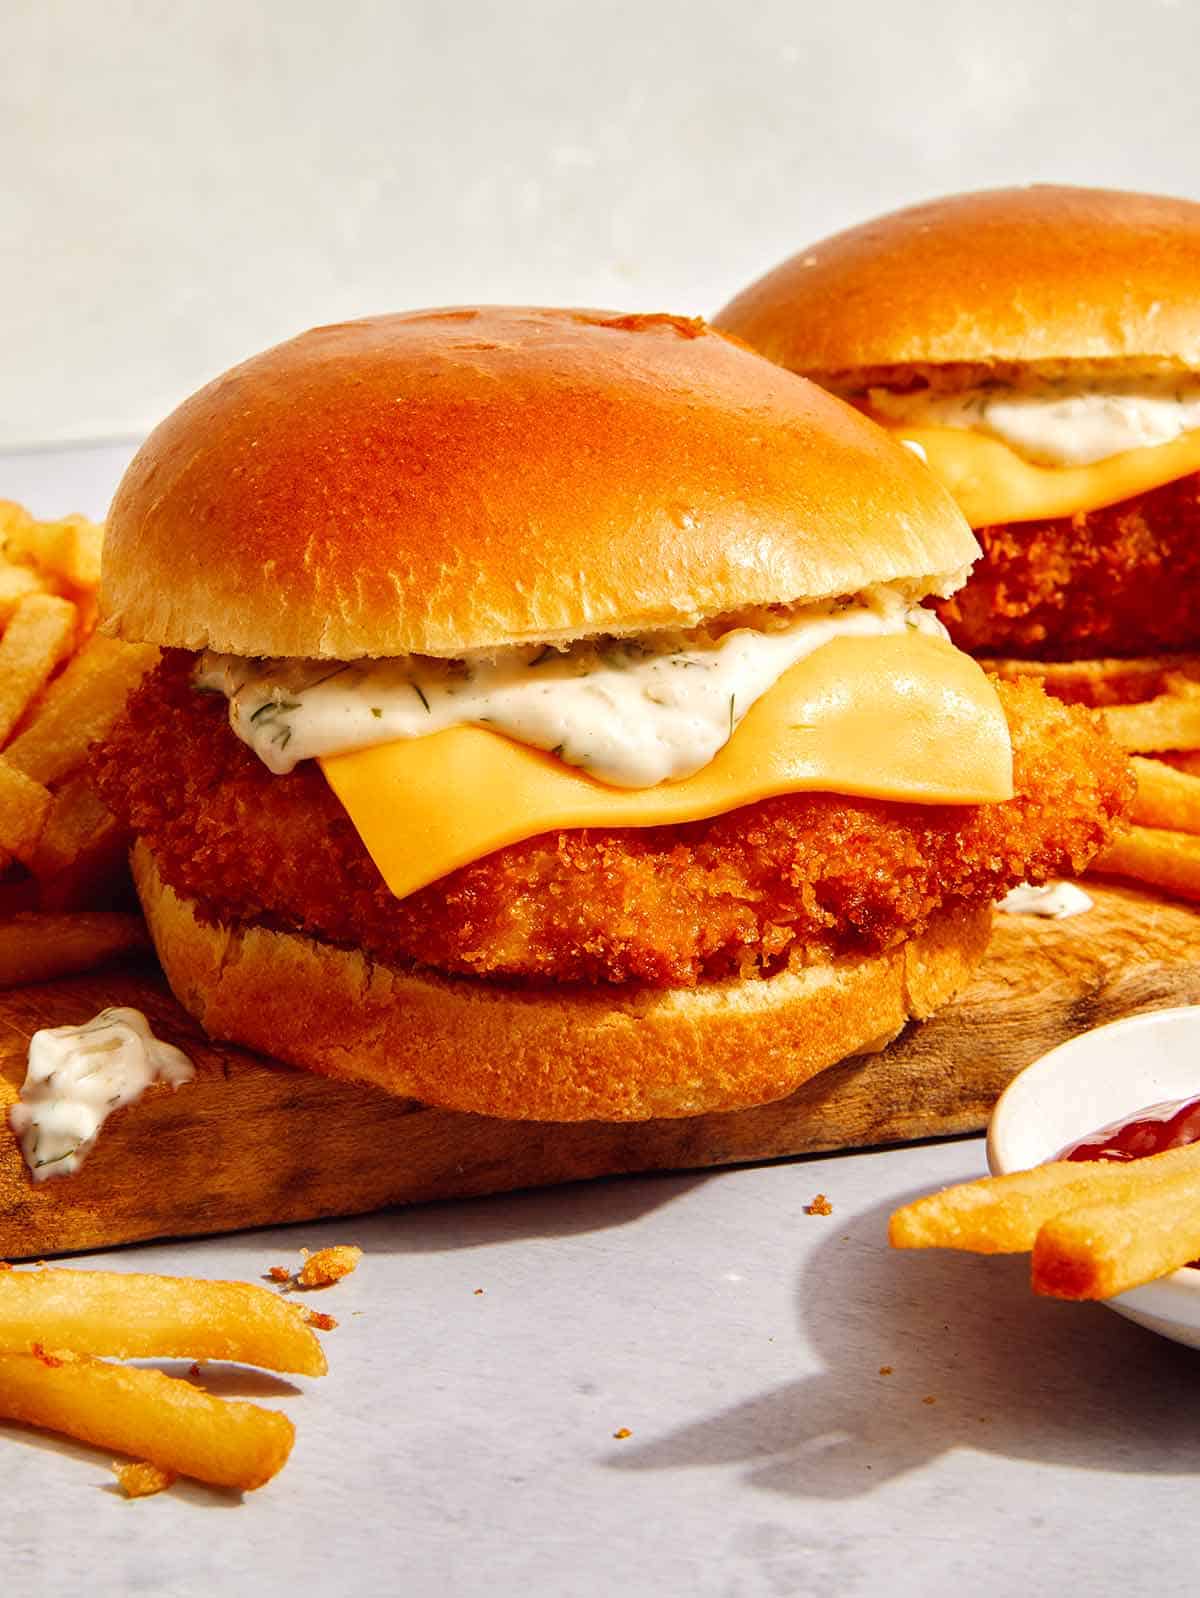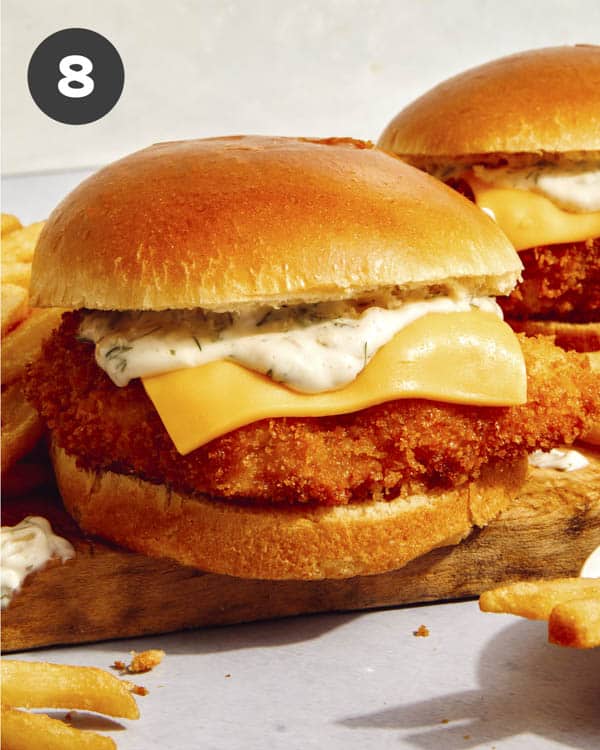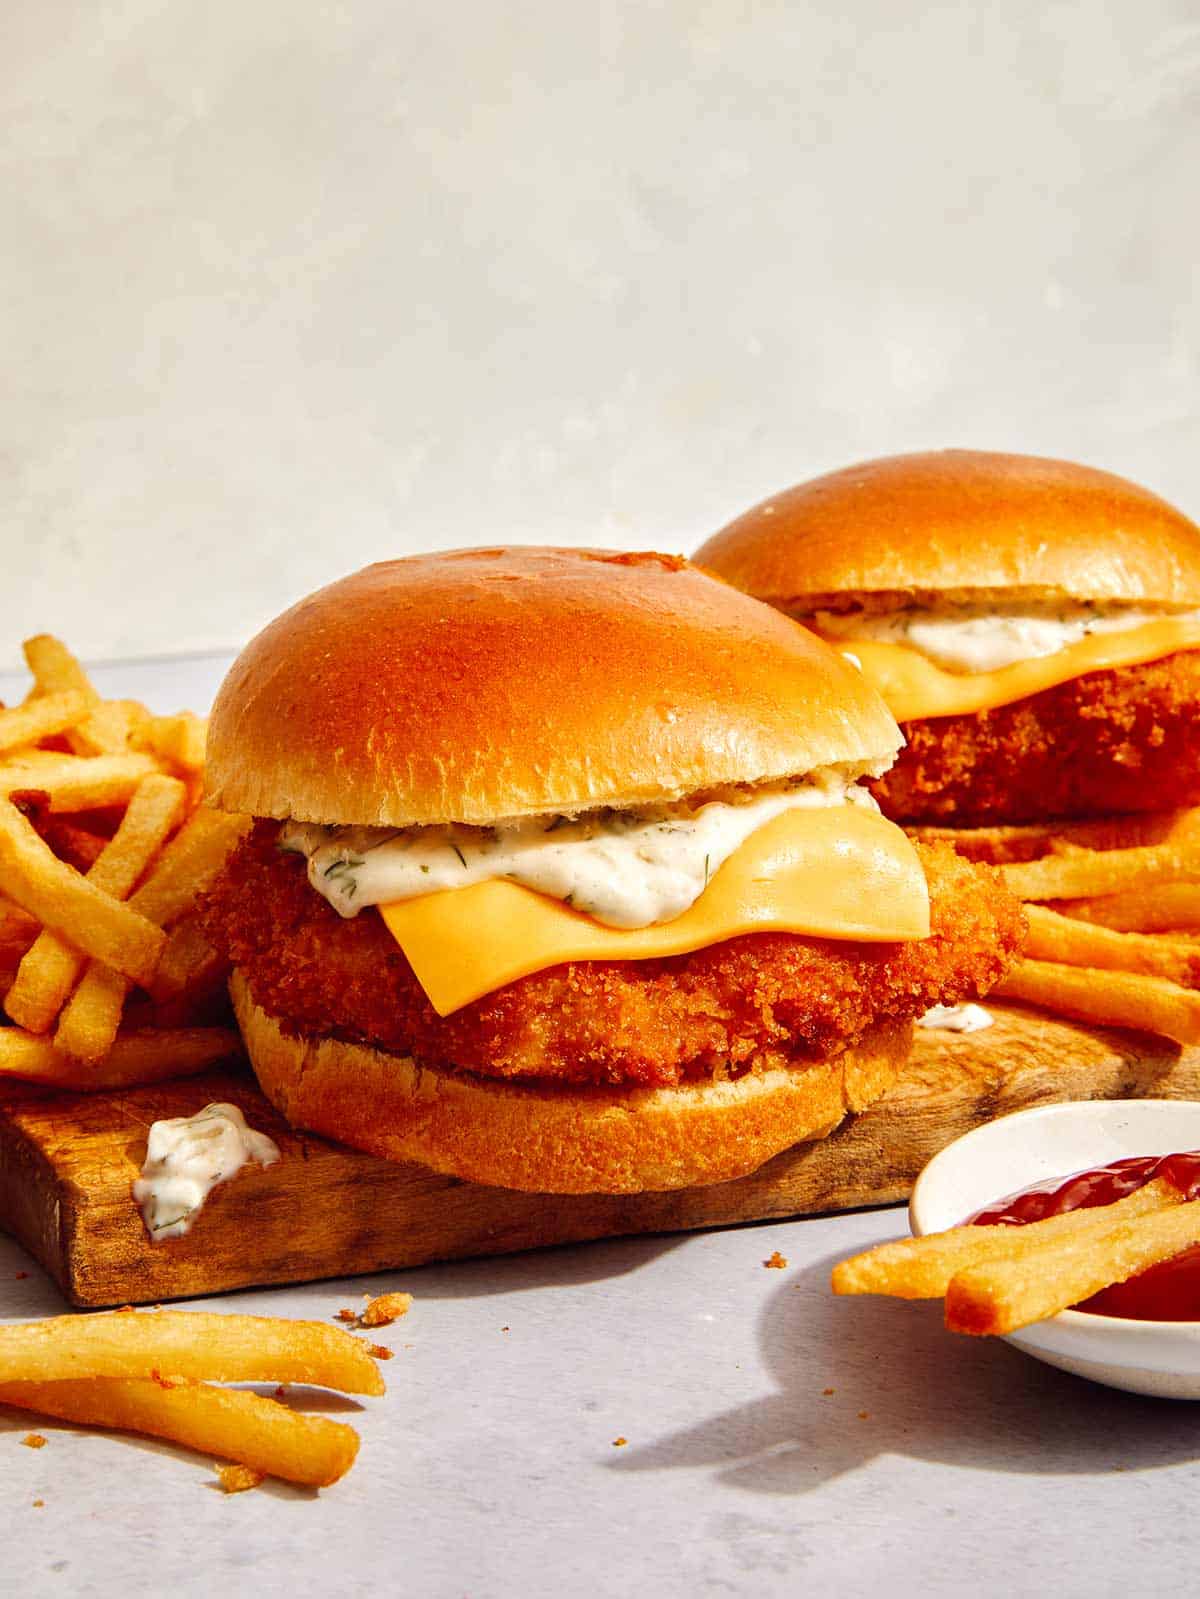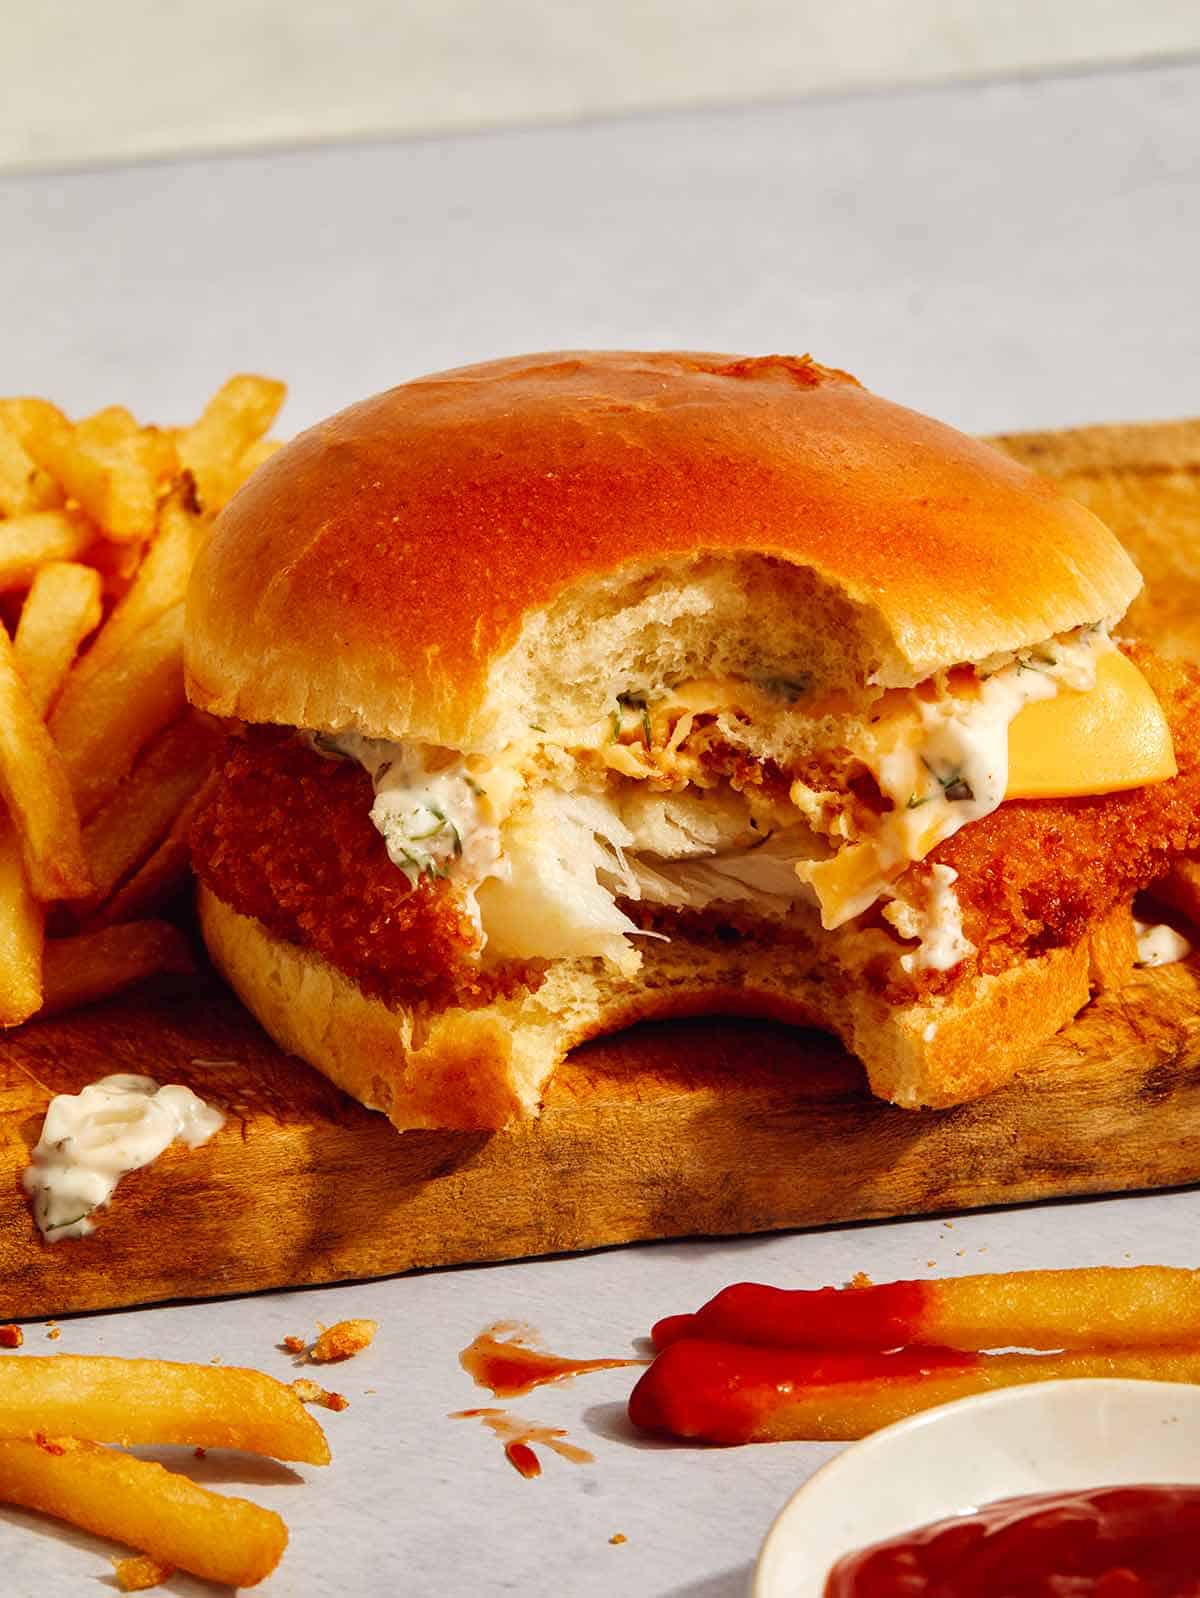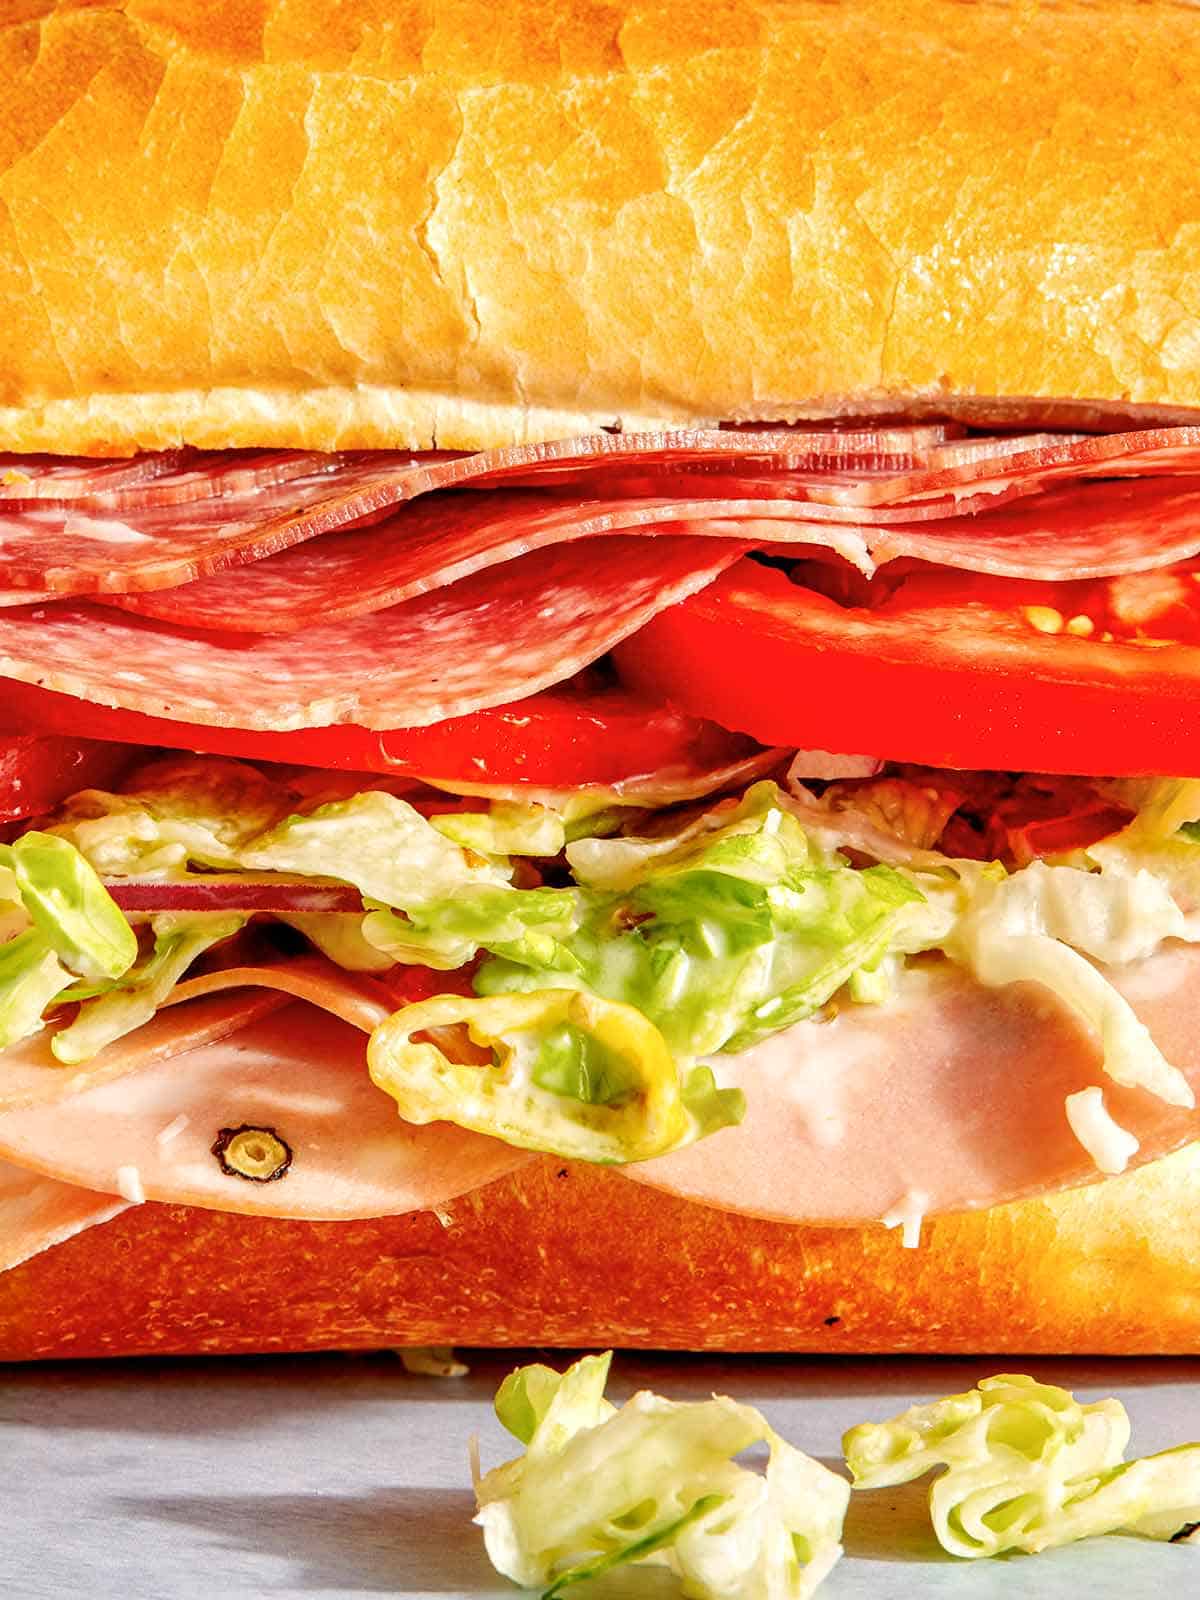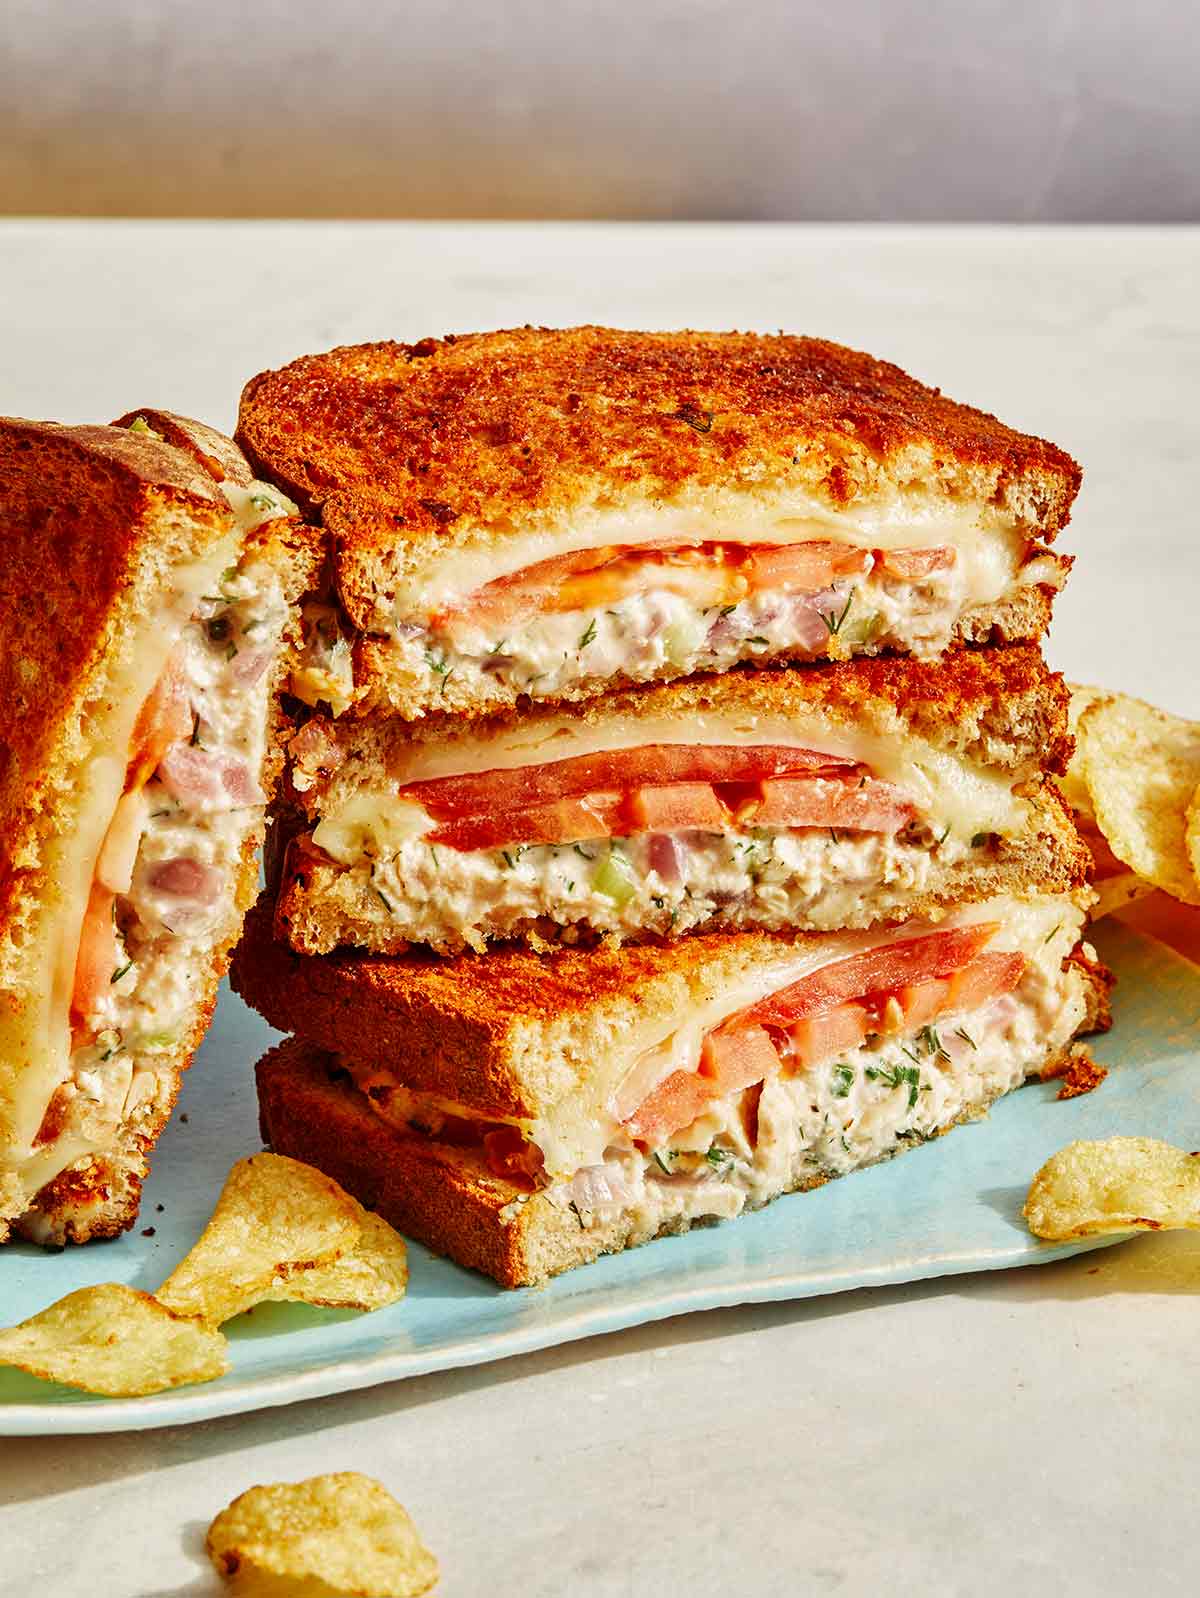
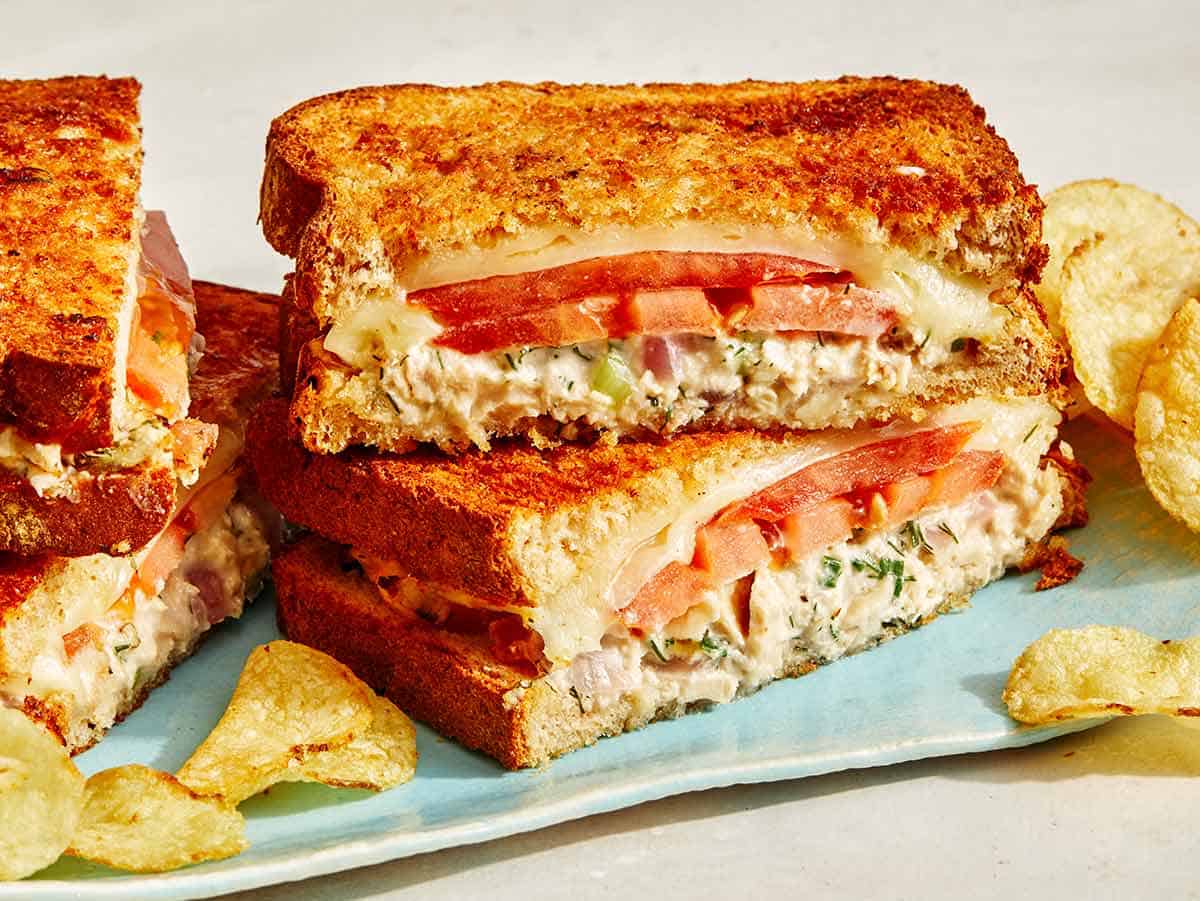
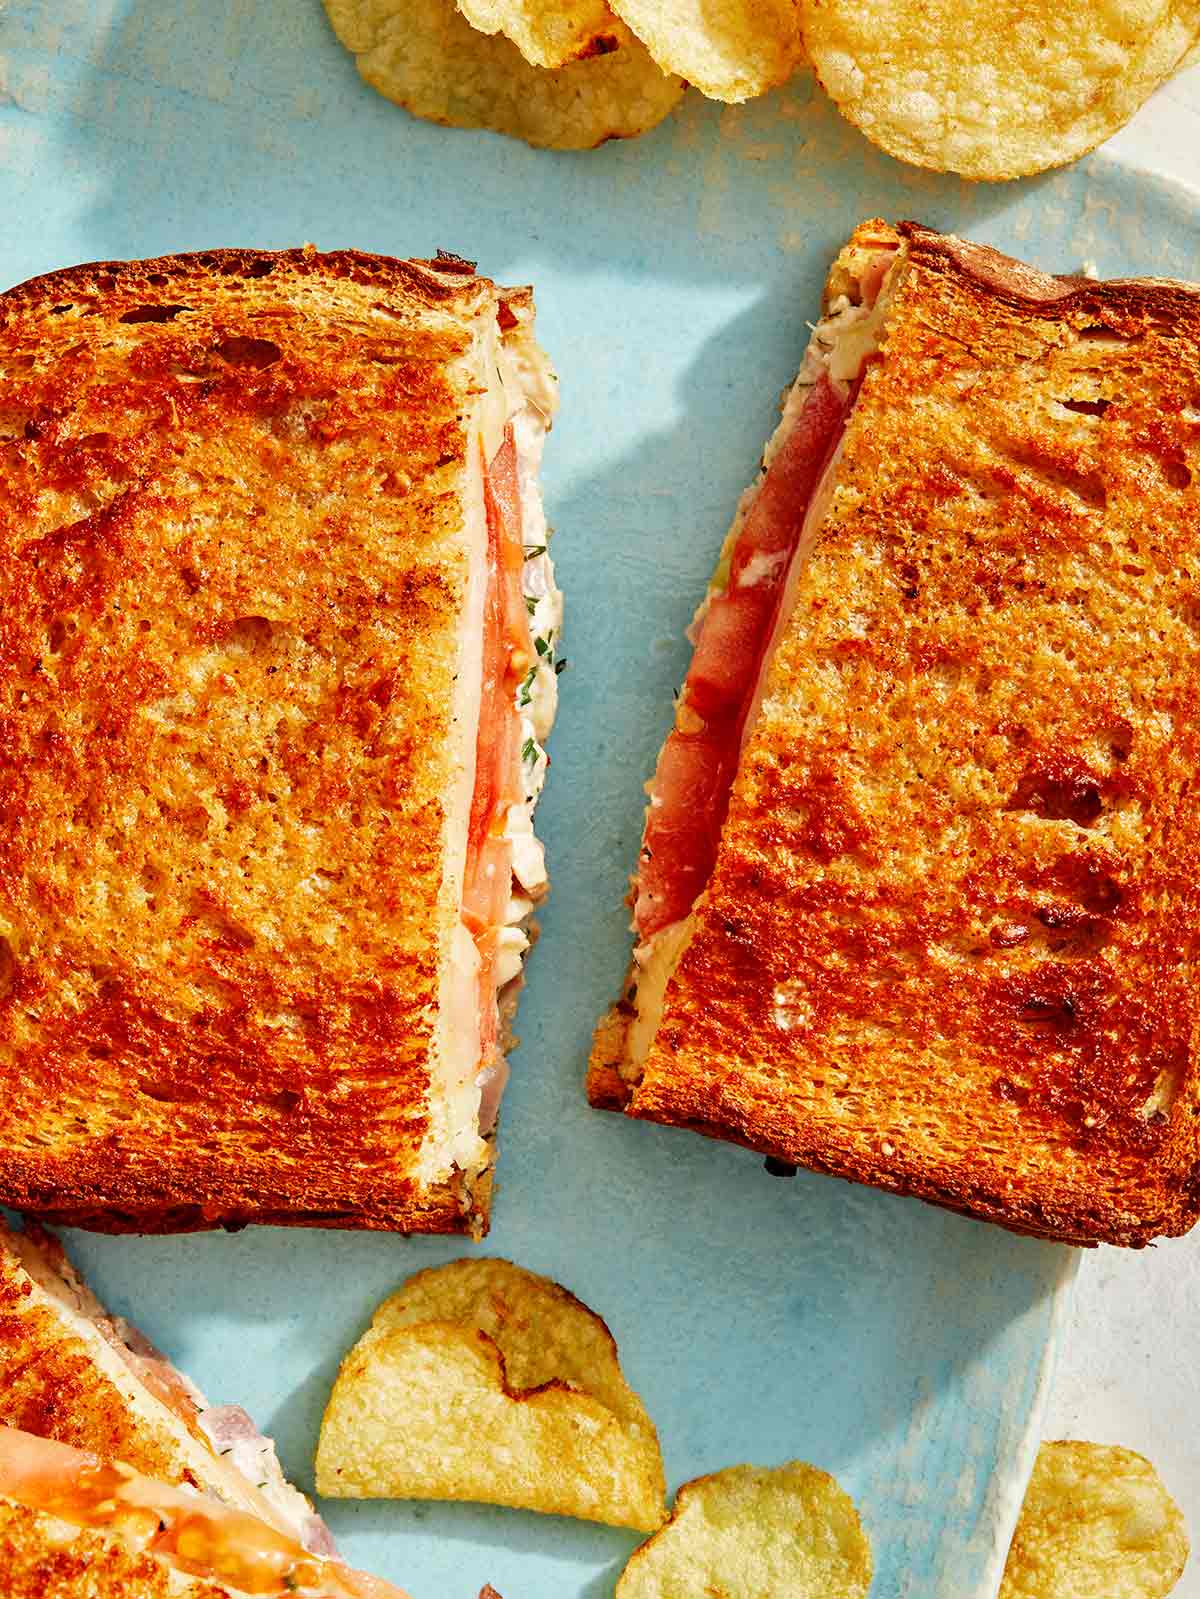
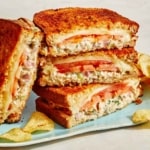
What makes comfort food even better? Letting the air fryer do all the work! Our Air Fryer Tuna Melt is packed with the creamy cozy flavors you love, sandwiched between two extra toasty slices of buttery bread.
With a slight twist from our traditional tuna melt, this recipe gets a massive upgrade, with the air fryer making the bread extra crispy while the cheese and tuna warms and melts inside. From crab rangoon to chicken tenders, the air fryer does a fantastic job at adding all the crispiness of a deep frier without the time, mess, or extra grease.
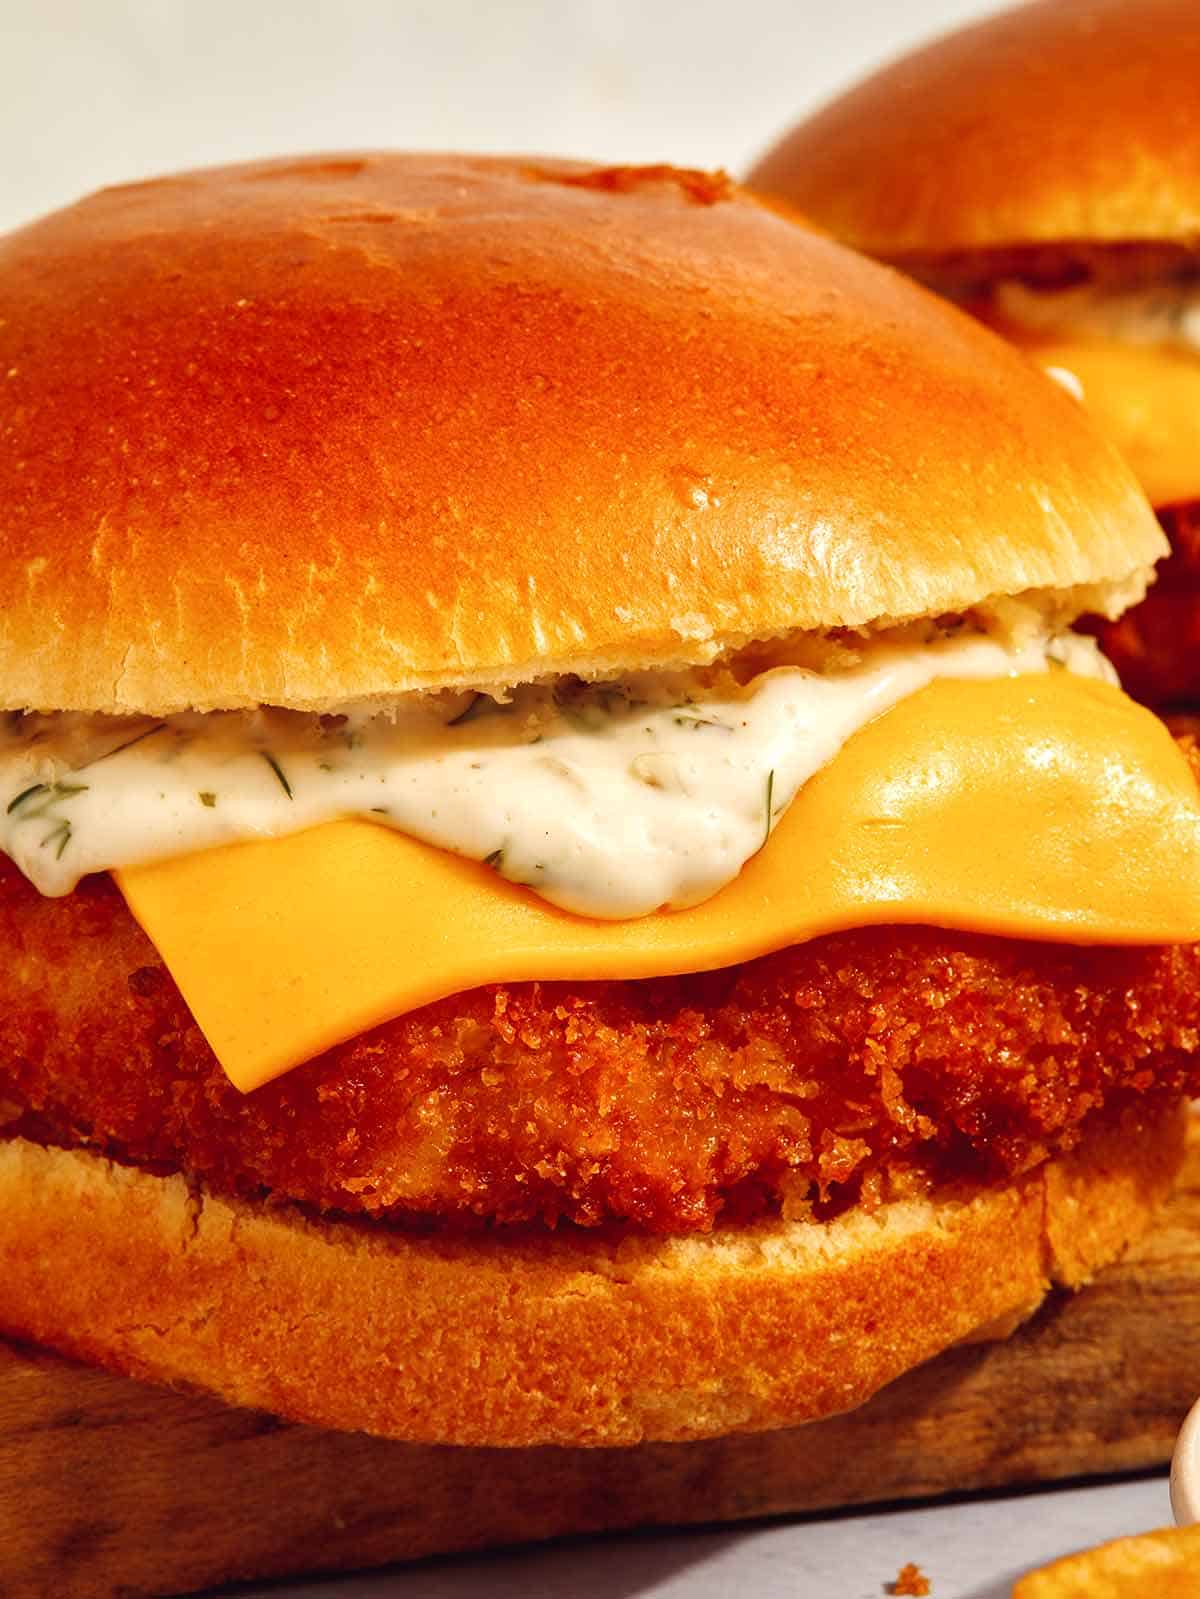
Pickled red onion, dill, and chives add extra zip to the creamy tuna salad that’s absolutely craveable. The two kinds of cheese melted on top and fresh juicy tomato slices make this one of our favorite toasted sandwiches yet!
How to Make Our Air Fryer Tuna Melt
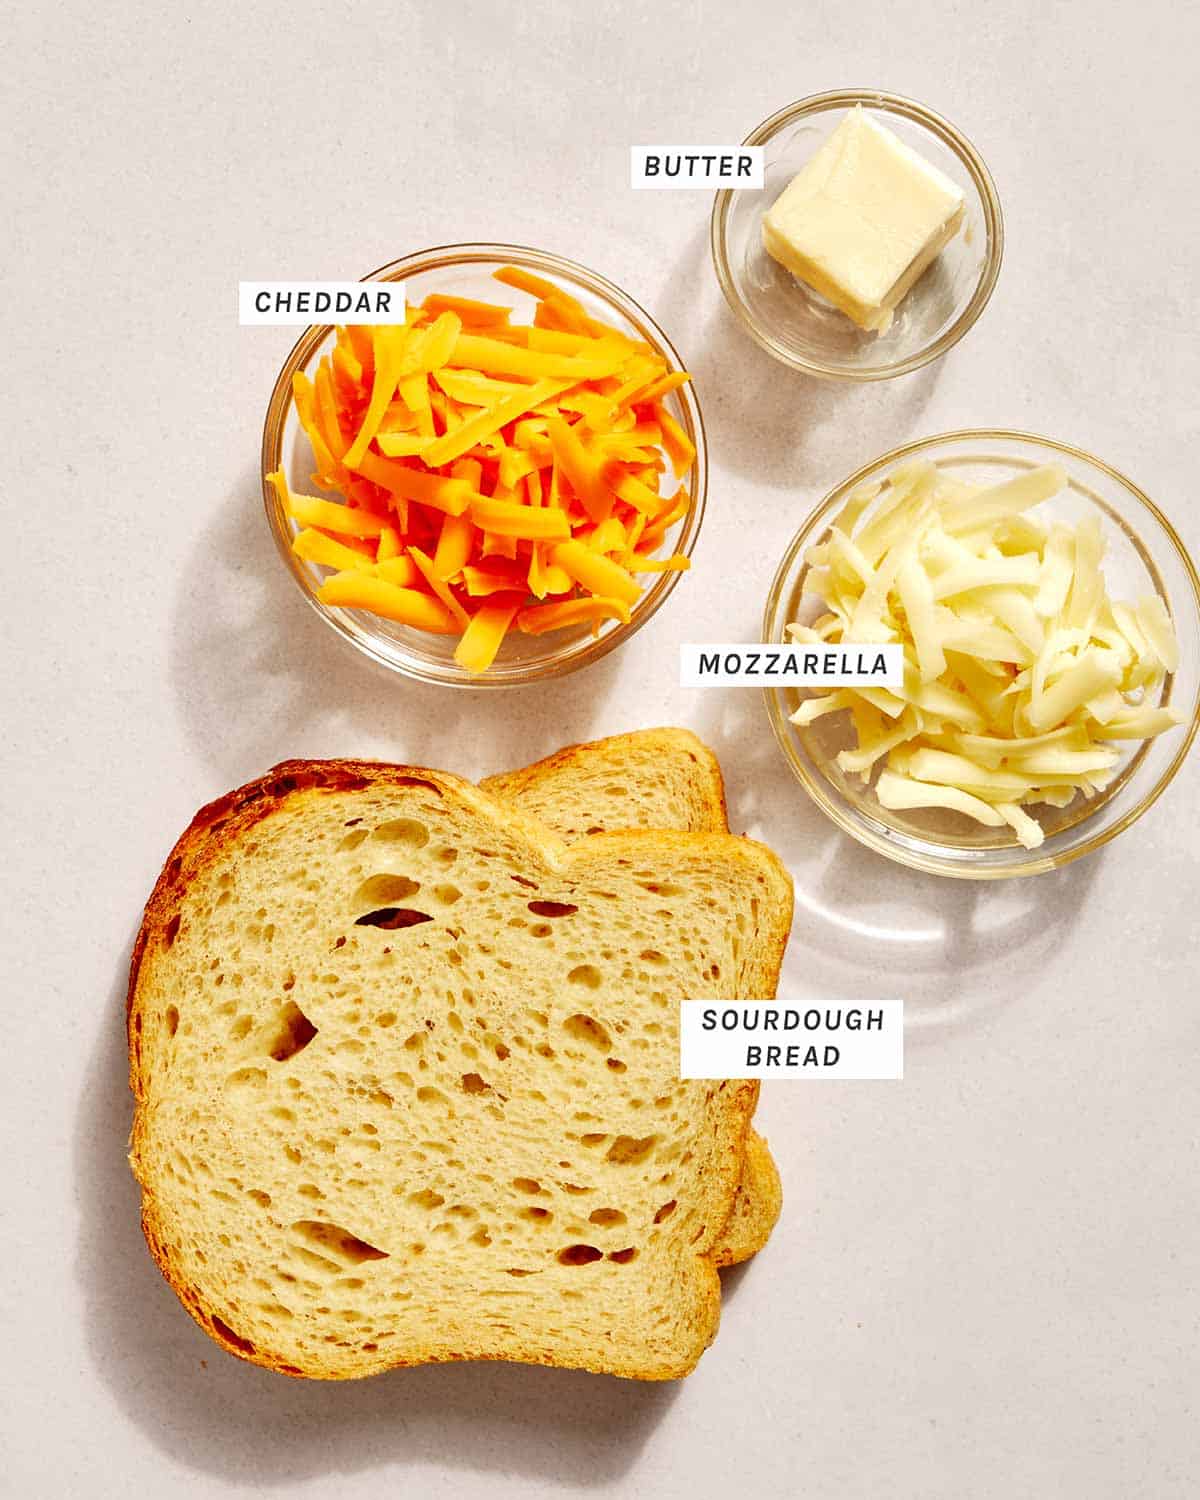
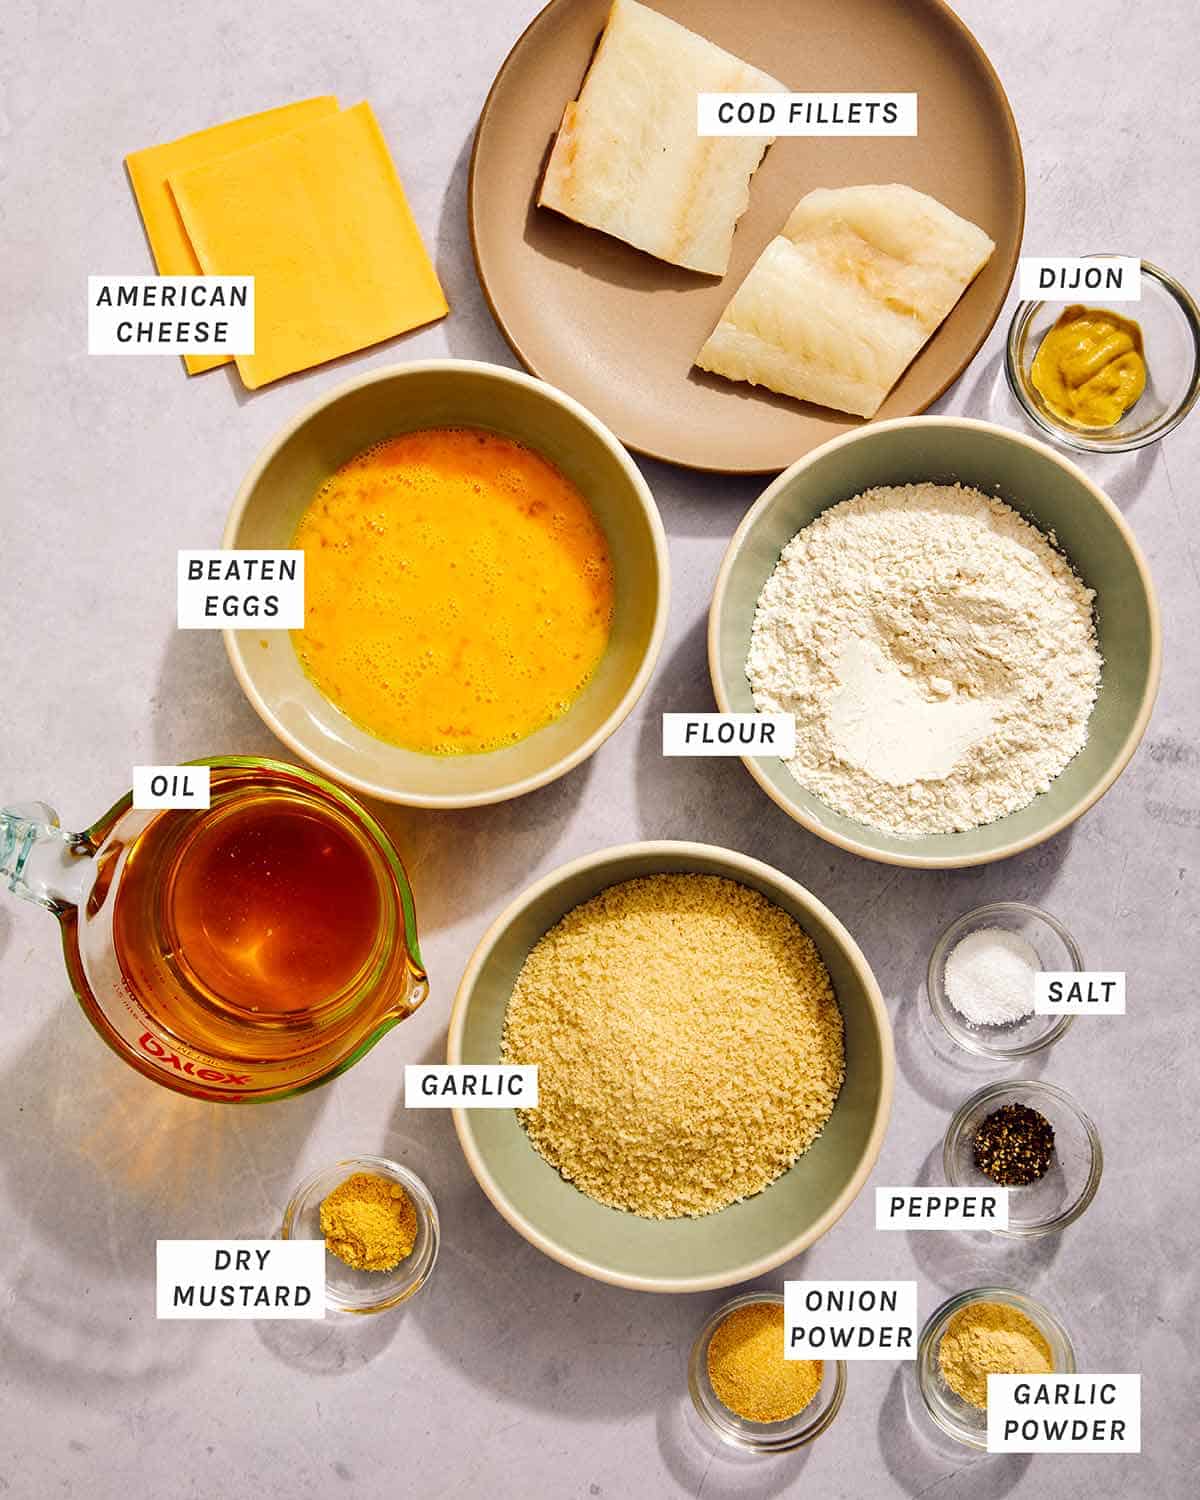
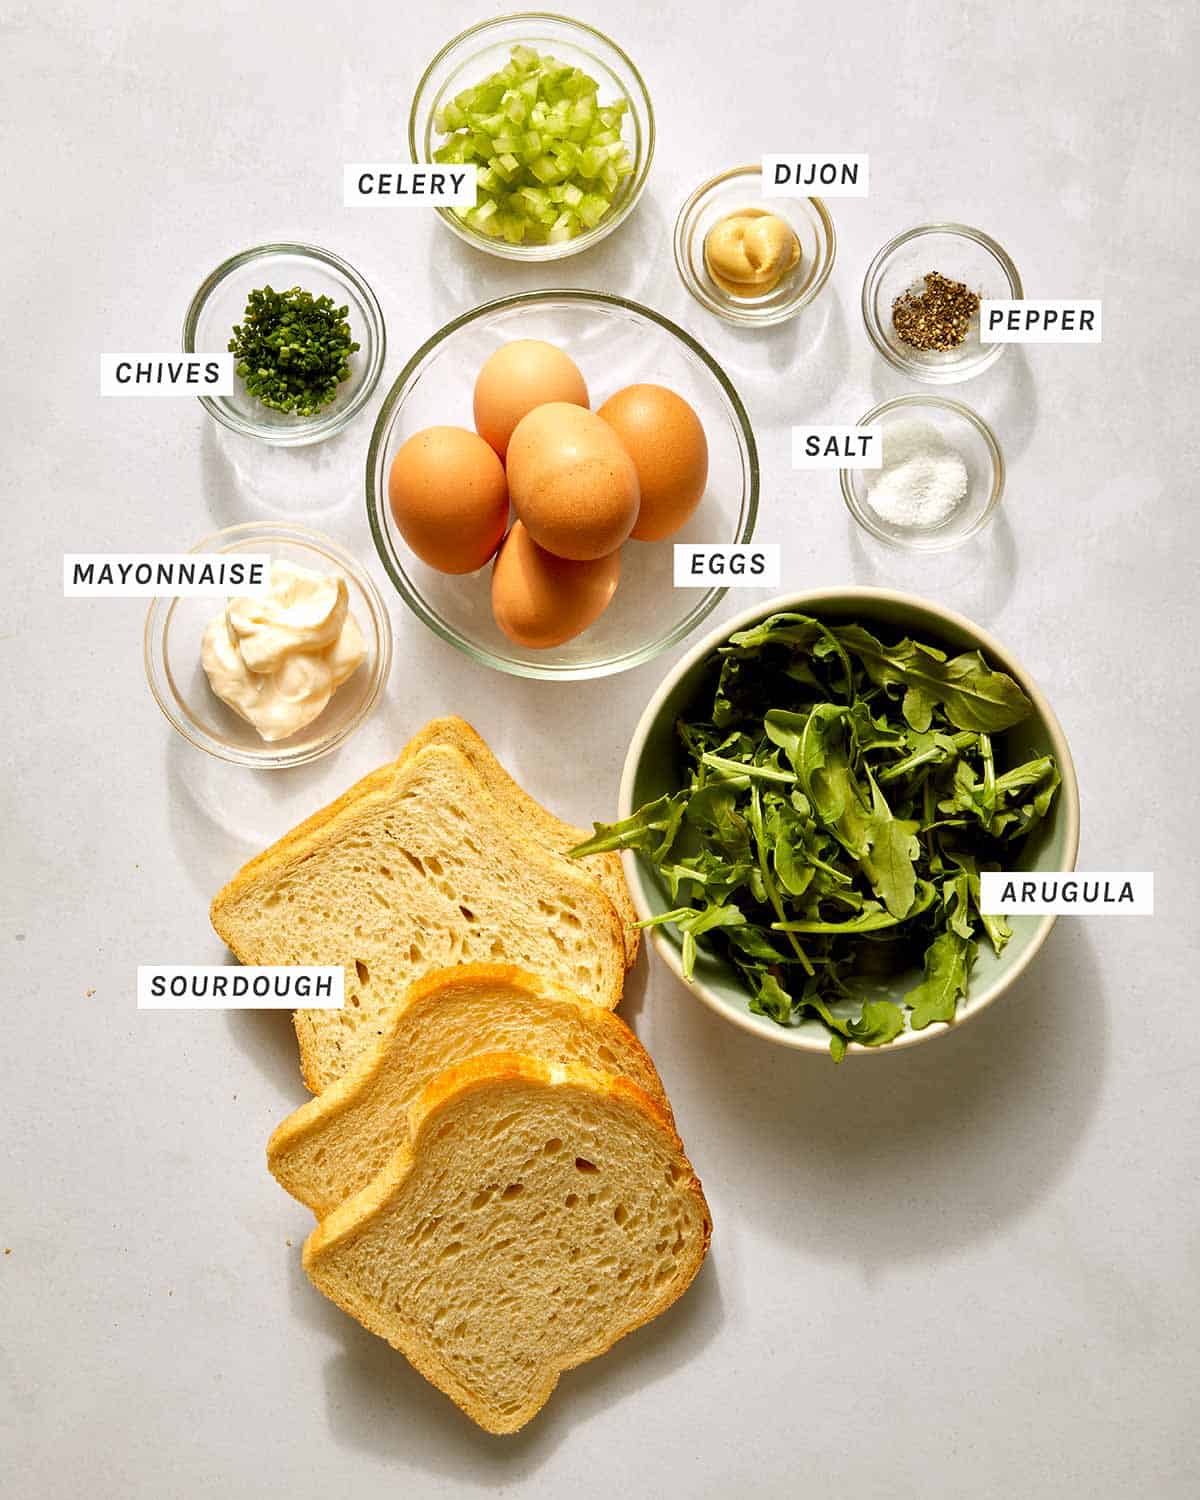
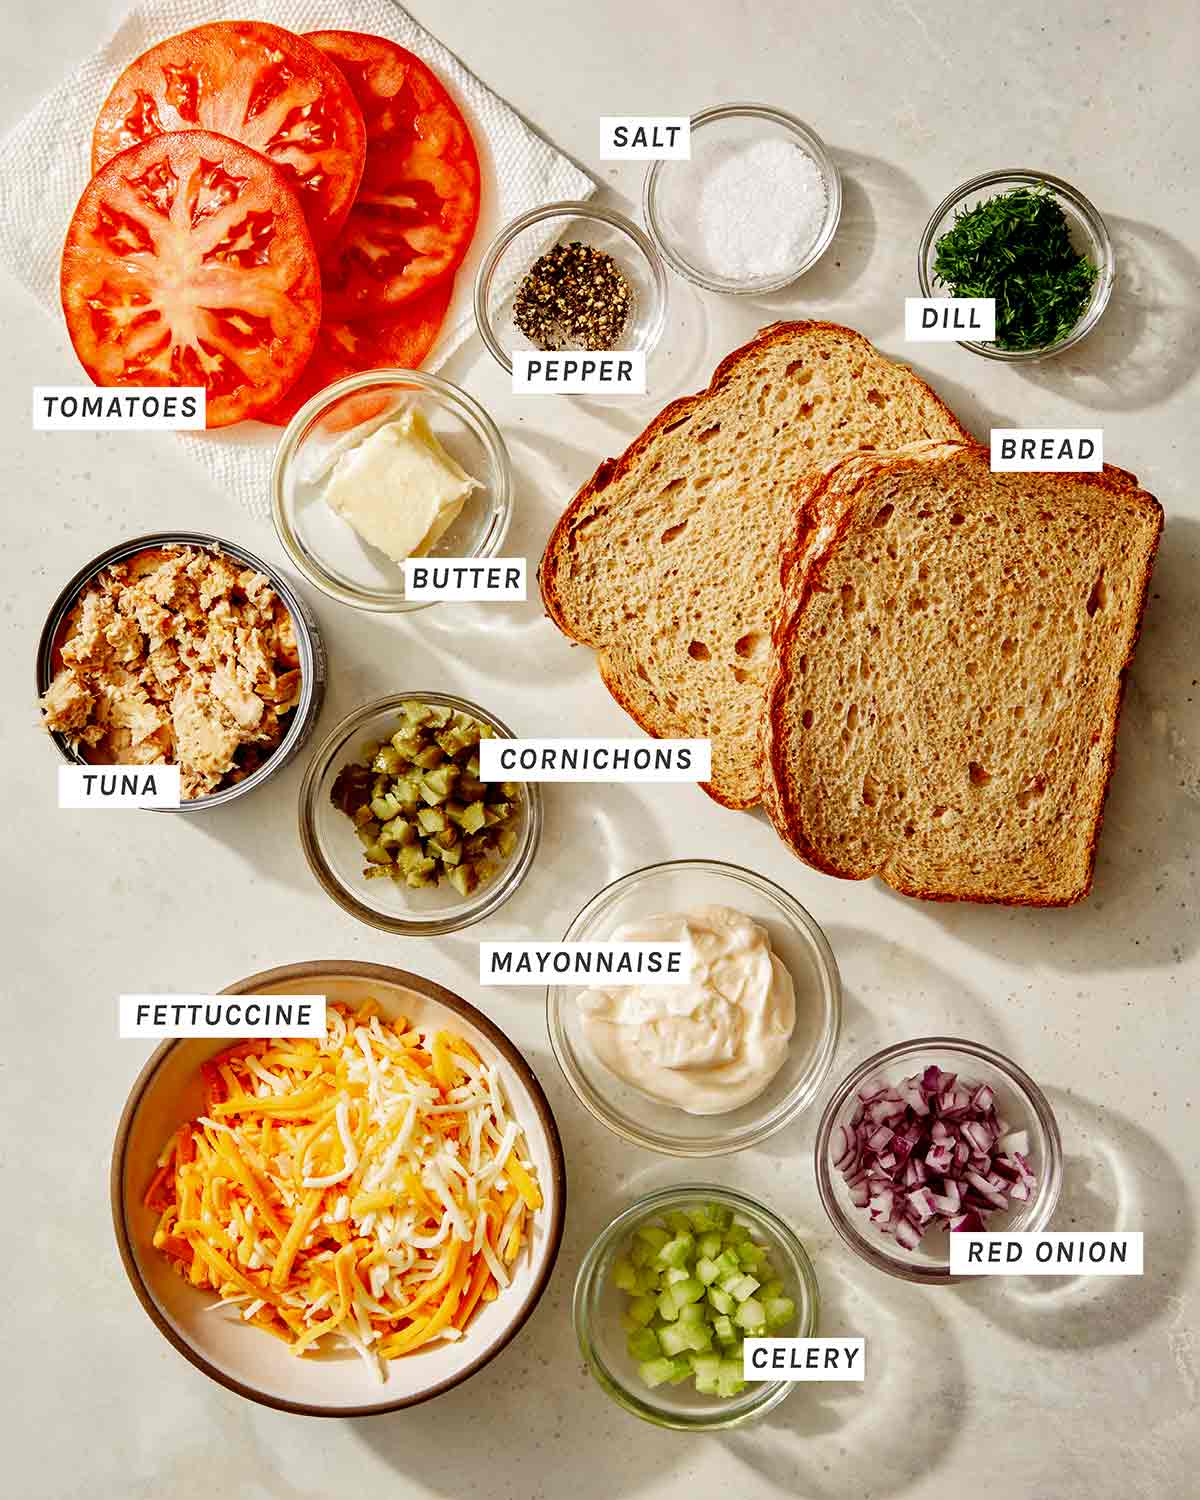
Ingredients
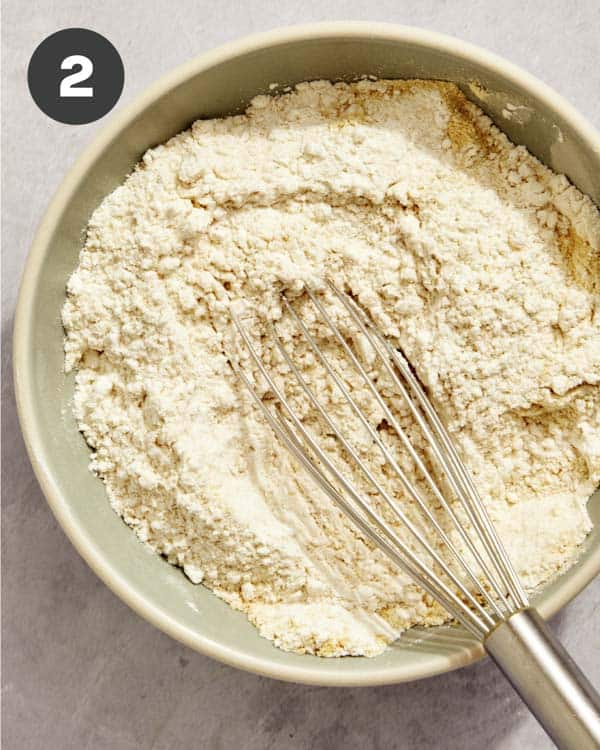
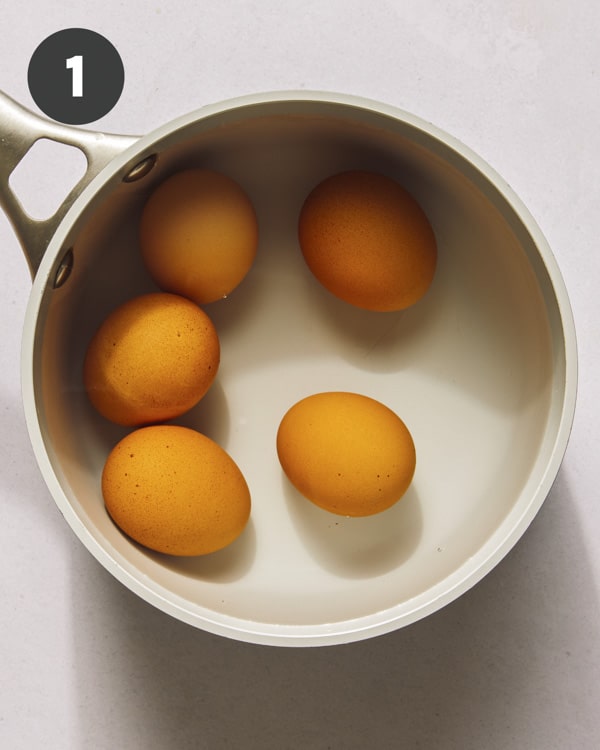
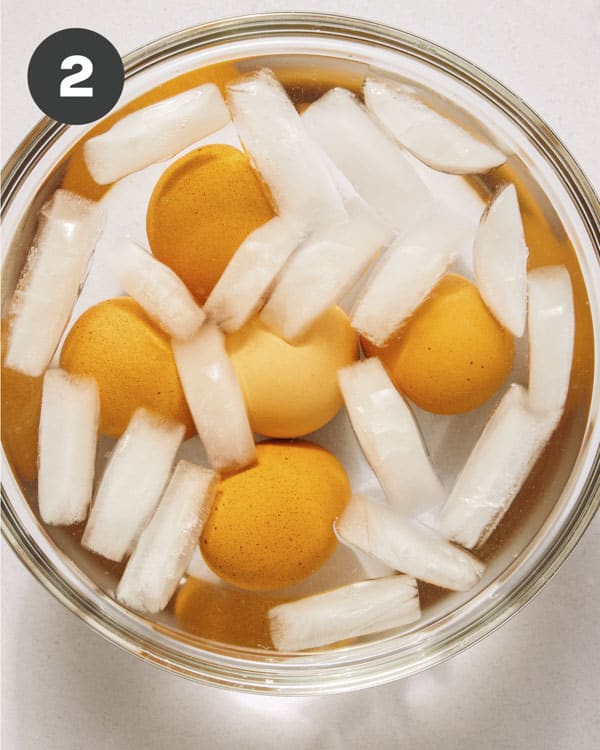
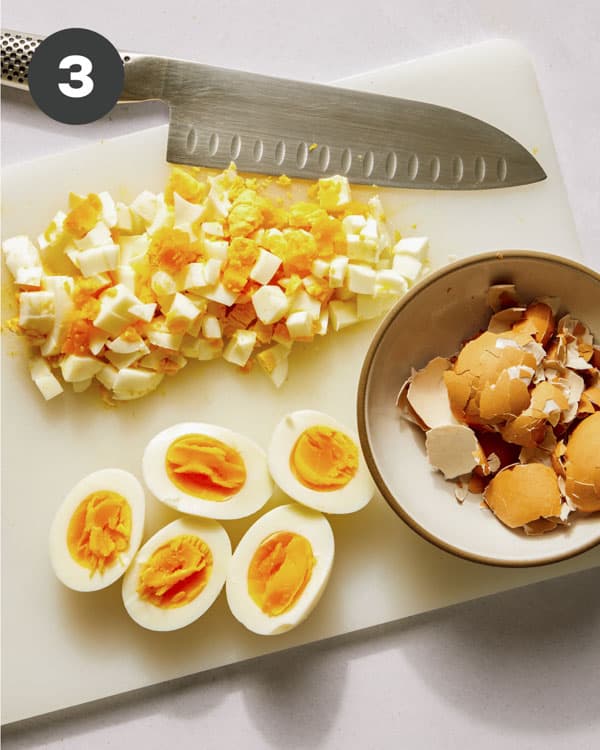
Process
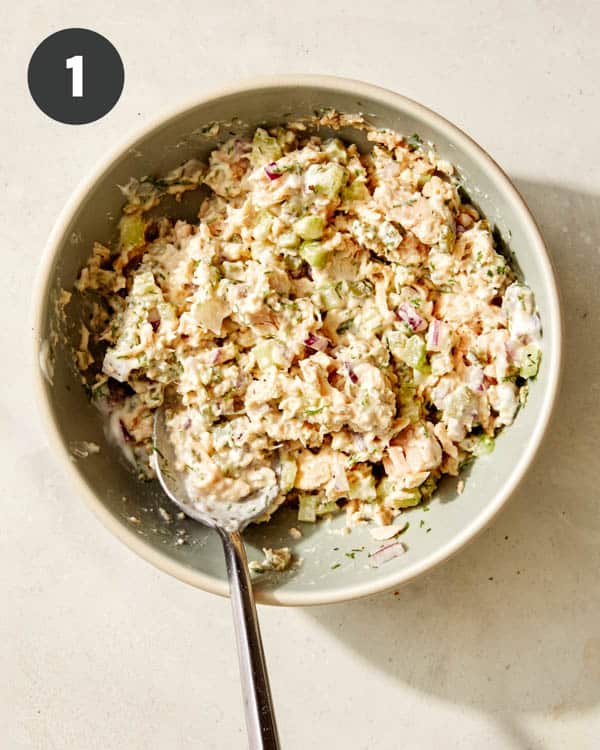
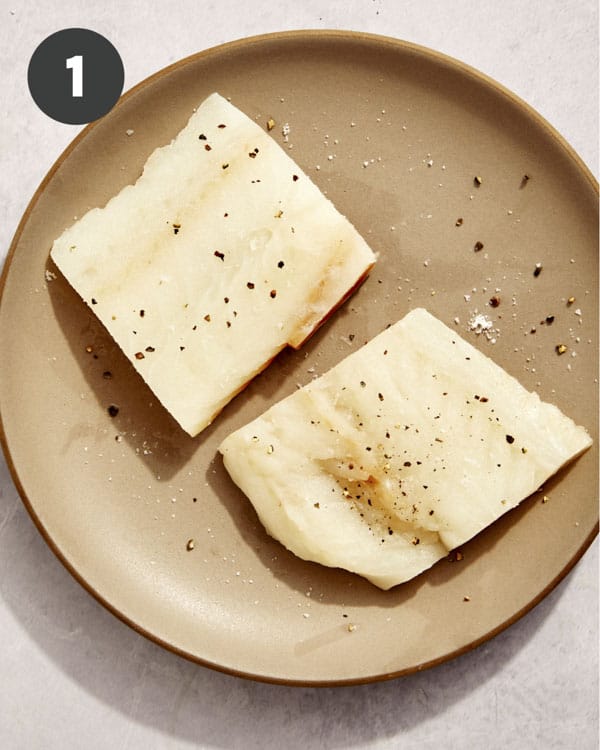
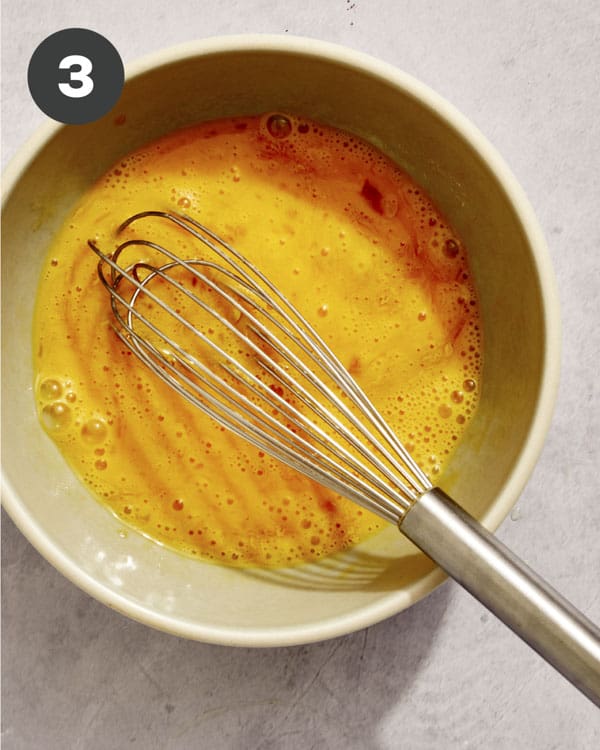
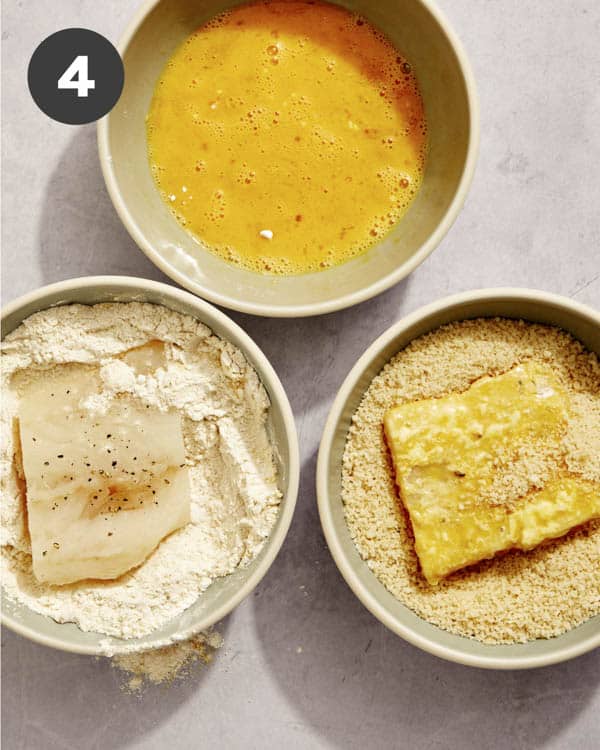
- Add tuna, mayonnaise, celery, pickled red onion, dill, and chives to a medium-sized mixing bowl. Season with salt and pepper and stir to combine.
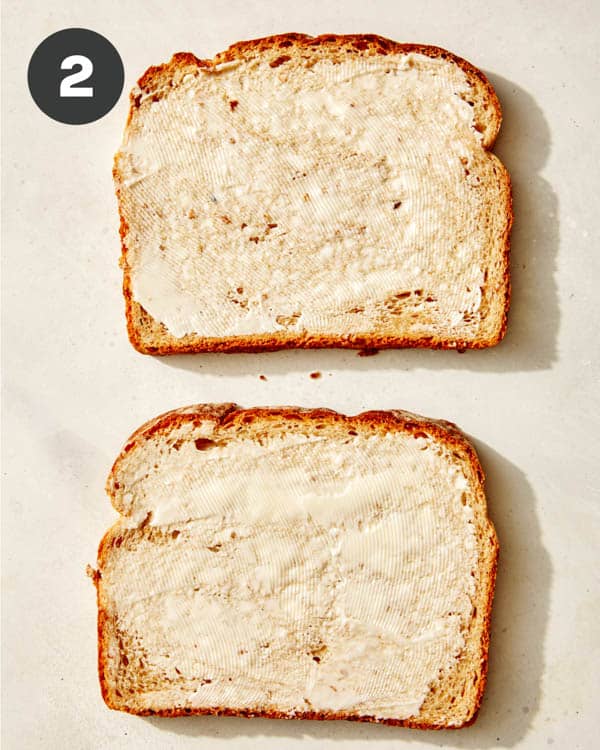
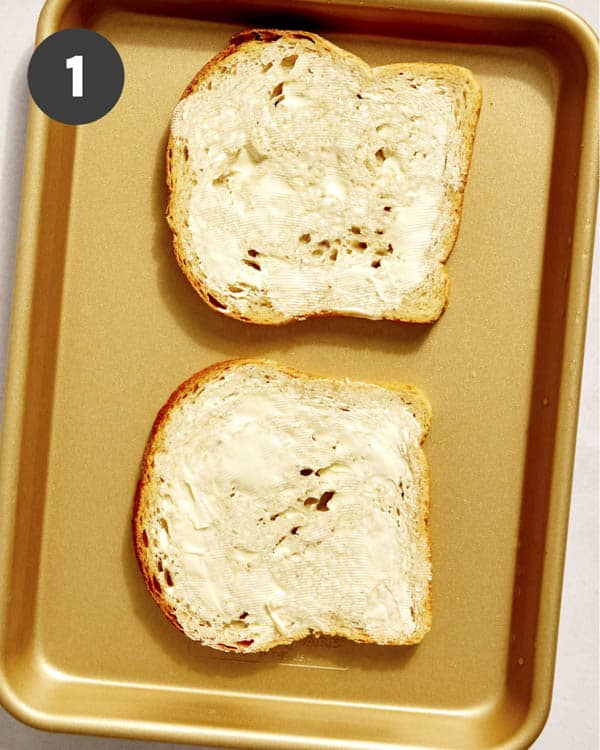
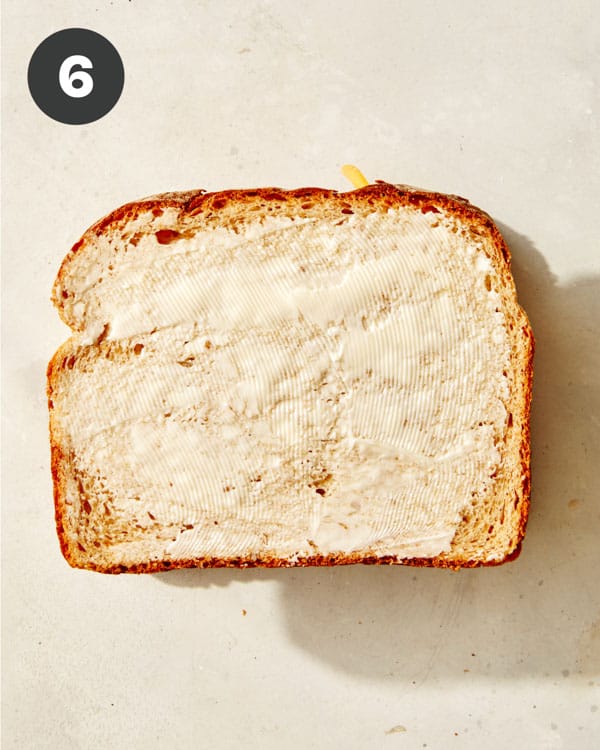
- Spread 1/2 tablespoon butter over each slice of bread and turn the two slices butter side down.


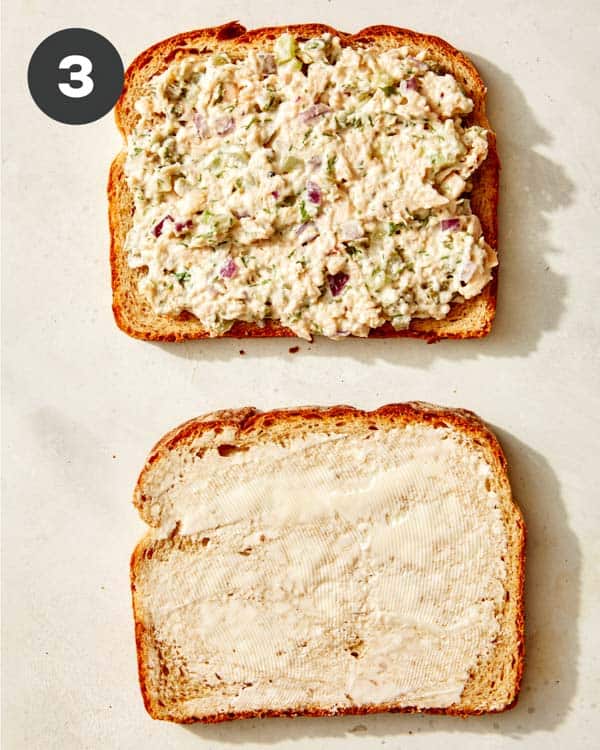
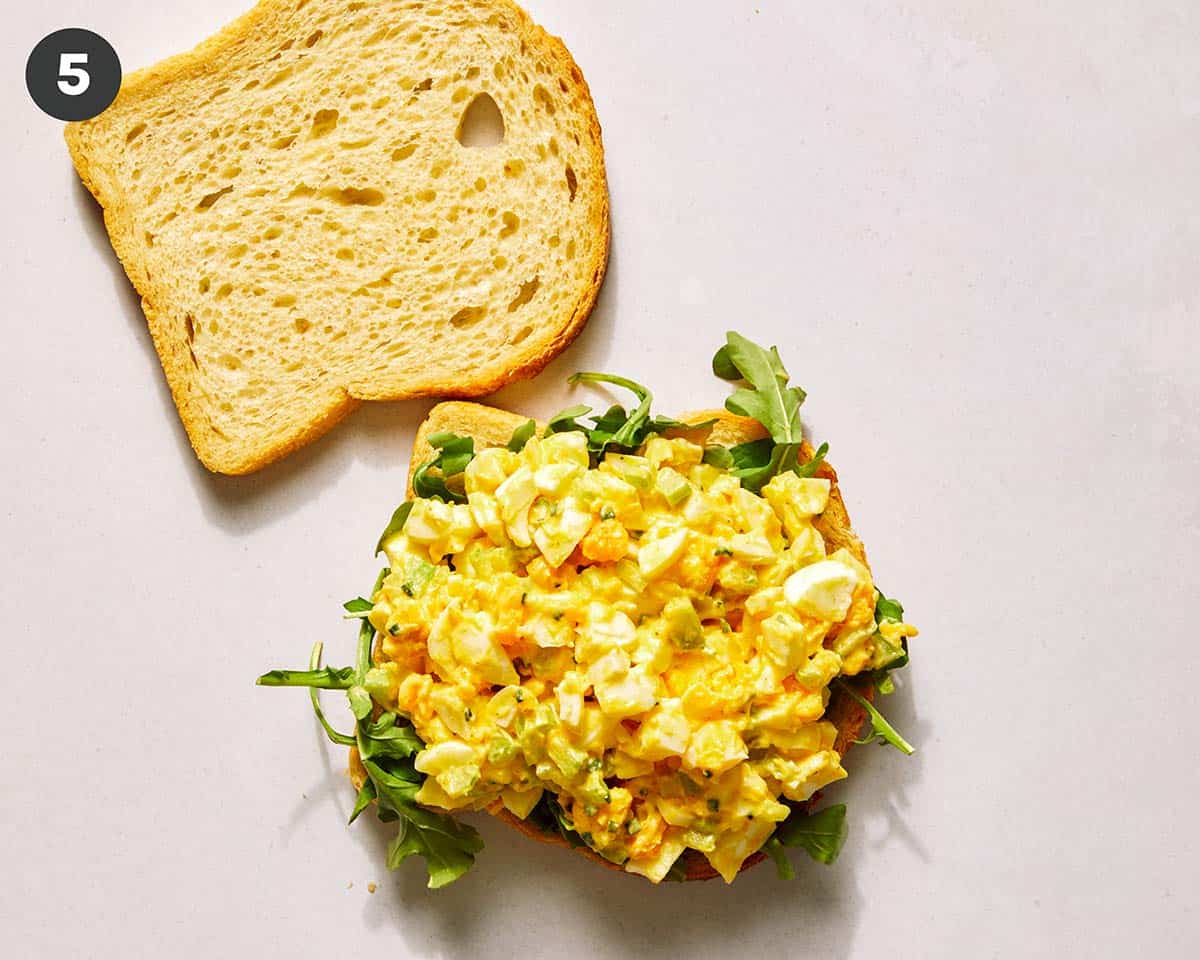
- Top each butter side down slice of bread with tuna mixture.
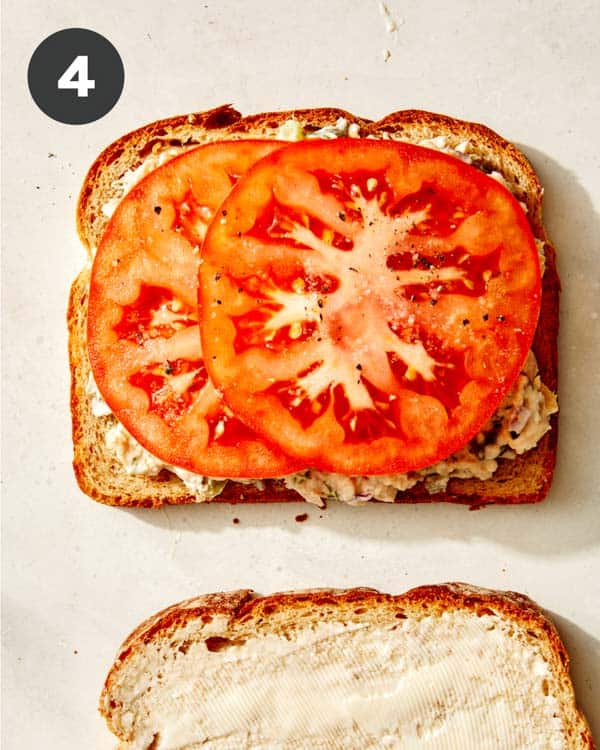
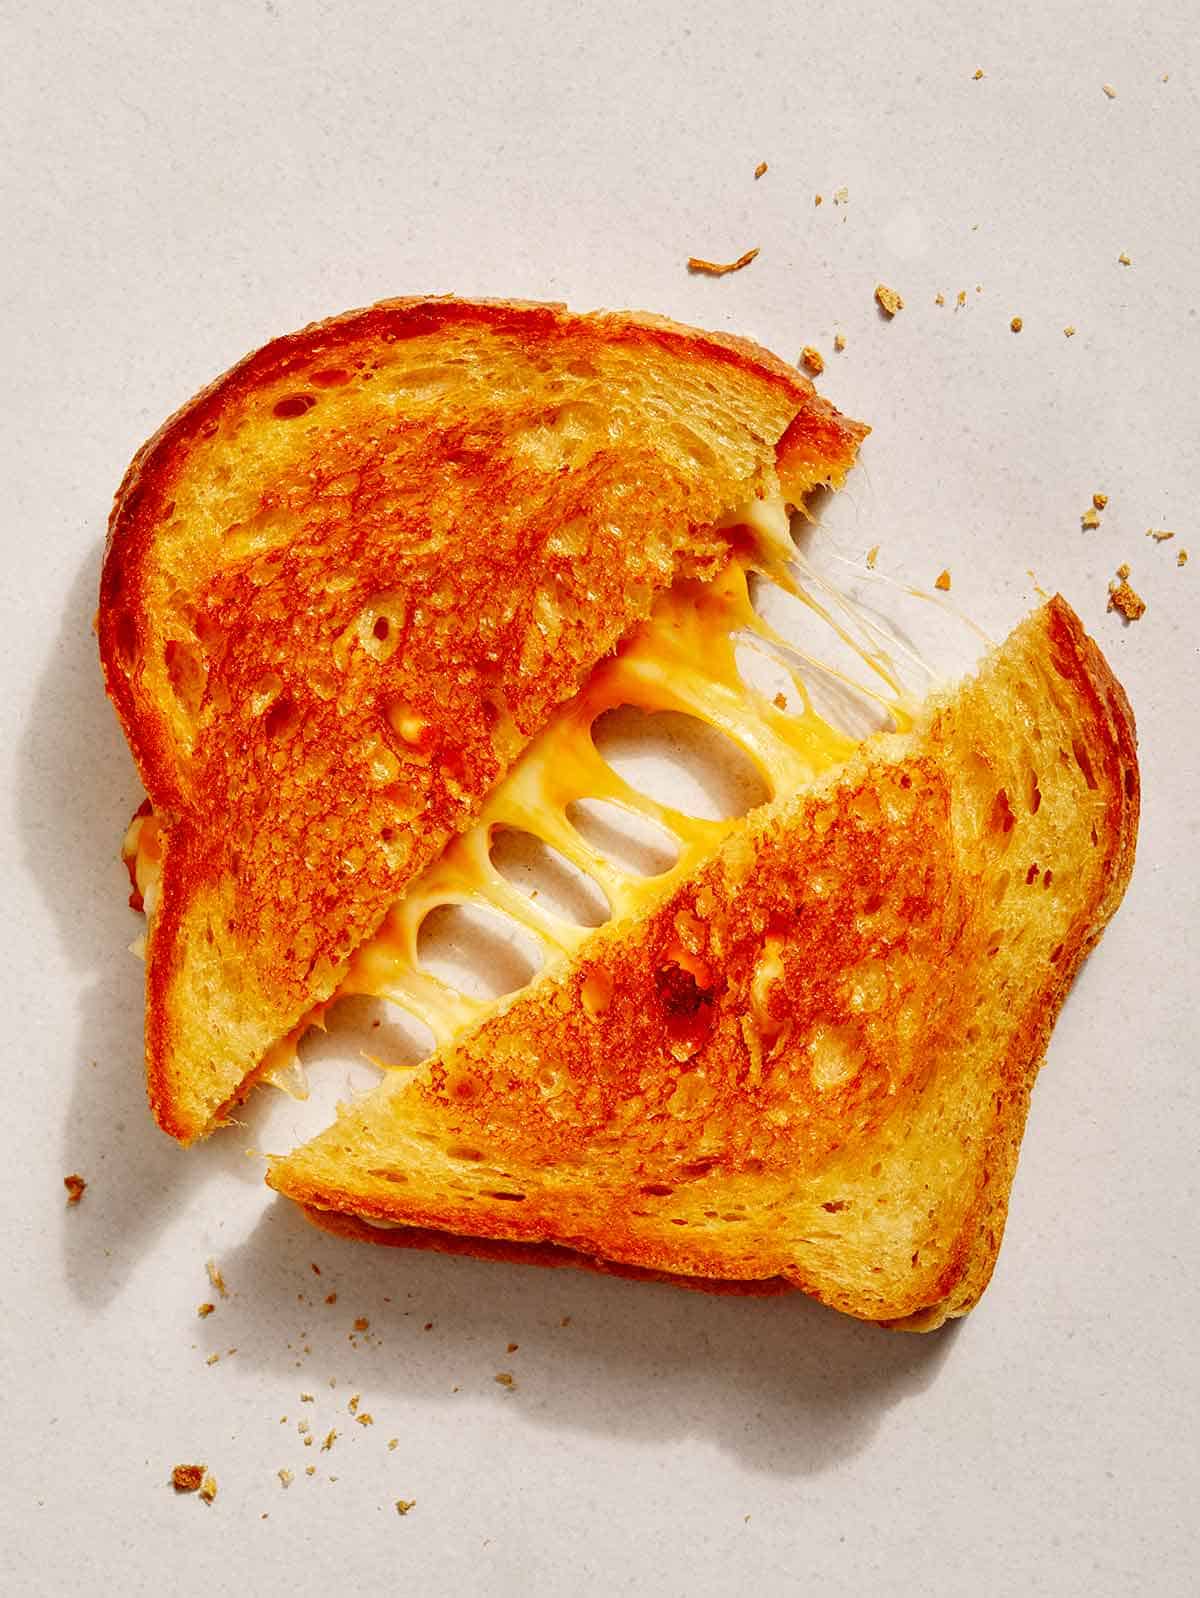
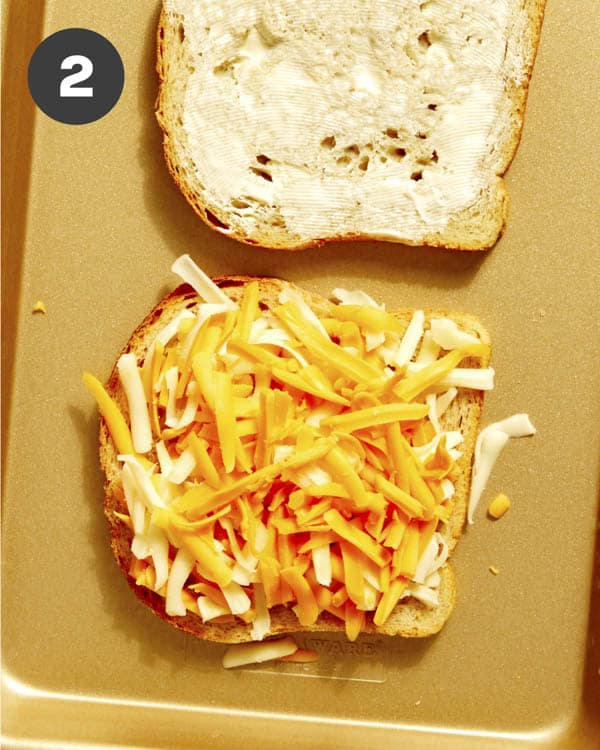
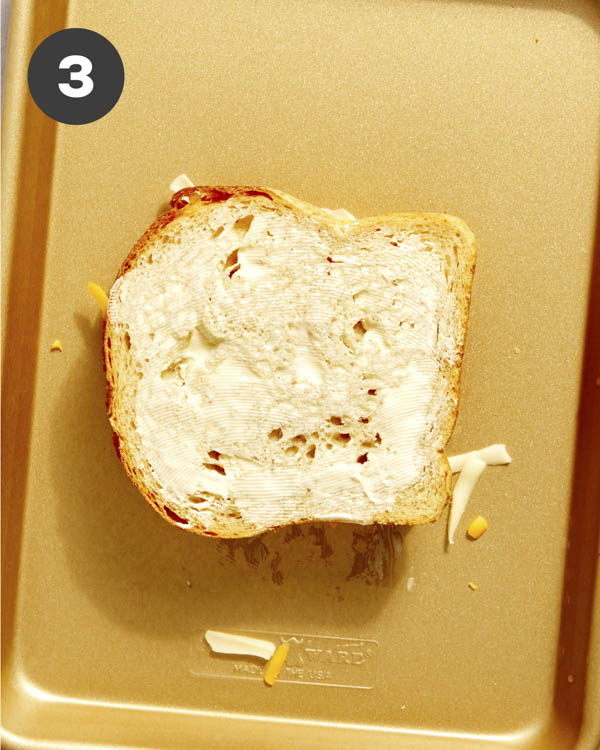
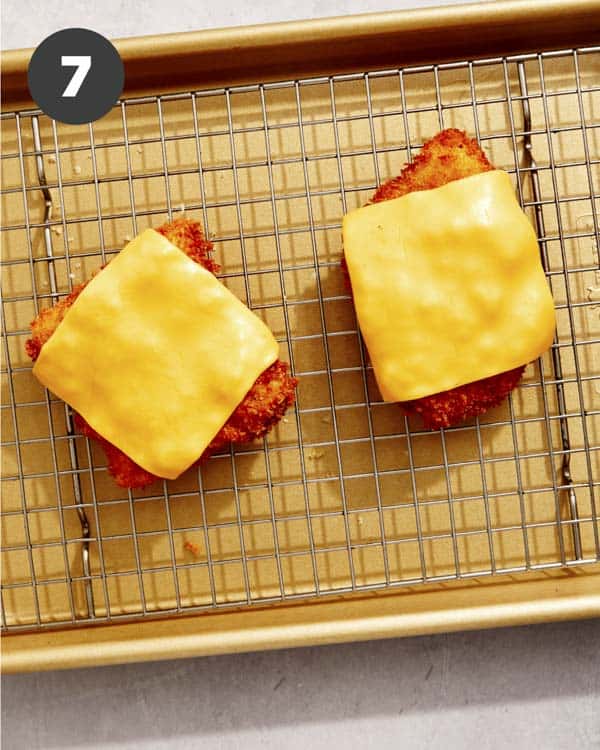
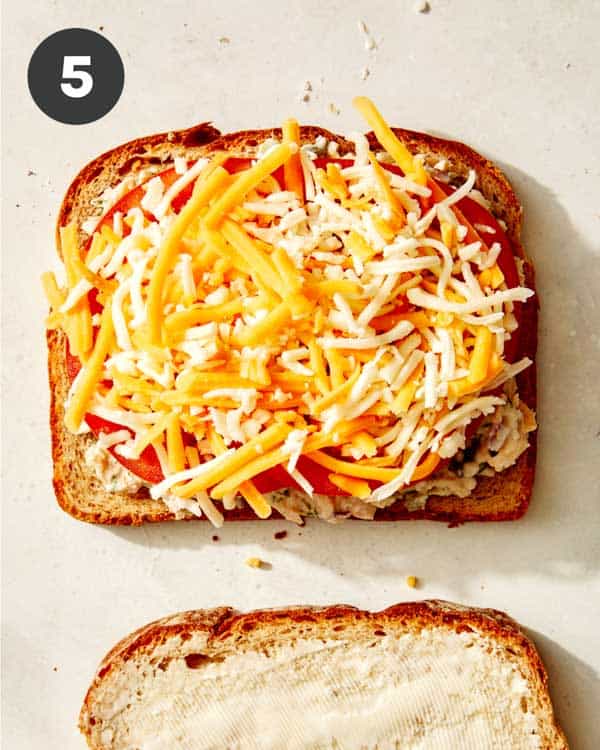
- Then top with sliced tomatoes, shredded cheese and remaining slices of bread.


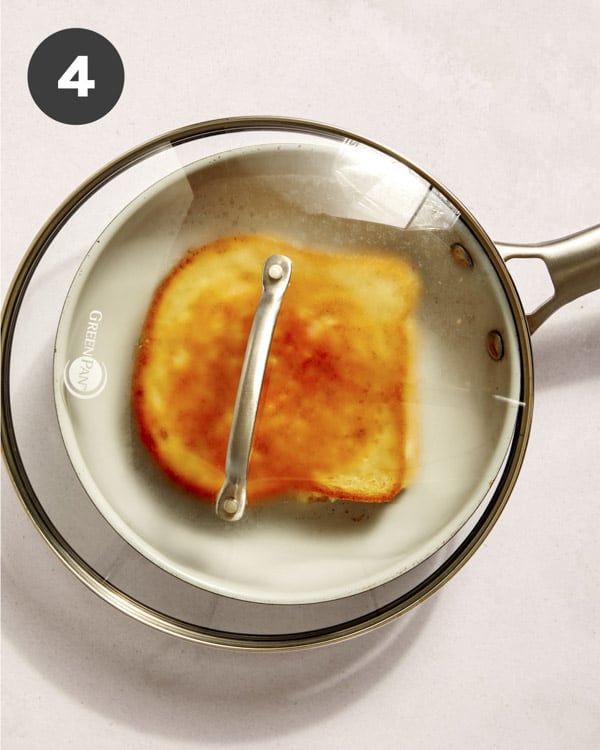
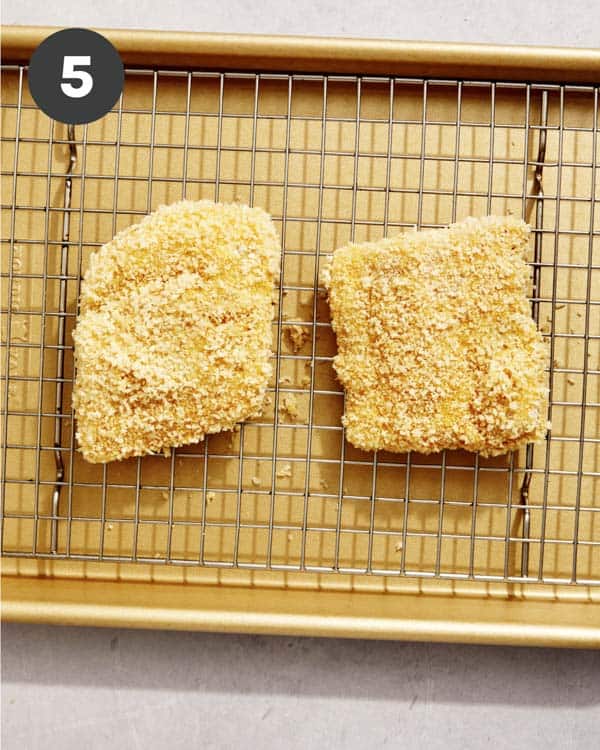
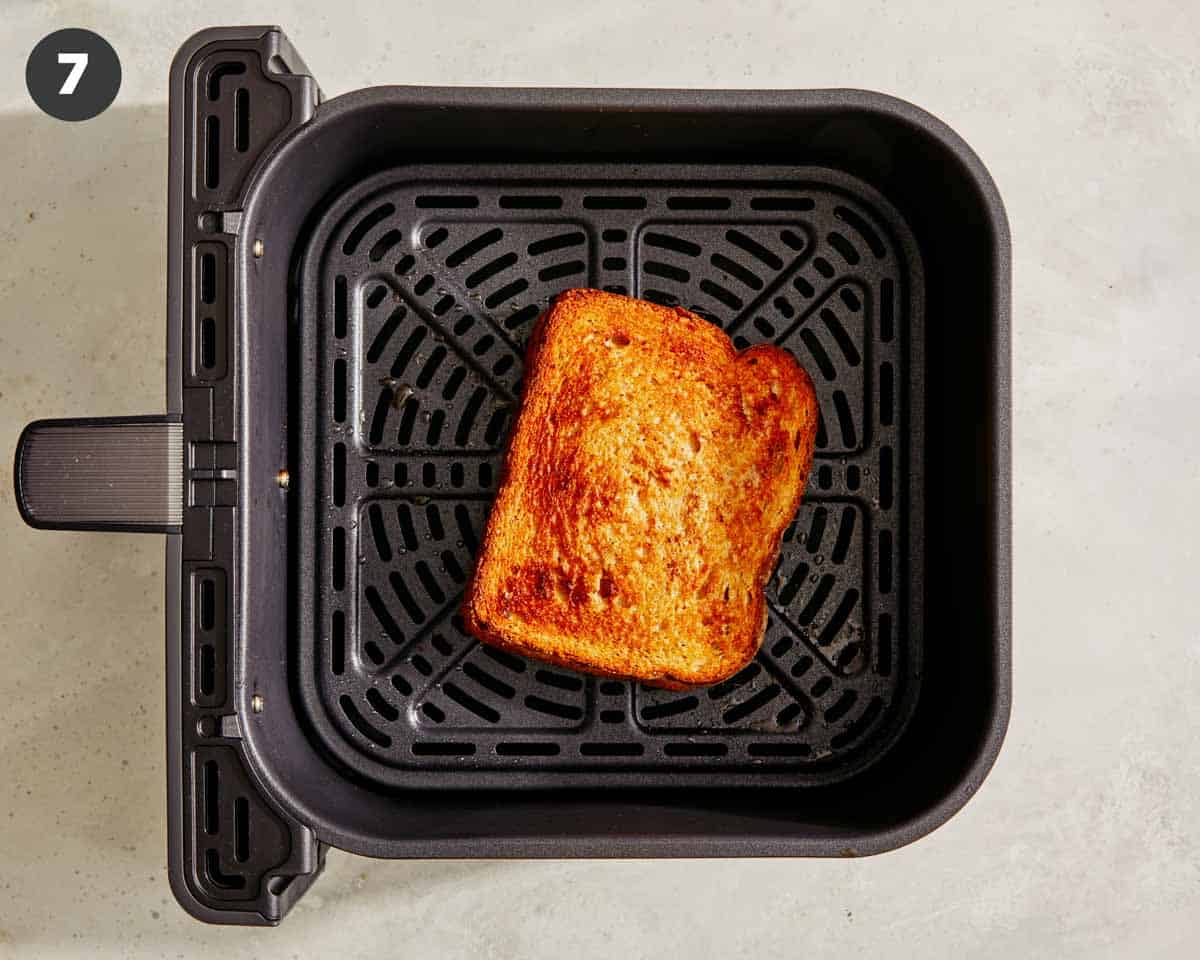
- Preheat the air fryer to 400˚F (if needed). Spray the air fry basket with cooking spray and place sandwiches in the coated fryer basket.
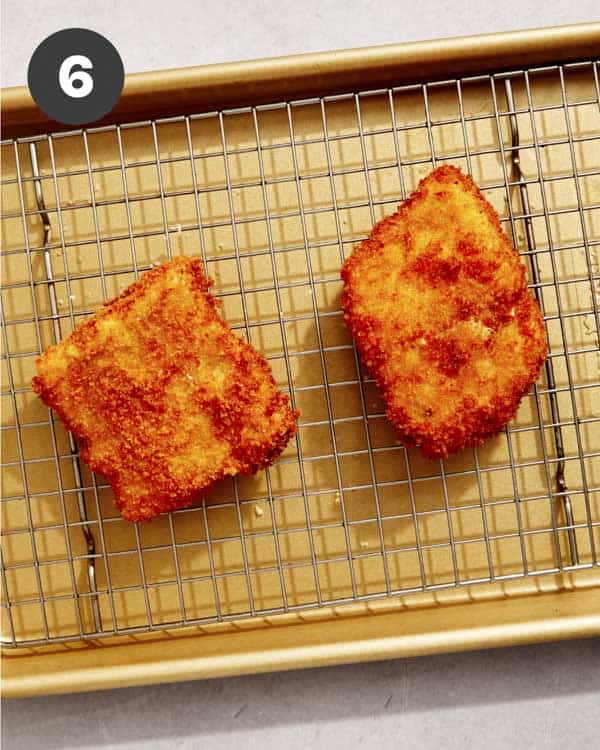
- Air fry tuna melt for 4 minutes. Flip the sandwich and continue to air fry for an additional 3 minutes.
- Remove your tuna melt from the air fryer, cut it in half, and serve.
Why We Love the Air Fryer Tuna Melt?
- The tuna salad can be made two days in advance. Making the salad ahead of time makes mealtime quick and easy. This irresistible lunch can be ready in less than 10 minutes!
- The air fryer makes the bread extra toasty. Unlike toasting the bread on a pan, the air circulation makes the bread incredibly toasty without being greasy.
- You can easily customize the tuna salad any way you’d like! If you don’t like the herbs included, leave them out or swap them for something else. Use different cheeses, whole wheat or sourdough bread, or add some lettuce if you’d like. Start with our recipe and make it your own!
Variations and Substitutions
Make this air fryer tuna melt your own with any of these variations!
- Swap the vegetables. While we love tomato slices on our tuna melts, you can add cucumbers, lettuce, sprouts, and raw onions.
- Change the cheeses. Freshley shredded mozzarella and cheddar add great flavor and an extra cheesy creamy texture, but you can swap the cheese (or leave it out!) for anything you’d like. Try mozzarella, sharp cheddar, pepper Jack, Monterey Jack, Havarti, Swiss, or Colby Jack are all great choices. Try any one of them or a combination!
- Bread or no bread. While we love thick slices of sourdough or Italian bread for this sandwich, you can use a tortilla and make a wrap, or make it a low-carb lunch and wrap your tuna salad in a big crunchy romaine lettuce leaf.
Prep Ahead Instructions
To make mealtime as easy as possible, you can prepare your tuna salad up to two days in advance. Just prepare the tuna salad as per the directions, then store it in an airtight container for up to two days in the refrigerator.
When you’re ready to make your sandwich, add the tuna to your bread and proceed with the directions.
Tips and Tricks for the Best Air Fryer Tuna Melt
- Go light on the mayo. We want the creamy texture that the mayonnaise adds, but if you add too much, the tuna salad will be wet and soggy, which isn’t what we’re going for!
- The onions, celery and chives add taste AND texture. You could add these ingredients powdered for the flavor, but chopping them up and mixing them in the salad adds a fresh crunch that really complements the creamy salad and toasty bread.
- Don’t forget the flip! Flipping your tuna melt halfway through will help both sides get equally toasty.
- Choose a hearty bread. If you pick a thin or really lightweight bread, it may not hold up to the heavy filling. Thick slices of Italian or sourdough are perfect for this sandwich.
Our Favorite Side Dishes to Serve with Our Tuna Melt
You can’t go wrong with potato chips and pickles, but to make this tuna melt a complete meal, try some of our favorite sides:
- Caesar Salad
- Broccoli Cheddar Soup
- Caprese Salad
- Fried Pickle Chips
- Tomato Soup
- Fruit Salad
- Corn Salad
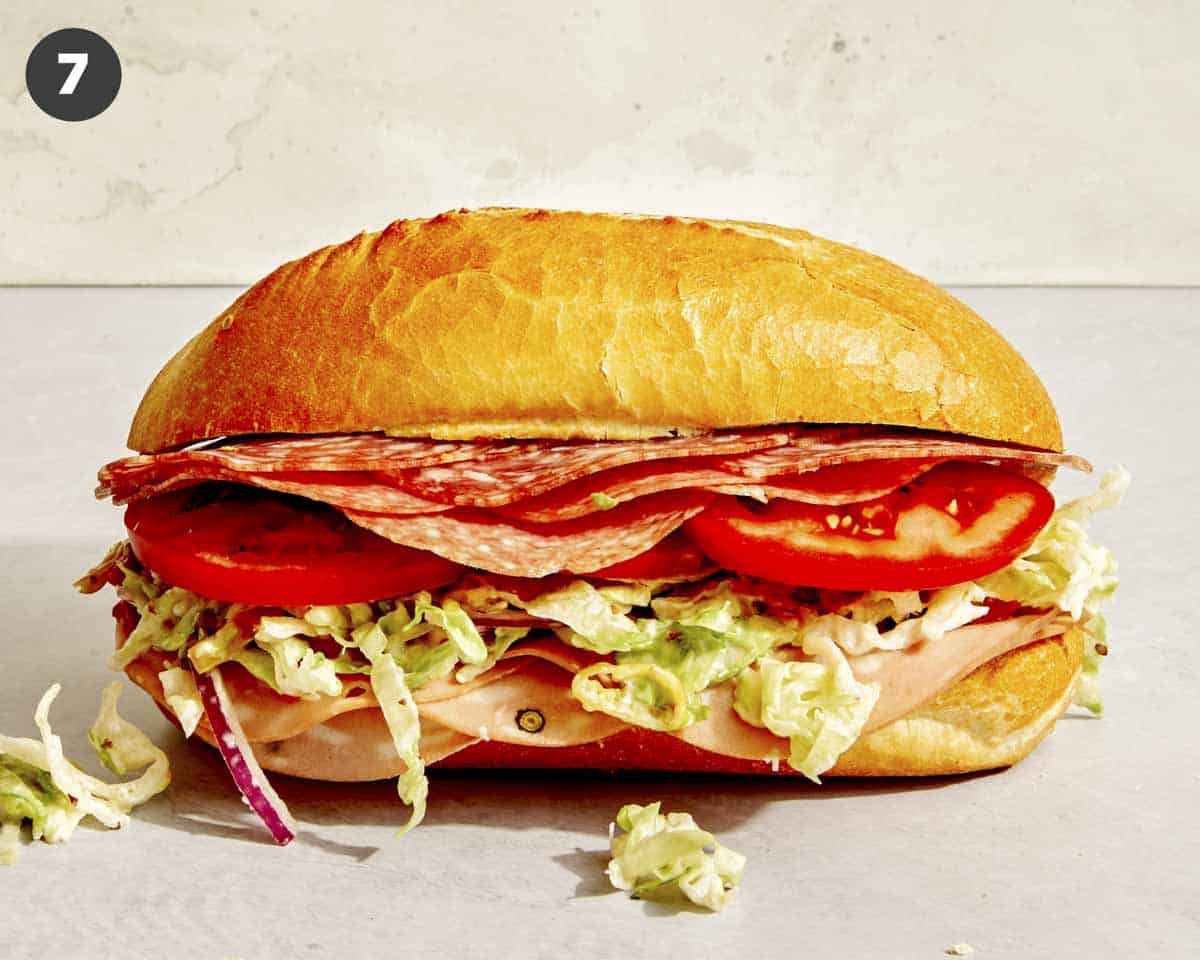
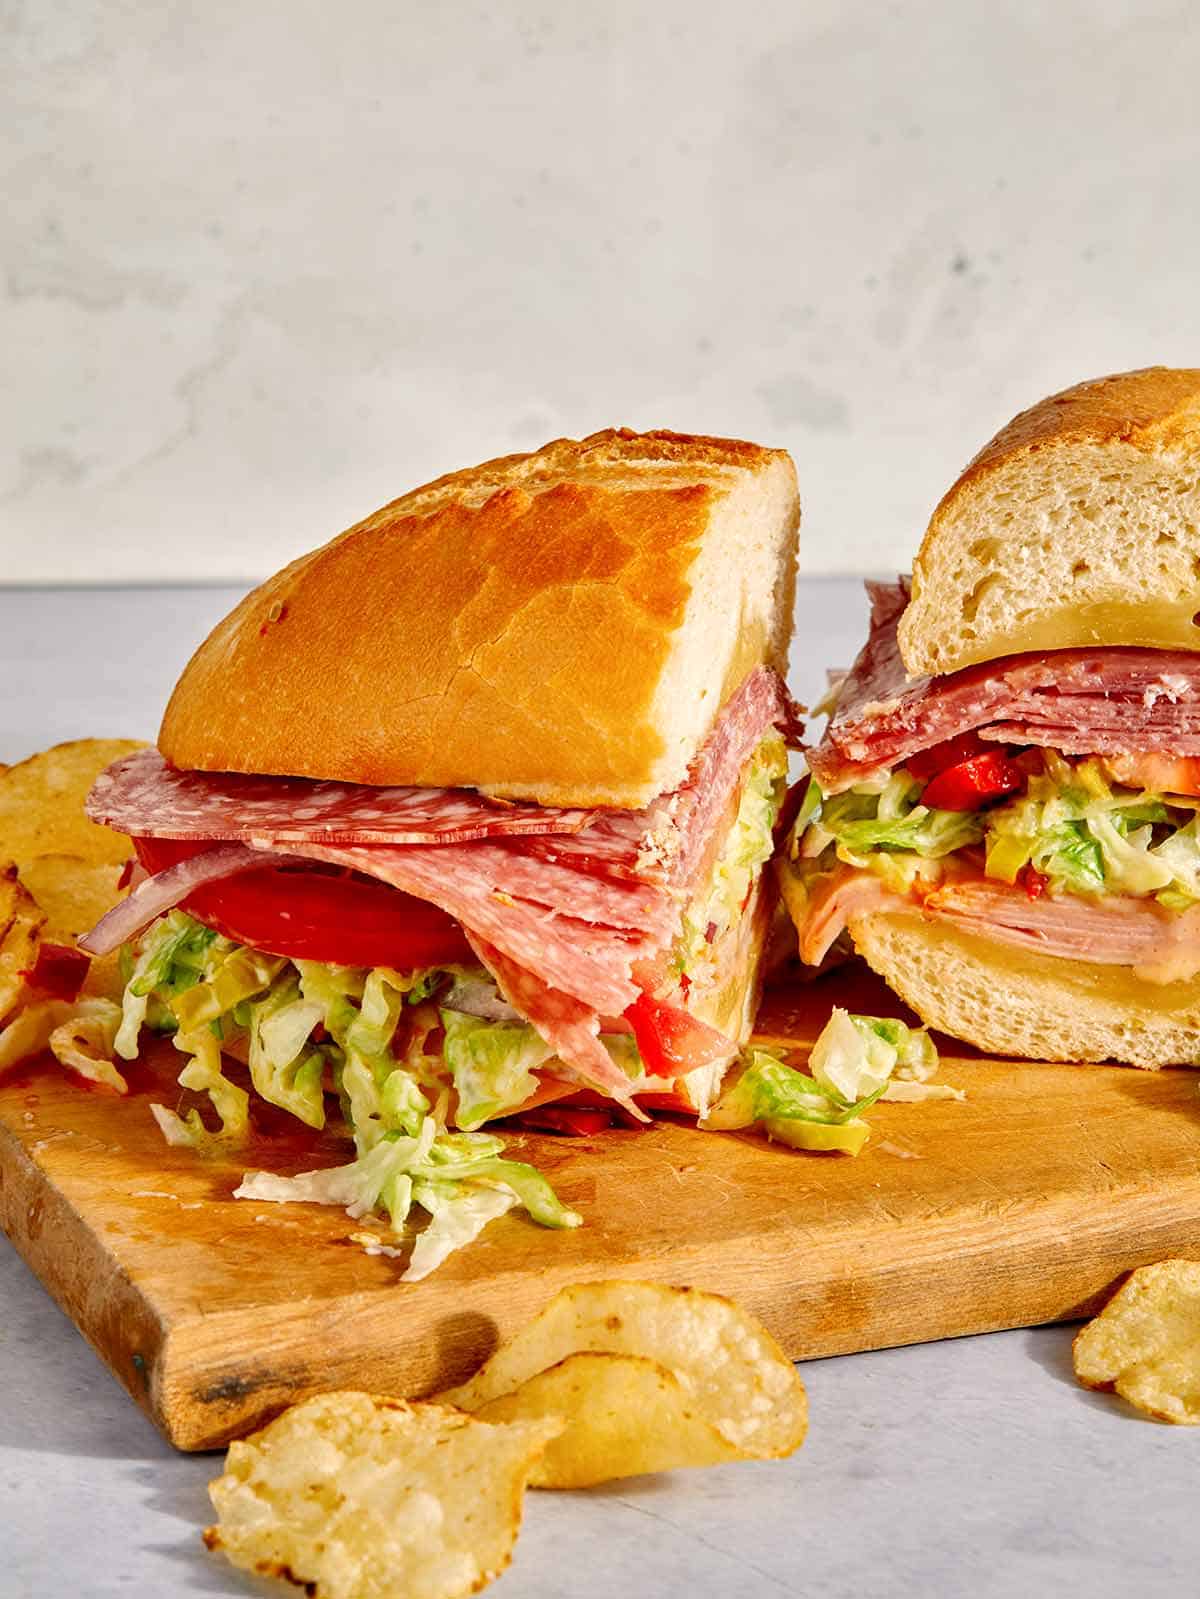
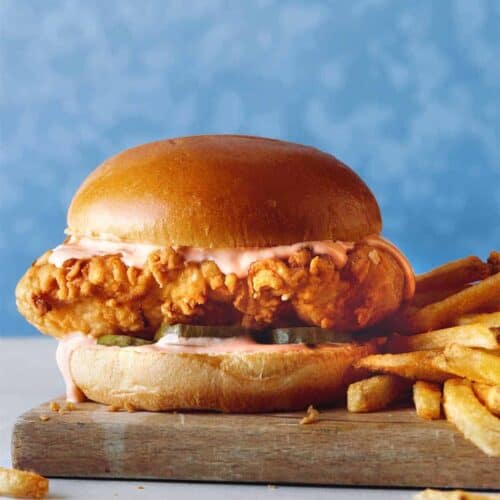
More Delicious Sandwich Recipes You Will Love
Air Fryer Tuna Melt
Ingredients
tuna salad
- 5 ounces canned tuna drained
- 1/4 cup diced pickled red onions
- 3 1/2 tablespoons mayonnaise
- 3 tablespoons diced celery
- 1 1/2 tablespoons minced dill
- 1 tablespoons thinly sliced chives
- salt and pepper to taste
sandwich assembly
- 4 slices bread of choice
- 2 tablespoons unsalted butter
- 1/2 beefsteak tomato (or 1 vine ripe tomato) sliced
- 2 ounces shredded cheddar
- 2 ounces shredded mozzarella
- salt and pepper to taste
Instructions
- In a mixing bowl combine tuna, mayonnaise, celery, pickled red onion, dill, and chives. Season with salt and pepper and stir together.
- Spread 1/2 tablespoon butter over each slice of bread and turn two slices butter side down.
- Top each butter side down slice of bread with tuna mixture.
- Top with sliced tomatoes, shredded cheese and remaining slices of bread.
- Preheat air fryer to 400˚F (if needed).
- Spray air fry basket with cooking spray and place sandwiches in coated fryer basket.
- Air fry tuna melt for 4 minutes.
- Flip sandwich and continue to air fry for an additional 3 minutes.
- Remove from air fryer, cut in half and serve.
Notes
- Go light on the mayo. We want the creamy texture that the mayonnaise adds, but if you add too much, the tuna salad will be wet and soggy, which isn’t what we’re going for!
- The onions, celery and chives add taste AND texture. You could add these ingredients powdered for the flavor, but chopping them up and mixing them in the salad adds a fresh crunch that really complements the creamy salad and toasty bread.
- Don’t forget the flip! Flipping your tuna melt halfway through will help both sides get equally toasty.
- Choose a hearty bread. If you pick a thin or really lightweight bread, it may not hold up to the heavy filling. Thick slices of Italian or sourdough are perfect for this sandwich.
Nutrition
The post Air Fryer Tuna Melt appeared first on Spoon Fork Bacon.