Summer Fruit Galette
Being a baker, summer is my favorite time of year. Not only are peaches, nectarines, cherries and plums abundant at the market, but as the seasons progress, the volume of fruits lowers the price, and I stock up on whatever I can, whenever I can. At Paris markets, I try to search out producteurs, the vendors who grow the food they sell, and every summer, one in…
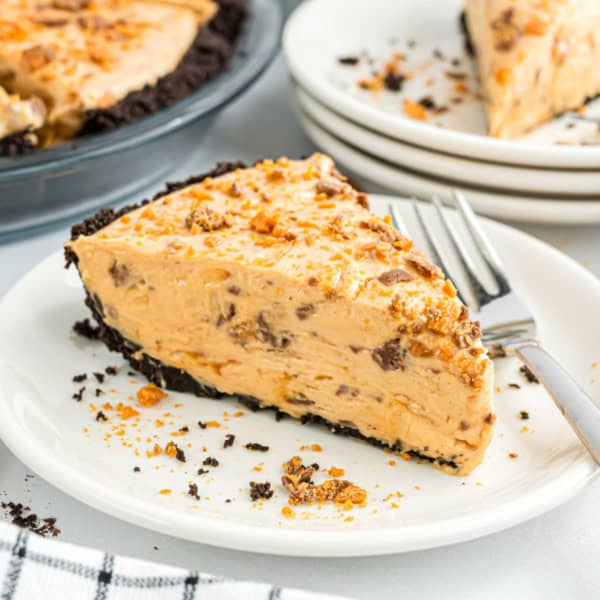 Creamy Butterfinger Pie is an easy no bake dessert with a chocolate Oreo crust. You’ll love how easy this is…
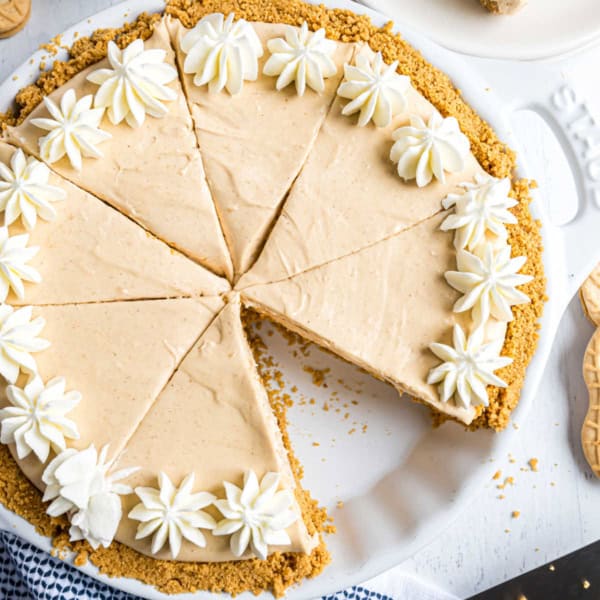 Love peanut butter? Then you’ll flip for this No Bake Peanut Butter Pie! A Nutter Butter crust is filled with…
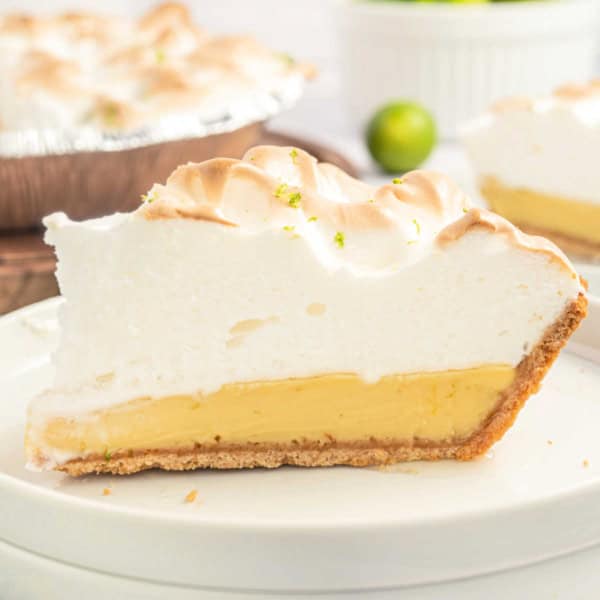 Key Lime Meringue Pie is creamy, dreamy, and delightfully tangy dessert! The fluffy, cloud-like layer of meringue on top is…
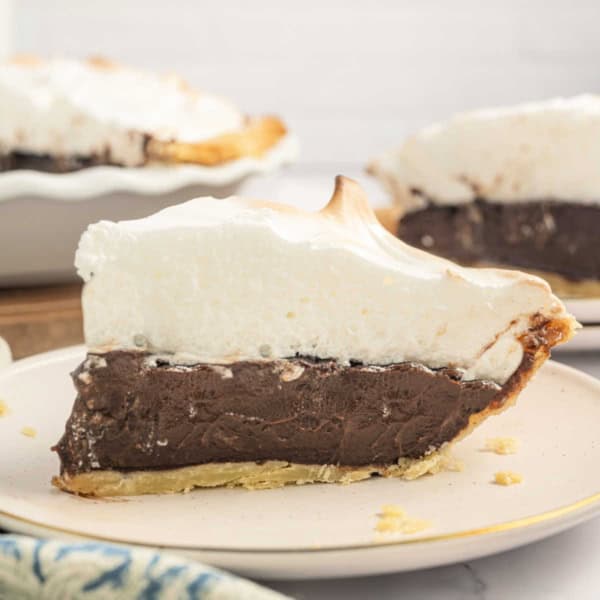 This delicious Chocolate Meringue Pie recipe has a creamy chocolate filling and fluffy meringue, baked in a flaky crust. An…
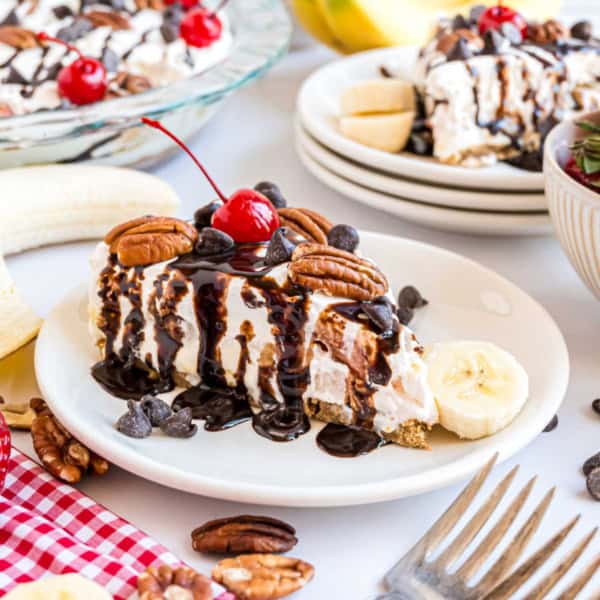 This easy Banana Split Cheesecake recipe is the perfect summer dessert. Layers of graham cracker, cheesecake, pineapple, bananas, strawberries and…