Oatmeal Peanut Butter Cookies

Classic peanut butter cookies flecked with oatmeal and baked until golden. Double down on the peanut front with hand-chopped peanuts and chunky peanut butter.

Continue reading Oatmeal Peanut Butter Cookies on 101 Cookbooks
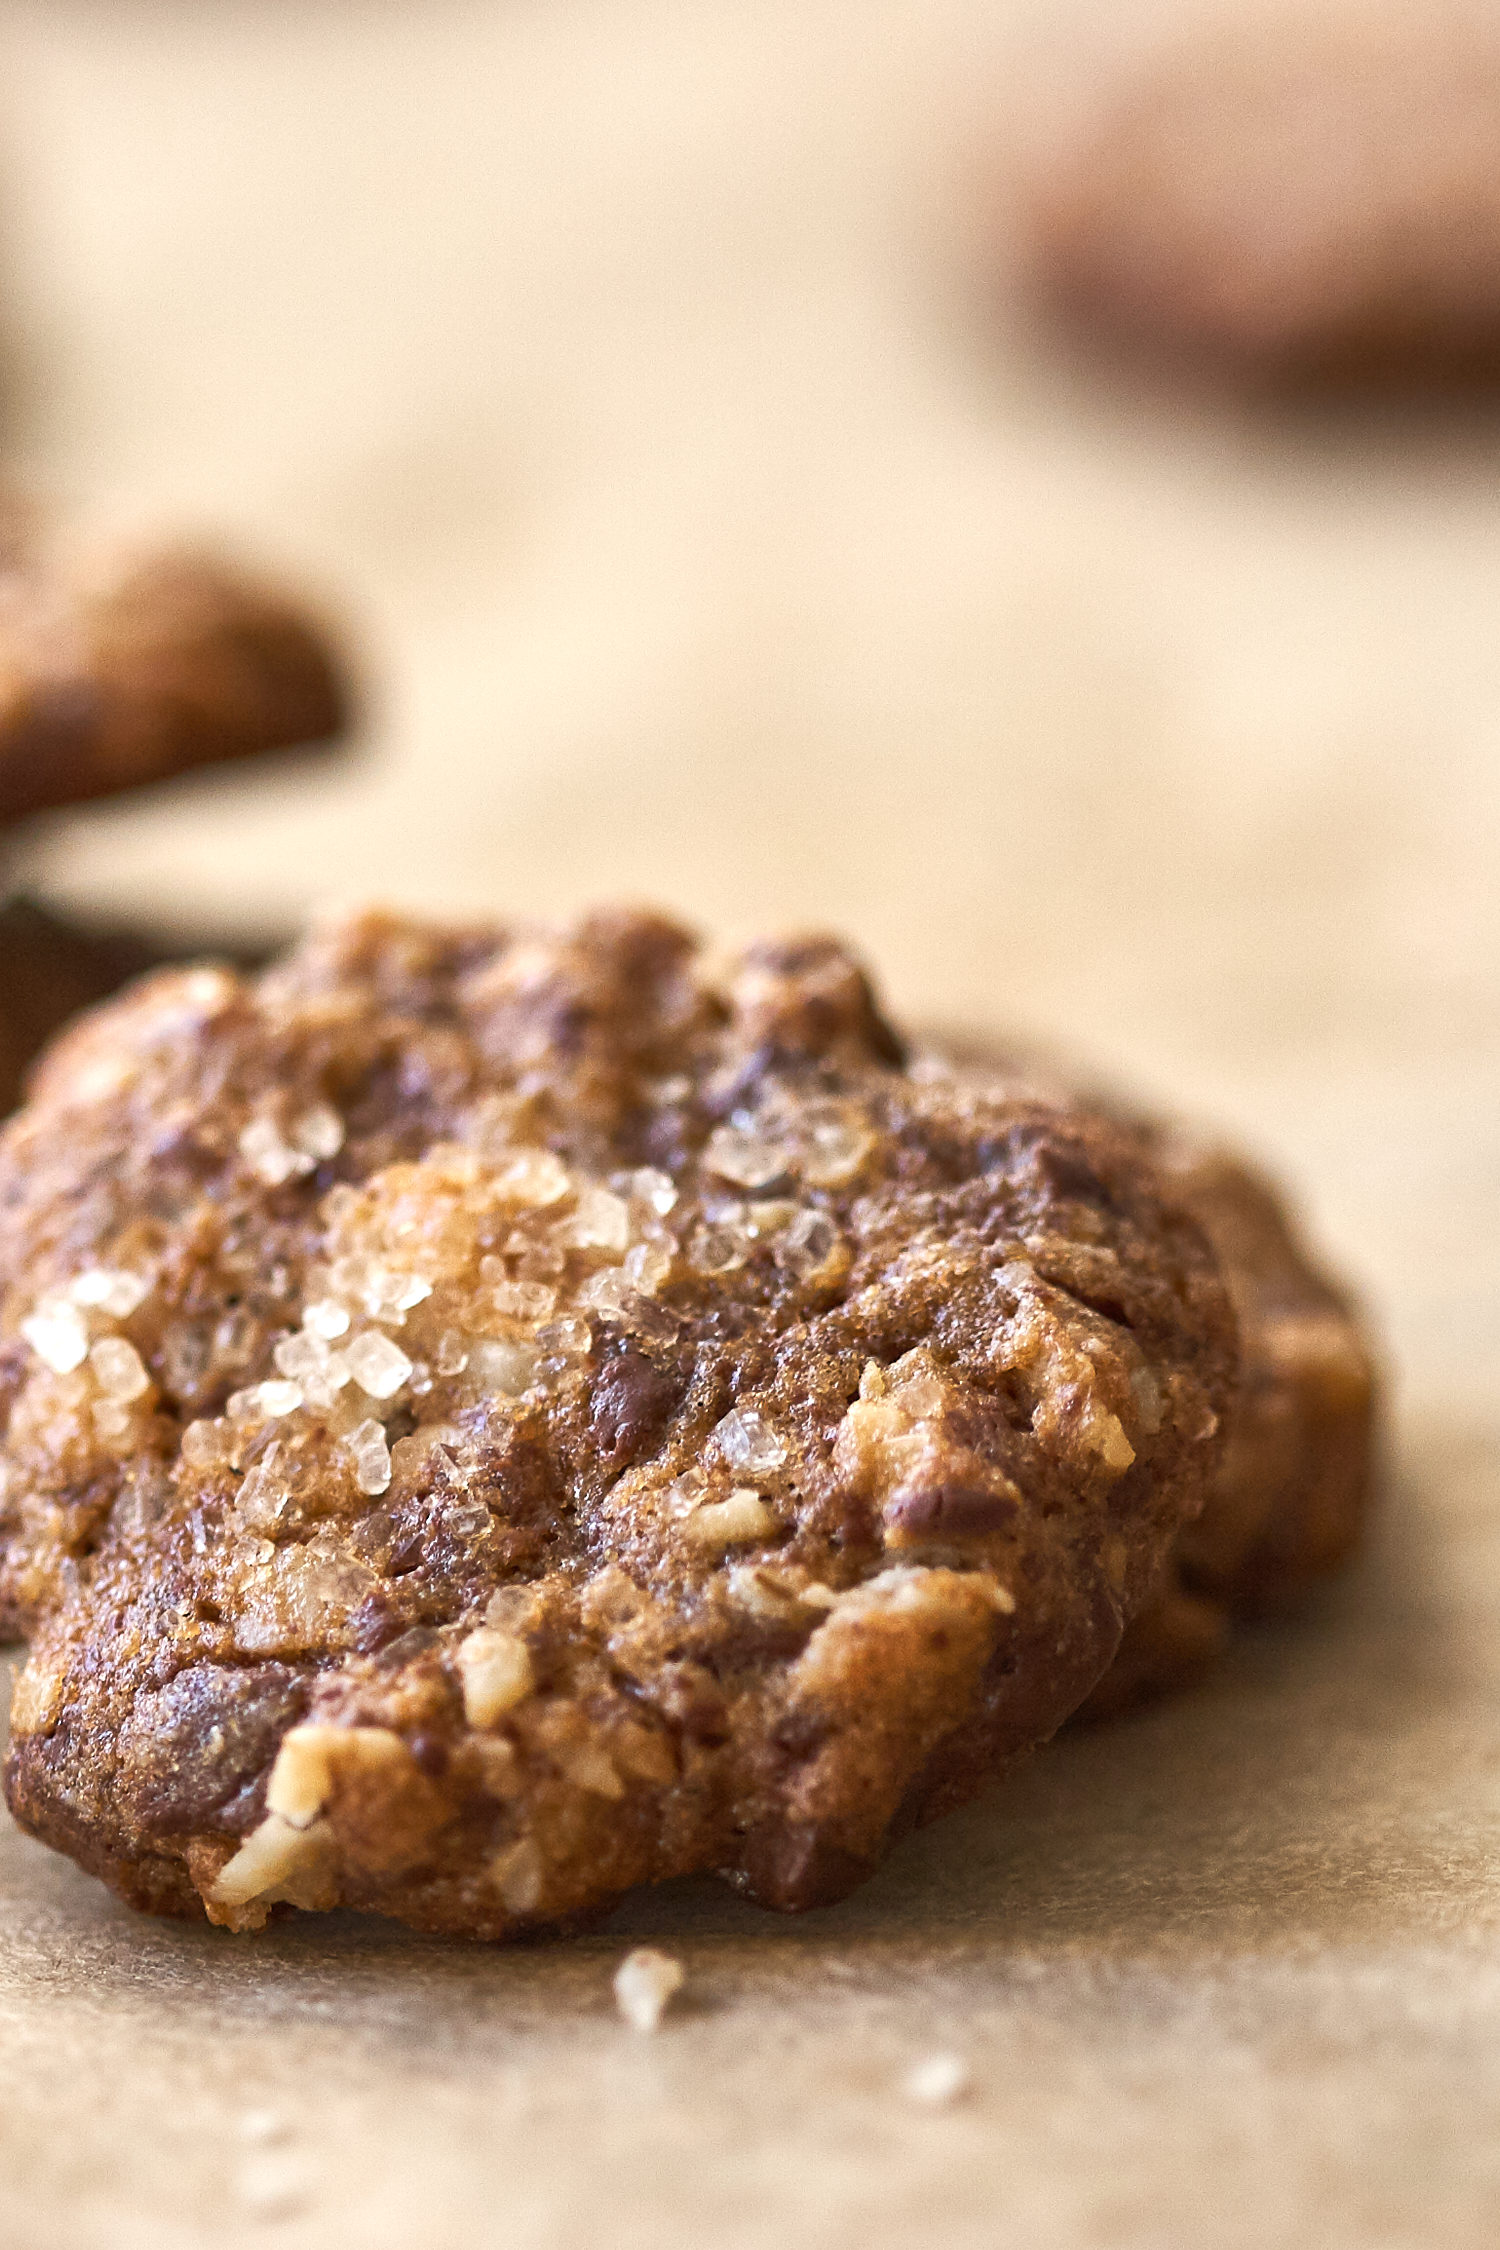
This is a peanut butter butter cookie flecked with oatmeal and baked until golden. A cookie for the peanut butter lovers out there. Anchored squarely in the PBC zone, the oatmeal is an accent. A hearty, chewy bonus ingredient that levels up a classic cookie. Toasted at the edges, soft and fudgy textured in the center, they’re a peanuty dream. Especially dunked in coffee.
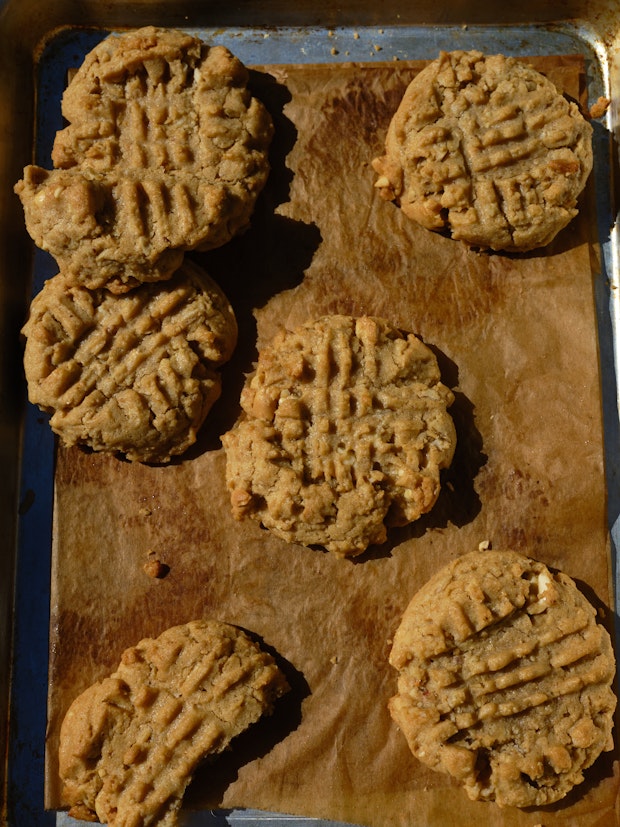
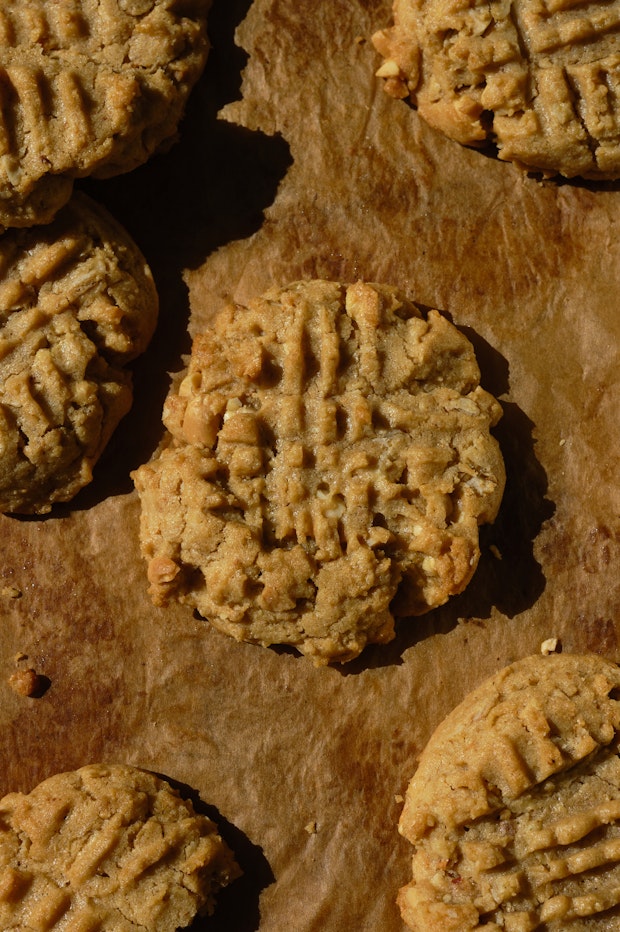
peanut butter cookies on a baking sheet lined with parchment paper

Oatmeal Peanut Butter Cookies: Ingredients

A few notes related to the ingredients in these cookies. The ingredients are all quite straight-forward, and you might have them in your pantry currently.

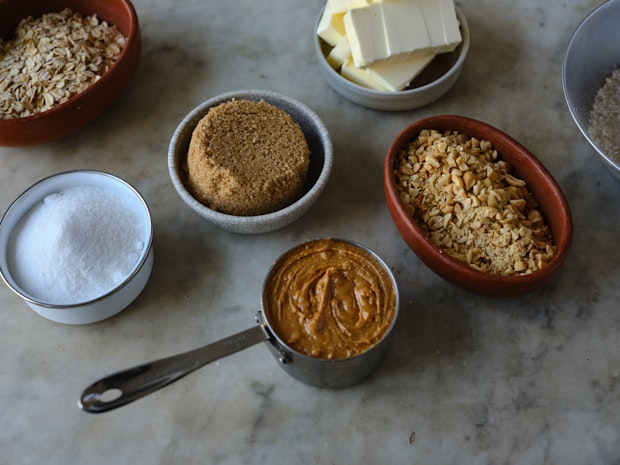
ingredients for making peanut butter cookies arranges on a counter including sugars, butter, chopped peanuts, and baking soda

  • Peanut Butter: For these cookies, my preference is all-natural peanut butter. I go into more detail down below. That said, if you already have peanut butter on hand, use it! One peanut butter I grab when I see it is this one (not sponsored, just a fan). It’s dark roasted, organic, made simply with roasted peanuts and a bit of salt, with good flavor. Note that it isn’t the “no-stir” variety.
  • Brown Sugar: You can use whatever brown sugar you have on hand to make these cookies. The cookies you see pictured here were made with light brown sugar, but I often make them with dark brown sugar.
  • Peanuts: This recipe doubles down on the peanuts, it’s all about the peanut flavor. In addition to the peanut butter, you’ll add about a cup of well-chopped peanuts. Use whatever peanuts you like to snack on.
  • Oatmeal: Look for old-fashioned rolled oats. Not instant oats.

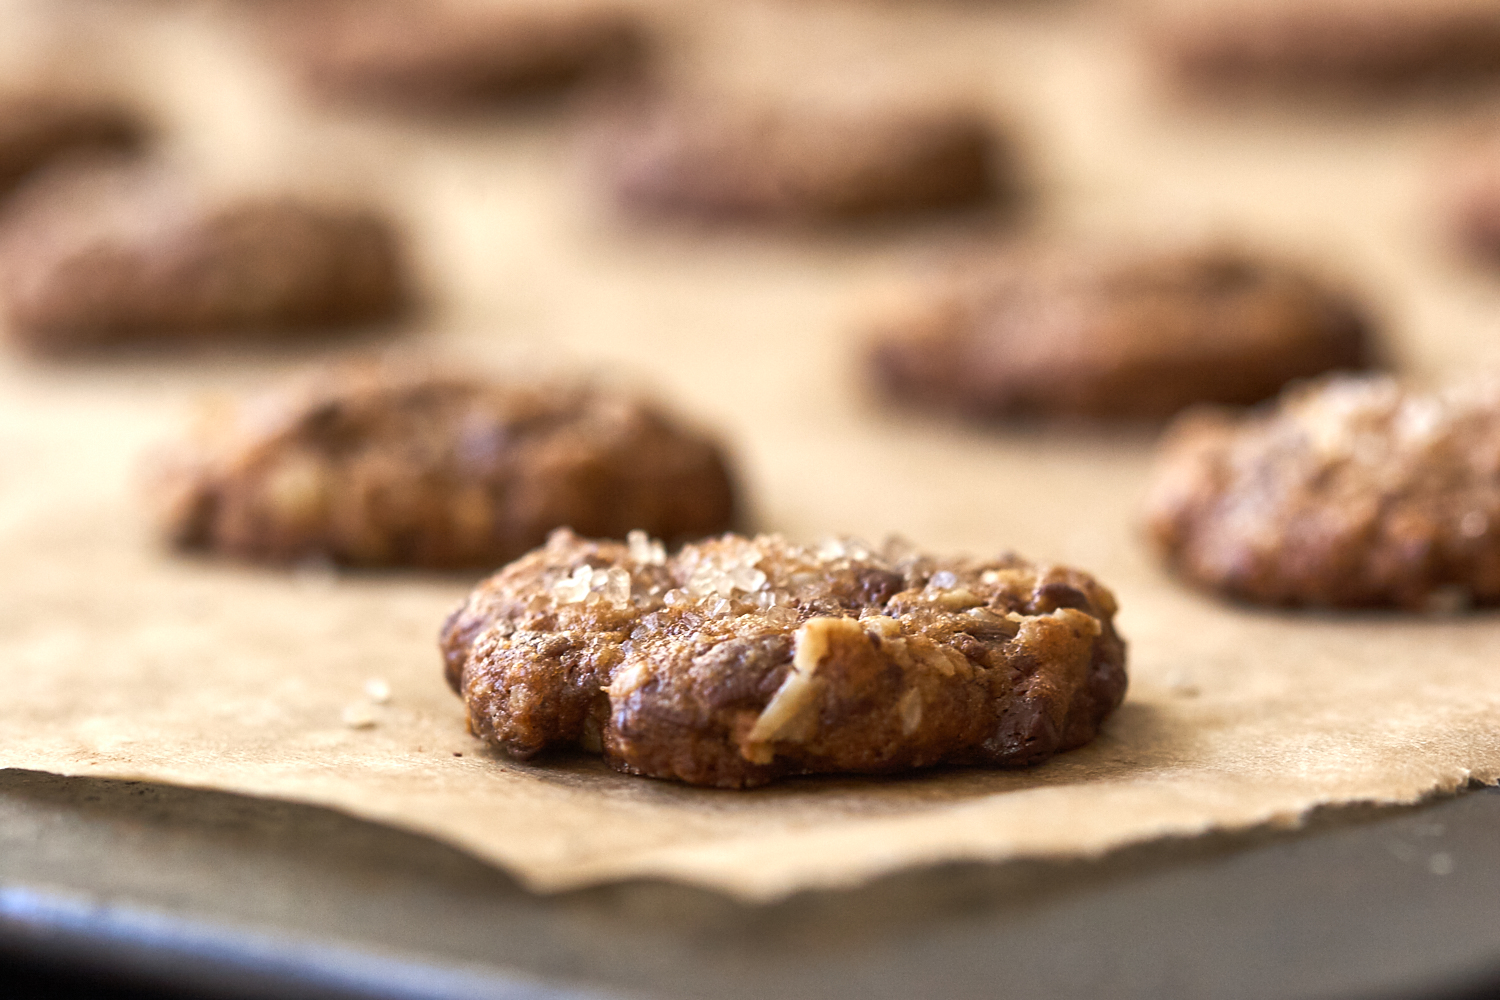
a peanut butter cookie on a baking sheet made with oatmeal

Can I use Natural Peanut Butter in Peanut Butter Cookies?

Yes, you can absolutely use natural peanut butter in this cookie dough. The cookies you see pictured here were made with natural peanut butter. If you aren’t sure what type of peanut butter you have, check the ingredient list on the back of your jar. I like to see peanuts, and maybe a bit of salt. In contrast, a lot of peanut butter cookie recipes will suggest using more processed peanut butter. The ingredient list for these types of peanut butters will often have added sugars, oils, and/or stabilizers. That said, use what you have. With a more processed p.b. the texture of your cookies might a bit more fudgy, and with the natural peanut butter it’s sometimes a shade more crumbly.

  • The Key:  I’ve found the key to using natural peanut butter is stirring it until it is well blended and completely uniform.

Oatmeal Peanut Butter Cookies: The Technique

Simple to make, these cookies are a basic drop cookie.

  1. Mix the wet ingredients:  Cream the butter, sugar, and peanut butter in an electric mixer. Add the eggs and vanilla.
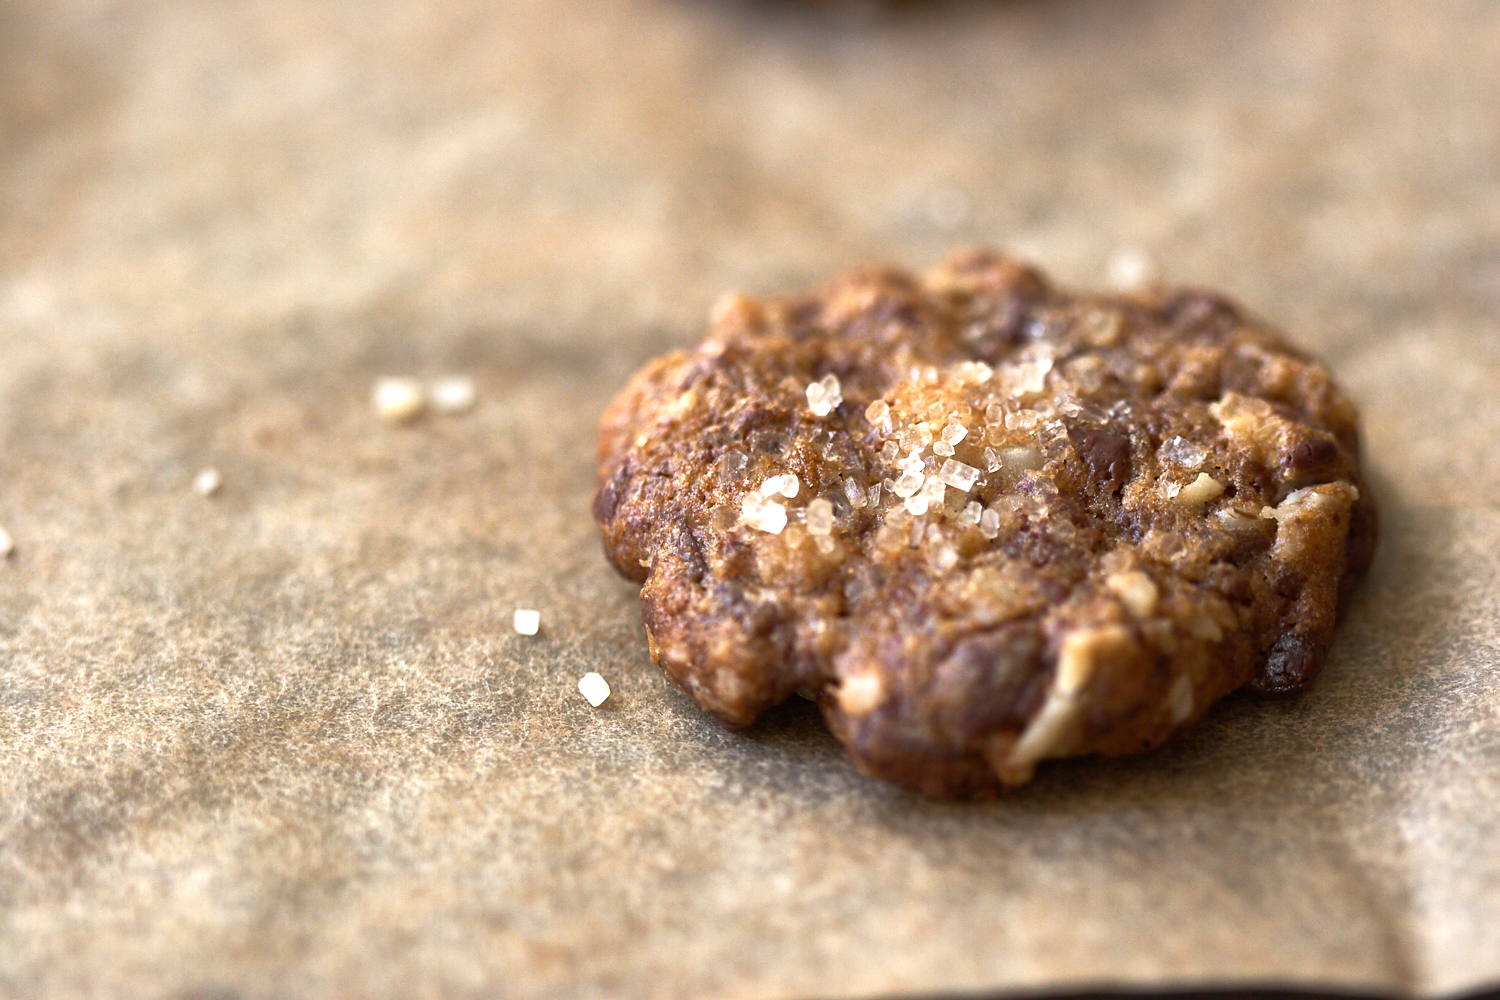
    a peanut butter cookie on a baking sheet made with oatmeal
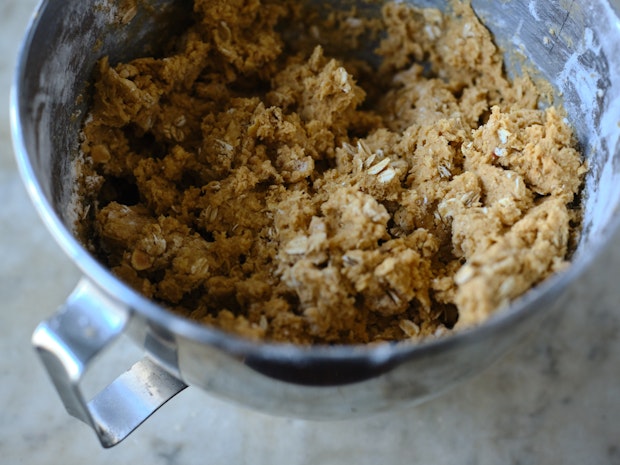
  2. Dry ingredients: Whisk together the flour, baking soda, baking powder, and salt. Add in stages to the wet ingredients. Stir in the peanuts and oats by hand (above).
  3. Shape: Scoop the dough onto a baking sheet and chill for 30 minutes.
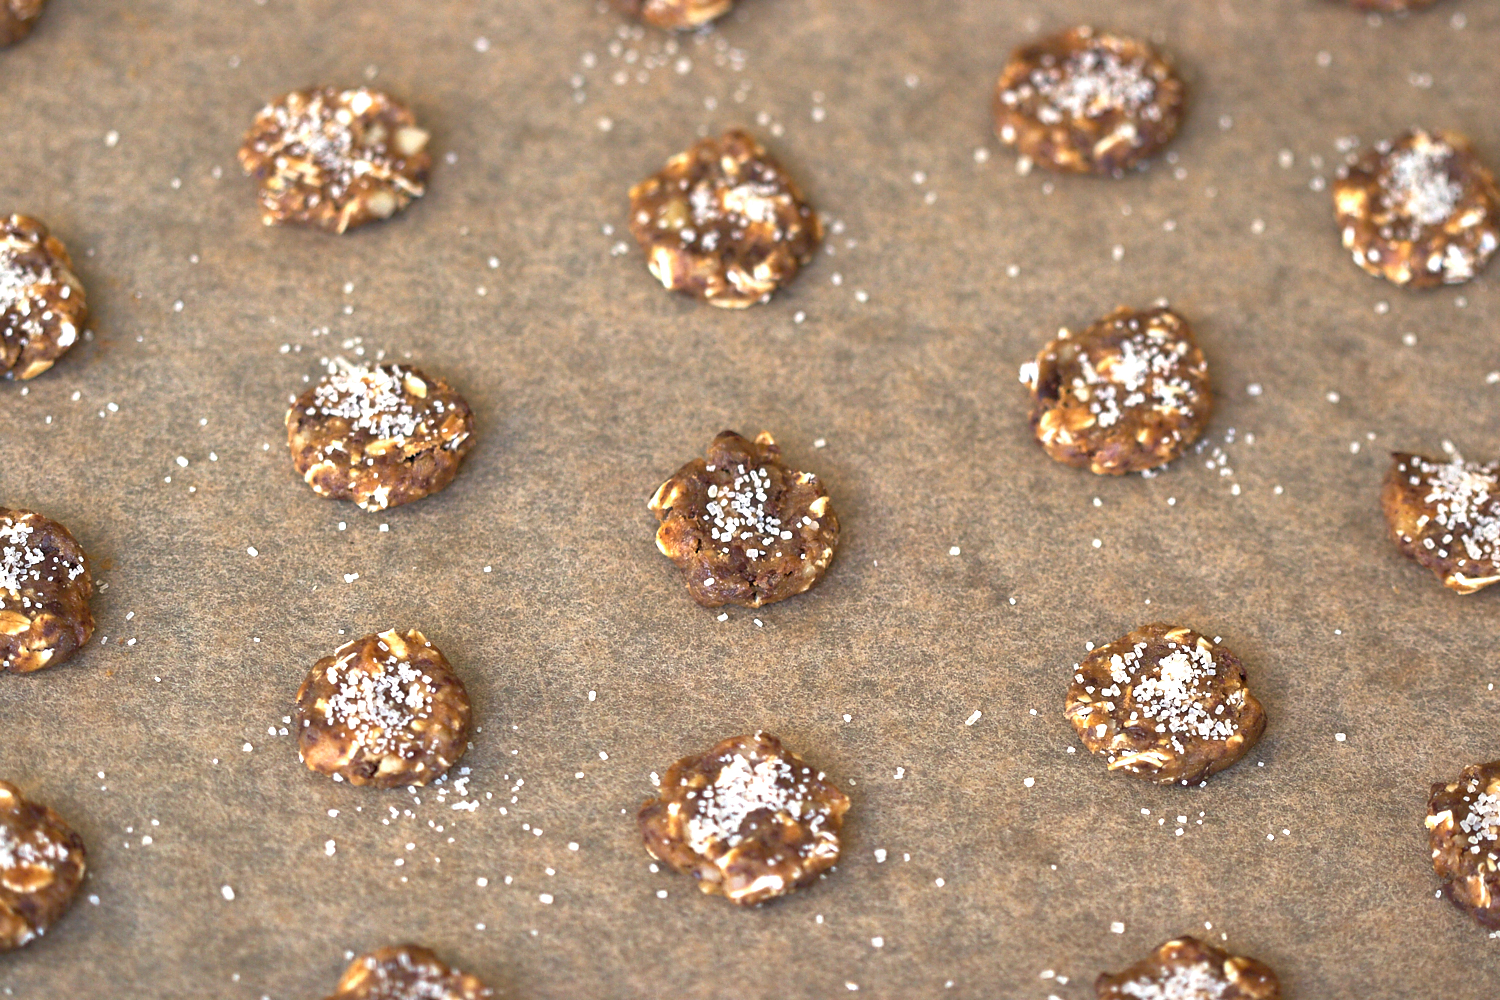
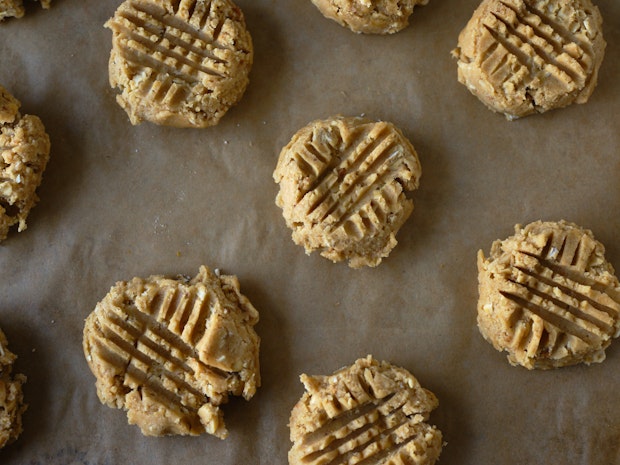
    oatmeal peanut butter cookie dough on a baking sheet prior to baking
  4. Criss-cross: Press the tops of each cookie with the tines of a fork twice, in a grid design (above).
  5. Bake: Put the cookies in the oven, bake and then cool.

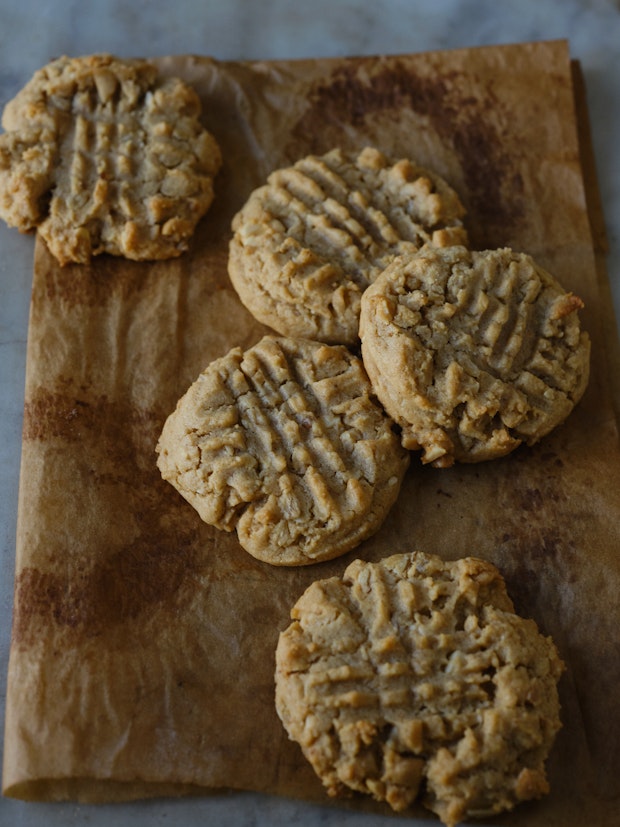
a peanut butter cookie on a baking sheet made with oatmeal

More Cookie Recipes

Continue reading Oatmeal Peanut Butter Cookies on 101 Cookbooks
Cheesecake Bars

These creamy, decadent cheesecake bars feature a citrus swirled top, vanilla cream cheese filling, and shortbread cookie base. We’ve been baking these for special occasions for over twenty years!

Continue reading Cheesecake Bars on 101 Cookbooks
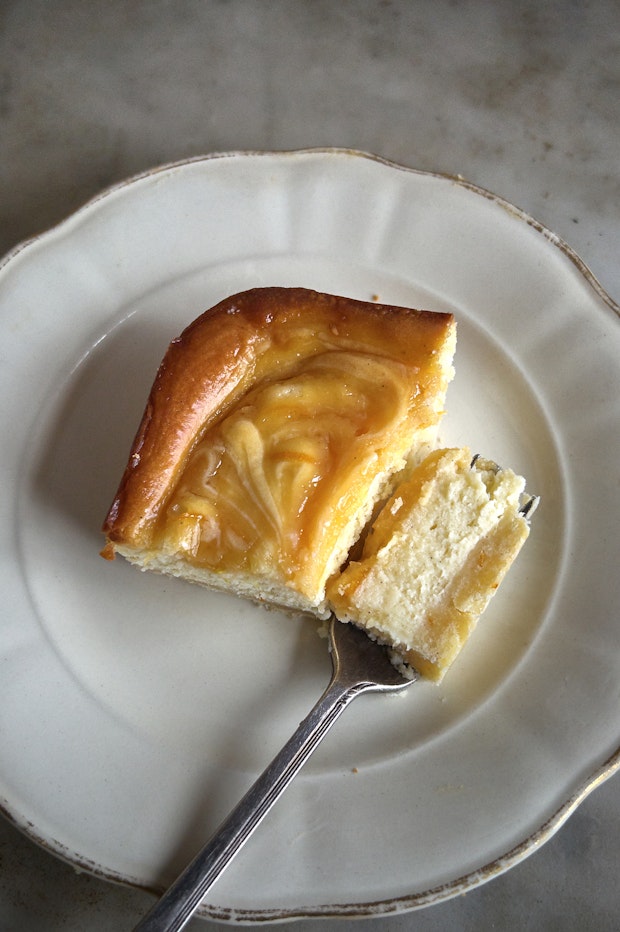
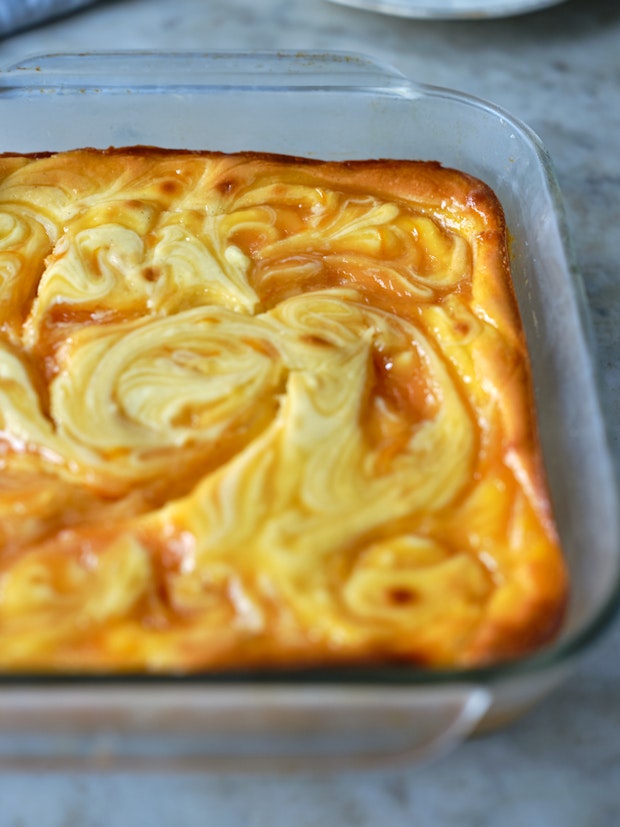
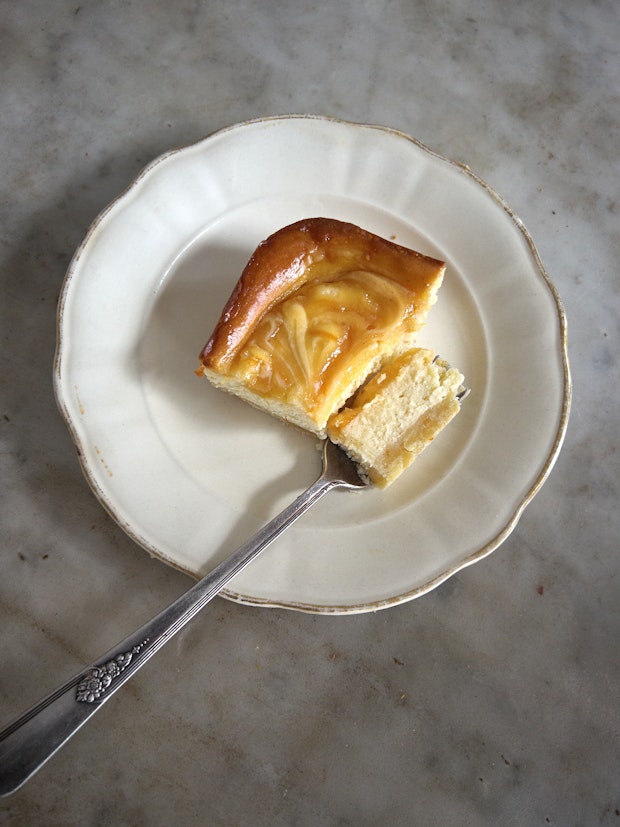
I started making these cheesecake bars twenty years ago. They’re beautiful, wildly decadent, and the perfect special treat. Pools of citrus curd blend into a vanilla flecked cream cheese filling. A shortbread cookie crust provides crunch and structure as the base. With each bite you’re hit with a blast of citrus intensity, and the swirl top is dramatic and beautiful.
slice of a cheesecake bar on a small plate with a fork

Cheesecake Bars: The Inspiration

There was a moment in the early 00s where ripple-topped cheesecake bars were having a real moment. I clipped a number of versions from newspapers and magazines including one from Food & Wine magazine and another from the Spring 2004 issue of Donna Hay. These bars were typically lemon flavored but I found over the years that I really love making zesty grapefruit versions, or my absolute favorite (pictured here) – blood orange. I include instructions in the recipe below.
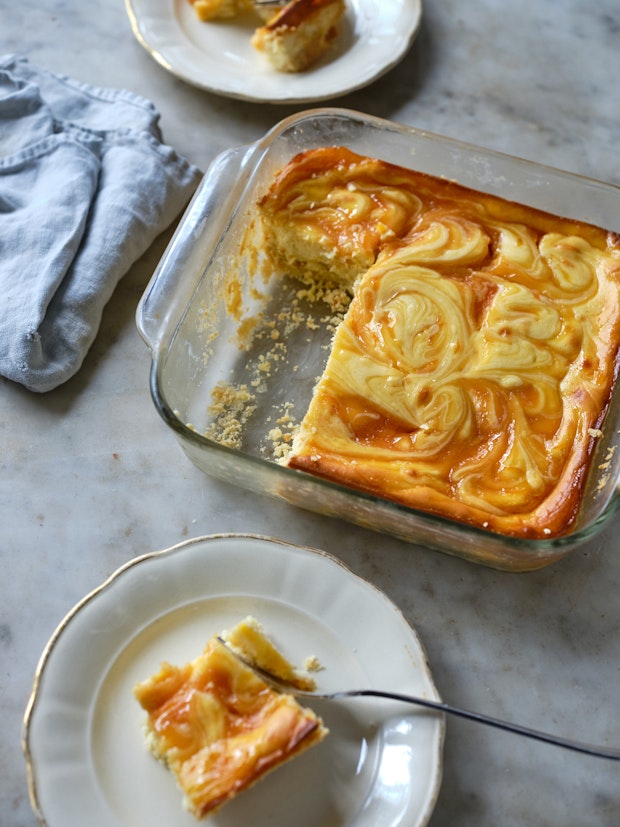
cheesecake bars served on a marble table on plates

The Ingredients

The ingredient list for these cheesecake bars is quite straight forward. If you keep cream cheese on hand, you might have the rest of the ingredients in your pantry. A couple notes related to key ingredients.

  • Cream Cheese: Go for the real deal, full fat version here.
  • Citrus: I call for a blend of orange and lemon juice in this version of the recipe, but you can play around with whatever citrus you have on hand. I’ve had it on my list to experiment with a key lime version (or makrut lime!) for ages.
  • Sugar: Opt for a fine, granulated sugar here.

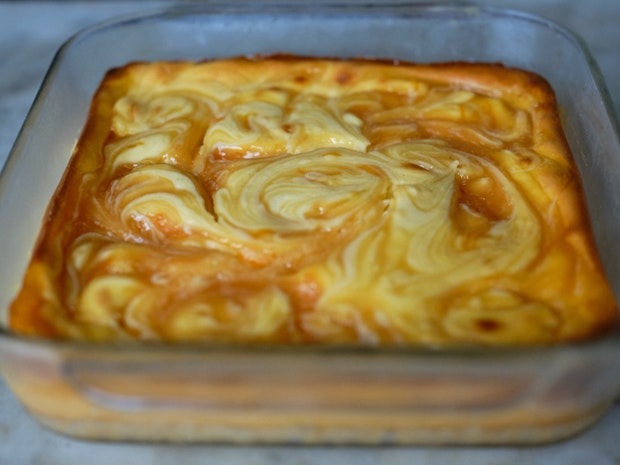
cheesecake bars baked in a glass baking dish

How To Make Cheesecake Bars

There are three main components to these cheesecake bars. The shortbread base, the cream cheese filling, and the citrus topping swirl.

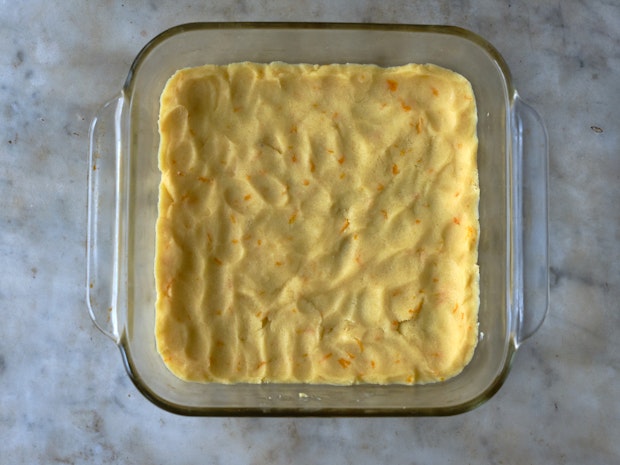
  1. Make the cookie base: You can see the concept pictured here (below). Press and bake cookie dough into your pan and bake until golden.
    cookie dough crust as first layer in glass baking dish
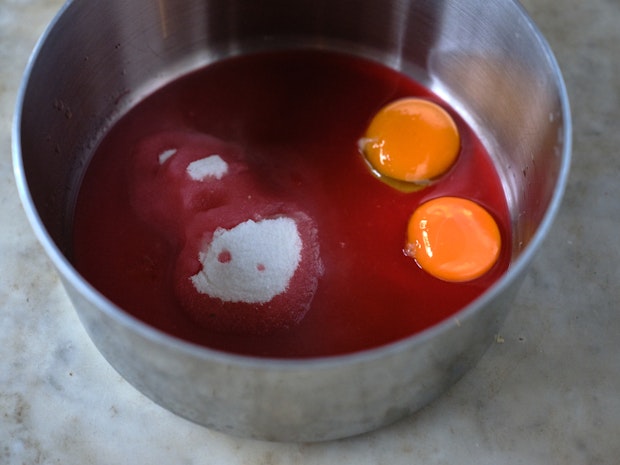
  2. Make the citrus curd swirl mixture: This is done in a saucepan using egg yolks citrus juices, sugar, cornstarch, heat, and patience.
    curd ingredients in stainless steel saucepan
  3. Make the cream cheese filling: This step is a breeze. You basically whip up a lot of cream cheese, then sweeten and flavor it.
  4. Assemble and bake. One of the keys here is avoiding baking too long. You want to bake these bars until they’re just set in the center.
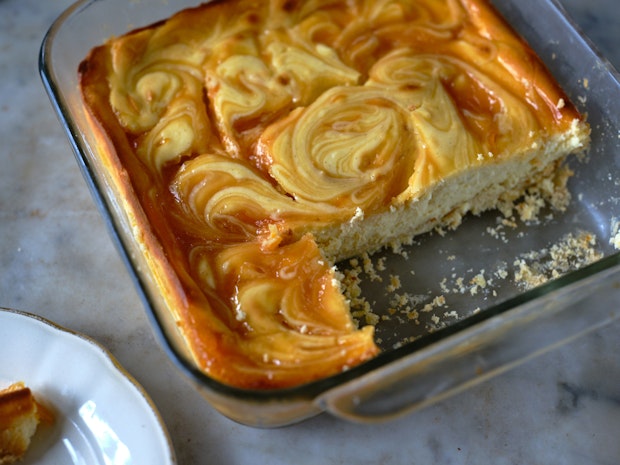
    cheesecake bars baked in a glass baking dish

Cheesecake Bars: Variations

As mentioned above, the first way you can switch things up here is to play around with the shape of the pan you bake in. You can make individual tarts or mini-tarts, or bake in a long pan and slice into strips.

  • Lemon Cheesecake Bars: Use freshly squeezed lemon juice and lemon zest. Bonus points for using Meyer lemons – extra special!
  • Orange Blossom Cheesecake Bars: This version is beautiful. Use a small splash of good quality orange blossom water in place of the vanilla in the recipe. It accentuates the orange in the recipe and perfumes your entire kitchen as the bars are baking.
  • Rose Citrus Cheesecake Bars: This is the same idea as the orange blossom version above, substitute a splash of rose water for the vanilla in the recipe. Or! Leave the vanilla in. Rose, vanilla, and orange are a beautiful combination.

cheesecake bars baked in a glass baking dish
More Baking Recipes

slice of a cheesecake bar on a small plate with a fork

Continue reading Cheesecake Bars on 101 Cookbooks
Homemade Coconut Cream Pie

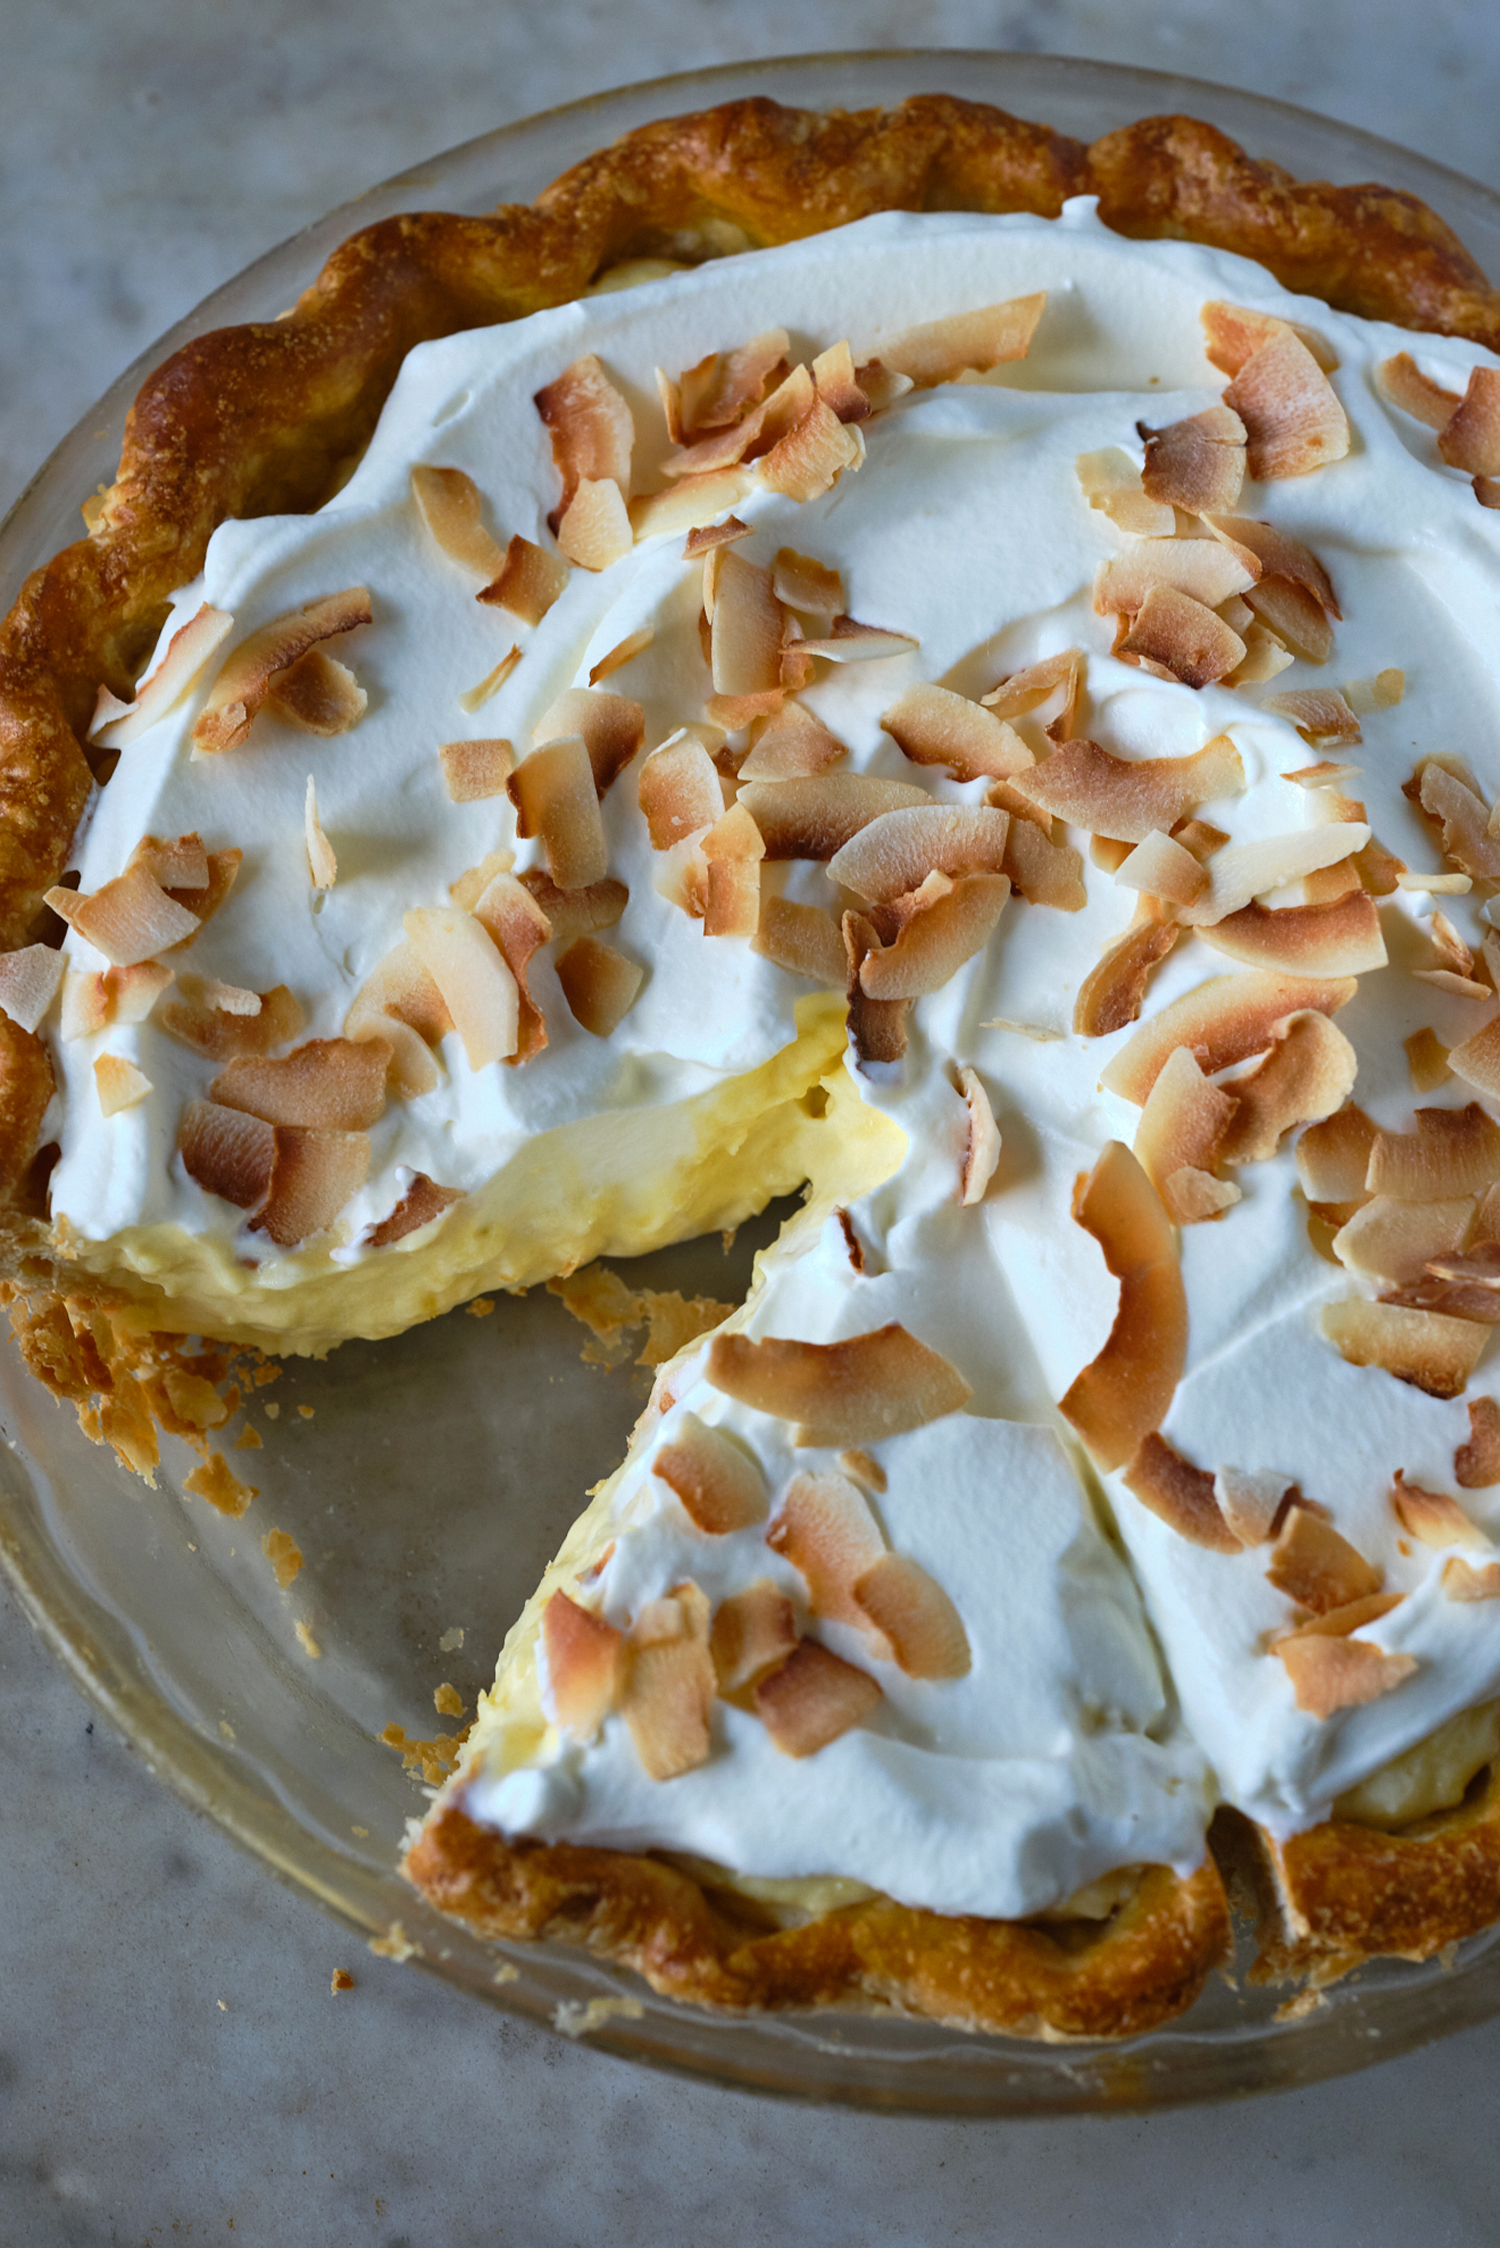
There are a couple details that take this coconut cream pie to the next level. Like many versions, it is made with a homemade, flaky, all-butter pie crust filled with a creamy coconut pudding. It is finished with clouds of whipped cream and plenty of toasted coconut flakes. Using buttermilk and a confident amount of salt to offset some of the sweetness is how you take this pie from good to great.

Continue reading Homemade Coconut Cream Pie on 101 Cookbooks
This pie was inspired by my dad. He requested coconut cream pie in place of cake for his birthday, so I got to work. I knew he was after a homemade, old-fashioned version. It needed to be a creamy, sweet coconut cream pie loaded with whipped cream and coconut flakes. He reminisces about Marie Callender’s version, so I kept a photo of one of their pies on my desktop as reference. Lol. At the same time, I was also aiming for a pie that had some balance. After a few rounds, I landed on using buttermilk and sea salt in the coconut filling for a filling that is hard not to love.
coconut cream pie in a glass pie plate with a slice cut out of it

Coconut Cream Pie: The 3 Main Parts

A classic coconut cream pie has three main components.

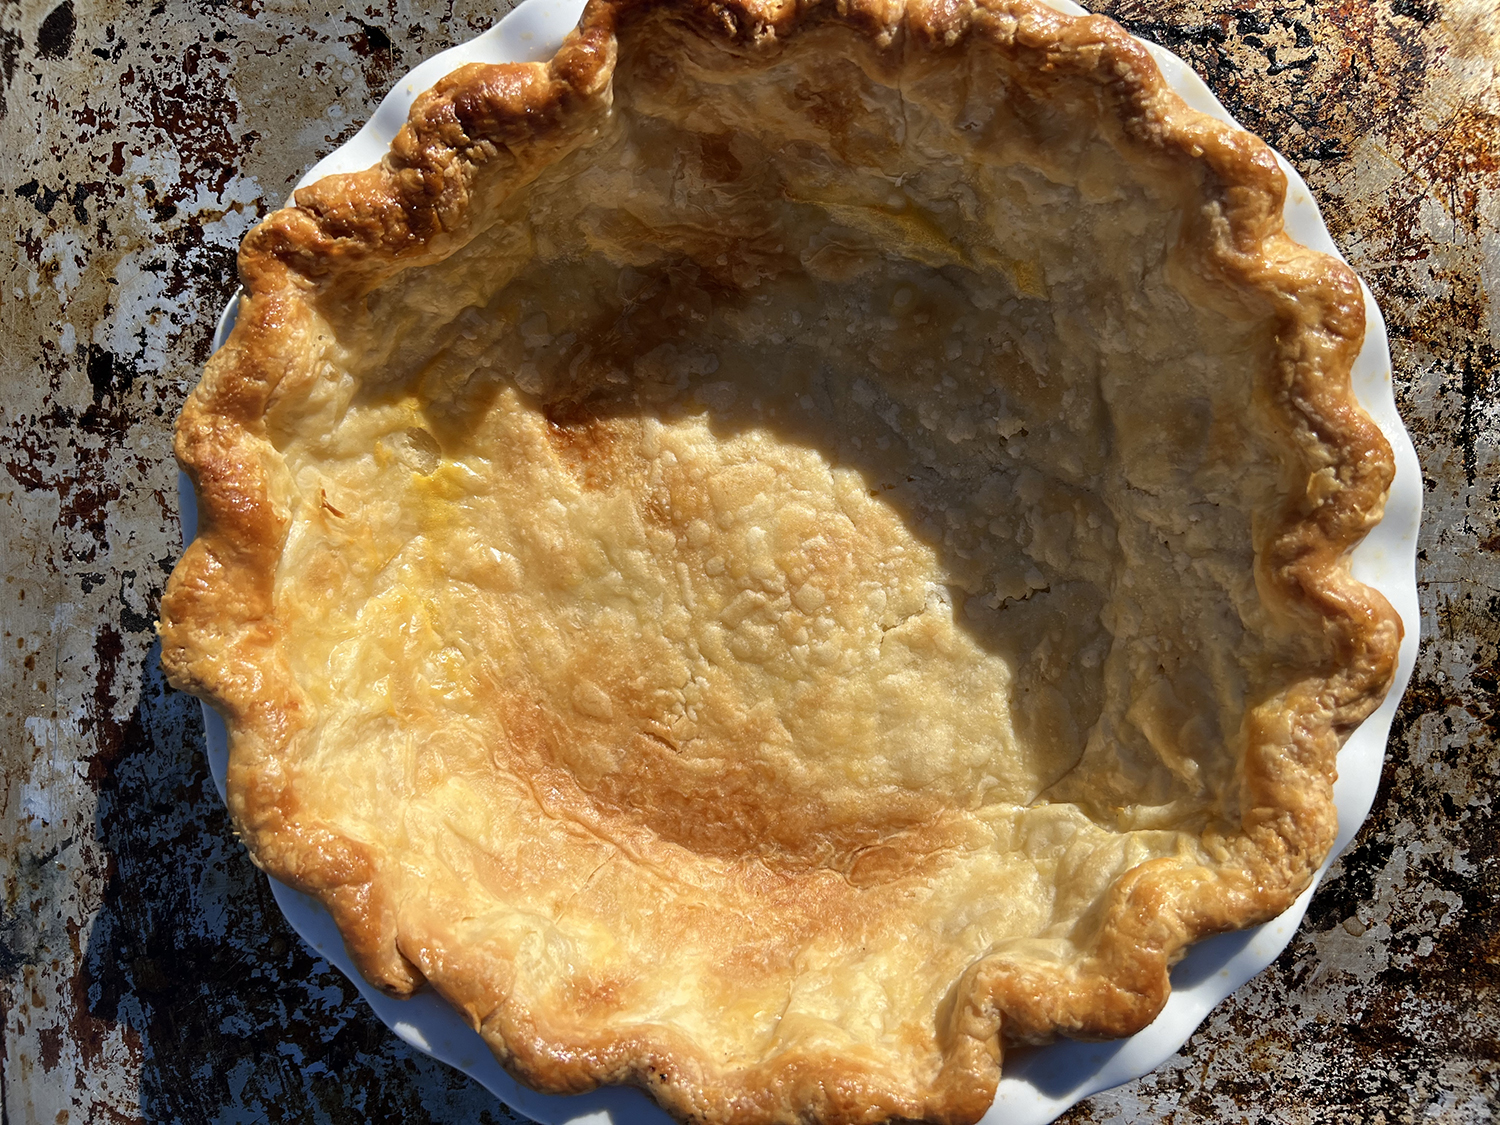
  1. A really good pie crust: Golden, flaky, with good structure. The pie crust will be fully baked prior to filling. Instructions below! I use this pie crust dough for a lot of pies.
    a fully baked pie crust prior to filling
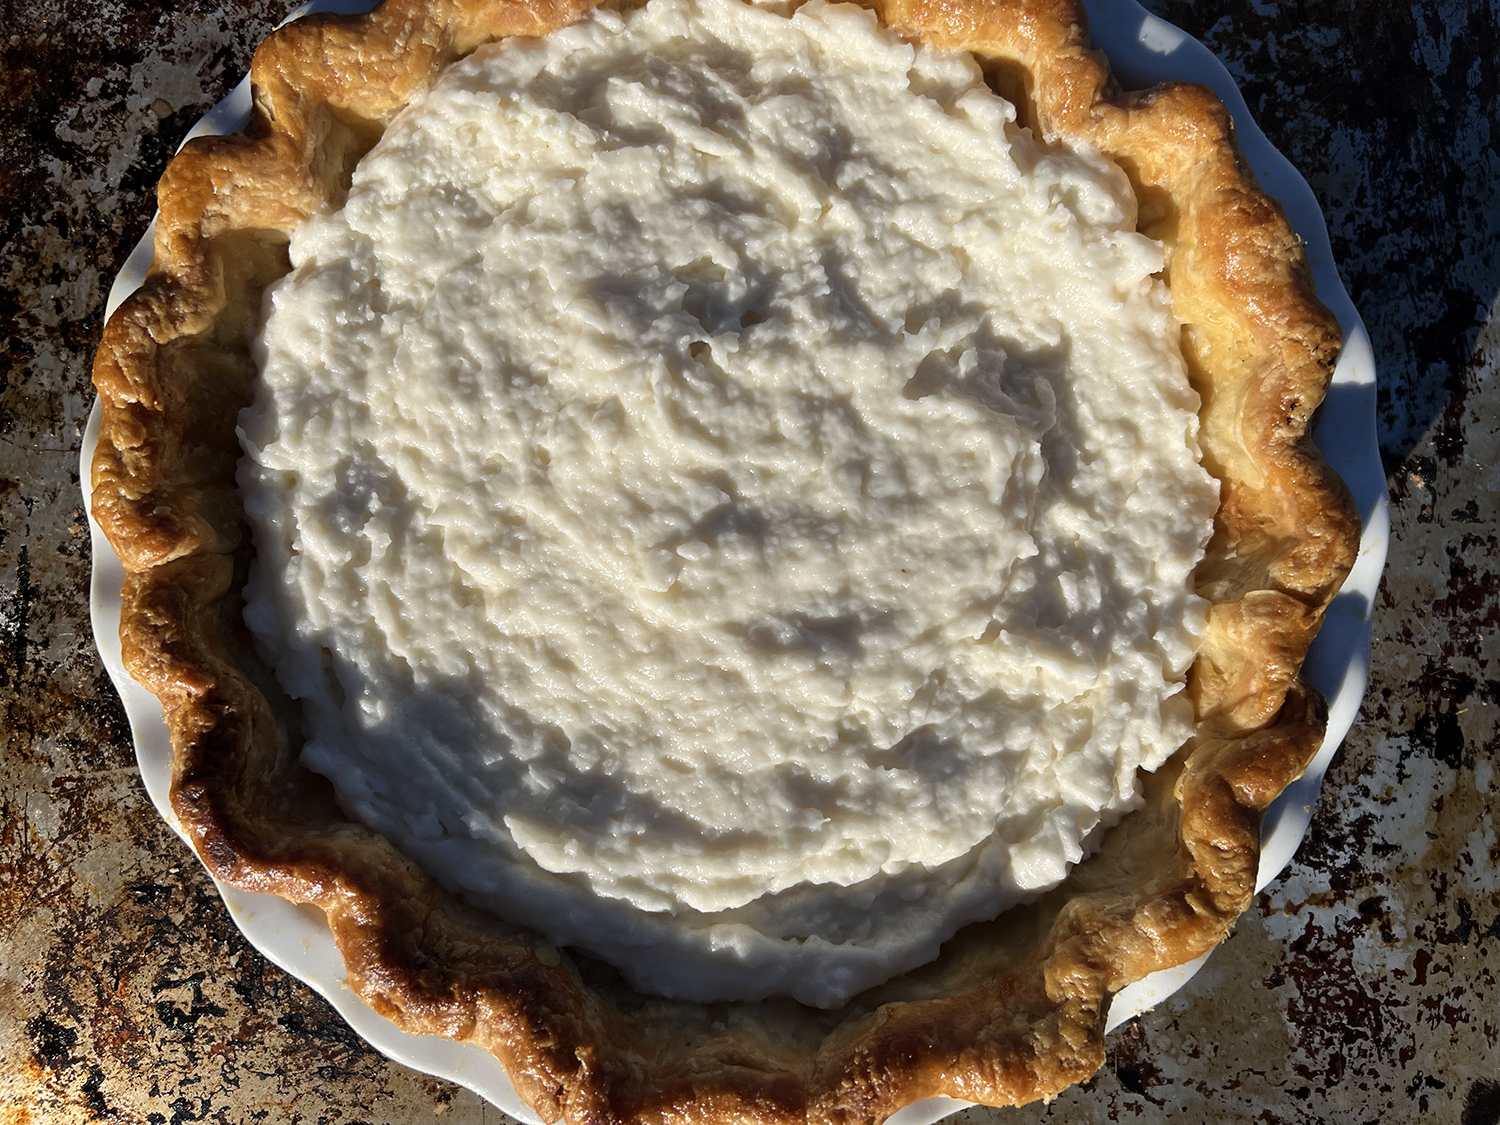
  2. Creamy coconut pudding filling: Arguably the heart and soul of this pie. Spread it across the fully baked pie crust (pictured below). Then refrigerate until set.
    a fully baked pie crust filled with coconut cream pie filling
  3. Whipped cream topping with toasted coconut: Just before serving whip some heavy cream with a kiss of powdered sugar and pile it on top of the coconut cream filling. Add a finishing touch of toasted coconut flakes, slice into wedges and enjoy!

How To Make the Coconut Cream Pie Filling

There are basically two major ways to approach coconut cream pie filling. You can make a homemade coconut pudding on the stovetop or you can make the filling using pudding mix as the base. This pie uses vanilla pudding mix to provide a quick, stable, reliable foundation. The pudding mix is combined with buttermilk and sea salt to balance out the sweetness contributed by the pudding mix and a lot of sweetened coconut. A bit of whipped cream is folded into the mix to bring a bit of lightness to the filling. You will be able to make the filling in five minutes flat. It’s fool-proof and absolutely delicious.

There’s certainly an argument for making homemade coconut pudding for the filling here. But because this has become one of my favorite “quick” pies to throw together, I go the pudding route. No egg tempering required.

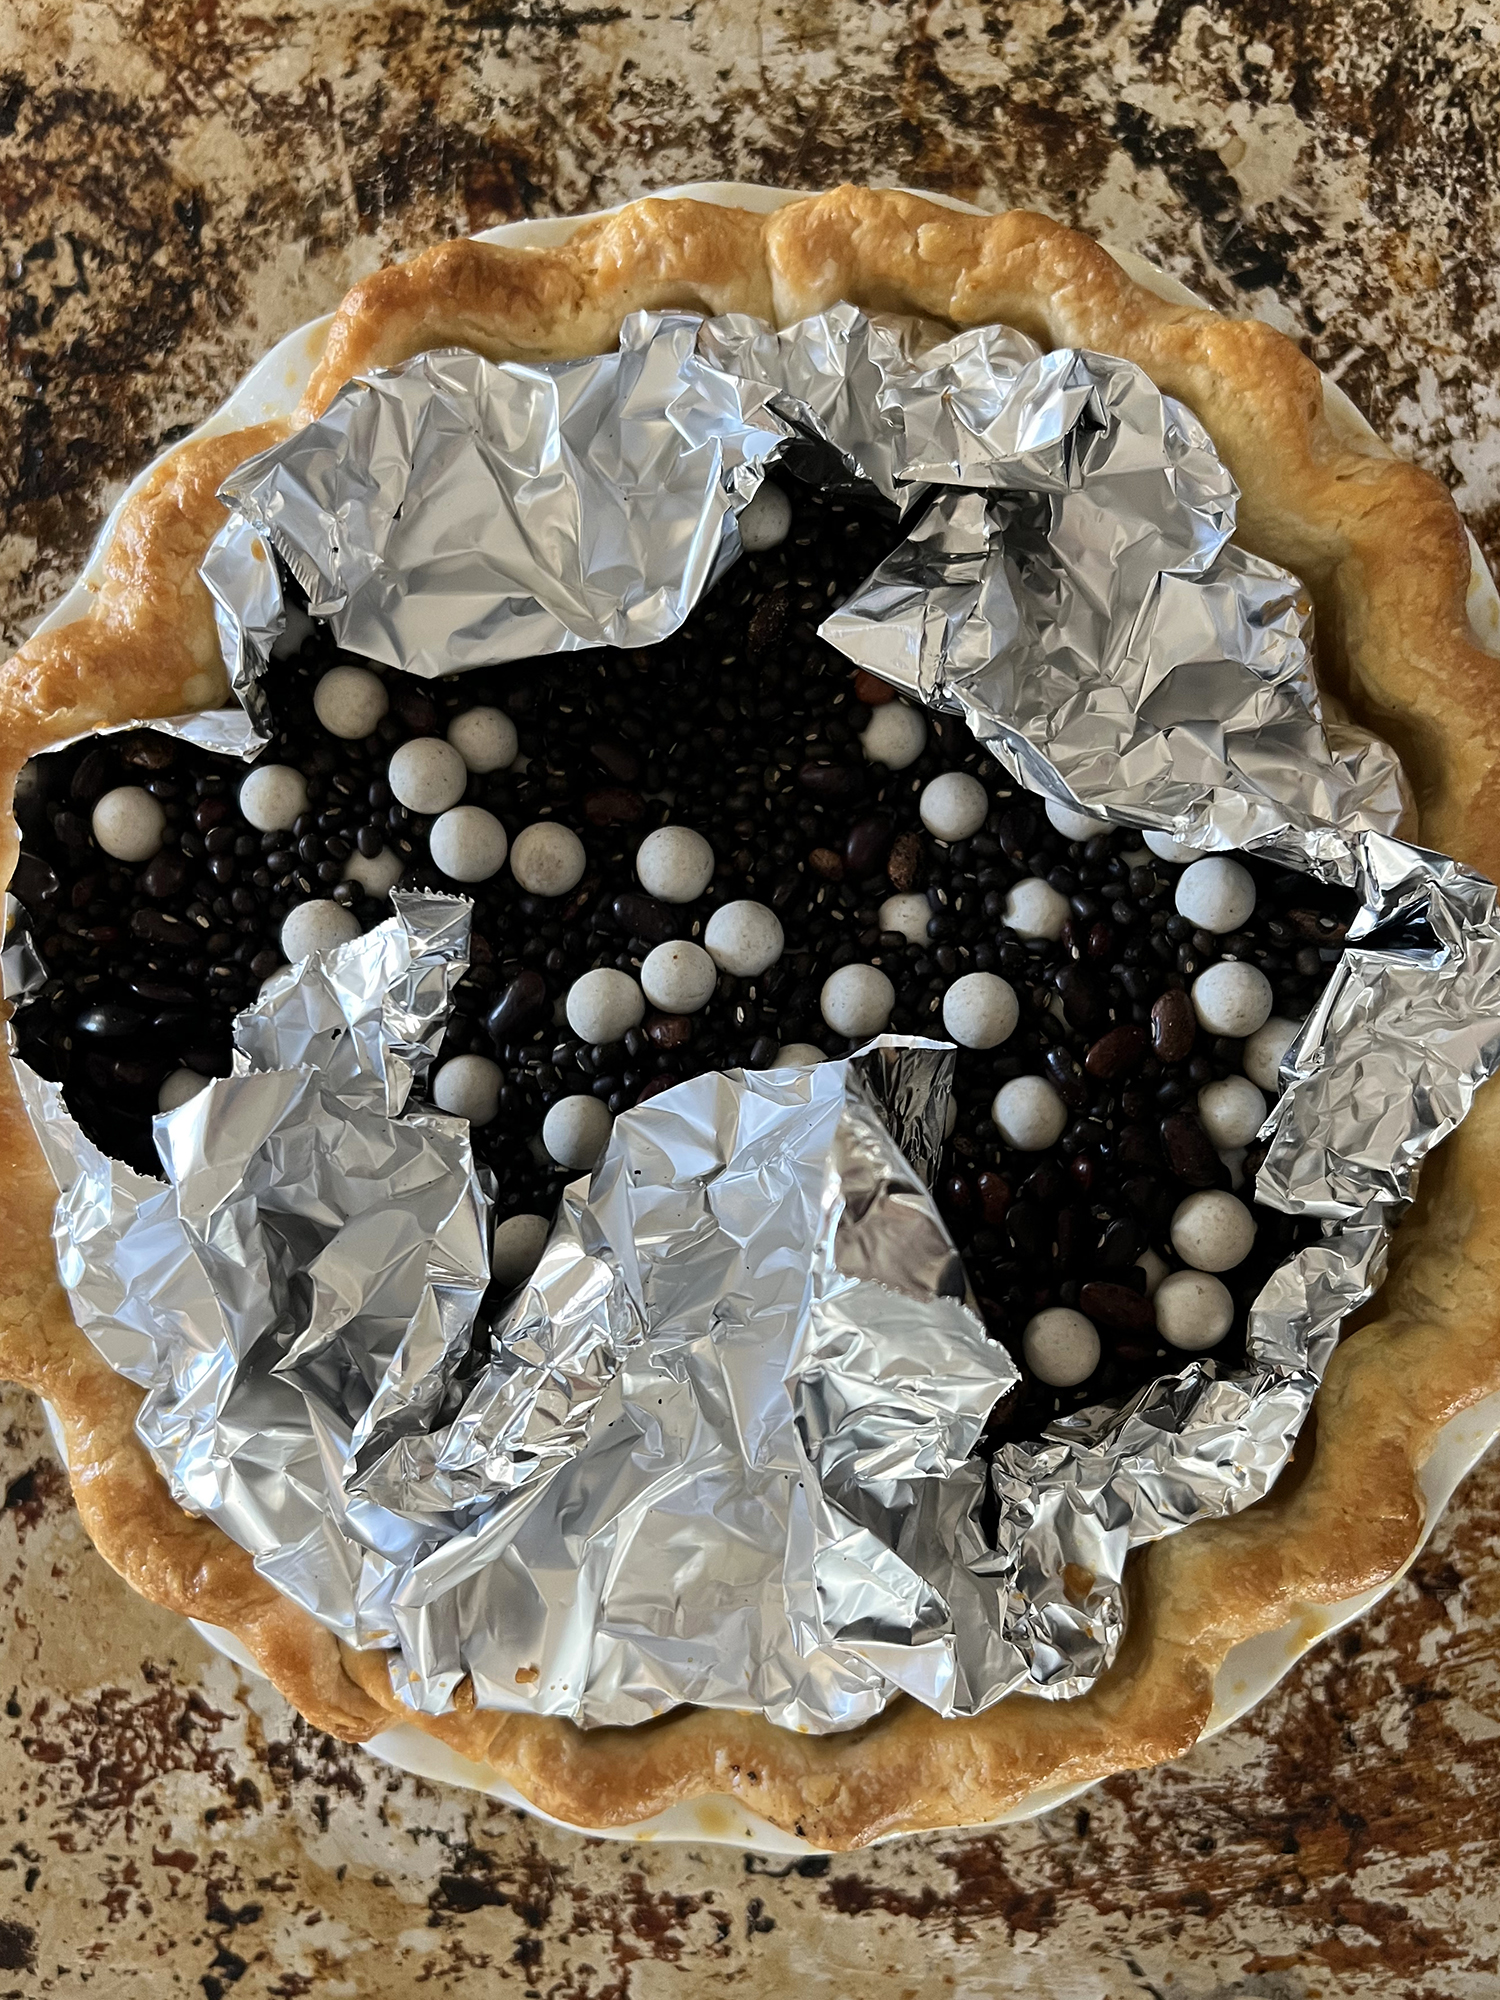
a pie crust after blind baking with pie weights and dried beans

How Do I Blind Bake a Pie Crust?

A pie like this requires a fully baked pie crust also known as a blind baked crust. Blind bake pie crusts are used for pies with a no-bake filling. I include detailed instructions in the recipe, but the picture (above) demonstrates the general set-up. To blind bake a pie crust, line a pie plate with your pie dough. Place a sheet of parchment paper or aluminum foil to cover the dough. Then fill completely with pie weights, or dried beans. Bake until the edges of the pie crust become golden. Carefully remove the pie weights, dock with a fork to prevent air bubbles, and brush the edges with an egg wash. Bake for another 15 minutes or until the entire crust is beautiful golden.

What Kind of Vanilla Pudding Mix Should I Use?

When you go to buy pudding mix for this pie, you want instant pudding mix. That’s the first thing. My recipe calls for two boxes of 3.4-ounce vanilla instant pudding mix. I’ve been using the 365 Whole Foods Market Vanilla Instant Pudding most often – works great. But I’ve also tested with Jell-O instant vanilla pudding (3.7-ounce boxes). Seems a bit sweeter, but works well. Basically, don’t get hung up on the weight of the pudding boxes, just aim for something in the 3.5-ounce size range and confirm it is instant.
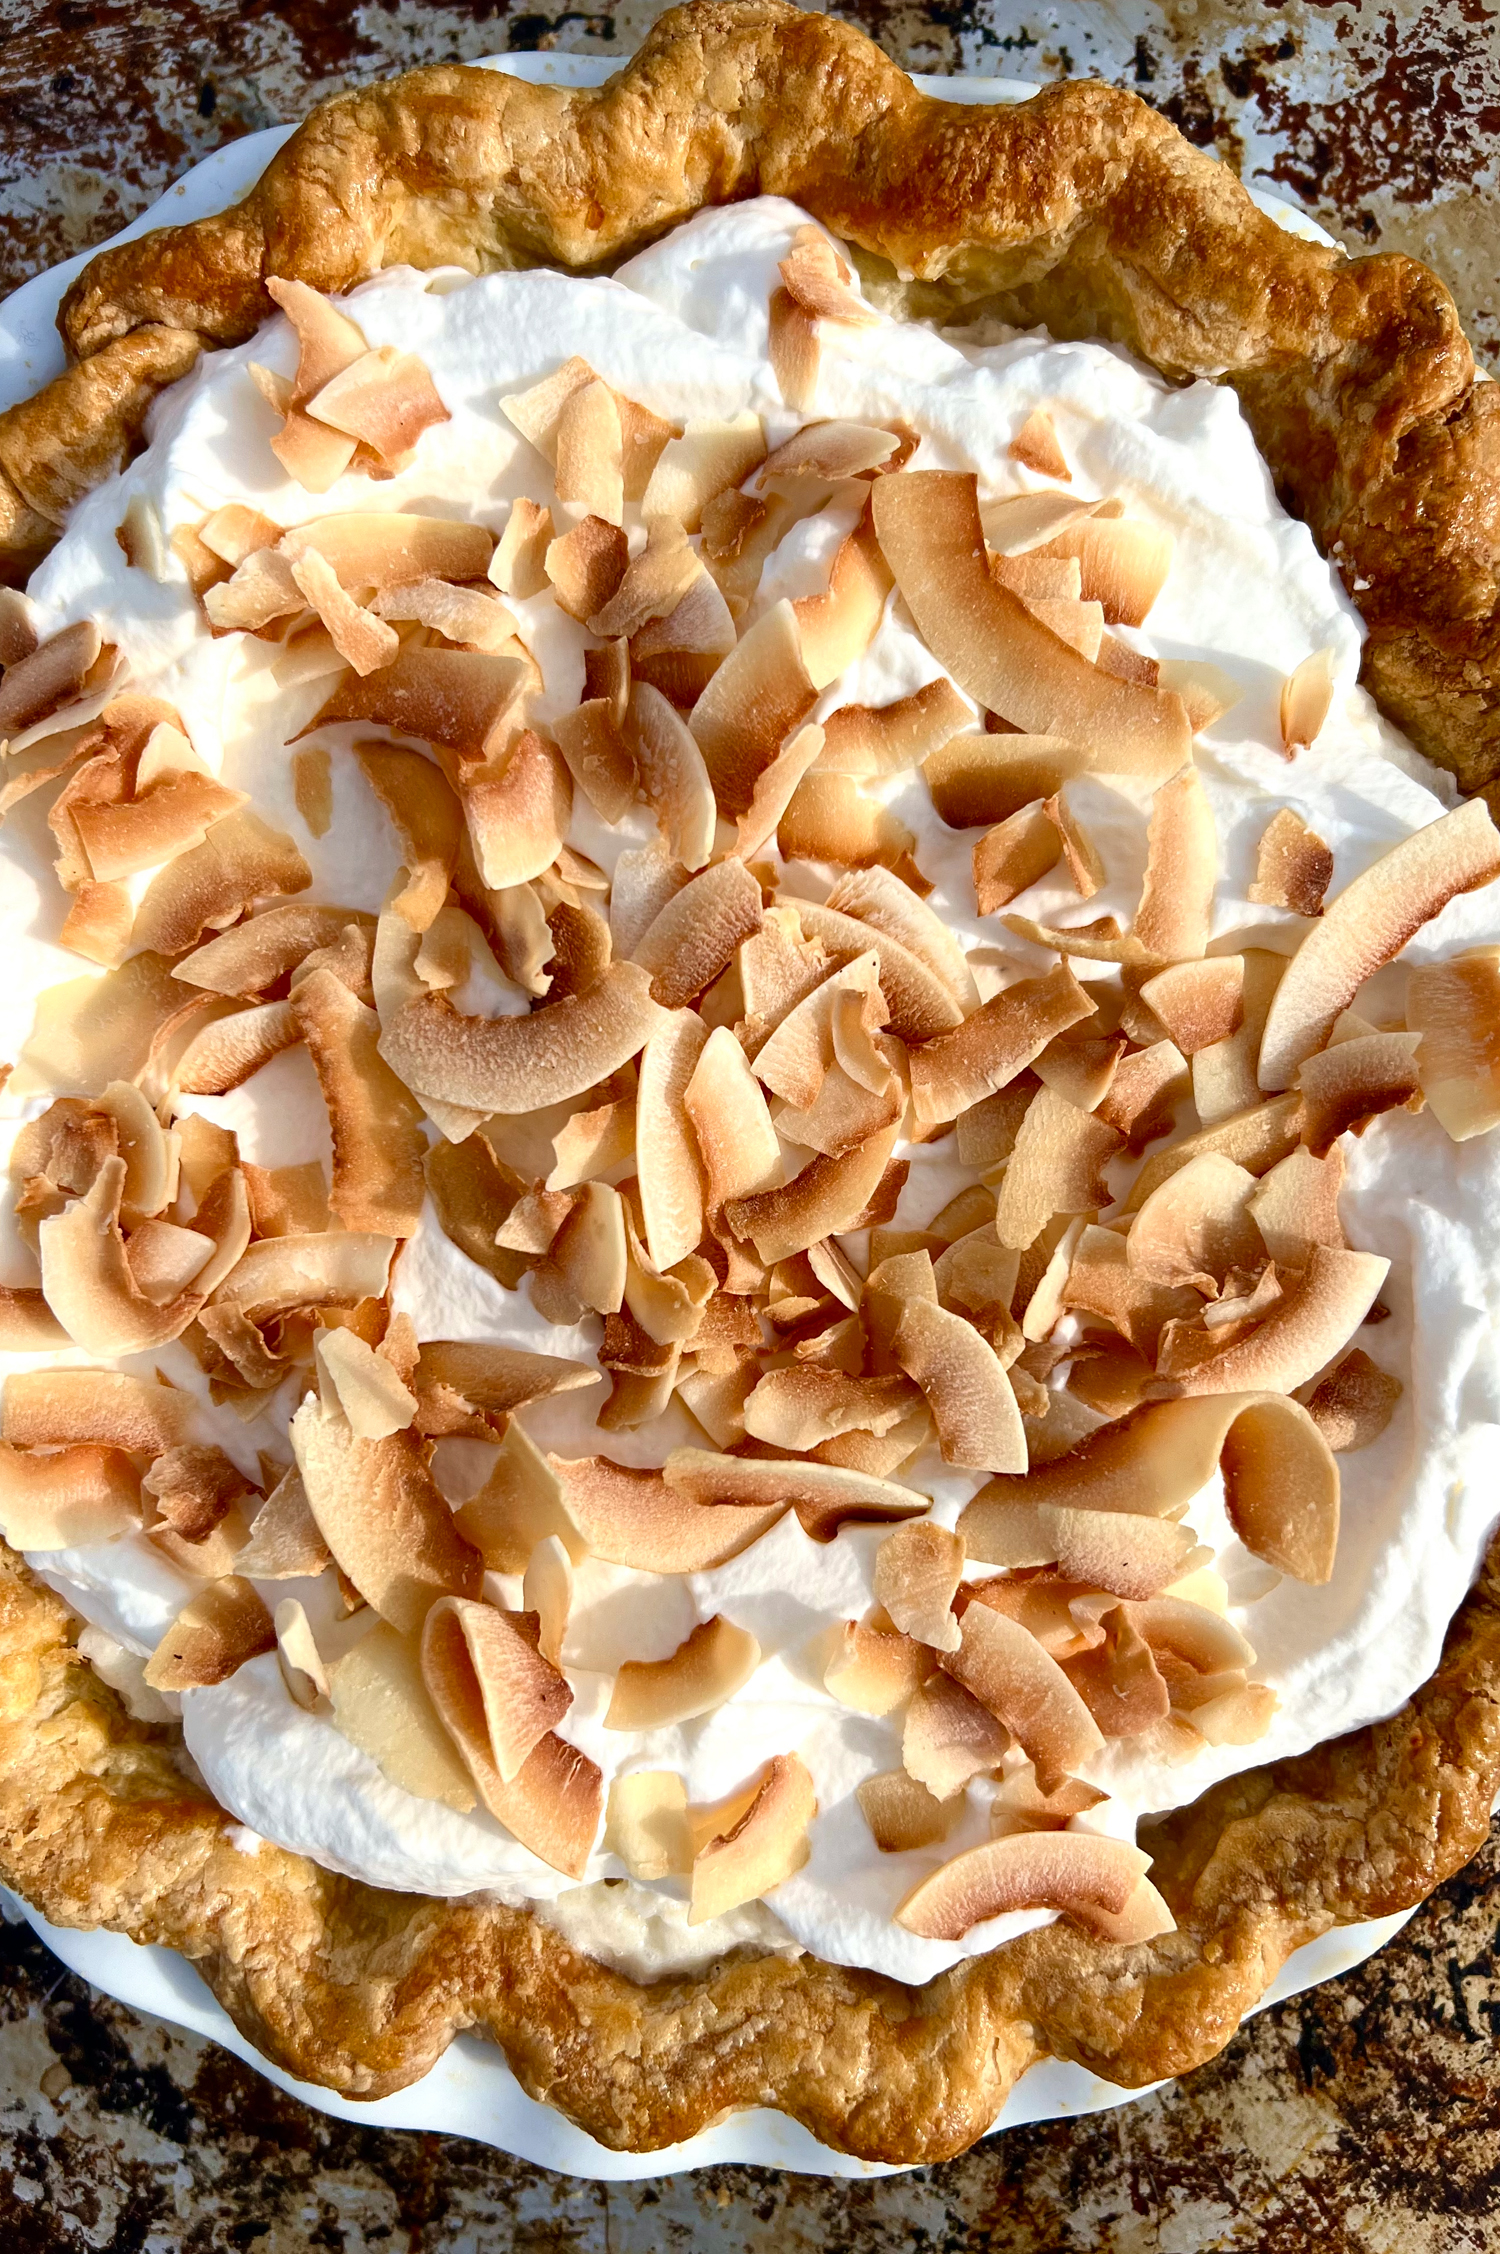
A whole coconut cream pie photographed from above

Coconut Cream Pie: Variations

Little tweaks to your coconut cream pie filling and topping can have big impact. If you want a classic flavor profile, go the vanilla route. Personally, my favorite version is made with a couple generous splashes of bourbon. It’s boozy, decadent, and wildly good. Instructions for both versions are included in the recipe below.

  • Bourbon Coconut Cream Pie: Add 2 tablespoons of bourbon to the coconut cream filling and mix until the pudding begins to thicken. Follow the instructions for whipping the cream with powdered sugar. Adding 1 tablespoon bourbon to as soft peaks are forming and continue to mix.
  • Vanilla Coconut Cream Pie: This is my basic recipe. Some recipes use coconut pudding or coconut pudding mix, and/or coconut extract, and coconut milk in their coconut cream pie. But I feel like the amount of sweetened coconut in the filling delivers plenty coconut flavor. And I prefer the texture and mouthfeel here. I use 2 teaspoon of good vanilla extract in the filling, and 1 teaspoon in the whipped cream topping. 

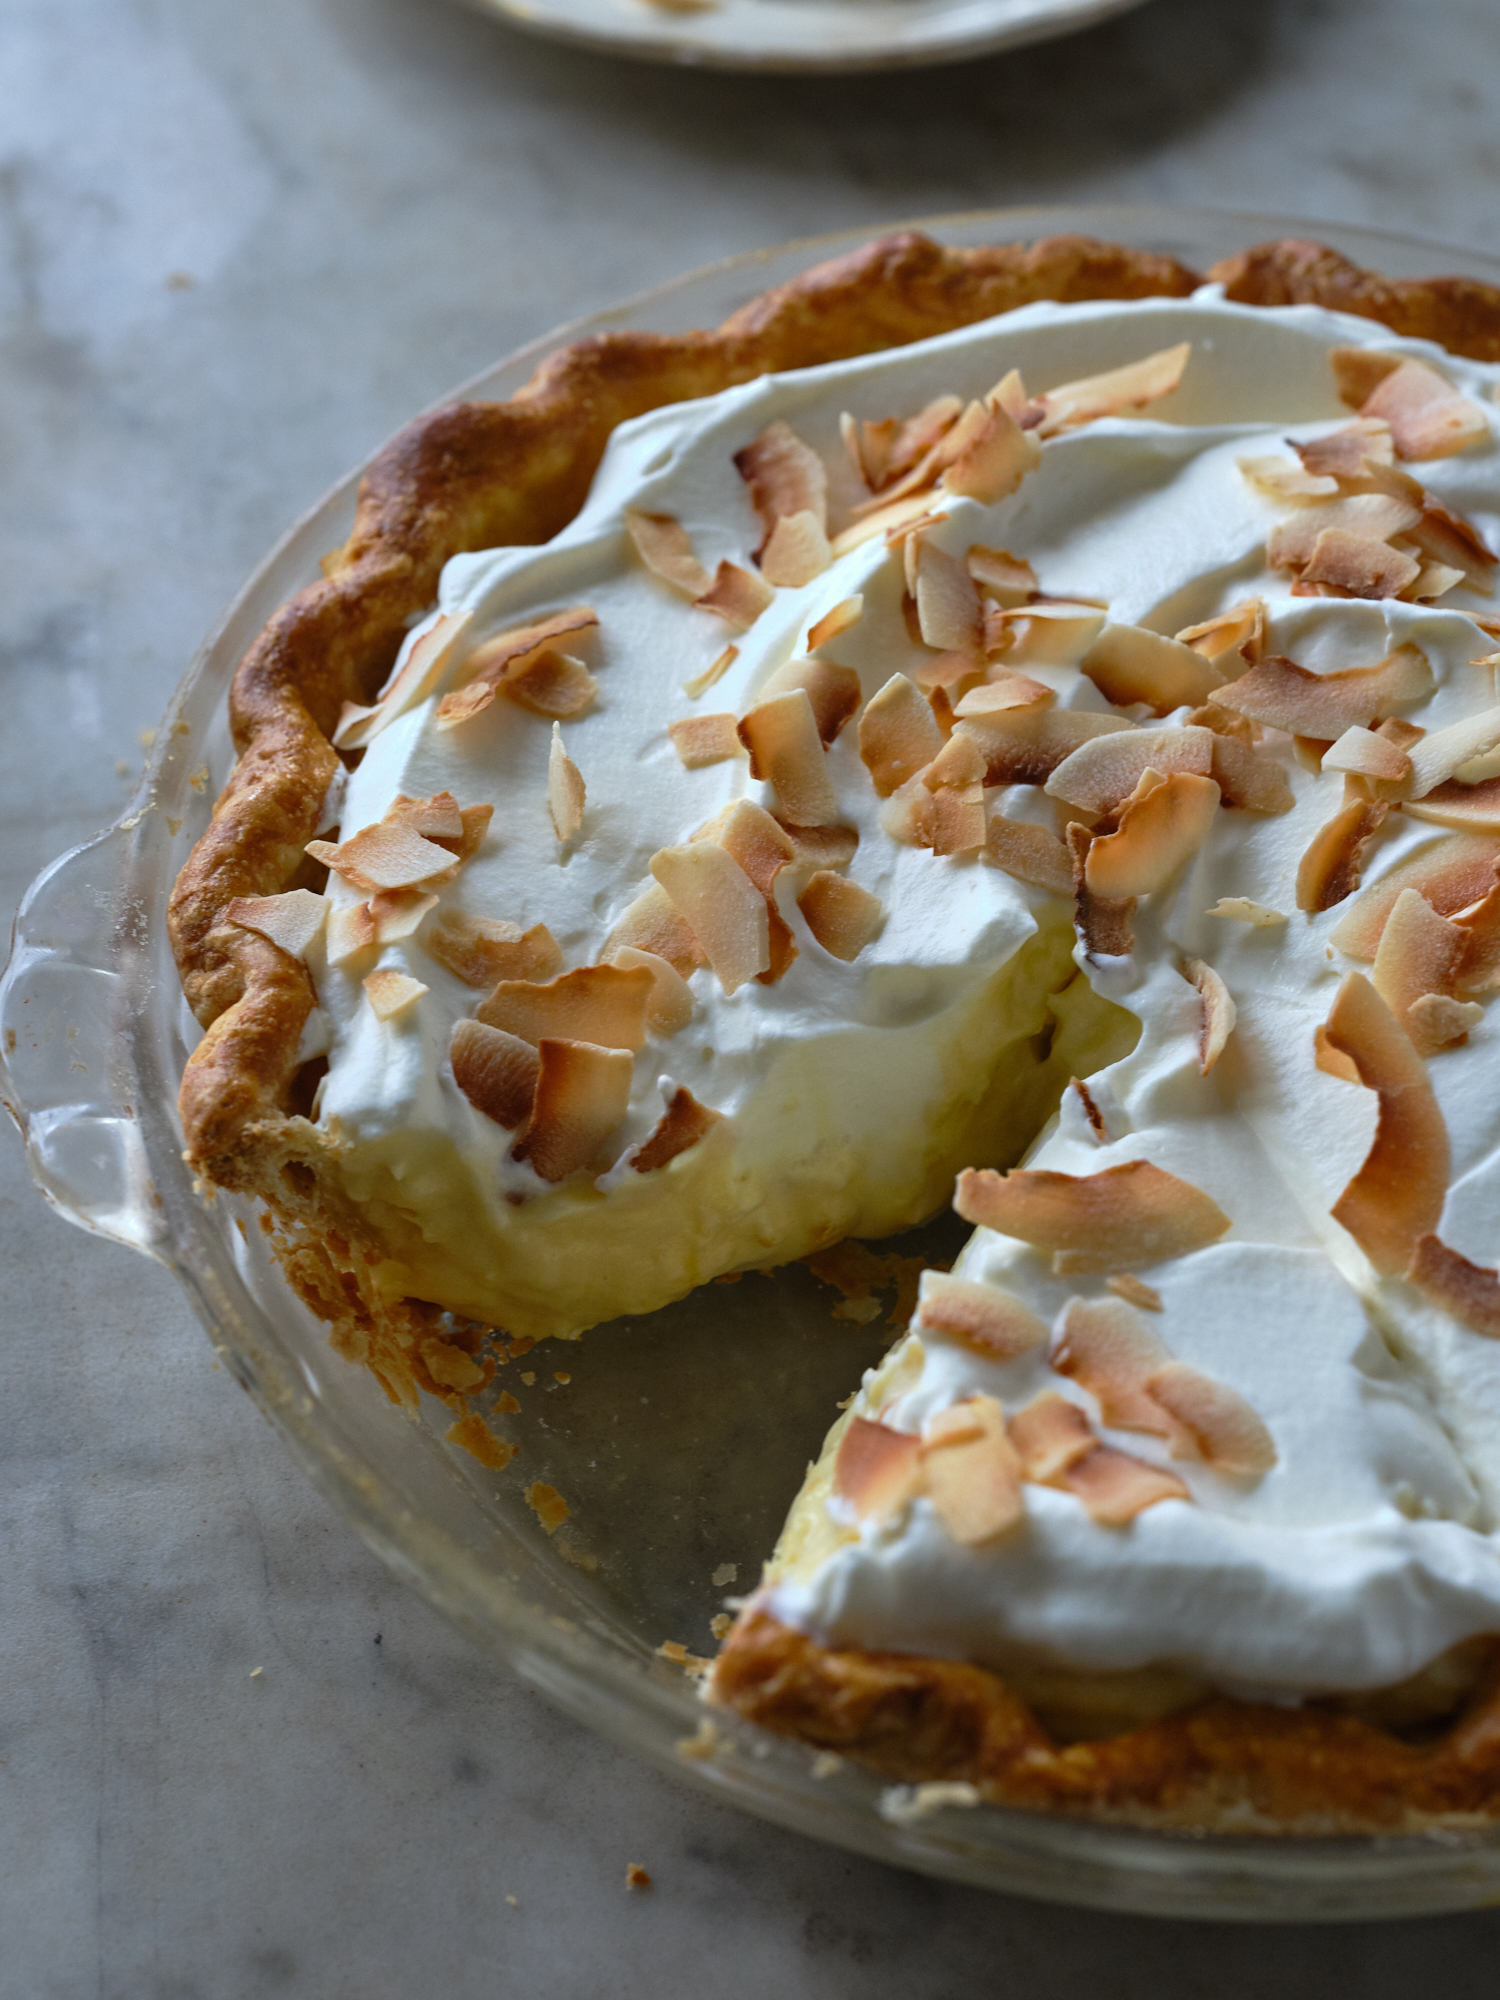
close up of side view of a coconut cream pie in a glass pie plate with a slice cut out of it

Make Ahead!

This is one of the easiest pies I make. And least time intensive. And it’s a breeze to thread into your life. Even if you only have a few minutes here, and a few minutes there. The most intensive aspect is keeping an eye on the pie crust as it is baking, to get it just right.

  • Make the pie dough: You can do this weeks ahead of time and place each round of pie dough double-wrapped in the freezer. Or make it a few days ahead of time and keep refrigerated.
  • Make the filling and fill the pie: You can do this up to a couple days ahead of time.

More Pie Recipes

Continue reading Homemade Coconut Cream Pie on 101 Cookbooks
Rose Petal Granola

A variation on the granola from my book, Super Natural Every Day – this time with rose petals, walnuts, currants, and black pepper.

Continue reading Rose Petal Granola on 101 Cookbooks
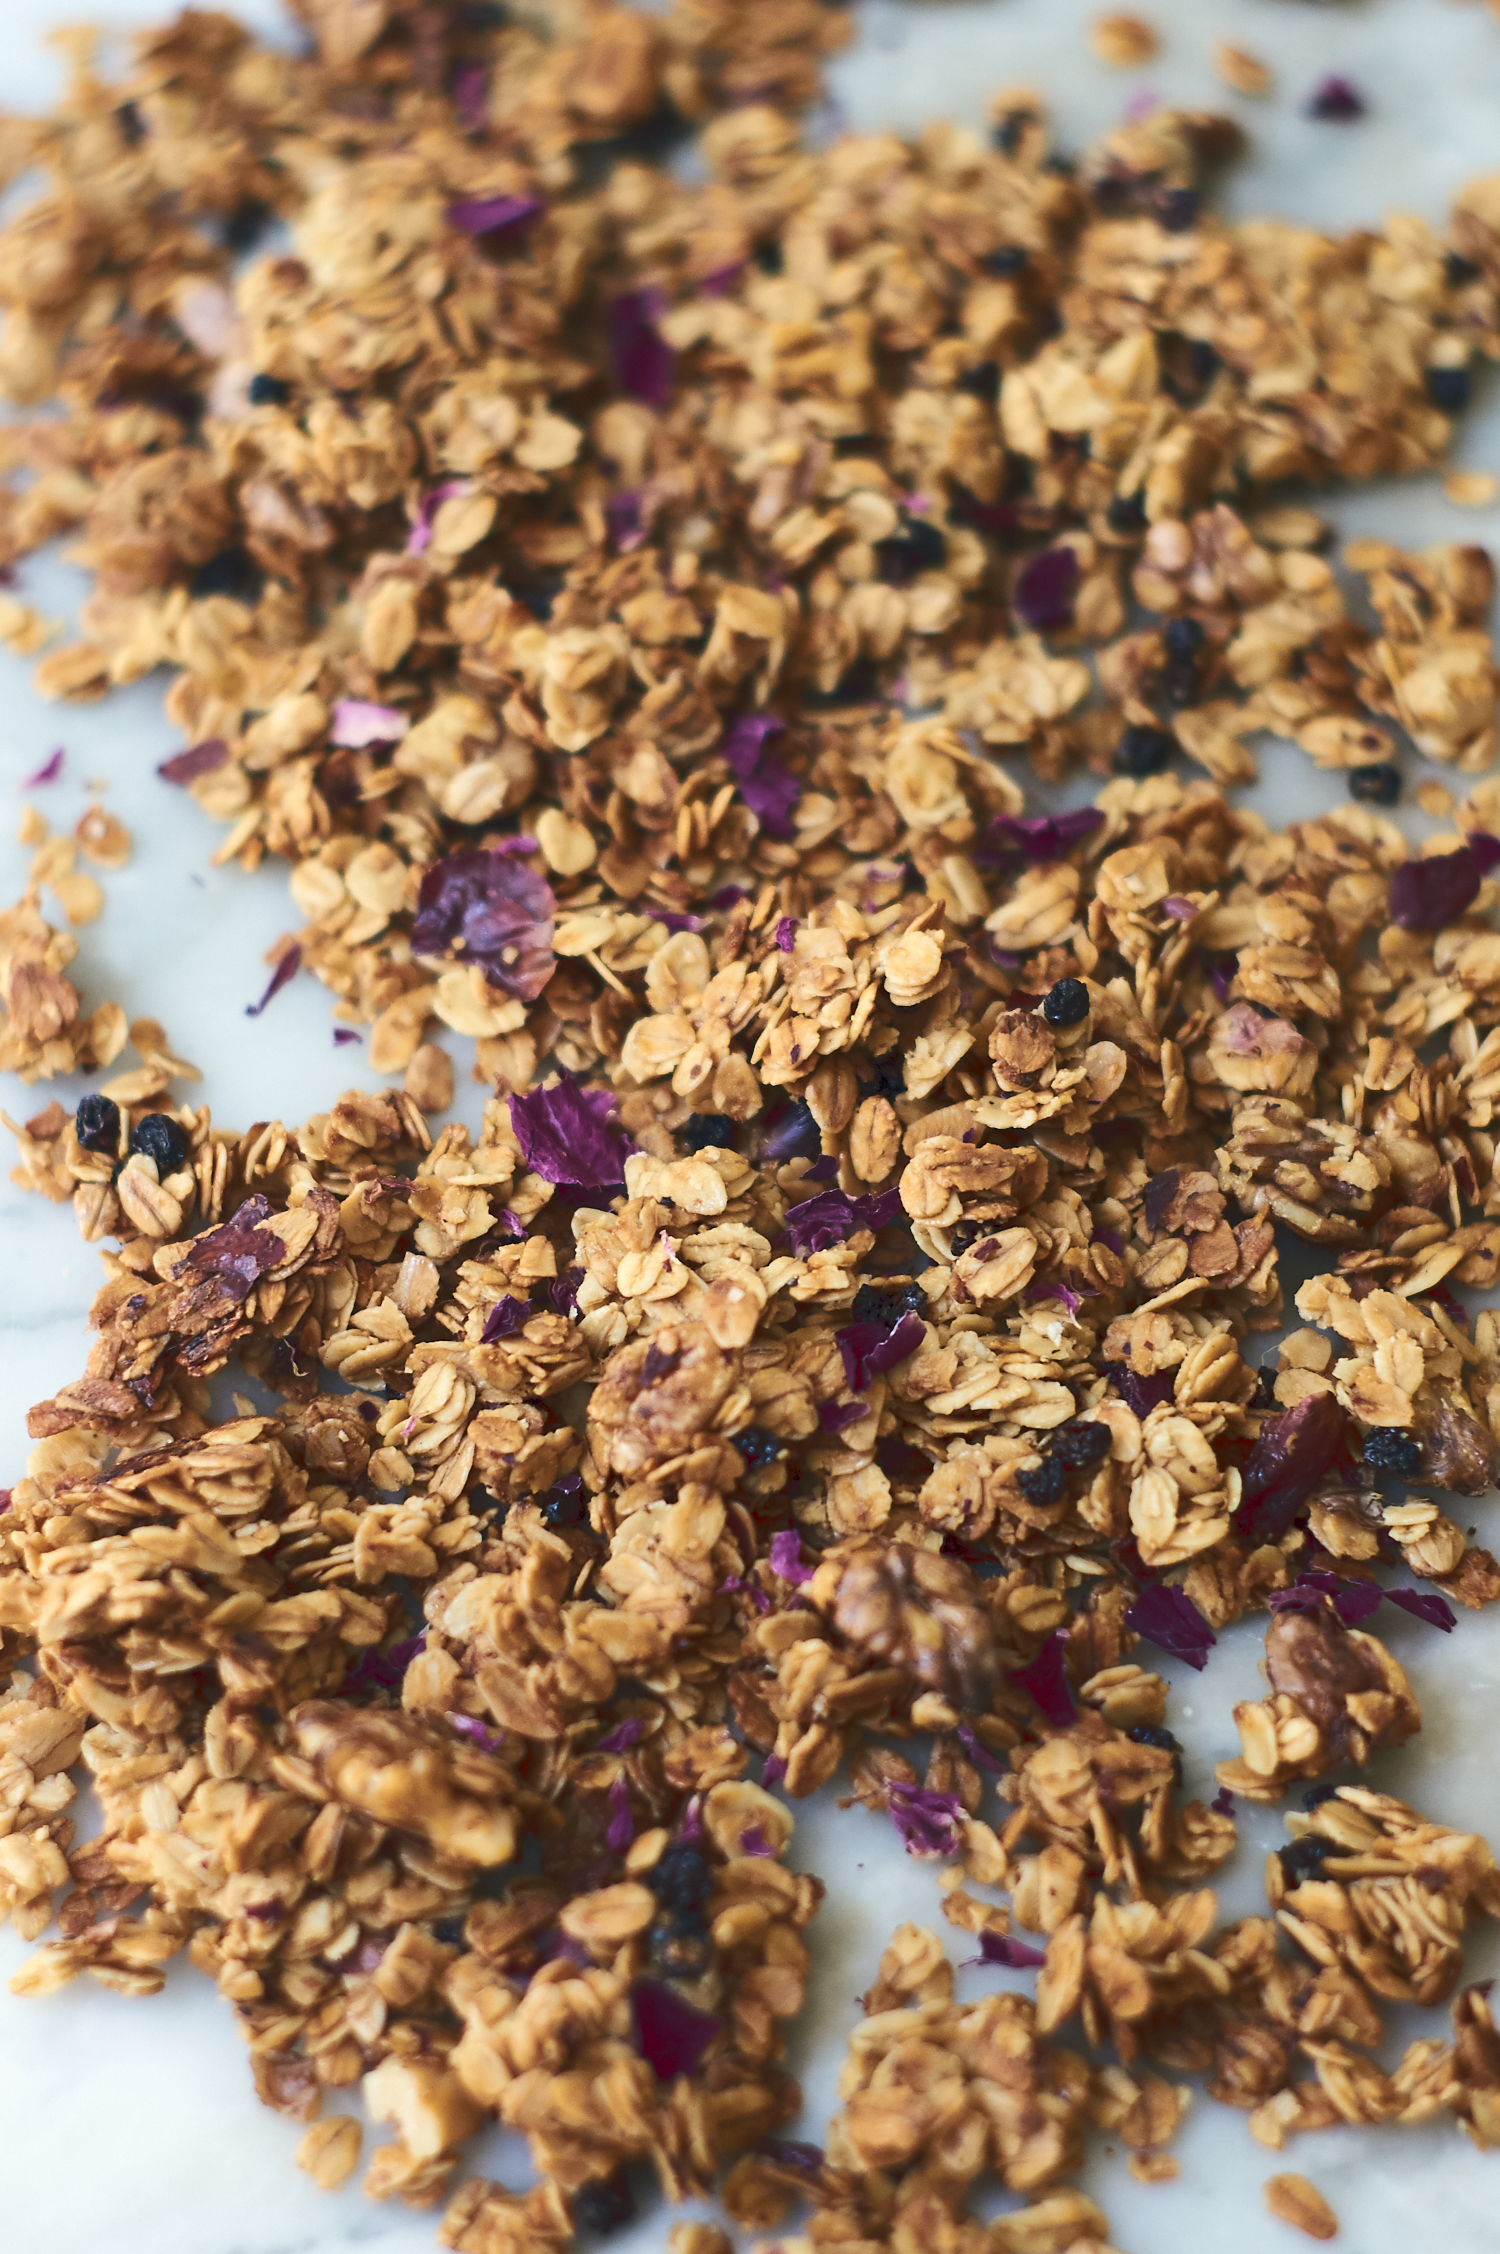
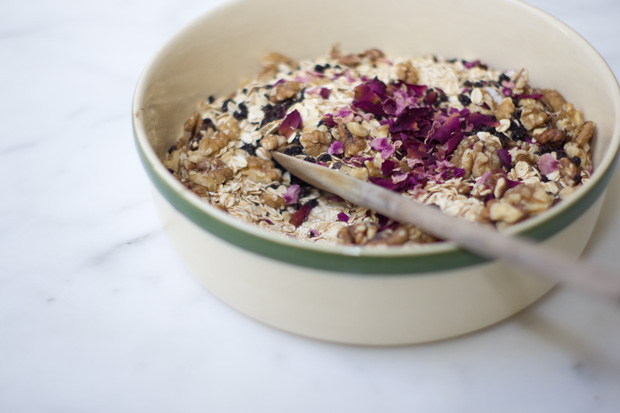
If you like making homemade food gifts for friends and family, this rose petal granola is one to bookmark. It’s pretty. The honey-butter toasted oats get nice and crunchy. The kiss of rose water nudges it into the realm of the unexpected. It’s a variation on the granola in Super Natural Every Day, this version made with rose petals, walnuts, currants, and black pepper.

Rose Petal Granola

Where to Source Rose Petals

We used to sell beautiful arctic rose petals from Quebec when we were running our little online shop. It took me less time than I imagined to work my way through my personal stock, and now I find myself sourcing from a number of sources. I look for rose petals that are fragrant. They should have vibrant color, be organic, and/or not subjected to spraying or treatments. A few ways to source dried rose petals for your cooking:

  1. Make your own edible flowers: The most economic way to source edible roses (and other flowers) is to grow and dry them your self. Here’s a page all about edible flowers.
  2. Farmers’ Markets: Farmers’ markets are a great place to buy edible flowers. Ask if you don’t see them displayed. Because they are fragile, farmers often keep them in a cooler.
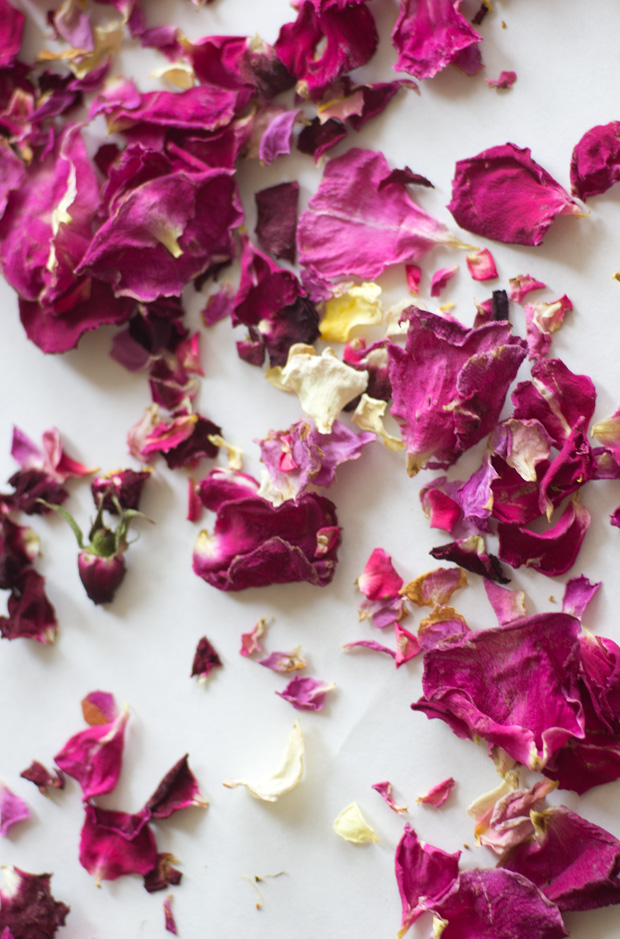
    rose petals drying
  3. On-line rose petal sources: I really like the organic panneer roses from Diaspora Co. as well as the organic rose petals from Toogood Botanics. Both are organically grown and retain their vibrant color and fragrance.

Rose Petal Granola

More Granola Recipes

Continue reading Rose Petal Granola on 101 Cookbooks
Cranberry Cake

A charming, festive buttermilk cranberry cake topped with a flood of vanilla-flecked buttermilk icing.

Continue reading Cranberry Cake on 101 Cookbooks
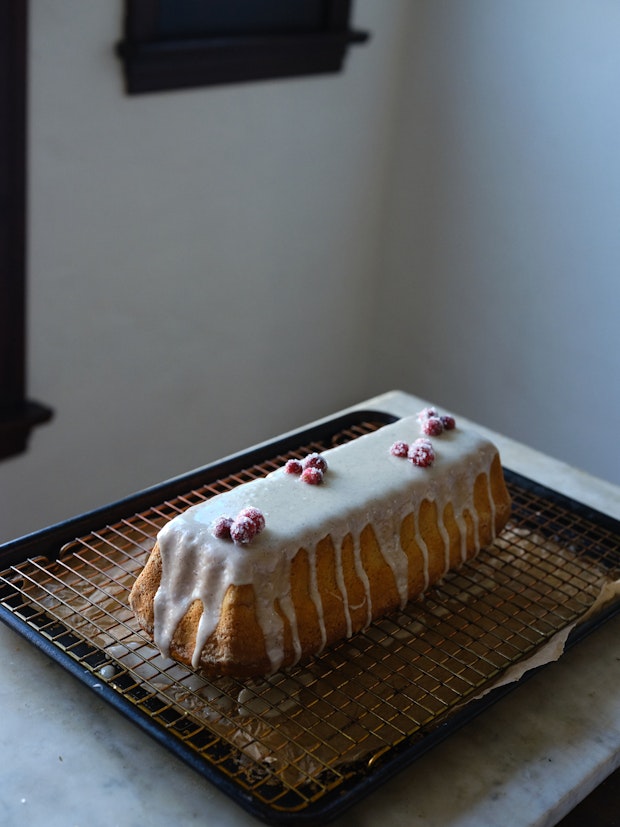
This festive cranberry cake is a holiday version of a cake I’ve been baking for years — a decade? More? The foundation is inspired by a buttermilk cake by Nikole Herriott that ran in Anthology magazine forever ago. I do various rye flour versions and what you see here is 1 part dark rye flour to 3 parts all-purpose flour. It’s rich, moist, fragrant, vanilla-kissed, and cranberry studded. The buttermilk icing sets into a sweet, sugar crust.

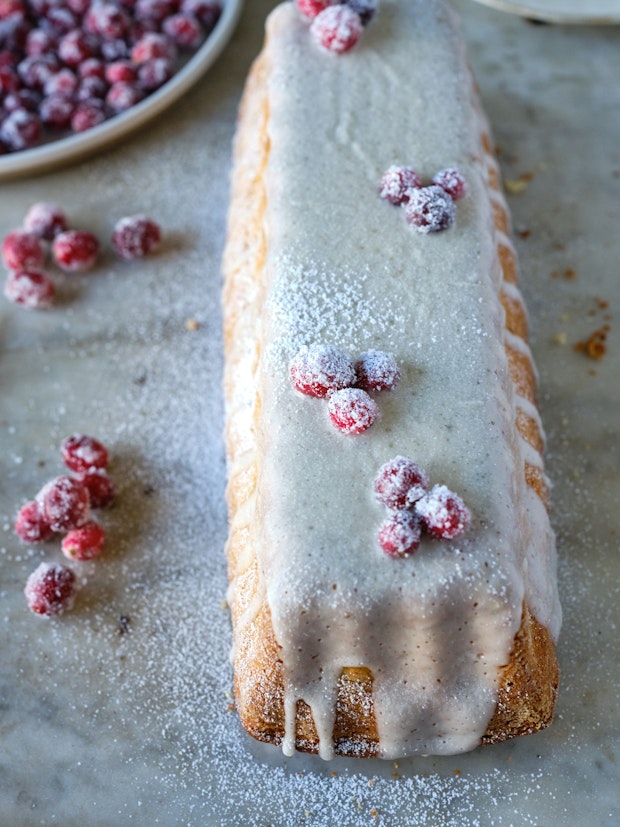
A cranberry cake with vanilla icing decorated with sugared cranberries on a table

Cranberry Cake: The Ingredients

A couple notes related to some of the ingredients used in this cake.

  • Flours: You’ll be using a combination of unbleached all-purpose flour and rye flour for this cake. Ideally, you’ll use dark rye flour, it’s the whole grain version of rye flour and what I prefer here. But! If you have a lighter rye flour, feel free to swap that in. No rye flour? Go ahead and substitute more all-purpose flour.
    An undecorated cake cooling on a wire rack
  • Buttermilk: Low-fat is fine.
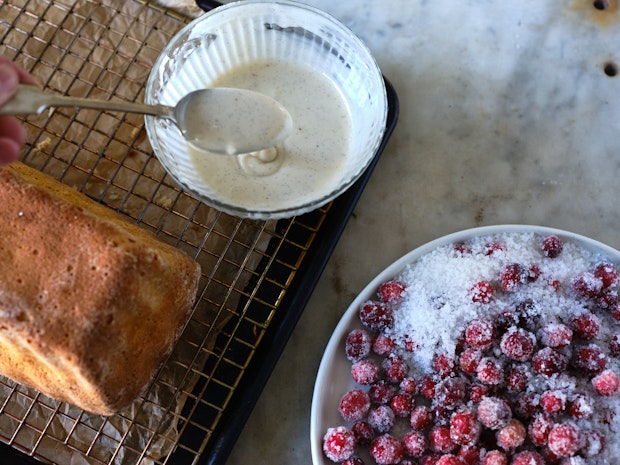
  • Cranberries: I tend to use fresh for the cake batter, but frozen is ok too. It might extend your baking time a bit. I use fresh (not frozen) to make sparkling cranberries.

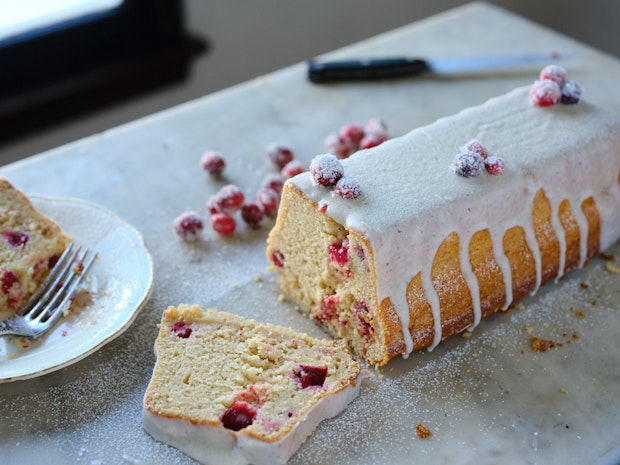
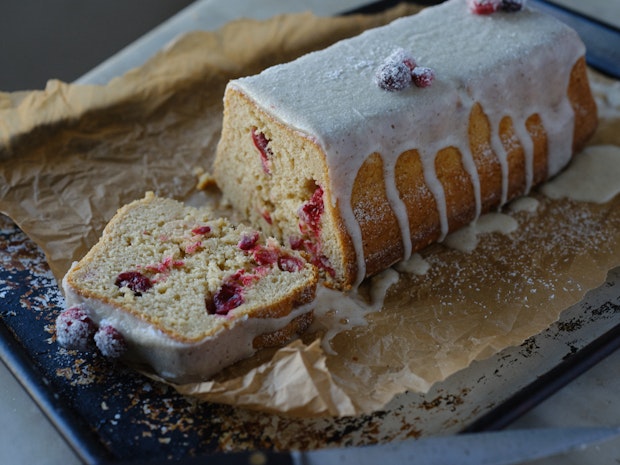
A sliced cranberry cake with vanilla icing with cranberries dotting the crumb of the cake

Ideal Cake Pan Size

I’ve baked this cake in just about every cake pan imaginable. The cake pictured in the photos you see here was baked in an antique ceramic terrine mold (with similar volume as a 9×5 loaf pan). You can do a series of smaller cakes, a bundt version, or classic round. The main thing is to butter and flour your pans well, keep an eye on things while your cake(s) is baking, use a cake tester vigilantly, and adjust your timing. You’ll have about 7 1/2 cups of cake batter here. Alternately, I love cooking this batter in  a mix of old ironstone molds, the little cakes turn out incredibly charming.

A cranberry cake with vanilla icing decorated with sugared cranberries on a table

Cranberry Cake with Sparkling Cranberries on Top

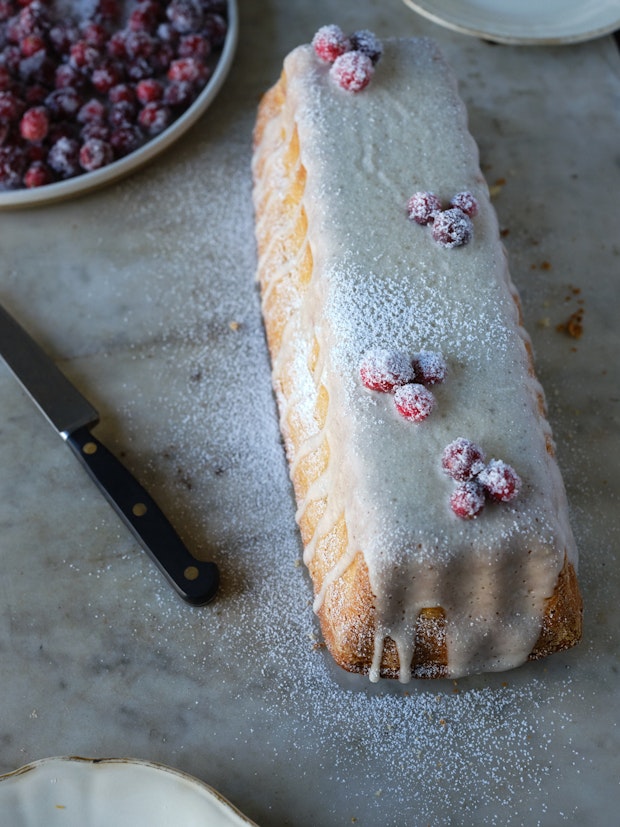
I include an extra component in this cake recipe — the sparkling cranberries. They’re beautiful, festive and people love snacking on them. Use them to decorate your cake and then serve extras on the side or as a component in your holiday spread. They’re great on a cheese board, etc. That said, you can skip them and keep things mono-chromatic and snowy white if you like.
A sliced cranberry cake with vanilla icing with cranberries dotting the crumb of the cake on a sheet of parchment paper

The Icing

Vanilla beans are extra splurgy right now, so if you don’t have access to them, or they’re out of budget, a second choice is vanilla bean paste. Third choice, skip the vanilla in the icing, or replace a teaspoon of the buttermilk with vanilla extract. If you love icing, double up.

Full, unsliced cranberry cake with vanilla icing and powdered sugar decorated with sugared cranberries on marble

If you enjoy this cake, there’s another version in Near & Far using an even higher percentage of rye flour.

More Holiday Recipes

More Cake Recipes


Continue reading Cranberry Cake on 101 Cookbooks
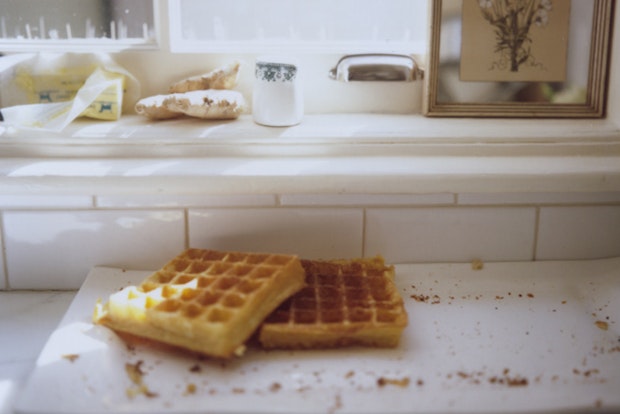
Homemade Food Gifts

Everyone loves receiving a gift made by hand from a friend. Here are a number of fantastic options for homemade food gifts.

Continue reading Homemade Food Gifts on 101 Cookbooks
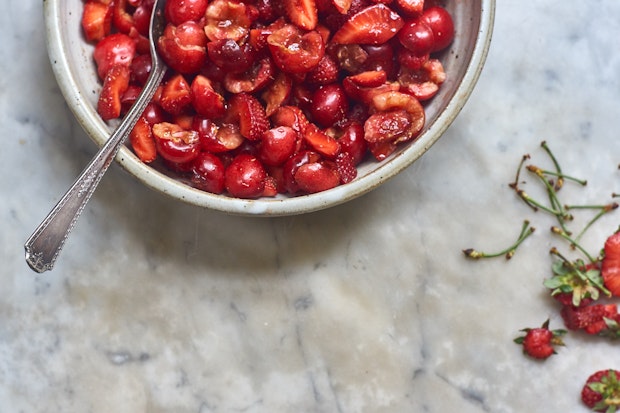
To give someone a homemade gift is a direct offering of love, or care, or friendship. It’s solidifies the idea that how much you spend on a gesture is less important. Taking time to make something for someone, from your hands to theirs, is incredibly special. Homemade food gifts are my favorite.

A range of citrus salts in vintage glass shakers and jars

1. Citrus Salts – Citrus salts are wonderful to have on hand. They are charming housewarming and holiday gifts, and are not hard to make. With a bit of advance planning, you can source beautiful vintage salt shakers and tiny jars from flea markets, Etsy, and second-hand shops like Goodwill.

A homemade spice blend with cinnamon and coriander before grinding
2. Homemade Spice Blends – If you have favorite family spice blends, they’re great to give in festive containers along with a couple recipes to compliment. If you’re looking for more inspiration, here’s a collection of eight bold, flavor-packed spice blends.

A homemade spice blend with cinnamon and coriander before grinding

3. Shortbread Cookies – A vintage tin of homemade shortbread cookies is a great gift or housewarming present, particularly around the holidays. Although, as a huge shortbread aficionado, making seasonal adaptations throughout the year is never a bad idea. Citrus zested as winter turns to spring, or herb variations through summer. Source cute tins, find fun ribbons, include handwritten notes. This shortbread recipe is buttery, golden, and classic.

A range of citrus salts in vintage glass shakers and jars

4. Chocolate Energy Bites – For the chocolate lovers in your life. These are homemade squares of good-quality dark chocolate crammed with good stuff. I love to pack the little bars with all manner of chopped nuts, seeds, and dried fruit. Sprinkle them with things like bee or fennel pollen, crushed rose petals, sea salt, and more nuts and seeds to give them a bit of nutritional boost, and to bump up the pretty.

homemade bouillon powder in a small glass jar

5. Homemade Bouillon Powder – Homemade bouillon powder is a great gift idea for all sorts of reasons. Utilitarian? Sure. But add a pretty glass jar, and couple the bouillon with a couple favorite family soup recipes – perfect useful homemade culinary gift. A lot of people agree homemade bouillon is often better than store-bought because you make it without artificial flavors or ingredients.

candied walnuts cooling on a baking sheet

6. Candied Walnuts – Once you nail down a great base recipe and technique for candied walnuts you can tweak them a thousand different ways with different spices, herbs and flavors. They are simple to make and make a lovely little gift. Perfect for snacking on tossing on salads or as a holiday cheese plate component. You can also do other nuts,  pecans or peanuts instead of walnuts. Or do a mixed nut blend!

honey in glass mason jar

7. Lovely HoneyI gift special honey like this one regularly. The key is sourcing good, raw honey, and then giving it a little twist or boost. My favorite thing to do is infuse a tiny pinch of saffron threads in a splash of almond extract. Allow it to sit for a few minutes and then stir it into a small jar of honey. The above vitamin C honey is another show-stopper favorite.

peanut butter granola cooling on a baking sheet

8. Peanut Butter Granola – Good granola is always appreciated. This is a favorite to gift. Using a short ingredient list of pantry basics this granola features a peanut butter and maple syrup coating that bakes beautifully into crunchy oat clusters.

Celery salt in a glass jar as a homemade food gift

9. Homemade Celery Salt – And here’s one more special salt to gift. It’s good on a wide range of things throughout the day – eggs, yogurt, soups, pastas.

Continue reading Homemade Food Gifts on 101 Cookbooks
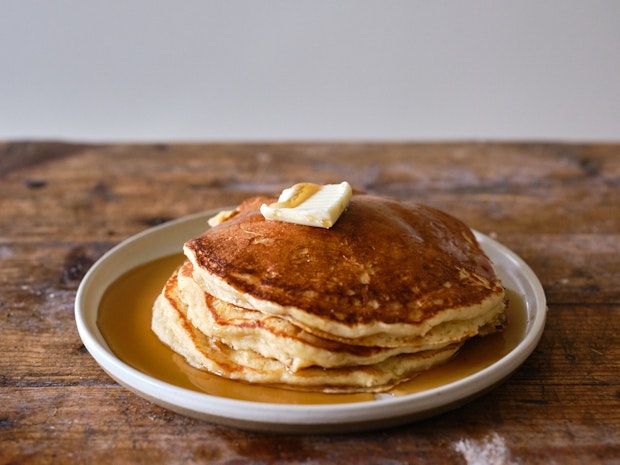
Hermit Cookies

My friend Sante shared his hermit cookie recipe with me. It’s a soft, simple, drop-style, spice cookie loaded with tiny currants, chopped walnuts, and finished with a bit of icing.

Continue reading Hermit Cookies on 101 Cookbooks
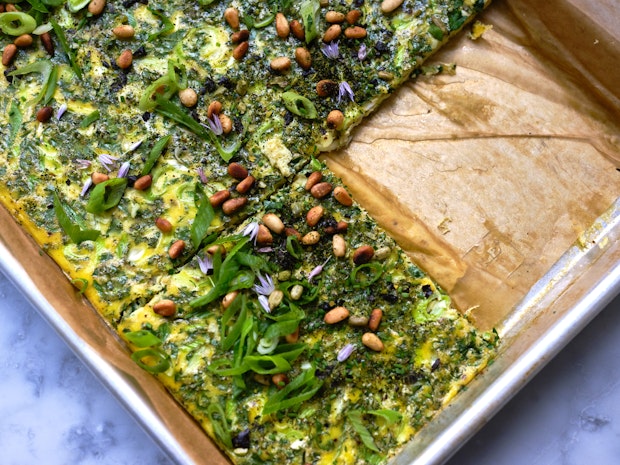
This hermit cookie recipe came to me via a friend. I was enjoying dinner with my friend Sante and a few others. Sante is a fun person to chat with because he’s one of those guys who never runs out of stories – or opinions for that matter. Some of you may know him from his days as the chef at the Slow Club in San Francisco. Late in the evening the topic of conversation turned to Christmas cookies.

I’m solidly a shortbread person, but Sante started talking about hermits – a cookie he makes regularly for a friend who loves them. I had no idea what he was talking about. I’d never heard of a hermit cookie. He went on to describe a simple, drop-style spice cookie loaded with tiny currants and chopped walnuts, finished with a bit of icing. He promised to share his recipe with me, and here we are. As promise, an A-plus addition to any holiday cookie platter.

hermit cookies on a cooling rack after baking

What are Hermit Cookies?

I’ve come to learn that there are all sorts of theories about how these cookies came to be named. Some say hermit cookies got their name because they taste best when they’ve been hidden away like hermits for a couple days. There’s the theory that they looked like a hermit’s brown cloth. The oldest versions of the recipe are thought to be back to Medieval European hermitages. So that’s another angle. It may be a bit of all of the above. 

There are as many approaches to making hermits as there are bakers. The common ingredients seemingly spices, raisins or dates, nuts. Some like hermits iced or frosted, others skip it. They are simple to make. The chewy, nuttiness along with warm flavors like cinnamon, allspice, and cloves strike a nice balance. And, I keep thinking, this might also make the foundation for a delicious muffin batter.

hermit cookies on a cooling rack after baking

Hermit Cookies: Pro-tips

Here are a few things I’ve learned after making Sante’s hermits over the years. True to the legend, they are really good the day they are baked and iced, but exponentially better the day after. The icing develops a bit of a crust and the spices meld together. Hermits are perfect with a cup of coffee in the morning. They are great on a holiday cookie plate. A cup of cardamom (or saffron tea) in the afternoon is another perfect pairing. I also never skimp on the icing. If you’re in my camp consider doubling up on the icing.hermit cookie dough ingredients in a mixing bow
Above you can see the cookie dough coming together. And below the final consistency of the dough after all ingredients have been incorporated.
hermit cookie dough in a bowl with a spoon

Hermit Cookies: Variations

Here are a few variations people have noted in the comments that sound fantastic! New Englanders definitely repping for bar-shaped hermits made with molasses in the comments.

  • Kristin noted, “I added some freshly grated orange zest to the batter. It was tough to not eat the batter and actually bake the cookies, truth be told.”
  • I love the coffee suggestion Paullett makes here. “I used to bake them often when I was the cook at the Convent of Notre Dame in Toronto. I have never seen one iced before I’ll have to try it. One common addition to them is a bit of strong cold coffee and some molasses. The authentic way is to add rasins and walnut but I put candied peel, candied fruit and even pine nuts which is very not authentic.”
  • Elle went the cardamom route and shared, “I baked a batch for my colleagues the other day & substituted cardamom for the allspice–it was a very good call–cardamom is incredible in this recipe and people really enjoyed the cookies!”

hermit cookie on a cooling rack

And for any of you browsing this page around the holidays, here is a bit of additional cookie inspiration.

More Christmas Cookie Recipes

Continue reading Hermit Cookies on 101 Cookbooks
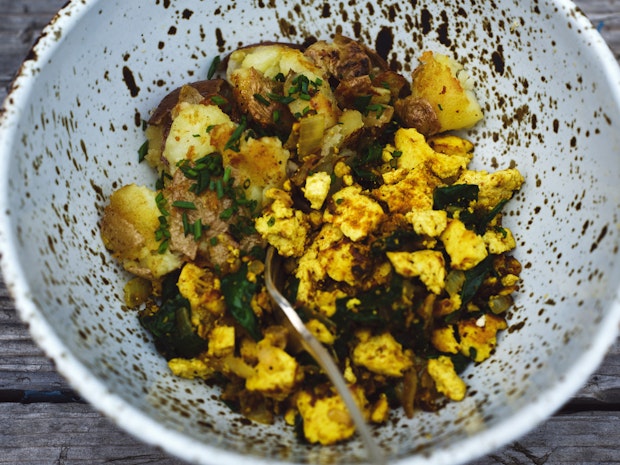
Pumpkin Pie

A classic pumpkin pie recipe with a couple wildcards to make it extra special. The creamy pumpkin custard is made with with a fragrant five spice blend and baked in a flaky, walnut-lined homemade flaky pie crust.

Continue reading Pumpkin Pie on 101 Cookbooks
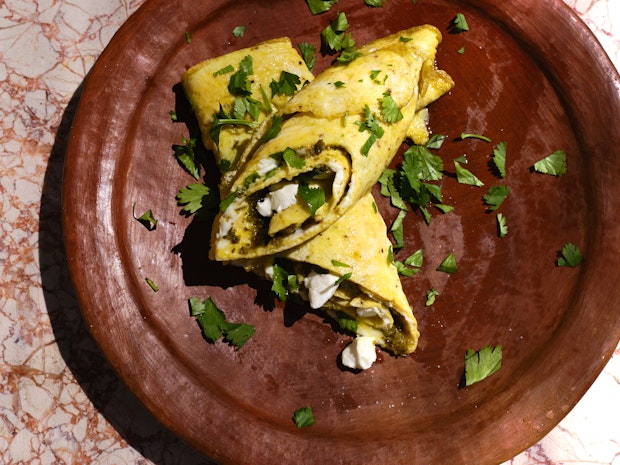
This is my go-to pumpkin pie. It has evolved little by little over years and I’m here to tell you it is in a good place. The creamy pumpkin custard is accented with a beautiful homemade five spice blend and baked in a super flaky, all-butter pie crust. There are a couple other special winks, secrets, and details I’ll share below along with a roadmap to a great pie.

a spice of pumpkin pie on a plate with a golden crust and dollop of whipped cream

The Details That Make this Pumpkin Pie Special

This pie has many of the hallmarks of a traditional pumpkin pie (flaky pie crust, warming spices, pumpkin custard), along with the following little tweaks to make the pie extra special.

  • Coconut Milk: While many traditional pumpkin pie recipes use cream, half-and-half, or canned evaporated milk, I like to use full-fat coconut milk. Pumpkin and coconut milk are made for each other. Along with the spice blend, so rich and good.
  • Toasted Nut Layer: For this pie, a simple slather of pureed walnut or hazelnuts is spread across the pie crust before filling and baking. In addition to adding another layer of flavor, it also helps to keep the crust from getting soggy. It’s optional but I rarely bake this pie without it.
  • Citrus-flecked Pie Crust: Incorporate the zest of an orange into your pie dough here. The orange along with the pumpkin, blend of five spices, and coconut milk is really nice.

pie crust lined with hazelnut butter before baking

If you want a more traditional pumpkin pie, swap in heavy cream for the coconut milk. Skip the smear of hazelnuts, and keep your pie crust straight.

a spice of pumpkin pie on a plate with a golden crust and dollop of whipped cream

How To Make a Homemade Pumpkin Pie: Step By Step

Here are the broad strokes it takes to bake a proper pumpkin pie.

  1. Roll out pie dough.
  2. Freeze pie crust for 20 minutes.
  3. Pre-bake pie crust.
  4. Make pumpkin pie filling.
  5. Assemble pie.
  6. Bake pie and cool.

What temperature do you bake pumpkin pie?
And how to avoid cracks.

You see people baking pumpkin pies any where from 325°F to 425°F. I’m a fan of the low end of that spectrum. Baking pumpkin pie at a relatively low temperature, 325°F is one factor that can help avoid dreaded cracking later on.

freshly baked pumpkin pie in glass pie plate

By baking the pie low and slow, you end up with a silky, creamy pumpkin custard (see above). Another tip, allow your pie to cool slowly. And if you do end up with a crack, a strategic dollop of whipped cream always helps!

pumpkin puree, brown sugar, and spices being mixed in large bowl

Pumpkin Pie: Canned pumpkin versus fresh pumpkin – which is better?

I used to be squarely in the make your own pumpkin puree camp. But honestly, you can make really great pumpkin pie filling using canned pumpkin. If you’re using canned pumpkin be sure it is 100% pure pumpkin with no added spices or sugar. Libby’s brand 100% pure pumpkin is a fan favorite, but I’ve also had a lot of success using Farmer’s Market brand, they have an organic pumpkin puree that works (and tastes) great.

To make your own roasted pumpkin puree start with a 3 pound sugar pie pumpkin, 2 tablespoons of olive oil, and a bit of salt. Carefully cut your pumpkin into four wedges, remove seeds and stem, and rub the wedges generously with the olive oil. Sprinkle with salt and roast in a 400°F oven under very tender, about an hour. Scoop the flesh out of the skins and puree with a hand blender or mash well by hand.

You can also substitute roasted sweet potatoes or other roasted winter squash in place of the pumpkin as a variation. And you can use the filling in tarts, or for individual pies/tarts as well.

ingredients to make a pumpkin pie arranged on counter including eggs, brown sugar, pumpkin puree, and vanilla

Pumpkin Pie Spice Blend

This pie uses a five spice blend. It is a bit more assertive than your typical pumpkin pie spice blend. It’s not shy with the cinnamon, and has a good amount of ginger, cloves, and allspice along with freshly grated nutmeg. A couple tips on this front, if you can get your hands on Vietnamese cinnamon, I love it as part of this blend. It’s a little hotter, edgier and assertive. And once you freshly grate nutmeg (use a microplane) you’ll never go back. If you only grind one spice in this blend yourself, let it be the nutmeg.

an all-butter pie crust ready to be filled and baked into pumpkin pie

Do you really need to pre-bake the crust for pumpkin pie?

Pre-baking the crust for this pie makes enough of a difference to be worth it. I’ve tested baking it both ways, and at a range of temperatures. The pumpkin pies made with pre-baked crusts generally had better structure, especially on the bottom. The timing on the overall pie ends up being better as well. The pumpkin custard sets up just about the same time your crust gets nice and golden. So yes, for this pie, I recommend a pre-baked crust. Have a look at how golden and beautiful the crust turns out below.

slice of pumpkin pie on a plate with a fork

Lastly, my tip on the whipped cream front is to avoid over-whipping it. Floppy peaks is what to aim for. Sweeten it to your liking and spike it, if you like, with a little something boozy towards the end of the whipping process.

a spice of pumpkin pie on a plate with a golden crust and dollop of whipped cream

More Pie Recipes

Continue reading Pumpkin Pie on 101 Cookbooks
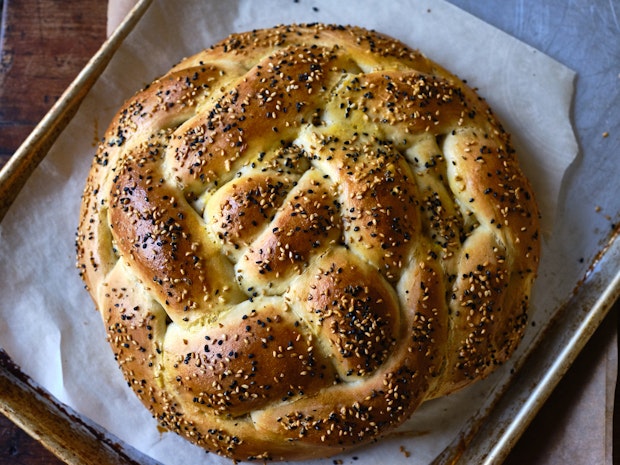
Nut & Seed Biscotti

Thin, biscotti-style crackers densely pebbled with all manner of nuts and seeds – green pistachios, rust-toned hazelnuts, and black poppy seeds.

Continue reading Nut & Seed Biscotti on 101 Cookbooks
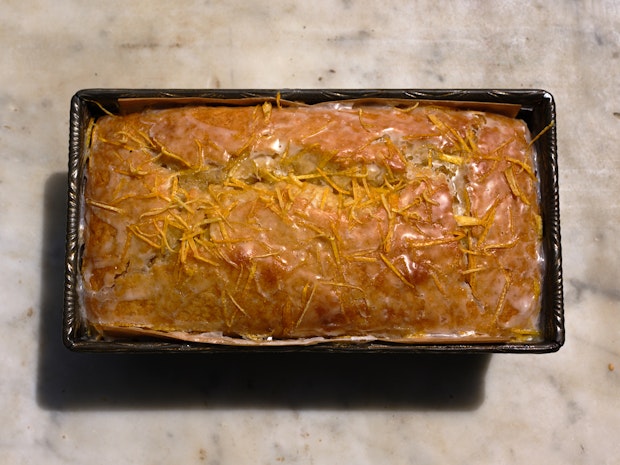
I set out here to make thin, biscotti-style crackers. They were to be densely pebbled with all manner of nuts and seeds – green pistachios, rust-toned hazelnuts, and black poppy seeds. I envisioned nuts and seeds packed together like pebbles in concrete, with barely enough flour and egg to bind everything together. I’d double-bake them – first in a loaf pan, after which I’d slice them thinly. Then back in the oven on a baking sheet until crisp. They turned out fantastic, a welcome addition to any cheese board.
nut and seed biscotti on a baking sheet

These biscotti make a nice, three-bite base for a generous slather of goat cheese topped with a bit of chutney or chile jam.

Pro-tips

The best of the best of these biscotti were the ones I sliced thinnest. They had good snap, toasted up beautifully, and were notably better than their thicker counterparts. As I mention in the recipe, I used a serrated knife and a combination of two knife techniques. 1. A back-and-forth slicing motion (if there were lots of nuts at the surface of that particular slice) 2. A fast and decisive single cut. But the real key to easy slicing is making sure the loaf is well baked through.

a mix of seeds and seeds in a pile

Switch It up: Variations

You can incorporate any number of spices, herbs, or zests into the biscotti dough. You can experiment with your own medley of nuts and seeds. The next time I bake these I’ve made note to slice them the long way. It might bit more challenging to slice, but the results will be even more dramatic. You can see the dough below here. 

dough mixed with seeds and nuts to make biscotti in a large bowl

More Biscotti Recipes

Continue reading Nut & Seed Biscotti on 101 Cookbooks

Brown Sugar Sandwich Cookies

Chocolate stuffed sandwich cookies made with a poppy-flecked brown sugar dough, lots of vanilla, and a bit of a salty sweet crust on top.

Continue reading Brown Sugar Sandwich Cookies on 101 Cookbooks

Sandwich cookies need to be worth the effort. They involve multiple steps and components. There is often rolling and stamping and re-rolling involved. On top of that, usually they should look matchy-matchy, each cookie the same as the next. So yeah, there is effort and precision involved in achieving that. These are worth the fuss. A poppy-flecked, brown sugar dough has a mellow, full sweetness. The butter in the dough browns just enough in the oven to be fragrant, melding vanilla and sugar notes. Chocolate functions as binding bridge between two wafer-thin coins. They’re wonderful and worth it.side view of a stack of sandwich cookies each filled with chocolate

Brown Sugar Sandwich Cookies: Tips & tricks

Here’s what you’re going for. Thin cookies, thin smear of chocolate. Crisp and snappy. There’s nothing complcated about making these cookies, but there are a few tricks to making these cookies extra good. Listen up.
a single sandwich cookie filled with chocolate with sugar on top
Make it thin: The first tip is simple – roll the cookie dough out very, very thin. Not parchment thin, but certainly Saltine cracker thin. The resulting cookies will be crisp, elegant, and lovely to look at. Like the photo below.
cookies after baking on a baking sheet
Restraint: Resist going overboard with the chocolate. You want just a bit of chocolate sandwiched between just a bit of cookie. Have a look at the photo below. Too much cookie and the ratio gets thrown off. 
a single sandwich cookie filled with chocolate with sugar on top
Bake it right: The last important thing to be mindful of is baking time. You want these cookies to bake until they are beautifully golden, particularly on the bottom edges where the cookies meet the baking sheet. This will give you snap and structure once the cookies have cooled. Don’t turn your back while they’re baking, cookies this thin will go from blond to burned in a heartbeat. Go for golden!
side view of a stack of thin cookies

More cookie recipe:

Continue reading Brown Sugar Sandwich Cookies on 101 Cookbooks