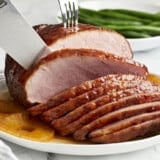
When the holidays roll around (Hello, Easter!), there’s nothing my family craves more than a sweet and savory baked ham. I know what you’re thinking, ham is expensive. But this baked ham recipe is proof that a typically expensive meat can be budget-friendly. By using a boneless ham, we don’t waste a single dollar on bones, and it comfortably feeds 11 people. That’s a lot of ham! The texture of this ham is perfectly juicy with a great chew to it. The glaze makes the outside nice and crisp but still tender. There’s nothing quite like a beloved holiday tradition!

Why Make Baked Ham?
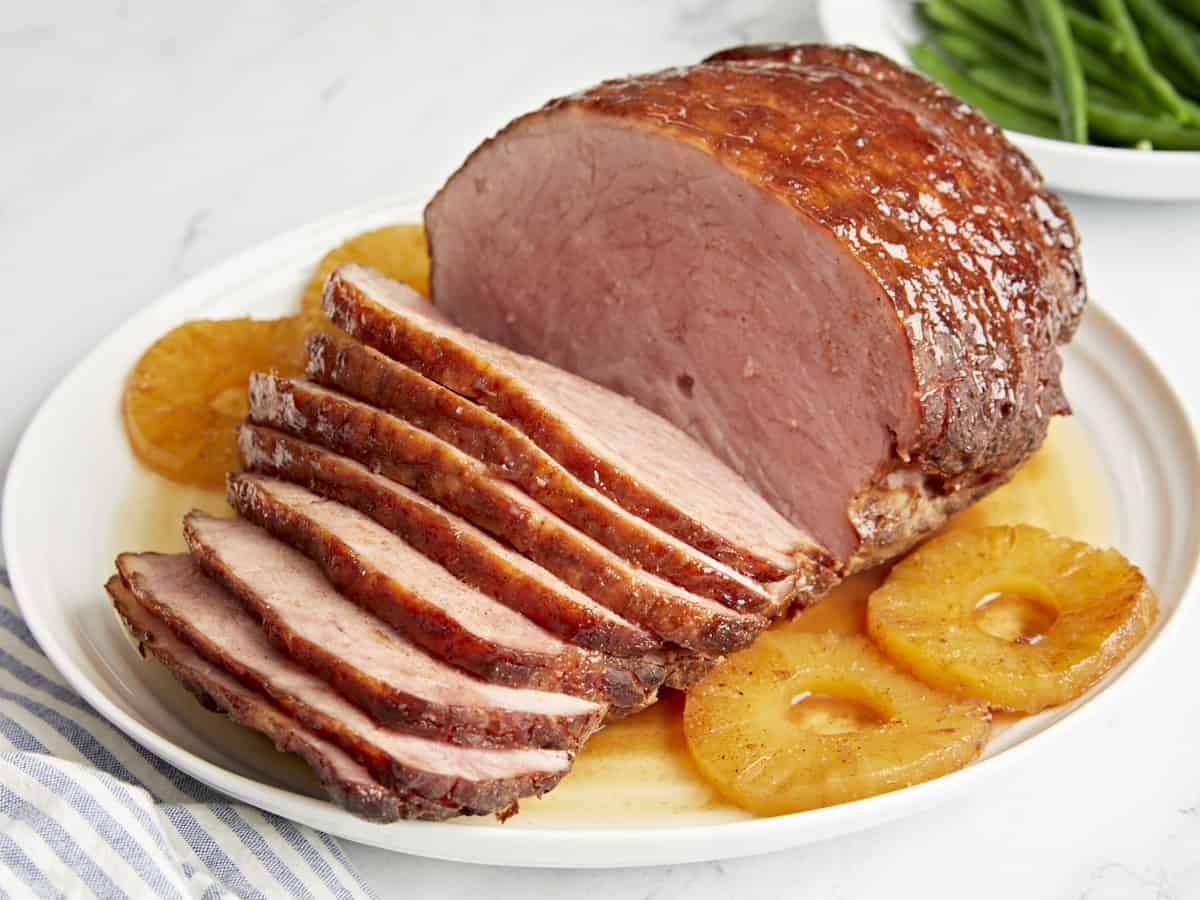
While Easter traditionally calls for lamb, ham has become the dominant centerpiece because it’s much less expensive and more readily available, both things we love here at Budget Bytes. This baked ham recipe is a true superstar. Salty, savory ham coated in a sweet and tangy glaze made from brown sugar and pineapple juice is just so good. The glaze is super sticky, extra sweet, and gives a beautiful color to your ham. Adding the pineapple juice to the glaze recipe really makes this glaze shine (literally and figuratively!)
Ingredients for Pineapple Ham
Here’s what you’ll need to make baked ham:
- Smoked Ham: We tested a bone-in ham and a boneless ham. Because hams are priced by weight, we found the boneless hams to be cheapest and offered in smaller quantities. We ended up going with a 5.5lb. ham for this recipe.
- Sliced Pineapple: The pineapple helps keep the ham moist during cooking. Did you know pineapple also contains natural acidic enzymes that help tenderize any meat you cook with it?
- Water: Helps steam heat your ham and keep it moist. The amount varies based on the size of your roasting pan. You will want 1/2 inch of liquid in the bottom of the pan to ensure your ham is nice and juicy.
- Spices: Salt, pepper, garlic powder, onion powder, and pumpkin pie spice create a beautiful blend of sweet and savory flavors.
- Brown Sugar: Adds depth of flavor, a beautiful color and sweetness to the glaze.
- Dijon Mustard: Adds balancing bitter notes, earthiness and tanginess to the glaze.
Do you bake a ham covered or uncovered?
We found that it’s best to bake this ham tented with foil to seal in moisture. Without the foil, the ham tends to dry out and turn tough. Remove the foil in the last 10 or so minutes of baking to reduce and brown the glaze.
Tips
- Most hams sold in the U.S. are fully cooked but require several hours of heating in the oven. So, you can pop it in the oven and then focus on the rest of your side dishes!
- If you do not need this much meat or your budget is stretched because of the cost of the ham, hunt for a smaller ham. Sometimes if you go to the deli counter, they can help you. Hams are sold by weight, so if you plan on 1/2 – 1/3 pound per person, that will help you choose which size ham your family needs!
- I know the thought of “pumpkin spice ham” may sound strange, but pumpkin pie spice is a blend of cinnamon, cloves, allspice, ginger, nutmeg, and black pepper… all perfect flavors to compliment a juicy, sweet-but-savory ham!
- I only filled the bottom of our roasting dish with 1/2 inch of water. A lot of recipes call for 1 inch, but the drippings are great for basting or using as a gravy and we found them to be too diluted if we did the 1 inch of water.
- The pineapples slid off to the side after the glazing at the end, but they did their job keeping the ham moist and tender. The glazing at the end of cooking will make your ham nice and shiny on the outside, so don’t worry about taking your ham in and out of the oven to baste it (unless you want to, certainly won’t hurt it!) You can always opt to just keep it tented and baste at the end.
What to Serve with Baked Ham
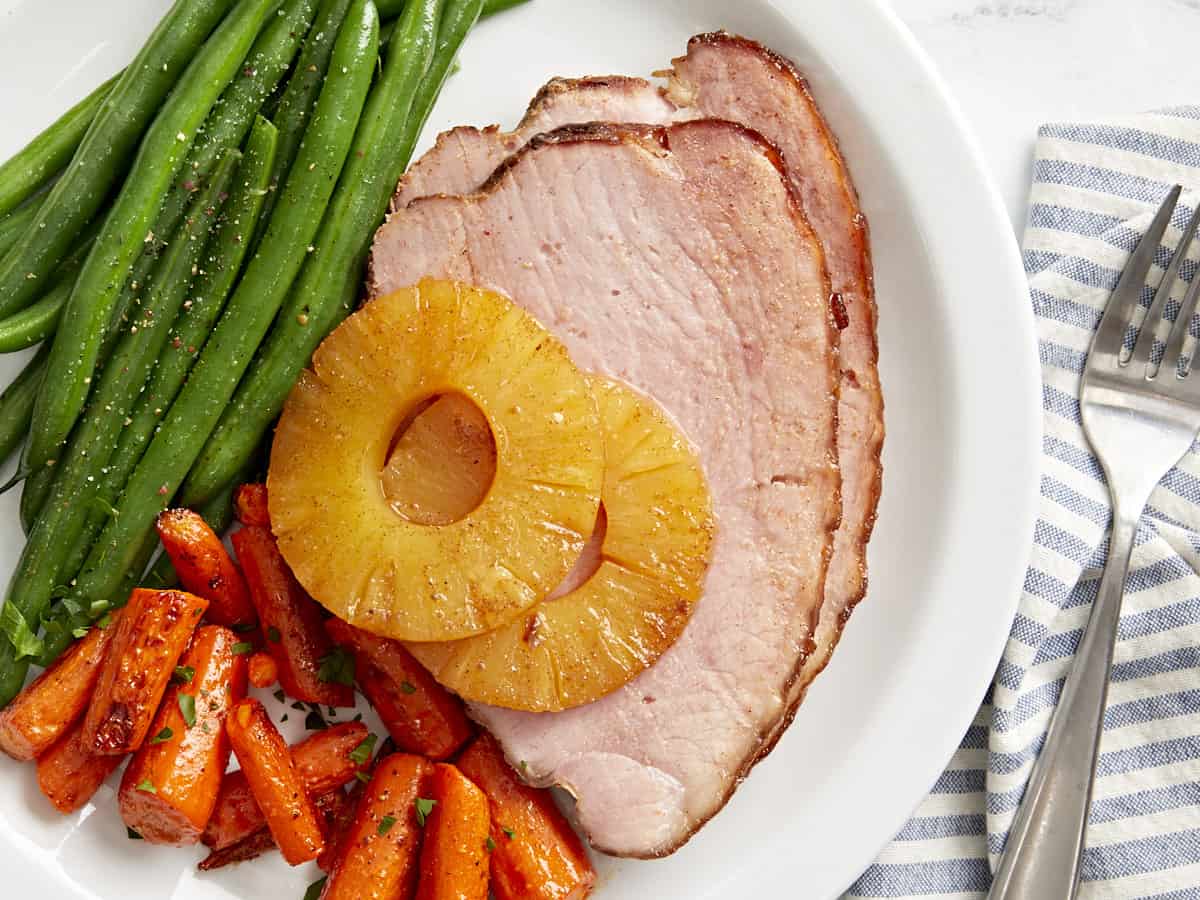
This tasty baked ham is truly the star of the show, so we recommend serving it with simple roasted carrots and steamed green beans.
Baked Ham
Equipment
- 9×13 roasting pan – You can use whatever size roasting pan the ham will comfortably fit in with room for the added water and drippings that run off.
Ingredients
- 5.5 lbs. boneless smoked ham $19.83
- 1 15oz. can sliced pineapple (packed in juice) $1.97
- 1 cup brown sugar, packed $0.59
- 1 Tbsp Dijon mustard $0.06
- 1 tsp garlic powder $0.06
- 1 tsp salt $0.05
- 1 tsp freshly cracked black pepper $0.05
- 1 tsp onion powder $0.06
- 2 tsp pumpkin pie spice $1.42
- Water $0.00
Instructions
- Gather all glaze ingredients and preheat oven to 350°F.
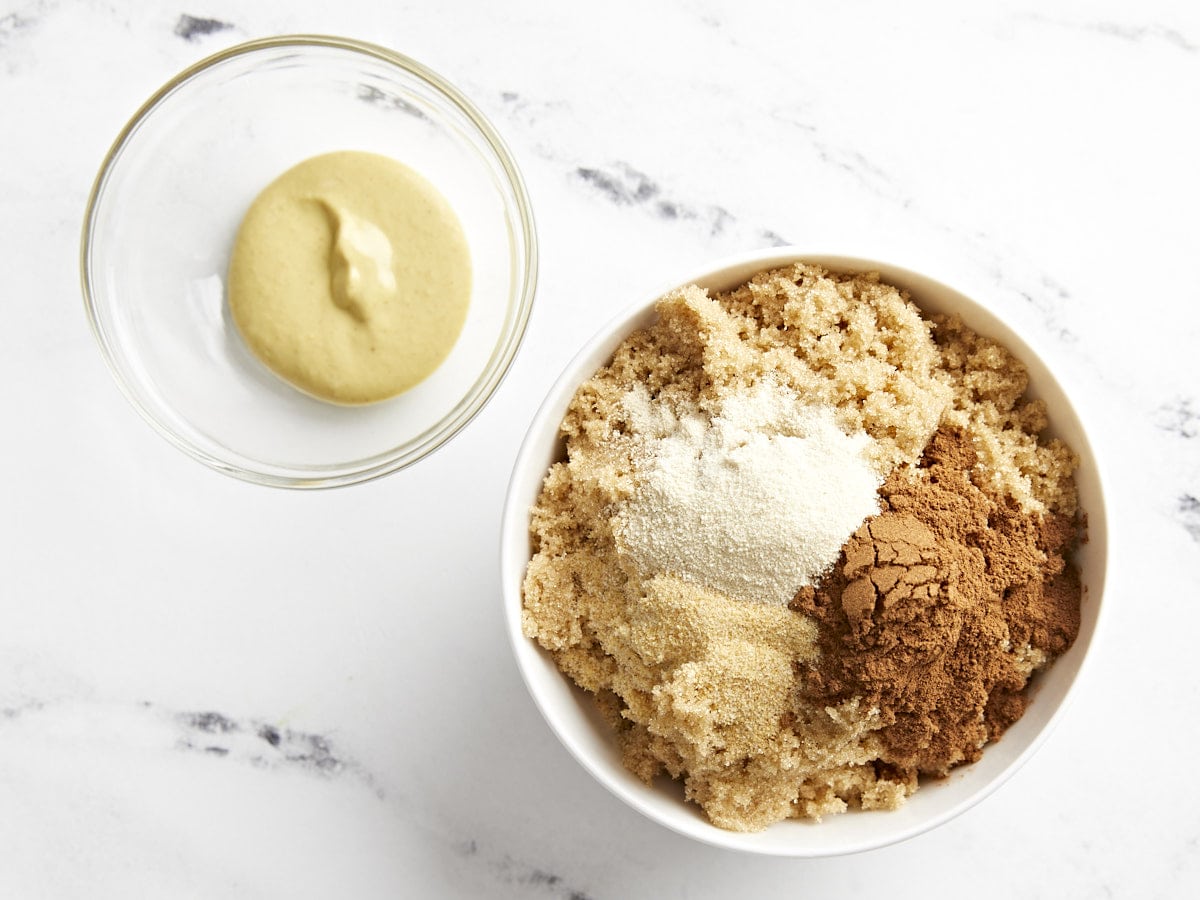
- In a saucepan, whisk together pineapple juice (one 15oz can yields about 1 cup of juice), brown sugar, dijon mustard, garlic powder, salt, pepper, onion powder, and pumpkin pie spice.
- Cook the glaze down over medium heat until it is reduced by half.
- Place the ham cut side down in the roasting pan of your choosing.
- Brush the ham with half the glaze mixture and cover it with slices of canned pineapple. Add 1/2 inch of water to the bottom of the roasting pan.
- Make a tinfoil tent to cover the entire ham. Place the tinfoil over the ham and bake for 20 minutes per pound of meat, or until the internal temperature reaches 145°F. Baste the ham periodically, using a baster or a large spoon.
- Once the ham reaches 145°F, remove the tinfoil tent and baste. Then, brush the ham with all remaining glaze.
See how we calculate recipe costs here.
Nutrition
how to make Baked Ham – step by step photos
Gather all glaze ingredients and preheat oven to 350°F.
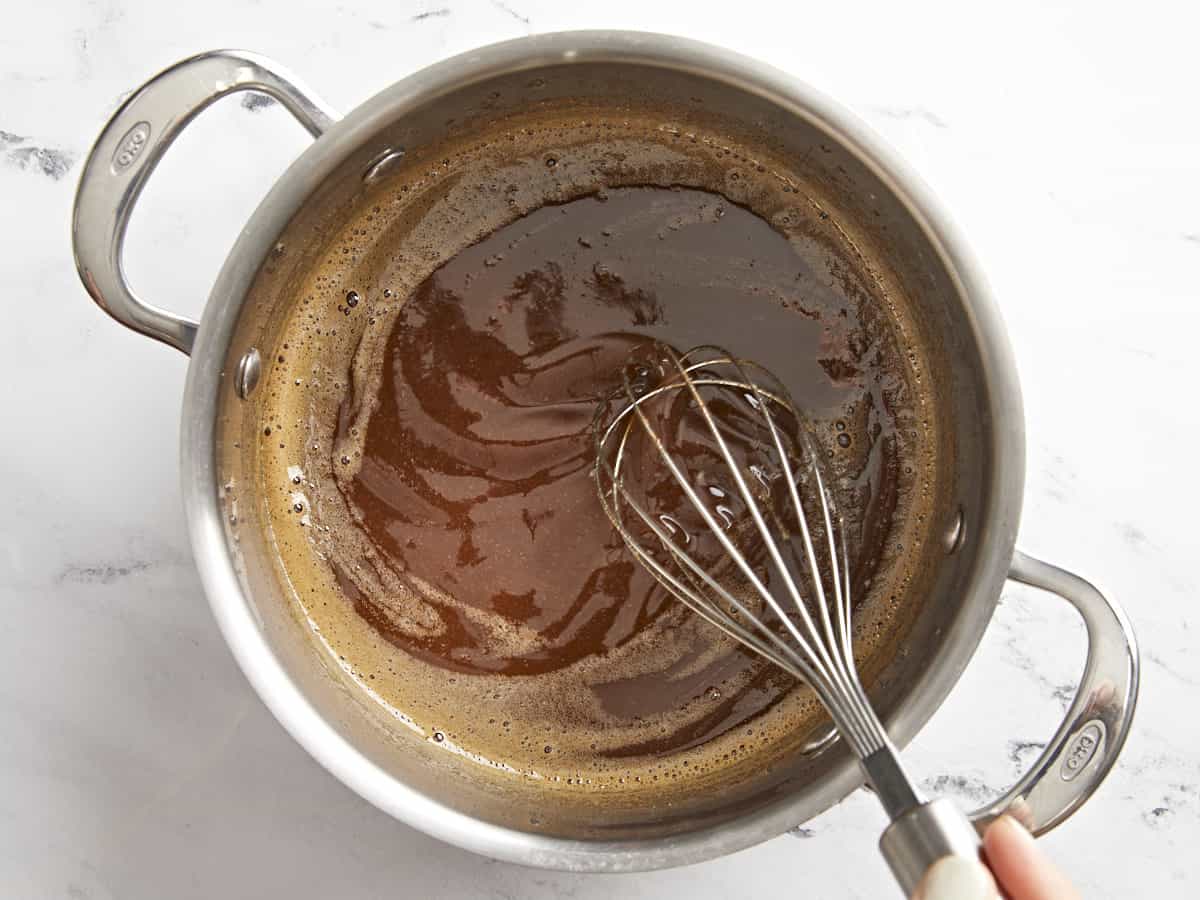
Whisk together pineapple juice (one 15 oz. can yields about 1 cup of juice), 1 cup brown sugar, 1 Tbsp Dijon mustard, 1 tsp garlic powder, 1 tsp salt, 1 tsp pepper, 1 tsp onion powder, and 2 tsp pumpkin pie spice. Cook the glaze down over medium heat until it is reduced by half.
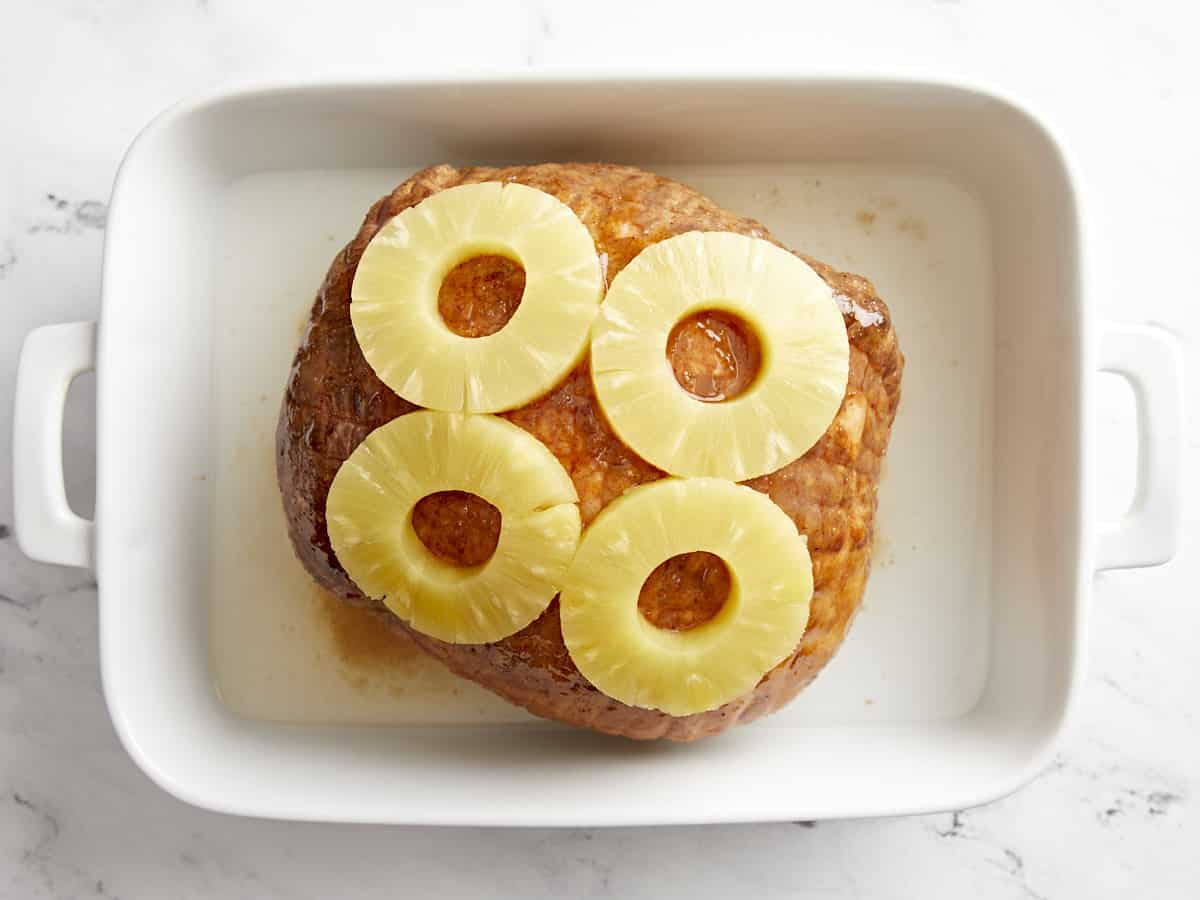
Place 5.5 lb. boneless smoked ham cut side down in the roasting pan of your choosing. Pour 1/2 inch of water into the bottom of the roasting pan. Brush the ham with half of the glaze mixture and cover it with slices of canned pineapple. Then, make a tinfoil tent to cover the entire ham. You want to cook the ham for approximately 20 minutes per pound, or until the internal temperature reaches 145°F. Baste the ham periodically, using a standard baster or a large spoon.
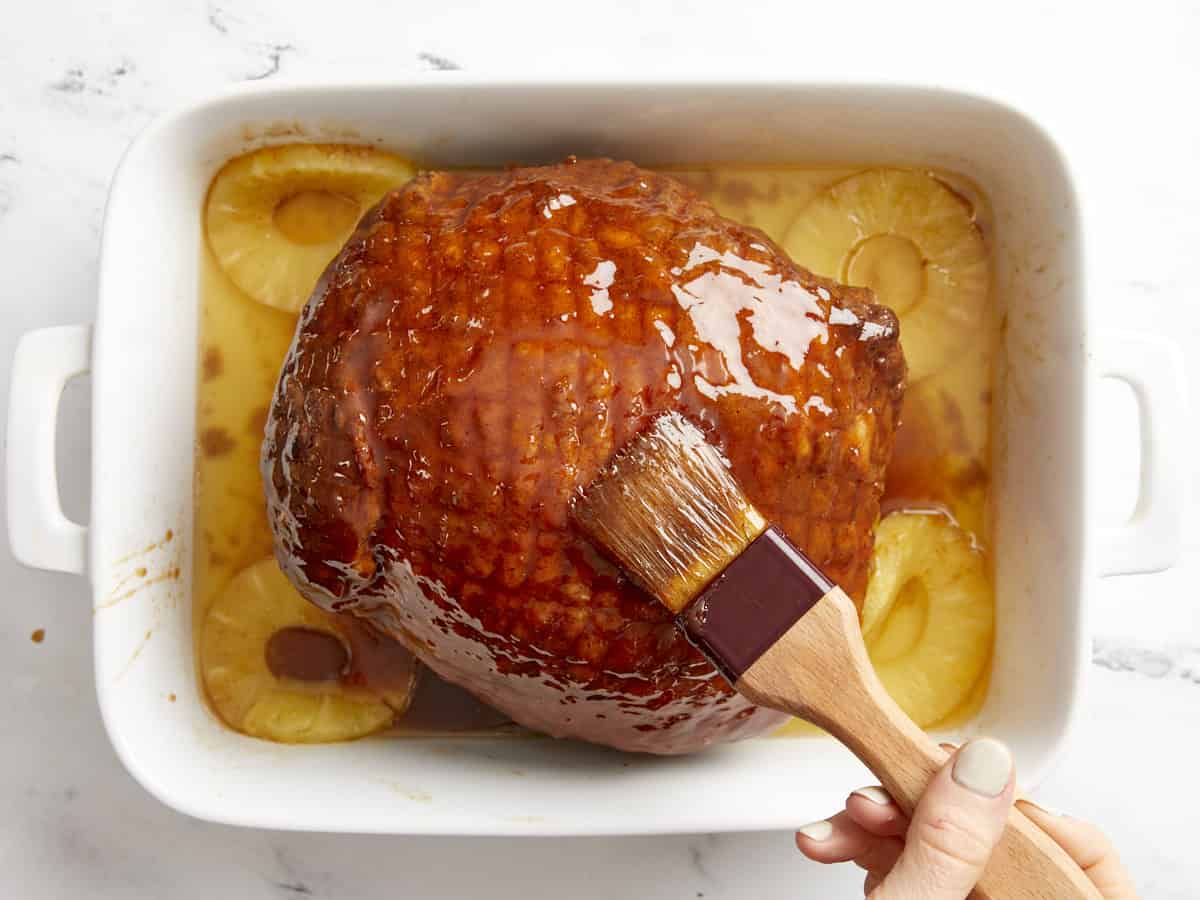
Once the ham reaches an internal temperature of 145°F, remove the tinfoil tent and baste the ham with pan drippings and brush the ham with all remaining glaze.
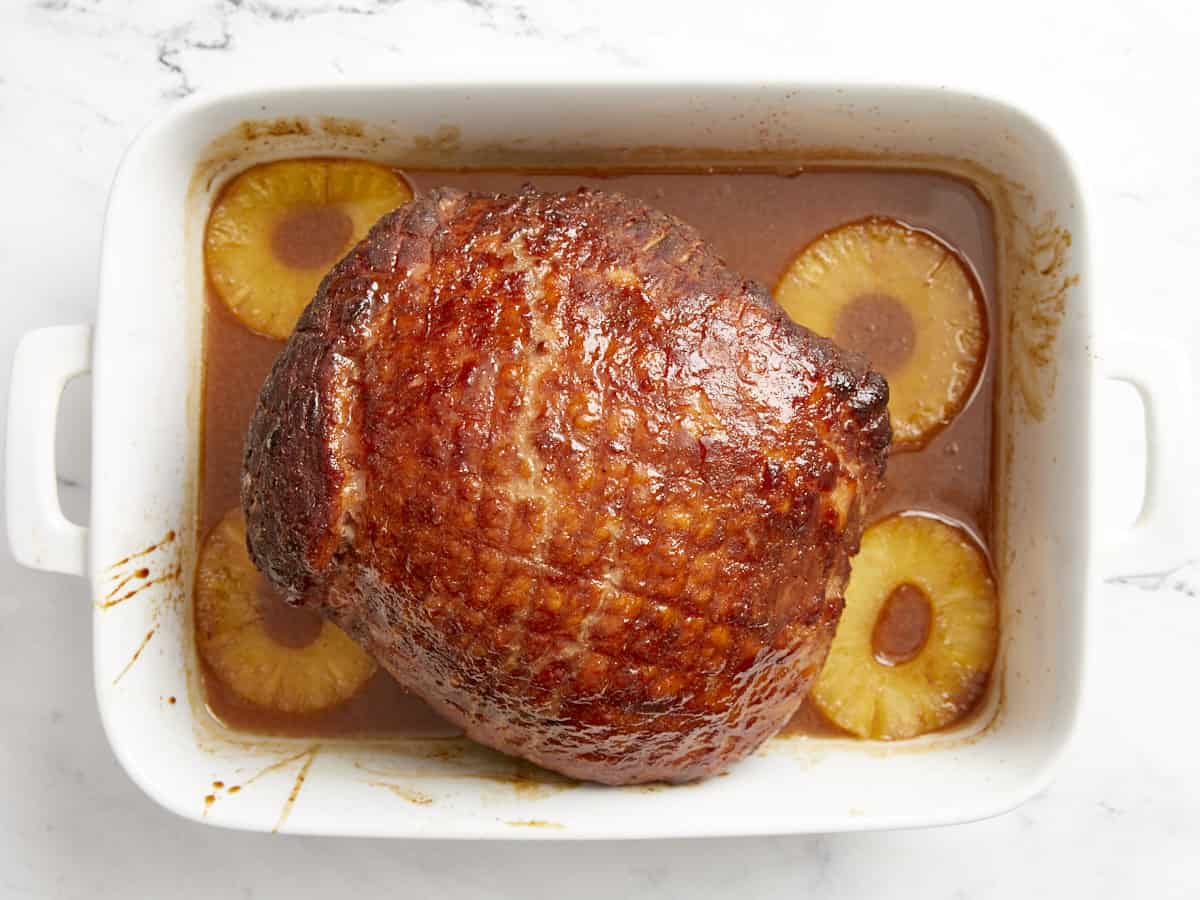
When your ham is done, it should have an internal temperature of 145°F.
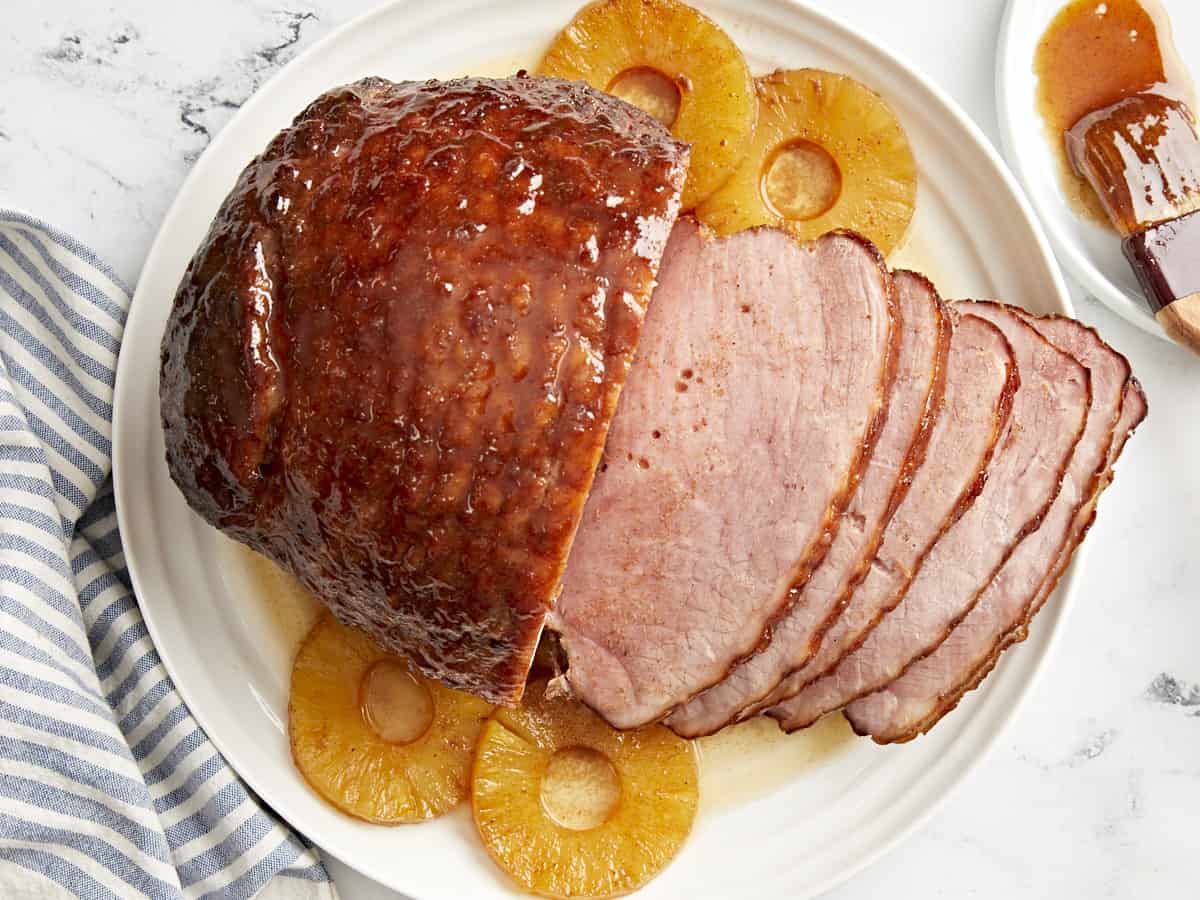
This delicious baked ham will be the star of your holiday table!
The post Baked Ham appeared first on Budget Bytes.


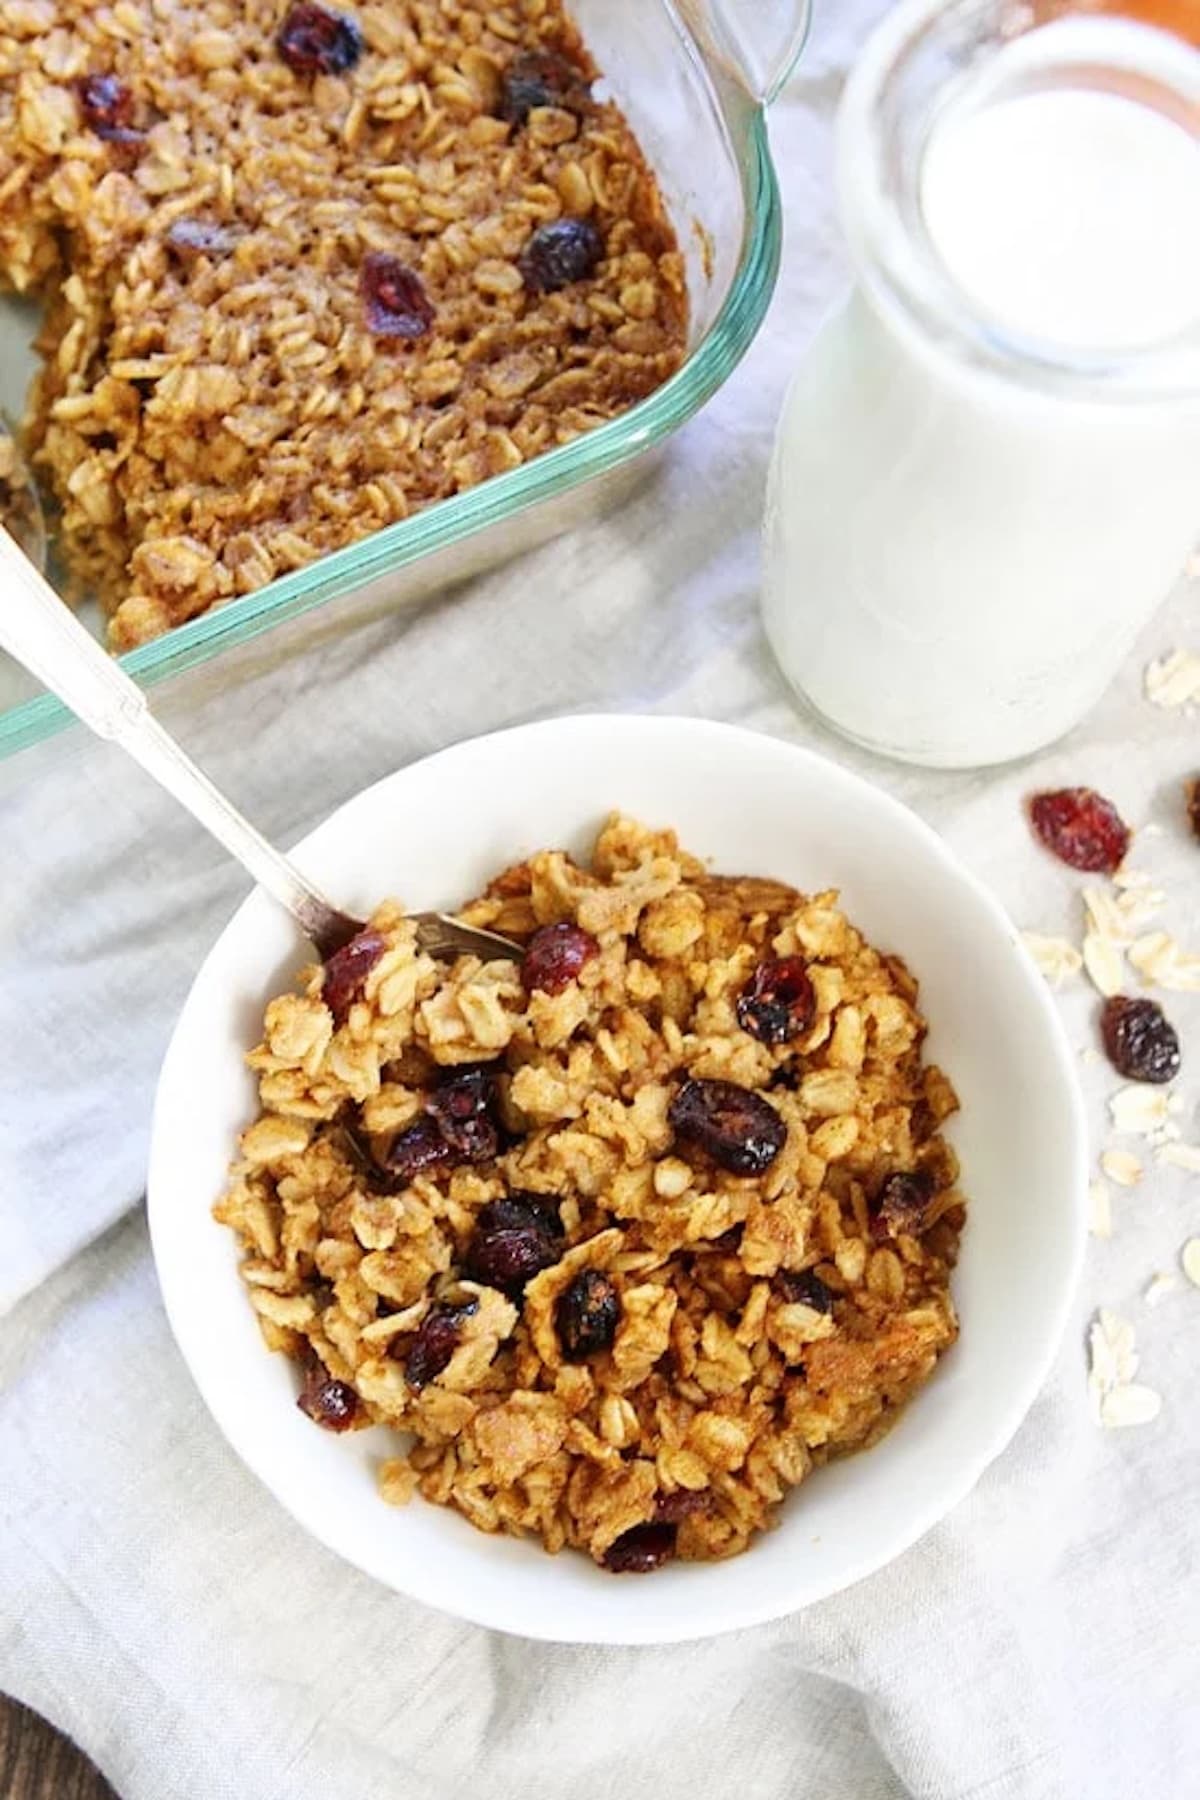 Oatmeal is one of my favorite breakfasts, it is my go to. I eat it year around, but especially during the chilly fall and winter months. My favorite fall oatmeal is Pumpkin Baked Oatmeal. If you like pumpkin and oatmeal, you are in for a real treat because this easy baked oatmeal is the BEST…
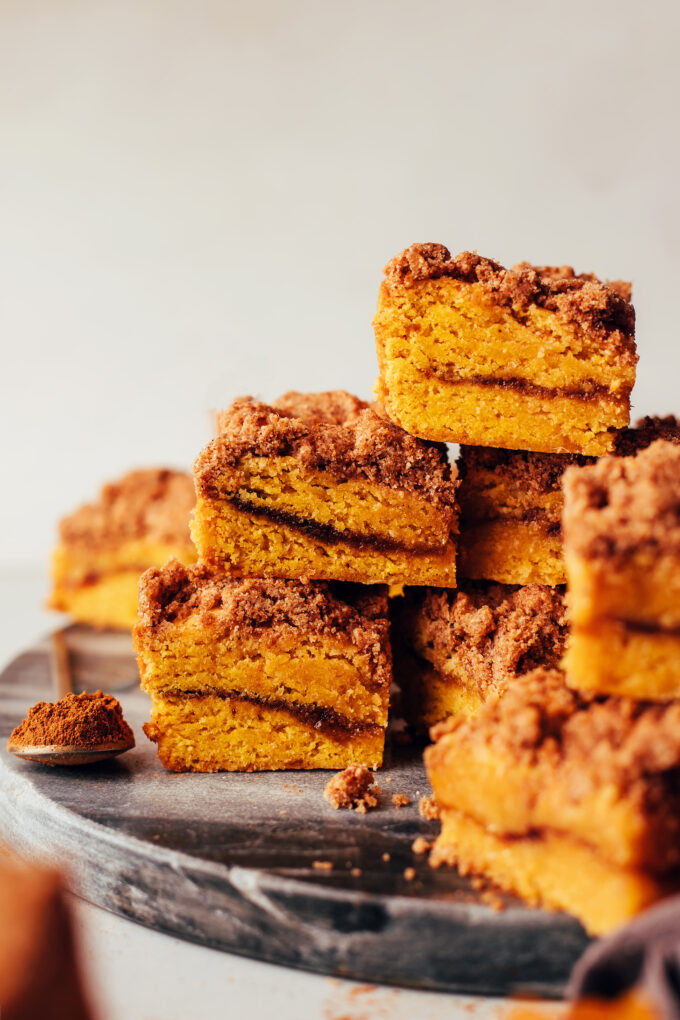
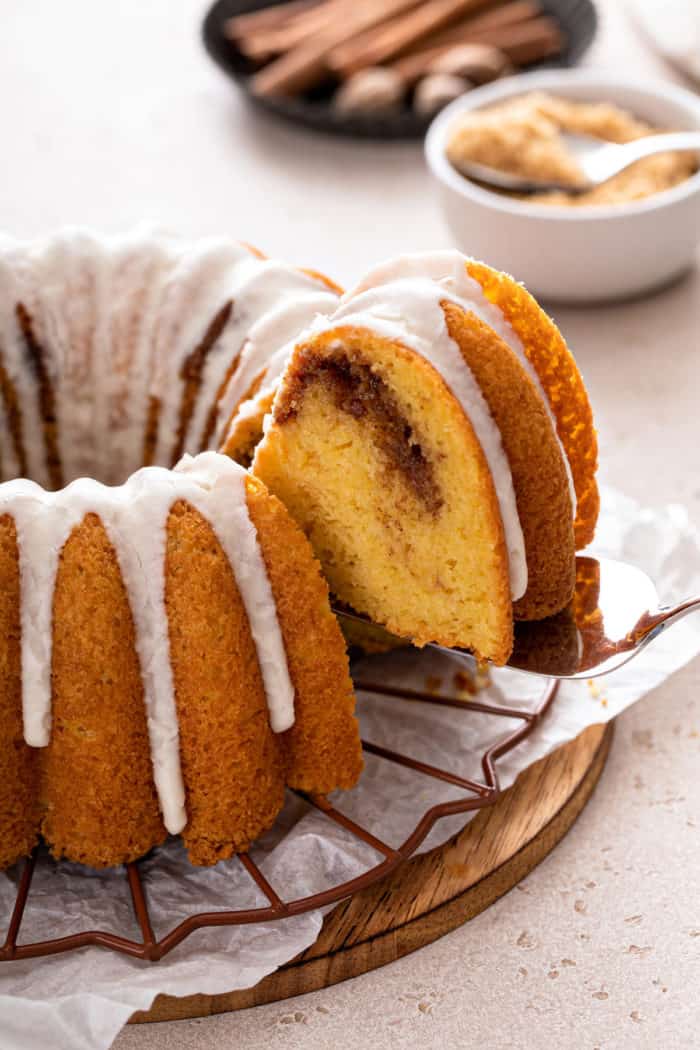
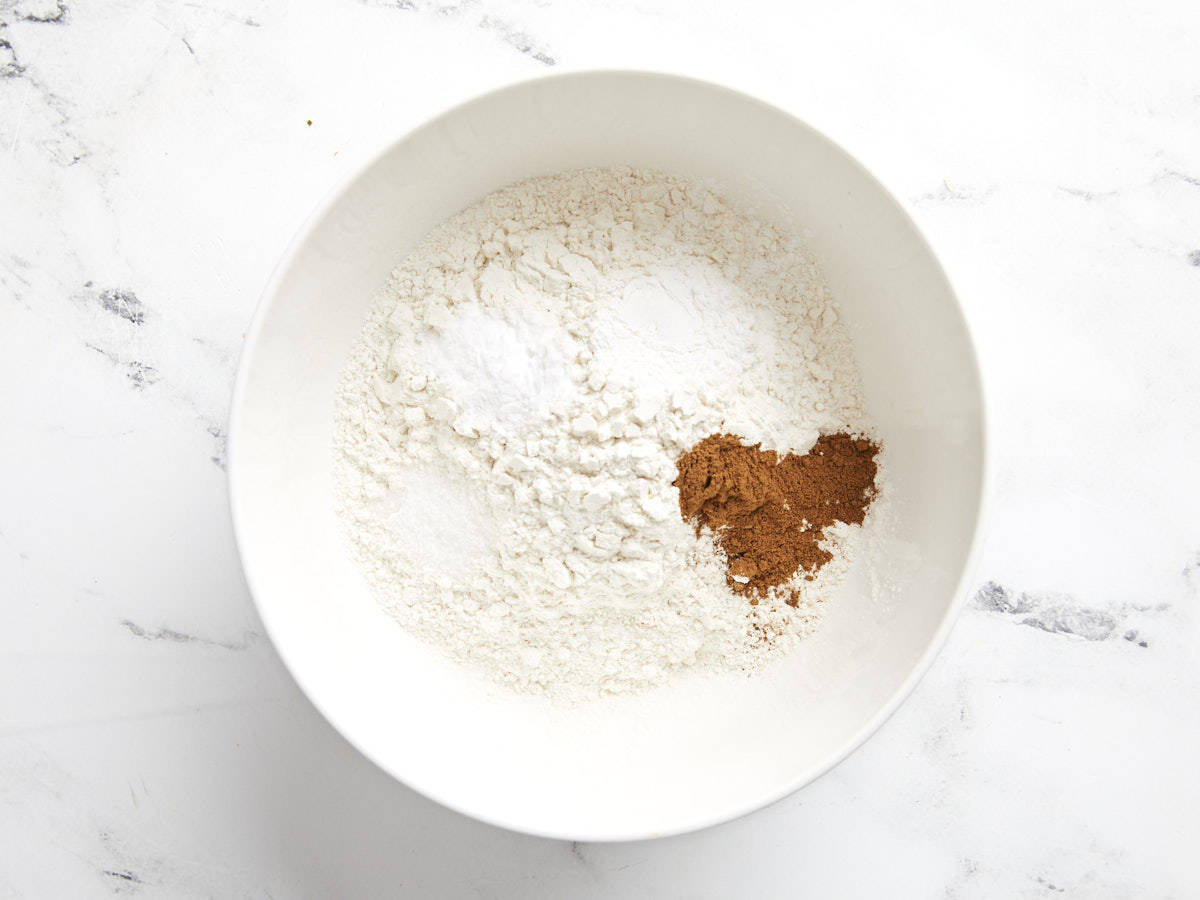
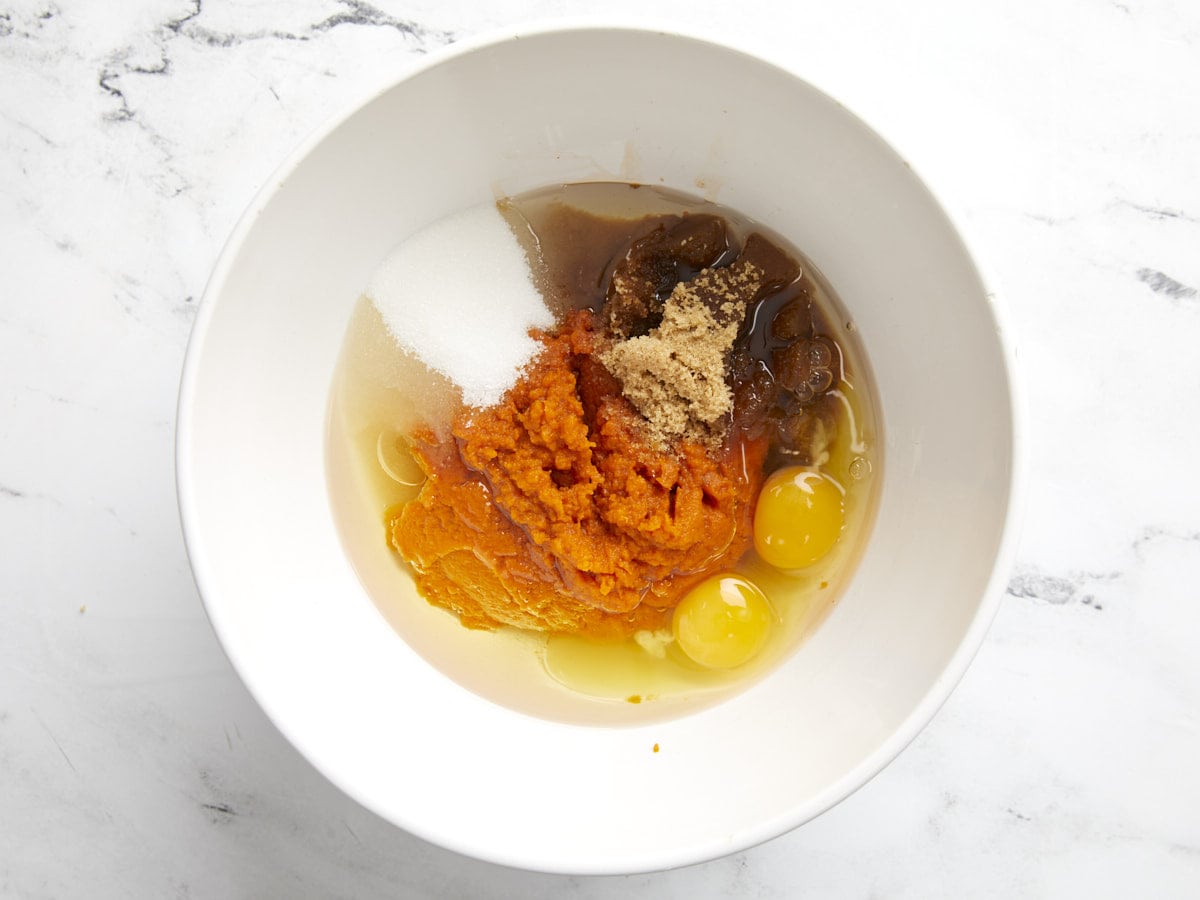
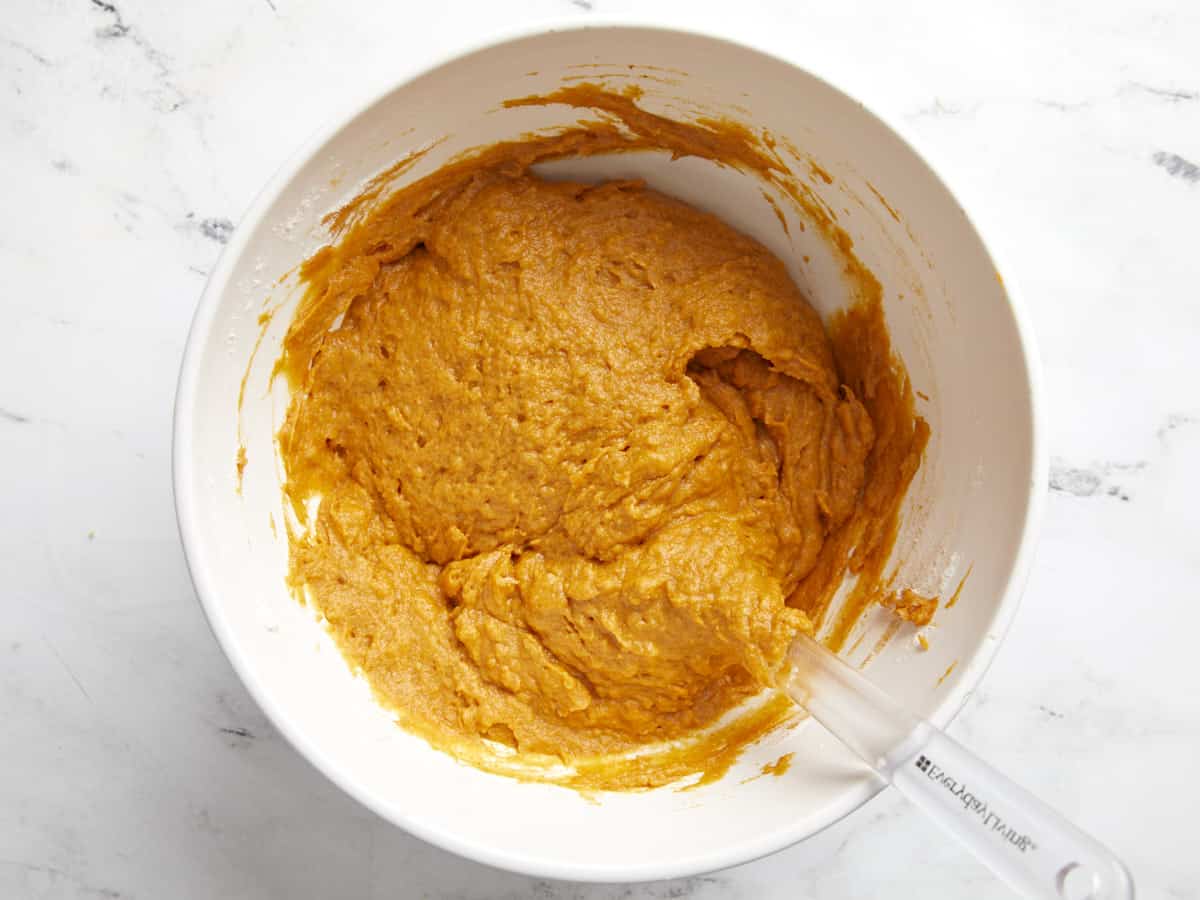
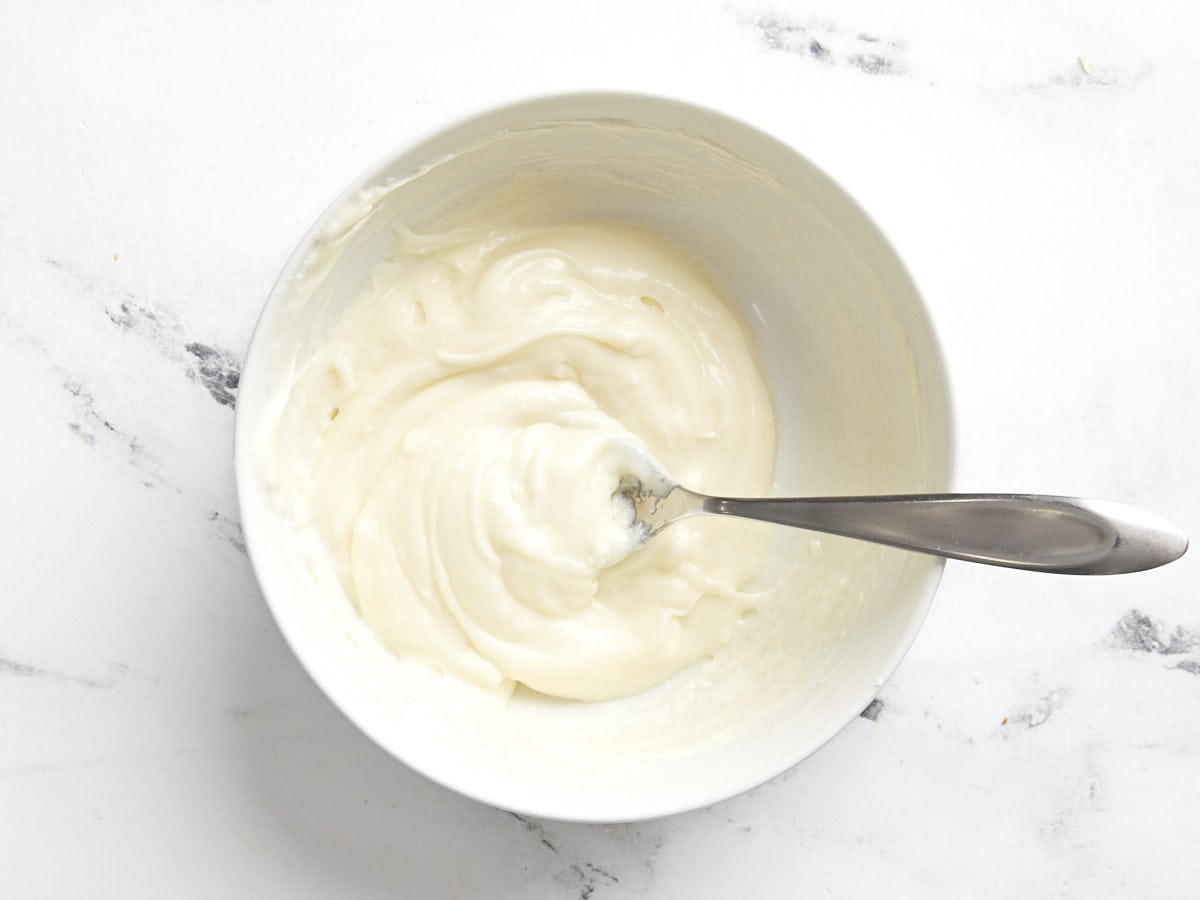
 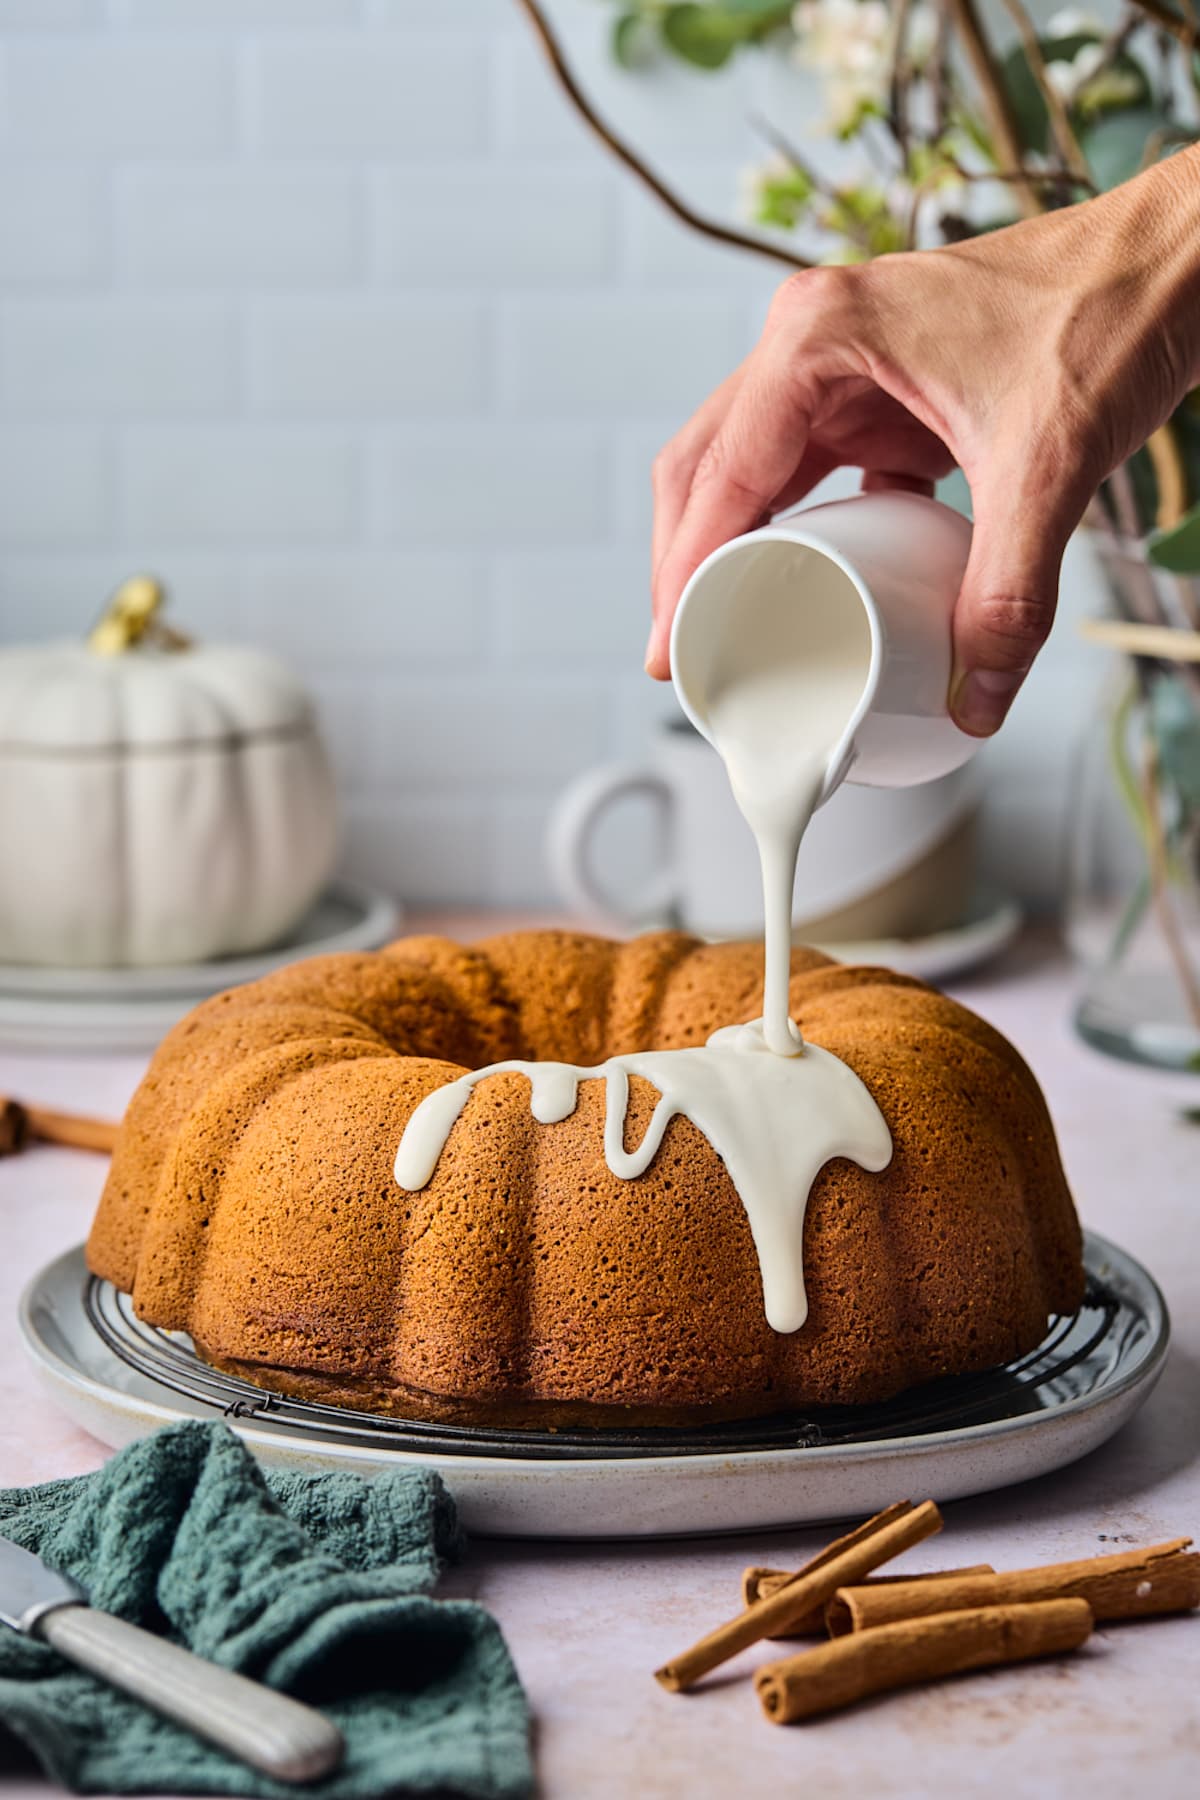 During the fall months, pumpkin desserts are my favorite. Pumpkin cookies, pumpkin pie, pumpkin sheet cake, pumpkin chocolate chip bread, and pumpkin snickerdoodles. I love it all. This Pumpkin Bundt Cake is definitely a fall favorite, I make it every single year. The cake is easy to make, super moist, filled with warm spices, and…