Chicken noodle soup is great and all, but have you tried Italian Wedding Soup?? This classic soup shares a lot of the same cozy ingredients as chicken noodle soup, but with one huge advantage: tender and flavorful homemade meatballs! The meatballs are packed with herbs and spices that flavor the soup and make this Italian Wedding Soup recipe extra special. So if you want to change up your winter soup game, give this Italian Wedding Soup a try! I think you’re really going to like it.
What Is Italian Wedding Soup?
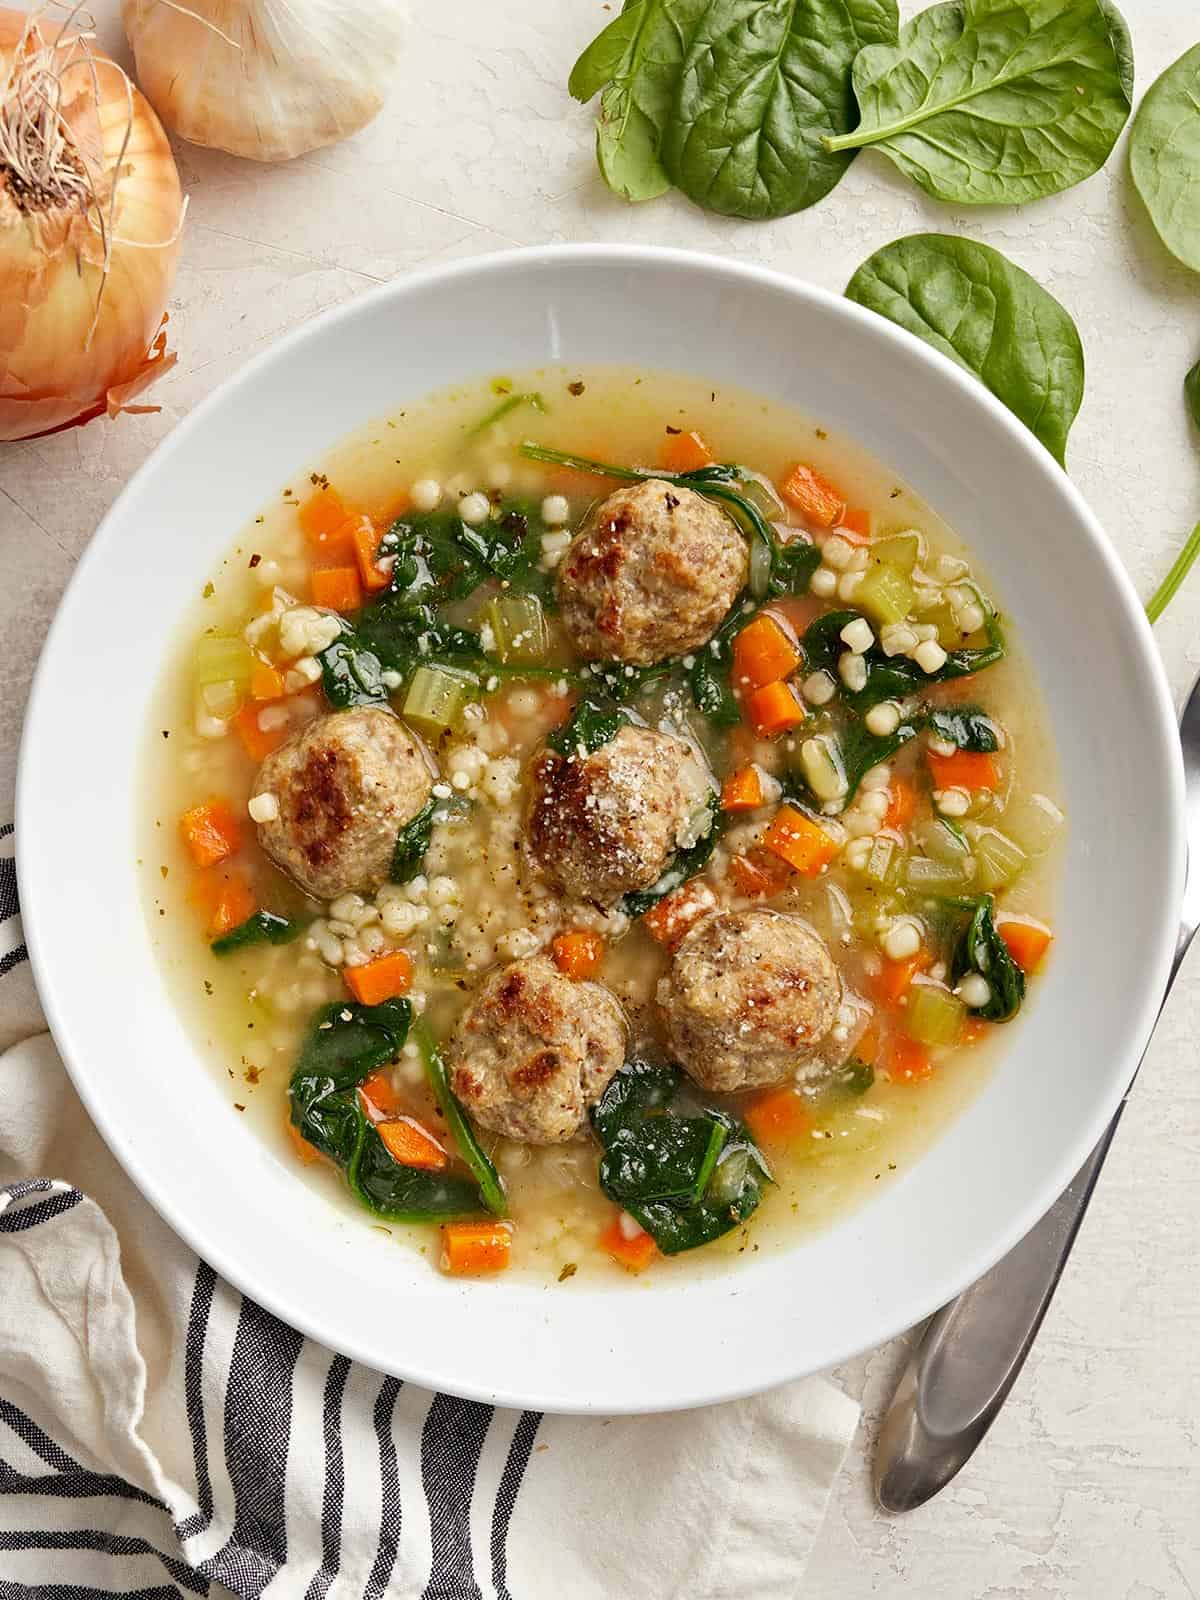
This hearty soup is a combination of vegetables, greens, meatballs, and pasta all simmered in chicken broth to make an incredibly flavorful and filling soup. And, contrary to how it may sound, Italian Wedding Soup is not named so because it’s typically served at weddings. The name is actually a mistranslation of its Italian name, minestra maritata, which translates directly to “marriage soup,” referring to the marriage of ingredients in the soup.
There’s also some disagreement over whether this dish originated in Italy or Spain, as it is popular in both regions of the world. As with most dishes that have been around for generations, there are many different variations, and today we’re making my interpretation based on what I have available, but if you’d like to make an authentic Italian Wedding Soup, check out this version from The Kitchen Whisperer.
Ingredients for Italian Wedding Soup
Here’s what you’ll need to make a big cozy pot of Italian Wedding Soup:
- Vegetables: This soup starts with a classic mix of soup vegetables like onion, garlic, carrots, and celery. Later I add in some fresh spinach, although traditional Italian wedding soup usually uses escarole as the green element.
- Chicken Broth: Chicken broth makes up the bulk of this soup, so make sure you’re using a good quality broth or stock that has a lot of flavor. We like to use Better Than Bouillon to make broth because it’s inexpensive and has tons of flavor.
- Pasta: You can use any small-shaped pasta here. We had some leftover pearl couscous in the studio that I wanted to use up, so I used that, but you could also use acini de pepe (very similar to large pearl couscous), orzo, ditalini, pastina, or any other tiny-shaped pasta.
- Italian Sausage: I use Italian sausage as the base for my meatballs because it’s already pre-seasoned and makes every meatball super flavorful.
- Breadcrumbs: Breadcrumbs help bind the meatballs and keep them moist and tender.
- Egg: Egg combines with the breadcrumbs to act as a binder for the meatballs.
- Parmesan: Parmesan gives extra umami and flavor to the meatballs.
- Seasoning: To keep things simple, we season both the meatballs and soup with a pre-made Italian seasoning blend, plus a little extra salt and pepper as needed!
What Else Can I Add?
If you want to “soup up” your Italian Wedding Soup and take it to the next level, try adding a few Parmesan rinds to the soup as it simmers for extra umami in the broth, or top each bowl with a heaping dose of freshly grated Parmesan. Use homemade chicken stock for the broth to make this soup extra special, or you can also experiment with thickening the broth with a whisked egg. One final twist that I love doing with a lot of soups is adding a squeeze of fresh lemon at the end to brighten it all up!
How to Cook the Meatballs
You have a few options when it comes to cooking the meatballs for this soup. The easiest method, and the method that I think creates the juiciest meatballs, is to simply add the raw meatballs to the simmering soup and allow them to simmer in the liquid until cooked through (about 10-15 min.).
The only drawback to boiling the meatballs in the soup is that this method does not create any pretty browned color on the surface of the meatballs. If the appearance of the meatballs is important to you, you can sauté the meatballs in a hot skillet with some butter until browned on the outside, then add them to the soup and simmer until cooked through.

Italian Wedding Soup
Equipment
Ingredients
Meatballs
- 1/4 cup plain breadcrumbs $0.30
- 1/4 cup grated Parmesan $0.44
- 1/2 tsp Italian seasoning $0.05
- 1/8 tsp salt $0.01
- 1/8 tsp black pepper $0.01
- 1 lb. ground Italian sausage (hot, mild, or sweet) $3.99
- 1 large egg $0.11
Soup
- 1 yellow onion $0.32
- 2 cloves garlic $0.16
- 3 carrots $0.47
- 3 stalks celery $0.67
- 2 Tbsp olive oil $0.32
- 1 tsp Italian seasoning $0.10
- 6 cups chicken broth $0.63
- 1/2 cup small pasta* $0.16
- 4 cups fresh spinach $1.15
Instructions
- Begin by making the meatballs. Combine the breadcrumbs, Parmesan, Italian seasoning, salt, and pepper in a bowl.
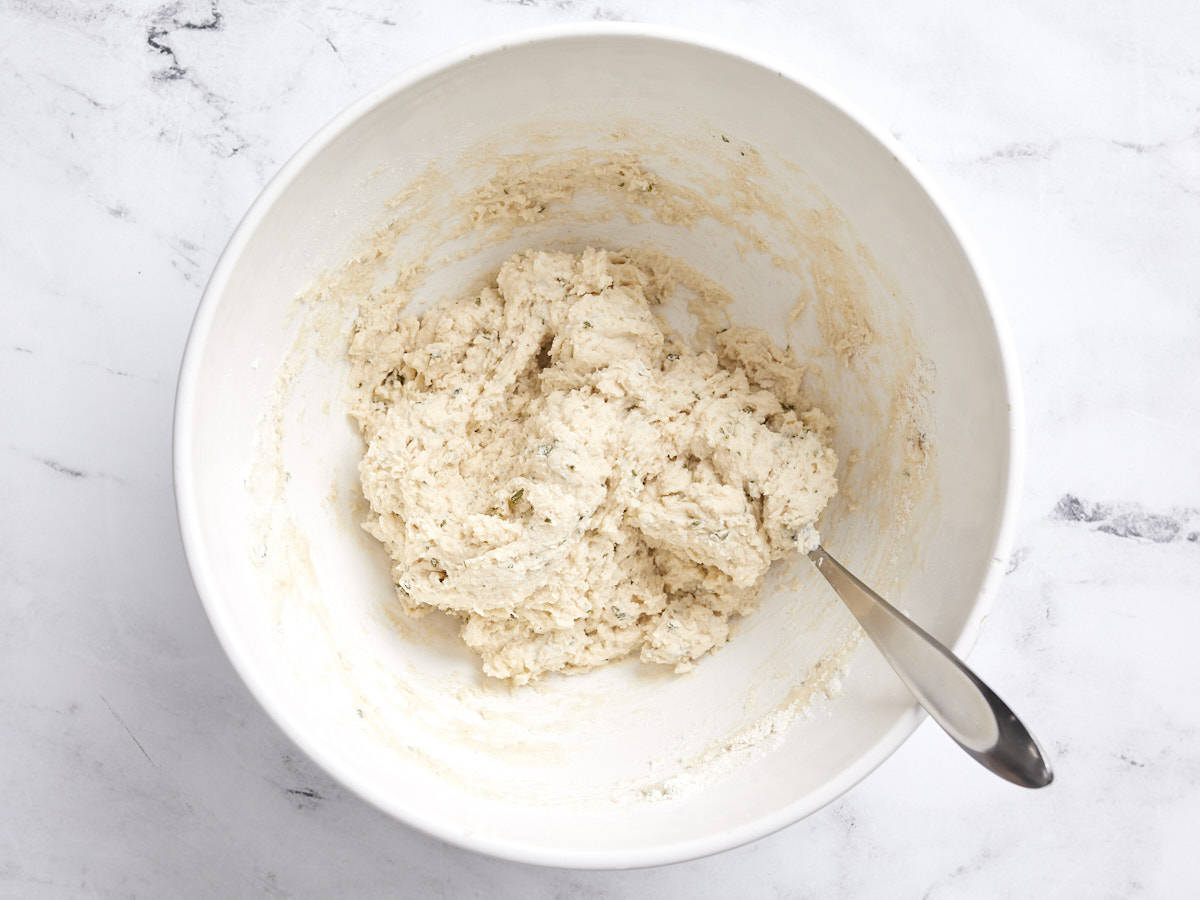
- Add the Italian sausage, breadcrumb mixture, and egg to a large bowl and use your hands to mix them together until evenly combined. Divide and shape the mixture into 32 small meatballs, about 1 Tbsp each. Set the meatballs aside.
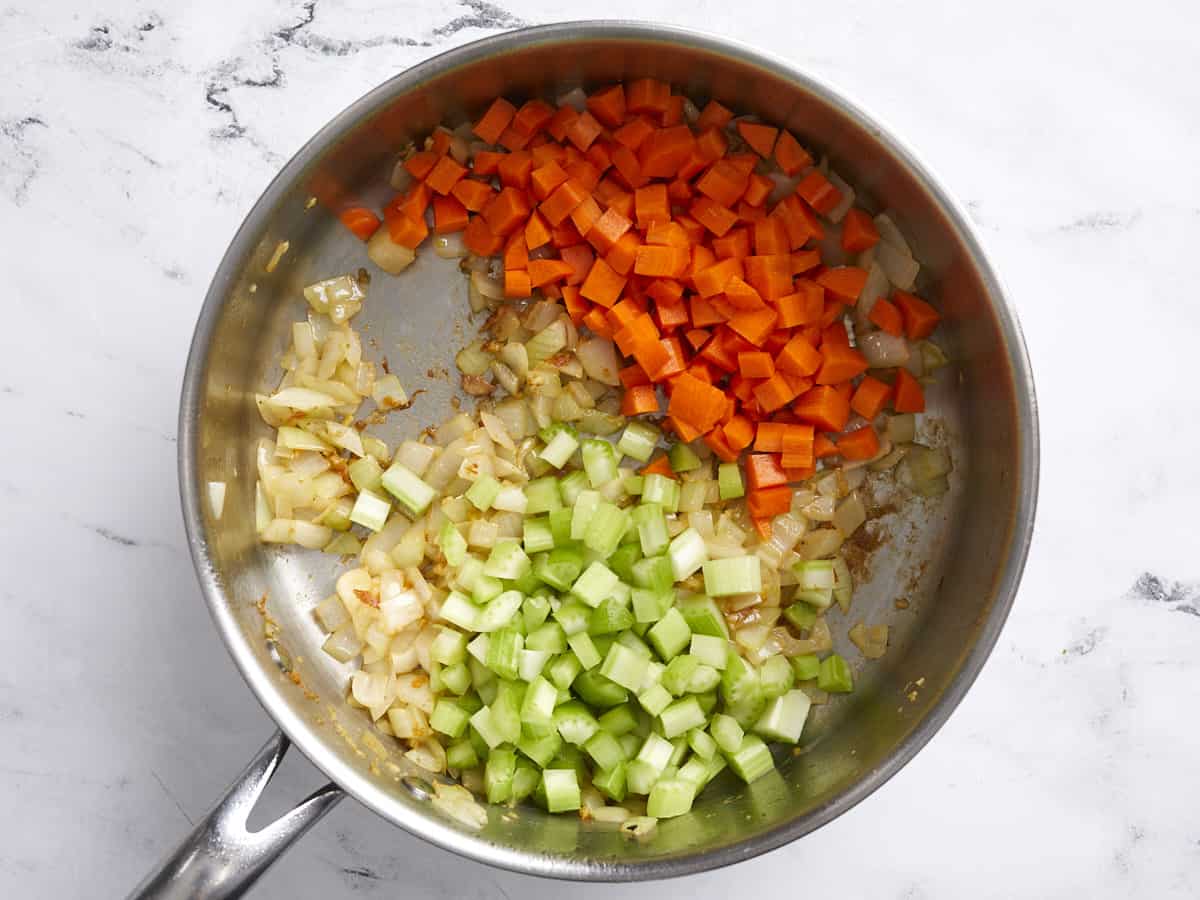
- Finely dice the onion, carrots, and celery, and mince the garlic. Add the olive oil to a large soup pot and heat over medium. Add the onion and garlic and sauté until the onion is soft. Add the carrot and celery and continue to sauté for a few minutes more, or until the celery begins to soften.
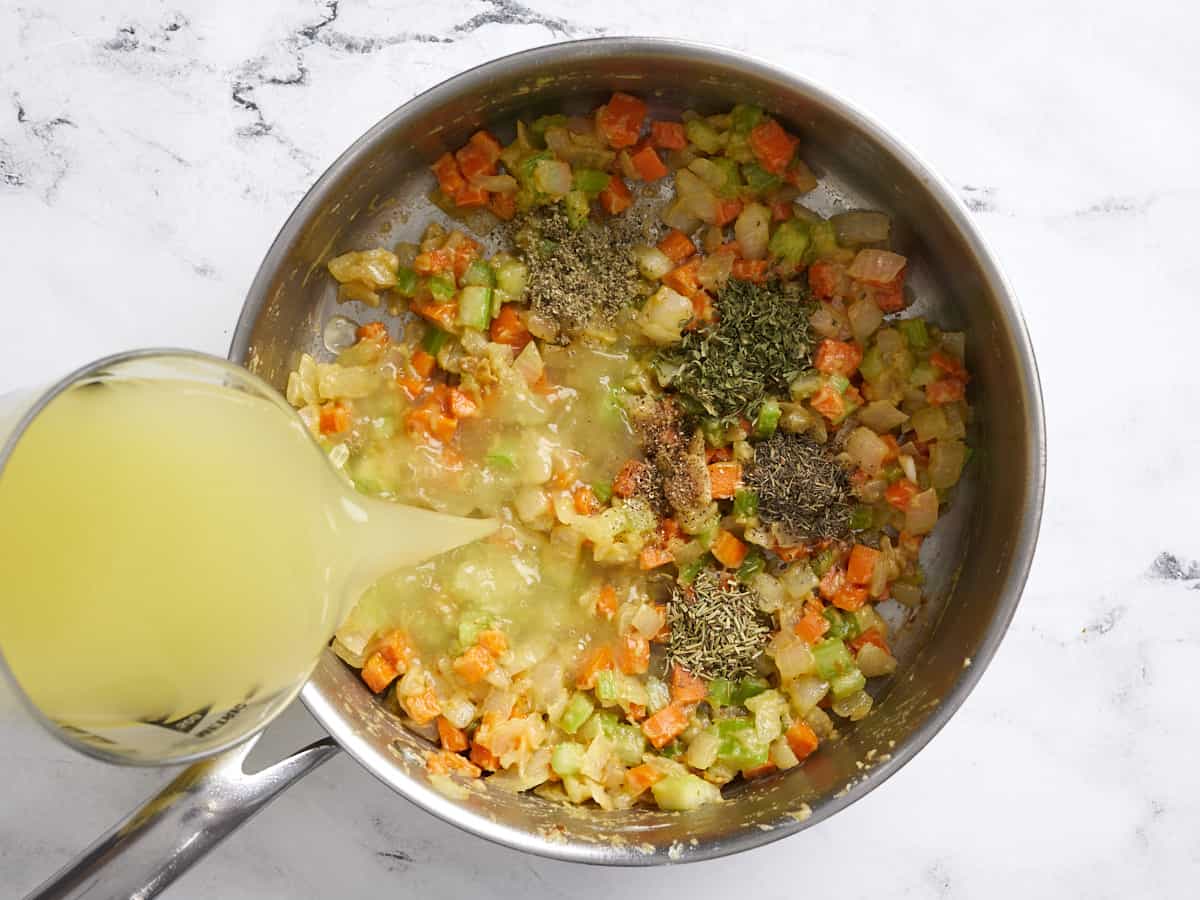
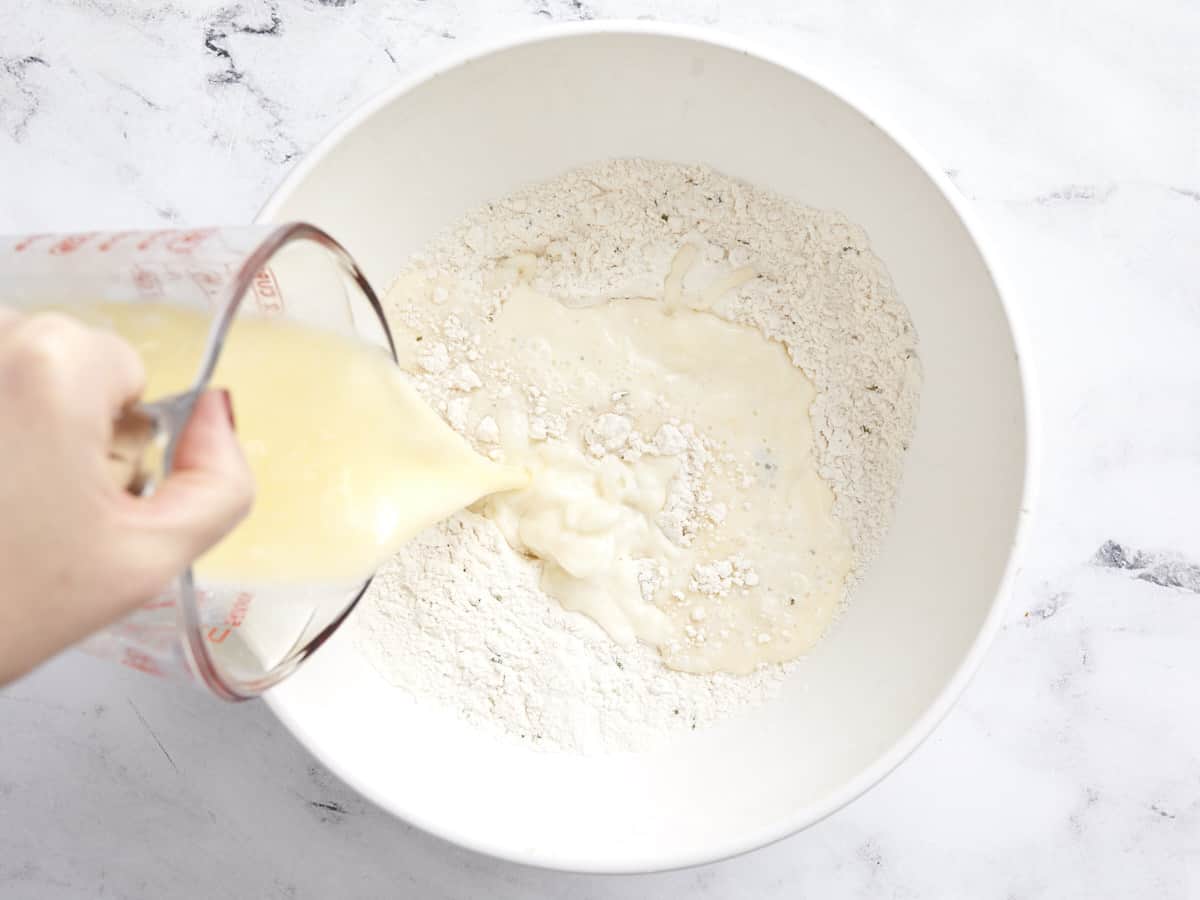
- Add the Italian seasoning and chicken broth to the soup, stir to combine, then place a lid on top and bring it up to a boil.
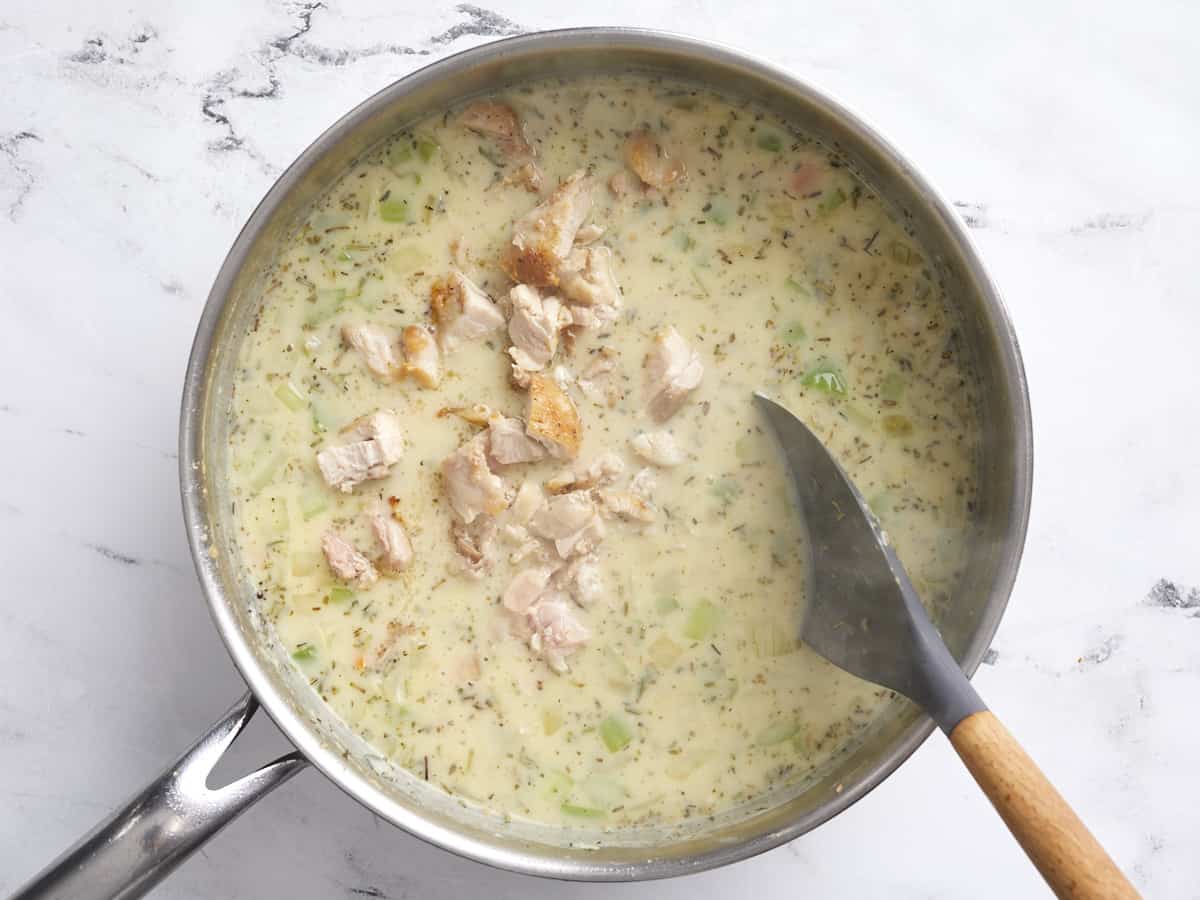
- Once the soup is boiling, add the meatballs to the soup and continue to boil until the meatballs are cooked through (about 10 minutes). Or, if you prefer browned meatballs, you can cook them in a skillet with butter first over medium heat until browned on the outside, then transfer to the boiling soup to finish cooking.
- Add the pasta to the soup and continue to boil until the pasta is tender (about 7 minutes).
- Finally, stir in the fresh spinach until wilted. Give the soup a taste and adjust the seasonings to your liking. Serve hot and enjoy!
See how we calculate recipe costs here.
Notes
Nutrition
How to Make Italian Wedding Soup – Step by Step Photos
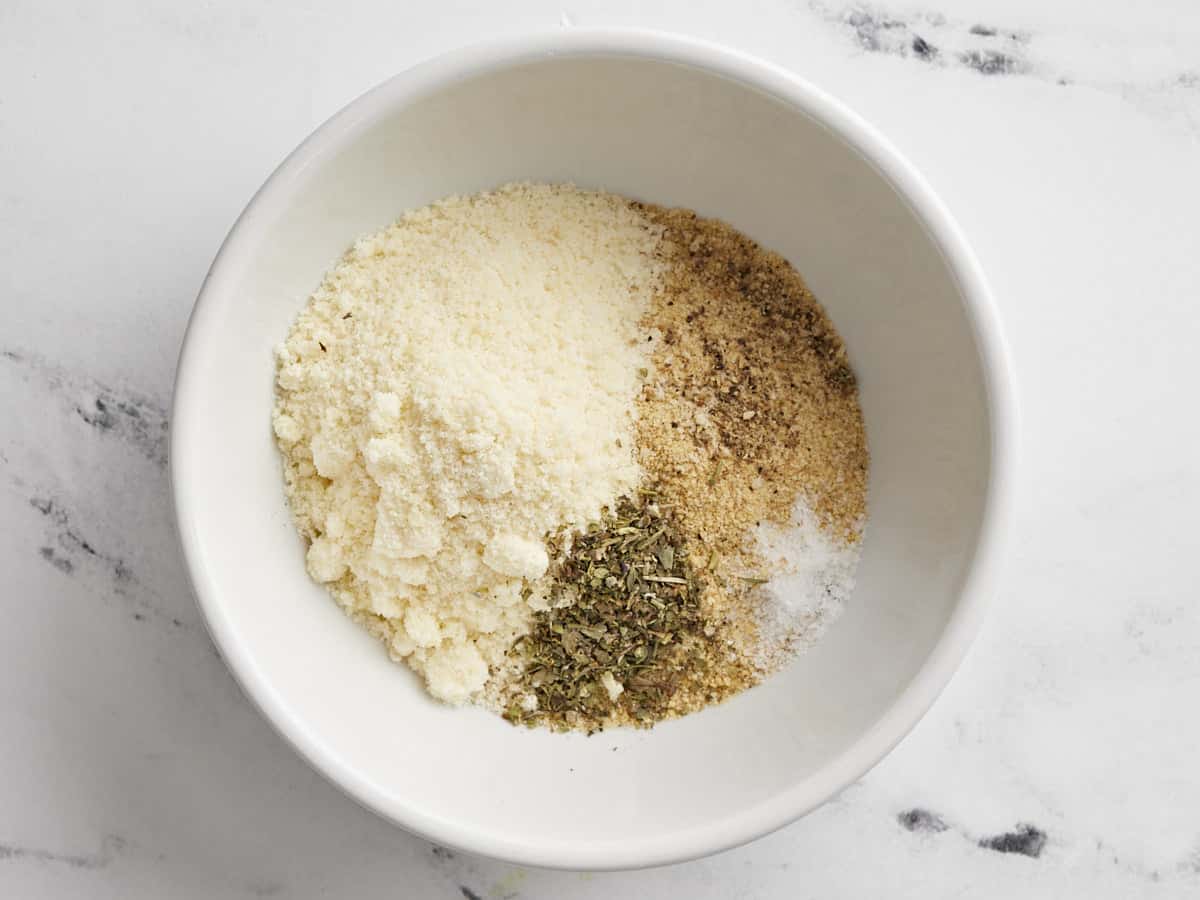
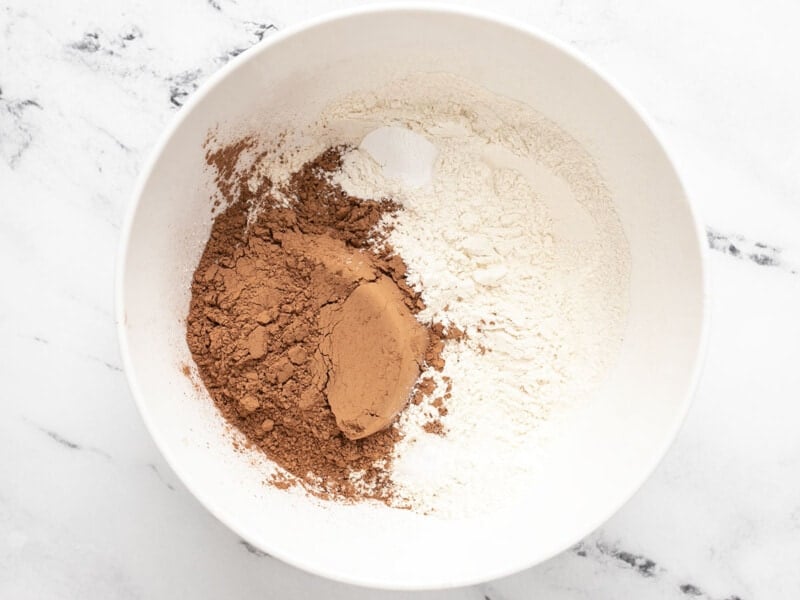
Prepare the meatballs first. In a bowl, combine ¼ cup plain breadcrumbs, ¼ grated Parmesan cheese, ½ tsp Italian seasoning, ⅛ tsp salt, and ⅛ tsp pepper.
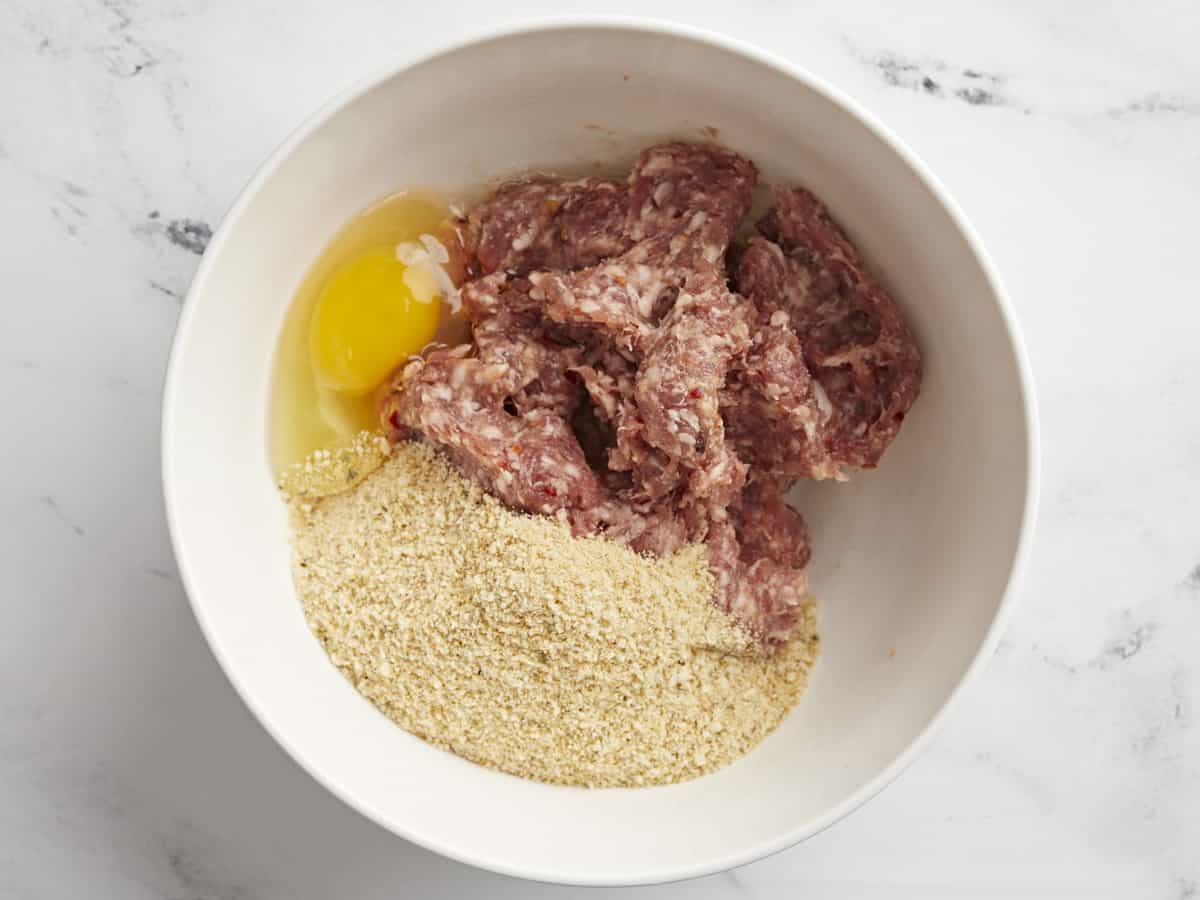
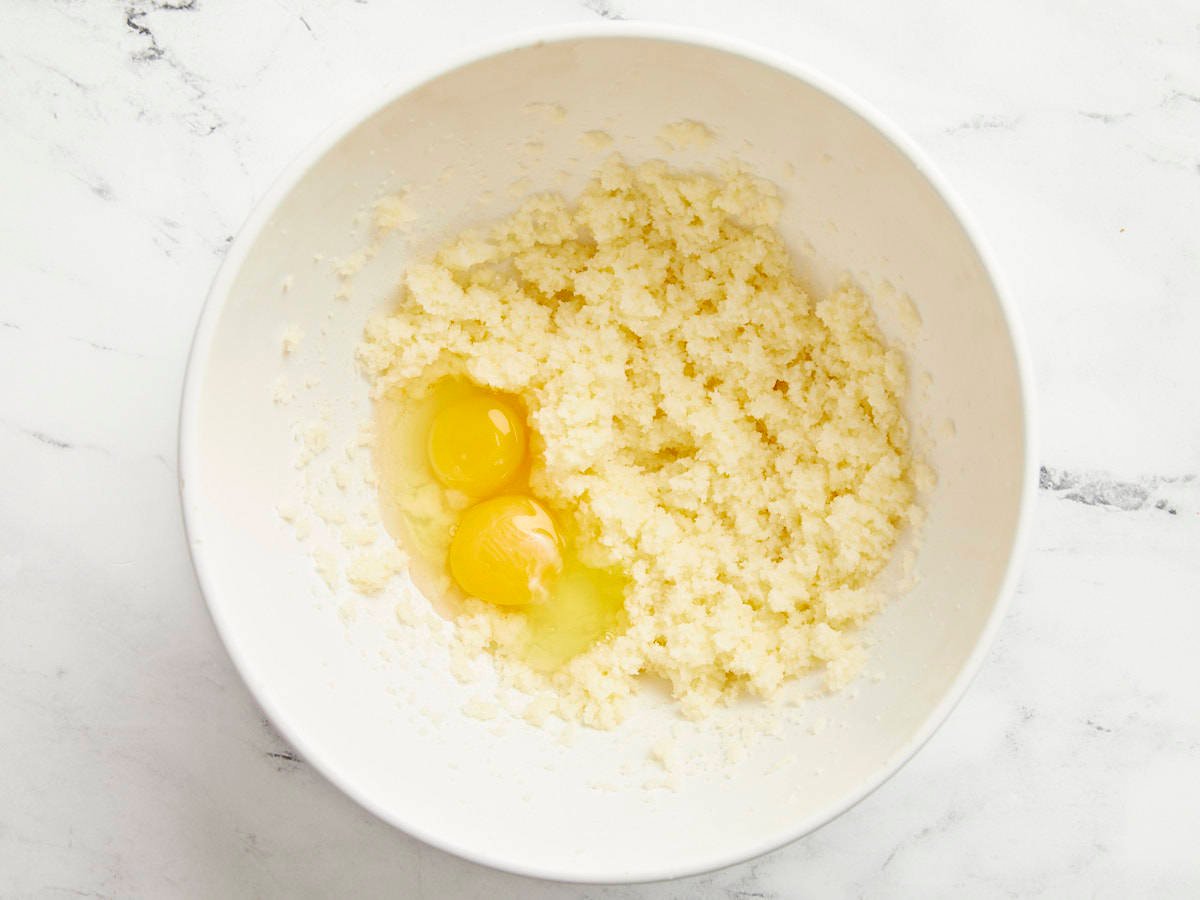
Add one pound of ground Italian sausage (hot, sweet, or mild) to a large bowl along with the breadcrumb mixture, and one large egg. Use your hands to mix these ingredients until evenly combined.

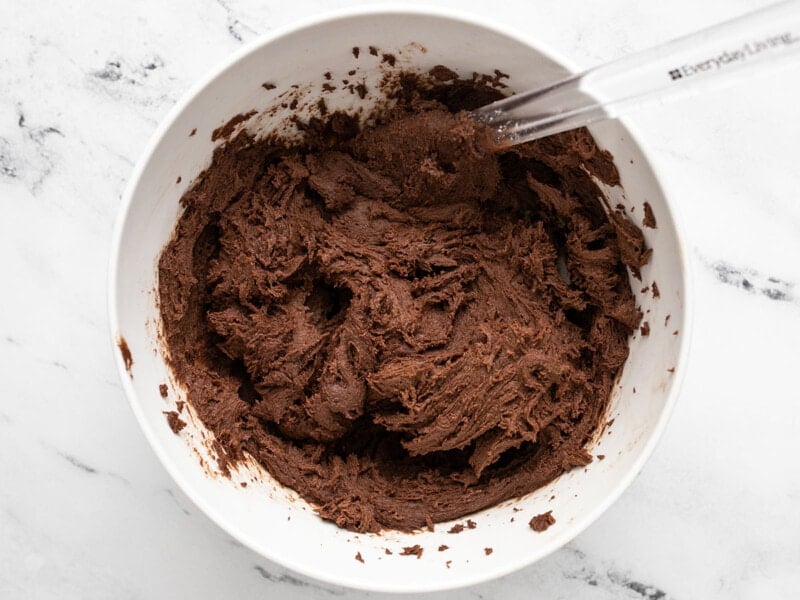
Divide and shape the mixture into 32 small meatballs, about 1 Tbsp each. Set the meatballs aside.
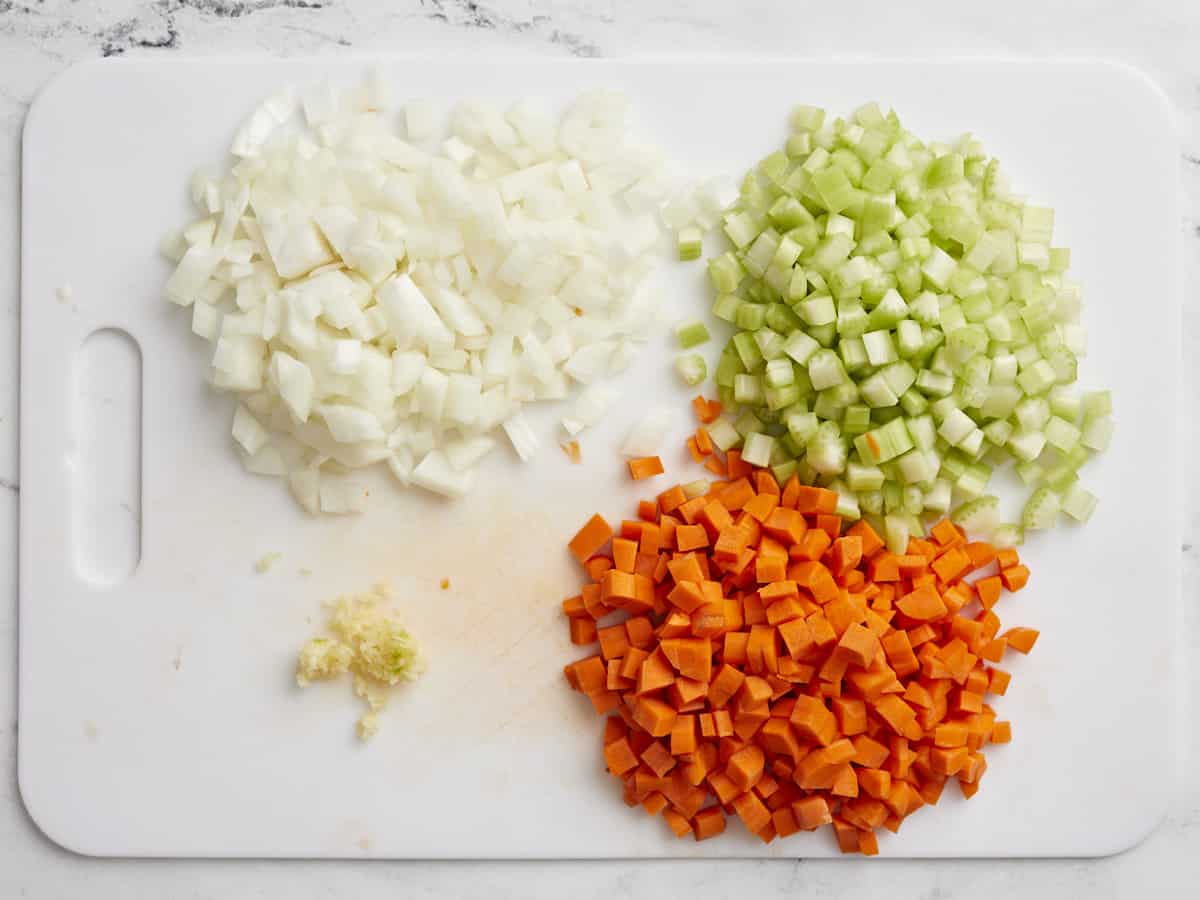
Chop one yellow onion, finely dice three stalks of celery and three carrots, and mince two cloves of garlic
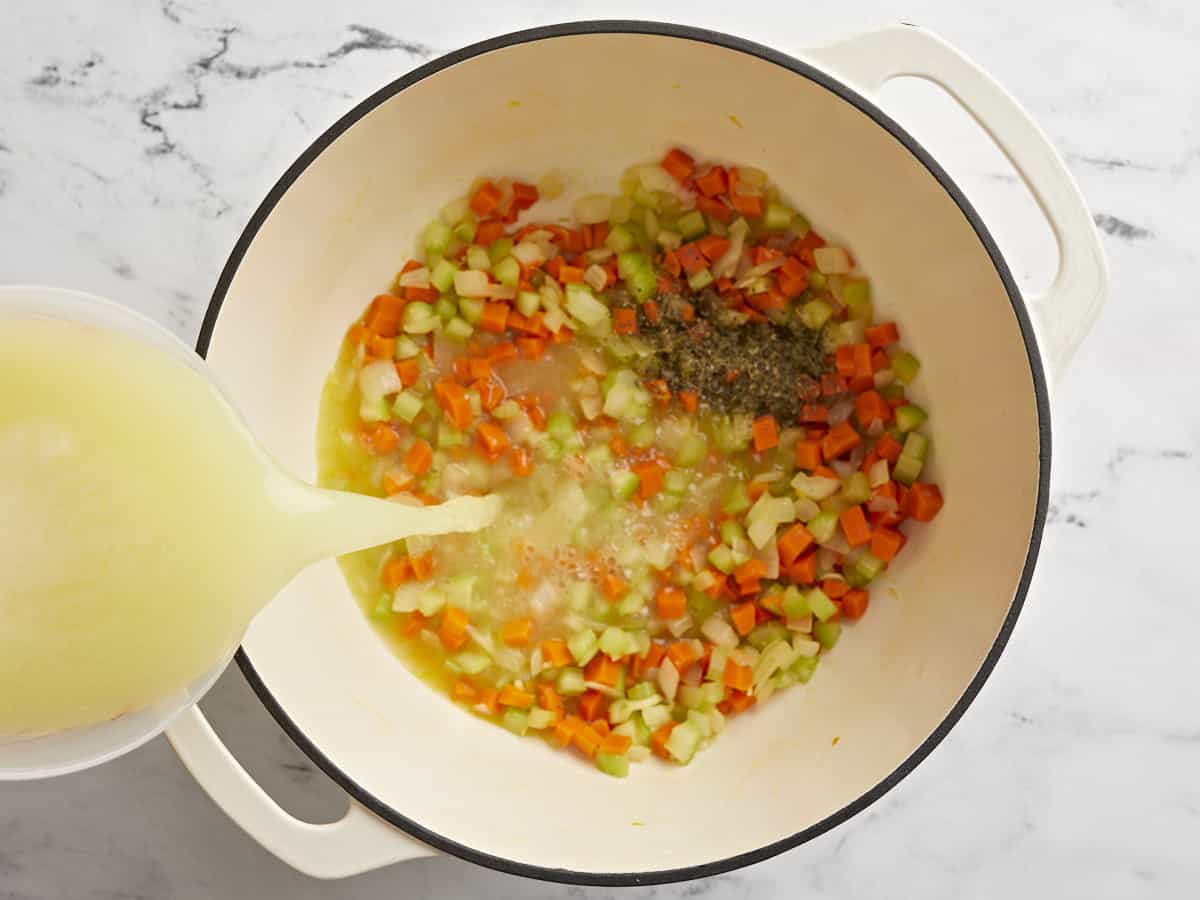
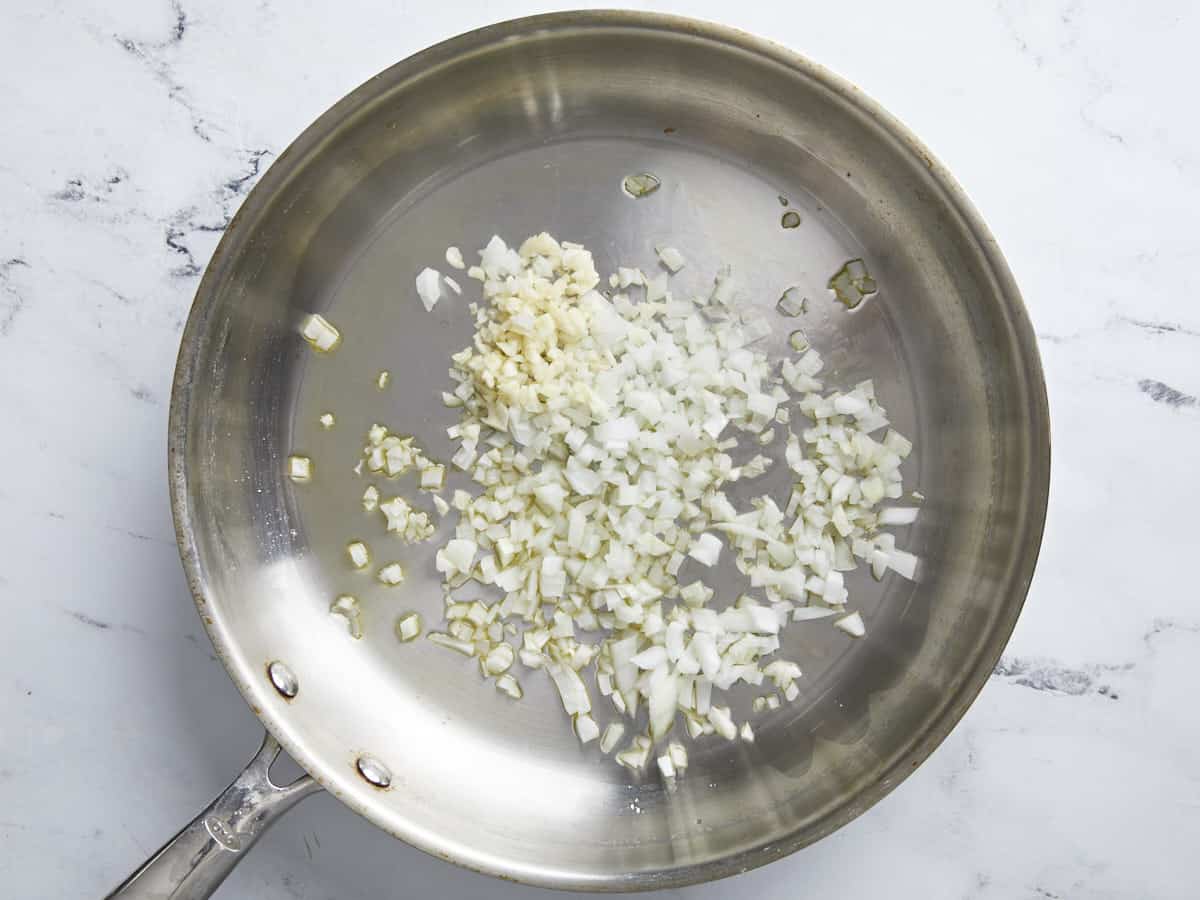
Add the onion and garlic to a large soup pot with 2 Tbsp olive oil. Sauté over medium heat until the onions are soft. Add the carrot and celery and continue to sauté for a few minutes more, or just until the celery begins to soften. Add one tsp of Italian seasoning and six cups of chicken broth, then stir to combine. Place a lid on top and allow the soup to come up to a boil.
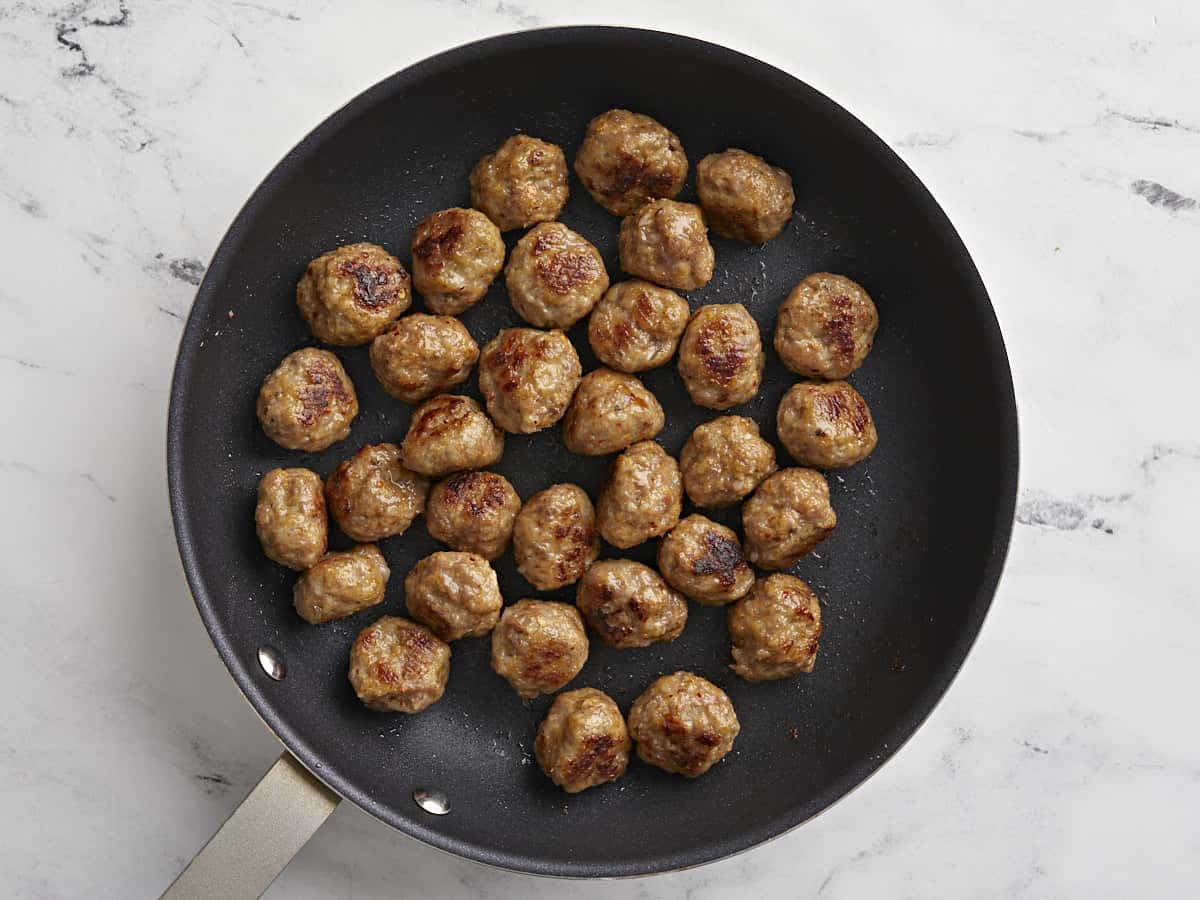
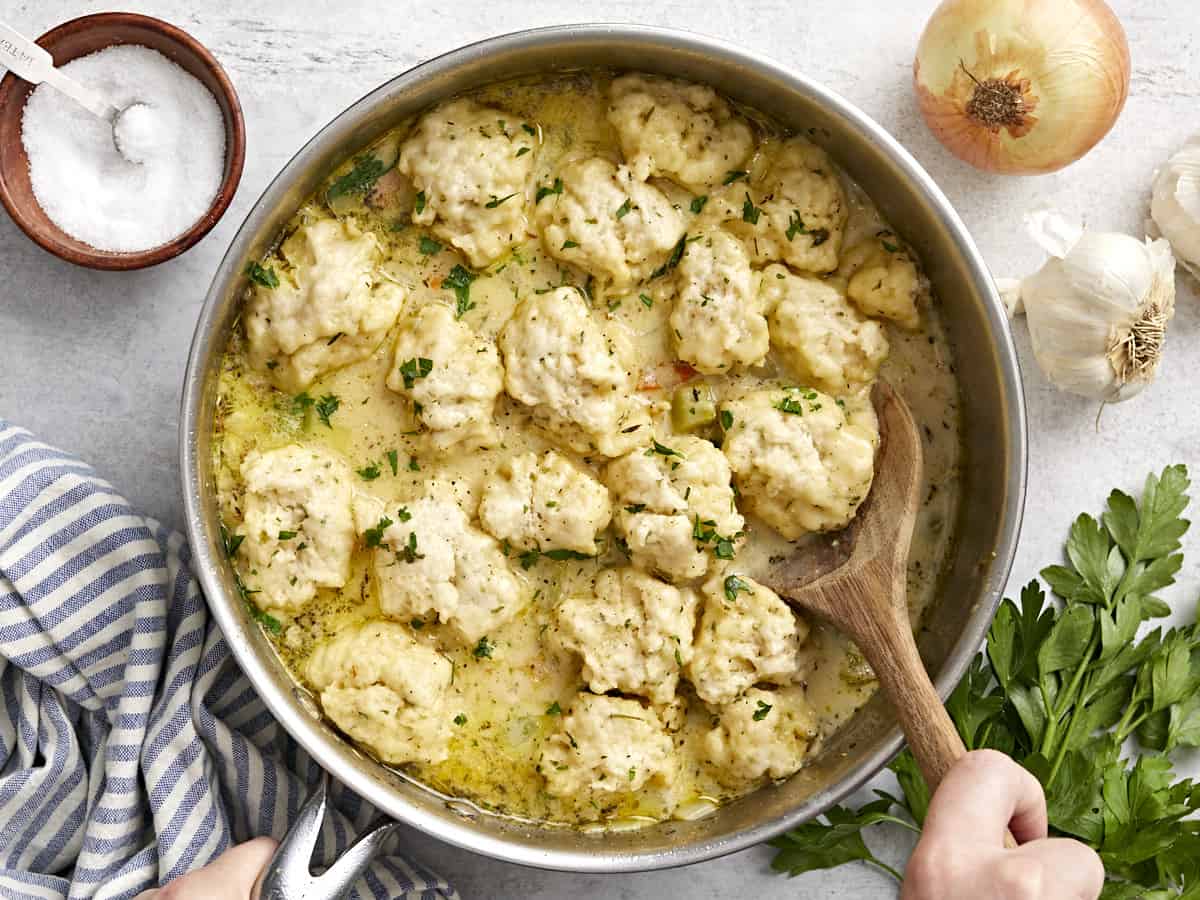
Add the meatballs to the boiling soup and boil for about 10 minutes, or until cooked through. Or, if you want browned meatballs, melt a tablespoon of butter in a large skillet over medium heat, then add the meatballs and brown them on each side. It’s okay if they’re not cooked through, you can add them to the simmering soup to finish cooking.
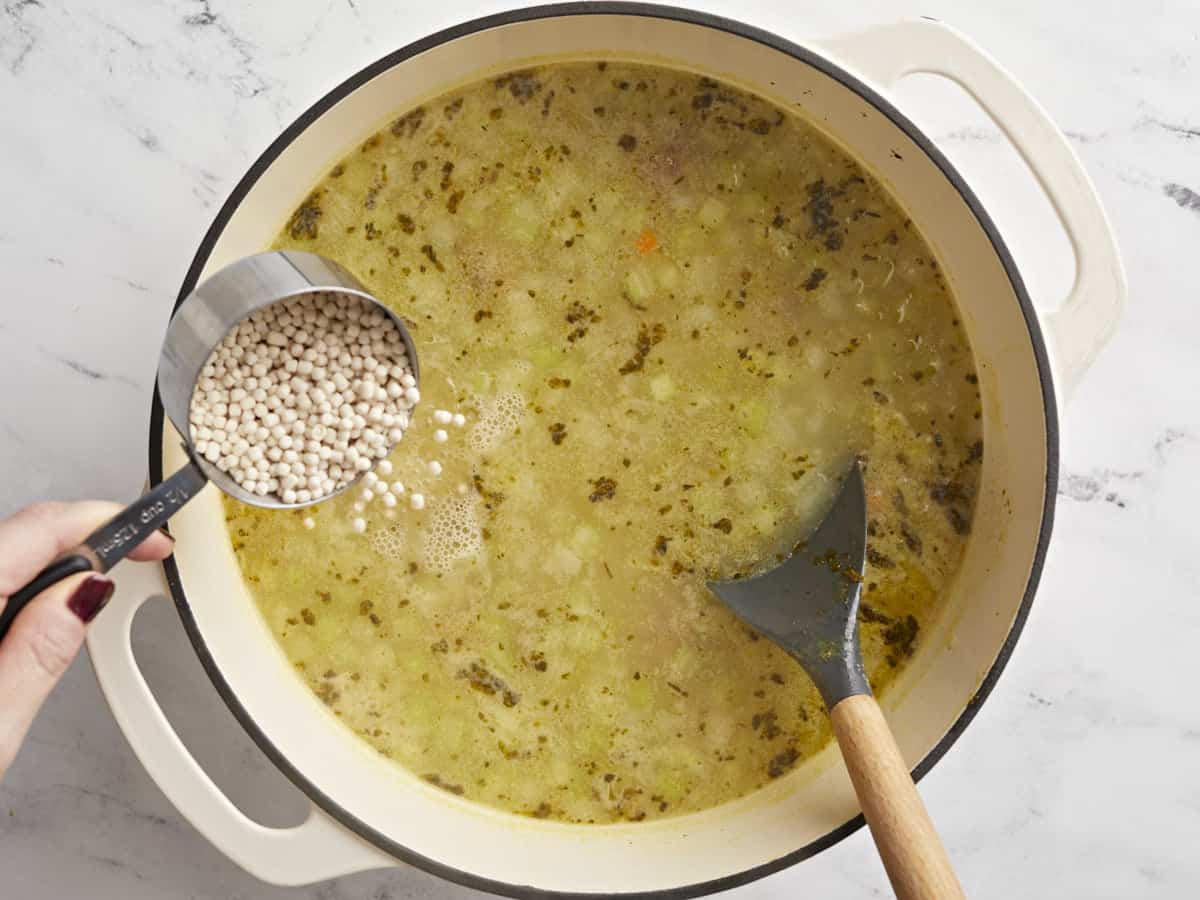
Make sure the soup is still boiling, then add ½ cup of a tiny-shaped pasta like acini de pepe, pearled couscous, ditalini, pastina, or orzo. Simmer the pasta in the soup until tender (about 7 minutes).
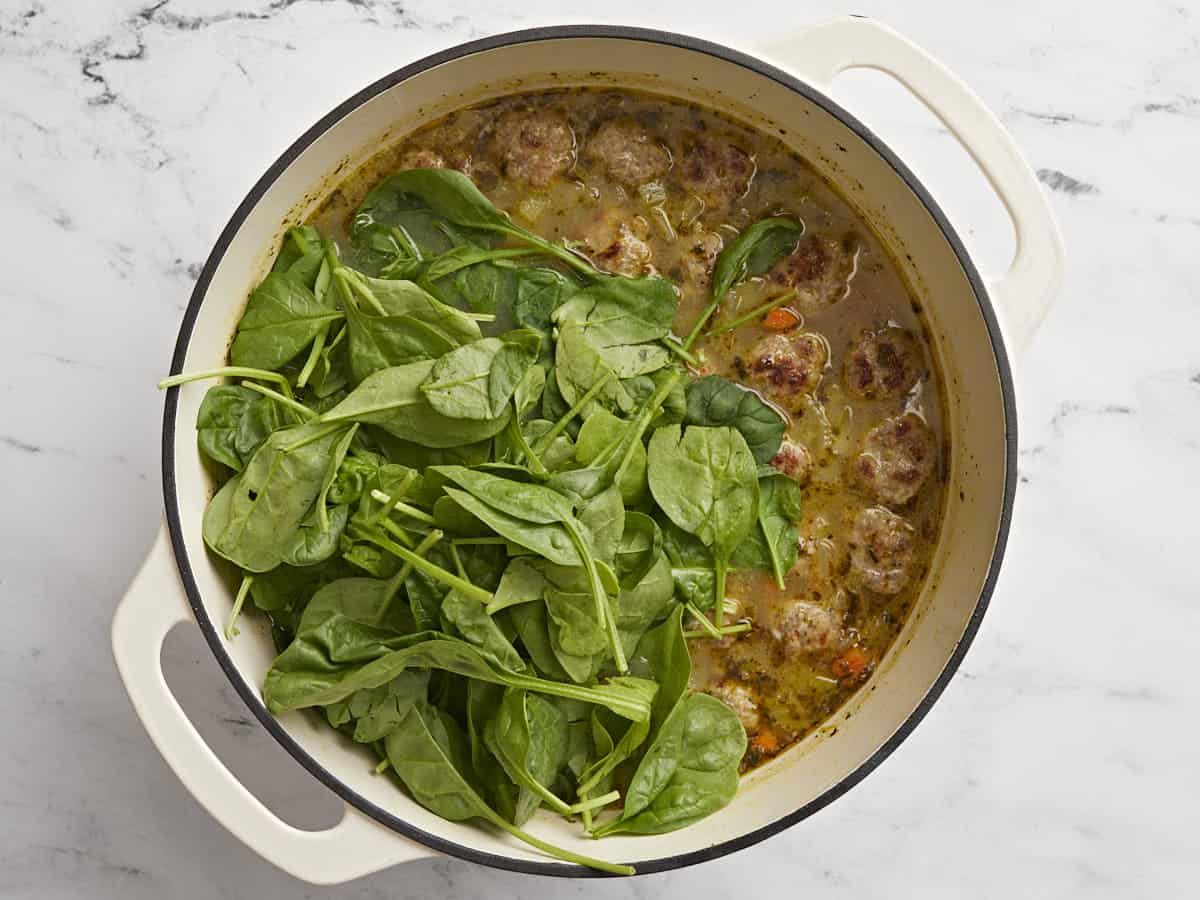
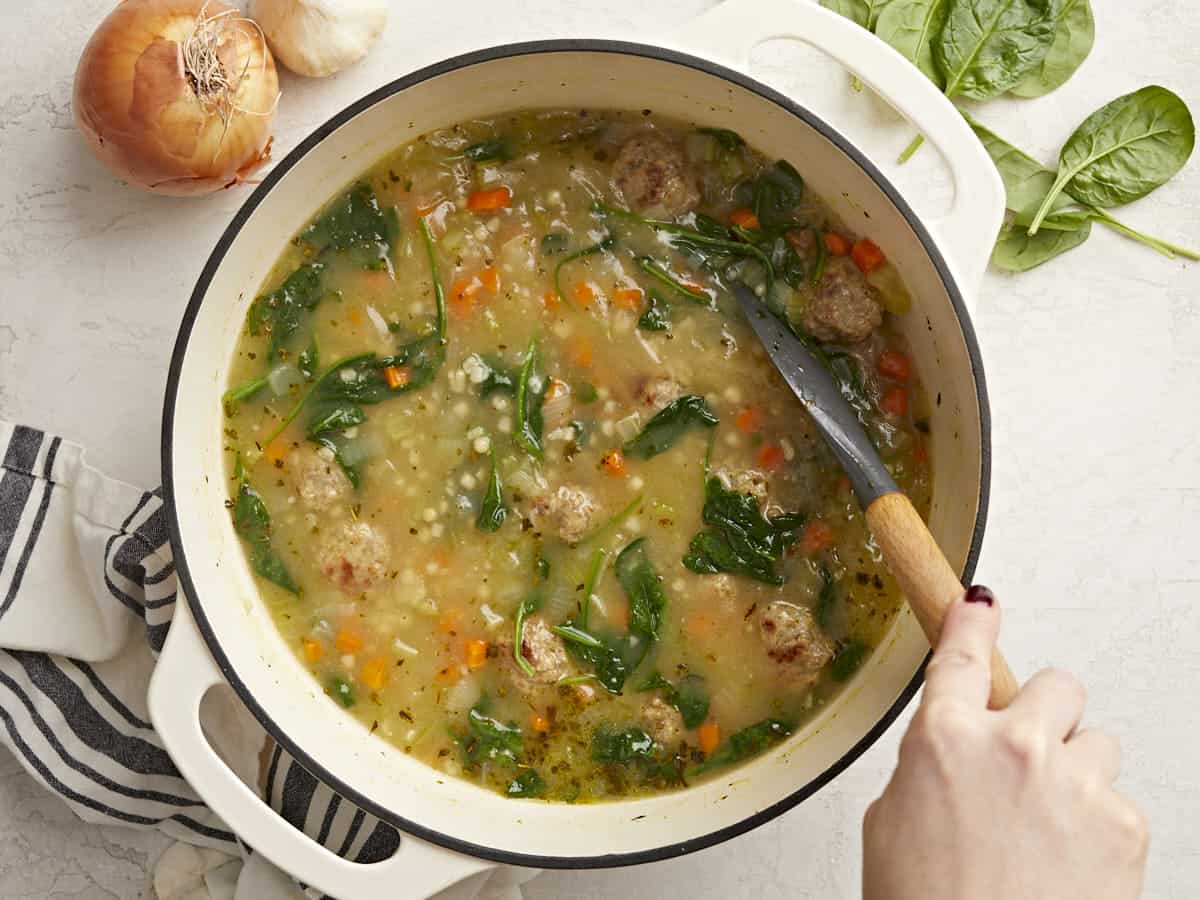
Finally, add about 4 cups of fresh spinach to the soup and stir it in until wilted (this should only take about a minute).
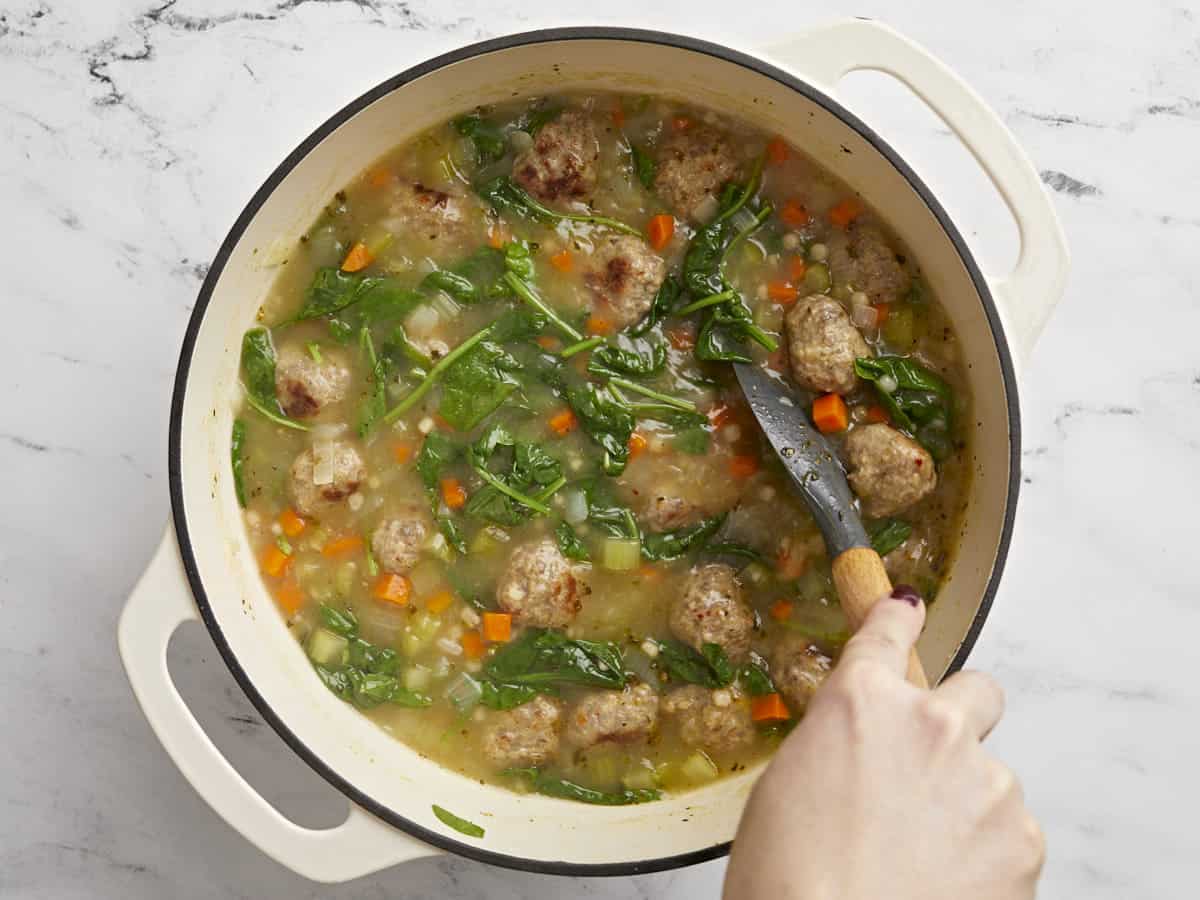
Give the soup a final taste and adjust the salt or other seasonings to your liking.
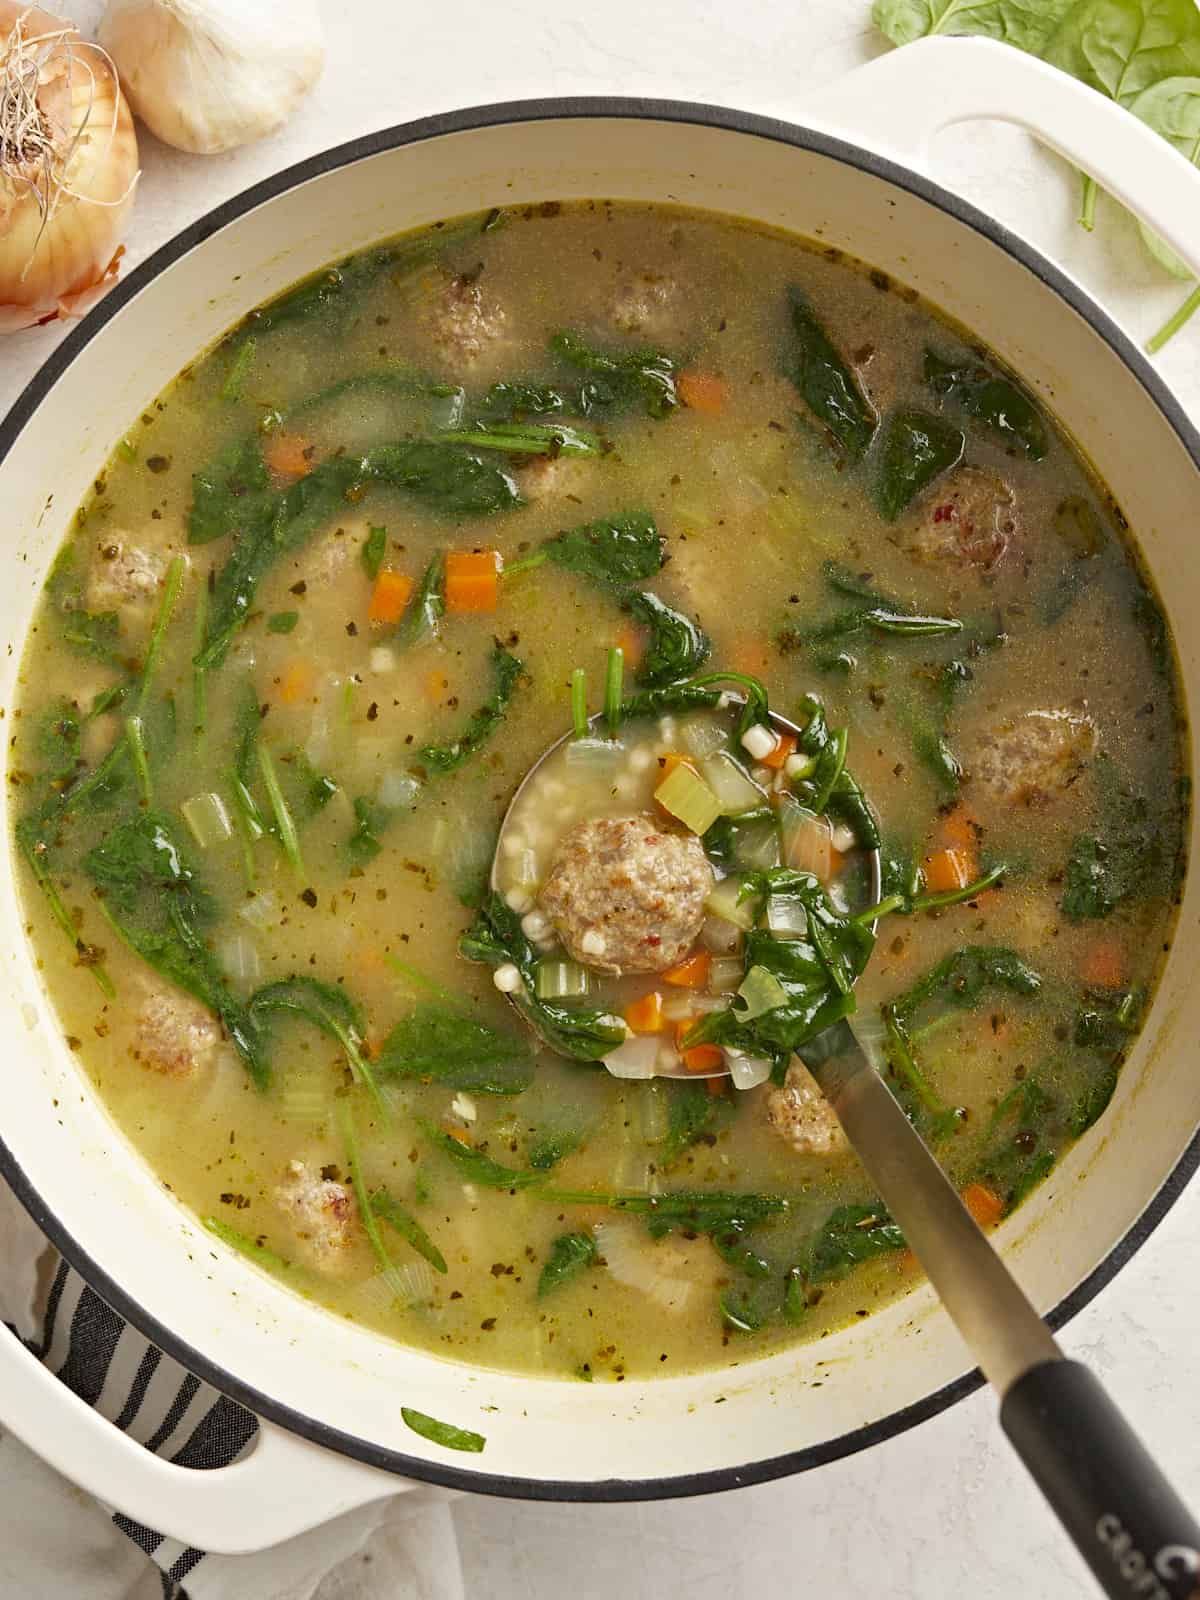
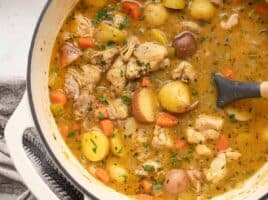
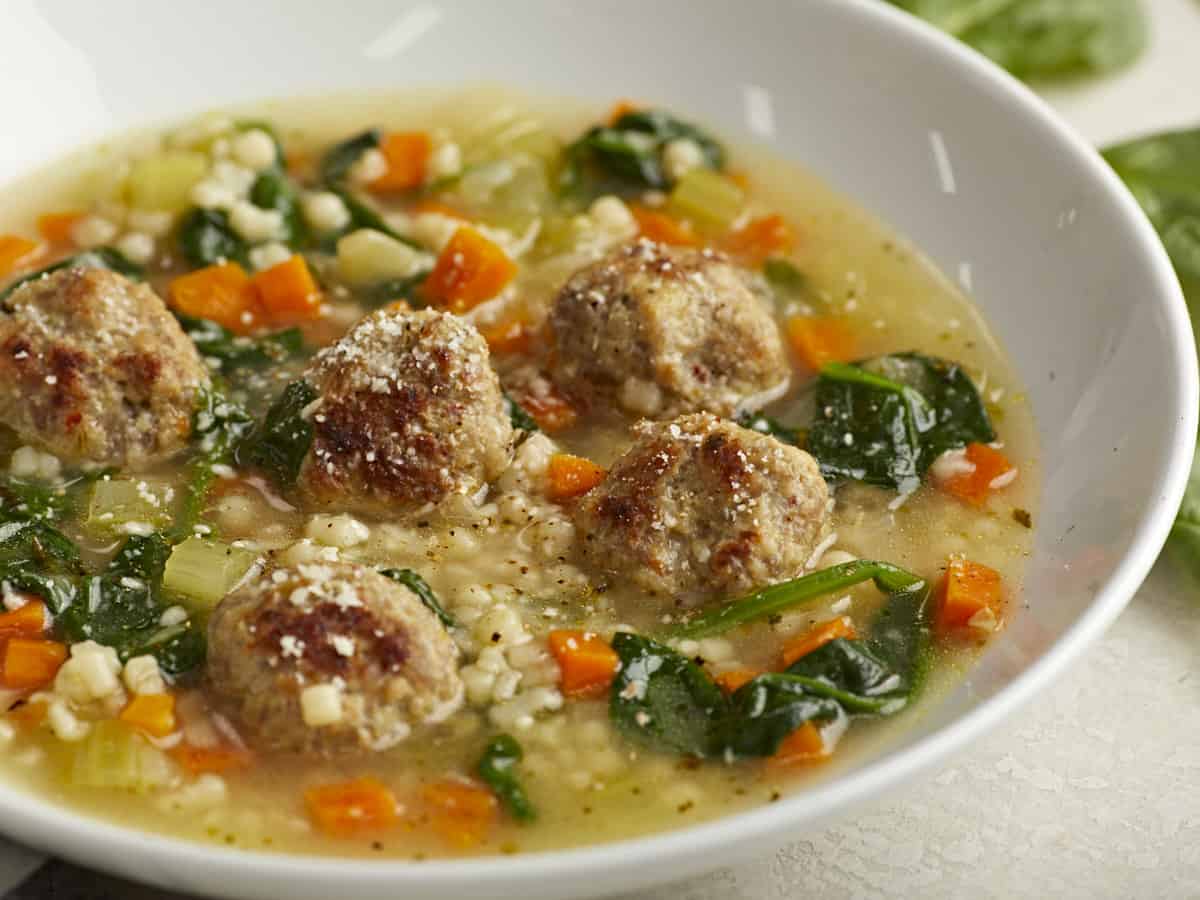
Serve hot and enjoy every cozy and hearty spoonful!
More Cozy Soup Recipes


The post Italian Wedding Soup appeared first on Budget Bytes.