Pumpkin Pie Spice Substitute
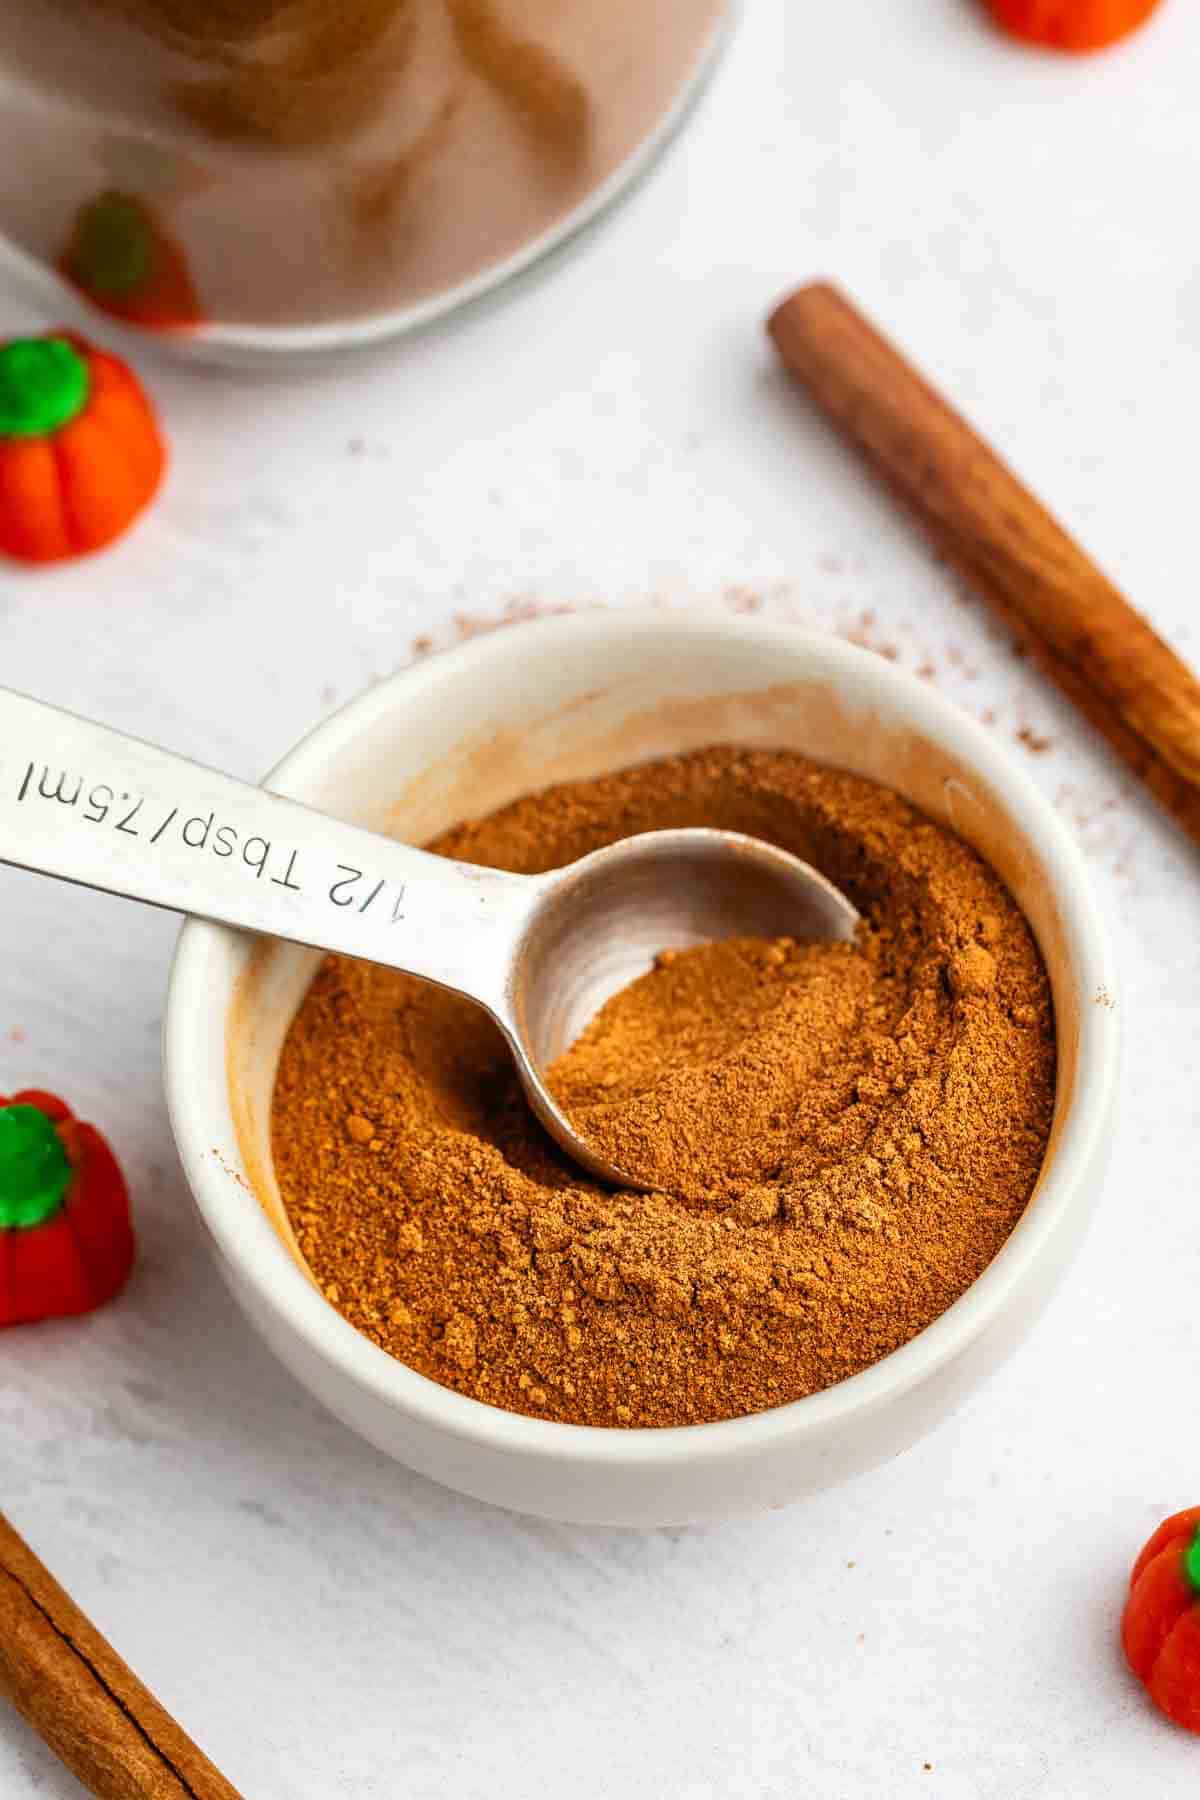 Have you ever wondered how to make your own pumpkin pie spice substitute? This easy DIY recipe is perfect for making a homemade pumpkin spice mix. Making your own spice blend is easy and perfect to make in bulk or just to use in a pinch when a recipe calls for it. I use this mix…
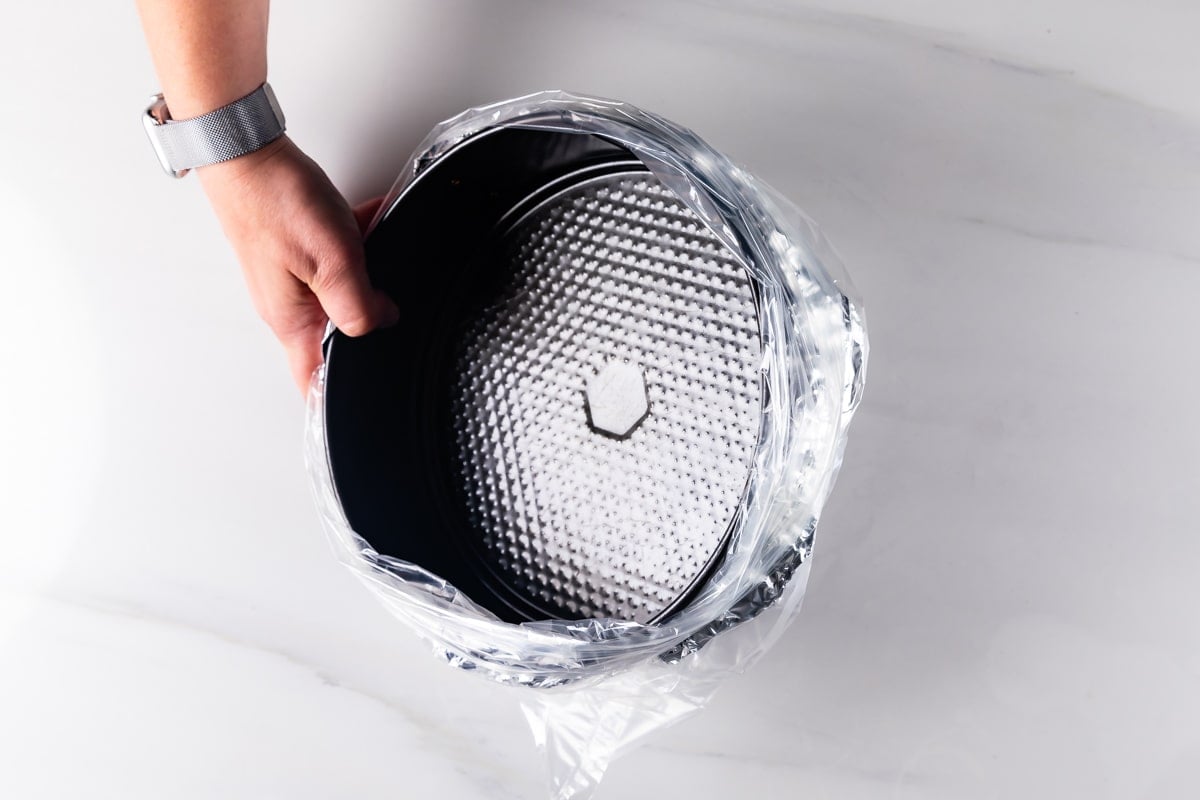 Let’s talk about how to make a cheesecake water bath! No matter what kind of baked cheesecake you’re making, using a water bath will ensure a creamy smooth cheesecake without cracks. It may seem daunting but it’s the best way to bake any cheesecake recipe! What is a water bath? A cheesecake water bath is…