Chewy Sugar Cookie Recipe
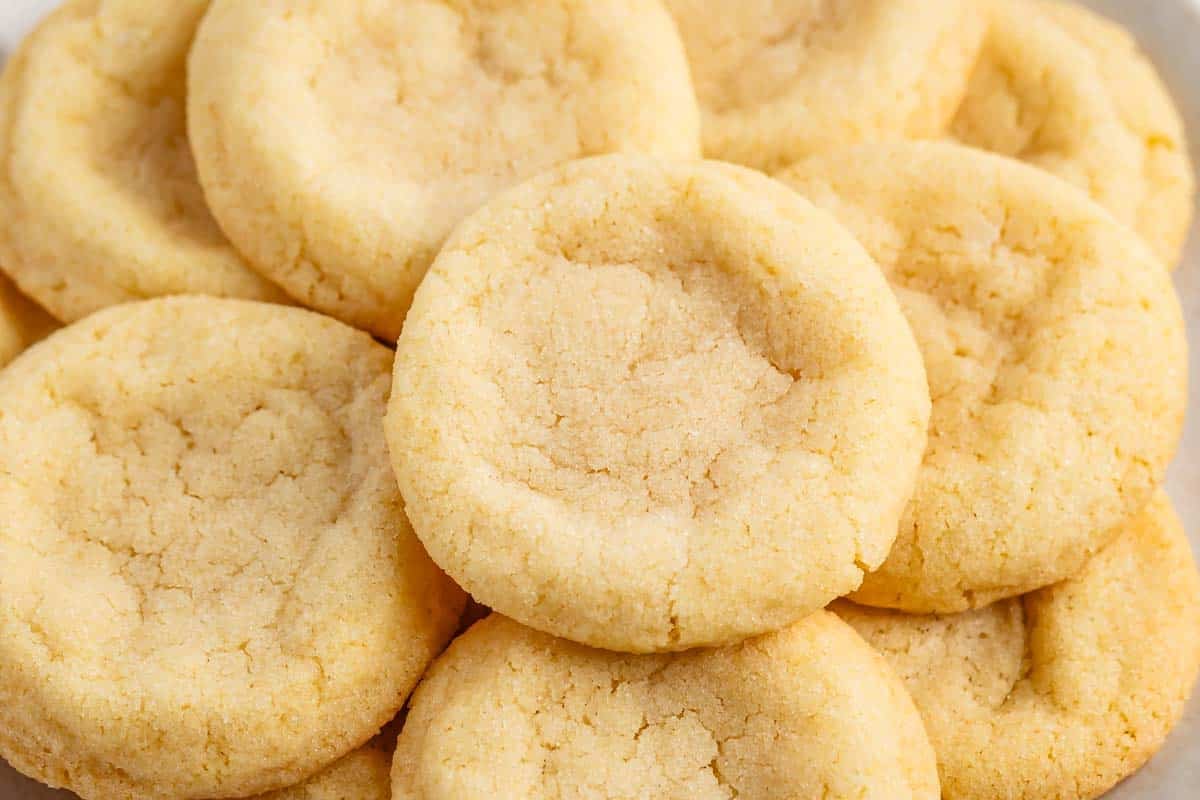 Chewy Sugar Cookies take my favorite cookie recipe and instead of being pillowy soft, they have crunchy edges and chewy centers. Because these are sweet enough without frosting, this is an easy sugar cookie recipe you can count on to be the best one you’ve tried! This recipe has been updated to fulfil the chewy…
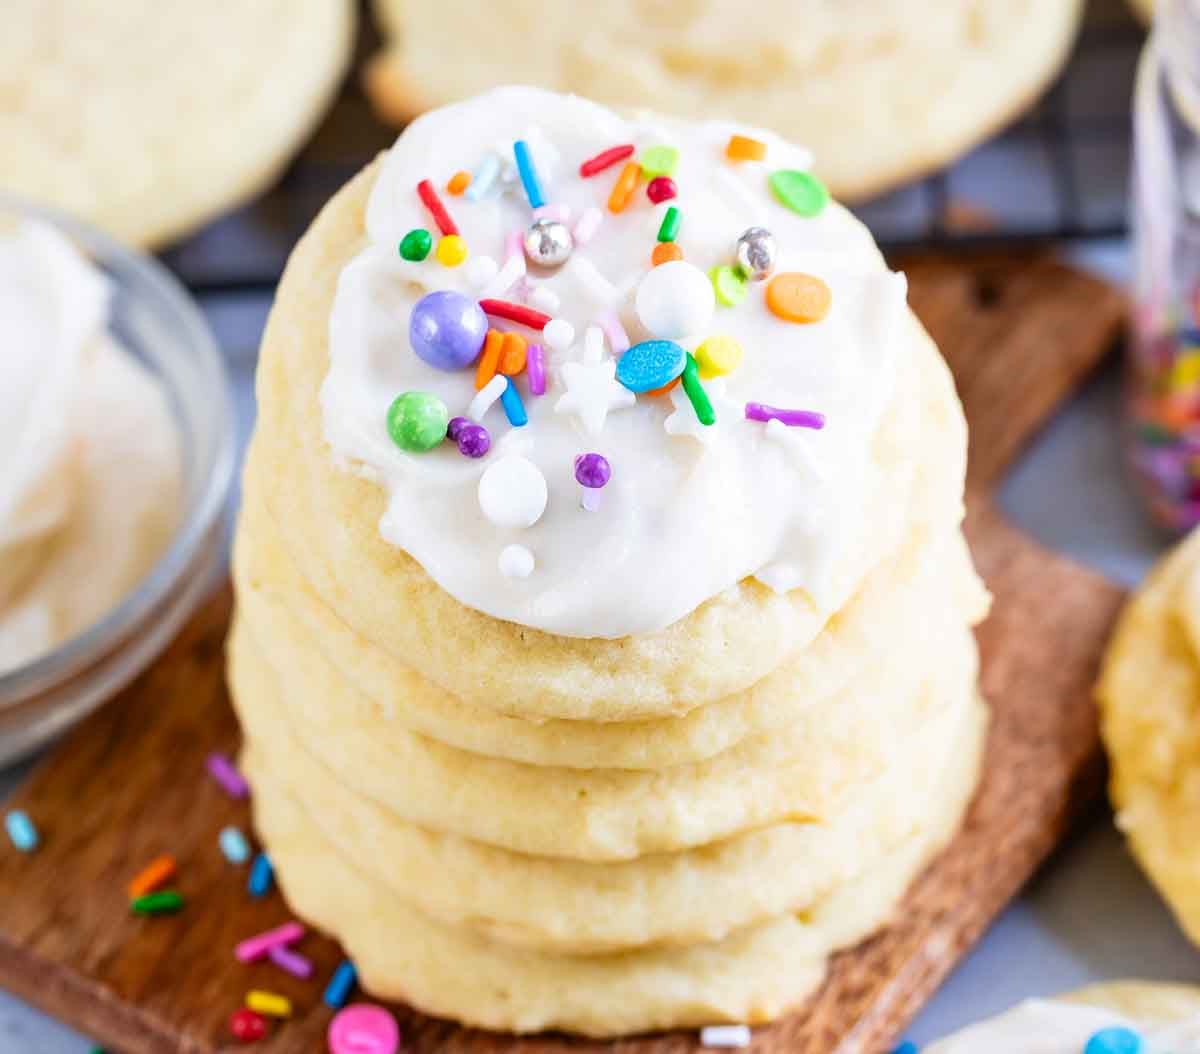 Easy Soft Sugar Cookies – a classic drop sugar cookie, no cookie cutters or rolling needed! With the buttercream cookie frosting on top these are perfect for any holiday or occasion – or because you can’t get enough sugar cookies! Drop sugar cookies are a go-to recipe for the easiest soft sugar cookies. These cookies…
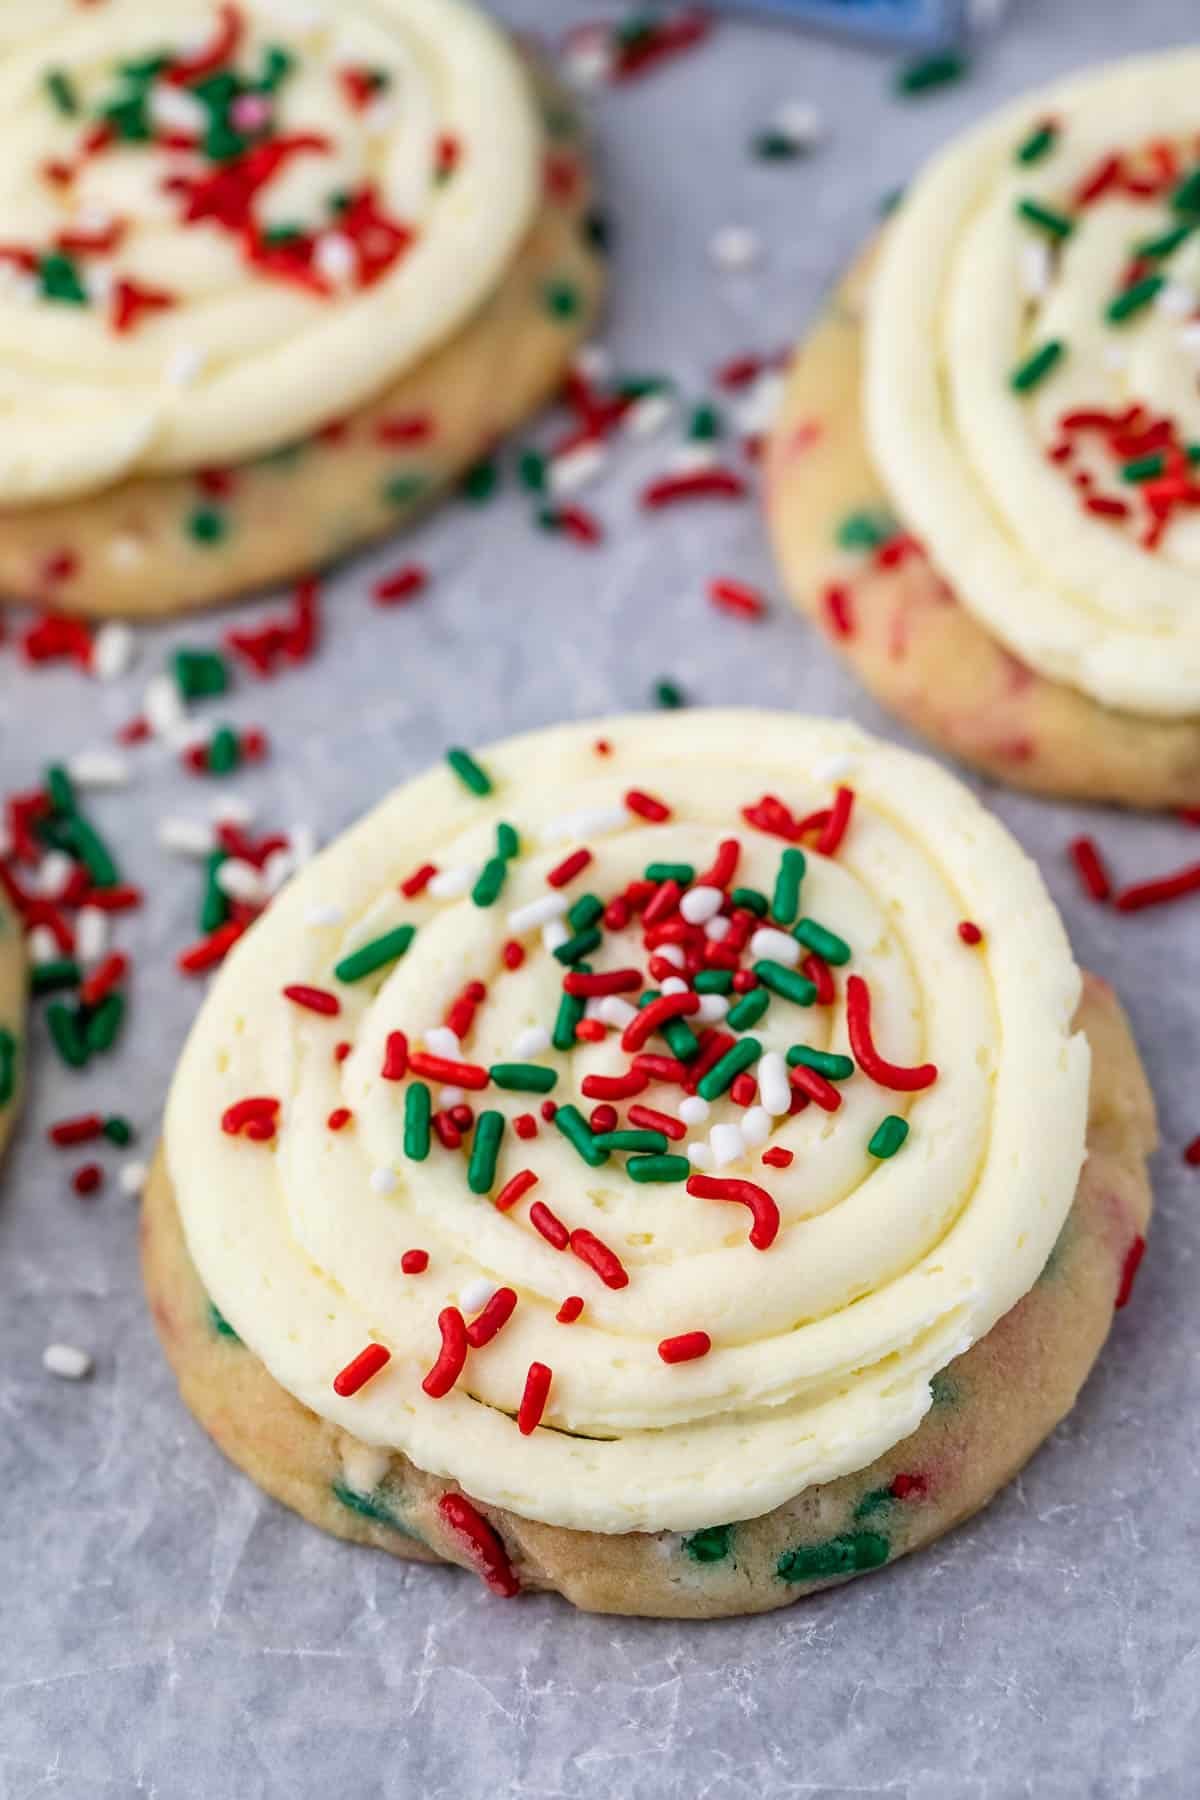 Love cake batter flavor? Make my Christmas Cake Batter Cookies instead of buying the ones at the pink bakery – these are a copycat recipe and are even better than those! Soft sugar cookies with a cake batter frosting, all dressed up with holiday colors! I love making Crumbl copycat recipes, like the pink sugar…
 Taylor Swift Chai Cookies are delicate and soft and perfectly chai spiced with a cinnamon frosting. Whether or not you’re a Taylor Swift fan you MUST try making Chai Sugar Cookies because they’re SO delicious. I am a ginormous Taylor Swift fan and I’ve been loving making recipes that tie into her songs (like a…
 Chewy Brown Sugar Cookies are one of the best cookie recipes I’ve ever made. They’re soft with crisp edges and a delicious flavor thanks to all the brown sugar in the recipe! These are the perfect base cookie dough too and are so delicious. I used to frequent a cookie shop that had a cookie…