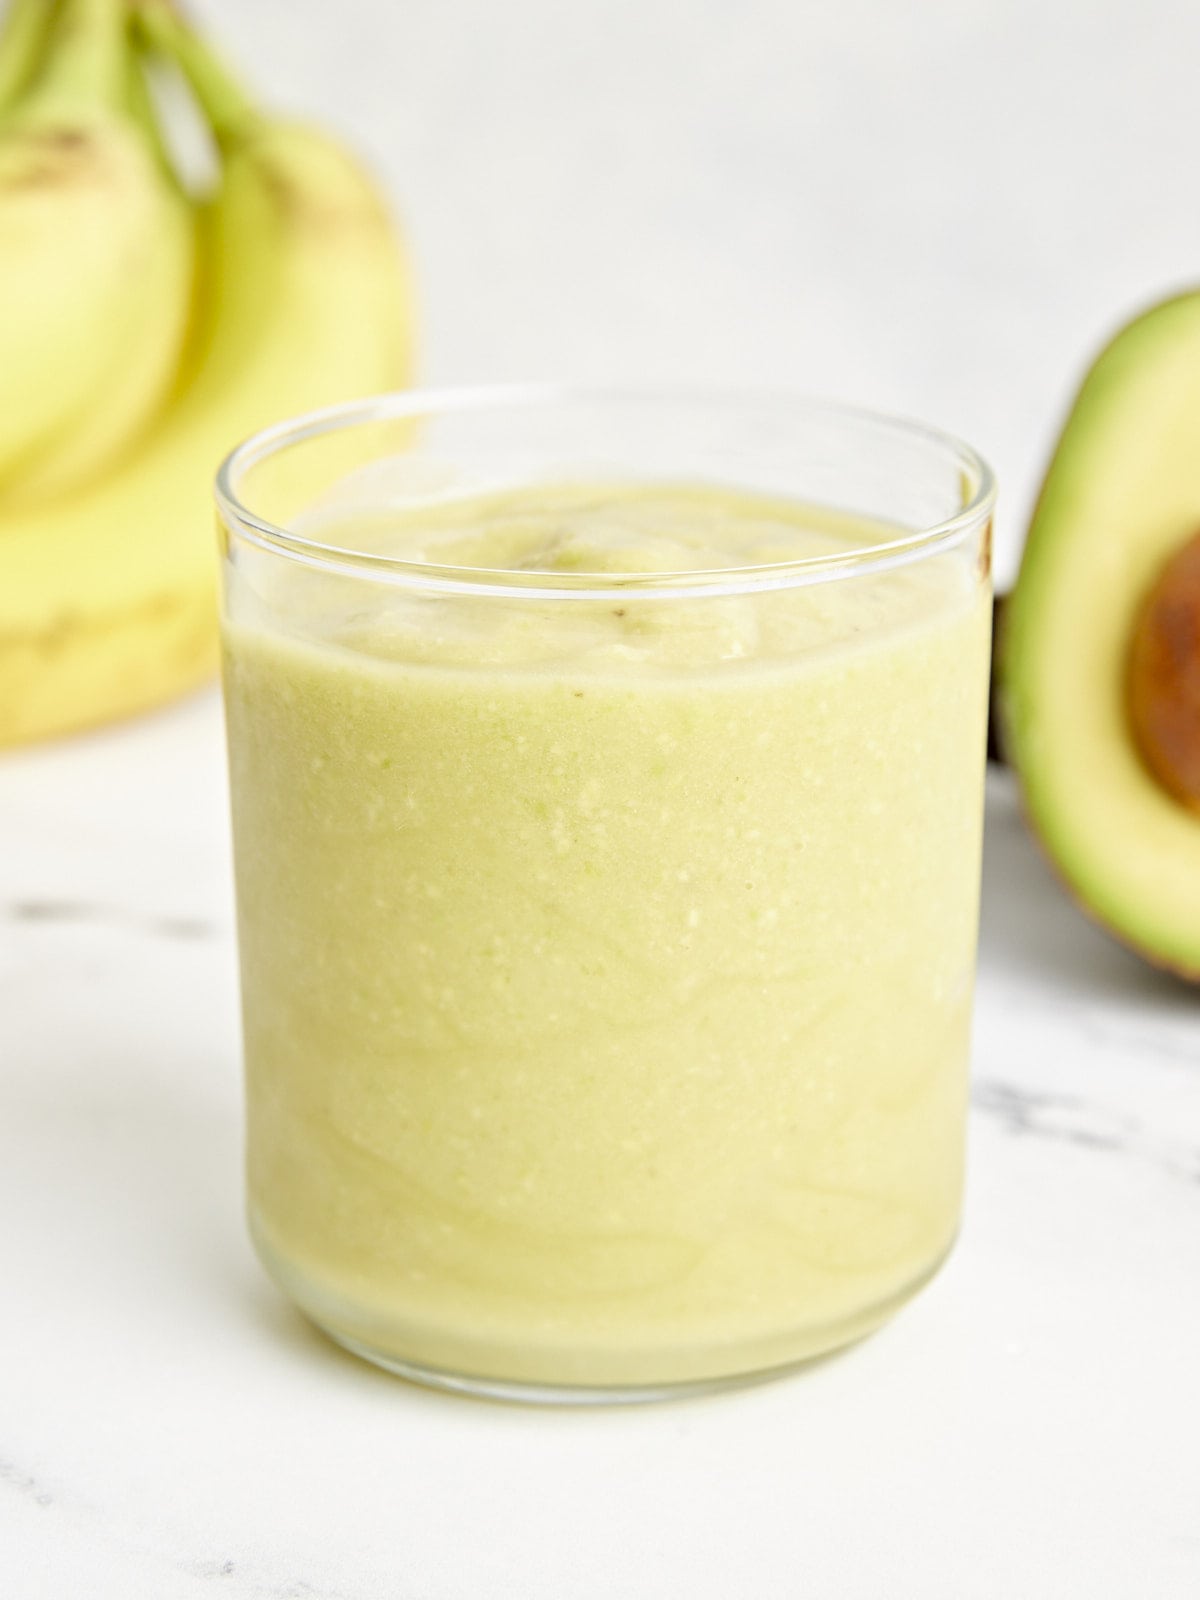
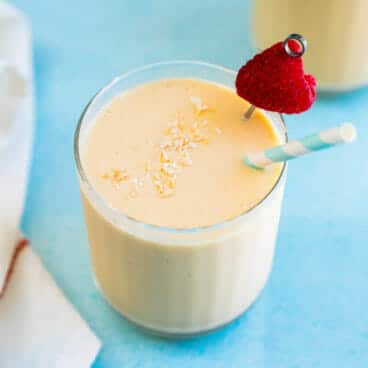
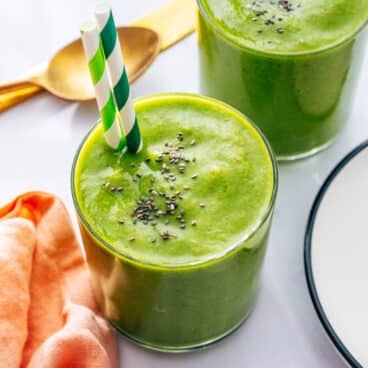
Did you know you can freeze avocados? This information was life-changing when I opened my former restaurant, AVO, in Nashville back in 2015; we used frozen avocado in our signature drink, the Avocado Margarita and let me tell you, freezing ripe avocados saved us a bunch of dough! Now, I buy ripe avocados any time they’re on sale, slice them up, and toss them in the freezer for later. This avocado smoothie is the perfect way to use up frozen avocado. I know avocado in a drink might sound crazy, but trust me, it’s the secret to an ultra-rich, dessert-like smoothie. It’s packed with healthy fats and imparts that same creamy texture that avocados (and guacamole) are known for! This is your new favorite green smoothie.
What Is An Avocado Smoothie?
Citrus and avocado are a classic combination. In this smoothie, I add a creamy, ripe banana and a little extra sweetness from agave nectar, making it an instant winner! Super creamy, bright, and fun, this avocado smoothie is the perfect treat with lots of healthy ingredients involved.
Ingredients
Here’s what you’ll need to make an avocado smoothie:
Frozen Avocado: Makes this smoothie lusciously creamy and adds heart-healthy fats, fiber, and omega-3s.
Agave: This syrup adds a touch of sweetness to this smoothie to balance out the acidic flavors. Agave is a neutral flavored sweetener unlike maple and honey (which are delicious!) but can sometimes take over flavor-wise.
Frozen Banana: Adds flavor, subtle sweetness and creaminess.
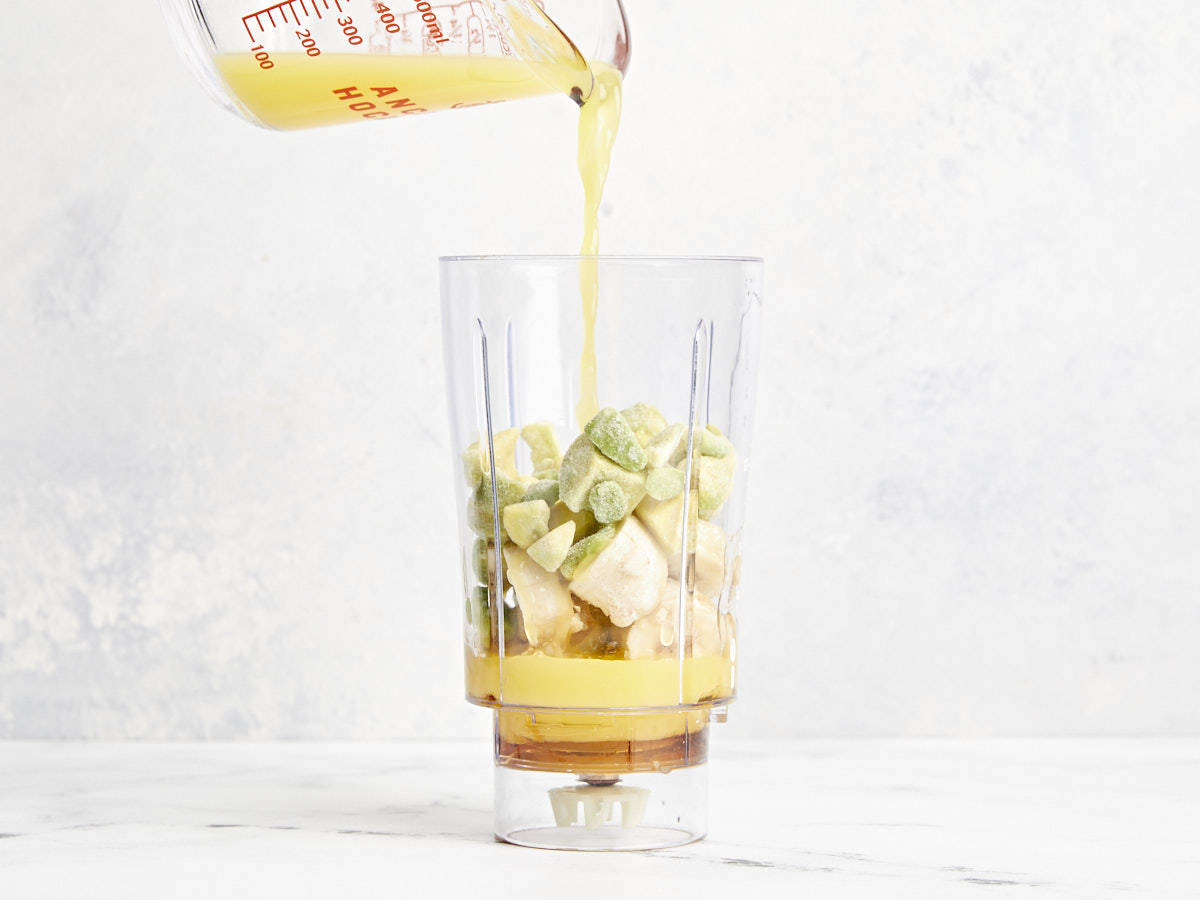
OJ: Balances the fattiness of the avocado, adding a bright flavor.
Lime Juice: Adds a touch of extra acidity to balance out the sweet and creamy flavors.
What Else Can I Add?
This smoothie is a great base to add extra greens or fruit to!
I love to add spinach or kale.
Frozen blueberries or pineapple make great fruity additions!
For a protein boost, add a scoop of peanut butter or vanilla protein powder!
how to make An Avocado Smoothie – step by step photos
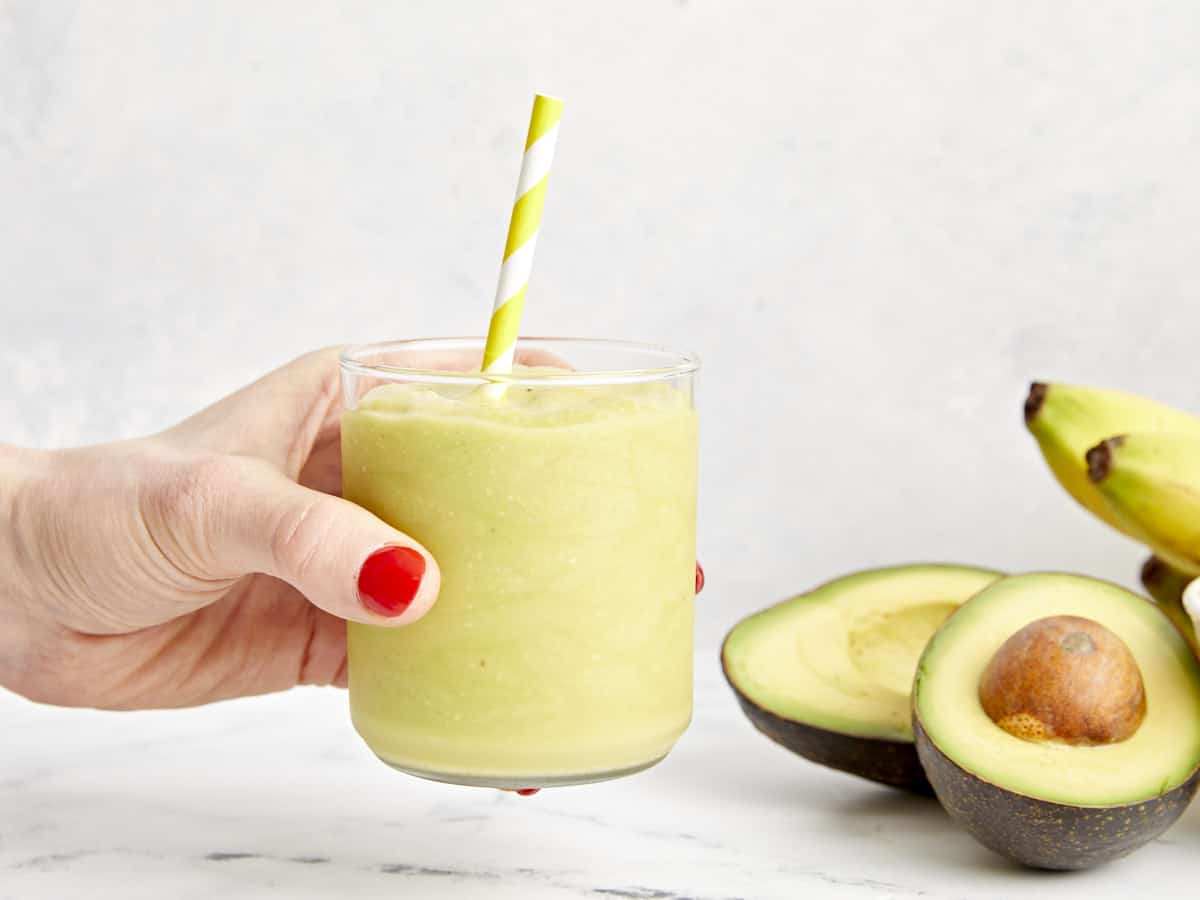
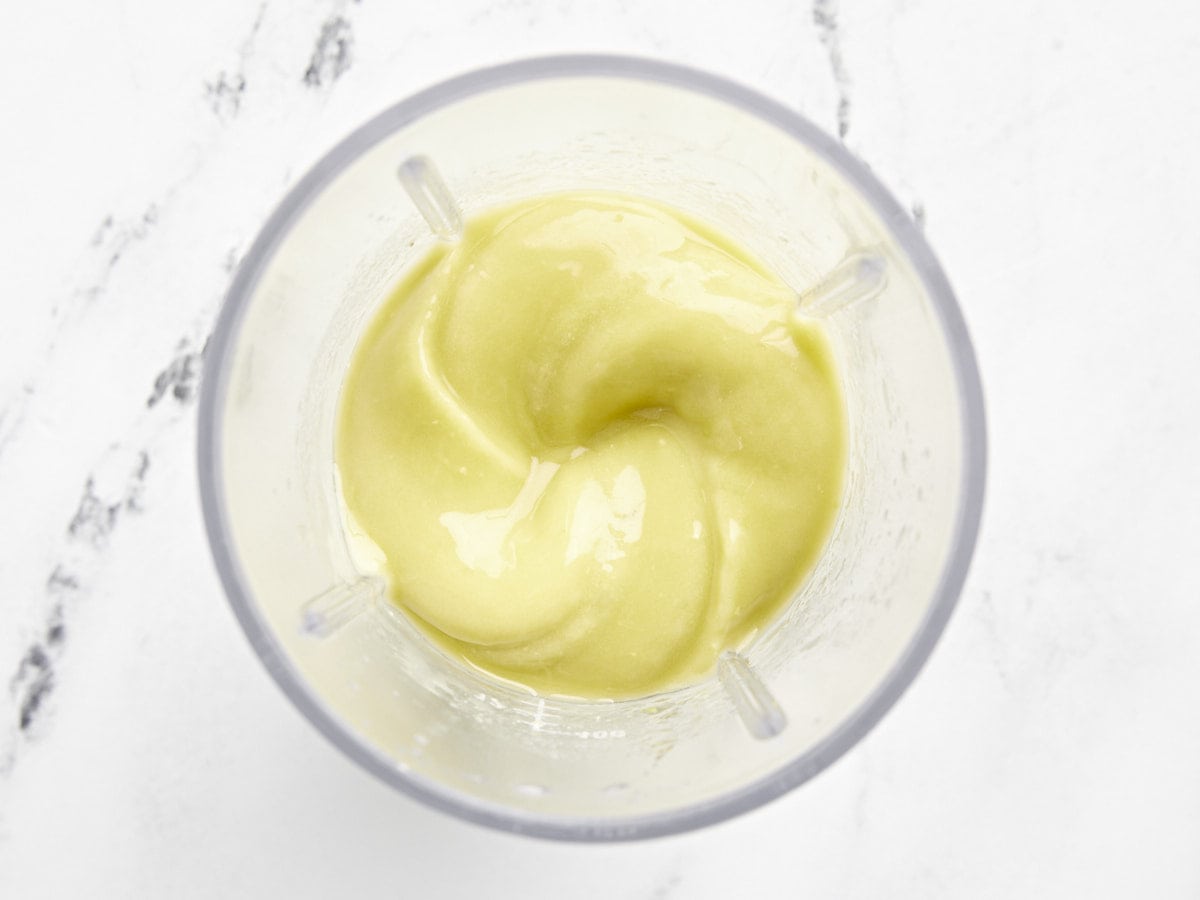
Blend 1/2 cup frozen avocado, 1 Tbsp agave syrup, 1/2 of a frozen ripe banana, 1/2 cup OJ, and 1 Tbsp lime juice together until smooth. Serve ice cold!
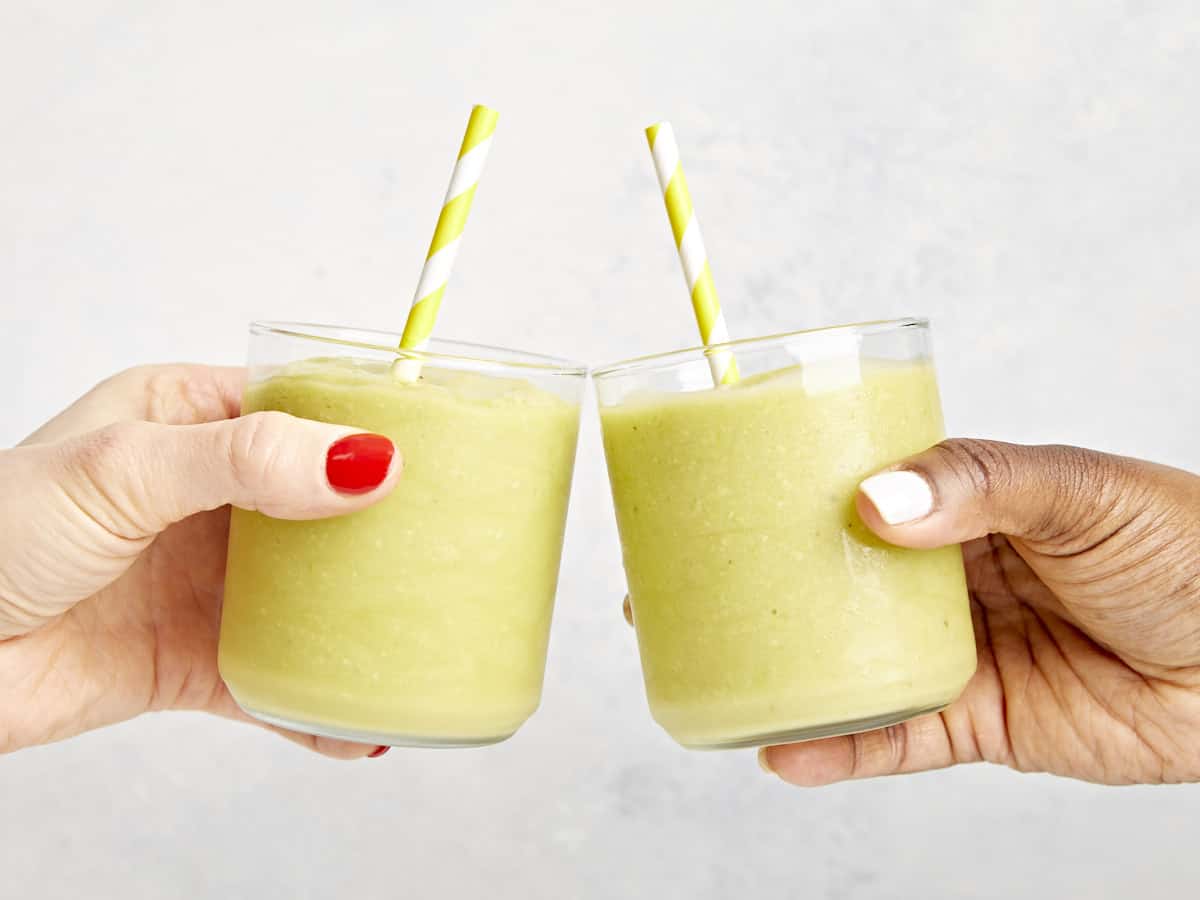
This creamy and refreshing avocado smoothie is the best way to start your morning or rescue you mid-day!
Want to sneak more greens into your diet? Here’s how to make a refreshing kale smoothie! We’ll show how to…
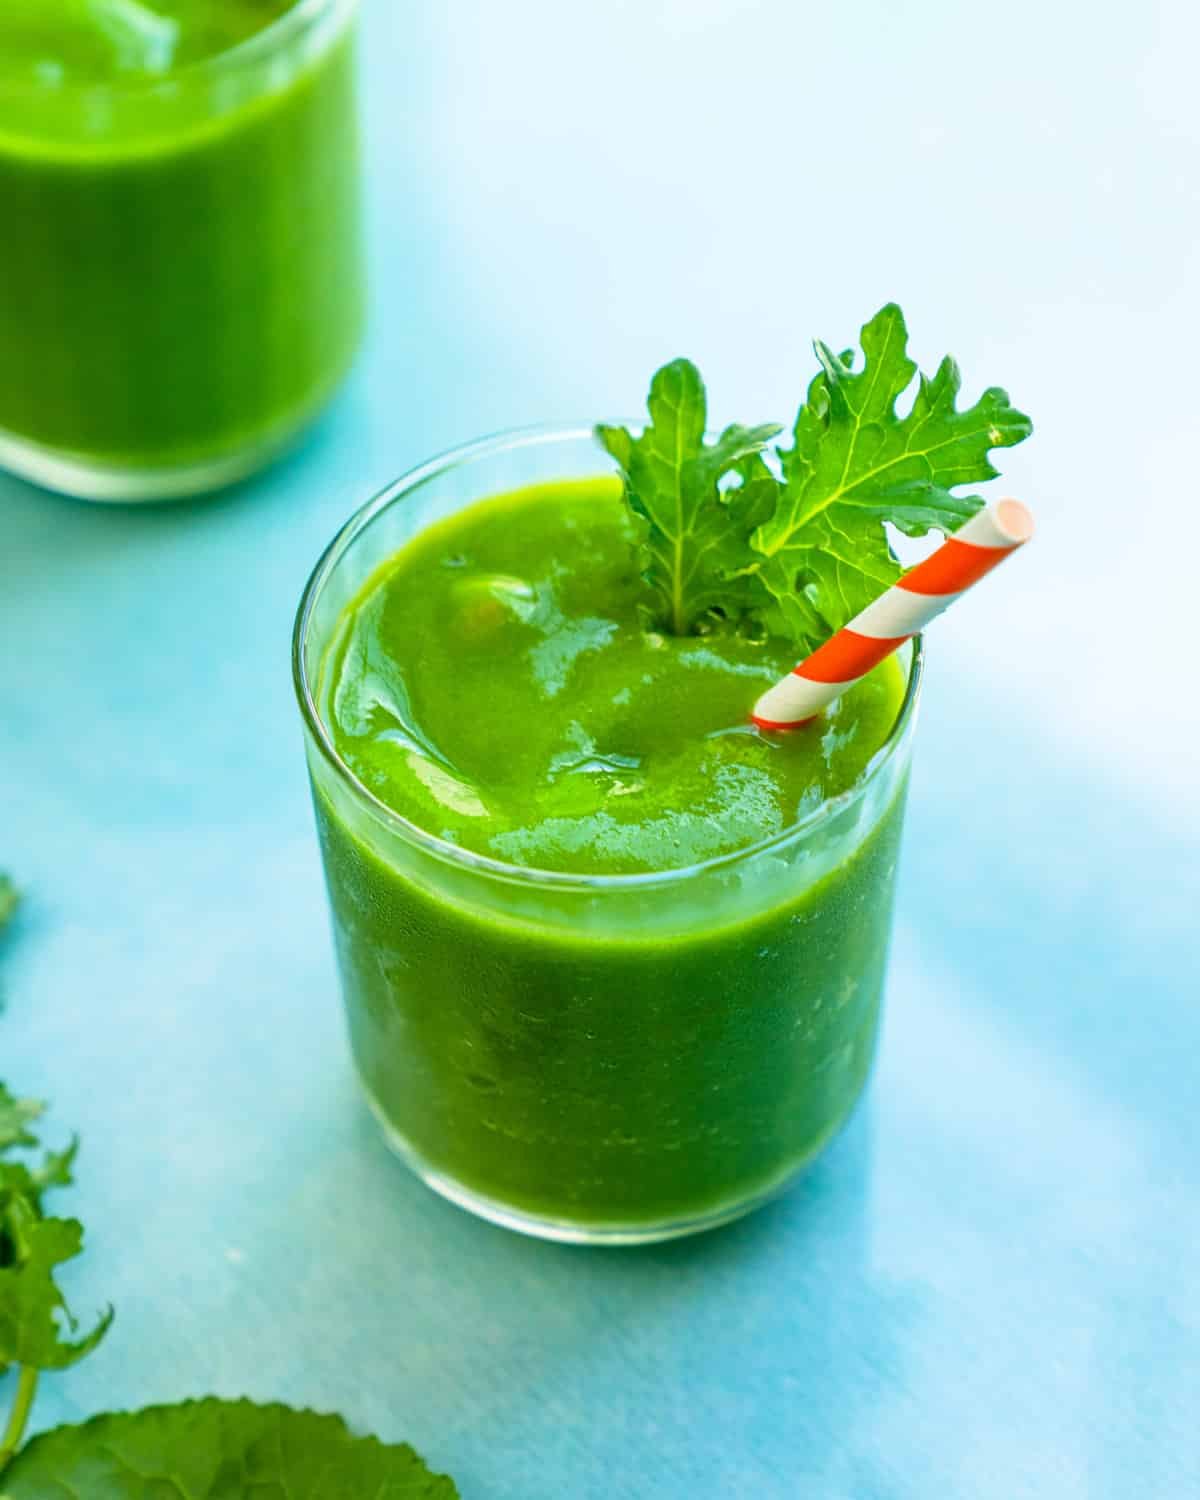
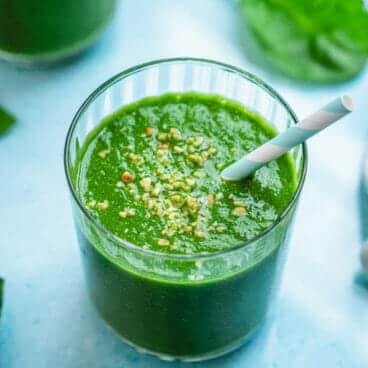
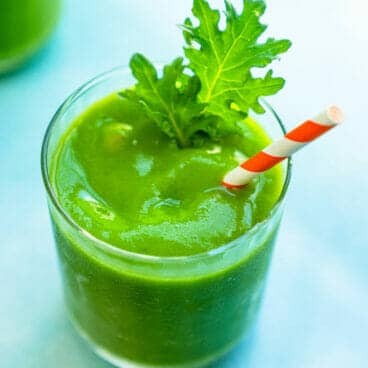
Want to sneak more greens into your diet? Here’s how to make a refreshing kale smoothie! We’ll show how to balance the flavor of kale with fruits and add-ins for a creamy and satisfying green drink you’ll actually crave.
Here’s a smoothie so good, you’ll want to make it every day. Meet our favorite kale smoothie! Yes, we know. “Kale smoothie” sounds like it would be intensely bitter. This one is anything but!
This kale smoothie is full of fruity flavor from green apple, pineapple and banana. It tastes heavenly, yet at the same time you’re getting a big dose of nutrients from leafy greens. True story: this is one of the only ways we get our son to eat kale—and he begs us for more kale smoothie. Here’s how to make it!
Why we love thiskale smoothie recipe
This kale smoothie is lusciously creamy, a satisfying drink you’ll actually crave. This is saying something, because we’ve made lots of kale smoothies that are too bitter, too thick, or too icy. This one has all the right ingredients to make an irresistibly tasty green puree. Here’s why to make it:
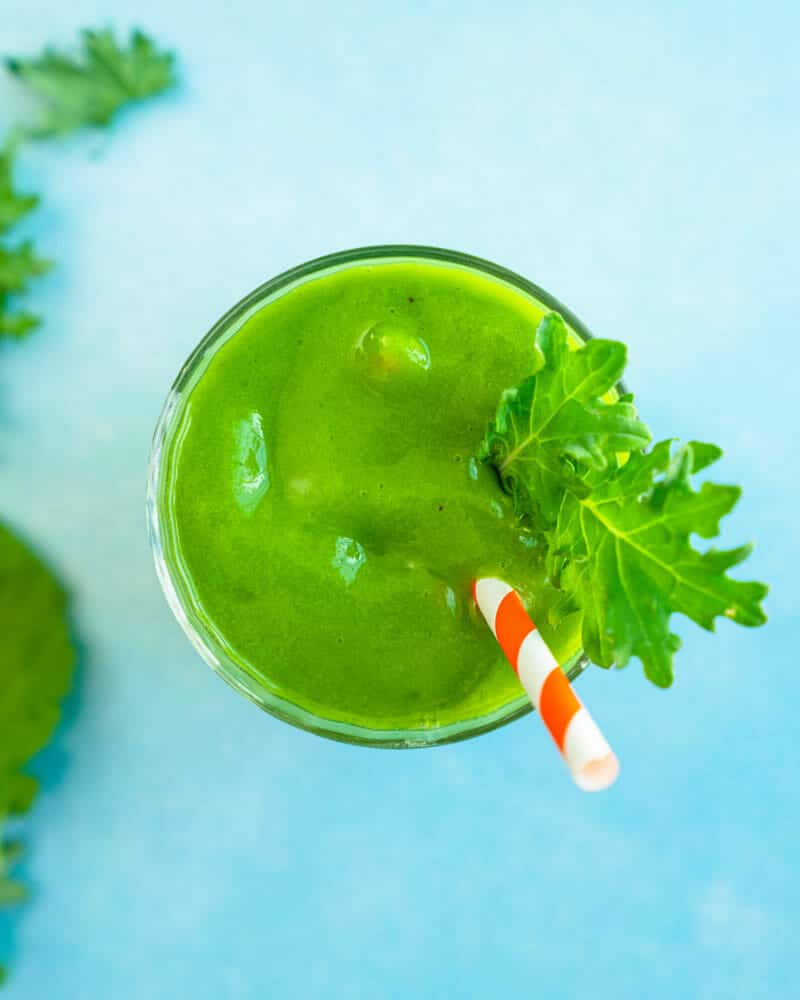
It’s has a pure, sweet tart flavor and a silky smooth, frosty texture. It’s irresistibly tasty and just the right thickness for sipping!
It’s full of healthy ingredients. There are no added sugary juices to make it taste good.
It’s plant-based. There’s no need to use milk or yogurt here, it’s all fruit and leafy greens.
Ingredients for this kale smoothie
This short ingredient list of a kale smoothie is all you need to make this beautiful, bright green puree! Here’s what you need:
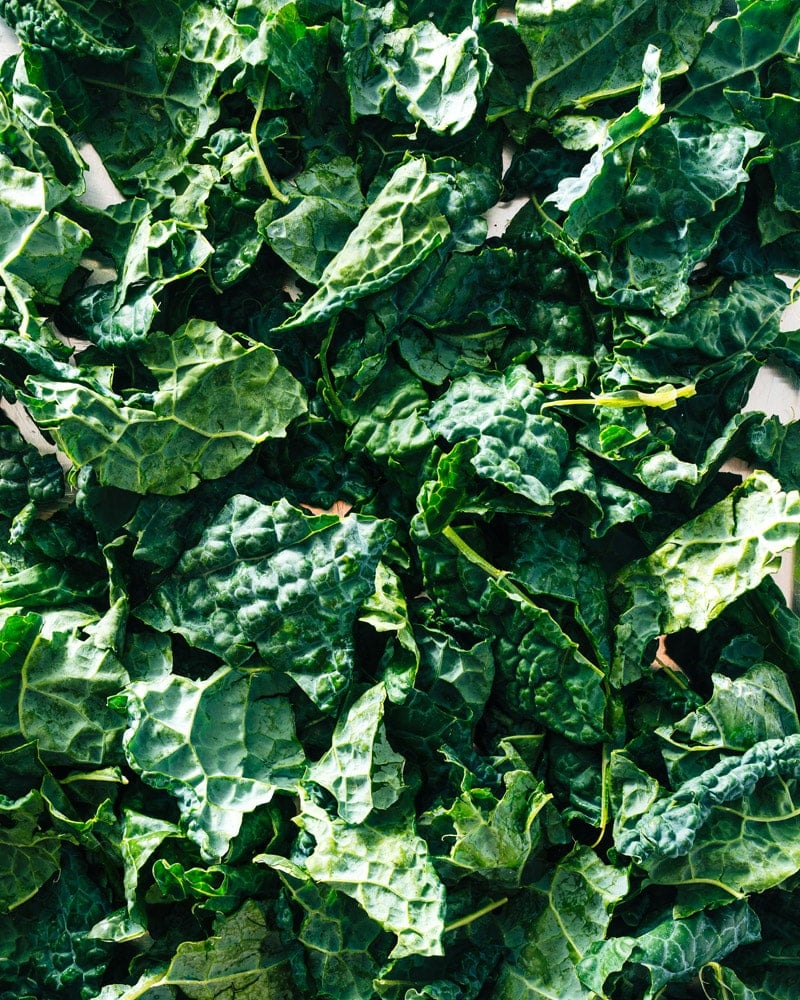
Kale: Use either baby kale or Tuscan kale. We prefer baby kale since the flavor is sweeter and milder, but you can use Tuscan kale roughly chopped and loosely packed. Curly kale has a spicier flavor, so we’d recommend starting with less than the specified amount in the recipe.
Green apple: Apple is the key to a great kale smoothie; it brings in a bright, sweet tart flavor.
Banana: Banana features in many of our smoothie recipes to make a creamy texture and add natural sweetness.
Frozen pineapple or mango: Frozen pineapple seals the deal with its icy texture and beautiful fruity flavor.
Lemon juice, water and ice: Lemon juice accentuates the fruity flavors, and ice helps add texture and body. A little water is all you need to get it to blend.
Types of kale
There are several types of kale that you can use in this smoothie. Here’s a breakdown of each type:
Baby kale: Baby kale works well in a smoothie because it has a sweeter, mild flavor. It’s a young version of kale, harvested before it matures. You can find it sold in boxes at the grocery or bags at your local farmers market.
Tuscan kale: Tuscan kale is the next best option: it’s got a mild flavor and flat, dark green leaves. It’s also labeled as dinosaur kale or Lacinato kale.
Curly kale: Curly kale works, but it has a spicy flavor that’s more bitter than the other two. If you use this variety, you may want to start with less and add it to taste.
The trick to blending
Here’s a trick to blending this kale smoothie. First, blend the softer room temperature fruits and liquid. In this case, it’s the banana, apple, kale and water. Then add in the frozen ingredients: the frozen pineapple and ice. This helps it to blend easier: so you won’t need to endlessly stop, scrape, and start again!
Add-ins & variations
This kale smoothie is delicious as is, but you can always mix it up with tasty additions! Here are a few options:
Ginger: Add ½ teaspoon grated ginger to the mix for a spicy finish.
Mint or basil. Add a few fresh mint or basil leaves for an herbaceous spin.
Chia seeds.Chia seeds add fiber and some protein; add 1 to 2 tablespoons to your taste.
Coconut. A handful of shredded coconut adds a tropical flair.
Smoothie storage
Smoothies are best eaten immediately. But this kale smoothie actually lasts 1 to 2 days refrigerated, stored in a sealed container or a mason jar with the lid on. It may separate, which is perfectly natural. Just shake it up and you’re good to go!
A few favorite smoothies
We’ve got lots more where this came from! Here more smoothie recipes to try:
This kale smoothie recipe is vegetarian, vegan, plant-based, dairy-free, and gluten-free.
Frequently asked questions
Won’t my kale smoothie taste bitter?
Not necessarily! This post offers tips on choosing the right kale variety (baby kale is less bitter) and using masking ingredients like bananas, mangoes, or pineapples to balance the flavor.
What kind of milk is best for a kale smoothie?
This kale smoothie recipe uses water, but you can also use milk. Any milk you enjoy works! Popular choices include dairy milk, almond milk, oat milk, or coconut milk. Consider dietary restrictions and the desired texture when choosing your milk.
Do I need a fancy blender for a kale smoothie?
A high-powered blender is ideal for achieving a smooth and creamy consistency. However, many regular blenders can handle kale smoothies with the addition of some extra liquid.
Can I make kale smoothies ahead of time?
Yes, but be aware that the color may darken slightly, and the texture might thicken a bit and separate over time. This smoothie is best eaten within 1 day, but it does store up to 2 days.
How can I make my kale smoothie more filling?
Adding protein powder, nut butters, chia seeds, or even rolled oats can make your smoothie more filling and keep you satisfied for longer.
Want to sneak more greens into your diet? Here’s how to make a refreshing kale smoothie, a creamy and satisfying green drink you’ll actually crave.
Ingredients
1 large green apple
1 banana
2 cups baby kale leaves, loosely packed (or Tuscan or curly kale*, roughly chopped)
½ cup water (or milk of choice)
10 ice cubes
2 cups frozen pineapple or mango
1 tablespoon fresh squeezed lemon juice
Instructions
Chop the apple, leaving the skin on. Break the banana into pieces and place them both in the blender. Add the water and baby kale leaves. Blend until smooth.
Add the ice, frozen pineapple or mango, and lemon juice. Blend again until smooth.
Notes
*Our preference for the type of kale to use in a smoothie is baby kale. Tuscan kale is a second choice. Curly kale can work, but it has a spicy flavor and is more bitter than the other two. If you use this variety, you may want to start with less and add it to taste.
Whenever I have brown bananas on the counter I usually make my classic banana bread or chocolate banana bread, but sometimes I like to make Banana Cake. It is the perfect dessert for any occasion. The cake is incredibly moist, bursting with banana flav…
Whenever I have brown bananas on the counter I usually make my classic banana bread or chocolate banana bread, but sometimes I like to make Banana Cake. It is the perfect dessert for any occasion. The cake is incredibly moist, bursting with banana flavor, and covered in luscious cream cheese frosting. It’s the perfect recipe…
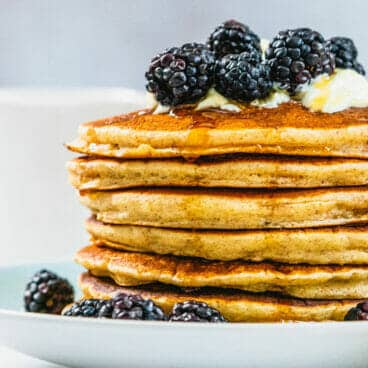
It sounds too good to be true, but these 3 ingredient banana pancakes are fluffy, delicious, and ready in 10 minutes. They’re perfect for busy mornings or snacks!
Now I didn’t invent this concept, but it’s a trick that’s worth knowing and a great use for a lone banana ripening on the counter: 3 ingredient banana pancakes! Of course like most internet “hacks,” it sounds too good to be true. But take it from this real human who has made countless batches. These nutrient-rich pancakes really do come out sweet, fluffy, and delicious!
I’ve even whipped them up in a pinch with my toddler on my hip and let me tell you: these really work. Slather them with nut butter and they’re perfect for a quick breakfast or tasty afternoon snack! It goes with saying they’re great for kids too—we’re amazed at the speed our two kiddos can demolish them.
Who invented 3 ingredient banana pancakes? This trick has been making its rounds on the internet since 2017, when model Karlie Kloss shared this recipe on her YouTube channel with bananas, eggs, and oats. Like any good trend, it’s been made and remade thousands of times with different ingredients.
This version of 3 ingredient banana pancakes uses a ripe banana, eggs, and all purpose or whole wheat flour. We tried these years ago, but they had an odd texture and didn’t come out right. So we’ve finally perfected the correct ingredients and ratios! Like the original pancakes you can also use oats in banana pancakes, but for the best pancake texture we prefer blending the oats like in these Banana Oatmeal Pancakes.
These pancakes are nutrient-dense, made mostly bananas and eggs with a small amount of flour. They come together in 10 minutes and they fry up into a fluffy, satisfying texture that feels like more than the handful of ingredients.
These have become a lifesaver in our household: we make them for our two kiddos on the regular and they gobble them up. They’re great warm or saved as leftovers: you can eat them cold, room temp, or reheat them.
A few notes for cooking them
These 3 ingredient banana pancakes come together very quickly with just one bowl, a fork, and a griddle! I’ve made them holding my toddler when she wanted a snack, and they were easy enough to do with one hand (though I wouldn’t recommend that on the regular!). Here are a few tips for cooking the pancakes:
Use a very ripe banana. The ripeness of the banana is what brings that signature fruity perfume to this recipe. It also makes the best texture. Avoid using a banana that is underripe or just ripe.
Add a pinch of salt to bring out the flavors. This is not required, but it does bring out the flavors nicely. We typically don’t include salt in an ingredient count, since most cooks have have it on hand.
Use butter or coconut oil for cooking. Again it’s not technically in the ingredient list, but you’ll need a cooking oil to fry the pancakes.
Check for browning. These pancakes have a slightly different texture from your typical pancake, and they brown slightly differently. To check for doneness, simply slide a spatula under the bottom and check for browning. Flip once they are golden brown; be careful not to overcook!
Substitutions for 3 ingredient banana pancakes
These 3 ingredient banana pancakes work best with all-purpose flour or whole wheat flour. You can also make them gluten-free: we’d suggest using gluten-free 1-to-1 flour. Oat flour could also work well here.
Avoid substituting almond flour, since it makes such a delicate texture for pancakes. Try these Almond Flour Pancakes if you’re looking for a pancake recipe formulated for almond flour.
Ways to serve them
Make these pancakes for breakfast for quick morning meals, or we love them as a snacks topped with peanut butter or almond butter. They are perfect for kids or adults, and taste great at any temperature.
If you want to step them up, you can add any sort of pancake topping! Here are a few ideas:
It sounds too good to be true, but these 3 ingredient banana pancakes are fluffy, delicious, and ready in 10 minutes. Perfect for busy mornings or snacks!
Ingredients
1 very ripe banana (don’t compromise on this!)
2 eggs (no substitutions)
⅓ cup all purpose or whole wheat flour*
Instructions
In a medium bowl, mash the banana with fork. Stir in the eggs and all purpose flour and mix to combine using a fork. If desired, add 1 pinch kosher salt to enhance the flavors.
Heat a griddle or skillet to medium heat and lightly grease it with a bit of butter or oil. Add the batter onto the skillet in ¼ cup scoops. Cook for a minute or two until the bottoms are golden brown (check with a spatula early and often; the timing varies on your griddle and the exact heat level). Be careful not to overcook. Flip and cook another 30 seconds until cooked through.
Remove to a plate and serve warm, topped with maple syrup and banana slices, if desired. Store leftovers refrigerated for up to 3 days.
Notes
*You can substitute gluten free flour for the all-purpose flour. Almond flour works better in Almond Flour Pancakes because it makes a more fragile batter.
These healthy banana oatmeal pancakes are flourless and made in a blender for quick and easy breakfasts! Enjoy fluffy, satisfying…
These healthy banana oatmeal pancakes are flourless and made in a blender for quick and easy breakfasts! Enjoy fluffy, satisfying pancakes packed with wholesome oats and natural sweetness.
Want a deliciously healthy breakfast idea that sticks with you all morning? Enter banana oatmeal pancakes! These tasty flapjacks blend up in minutes for a quick and satisfying breakfast. And get this: they’re flourless, made with the magic of Old Fashioned oats and a blender! They are so satisfying, no one will know they’re not “normal” pancakes. Every time we make them, we literally cannot stop eating them (our kids make them disappear in seconds). They’re basically like eating oatmeal and a banana, in pancake form!
Why make these banana oatmeal pancakes?
This banana oatmeal pancakes recipe is a combination between our fan favorite healthy banana muffins recipe and our oatmeal pancakes. Many pancake recipes made with all purpose flour leave us with a sugar crash and hungry an hour later. But these banana oatmeal pancakes are hearty, wholesome and one of our favorite ways to start the morning! What’s great about them?
They’re made mainly of oats: no flour. This makes them 100% whole grain and naturally gluten free pancakes. You’ll find they stick with you: they’re filling and make your stomach feel full, not ready for a sugar crash! It’s basically like eating a bowl of oatmeal.
They’re so easy to make! All you need is a blender and these pancakes come together in a breeze.
They’ve got amazing flavor. Take one bite, and you’ll be a believer. We promise!
They’re easy to make: in a blender!
How to make pancakes easy? Simply whiz up everything in a blender and you’re ready to go! For some reason, using a blender seems easier than whisking everything together: maybe because there’s a little less mess? Then cook them up the same as a standard pancake.
The batter for these banana oatmeal pancakes is a slightly more delicate than a standard pancake since these oatmeal blender pancakes have no gluten. But they don’t require a lot of extra babying! It should feel essentially the same as a normal pancake when they’re on the griddle.
Variations on these banana oatmeal pancakes
Here are a few variations on these banana oatmeal pancakes:
Dairy free: Use almond milk instead of standard milk, and neutral oil instead of butter. Try vegan yogurt for the yogurt, or you can just add the same amount of non-dairy milk.
Vegan / plant based: Honestly, we’d recommend our Vegan Pancakes instead. But you can try using flax eggs in place of the egg! To learn more, go to How to make a flax egg.
How to step up these banana oatmeal pancakes
We love serving these banana oatmeal pancakes with just a drizzle of maple syrup! Of course it’s essential to be light-handed on toppings for a healthy pancake recipe, or it kind of negates the purpose of being healthier in the first place, right? Here are a few fun ways to dress up your gluten free banana oatmeal pancakes, with a healthy spin:
Add fresh or frozen blueberries. Place them right onto the pancakes after you’ve poured them onto the griddle (don’t put them into the batter). They add the perfect tang!
These deliciously easy banana oatmeal pancakes are made in a blender using oats and bananas: no flour! They’re delicious with a healthy spin. NOTE: Recipe updated 5/26/2021 to address reader comments.
Ingredients
2 cups Old Fashioned rolled oats
¼ cup plain or vanilla yogurt (Greek or whole milk work)
2 large eggs
½ cup milk of choice
2 tablespoons salted butter, melted (or grapeseed or olive oil)
Place the oats, Greek yogurt, eggs, milk, melted butter, brown sugar, vanilla, baking powder and kosher salt in a blender. Blend on high until a smooth batter forms.
Mash the bananas, then stir them into the blender with a spatula.
Lightly grease a skillet with butter and wipe off extra grease with a paper towel. Heat the skillet over low heat. Add a few more tablespoons milk to the batter until it is still thick but can pour out of the blender. Pour the batter into small circles. Cook the pancakes until the bubbles pop on the top and the bottoms are golden: low and slow is the key! Then flip them and cook until golden on the other side.
Add another tablespoon or two of milk to the remaining batter and stir so that it is pourable. Cook the remaining batter, adjusting the heat as necessary (the skillet can get very hot on the second batch). Place the cooked pancakes under an inverted bowl to keep them warm. Serve immediately with maple syrup.
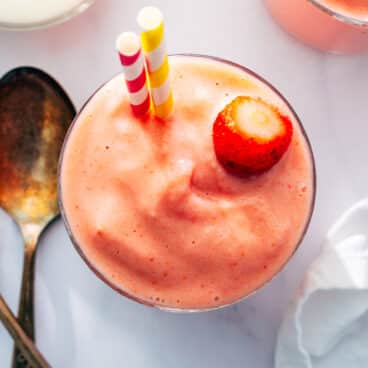
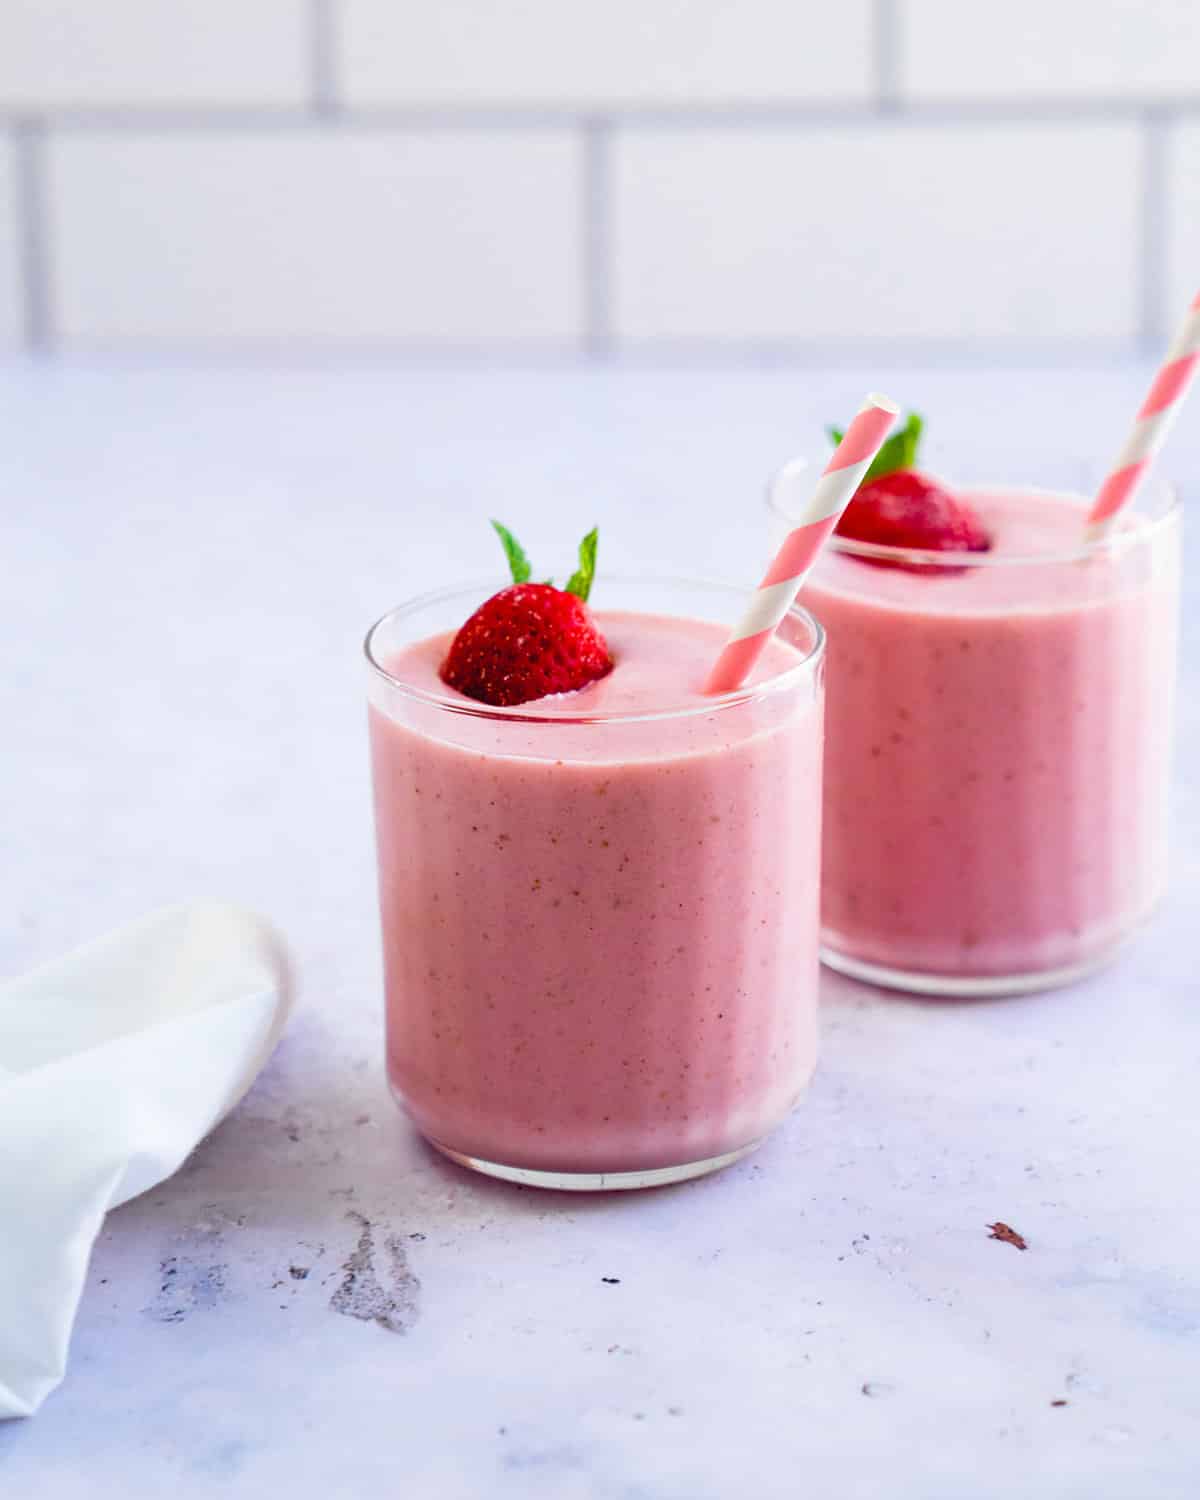
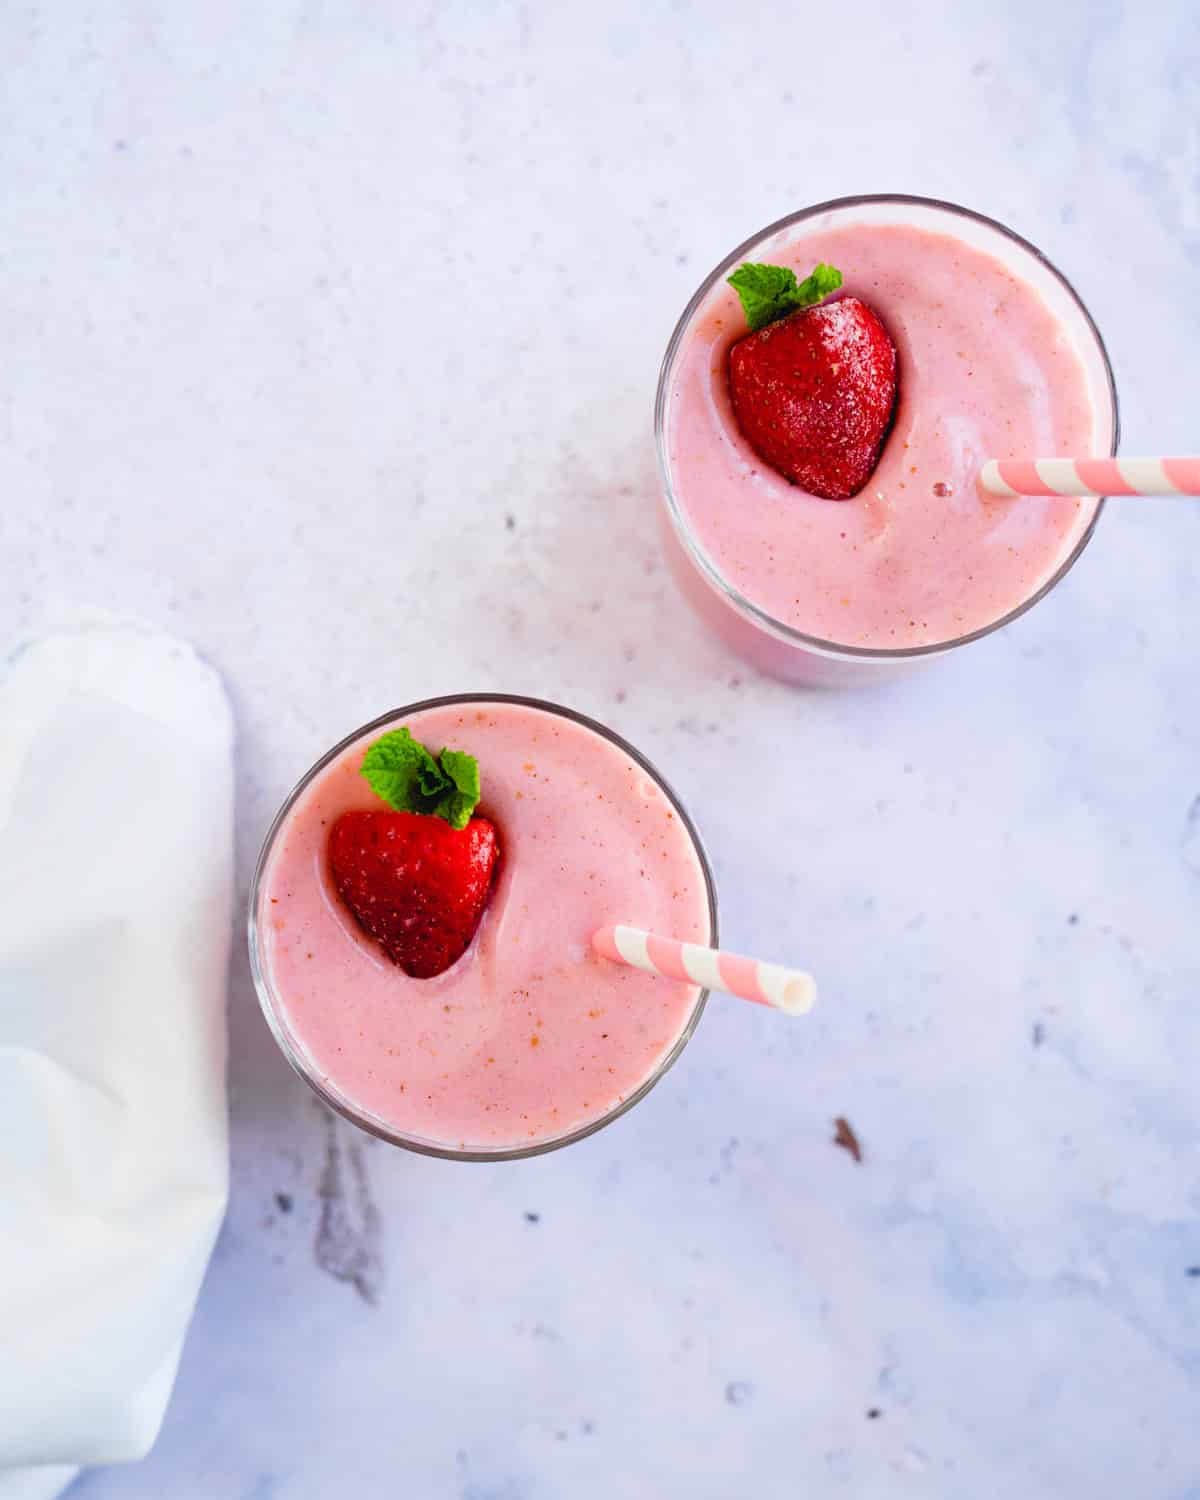
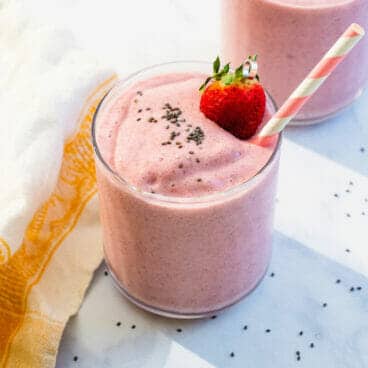
This recipe unlocks the secret to the perfect strawberry smoothie! It’s deliciously thick, perfectly sweet, and bursting with fresh flavor.
It’s more difficult than you think to make a perfect smoothie without a recipe. Our strawberry smoothie recipe uses just 5 ingredients to make the creamiest texture and a pure, sweet berry flavor. Make it, memorize it, and make a perfect healthy smoothie on repeat!
But when it comes to picking favorites, it all comes back to this strawberry smoothie recipe for both of us! Here’s why it’s perfect, to us:
Light and creamy texture. It’s easy for smoothies to turn out too icy or thick. This one is light and creamy, with just the right icy and airy texture.
Subtly sweet, fruity flavor. Often smoothies are too bitter or overly sweet. This strawberry smoothie is lightly sweet, with just the right berry essence.
Ingredients for this strawberry smoothie
Here’s what you’ll need to make this strawberry smoothie! Strawberries have a lot of nutritional punch for very few calories (per Cleveland Clinic), making them one of our favorite ingredients to incorporate in smoothies. We were careful to choose healthy ingredients for this smoothie: no overly sugary juices or syrups. Here’s what we selected:
Frozen strawberries: It’s easy to find and store frozen berries, and they add a great icy texture to this smoothie. If you prefer using fresh berries, use a frozen banana instead of one at room temperature.
Fresh banana: Many smoothie recipes call for frozen bananas, but we don’t often have them on hand or have the time to wait for freezing. So we customized this recipe to use a fresh banana!
Greek yogurt: Greek yogurt gives this recipe a protein boost and helpful probiotics. (If you love yogurt, you could add a touch more.) It also makes for a perfect creamy texture.
Ice: Here’s the most important part — ice is essential to a perfect strawberry smoothie! It makes just the right frothy texture. We’ve tried it without and it really makes a difference. Do not omit it!
Milk: You need just the right amount of liquid in a smoothie to get it to blend. Not enough and the blender gets stuck (the worst!), and too much it tastes milky. You can also use non-dairy milk.
Maple syrup: Adding a hint of maple brings out the sweetness in the berries. If you eat a low sugar diet you could omit, but it doesn’t quite taste sweet enough with no sweetener.
Add-ins and options
Of course, you can mix in whatever you’d like to customize your healthy strawberry smoothie! But if you want it to be perfect, you’ve got to use flavors that work. Here are some ideas:
Almond butter. Almond goes well with strawberry. Use about 1 tablespoon, 2 for a stronger almond flavor (it will also dull the color a bit).
Vanilla. Use ¼ to ½ teaspoon vanilla to heighten the flavors.
Mint or basil. Add a few fresh mint or basil leaves for an herbaceous spin.
Things not to add? Handfuls of spinach leaves! They turn this smoothie into an unappealing shade of brown. If you want a green smoothie, go to our Green Smoothie.
Strawberry smoothie variations
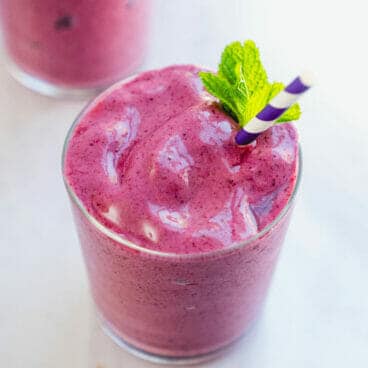
Craving a flavor twist? Don’t stop at strawberries! This versatile smoothie base can be transformed into a tropical paradise with a handful of mango or pineapple. Mix in blueberries for a tart and tangy upgrade, or add even more banana for extra sweetness. We’ve created separate recipes for each variation:
You can make this strawberry smoothie plant-based or vegan by doing the following:
Make our strawberry banana smoothie. Try our Strawberry Banana Smoothie: it’s vegan and uses only 2 ingredients!
Omit the yogurt and use non-dairy milk for the milk. We like using oat milk or almond milk. Oat milk is usually a little sweeter and creamier, so it’s our default for smoothies. You could also try coconut milk, which adds a nice coconut essence, or soy milk. To compensate for the yogurt, add a splash more milk as necessary to get it to blend.
Storing leftovers
Smoothies are best eaten immediately. But this strawberry smoothie actually lasts 1 to 2 days refrigerated, stored in a sealed container or a mason jar with the lid on. It may separate, which is perfectly natural. Just shake it up and you’re good to go!
This 2-minute recipe unlocks the secret to the perfect strawberry smoothie! It’s deliciously thick, perfectly sweet, and bursting with fresh flavor.
Ingredients
2 cups frozen strawberries
1 banana (room temperature)
¼ cup Greek yogurt*
1 cup milk (or almond milk or oat milk)
1 ½ tablespoons maple syrup, honey, or agave syrup
½ cup ice
Optional add-ins: 1 tablespoon almond butter, ¼ teaspoon vanilla, fresh mint leaves or basil leaves
Instructions
Place all ingredients in a blender, breaking the banana into pieces. Blend until creamy and frothy, stopping and scraping down the sides as necessary. Serve immediately or store in a covered jar in the refrigerator for 2 days.
Notes
*For vegan, make a Strawberry Banana Smoothie! Blend 2 cups frozen strawberries, 2 bananas (room temperature), ½ cup water and 8 ice cubes. Or, omit the Greek yogurt and add additional oat milk to get the smoothie to blend.
Whenever I have brown bananas sitting on the counter I usually think banana bread or chocolate banana bread. But I also like making banana muffins. I love my classic banana muffin recipe, but I also love these Banana Oatmeal Muffins. The addition of oa…
Whenever I have brown bananas sitting on the counter I usually think banana bread or chocolate banana bread. But I also like making banana muffins. I love my classic banana muffin recipe, but I also love these Banana Oatmeal Muffins. The addition of oats makes them wholesome and extra tasty! I love this muffin recipe…
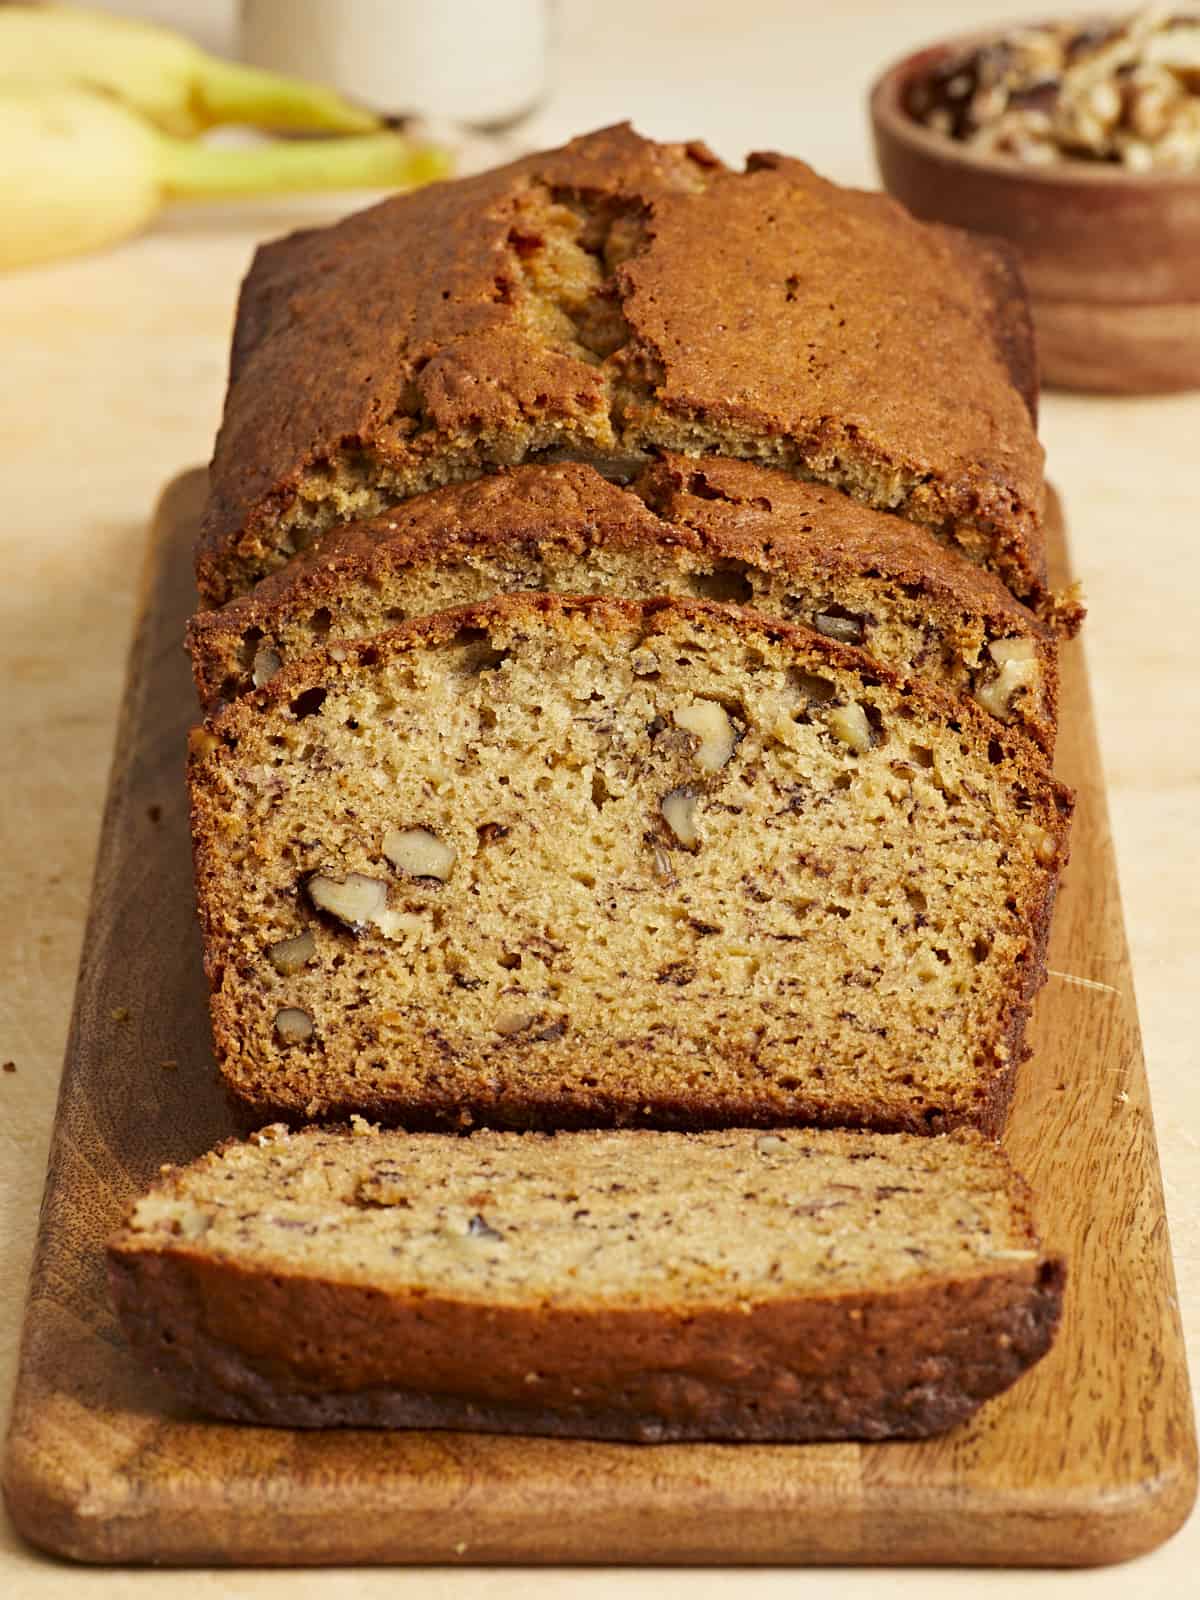
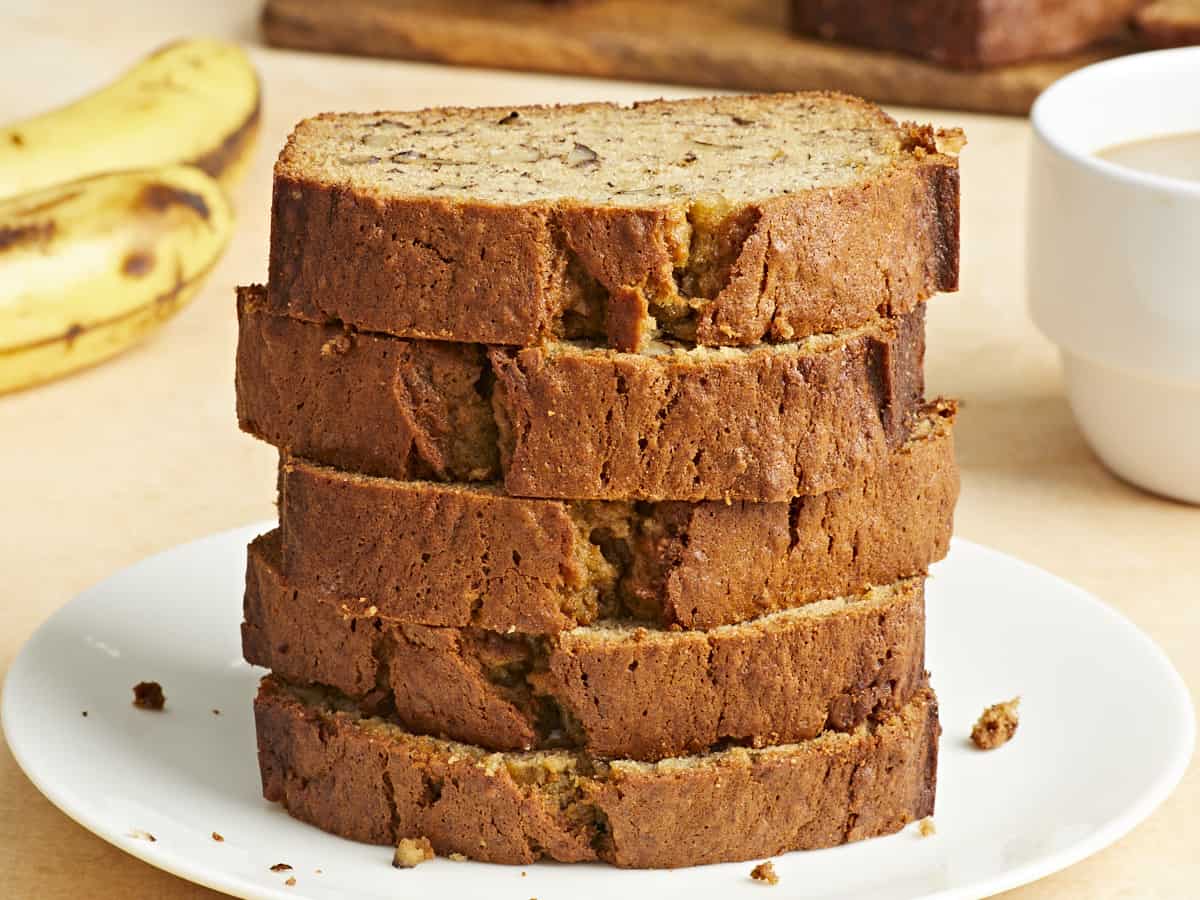
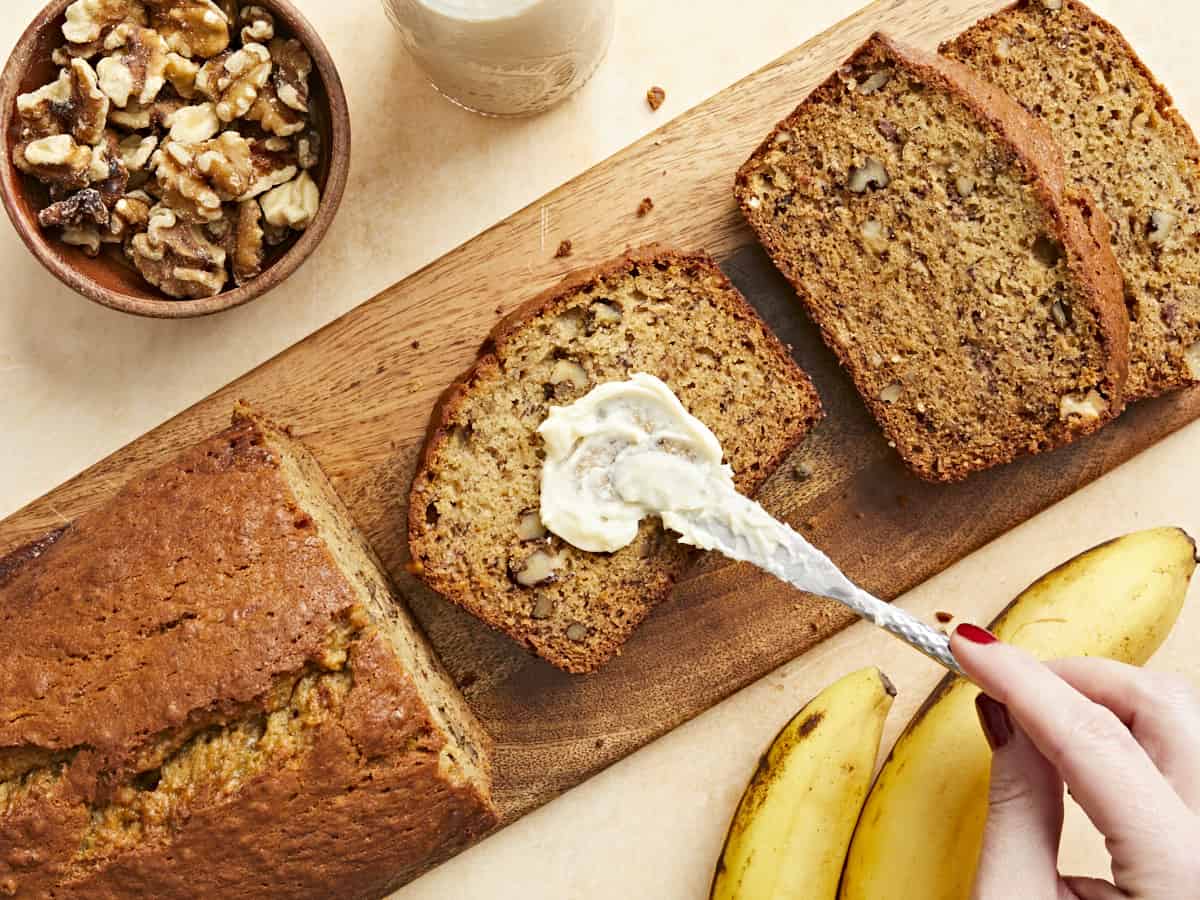
One day a friend was telling me about how she used to be so in love with the Starbucks banana bread and all I could think about was how the price for one slice is probably more than it costs to make a whole loaf, so I had to working on a dupe. It took about eight tries, but I finally made a homemade banana bread recipe that is super rich, moist, and totally melt-in-your-mouth delicious. And the best part? It ended up costing about $0.38 per slice. 😱 Take that, ‘bucks! Anyway, this banana bread was so good that I’ve been dreaming about it ever since. 🤤 So now the question is, is it wrong to make banana bread every single weekend??
There are so many different recipes for banana bread out there and they create loaves that vary quite a bit in color, size, shape, texture, and of course flavor. My goal for this homemade banana bread recipe was to create a loaf that was super soft and moist, had a really good pronounced banana flavor, the loaf had to rise to a nice doamed shape (not be a flat brick), and did not get too over-browned. It took a combination of ingredients and techniques, but we finally got the perfect loaf of banana bread.
Ingredients for Banana Bread
Here’s what you’ll need to make this incredibly moist and delicious banana bread:
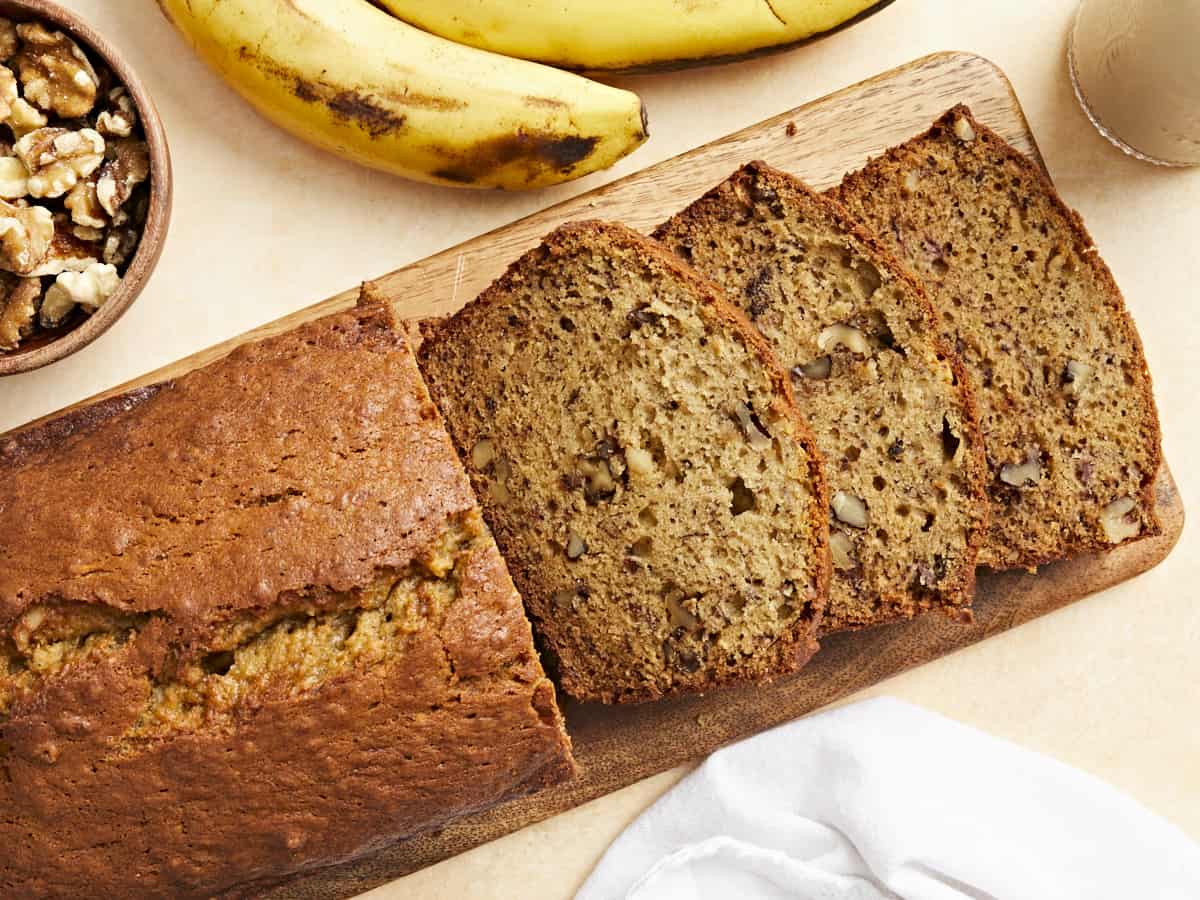
Bananas: You must use very ripe bananas for banana bread. Like, half brown ripe. This will ensure they provide enough sweetness, moisture, and banana flavor to the bread. Underripe bananas will give you a dry, bland loaf.
Butter & Oil: I used a combination of butter and oil for this banana bread. Butter gives the bread a ton of rich flavor, while oil keeps the loaf super moist after it cools in a way that butter can not. It’s a one-two flavor-texture punch!
Eggs: Eggs help give the loaf strength, so it doesn’t crumble, and they also help leaven the loaf so that it bakes up nice and fluffy.
Sugar: Using a combination of brown and white sugar again maximizes the flavor and texture. Brown sugar adds a deep flavor and helps moisten the loaf, while white sugar sweetens without making the batter too heavy.
Flour: All-purpose flour provides strength and body to the banana bread.
Baking Soda: Baking soda helps leaven the loaf so it rises into a pretty doamed loaf shape.
Vanilla: A touch of vanilla extract adds richness to the flavor.
Spices: We add just a little bit of cinnamon, nutmeg, and salt to the batter to add complexity to the flavor without overpowering the banana. They’re supporting roles, not the main character.
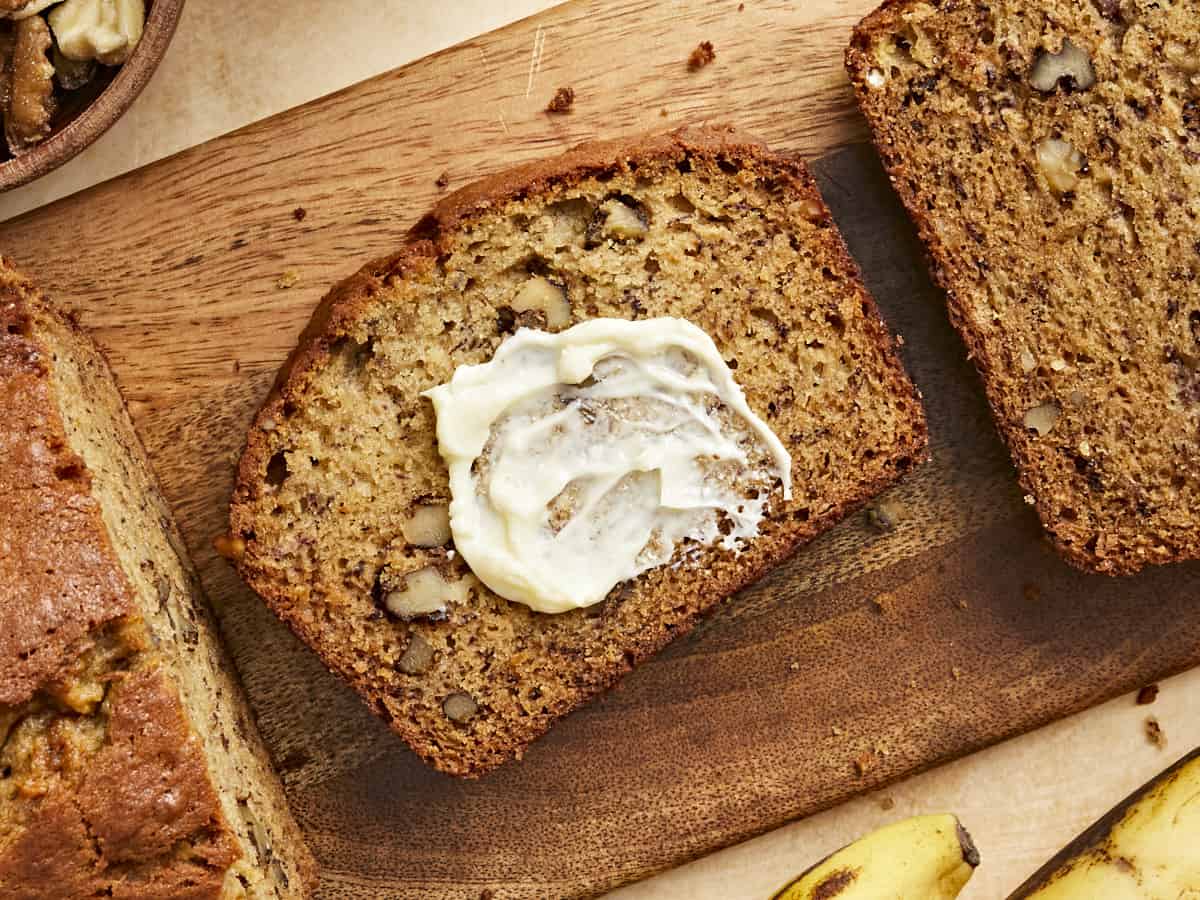
Walnuts: Walnuts are optional, but I love the contrast in flavor and texture they add to the bread. You can also substitute in chocolate chips if that’s your jam!
How to Store Banana Bread
I could eat this whole loaf of banana bread within a few days by myself no problem, but if you’re not a champion eater like myself, here’s how to store the leftovers. Make sure the bread is completely cooled after baking, then cut it into thick slices. The sliced bread can be stored in the refrigerator in an air-tight container for 4-5 days, or it can be frozen for longer storage.
To freeze the banana bread, place sheets of parchment paper between the slices to prevent them from sticking, then place them in a gallon-sized freezer bag. Individual slices can be taken out and thawed at room temperature or briefly microwaved to warm through.
Tips for the Best Banana Bread
I made a LOT of loaves during the development of this recipe, so here are some tips that I found will help you get the absolute best banana bread ever:
Make sure your bananas are VERY ripe. The sugar content of bananas increases as they ripen, so the more ripe your bananas are the sweeter the bread and the more pronounced the banana flavor will be.
Don’t overmix the batter. Stirring the bread batter too much or too vigorously will create a rubbery texture in the banana bread. Fold the wet and dry ingredients together just until evenly combined.
Preheat the oven. This is a non-negotiable when baking. The sudden exposure to high heat (rather than a slow increase of a non-preheated oven) is what helps the loaf rise properly.
How to Make Banana Muffins
This banana bread recipe also bakes up really well as muffins. To make banana muffins simply prepare the batter as listed in the recipe below but divide the batter between 12 wells in a standard-size muffin tin. Bake the banana muffins in a preheated 350ºF oven for about 30 minutes, or until the muffins have risen all the way in the center, they’ve browned nicely, and a toothpick inserted into the center of the muffins comes out clean (crumbs but no wet batter).
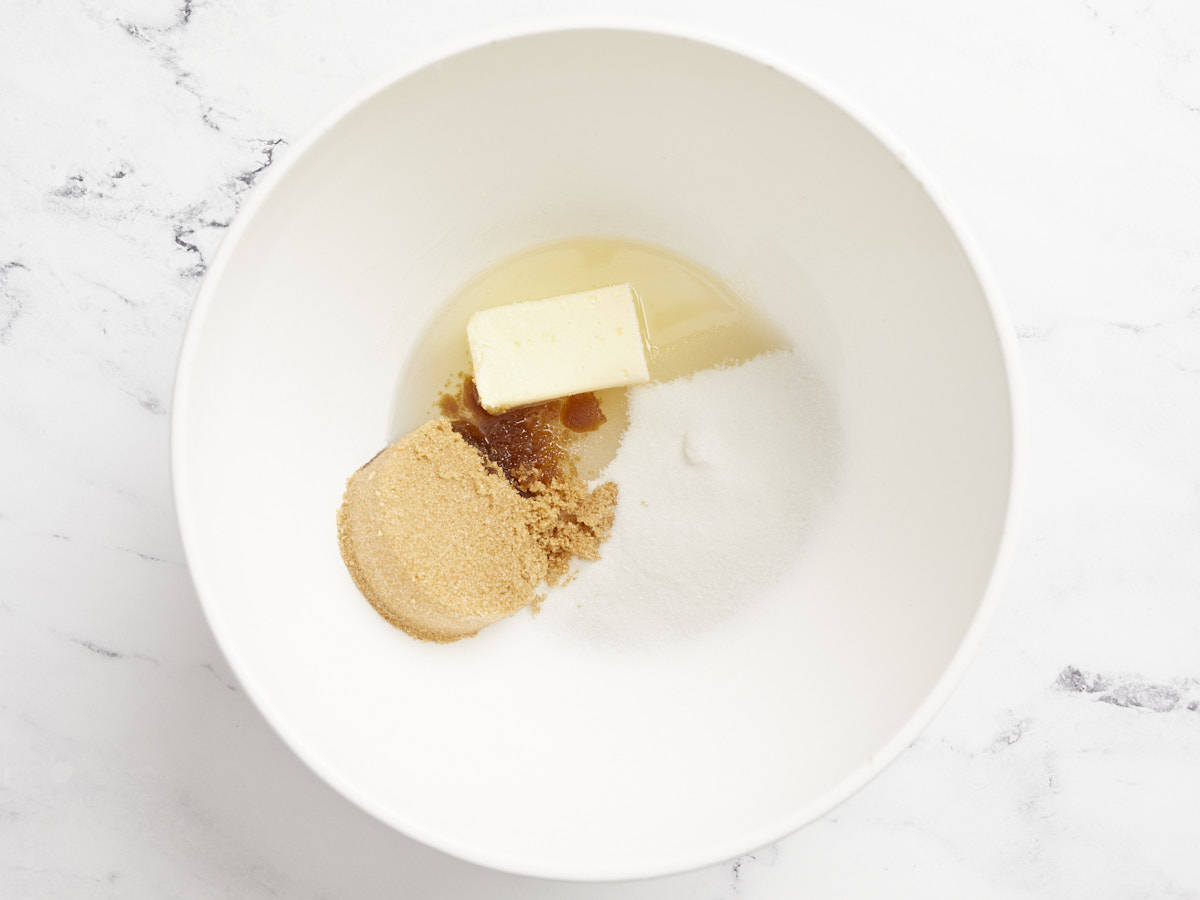
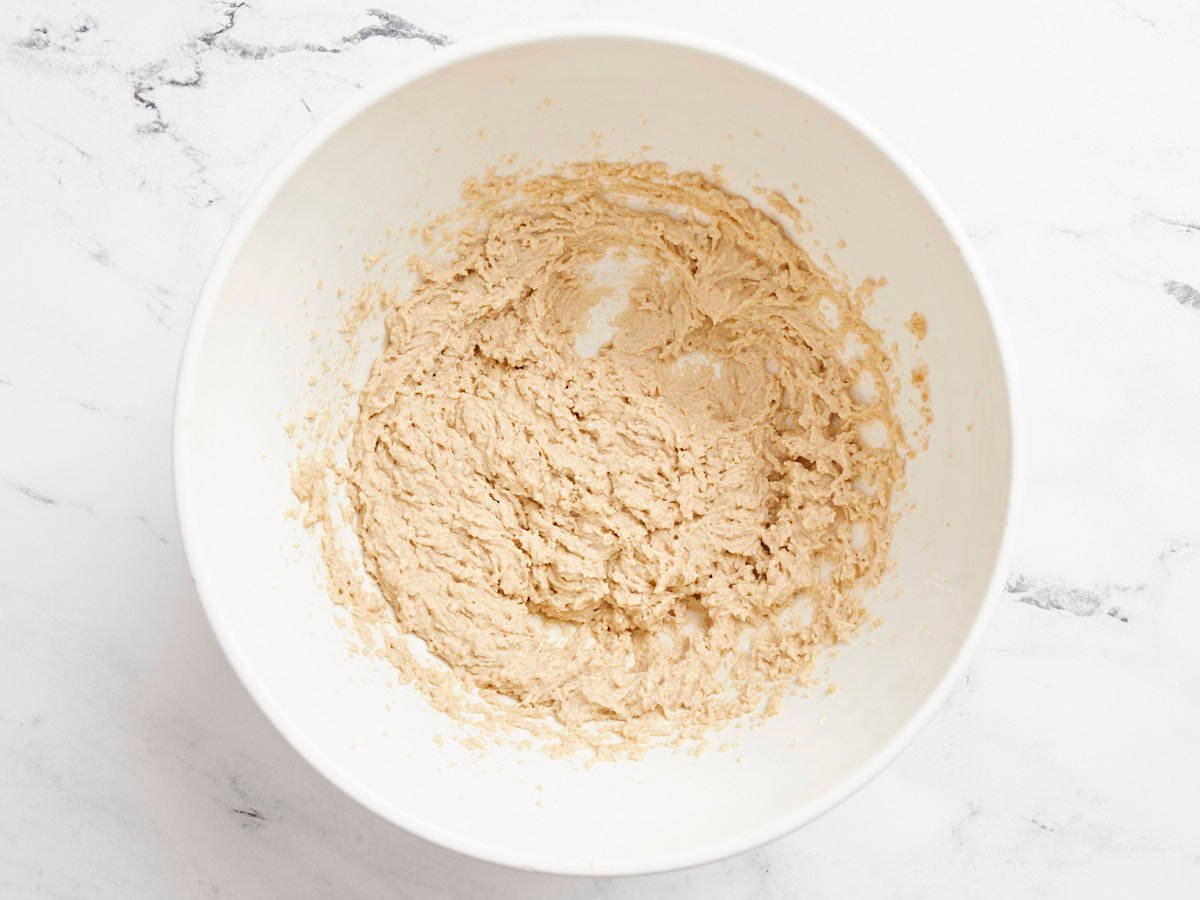
Preheat the oven to 350ºF. Add the room-temperature butter, cooking oil, granulated sugar, and brown sugar to a mixing bowl. Use a hand mixer or stand mixer to beat the ingredients together until they become light and creamy.
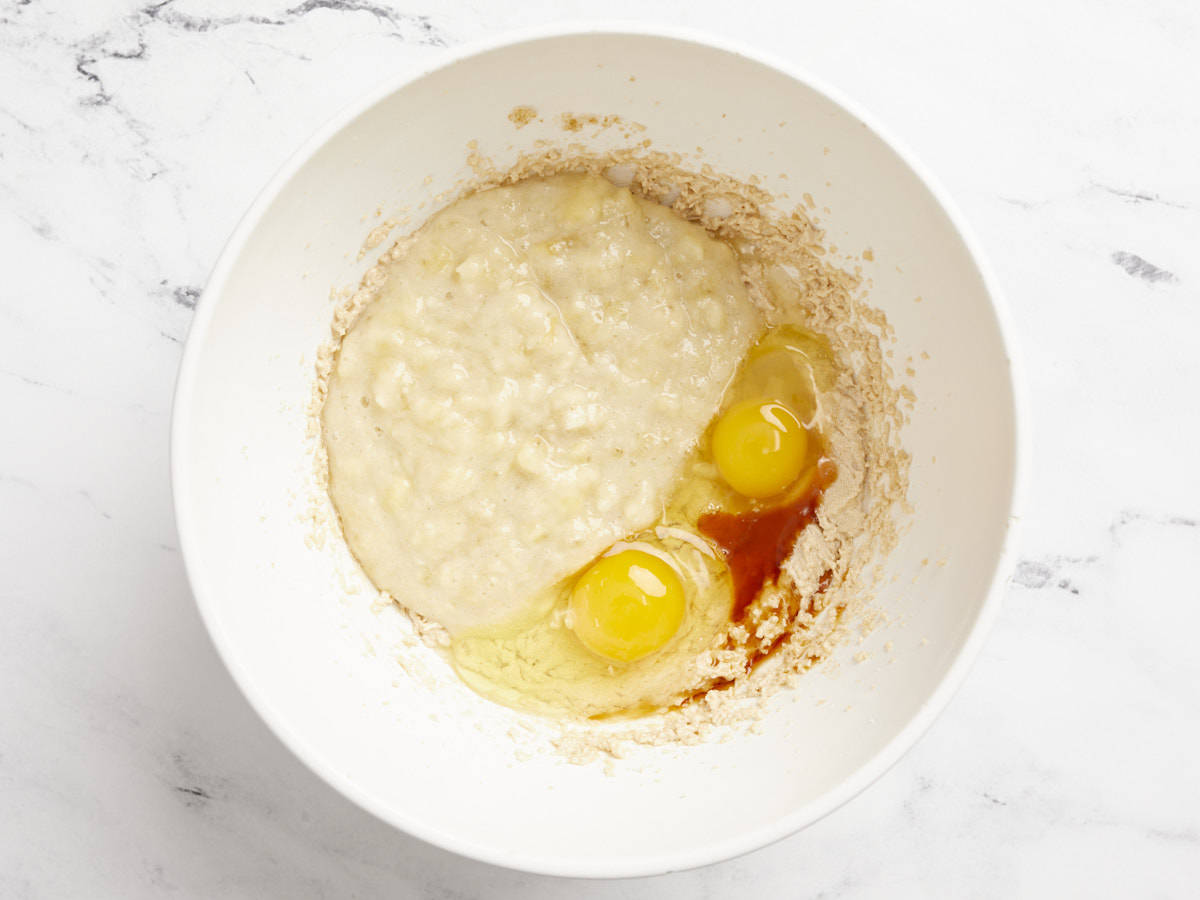
Mash the bananas well, then add them to the mixing bowl with the butter and sugar, along with the eggs and vanilla extract. Use the mixter again to beat the ingredients together until smooth.
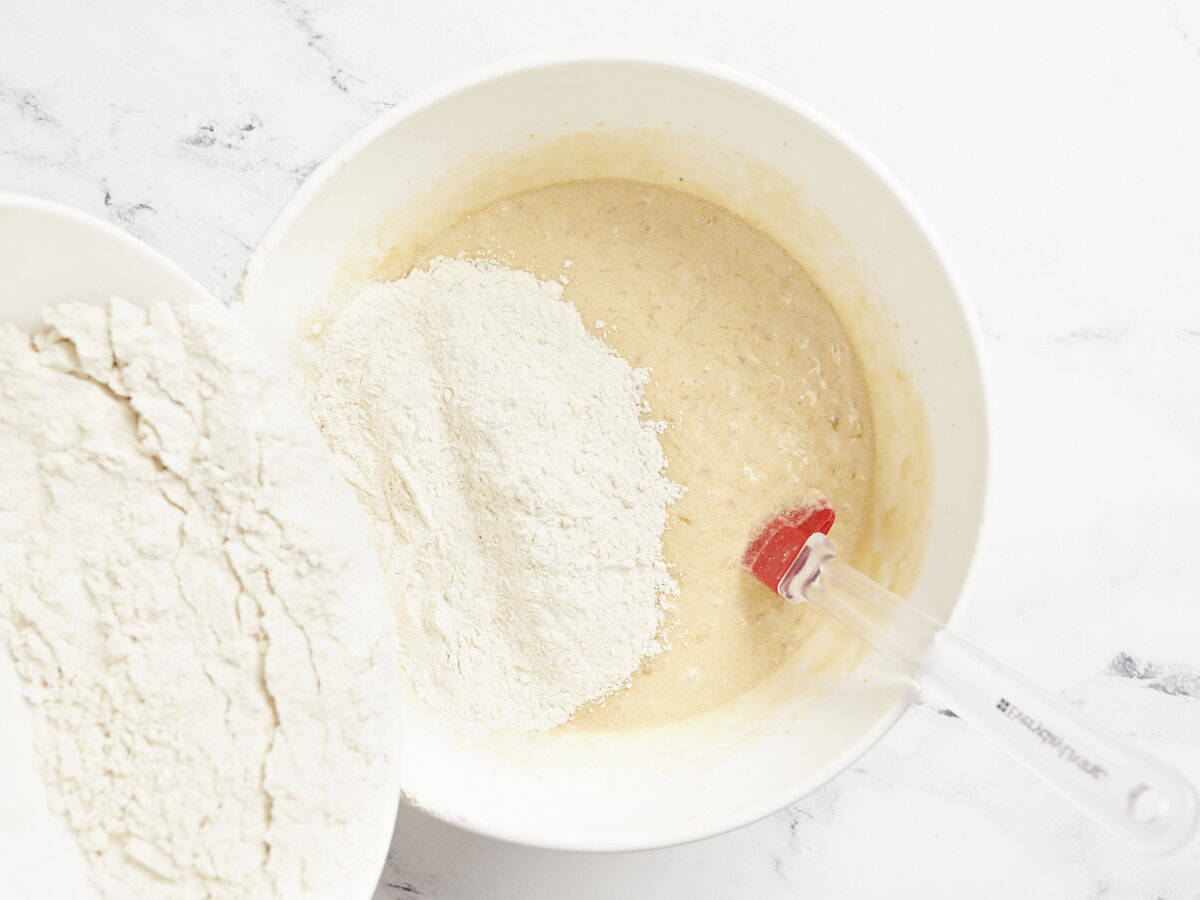
In a separate mixing bowl, stir together the flour, baking soda, salt, nutmeg, and cinnamon until well combined.
Pour the flour mixture into the bowl of wet ingredients and fold them together just until combined. Do not overmix.
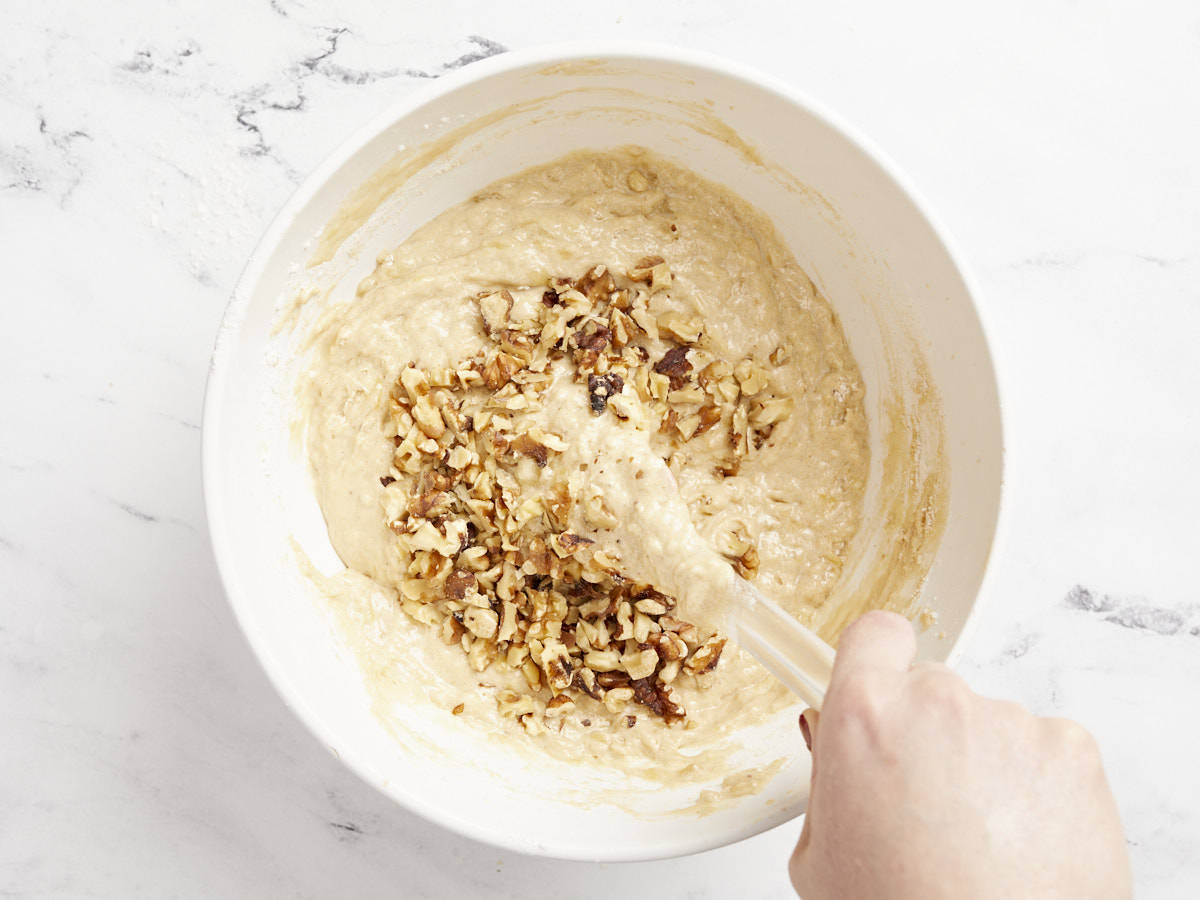
Add the chopped walnuts to the bowl and gently fold to combine again.
Grease an 8.5"x4.5" loaf pan with butter or oil, then add the batter and smooth it out evenly into the pan.
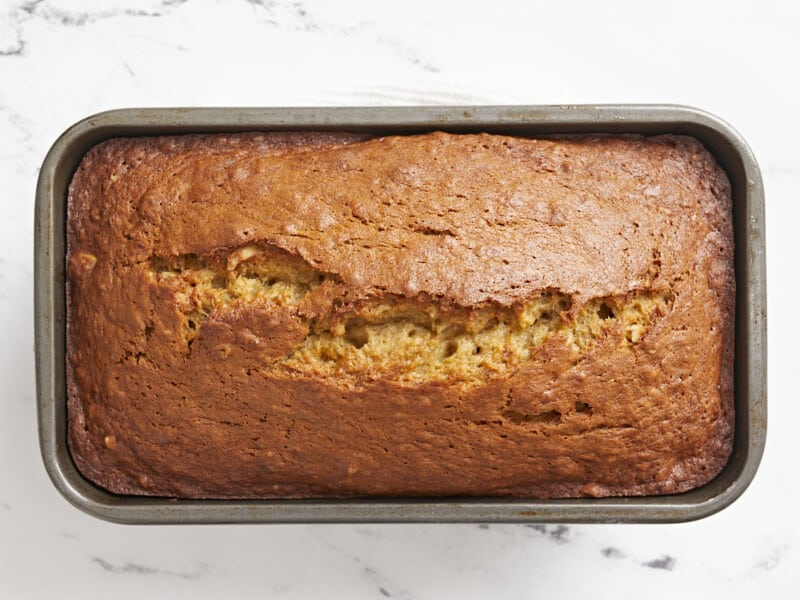
Bake the banana bread in the preheated 350ºF oven until it's deeply golden brown on top, has a crack down the center, and a toothpick inserted into the middle comes out clean (crumbs are okay, but wet batter is not).
Allow the loaf to cool for about 5 minutes in the pan, then gently remove it from the pan and allow it to finish cooling on a wire rack. Once cooled, slice, serve, and enjoy!
Banana Muffins Instructions
Prepare the batter as listed above, then divide it between 12 wells of a standard-size muffin tin.
Bake the banana muffins for 30 minutes in the preheated 350ºF oven or until they have risen all the way in the center, have browned nicely, and a toothpick inserted into the center comes out clean (crumbs are okay, but no wet batter).
Preheat the oven to 350ºF. Add 4 Tbsp of room-temperature salted butter, ¼ cup cooking oil, ½ cup white sugar, and ½ cup brown sugar to a mixing bowl.
Use a hand mixer or stand mixer to cream the butter, sugars, and oil together until it looks light and creamy.
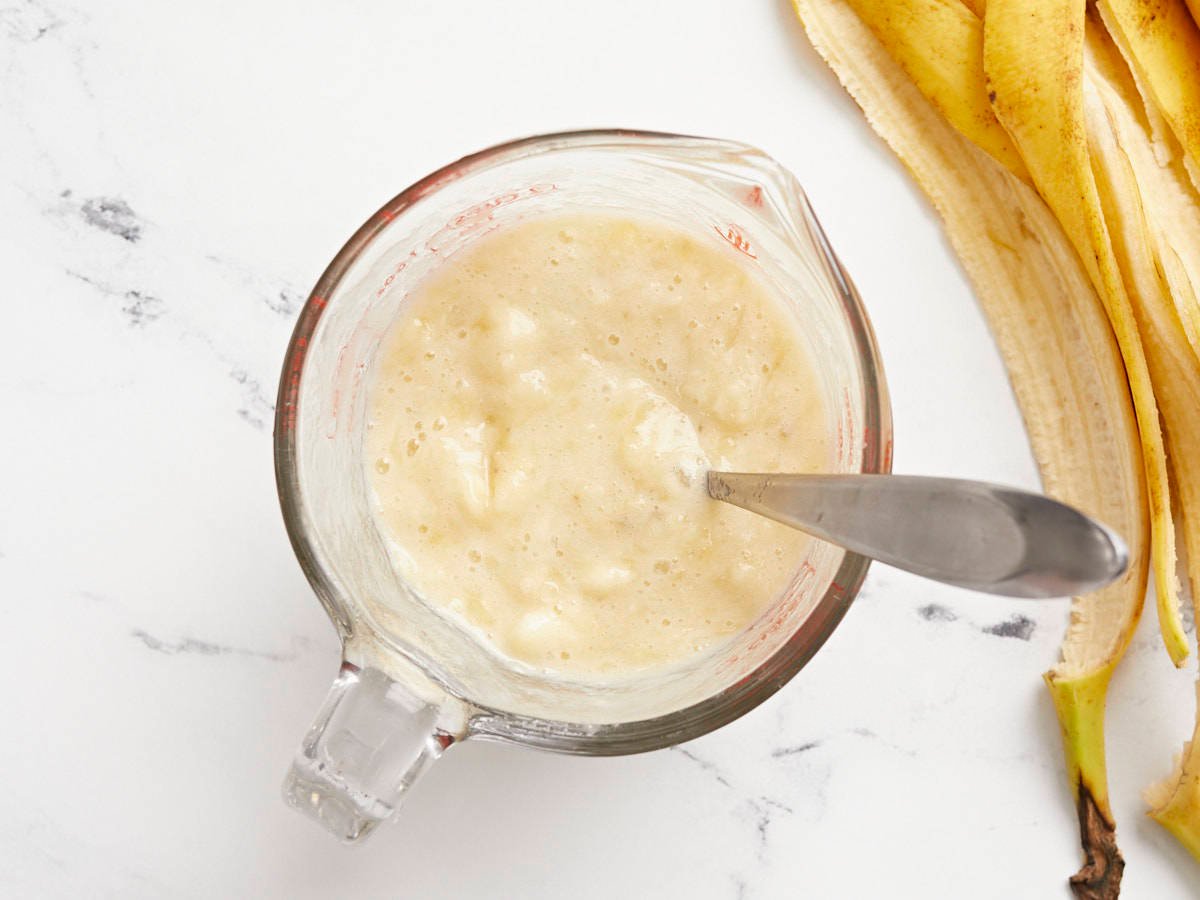
Mash 3-4 bananas, or until you have 1.5 cups of mashed banana.
Add the mashed banana, two large eggs, and 1 tsp vanilla extract to the bowl with the creamed butter and sugar. Use the mixer to mix the ingredients together until smooth.
In a separate bowl, stir together 2 cups of all-purpospe flour, 1 teaspoon baking soda, ½ teaspoon salt, ¼ tsp nutmeg, and ¼ tsp cinnamon until well combined. Pour the flour mixture into the bowl with the wet ingredients and then fold them together just until they form a wet batter. Do not overmix.
Add ½ cup of chopped walnuts to the batter and fold briefly to combine.
Grease a standard 8.5″x4.5″ bread pan. Pour the batter into the pan and then spread it out evenly.
Bake the bread for 60 minutes, or until golden brown on top, cracked in the middle, and a toothpick inserted into the center comes out clean. Allow the bread to cool for about 5 minutes in the pan, then gently remove it from the pan and allow it to finish cooling on a wire rack.
This easy banana waffles recipe transforms ripe bananas into a golden, fluffy breakfast! Packed with warm cinnamon and a burst of fruit, these waffles are begging to be devoured smothered in maple syrup.
Got a ripe banana on hand? Let’s make banana waffles! This recipe is here for when you’ve got only one banana on the counter and are wondering how to turn it into a meal. Whisk it up into a fruity batter spiced with cinnamon, then cook in a waffle maker until golden and crisp. These waffles are absolutely delicious, perfect topped with a drizzle of maple syrup, a few banana slices and a dollop of peanut butter.
Ingredients for this banana waffles recipe
Banana waffles are a great way to transform a ripe banana into a meal, which isn’t always possible with a lonely banana! Our best banana bread requires 4 to 5 bananas, which isn’t always what we have on hand. For single bananas, waffles to the rescue! Combine the fruit with a few standard baking ingredients and you’ve got waffles. Here’s what you’ll need:
All purpose flour: All-purpose flour is our go-to for waffles. If you’re looking for gluten-free, go to gluten-free waffles made with almond flour.
Baking powder: This leavener makes the waffles light and fluffy.
Sugar: You can use granulated or brown sugar, or even maple syrup or honey. We prefer brown sugar here.
Cinnamon: This spice is key to the warm flavor.
Neutral oil: Options include grapeseed oil, organic canola or vegetable oil. Using oil omits the need to melt butter.
Milk of choice: You can use either dairy or non-dairy like oat milk or almond milk to make this recipe dairy-free.
Eggs: Two eggs make this waffle recipe come together. For vegan, substitute flax eggs.
Banana: Use a very ripe banana. The riper the banana, the more the fruity flavor comes through.
Belgian waffles vs standard
This banana waffles recipe works for either Belgian or standard waffles: you’ll get 4 standard or 4 Belgian. Our personal preference is Belgian waffles, since they’re thicker and look more impressive. Here’s the Belgian waffle iron we use, which is what we used for these photographs.
Belgian waffles are twice as large as regular waffles. They’re 1 ½ inches thick with a deep grid pattern. One serving size is half of a Belgian waffle, since it’s double the size of a standard waffle — unless you make a half size with ruffled edges.
Regular waffles, aka American waffles are about 1/2-inch thick. They’re half the size of the Belgian waffles, and the serving size is 1 waffle.
Ruffled edge Belgian waffles: You can make a smaller serving size with a Belgian waffle maker. Simply use about ½ cup of the batter in a Belgian waffle maker and don’t spread it to the edges. You can also do this in a standard waffle maker by using about ¼ cup batter.
How to make banana waffles: a few tips!
This banana waffles recipe is as simple as mixing up a quick batter, then frying it in a waffle maker until golden brown. There are a few helpful tips for using a waffle maker if you’re a novice:
Grease or butter the waffle iron. You can use oil with a brush, butter, or coconut oil. While most waffle irons are non-stick, they can use their surface over time. Our Belgian waffle maker is a few years old and requires a good greasing: or else the waffle gets stuck in the deep grooves.
Cook until golden brown, about 3 to 4 minutes. Some waffle makers have a light or sound that tells you when the waffle is cooked. Others don’t (like ours)! Set a timer and start checking around the 3 minute mark: pull it when it’s nice and golden.
Place cooked waffles in a 250°F degree oven to keep warm. Once you’re done cooking the waffle, serve it right away. Or, place it on a parchment lined baking sheet and place it in a low oven to cool.
Topping ideas
Banana waffles can be topped with just about anything! Because these waffles are nicely seasoned with fruit and cinnamon, we like not getting too complex on the toppings so you can taste the banana flavor. Here’s what we’d recommend:
Pure maple syrup is a must; we like the containers labeled “Grade A: Dark Color and Robust Taste”
Banana slices are a nice way to bring out the banana flavor even more
Let us know what you plan to use for toppings in the comments below. Any questions? Let us know there, too!
More banana breakfast recipes
There are so many creative ways to use bananas in everyday meals, and especially fun banana breakfast recipes! Here are a few more recipes you’ll want to try:
This easy banana waffles recipe transforms ripe bananas into a golden, fluffy breakfast! Packed with warm cinnamon and a burst of fruit, these waffles are begging to be devoured smothered in maple syrup.
In a medium bowl, mix the all purpose flour, baking powder, sugar, cinnamon, and kosher salt until thoroughly combined.
In another bowl, whisk the eggs, mashed banana, milk, and neutral oil. Pour the wet ingredients into the dry ingredients and whisk vigorously until the batter is mostly smooth.
Lightly brush oil onto the waffle maker. Immediately, add the batter into the center of the waffle iron (a little over 1 cup for a Belgian waffle maker and a little over ½ cup for a standard waffle maker, or ½ cup in a Belgian waffle maker for ruffled edges), then cook according to the waffle iron’s instructions. Remove the cooked waffles and place them on a baking sheet without stacking. Make the waffles to order, or place cooked waffles in a 250°F oven to keep warm. Serve topped with maple syrup.
Cooked waffles can be frozen; place them in a plastic bag and remove the remaining air with a straw before sealing. To reheat, remove from the freezer and lightly toast in a toaster.
This peanut butter banana smoothie recipe tastes like a milkshake but is made with wholesome ingredients! A total favorite.
As authors of over 50 smoothie recipes, we’ve slurped up just about every type. But here’s a recipe that stands out as one of our top favorite ever: this peanut butter banana smoothie! This one tastes like a milkshake but it’s made of wholesome ingredients like banana, peanut butter and oats. Whiz it up with frozen bananas and it makes a thick and creamy, just sweet enough puree that will have you professing your undying love! Our family is head over heels about this one (I think I could eat it every day, really!).
Ingredients in this peanut butter banana smoothie
It’s tricky to get a peanut butter banana smoothie recipe with just the right creamy, thick texture and bold peanut butter banana flavor. In fact, if you just try blending up room temperature bananas with some peanut butter, it can come out very runny and thin. The trick? Frozen bananas add texture, along with Old Fashioned oats which bring an even creamier body. (We tried this trick in our oatmeal smoothie and have been using it ever since!) Here are the ingredients you’ll need:
Frozen bananas
Old Fashioned oats
Peanut butter
Milk of choice (dairy, oat milk or almond milk), plus more to taste
Vanilla extract
Maple syrup (or honey)
Ice
We like using creamy unsweetened peanut butter here. We’ve made this smoothie with both oat milk and dairy milk and it is delicious either way! Using dairy milk adds to the protein content and it tastes a little richer.
Tips for freezing bananas
It’s simple to freeze bananas for smoothies: you’ll just need to remember to freeze them 1 ½ hours before you want to enjoy your drink! Here are a few notes about freezing bananas:
Use ripe bananas. Only use ripe bananas for smoothies, because this enhances the fruity banana flavor. Unripe bananas can add a bitter aftertaste to smoothies.
Slice the bananas, then flash freeze. Slice the fruit into 1/2-inch slices, then place them on a baking sheet. Freeze for 1 ½ to 2 hours. Once solid, place in a freezer safe container until ready to use.
Make it non-dairy and vegan
This peanut butter banana smoothie is easy to make as dairy-free or vegan smoothie. Simply use your favorite non-dairy milk! We love it with oat milk, since it adds a nice creamy body. Using dairy milk does add more protein, so for a vegan smoothie it can be helpful to add additional plant-based protein to make it more filling.
Protein adders for a peanut butter banana smoothie
This peanut butter banana smoothie does have some plant-based protein from the peanut butter: 12 grams total or 6 grams per serving. But if you’d like, you can add even more protein! This is especially helpful if you’re planning to use this smoothie as a meal replacement. Here are a few ideas:
Chia seeds. Add protein and fiber with chia seeds! 2 tablespoons chia seeds adds 4 grams protein and 11 grams fiber.
Vanilla protein powder: This vanilla protein powder is the one we use; it has a good flavor that’s not too artificial.
Smoothie storage
Smoothies are best eaten immediately. However, this peanut butter banana smoothie actually lasts 1 to 2 days refrigerated, stored in a sealed container or a mason jar with the lid on. It may separate, which is perfectly natural. Just shake it up before serving!
More top smoothie recipes
This peanut butter banana smoothie is a favorite in our smoothie lineup! Here are a few more top recipes you’ll love:
This peanut butter banana smoothie recipe tastes like a milkshake but is made with wholesome ingredients! A total favorite.
Ingredients
2 medium ripe frozen bananas (sliced and frozen at least 1 1/2 hours)
¼ cup Old Fashioned oats
3 tablespoons peanut butter (creamy and unsweetened)
3/4 to 1 cup milk of choice (dairy, oat milk or almond milk), plus more to taste
½ teaspoon vanilla extract
1 tablespoon pure maple syrup (or honey), plus more to taste
1 cup ice
Protein adder: 1 scoop vanilla protein powder, optional*
Instructions
If you haven’t already, slice the bananas and freeze them for at least 1 ½ hours until solid.
Blend all ingredients in a blender, starting on the low end of the milk and adding small amounts more until it blends together. Taste and add additional maple or honey if desired.
Notes
*If using protein powder, add that first, then add sweetener to taste.


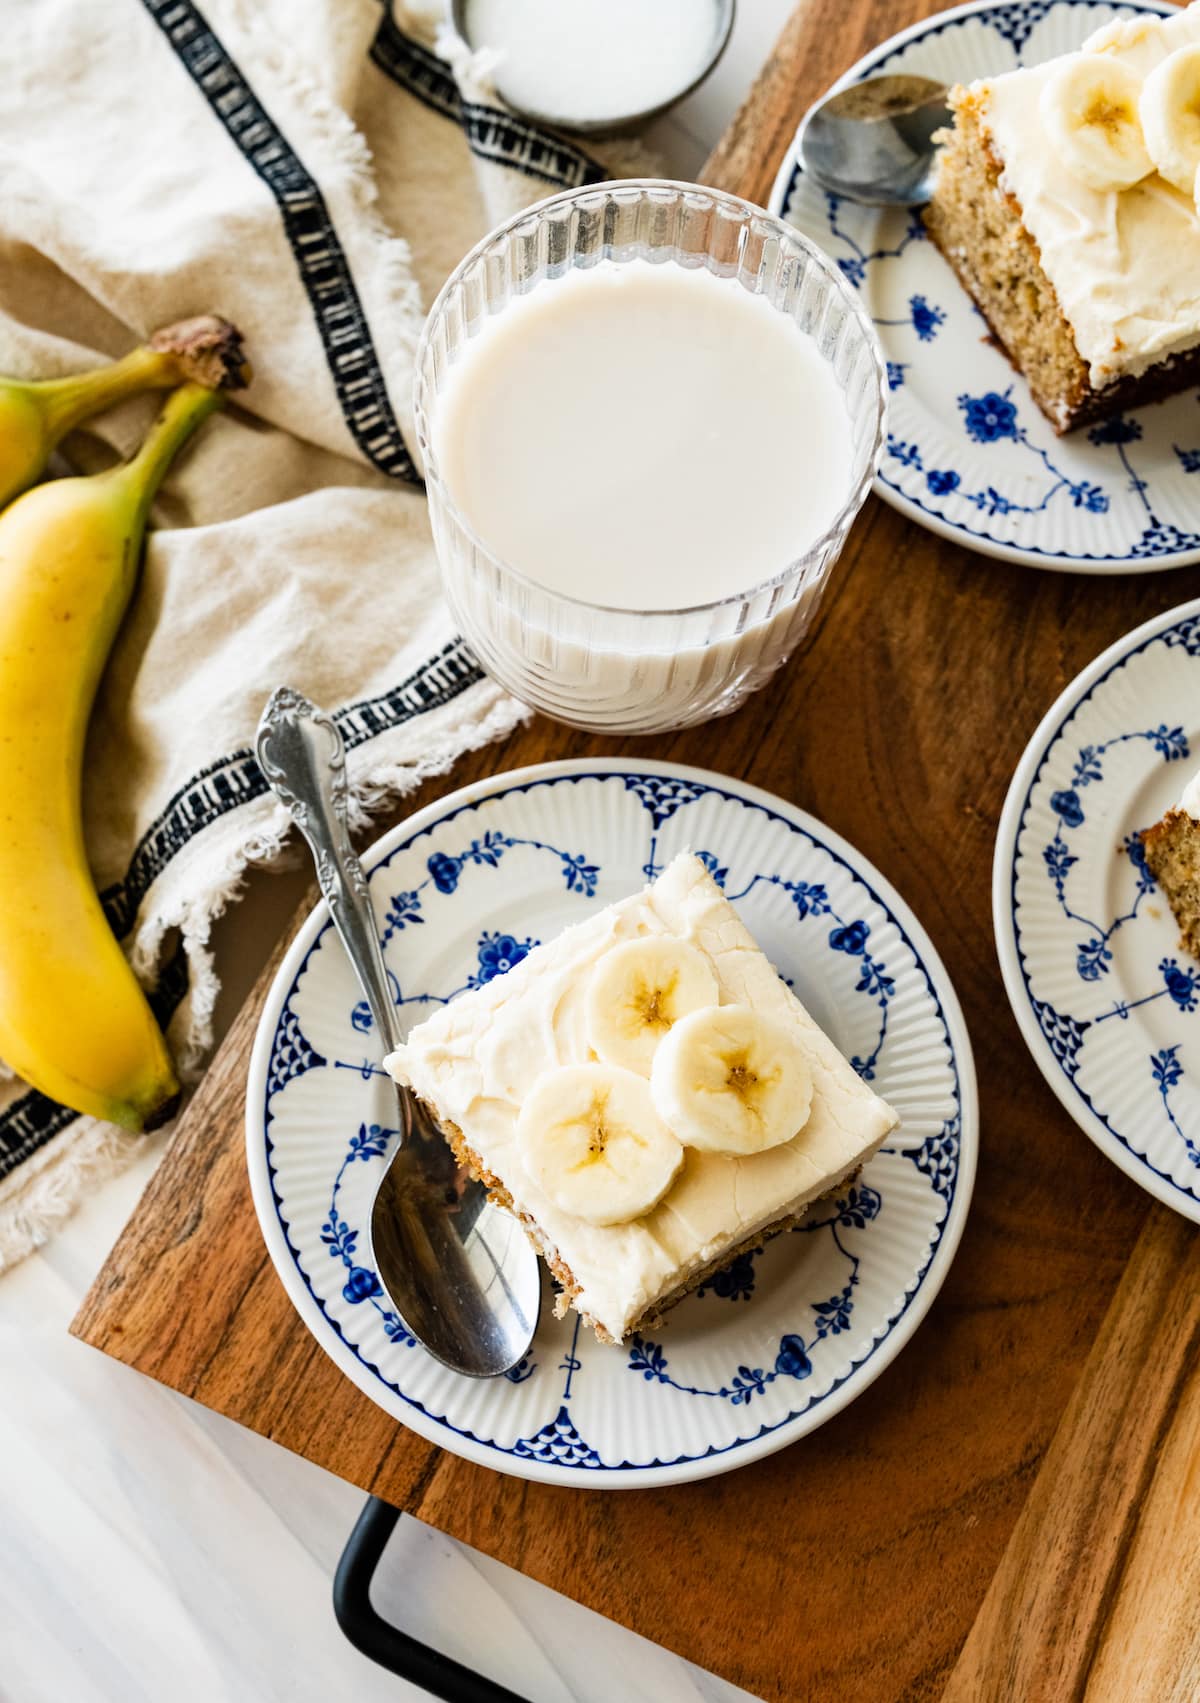 Whenever I have brown bananas on the counter I usually make my classic banana bread or chocolate banana bread, but sometimes I like to make Banana Cake. It is the perfect dessert for any occasion. The cake is incredibly moist, bursting with banana flavor, and covered in luscious cream cheese frosting. It’s the perfect recipe…


 Whenever I have brown bananas sitting on the counter I usually think banana bread or chocolate banana bread. But I also like making banana muffins. I love my classic banana muffin recipe, but I also love these Banana Oatmeal Muffins. The addition of oats makes them wholesome and extra tasty! I love this muffin recipe…