Cucumber Avocado Salad (Creamy, and Ready in 10 minutes)
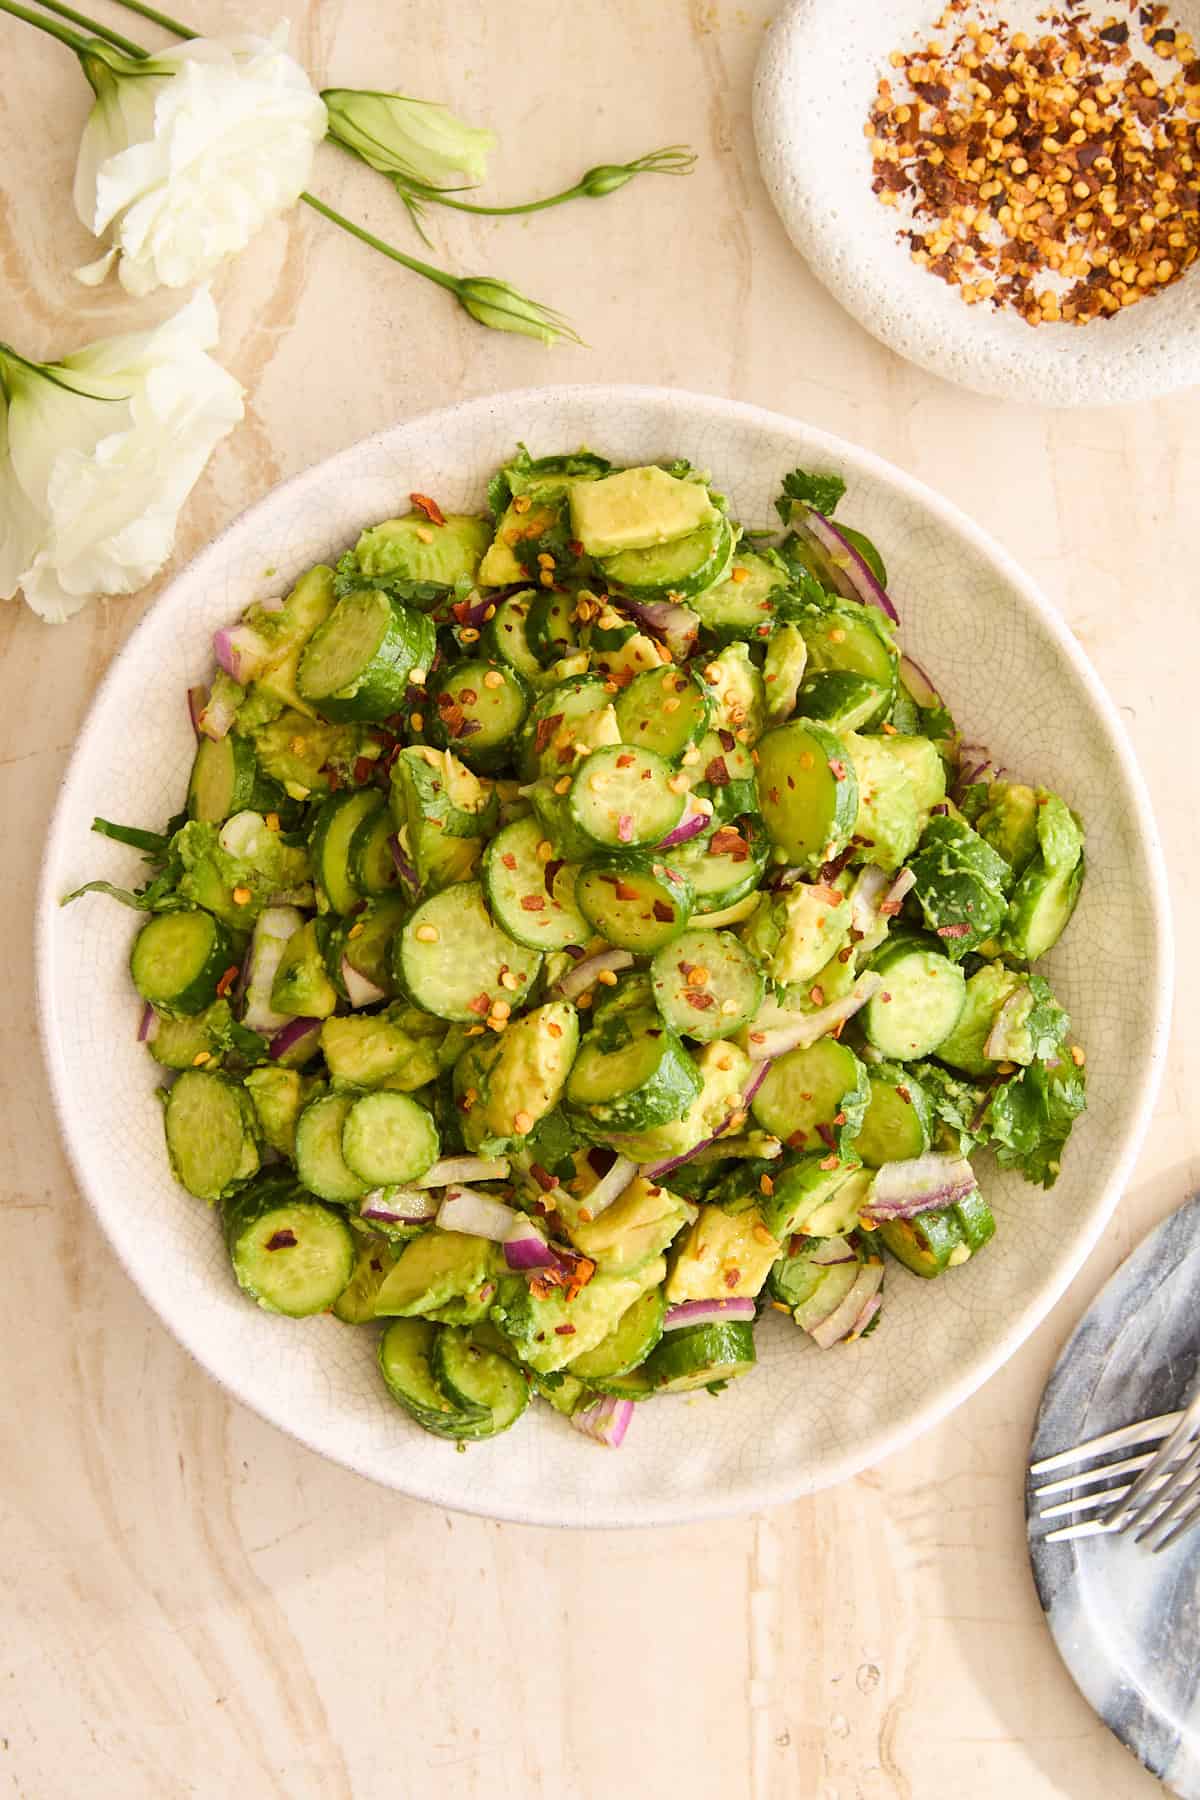 There are certain combinations that we can’t get enough of, and cool cucumber and creamy avocado is one of them.…
There are certain combinations that we can’t get enough of, and cool cucumber and creamy avocado is one of them.…
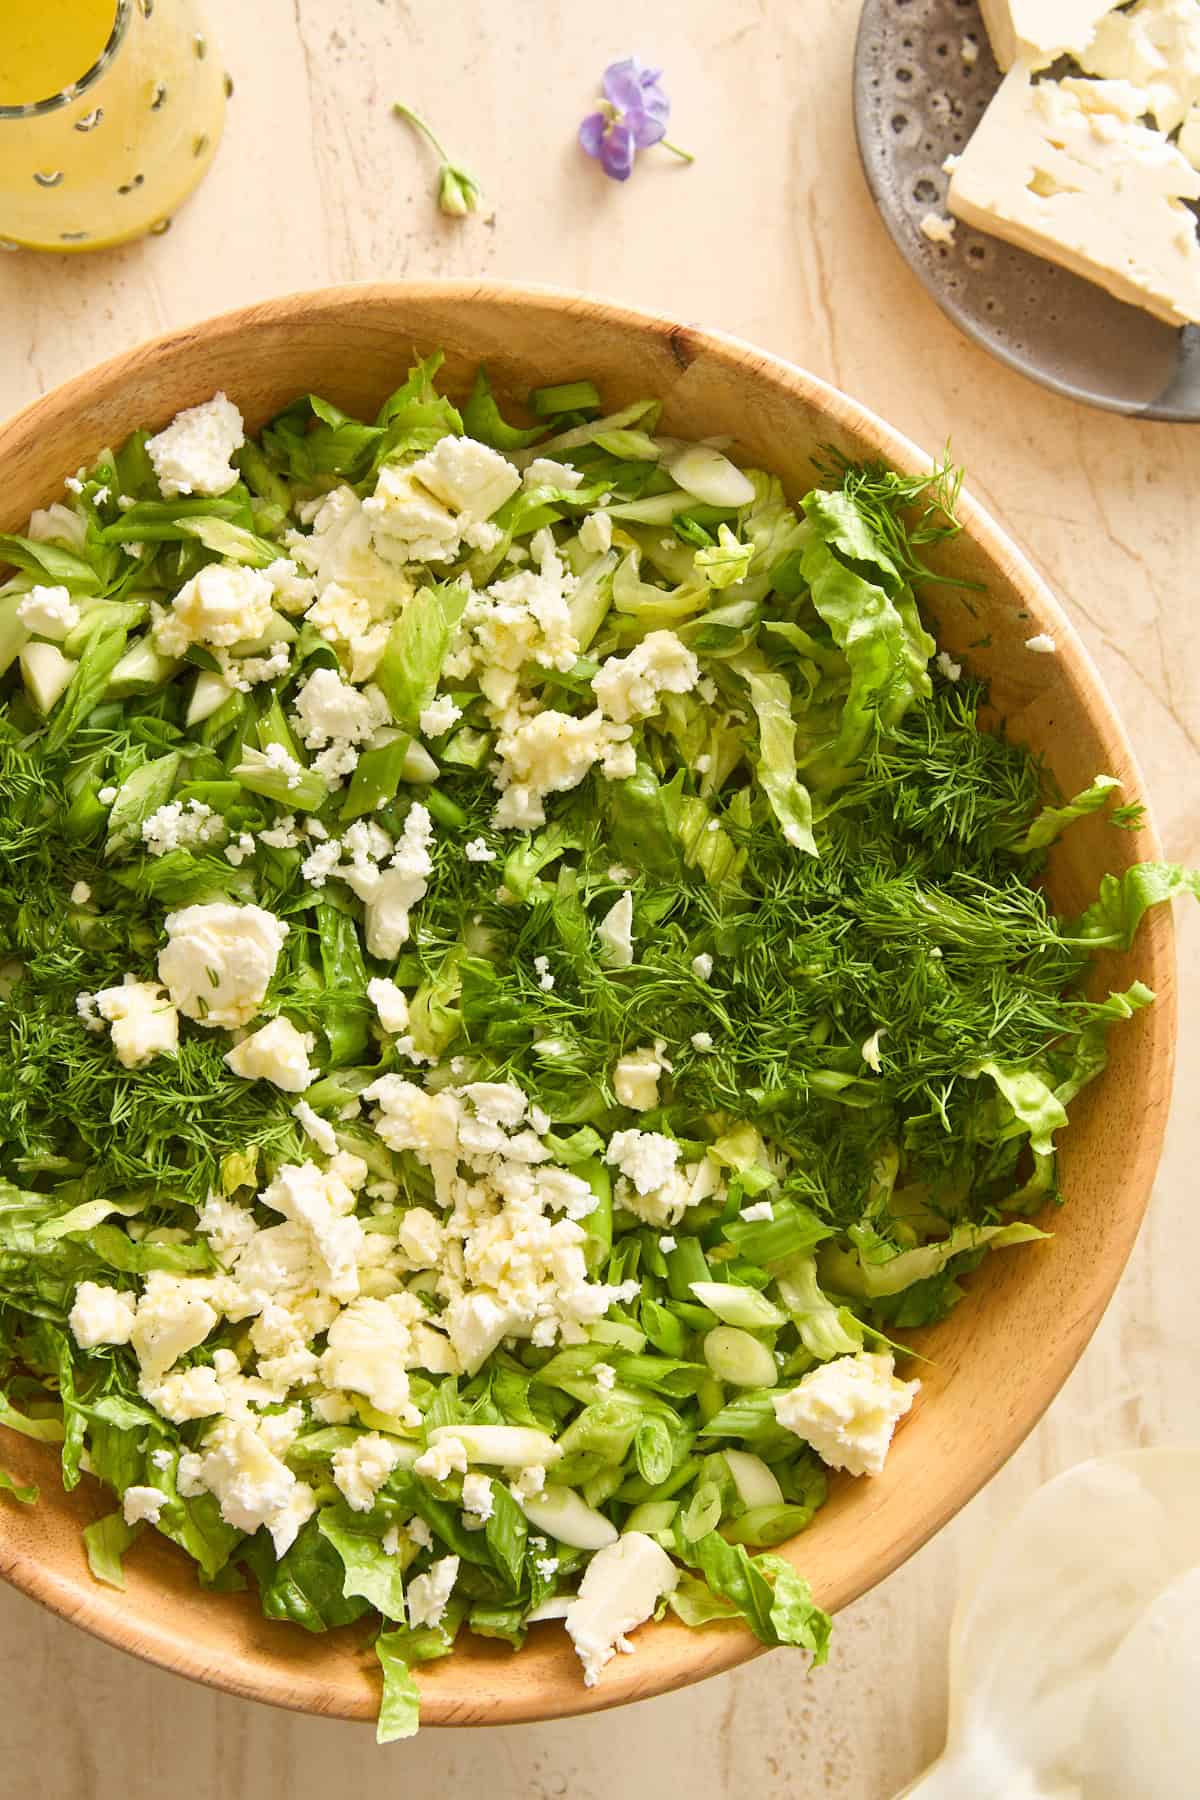 Bright, crisp, and herb-forward, Maroulosalata (Traditional Greek Lettuce Salad) is one of those simple dishes that proves fresh ingredients really…
This quick broccoli and cheese recipe takes just 10 minutes and uses a simple method for tender, gooey, cheesy broccoli.…
These horseradish mashed potatoes are creamy with a kick! They’re the ultimate zesty side dish for steak, prime rib, or…
These healthy and easy side dishes for chicken make protein into dinner, from crispy roasted vegetables to creamy pastas and…
Celebrate summer with this vegan peach salad, a simple side dish bursting with fresh flavors thanks to juicy peaches, creamy avocados, crunchy nuts, and leafy greens. Drizzle the simple balsamic vinaigrette over top for an unforgettable summer meal!
Sides are the secret stars of any Fourth of July meal, adding pops of color, crunch, and flavor that perfectly complement everything from massive grilled steaks to plant-based burgers. Honestly, sometimes my favorite kind of celebration is all about th…
Whether you’re planning a full Easter dinner or just in charge of bringing a dish to share, no holiday spread is complete without a stellar lineup of sides. From buttery rolls to vibrant spring salads, these Easter side dishes are the unsung heroes of …
Lamb is one of the most flavorful meats you can cook. Whether it’s a slow-braised lamb shank, a roasted leg, or pan-seared lamb chops, it’s great on it’s own. But, the right side dishes can also balance its richness, from bright citrusy salads to cream…
Here’s the simplest salad you’ll ever make! This easy arugula salad comes together in minutes. You don’t even need to…
Last Thursday, Food52’s Cookbook Club community members gathered for a potluck-style event celebrating our Cookbook of the Year, Tenderheart by Hetty Lui McKinnon. And while a asking a cookbook author to choose a favorite dish is like asking a mother t…
As a Thanksgiving guest, you’re responsible for a) not being The Worst Person In The Room, and b) making something people want to eat. I can help with the latter.
Let’s start with a fact: You’re not making the turkey. Even if you’re the most qualified…
This refreshing zucchini salad is an easy, no-cook side dish that tosses raw zucchini, crunchy vegetables, and nuts in a zesty homemade dressing. It’s fresh, flavorful, and a great way to use up your fresh summer zucchini!
Your vegan feast isn’t complete without warm and fresh vegan naan on the side! Easy to make with baking staples, this pillowy soft flatbread is perfect for scooping up all your favorite Indian-inspired dishes.
Here are the best sauteed carrots you’ll ever have! The perfect easy side dish, they’re made with just 3 ingredients…
We’re in the thick of summer, which means the season of potlucks and BBQs is at its peak. Whether you’re headed to a picnic or to an outdoor dinner party, it’s always a good idea to have a few dependably delicious side dish recipes at the ready.
We as…
 This Rainbow Chickpea Salad is a dream summer side. Packed with bright, fresh flavors it’s a crowd-pleaser and easy to…
The post Rainbow Chickpea Salad appeared first on The Defined Dish.
This easy vegan pear salad tosses sliced pears, nuts, cranberries, and mixed greens in a tangy balsamic vinaigrette—a classic appetizer or side dish you can pair with everyday family dinners or extravagant holiday meals!
There’s a change in the air on Memorial Day. It marks the start of grilling season, the unofficial kickoff to summer, and, of course, the chance to serve up the very best Memorial Day side dishes. Whether you’re firing up the grill, heading to a potluc…
Make your broccoli taste amazing in just 10 minutes! This easy sauteed broccoli highlights its fresh flavor and comes out…
This easy baked asparagus recipe is ready in 20 minutes and bursting with flavor. Perfectly tender-crisp with a hint of…
Make perfectly tender grilled asparagus in minutes! Here are the secrets to achieving smoky char and bright flavor to this…
This wild rice salad recipe is simple and bursting with flavor, with crunchy veggies, pecans, cranberries, a zingy dressing, and…
This tangy apple slaw recipe combines crisp apples, cabbage, and carrots with a creamy poppy seed dressing for the perfect…
This lemon rice recipe is a simple way to make a stand-out side dish! It’s easy to whip up and…