Cake Mix Sprinkle Cookies
If you’re looking for a fun, festive, and super easy cookie to add to your holiday baking lineup, these Cake Mix Sprinkle Cookies are the ones you want. They’re soft, chewy, colorful, and made with just four ingredients! Why I Love This Reacipe The Ingredients Step by Step Instructions How to Store (and Make Ahead…
The post Cake Mix Sprinkle Cookies appeared first on Weelicious.

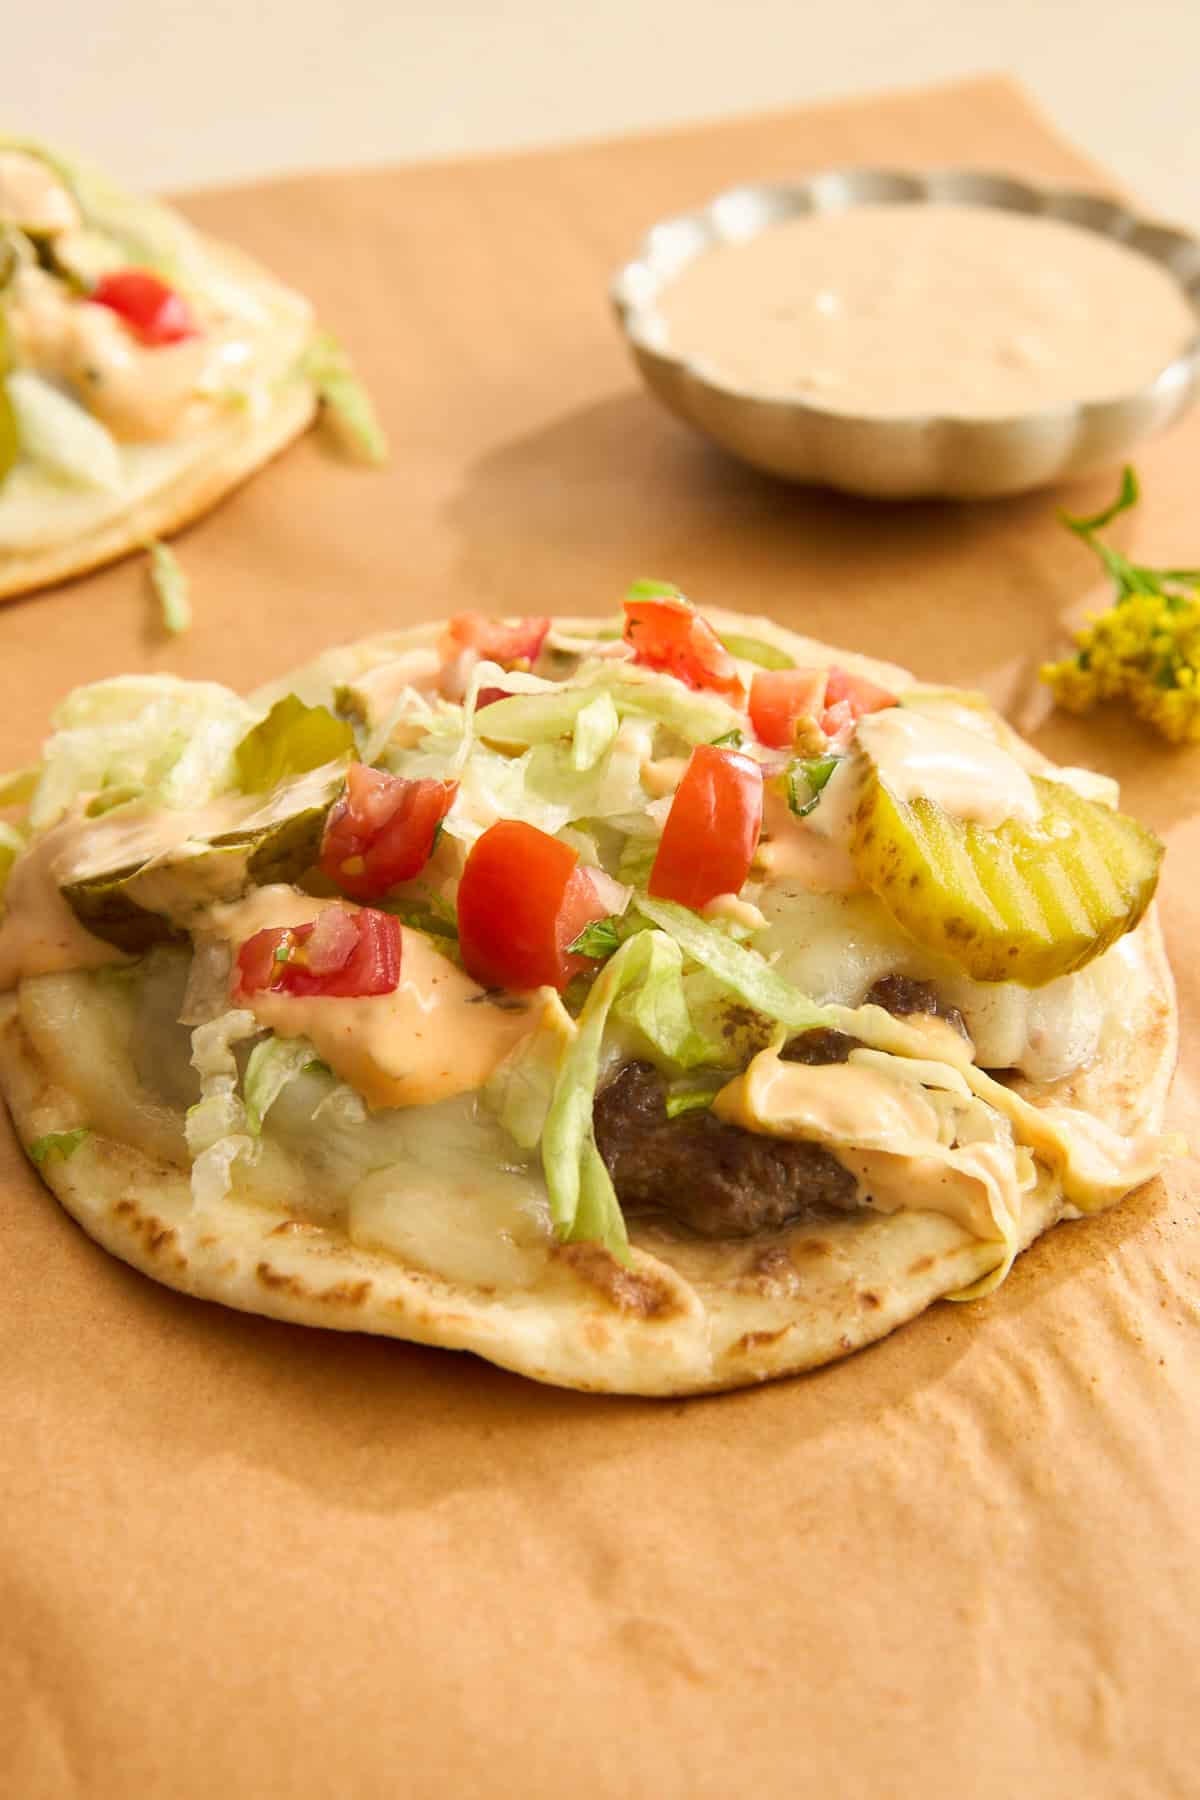 Enjoy all the flavors of your favorite fast food in the convenience of a crisp, savory smash burger tacos recipe!