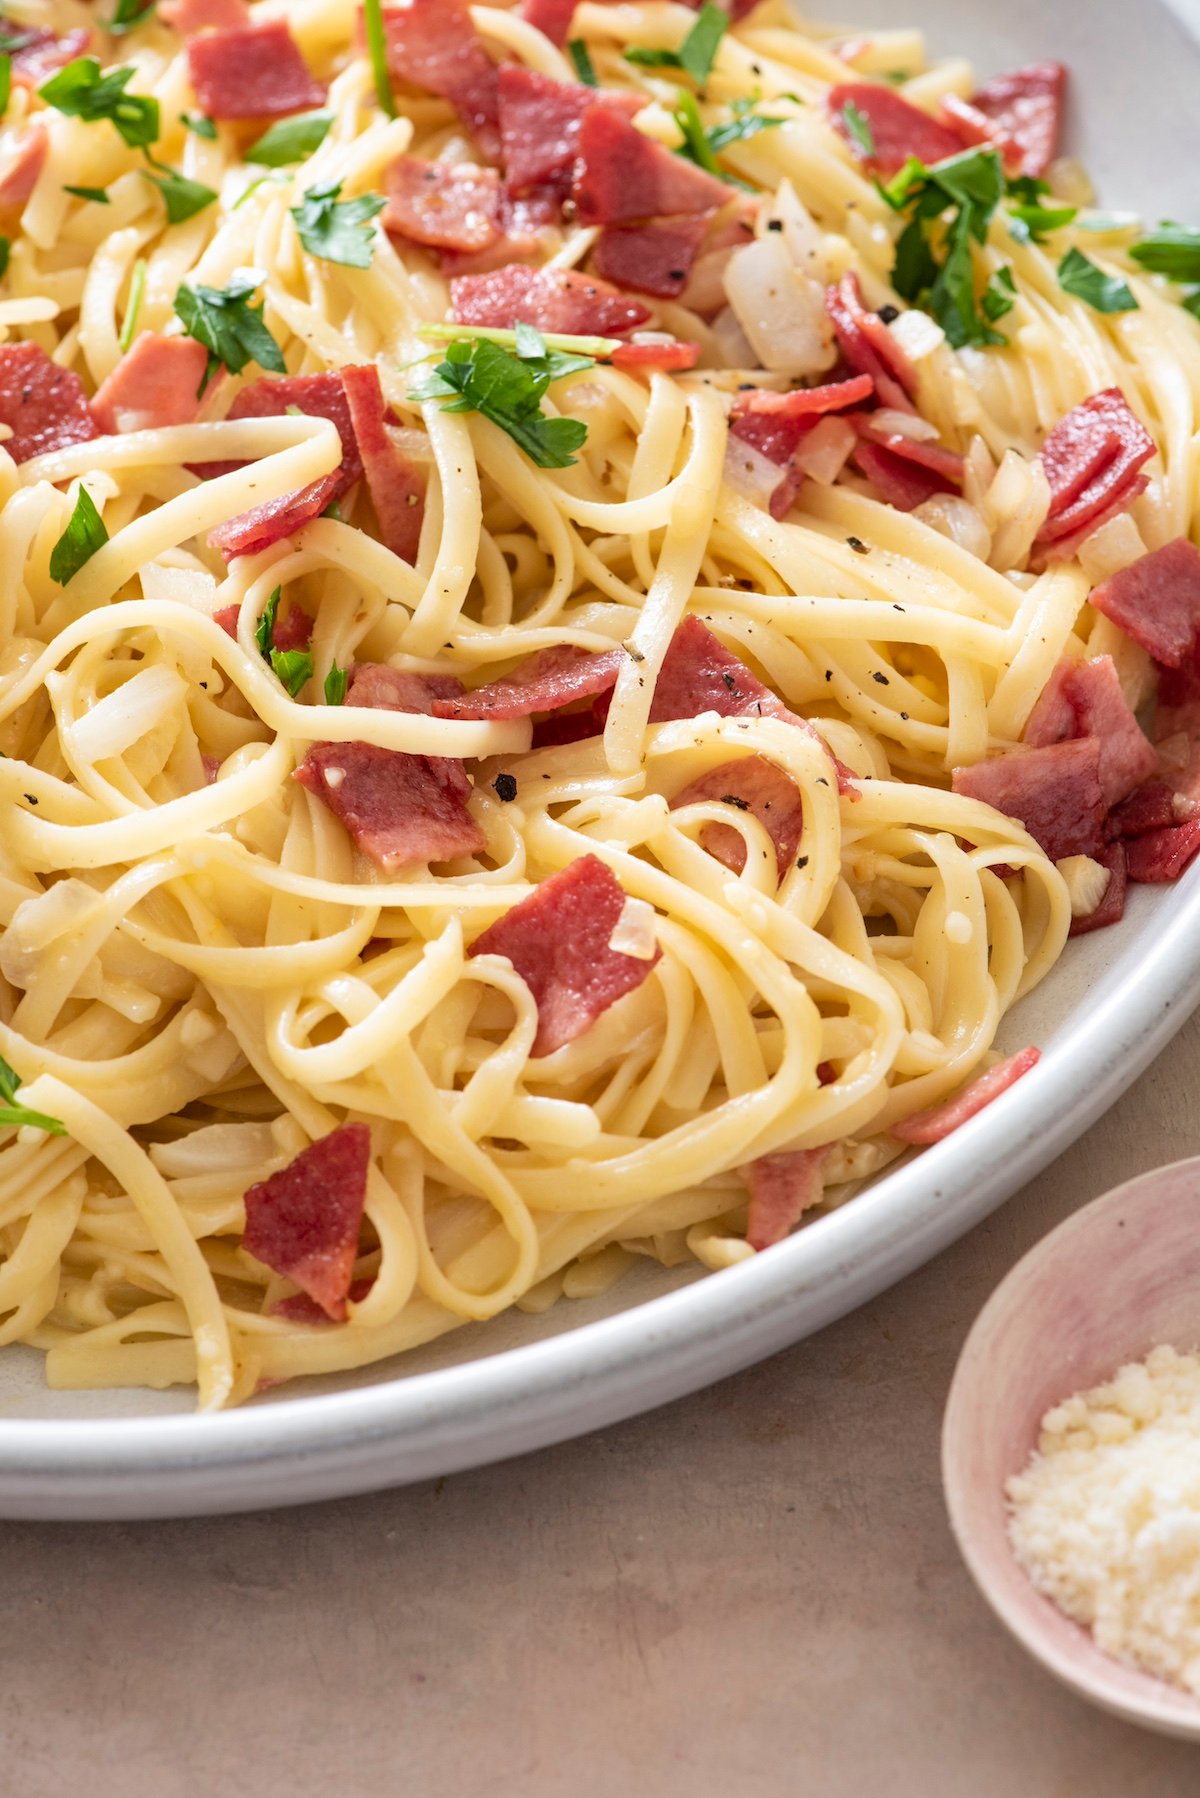
Love classic spaghetti carbonara but want a healthier, lighter version? You’re in for a treat! This Lightened Up Spaghetti Carbonara recipe uses lighter ingredients without sacrificing that rich, creamy texture. Plus, it’s ready in under 30 minutes, making it perfect for busy weeknights!
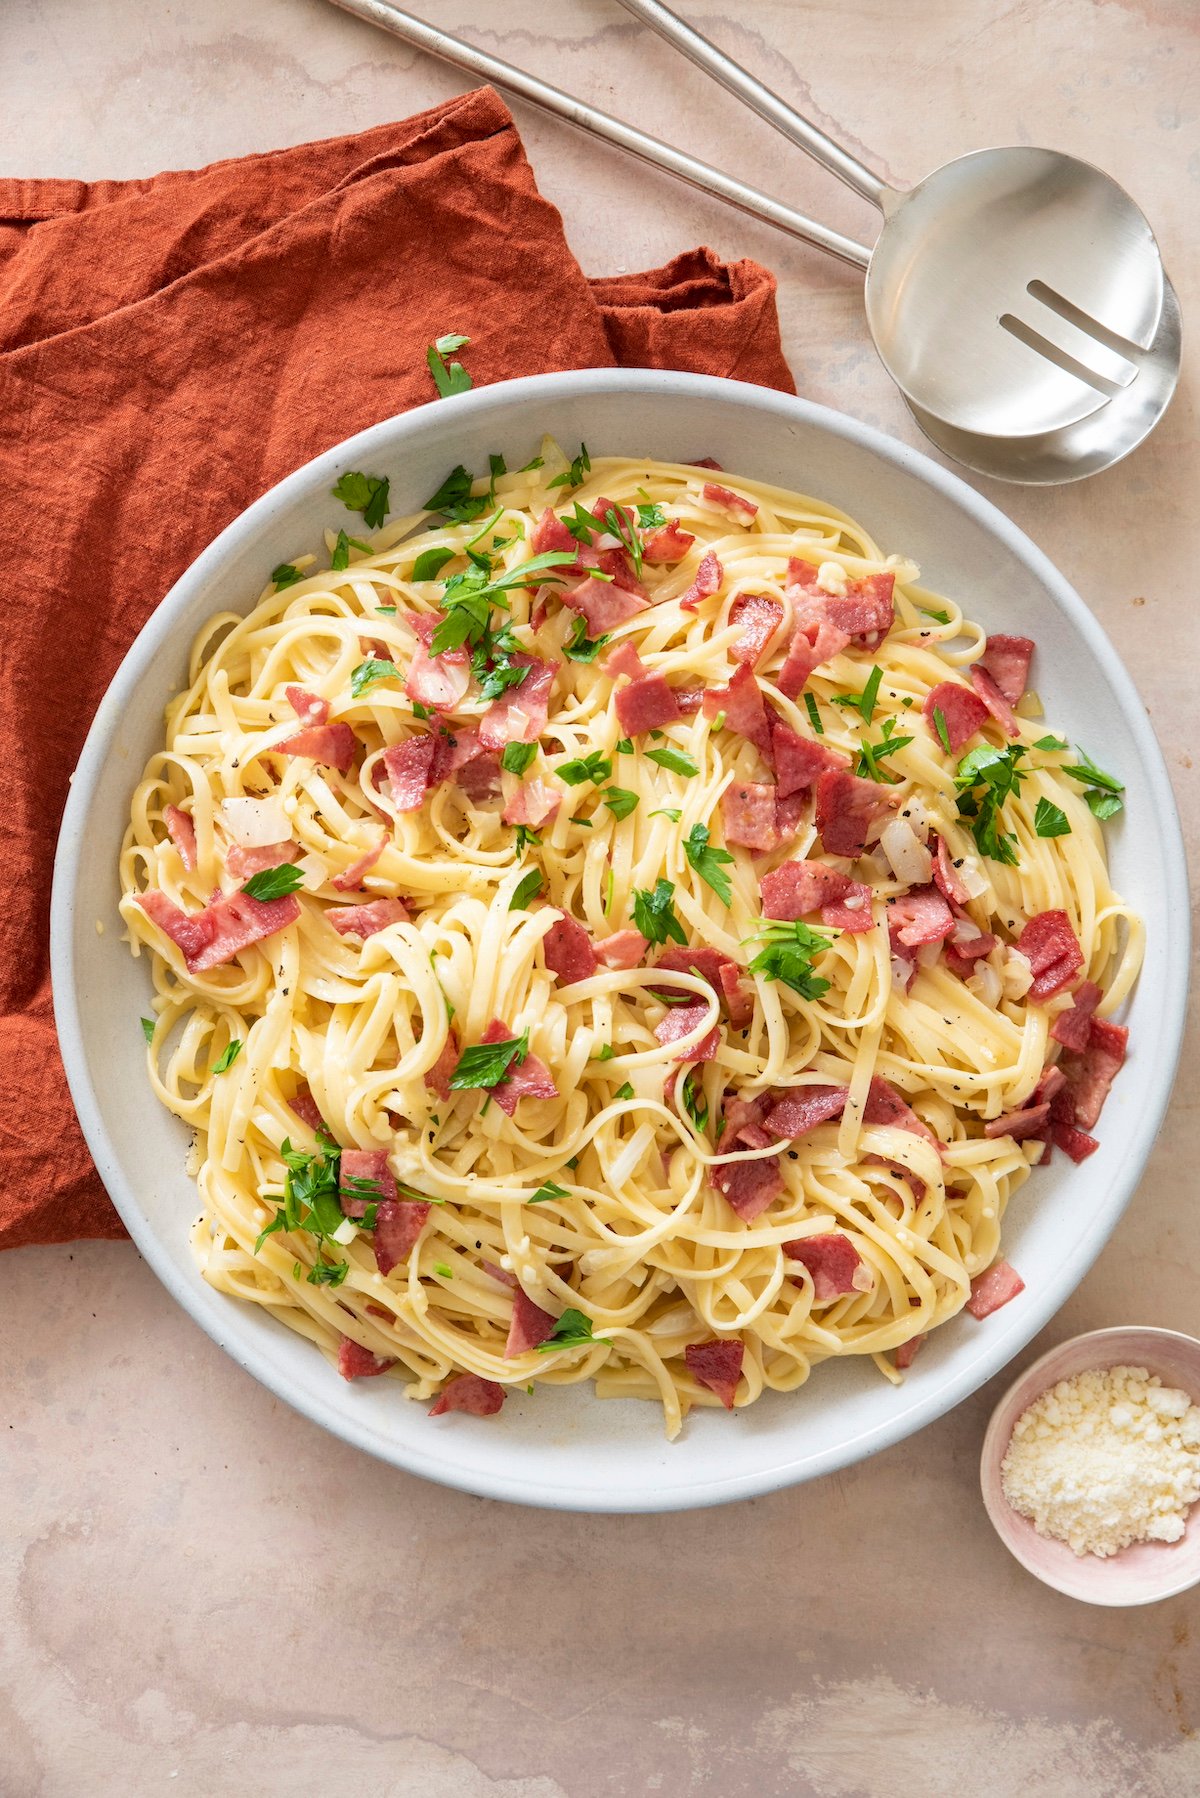
Table of Contents
Why You’ll Love This Recipe
- Healthier Alternative: Using turkey bacon reduces fat without losing the delicious smoky flavor. Instead of substitutions, I simply use less of the indulgent ingredients (except cream, which I do skip). Combining eggs and pasta water retains the creamy texture of classic carbonara.
- Quick and Easy: This carbonara recipe is ready in under 30 minutes making it perfect for a quick yet satisfying meal.
- Comfort Food: Despite being lighter, this carbonara remains creamy, comforting, and absolutely delicious! Want another healthy yet comforting recipe? Try my Roast Vegetable Pasta recipe!
- Family-Friendly: Kids and adults alike love this delicious pasta dish! It feels indulgent without the guilt and is a total crowd pleaser.
The Ingredients
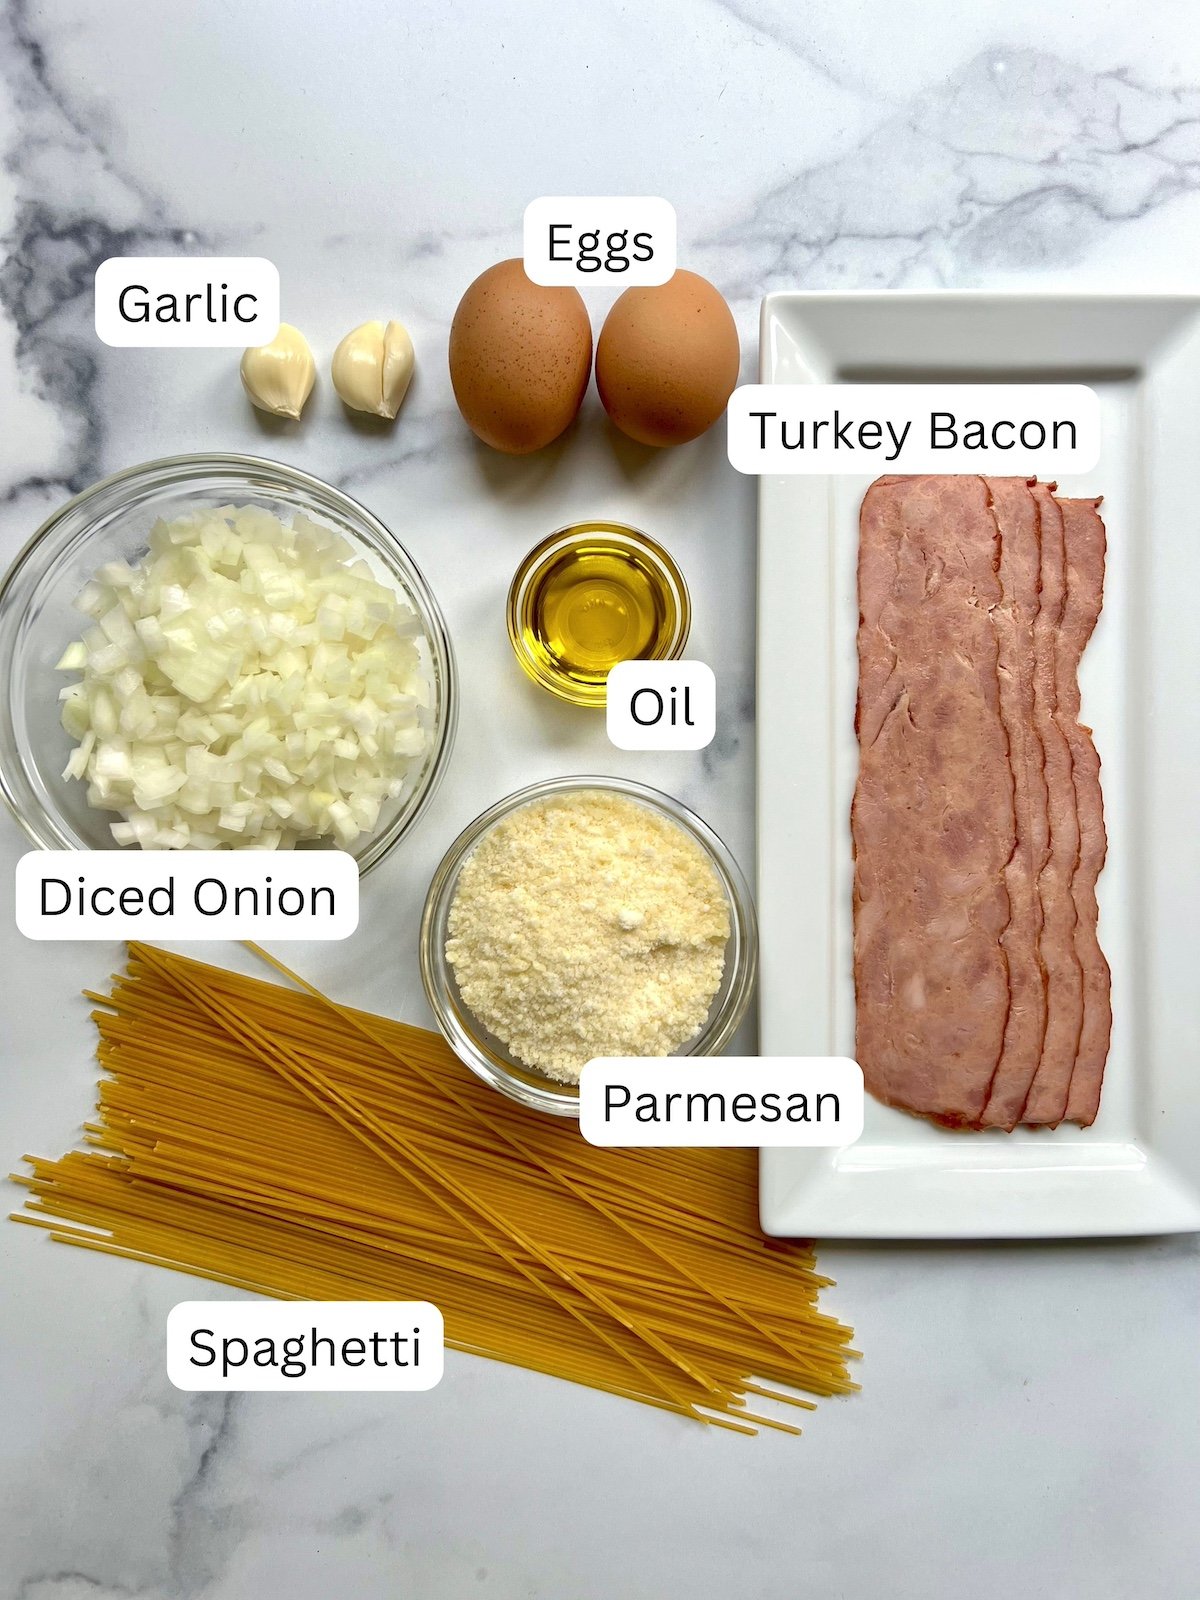
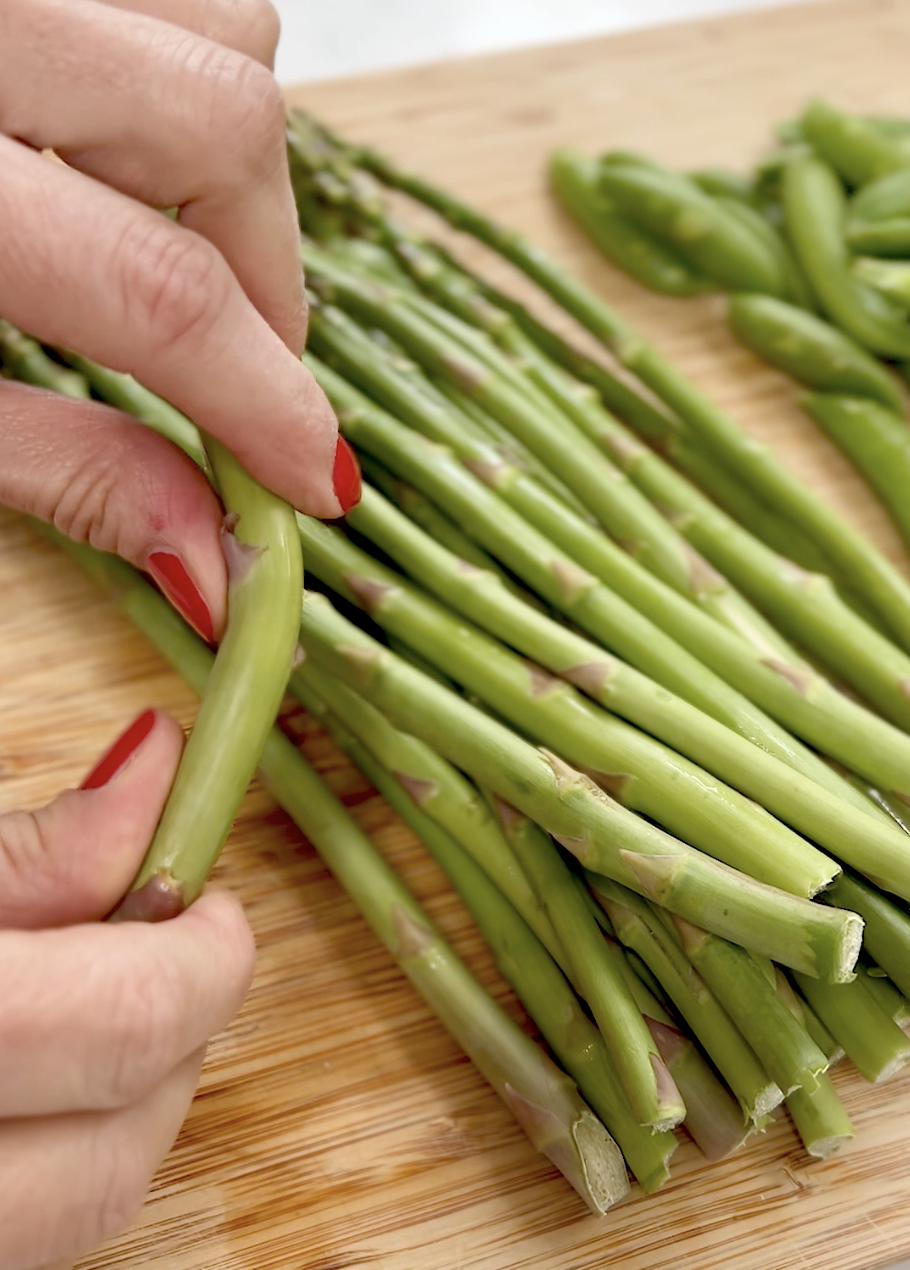
- Spaghetti: Spaghetti is the heart of the dish, providing the perfect base for picking up the creamy sauce.
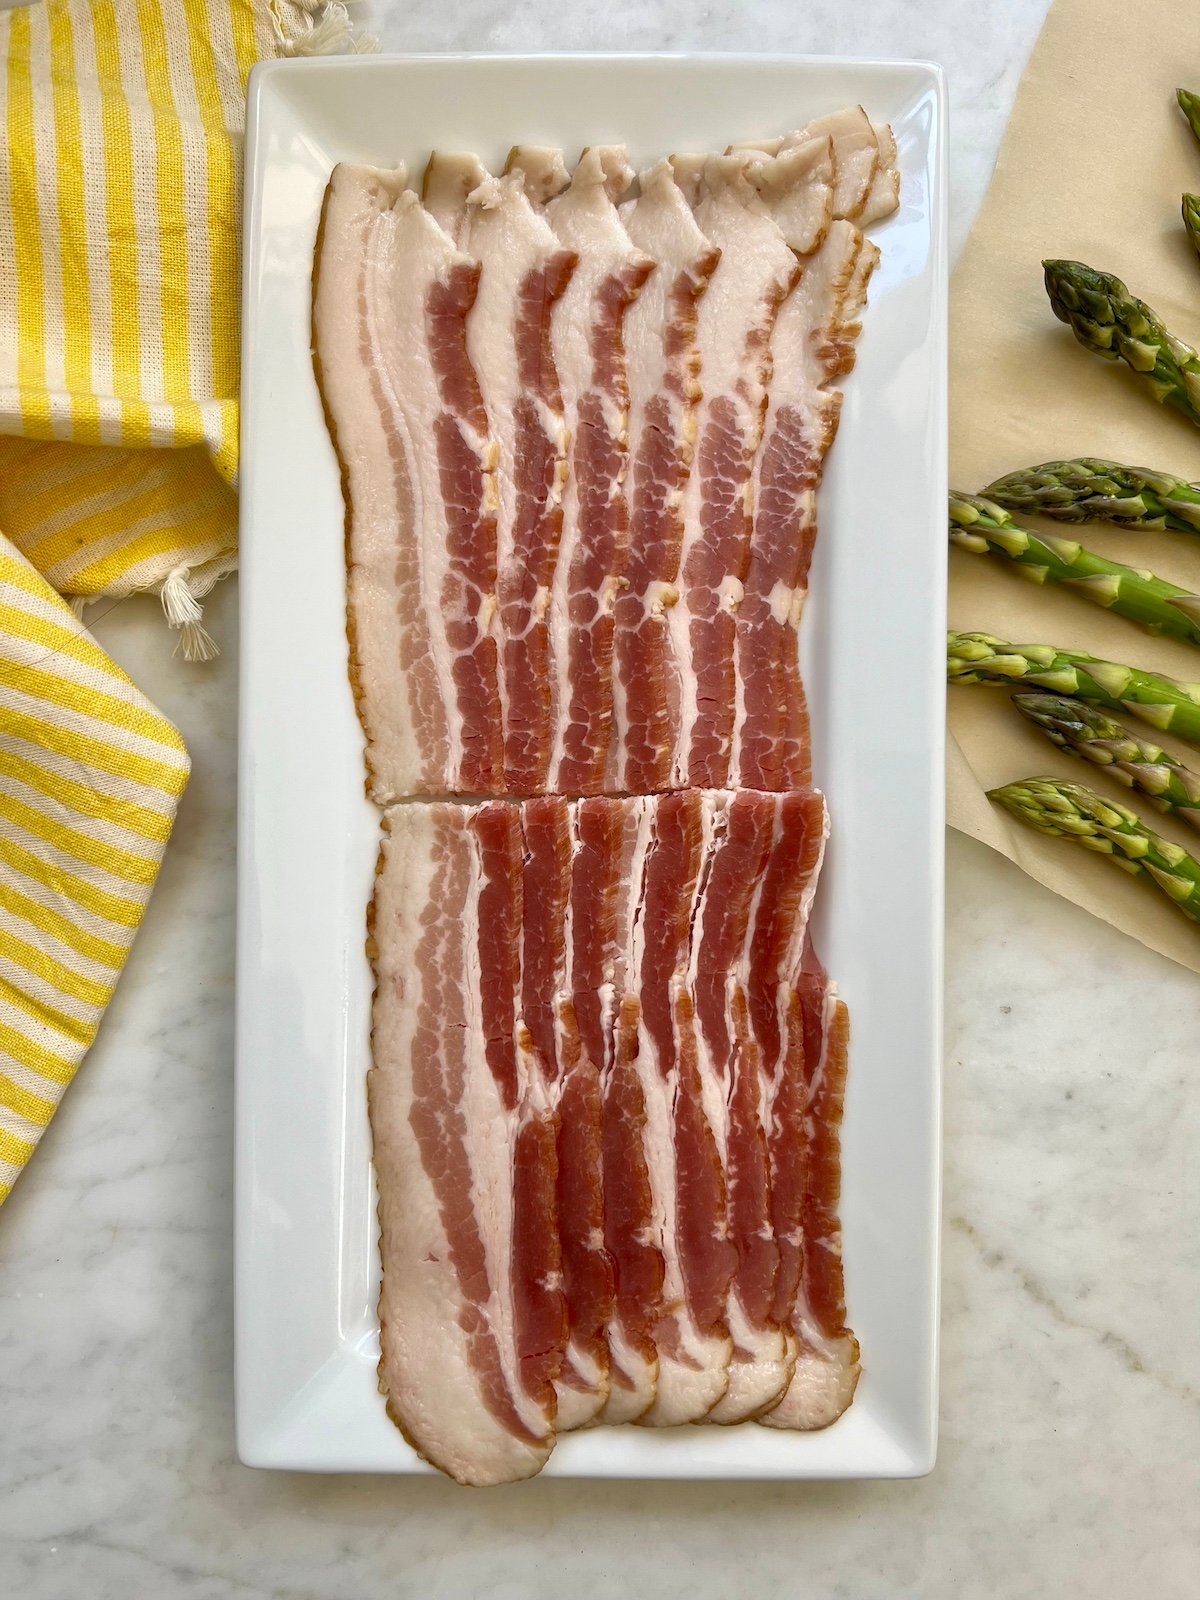
- Turkey bacon: I opt for this leaner bacon option that still provides the essential smoky taste.
- Small onion: Sautéed diced onion adds flavor and a touch of sweetness to the dish
- Garlic cloves, minced: No pasta is complete without garlic – the aromatic, savory note that complements the bacon and cheese.
- Large eggs: Eggs are what creates the rich, creamy sauce that binds the dish together.
- Grated Parmesan cheese: Grated parmesan adds a nutty, salty flavor and is the ingredient that helps thickens the sauce.
*For a full list of ingredients and instructions see the recipe card below*
Variations and Substitutions
- Cheese Options: Try Pecorino Romano instead of Parmesan for a sharper flavor.
- Add Veggies: Feel free to incorporate peas or sautéed spinach for added nutrients and color.
- Gluten-Free: You can use your favorite gluten-free pasta to make this dish if you want to!
How to Make Lightened Up Spaghetti Carbonara
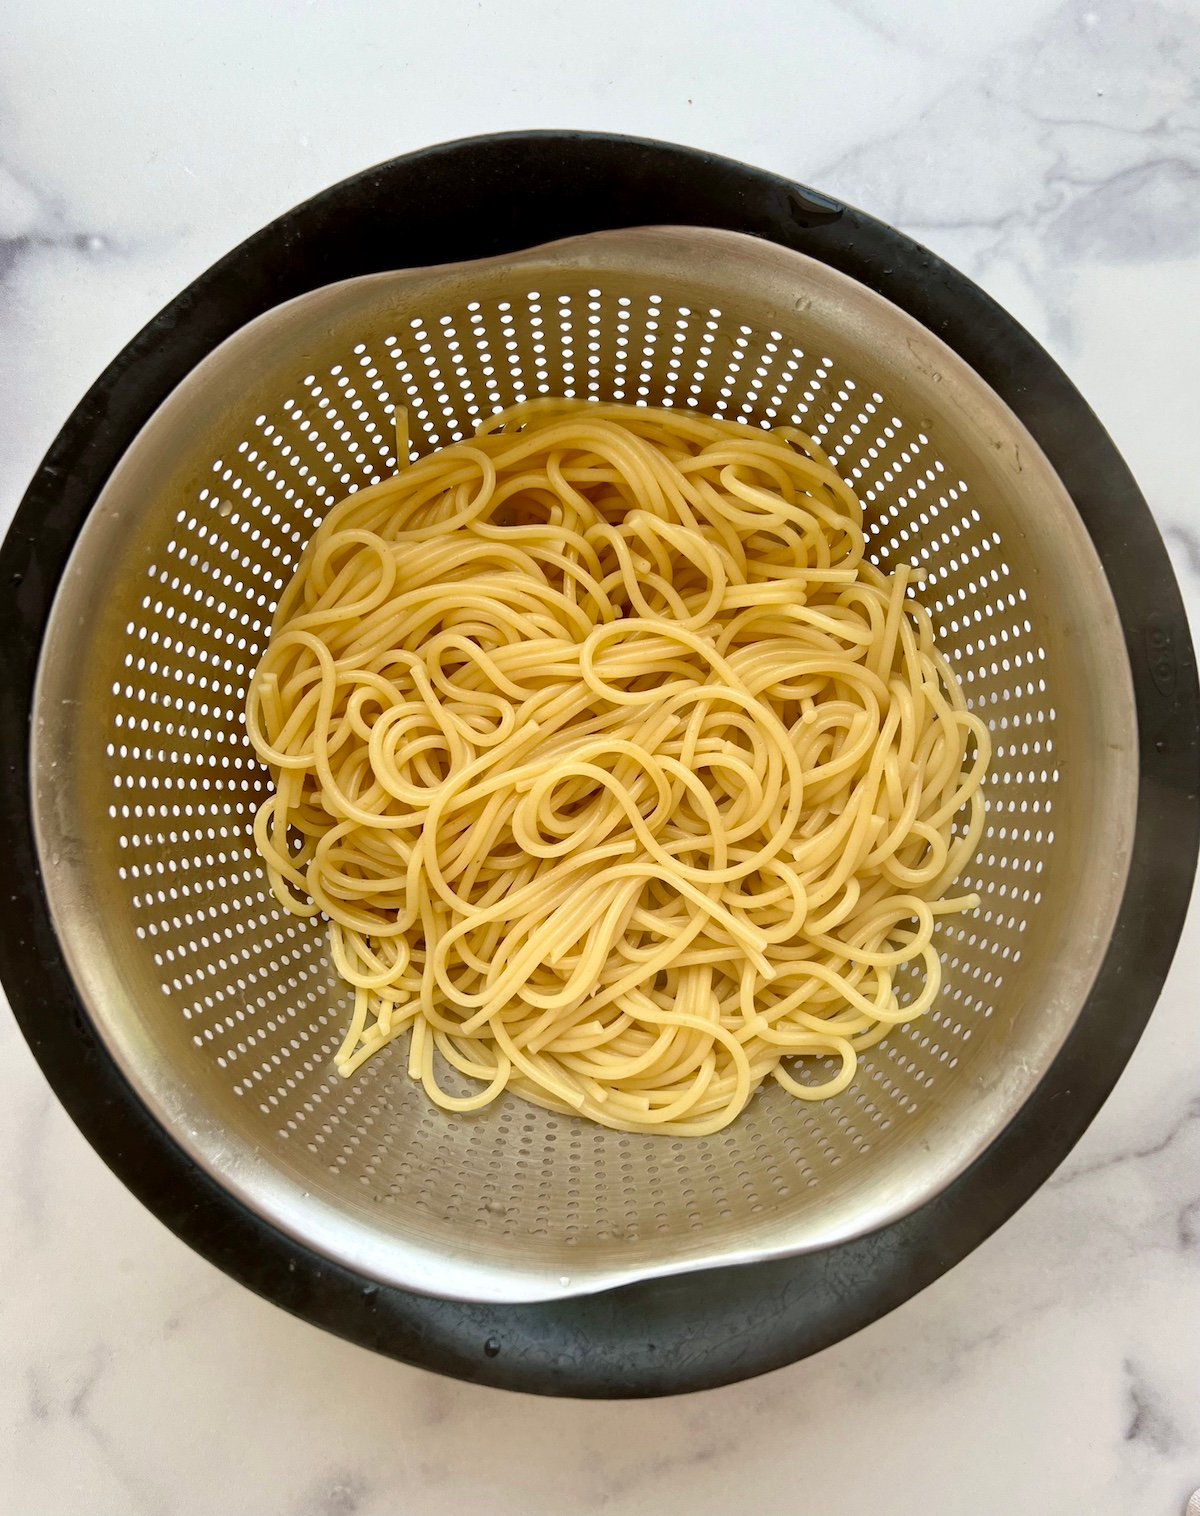
Step 1: Bring a large pot of salted water to a boil. Add the spaghetti and cook according to the package directions. Drain, reserving 1 cup of the pasta cooking water. Return the pasta to the pot.
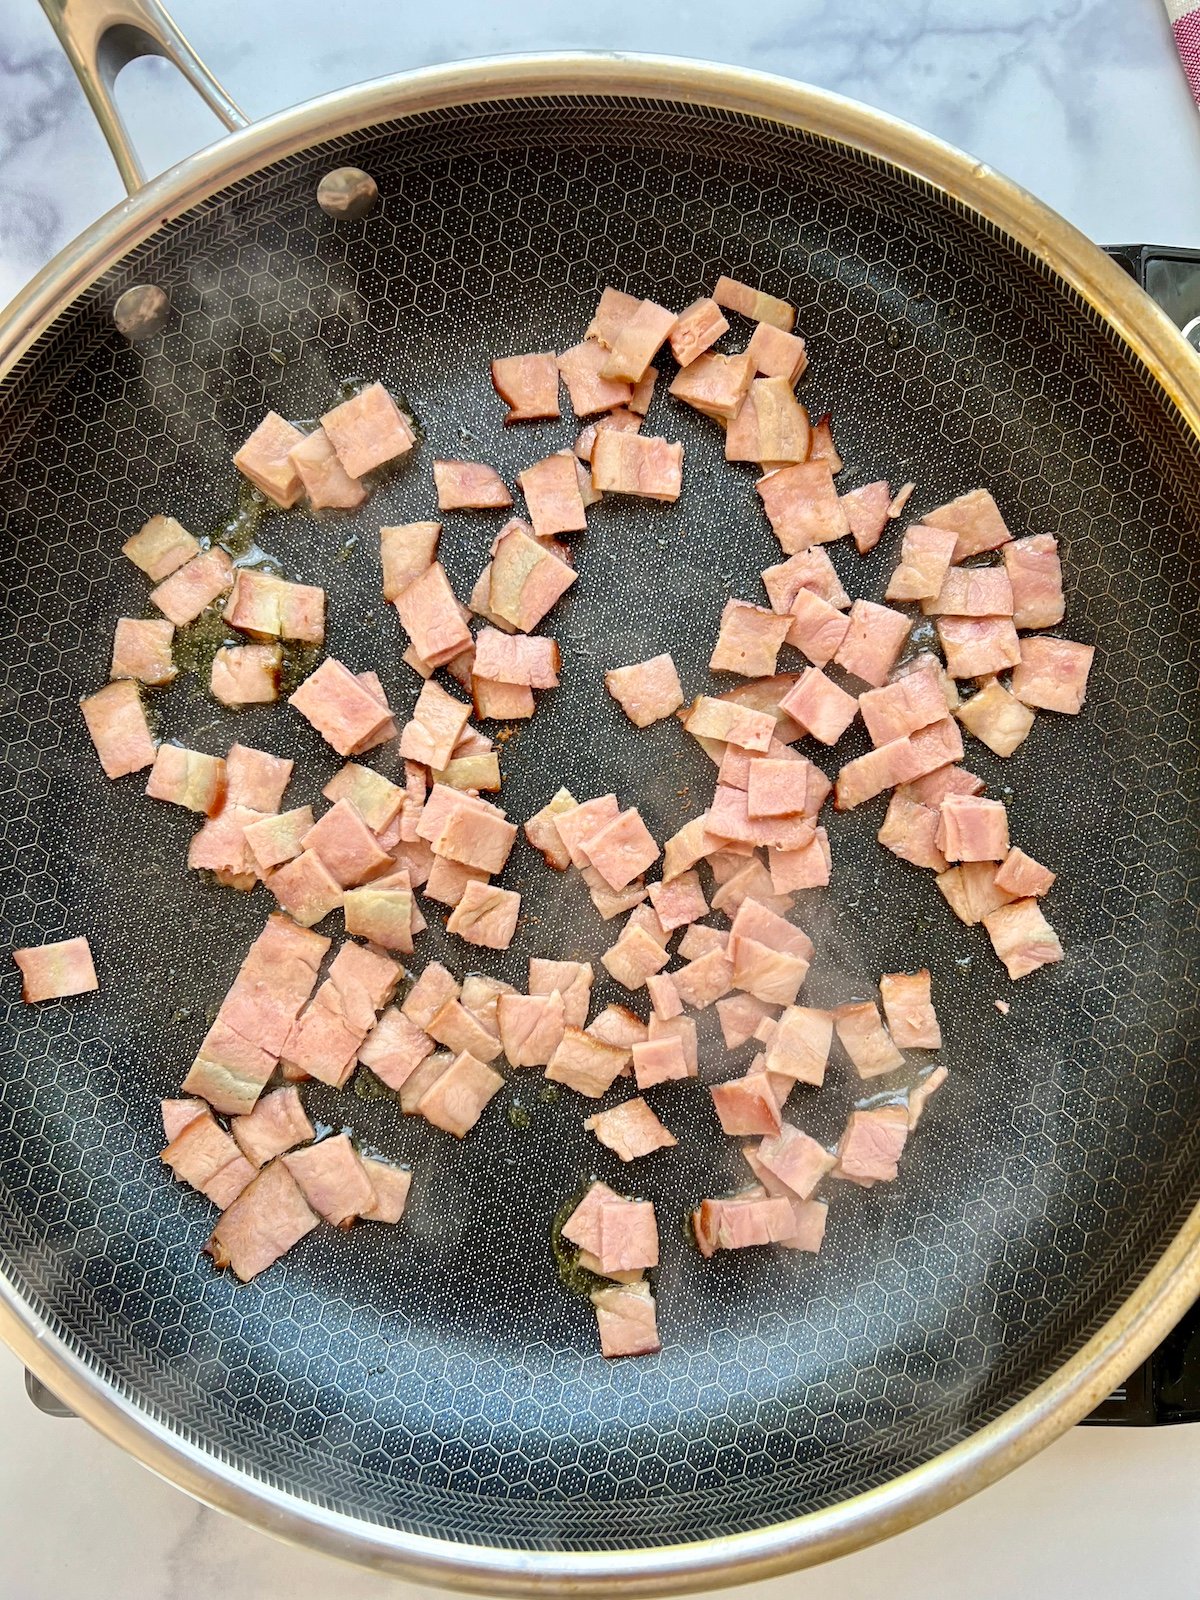
Step 2: While the pasta is cooking, heat the oil in a large skillet over medium heat. Add the bacon and cook, stirring occasionally so it cooks evenly, about 5 minutes.

Step 3: Add the onions and garlic and cook, stirring occasionally, until the onions are soft, about 3 minutes.
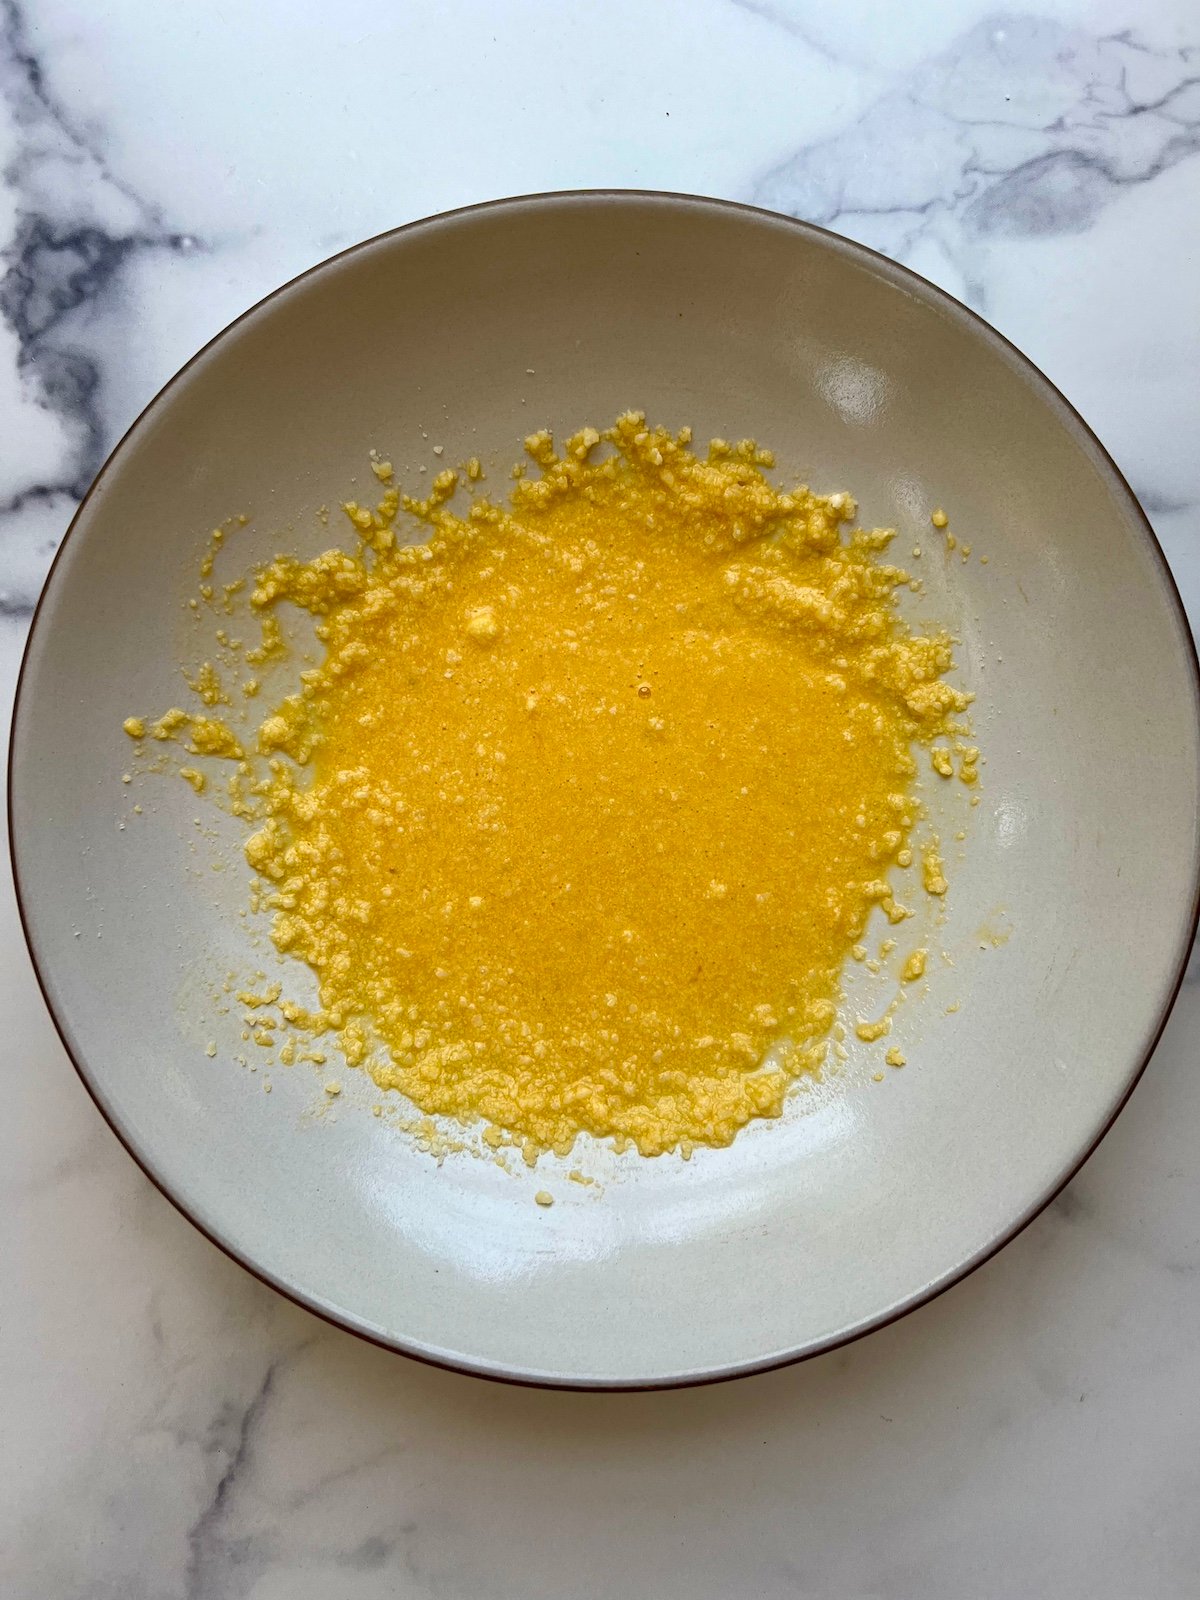
Step 4: Whisk together the eggs and cheese in a small bowl.
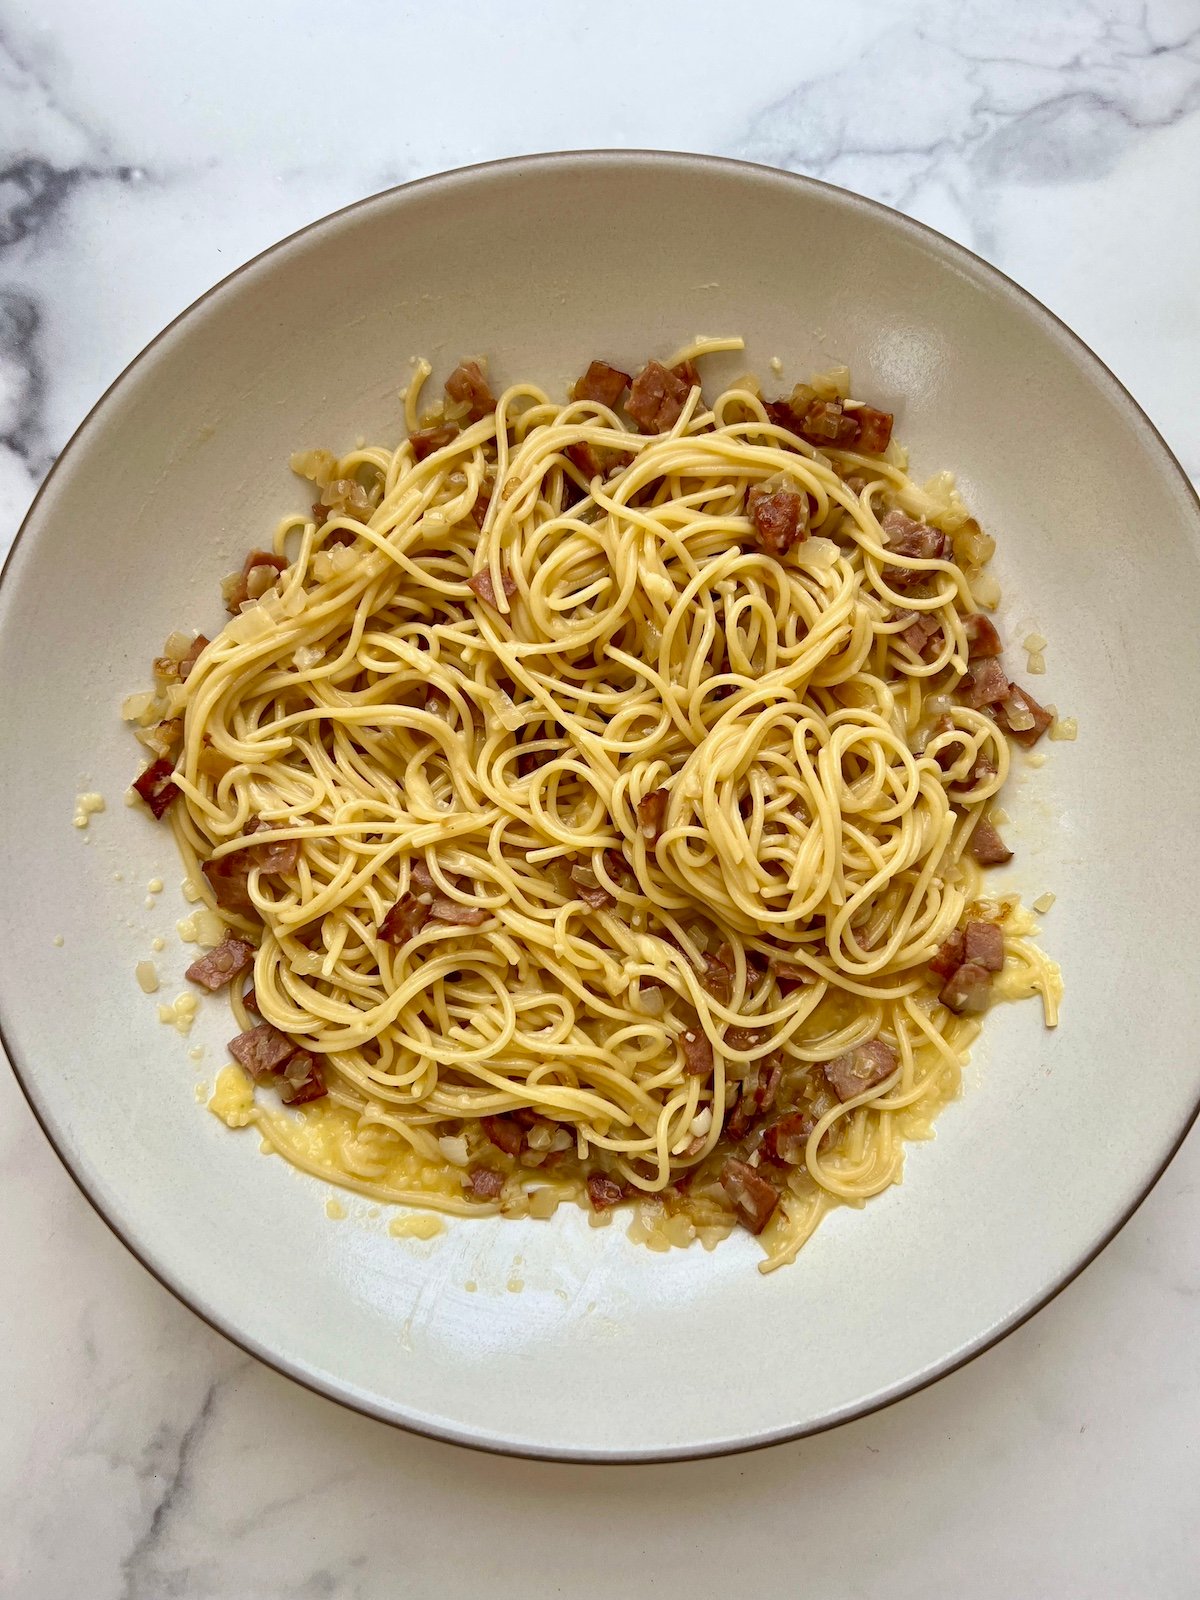
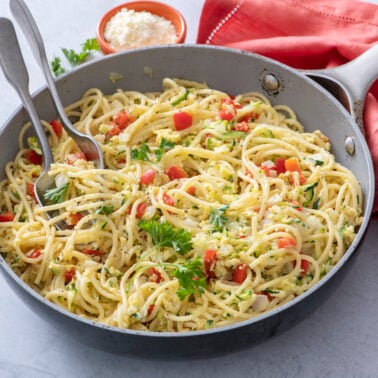
Step 5: Add cooked pasta to the egg mixture and stir immediately (so the eggs don’t curdle). Add the sautéed bacon and onions and 1/2 cup of the reserved pasta water*. Toss to combine and serve immediately. (*see cook’s note in recipe card below).
Tips and Tricks
- Prevent Curdling: Make sure to add the egg and cheese mixture to the hot pasta off the heat to prevent the eggs from scrambling.
- Reserve Pasta Water: Don’t forget to save the pasta water! It’s crucial for achieving the right sauce consistency.
- Serve Immediately: Carbonara is best enjoyed right away while the sauce is at its creamiest. If you’re not planning to serve immediately, toss with the remaining 1/2 cup warm pasta water just before serving.
FAQs
The heat from the pasta and bacon mixture cooks the eggs enough to be safe to eat. However, if you’re concerned, use pasteurized eggs.
Carbonara is best enjoyed fresh. However, if you need to make it ahead, keep the pasta and sauce separate and combine them just before serving, using some reserved pasta water to loosen the sauce.
More Light Pasta Dishes

I know you’re going to love this healthier version of spaghetti carbonara! It’s easy to make and totally delicious without the guilt. Let me know what you think of this recipe by leaving a rating and comment below.
Want more Weelicious? Subscribe to my newsletter and follow me on Instagram, Facebook and TikTok for all the newest recipes!

Lightened Up Spaghetti Carbonara
Equipment
- heavy bottomed pot
- large sauté pan
Ingredients
Instructions
- Bring a large pot of salted water to a boil. Add the spaghetti and cook according to the package directions. Drain, reserving 1 cup of the pasta cooking water. Return the pasta to the pot.
- While the pasta is cooking, heat the oil in a large skillet over medium heat. Add the bacon and cook, stirring occasionally so it cooks evenly, about 5 minutes.
- Add the onions and garlic and cook, stirring occasionally, until the onions are soft, about 3 minutes.
- Whisk together the eggs and cheese in a small bowl. Add it to the pasta and immediately (so it doesn't curdle) stir and toss together.
- Add the bacon, onions and 1/2 cup of the reserved pasta water*. Toss to coat well and serve immediately (see Cook's Note).
Notes
Nutrition
The post Lightened Up Spaghetti Carbonara appeared first on Weelicious.