Do you know how to cook rice on the stove? It’s actually SO easy to make rice in a pot. I promise you don’t need a fancy rice cooker appliance! If you’re tired of burned, mushy, bland rice, we are going to fix that today! I will show you step by step exactly how I make rice for my family, something I do weekly. Rice done right is fluffy and flavorful. No gumminess, no scorching, no crying over burnt rice. Serve it with dinner, or meal prep it with protein and veggies for the week!
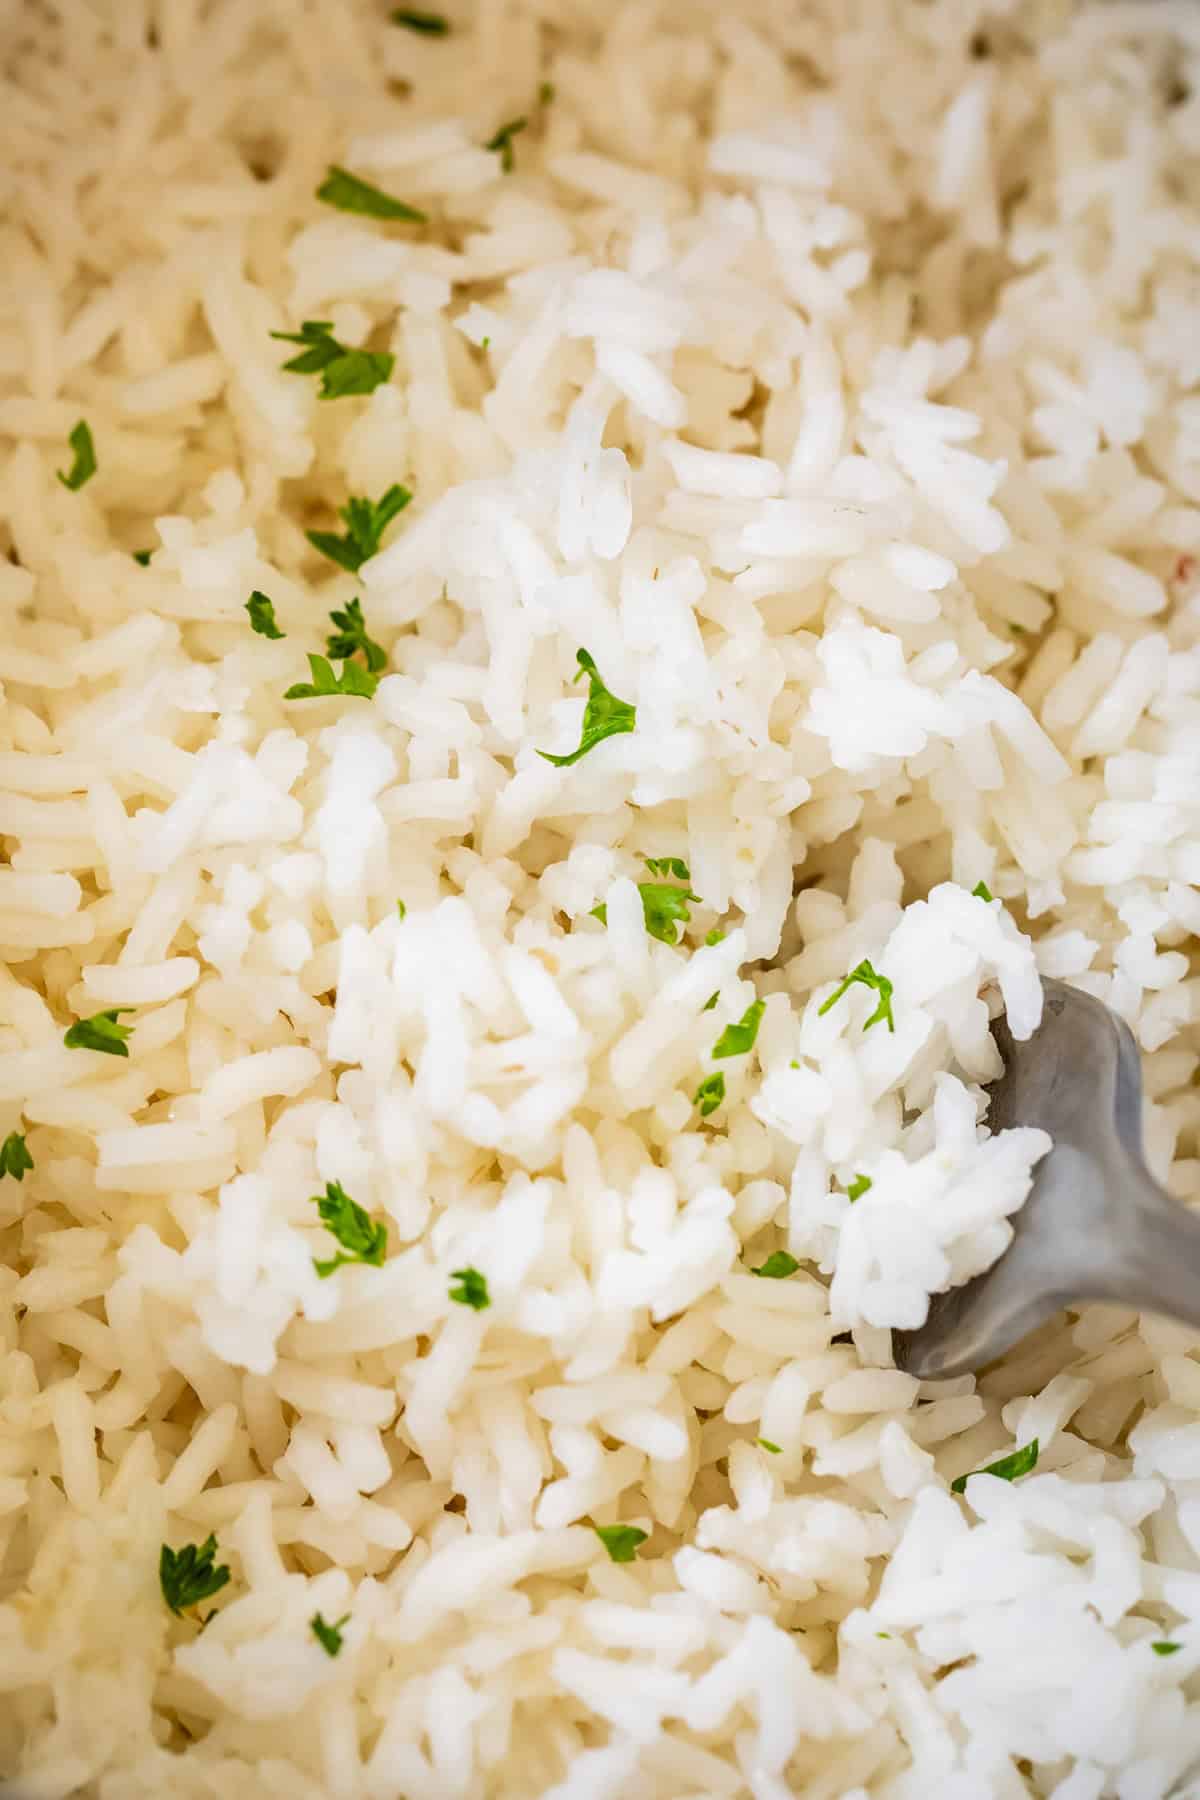
Table of Contents
- Rice, minus the stress and judgment
- Should you rinse your rice?
- How to cook rice on the stove
- Rice rules
- What you need to make rice
- What is the right ratio of rice to water on the stove?
- How to make rice
- Toast the rice
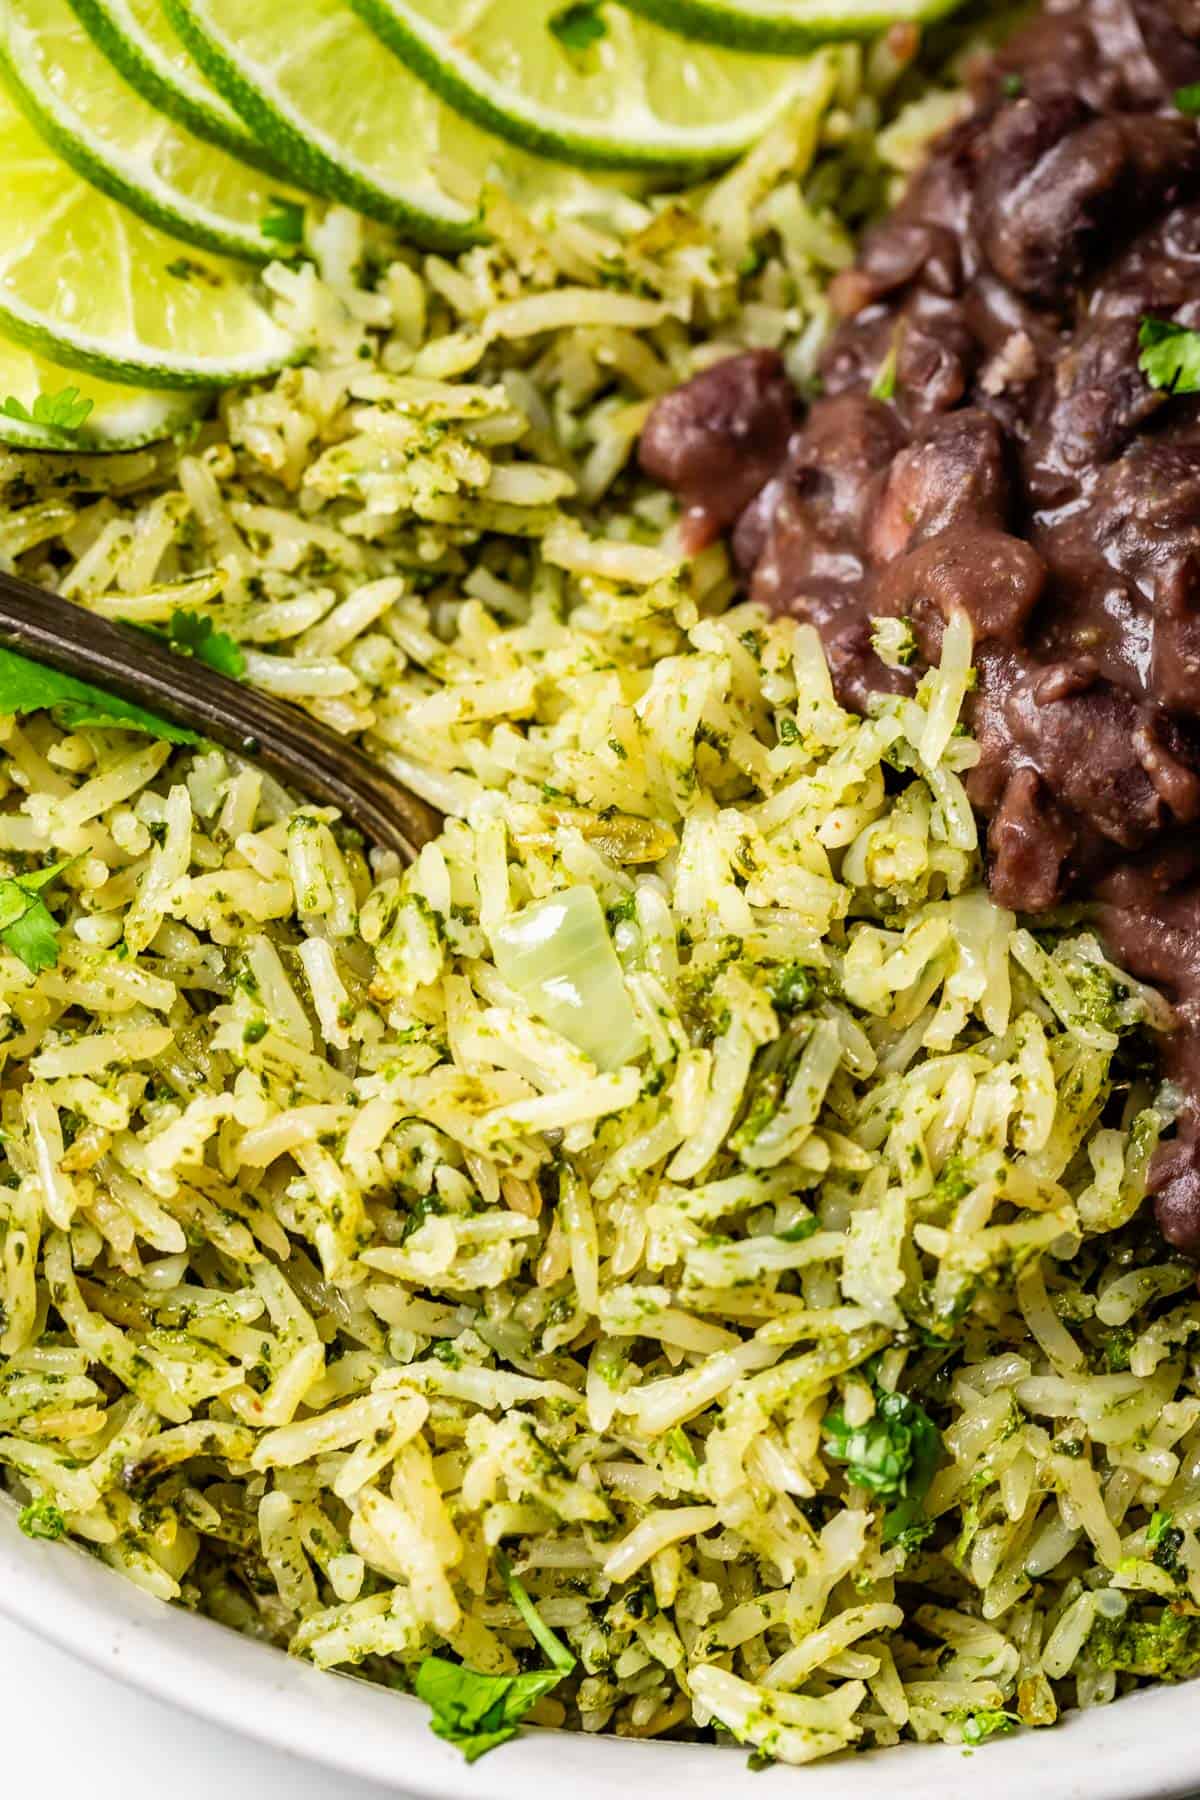
- What to serve with rice
- What to do with leftover rice
- How to store rice
- How to reheat rice
- Cooking rice frequently asked questions
- How to Cook Rice on the Stove Recipe
It’s the end of the school year, and summer is in the air! I helped out in my son’s 5th grade class this morning for their “Olympic events.” I was in charge of running a game that was supposed to involve the kids tossing an enormous beach ball back and forth to each other.
This ball was so huge, like bigger than some of the kids’ actual bodies, and it was a super windy day, so this of course resulted in absolute mayhem. Gleeful, delighted mayhem; every kid had a grin on their face a mile wide. What could be better than school ending, no classwork, and the promise of popsicles? (Bouncing a giant beach ball off of your head, that’s what.)
Eventually, after us hollering at the kids 100 times to get away from the fence, the ball sailed over it into the street beyond, to championship-level cheering from the kids, and panic-stricken dismay from all the teachers. Another volunteer and I sprinted around the gate and managed to save the ball, which had thankfully gotten stuck in the bushes of the street partition.
If it hadn’t been stopped, the larger-than-life beach ball would have bounded down the steep hill that also happens to be a 45 mph traffic lane. Can you imagine that car accident report? “Driver reports swerving into oncoming traffic after a beach ball the size of Mt. Olympus fell out of the sky onto the hood of his car.” 😳 Whew! Ending the school year with a bang over here??
On to today’s recipe! I’ve wanted to do a basic rice post for years and years but it always felt soooo boring. Doesn’t everyone know how to do this? NO, no they do not, I have found. I rely so much on this tried and true method, it seems unfair that I haven’t shared with you. It’s an important recipe to have in your back pocket, for weeknights and impressive dinners alike.
Rice is the perfect blank page for your stir-fry or curry, but things can go south quickly if you don’t know the rules. We make rice at least 1-2 times a weeks, and both my pre-teens can whip up a pot by themselves. Time to record how to cook rice step by step on the stovetop, for posterity!
Rice, minus the stress and judgment
Rice, rice, baby. Are you one of 99.9% of Americans who gets stressed out about making rice?? Somehow we’ve been conned into thinking that we need a fancy appliance for this no-brainer job that you can do in 10 minutes.
Guys, I’m not kidding. Don’t listen to the rice maker industry. Don’t listen to the folks telling you you are going to screw this up. And please, for the love, don’t listen to the folks telling you to rinse your rice 8 times.
(Seriously, my friend Sarah had a friend when she lived in Japan who rinsed EIGHT TIMES. Actually, the story goes that this particular Japanese woman married an American dude, and the first time he made rice for her she took one bite and said, “How many times did you rinse this?” because she could tell it was three times and not eight times.🤯)
Should you rinse your rice?
This story befuddled me, because I’ve tried rinsing rice (3 times! 8 times!) and not rinsing rice and CANNOT tell the difference, at all. (Where is my fine palate now??)
Turns out, this rinsing rule used to be super important, but is a little outdated, at least in the United States.
Rice is a big deal in Asia. Kind of like how the Inuits have 20 different words for snow, the Japanese in particular have gone deeeep into the world of rice. And indeed, if you are cooking some rice you bought overseas, you should follow all the rinsing rules you’ve heard about. Wash and clean that rice like you’re about to sell it on E-bay.
But here in the states? Nah. Rice grown and processed in Japan is not the same as rice in the United States. The reason the Japanese rinse so much is because the rice still has a sticky coating on it called hada nuka (“skin bran”), and if you cook your rice without getting that sticky stuff off, if will turn out gummy and mushy. You can buy “pre-rinsed” rice in Japan, but nobody does, because rinsing is such a cultural thing now.
About 30 years ago, rice factories in the United States changed their process to include the removal of the sticky coating. Any rice you are buying here has already been “rinsed.” (You can read all about Japanese rice rinsing and the fascinating impact on the environment over at the Japanese Food Guide.)
If you hand-rinse rice that was already “rinsed” at the factory, you are not only doing a job that has already been done (trying to remove a “skin bran” that is not there), but you actually risk washing off some of the nutrients that are in the rice, sending them straight down the drain. Crazy, right, that it’s taken 30 years to get the memo out about this?? Raise your hand if your mama taught you to rinse the rice?
How to cook rice on the stove
Okay, so now that we’ve cleared up the rinsing situation, how do we make rice that doesn’t burn and scorch on the bottom, that isn’t crunchy when you serve it, and that isn’t a soggy bland mess?
It’s all about the water to rice ratio, and timing.
It’s not hard. But sometimes, it’s the simplest things that are the easiest to mess up.
Rice rules
- Don’t rinse the rice. Your mama might have taught you that you need to rinse your rice to remove starch. Rinsing rice removes a tiny amount of starch, but not enough to make a difference. Also, rinsing rice can make it soggy! Even if you drain rinsed rice, it still retains some of the water. If you do insist on rinsing your rice, add 2 fewer tablespoons water when you cook it.
- ADD SALT, FOR THE LOVE OF ALL YOU HOLD DEAR. Salt doesn’t make your rice taste salty; it makes your rice taste more like rice. This “hold the salt” attitude comes straight from Asian cooking, where those eating it have plans to douse their rice in a saucy and salty main dish (You know how salty soy sauce is, right?) It’s a very traditional choice, but I do not have a Korean grandmother snapping her fingers at me. Even when I make stir fry, I still salt my rice. And rice for Mexican food definitely needs salt. I cannot stress this enough! Salt is the magic ingredient for rice.
- Remember to turn the heat down once it boils. If you don’t, you can burn the rice onto the bottom of the pan and cleaning it is going to be a pain. Plus, burned rice. Low heat is what you want.
- Don’t peek at the rice. It’s not putting on a show for you in there! Taking off the lid lets steam escape. If the rice can’t steam, it will cook unevenly and some of it will be hard and crunchy. NOOO crunchy rice is so sad!
- Don’t use an enormous pot. If you use a pot that’s too large, your rice won’t cook evenly. A pot that is 2 or 3 quart capacity is good for 1 cup of rice, or even doubling it. Only go for a big pot if you’re cooking at least 3 cups of uncooked rice.
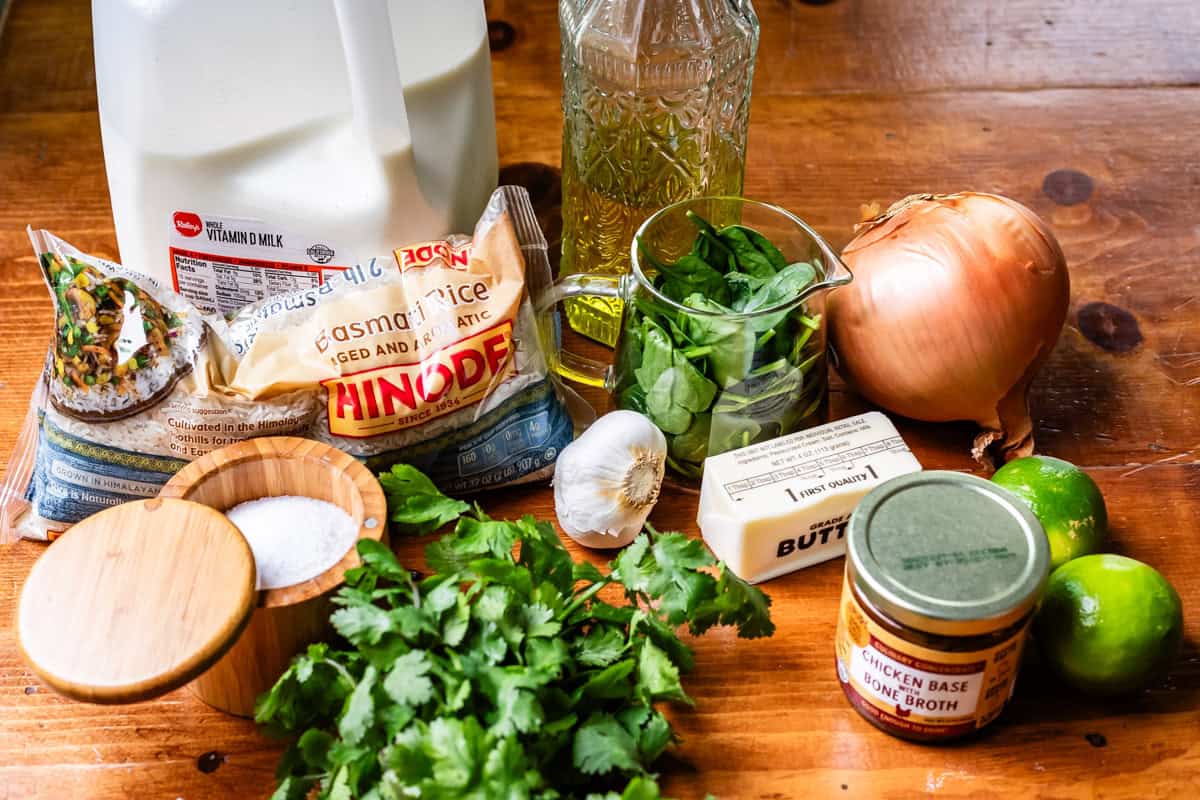
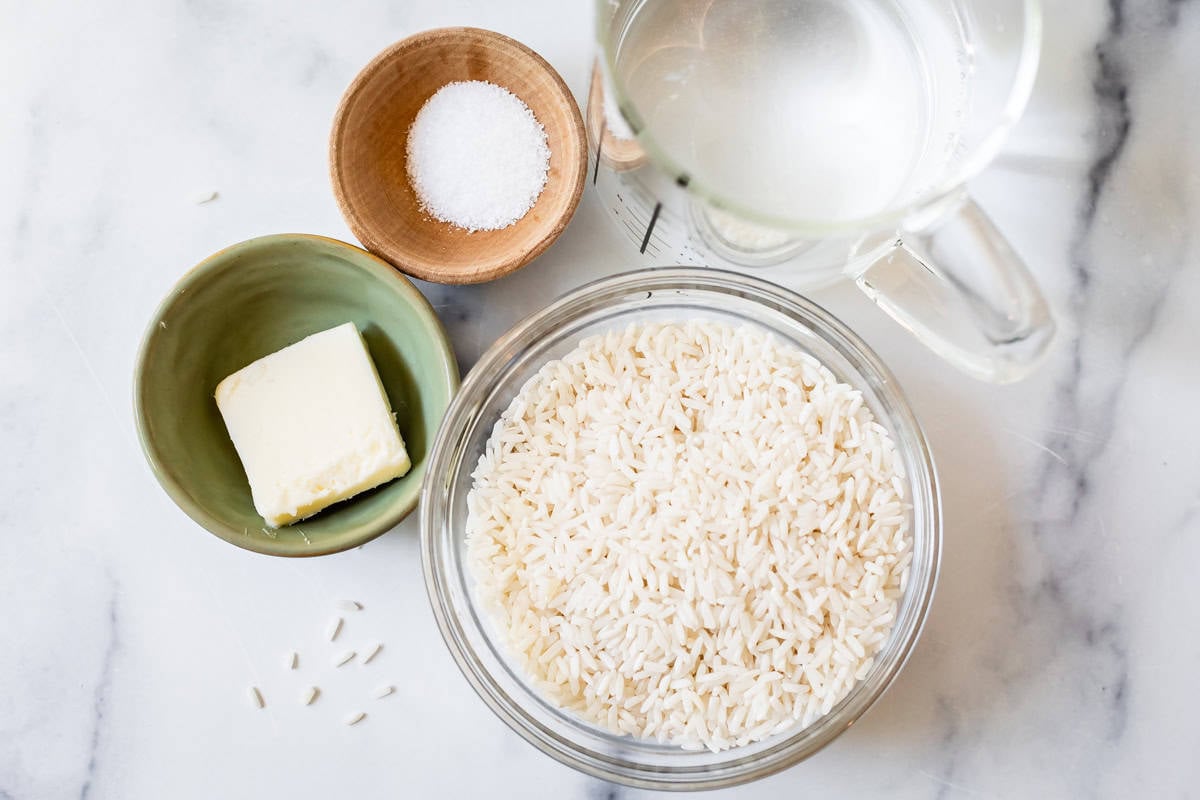
What you need to make rice
You probably have this stuff in your house right now. Scroll down to the recipe card at the bottom of the post for all the details!
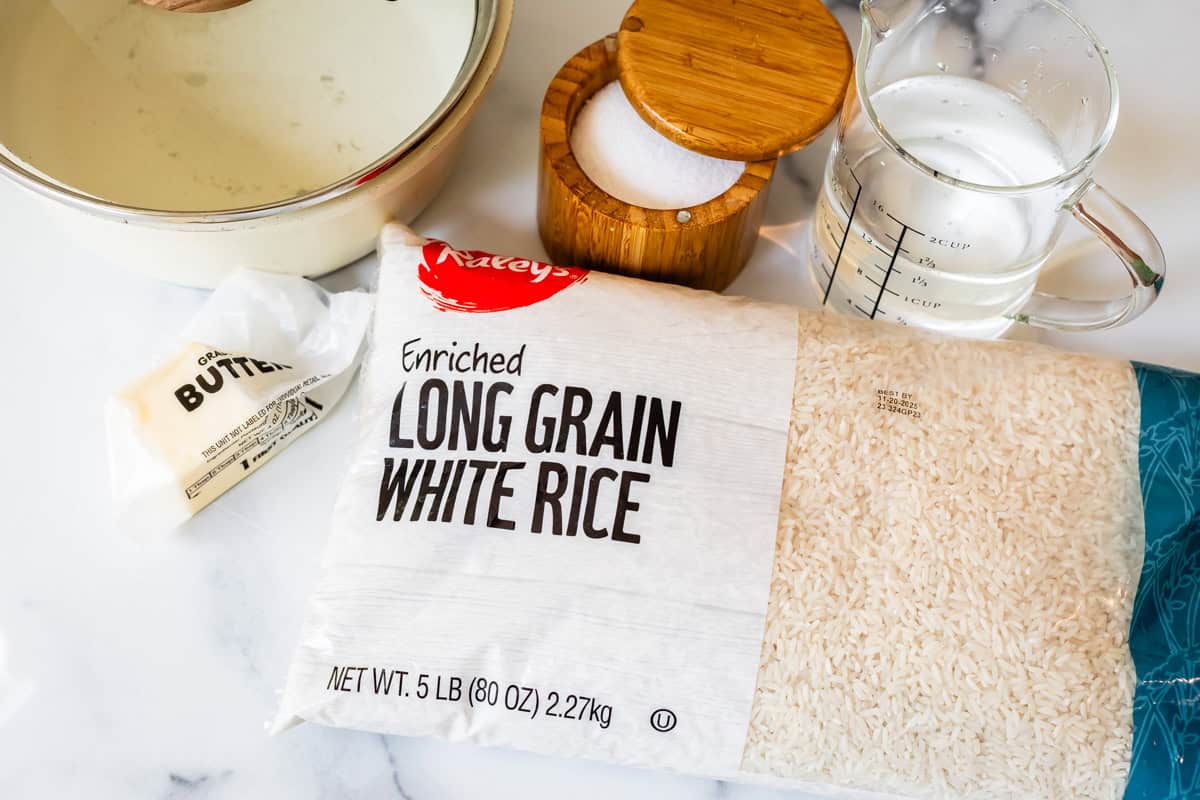
- rice: any kind of white rice, short-grain rice, medium grain rice, long grain rice, basmati rice, or sushi rice (don’t sub jasmine rice, it needs less water!)
- kosher salt
- butter or oil, any kind (optional!)
What is the right ratio of rice to water on the stove?
The right ratio for fluffy, perfect rice every time is 1 part rice to 1.5 parts water. You can scale up as much as you want, as long as your pot is big enough to contain it without spilling over. Here is a handy chart I made, mostly for myself, because I’m always trying to figure this out last minute at 5pm, squeezing my fists against my eyeballs, and it’s a disaster 😂 Math: not my strong suit.
| DRY White Rice | + Water | + Kosher Salt | + Butter or Oil | = COOKED Rice |
| 1 cup | 1 and 1/2 cups | 3/4 teaspoon | 1 tablespoon | 3 cups |
| 1 and 1/2 cups | 2 and 1/4 cups | 1 and 1/8 teaspoon | 1.5 tablespoons | 4 and 1/4 cups |
| 2 cups | 3 cups | 1 and 1/2 teaspoons | 2 tablespoons | 6 cups |
| 3 cups | 4 and 1/2 cups | 2 and 1/4 teaspoons | 3 tablespoons | 9 cups |
| 4 cups | 6 cups | 1 tablespoon | 1/4 cup | 12 cups |
Remember that we’re talking about the rice to water ratio for short, medium, or long grain white rice, basmati rice, or sushi rice! If you use some other kind of rice for this recipe, it might not turn out. Check the recipe notes for ratios for Jasmine rice, Jasmine is a little diva and needs her own special ratio 🙄 just kidding I love you Jas.
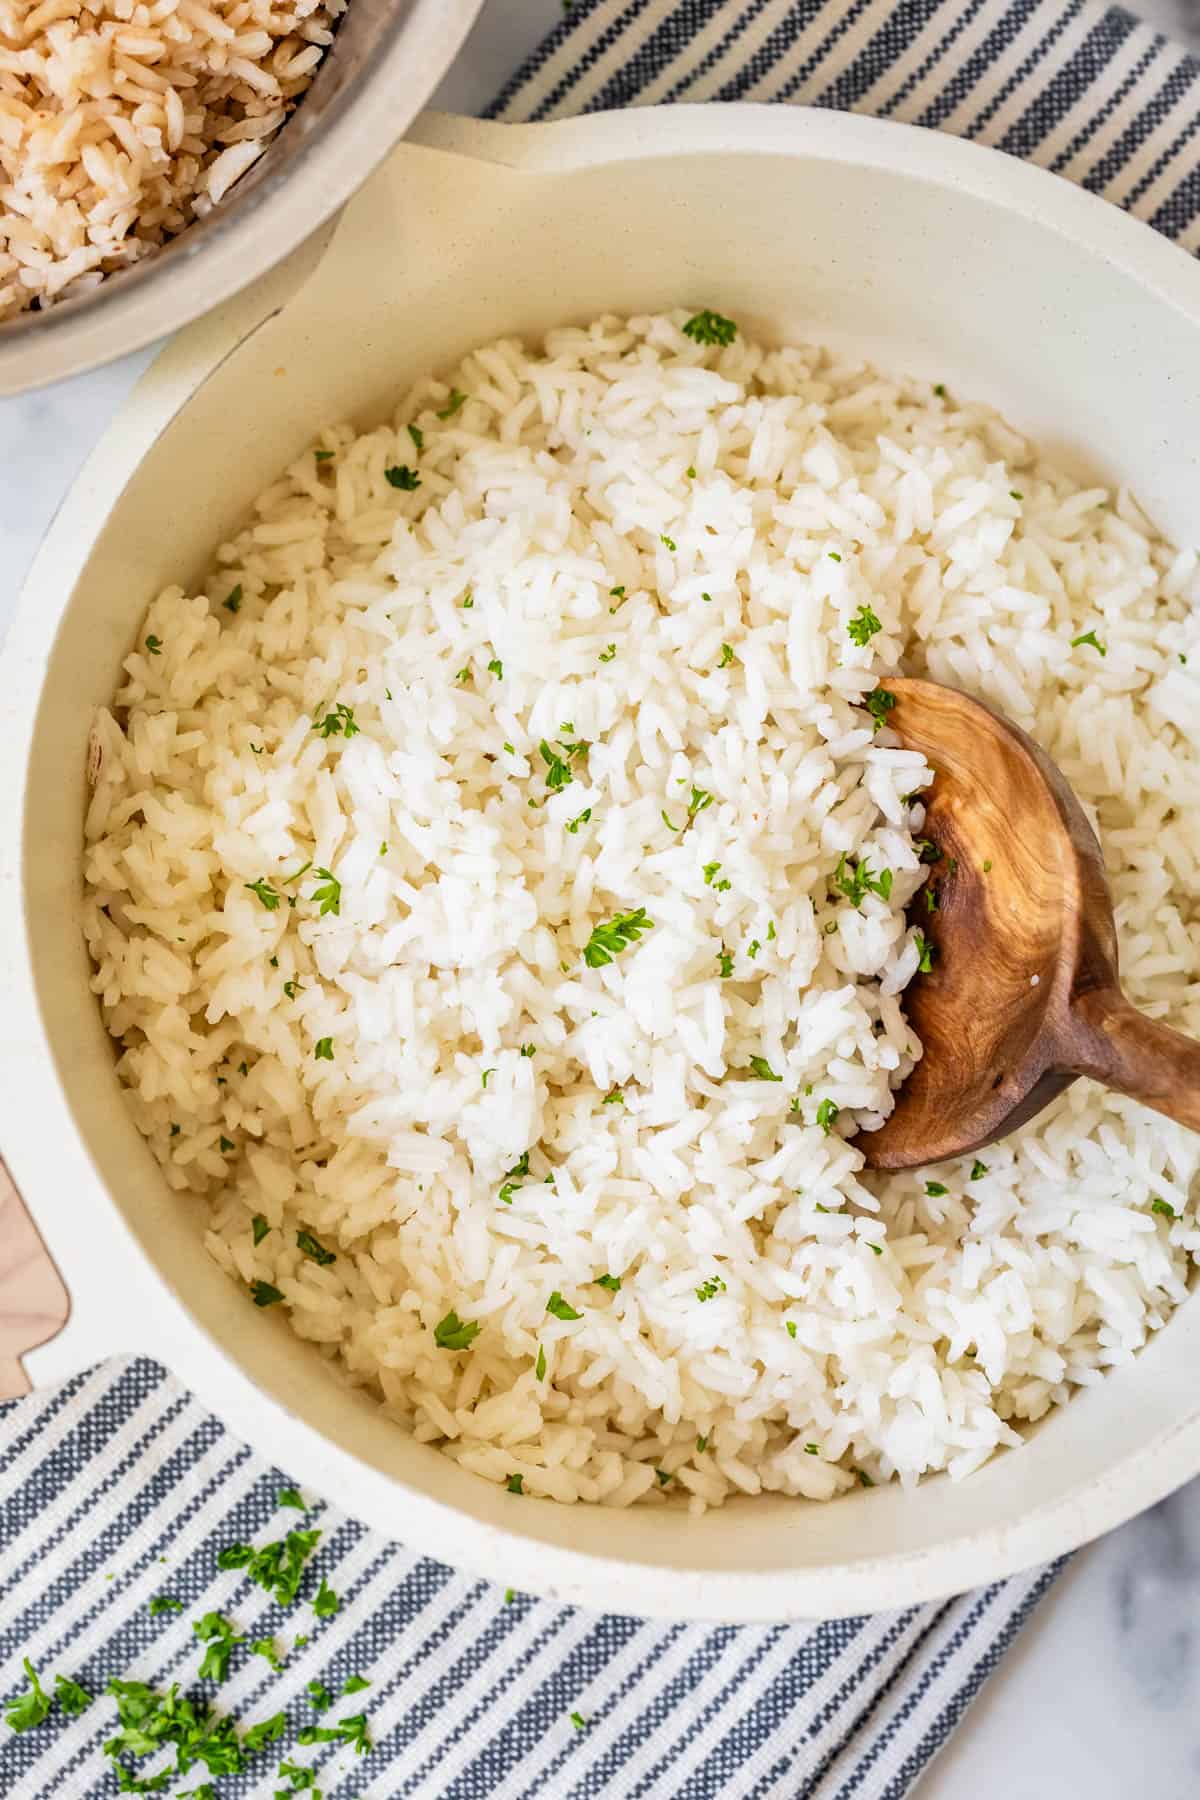
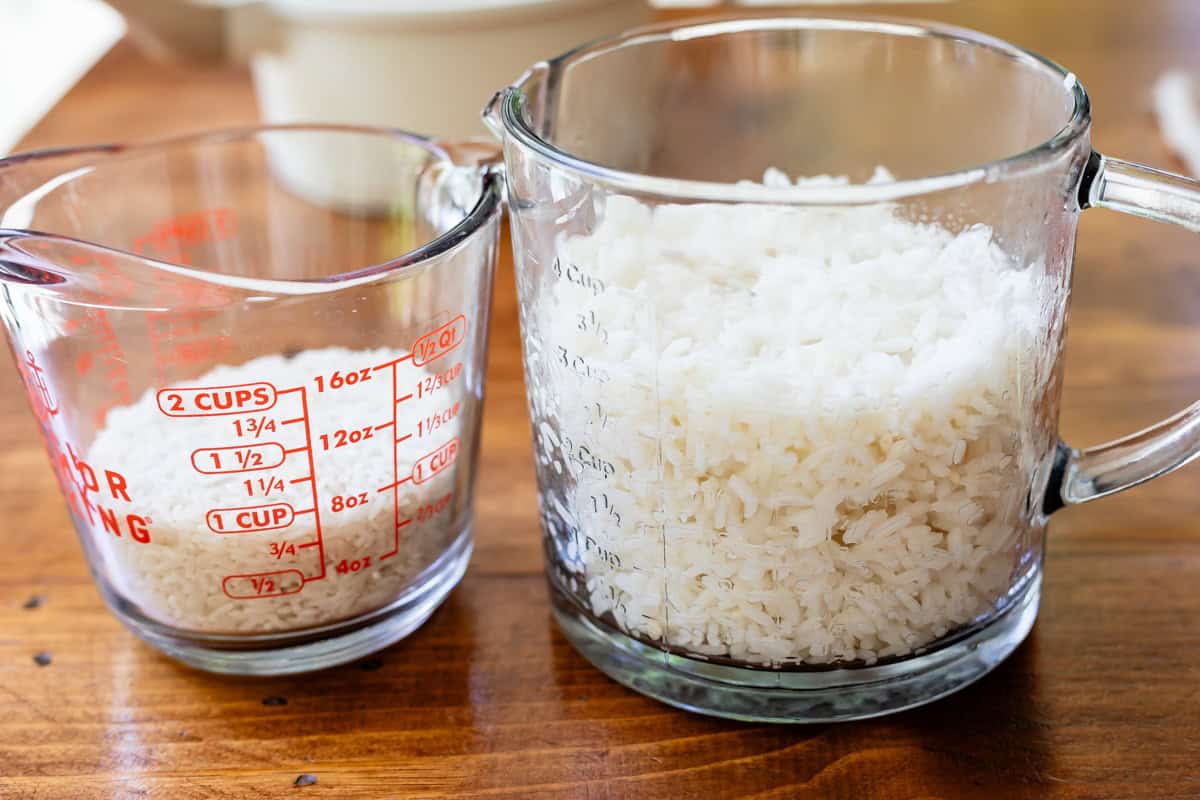
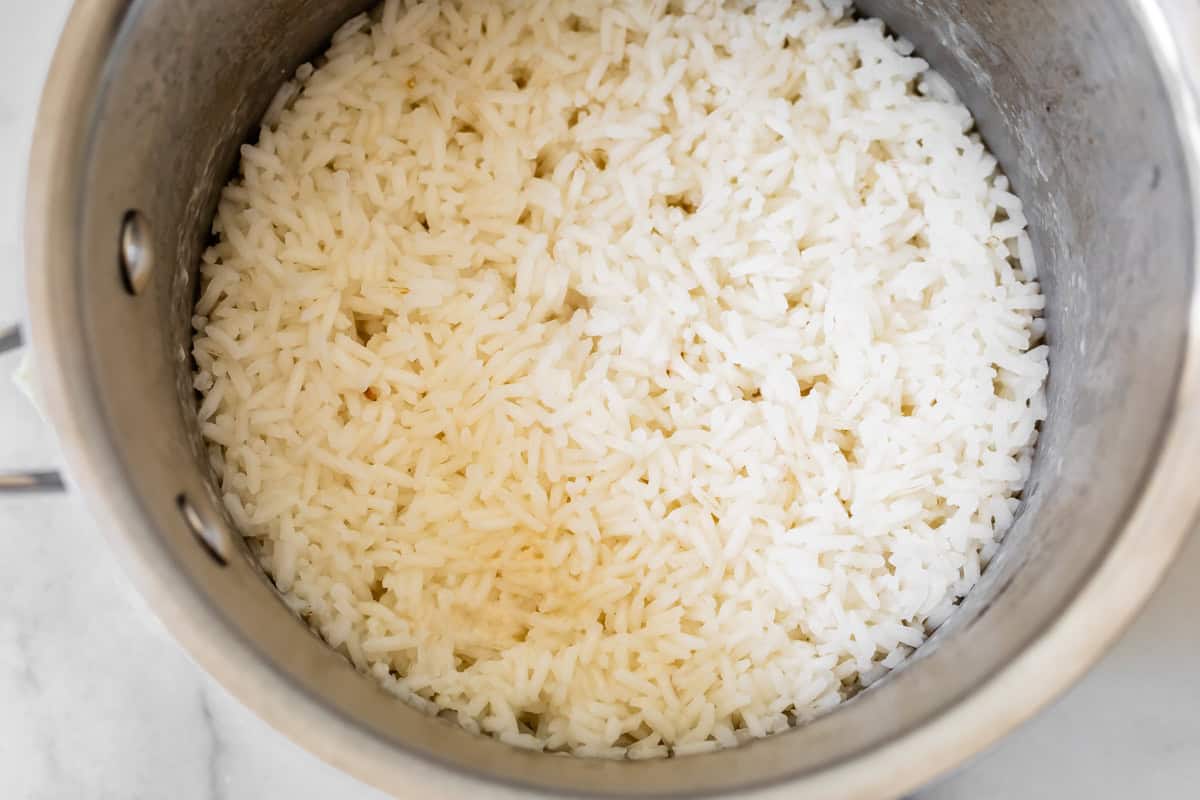
For every cup of uncooked rice, you’ll get about three cups of cooked rice (see the photo below). Generally when you’re serving a group you want 1/2 to 1 cup rice for each person, depending on what you’re serving with the rice. Of course, if you make many more cups of rice than you end up needing you can always freeze it for later (more on that later!)
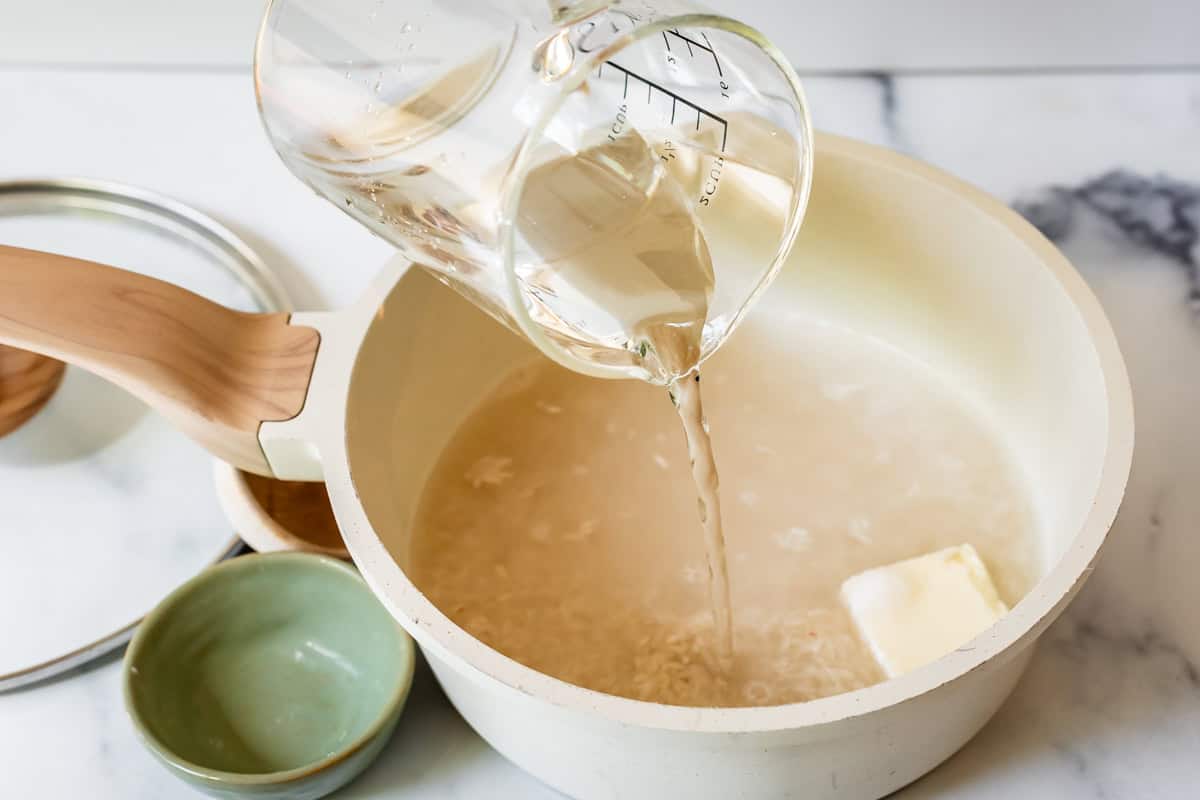
How to make rice
It’s so easy guys. Toss all the ingredients in a pot. Not too big of a pot, we’re not making soup. The rice won’t cook evenly. Just a medium or small pot is fine. (1, 2, or 3-quart capacity is great.)
Put the lid on your saucepan and turn the heat to high. As soon as the water starts bubbling (steam will escape from the lid), turn the heat down. I am always bustling around my kitchen doing other stuff while I wait for the rice to boil, and it boils over I swear about half the time. Don’t be like me. Stick around and keep an eye on it. (DON’T give up and buy a rice cooker now. If you can manage to boil pasta, you can stick around to boil rice too. Don’t be a wuss.)
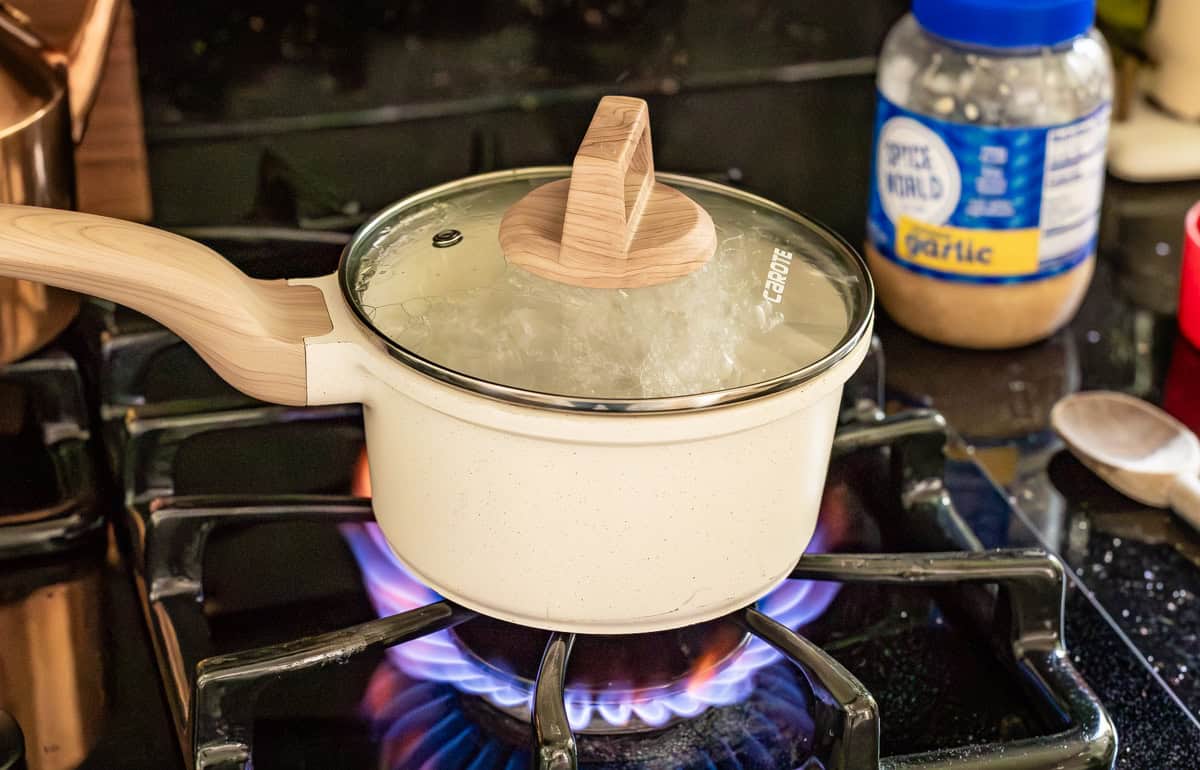
Once it’s boiling, you are going to be tempted to take off that lid, especially if it boils over. Don’t do it! Just turn the heat down and walk away for 10 minutes.
Here’s the next big step. After 10 minutes, turn off the heat. That’s it. Don’t take off the lid. Don’t move the pot off the stove. Don’t do anything except set a 15 minute timer. We’re letting the rice rest so it can continue steaming just a little, absorbing any extra liquid so it’s nice and fluffy.
After this strenuous waiting period, you are done! You can finally take off the lid, I promise I won’t yell at you this time.
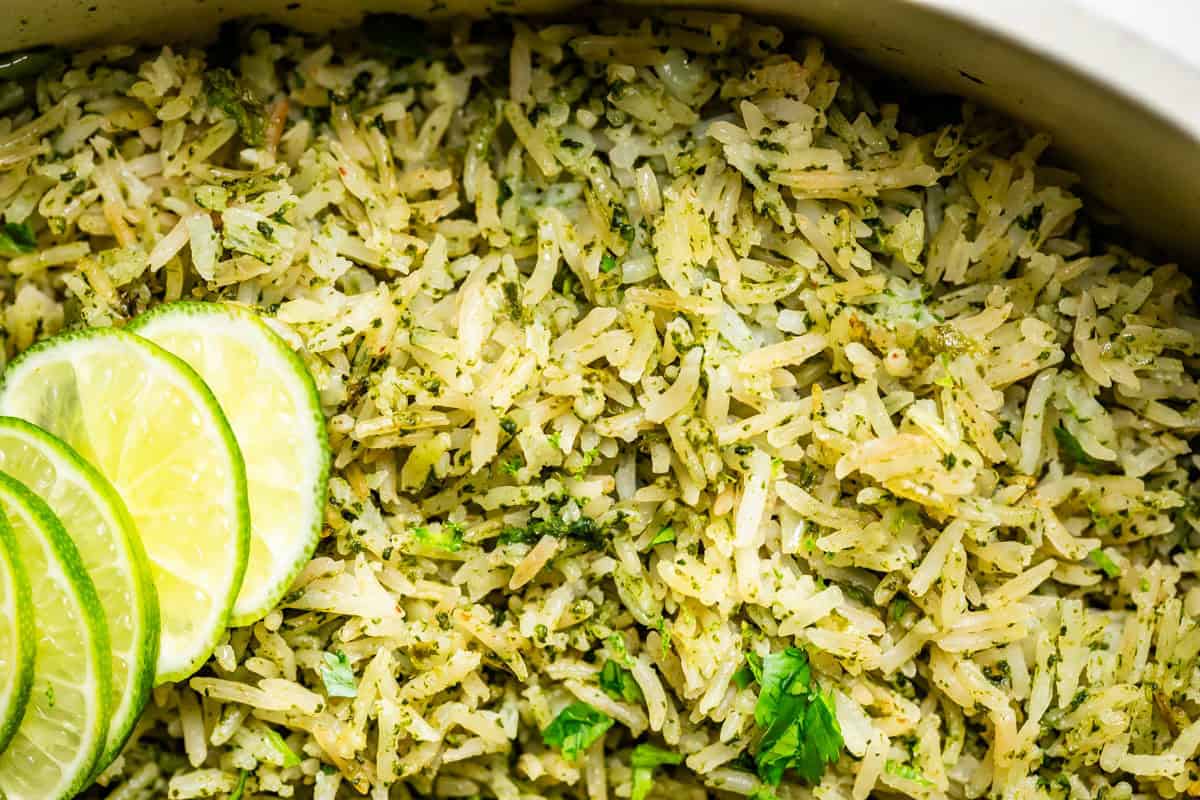
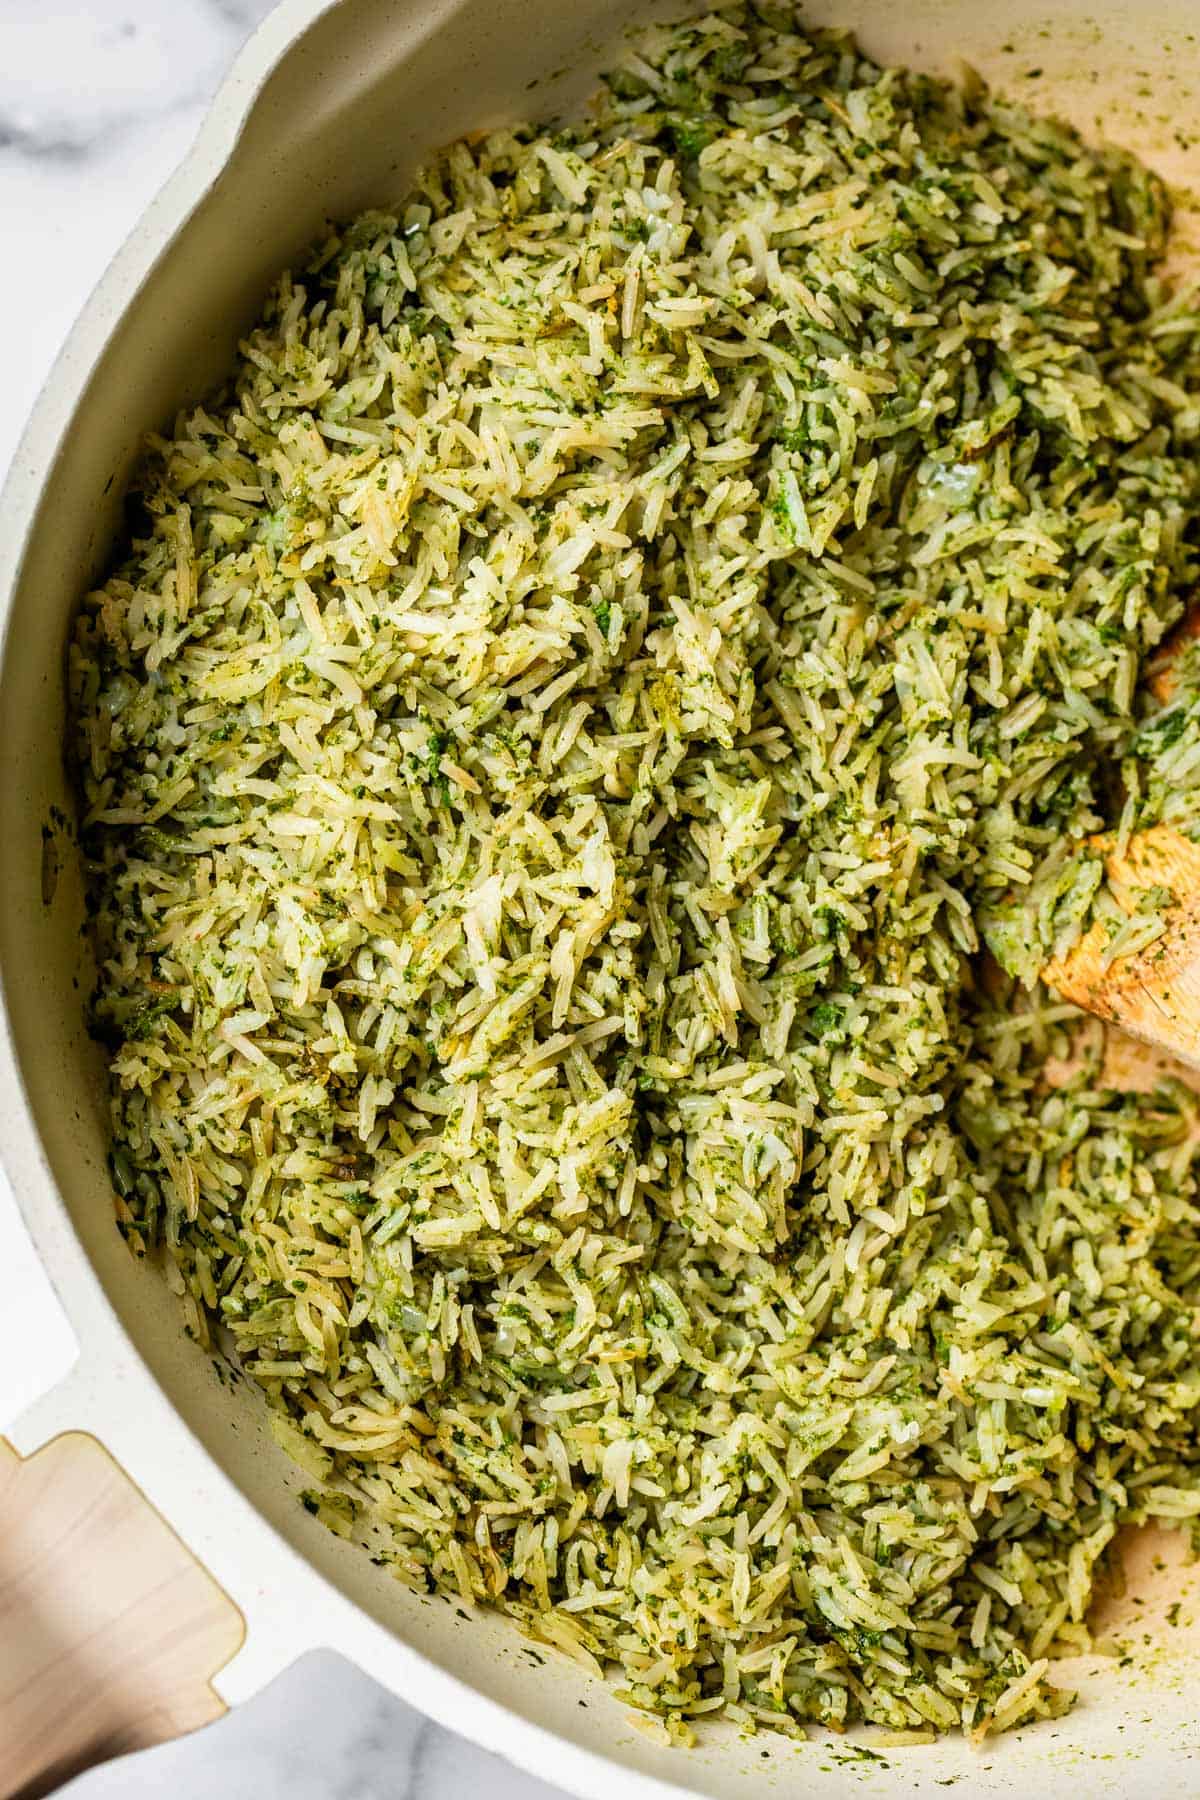
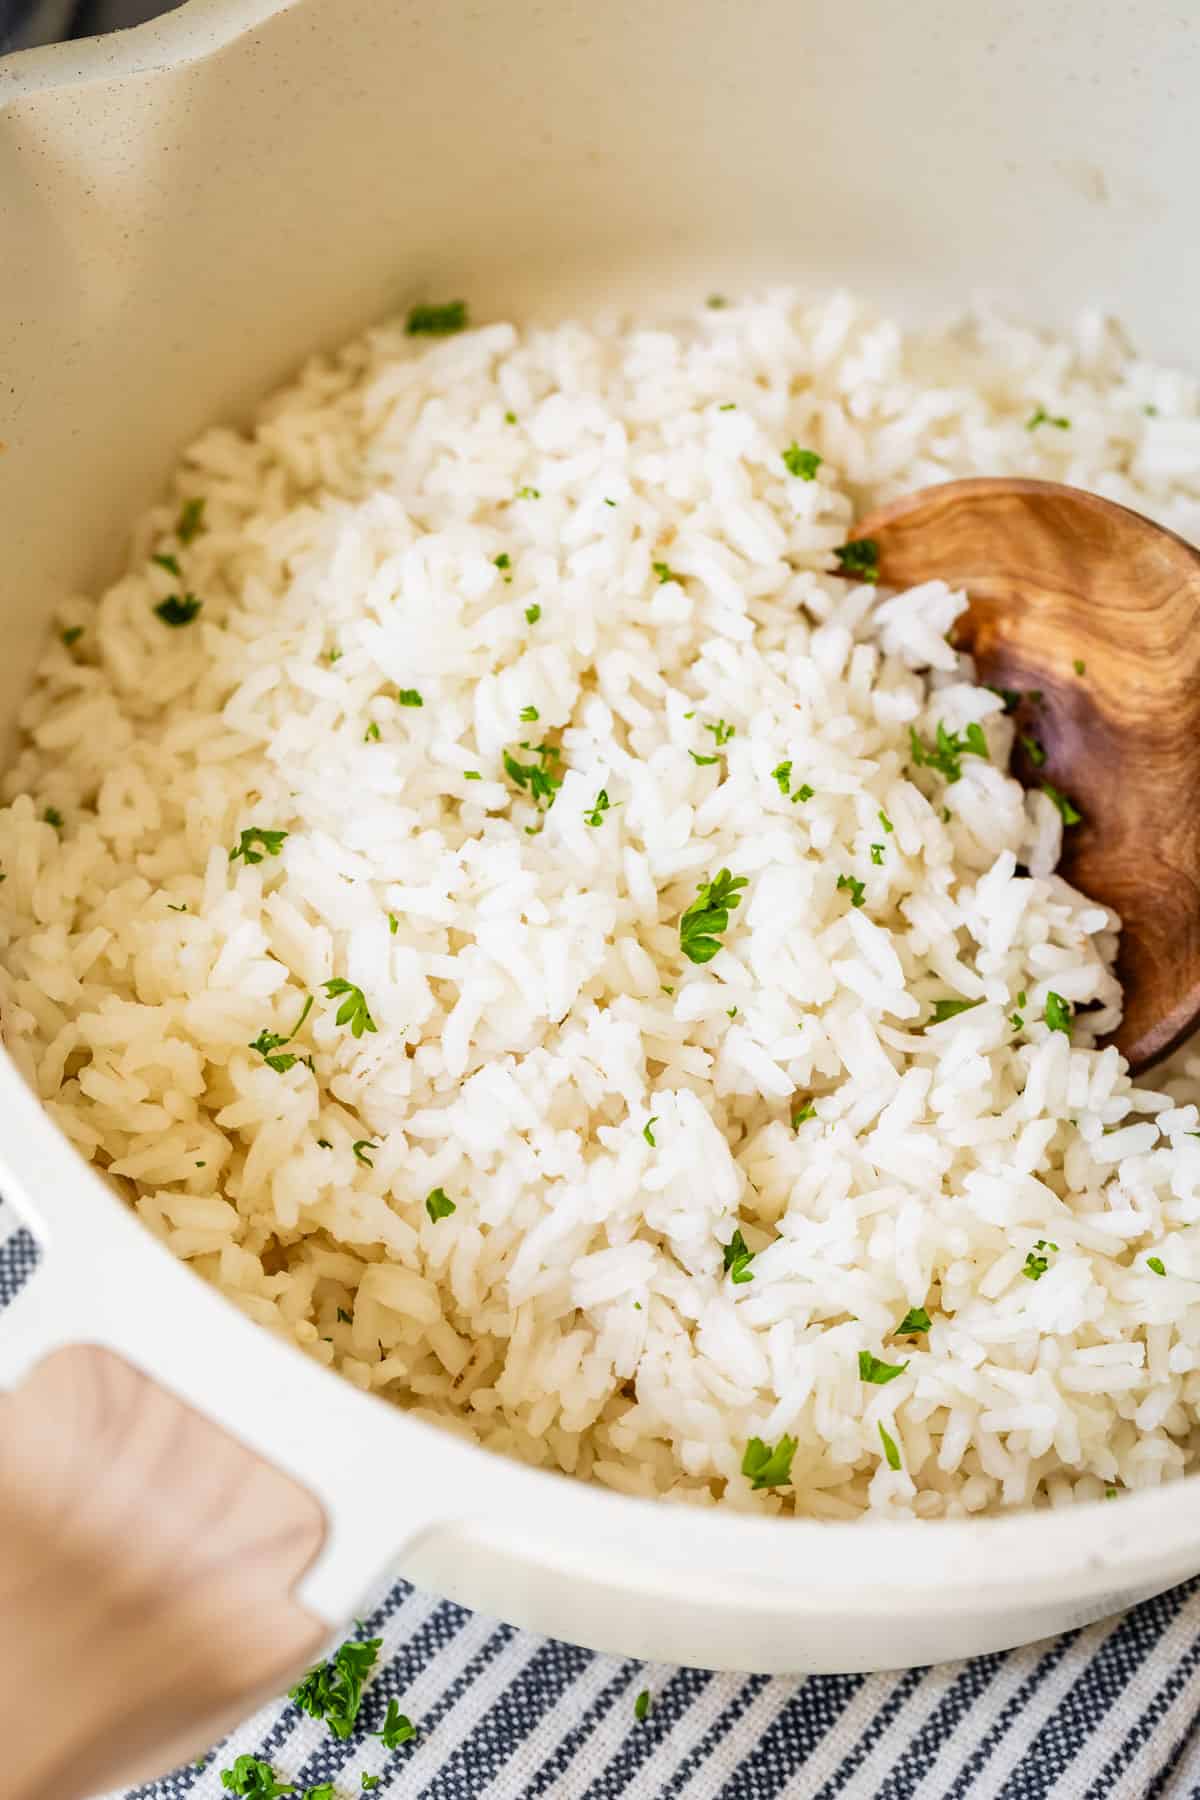
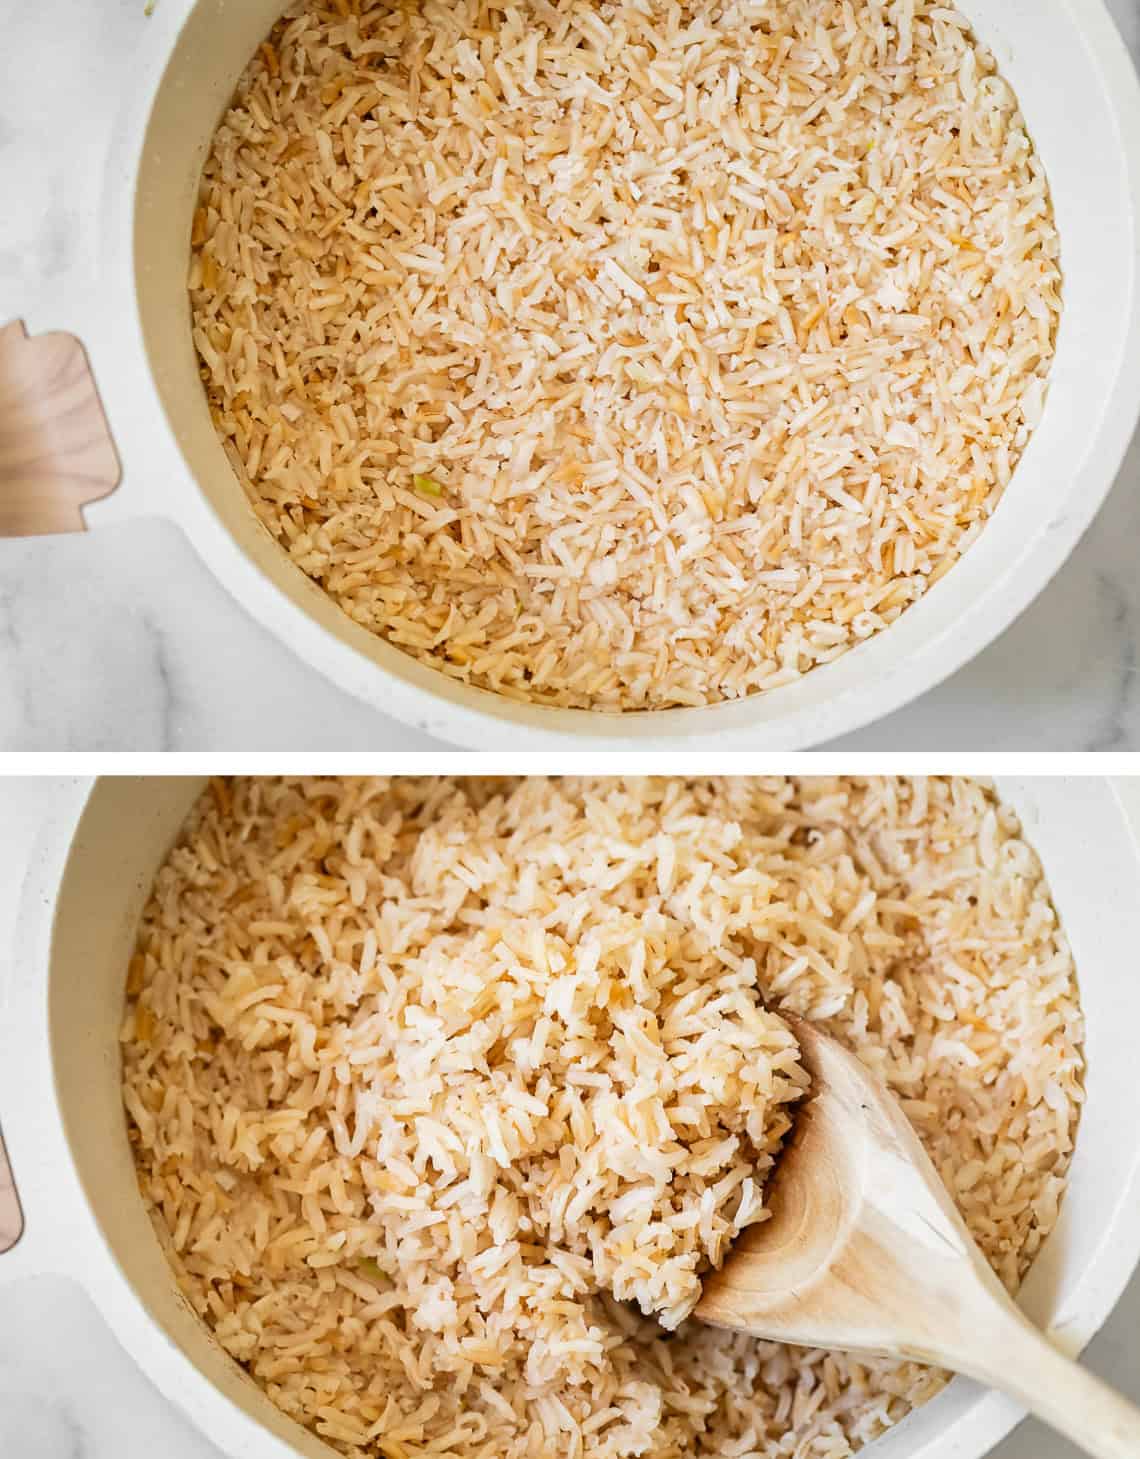
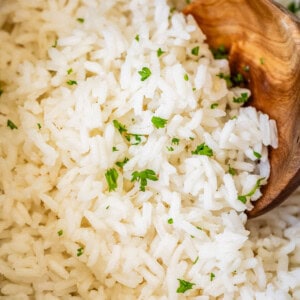
Now it’s time to fluff!
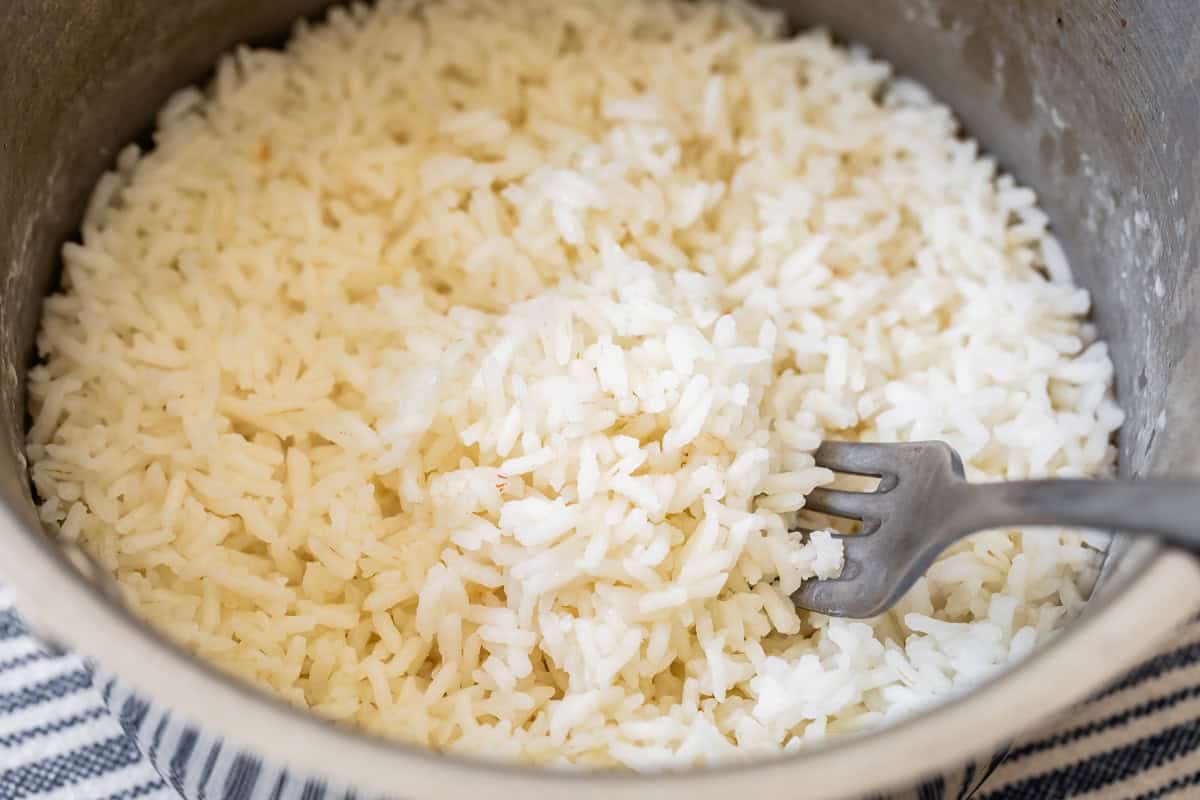
They always say to fluff the rice with a fork, but any utensil will do. The goal here is to not smoosh the rice. So don’t jam a spoon in and stir. Instead, insert your fork or spoon underneath the rice and gently lift. Do this over and over until your rice looks big and fluffy and maybe like a little cloud that you might just float away on.
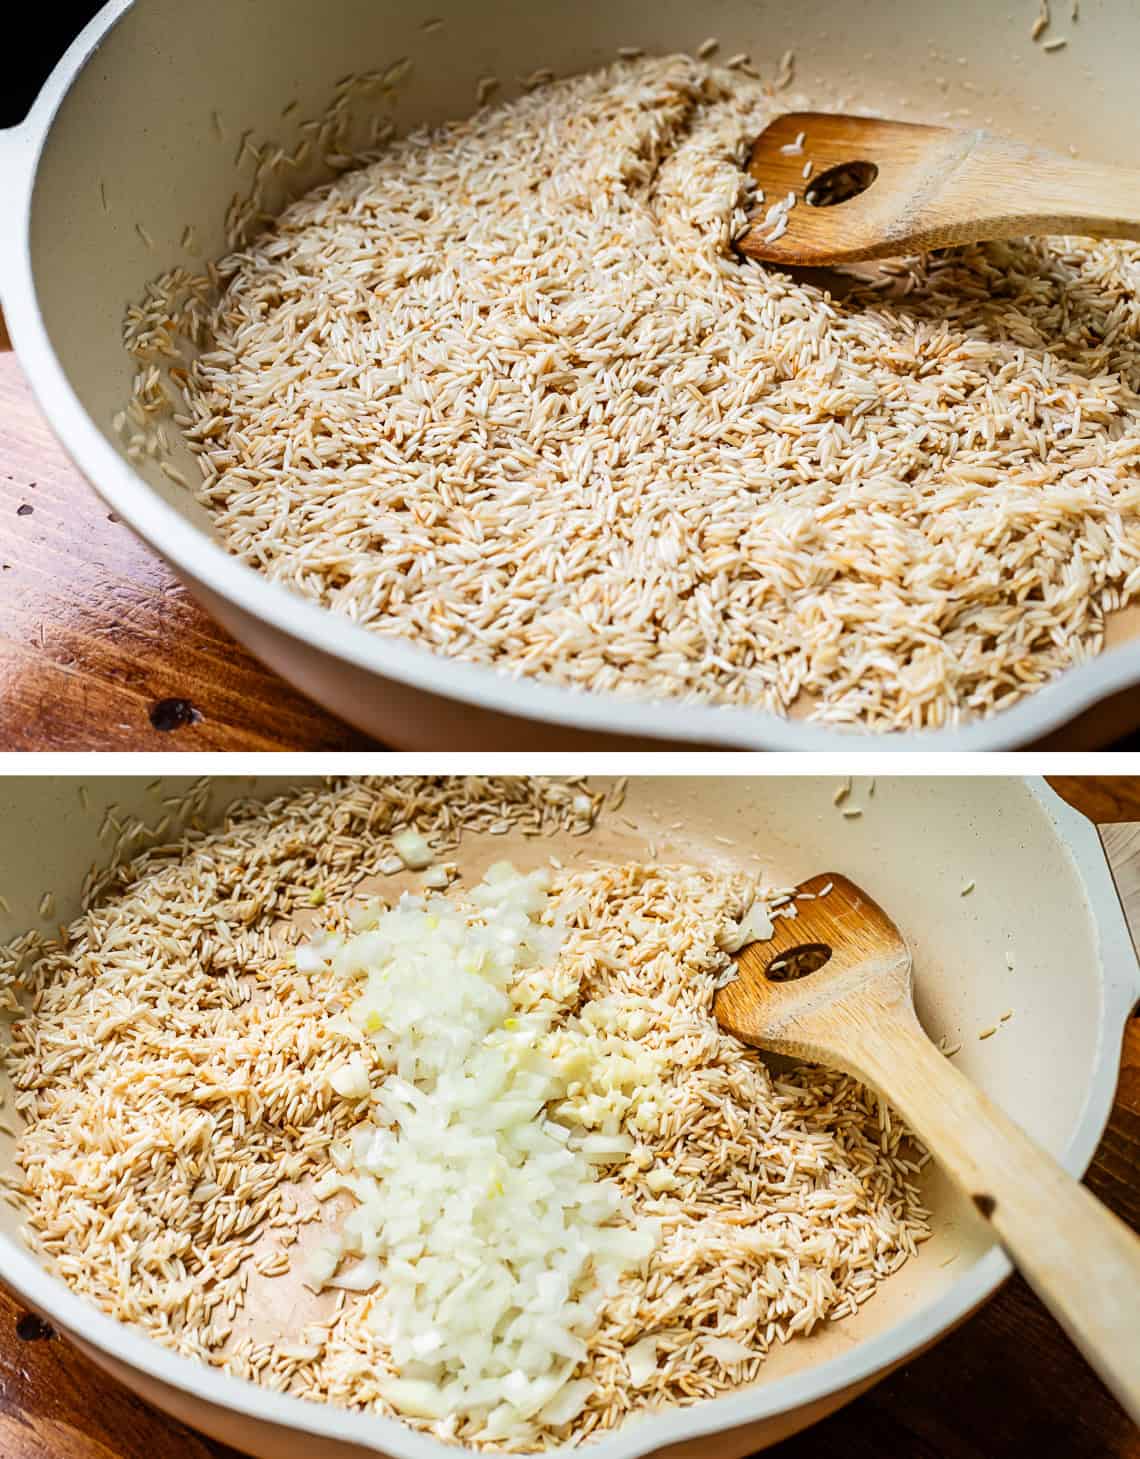
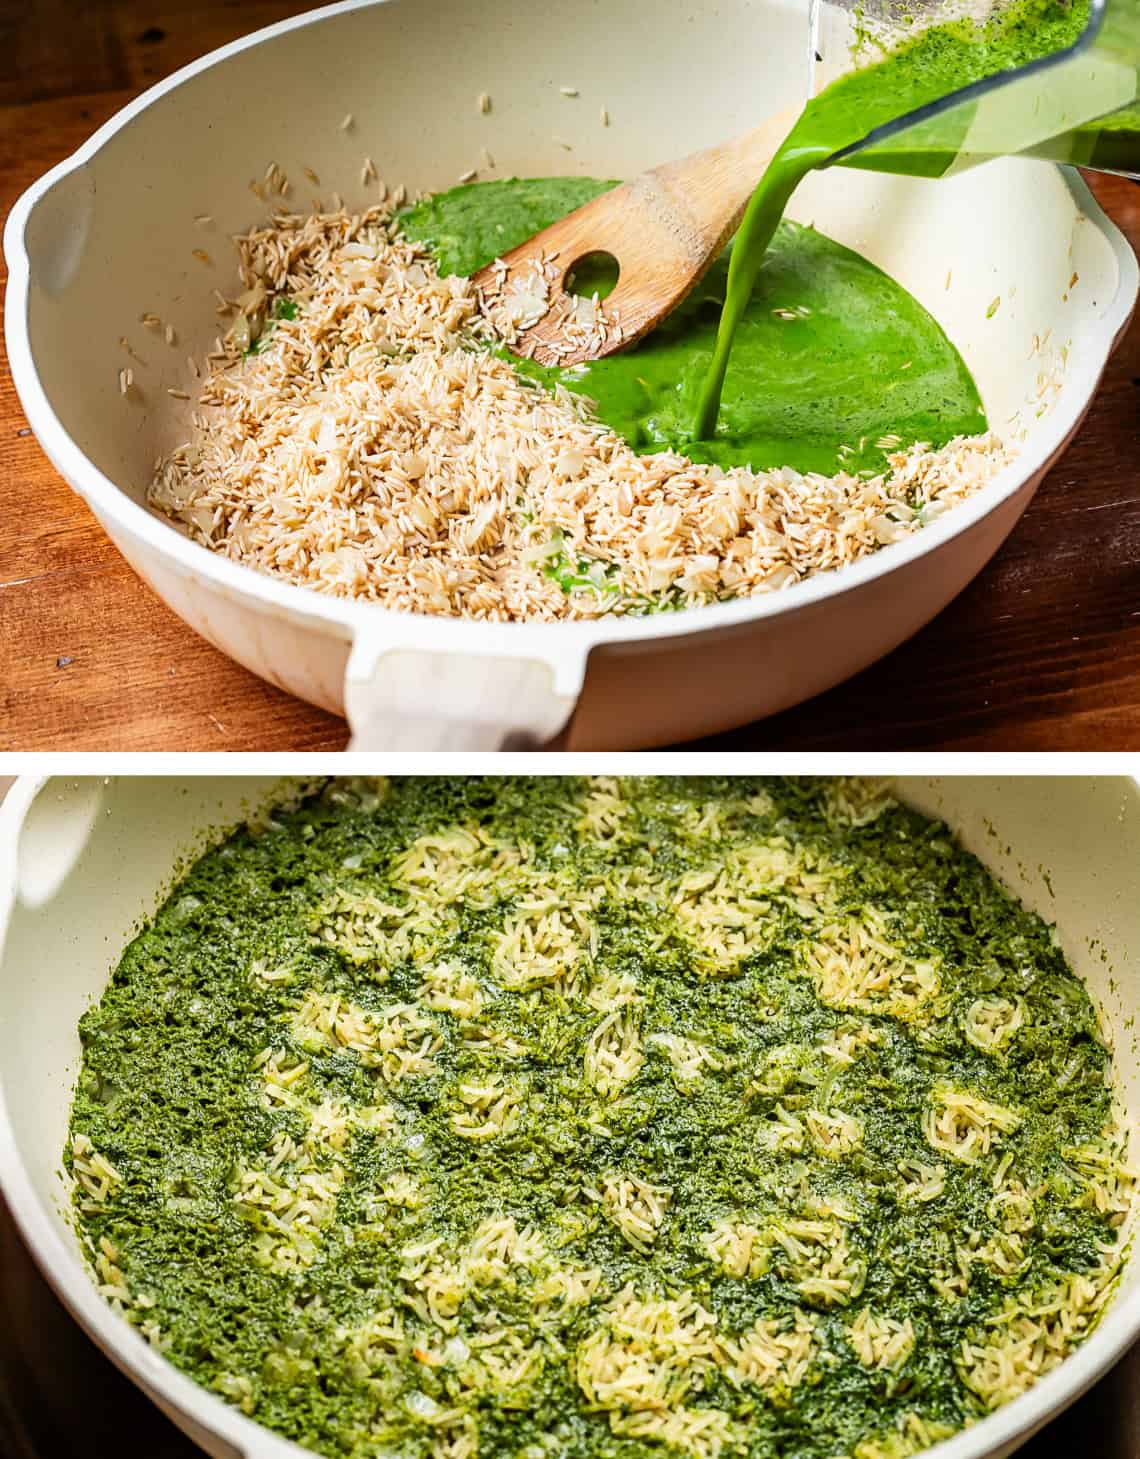
Toast the rice
There is one easy thing you can do to amp up the flavor of your rice, and that is toasting the dry rice in fat before adding the water. FATTTT yes please.
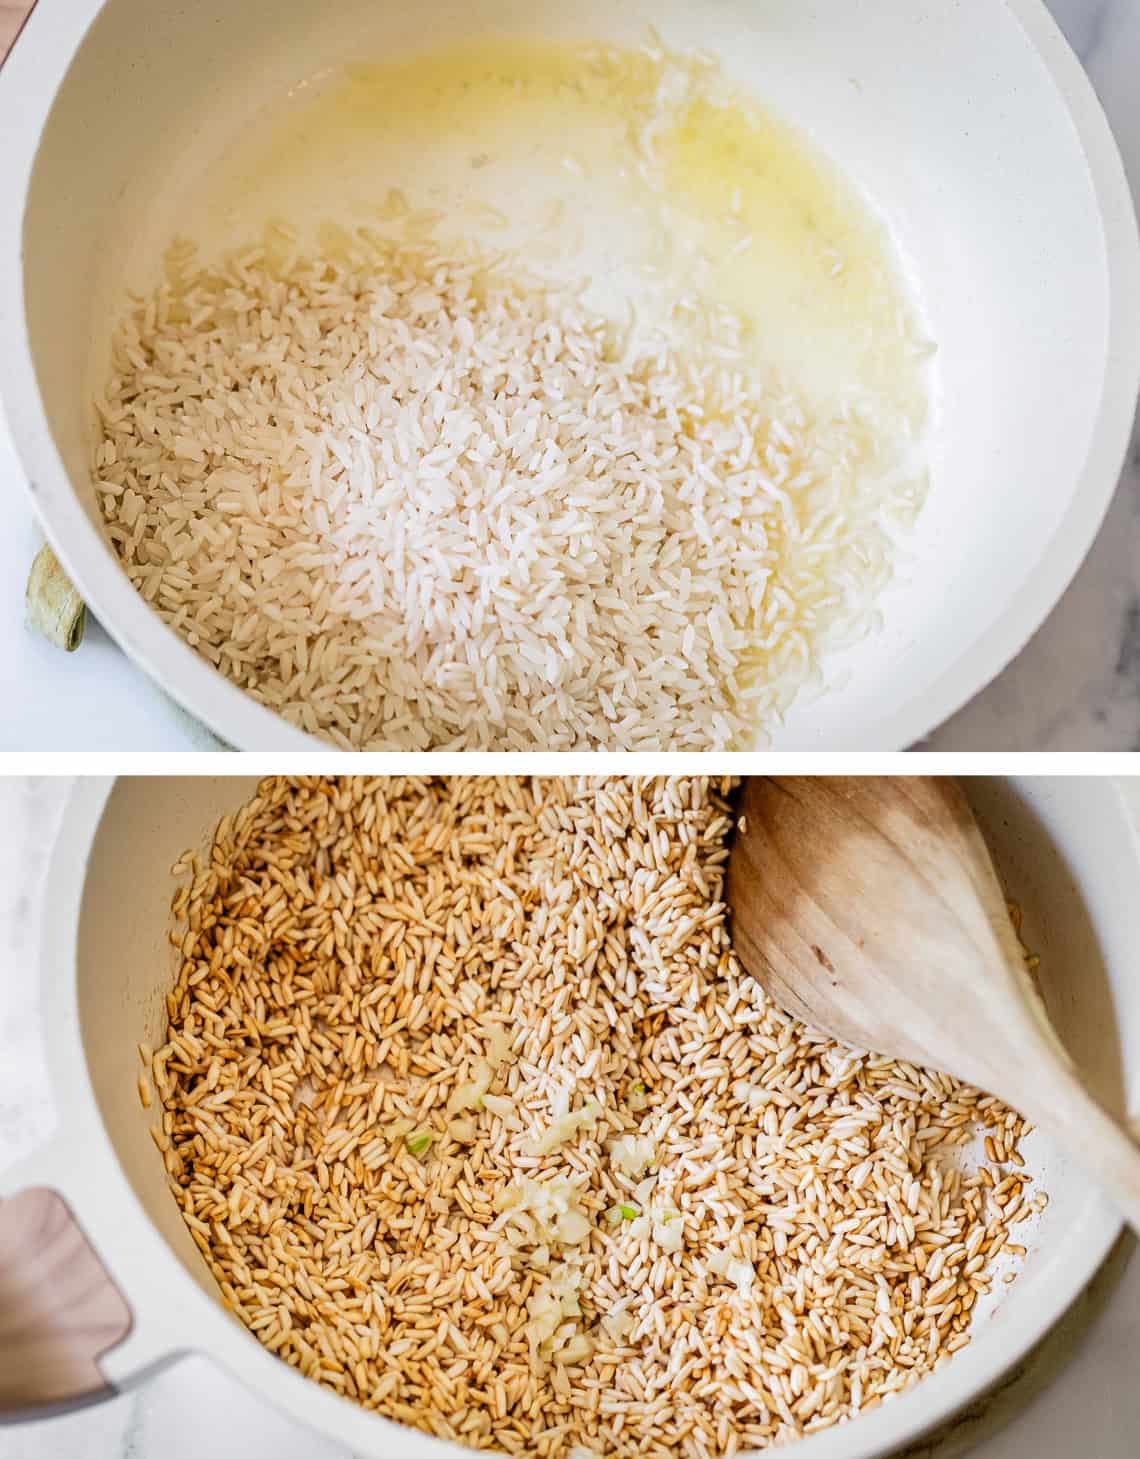
Oh and we’re adding some garlic this time, because garlic is the best. I’m a garlic lover and almost always add this to my rice. Totally optional. (I usually just add a spoonful of jarred garlic.)
Can you see how brown it gets? That’s because the butter gets browned as you cook. This is just regular white rice, plus browned butter – it is not brown rice. If you use oil, it won’t get as brown like this.
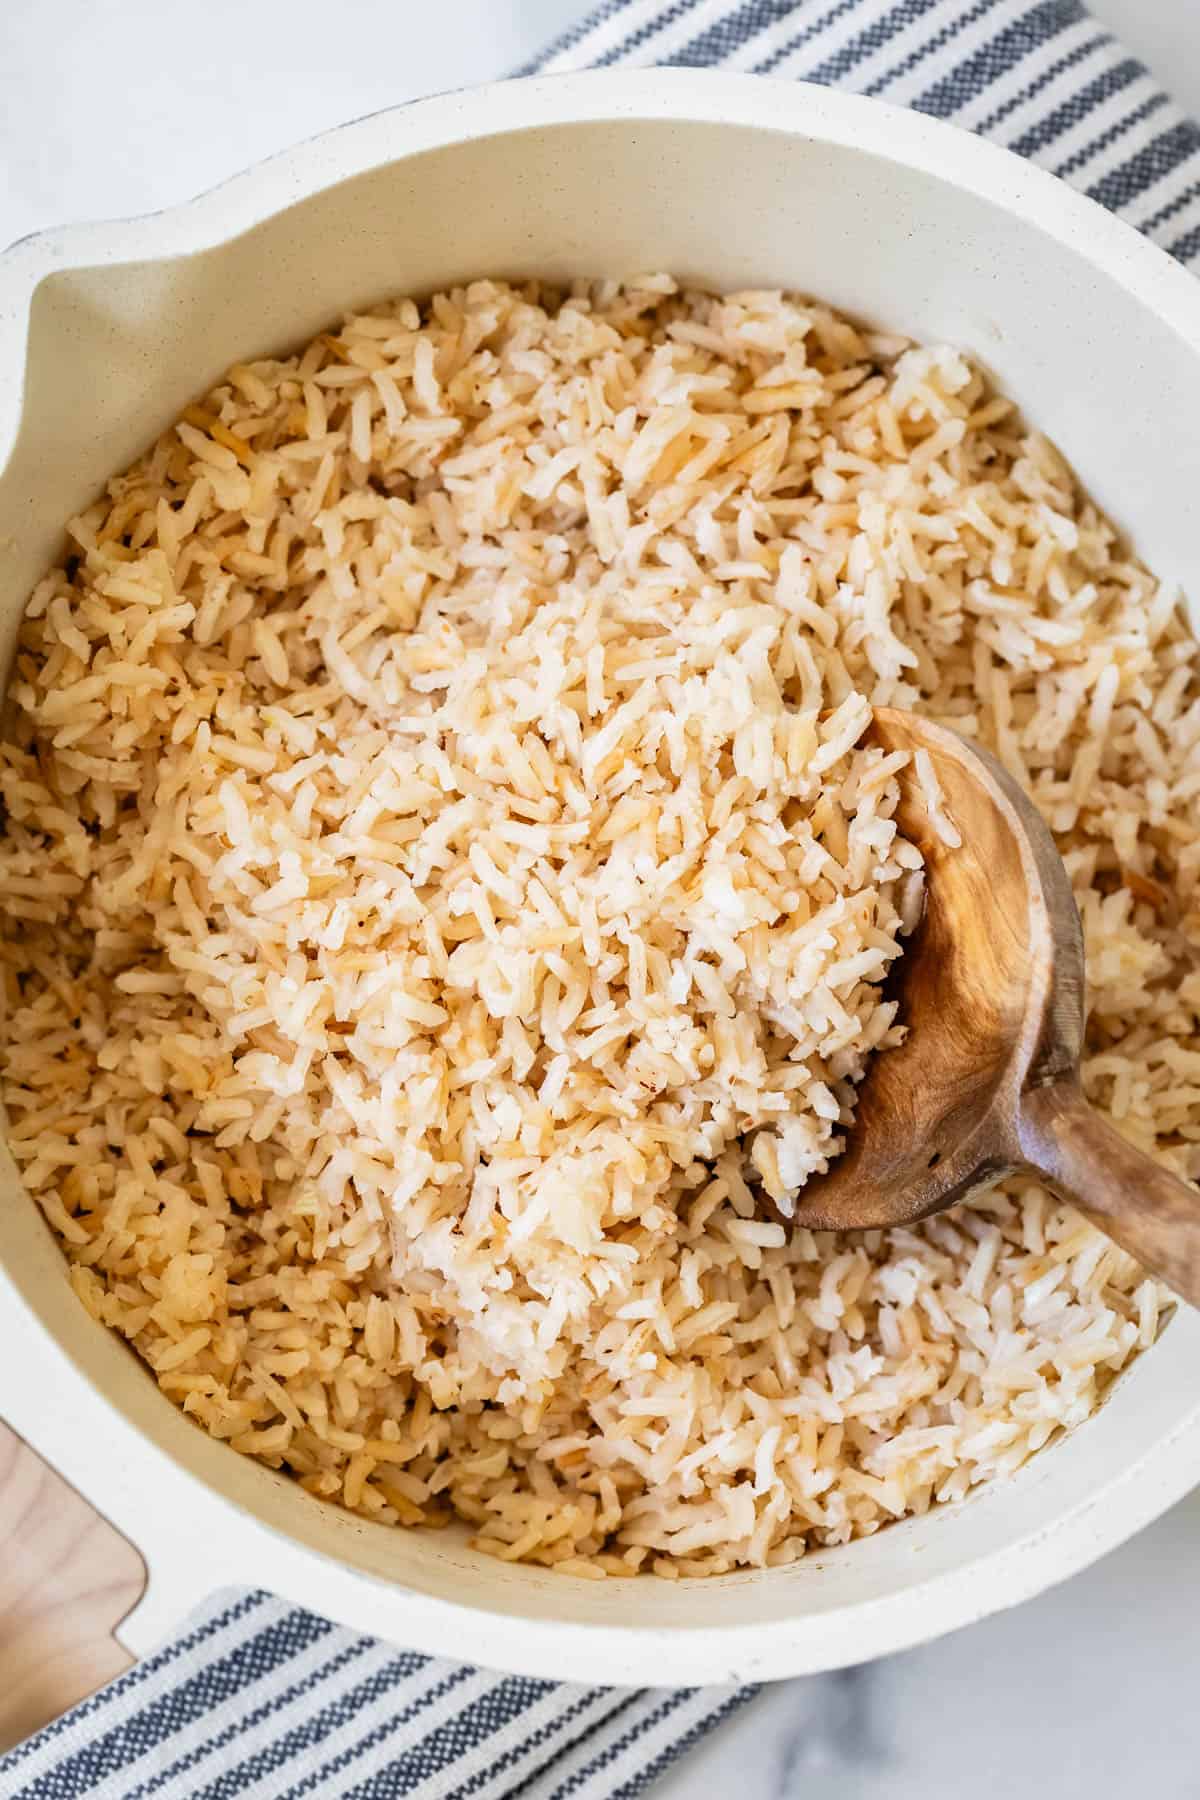
I mean look at this toasty goodness.
What to serve with rice
Like, you can pretty much serve anything with a pot of hot fresh rice and it’s going to be amazing. But these are some of my all time favorite meals that go perfectly with a side dish of rice.
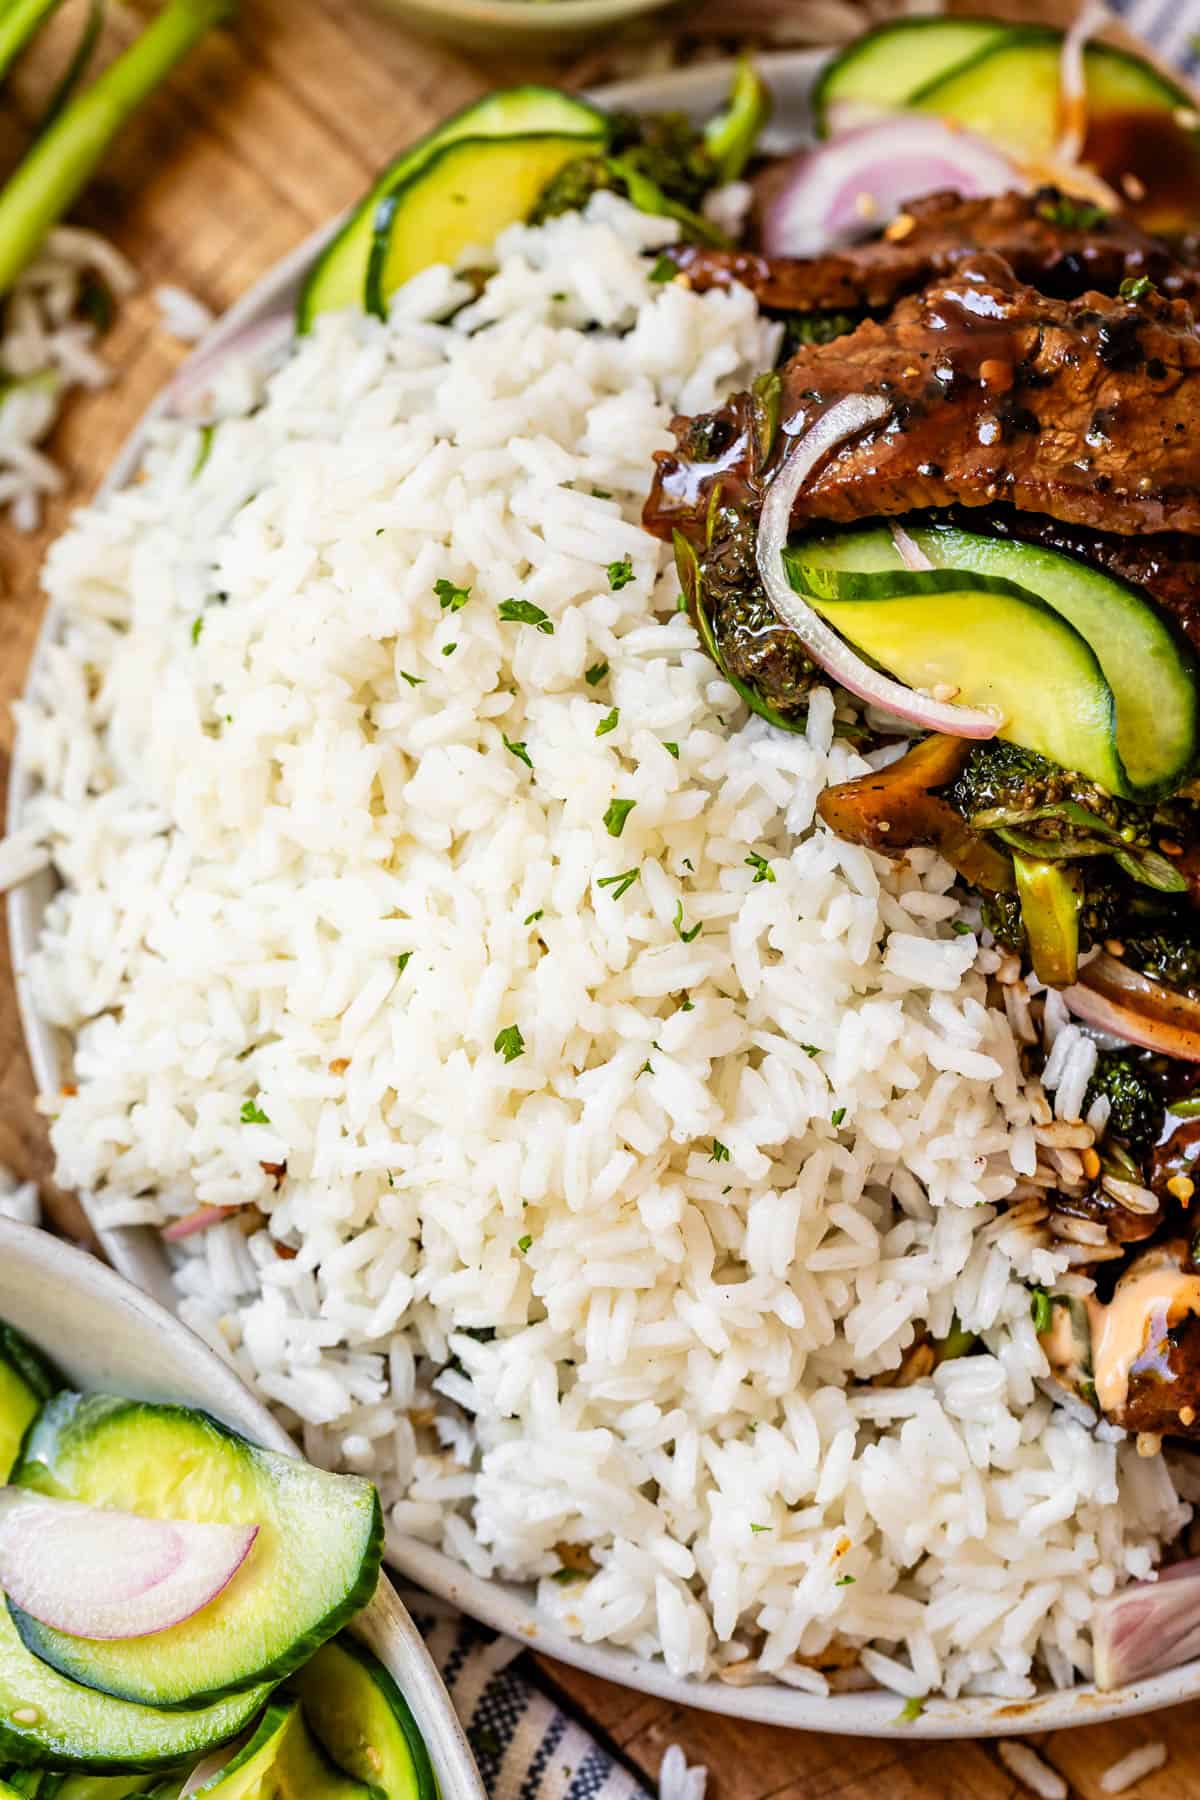
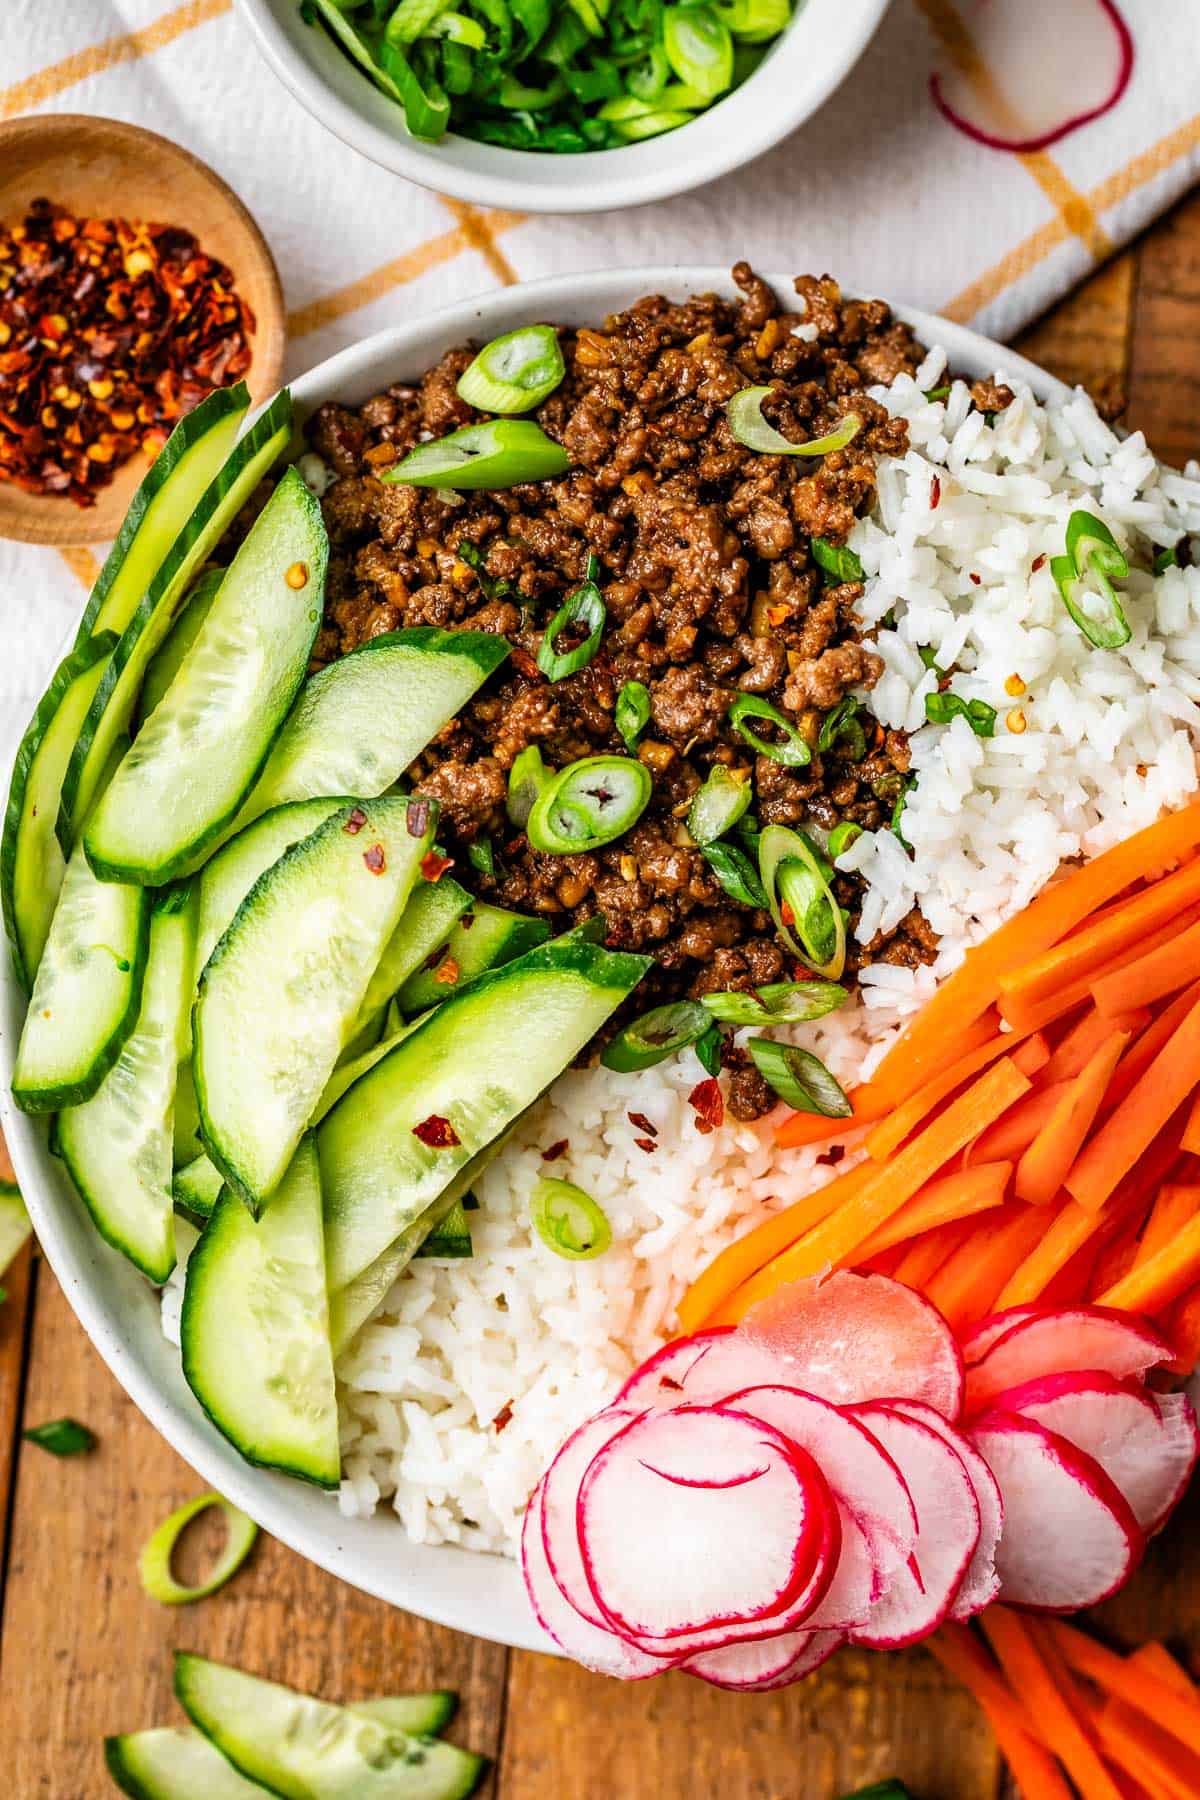
- Korean Beef >> stupid easy, super flavorful 30 minute meal.
- Easy Curry Beef >> rich and tender slow cooker beef, curry style!
- Asian Pork Tenderloin >> the glaze on this is soooo gooood
- Asian Seared Chicken with Stir Fried Green Beans >> I love this simple skillet meal!
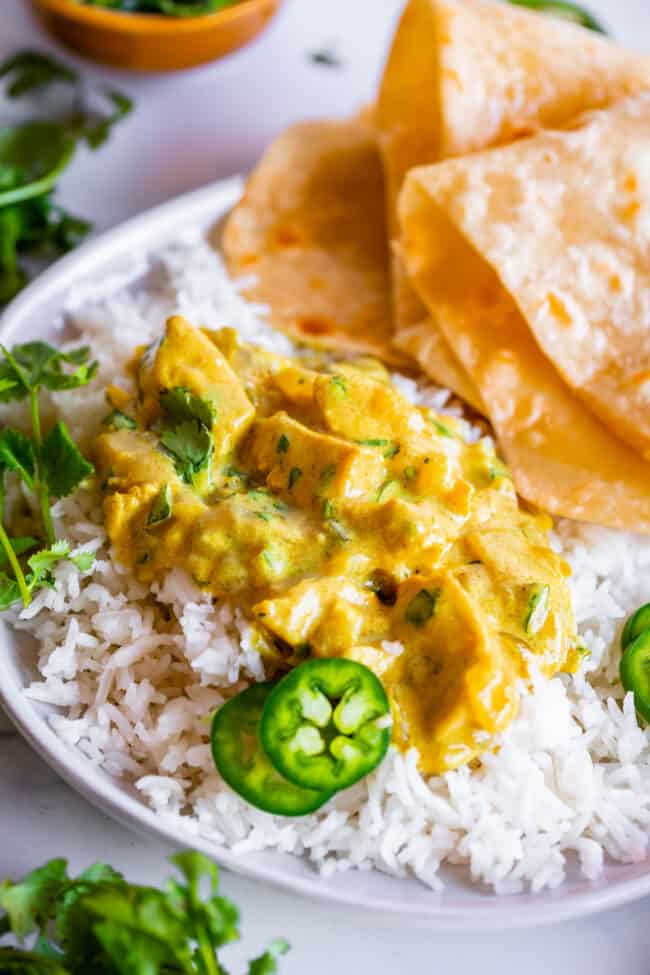
- Indian Chicken Curry >> we’re only getting out two spice jars for this easy curry.
- Slow Cooker Chicken Tikka Masala >> probably one of my favorite meals ever
- Szechuan Chicken from The Happier Homemaker
- Bang Bang Shrimp from Farah J. Eats
What to do with leftover rice
You can warm up leftover rice and serve it with almost anything at all. If you want to incorporate it into your next meal, here are some ideas!
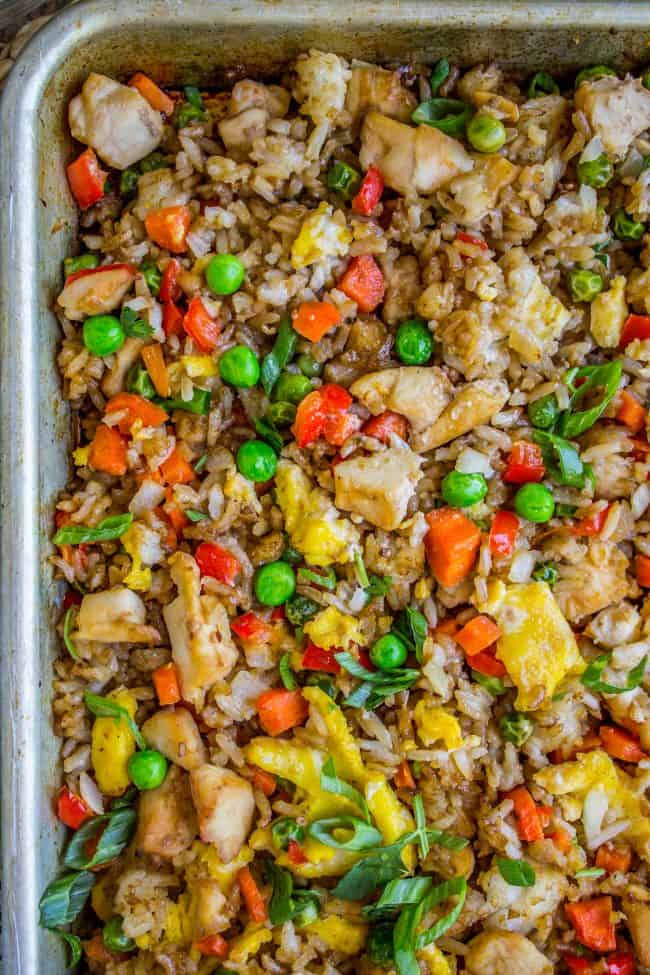
- Sheet Pan Chicken Fried Rice >> fried rice is the best, especially when you don’t even have to stir!
- Steak Foil Packets (Hobo Dinner) >> a favorite from my husband’s family. It’s like camping, but at home
- Stuffed Bell Peppers >> these are so classic, and we’re stuffing them full of flavor (and leftover rice)
- Chicken and Broccoli Stuff >> already got rice? then this already easy dinner is now EXTRA easy!
- Red Beans and Rice Recipe >> Today’s recipe, now you just have to make the beans!
- Vanilla Coconut Rice Pudding >> it’s like regular rice pudding, but coconut….yes please
- Pantry Stuffed Pepper Soup from For the Love of Leftovers
- Bacon, Corn, and Rice Frittata from Sprinkles & Sprouts
How to store rice
Storing leftover rice is easy. Once it’s cooled, toss it in a ziplock or Tupperware and pop it in the fridge. Make sure it’s tightly sealed. It shouldn’t be on the counter at room temperature for more than 2 hours before you refrigerate or freeze it.
How long does rice keep in the fridge?
Rice will keep in the fridge for up to 4 days. After that, you’re living dangerously, and by dangerously I mean risking food poisoning. I’m actually pretty lax when it comes to food that might be suspect from my fridge, to be honest (doesn’t this make you want to come over for dinner?? 😅) But I don’t mess around with rice. It’s so cheap, it’s so fast and easy to make, that if I’m not sure about it, I toss the leftovers and just make more. You can get soooo super sick from bad rice.
Can you freeze cooked rice?
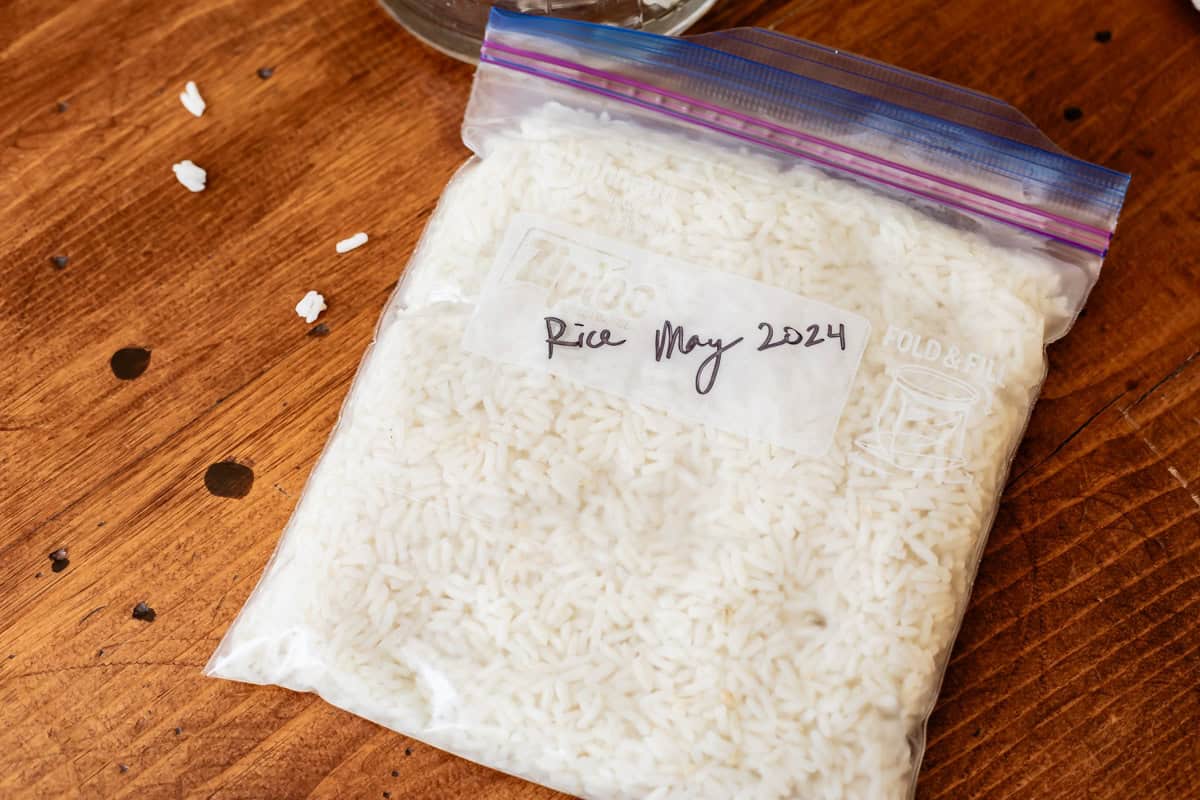
Yes you can, and it’s awesome!! As soon as your rice is cool, just put it in a ziplock bag and pop it in the freezer. It will stay fresh for up to six months, and you can add it to other recipes or reheat some to go with dinner whenever you want. Make sure you sprinkle with water before reheating! Read on:
How to reheat rice
The best way to reheat rice is in the microwave with a little water, covered with a plate or microwave cover. For every cup of cooked rice, you’ll want to sprinkle on about 2 teaspoons of water. Rice stored in the fridge dries out, and a little moisture added back in makes the difference between “ugh, leftover rice” and “oh yeah! leftover rice!!” Make sure the rice is covered when you reheat, so that it can steam. If you’ve never reheated rice this way you’re going to be impressed by how much of a difference covereing and adding a bit of water makes. It’s like fresh rice on day 2. Use this method even if you’re reheating from frozen. It might take a little longer, but otherwise it’s the same.
Cooking rice frequently asked questions
The purpose of rinsing rice is to remove excess starch, but it’s actually totally unnecessary if you are cooking with rice processed in the United States, since that step was taken care of in processing. (If you want to rinse your rice, go ahead! Just remember to add 2 fewer tablespoons of water per cup of rice.) If you bought your rice in bulk from a market and are concerned about dirt or debris, that’s a totally different (and valid) reason to want to rinse your rice. Just remember to reduce the amount of water.
Your timer rang, but you can see that there’s still lots of liquid in the pot. Maybe you added too much water, maybe you lifted the lid halfway through and released all the steam, maybe your stove is just acting up. You can still fix your rice! Let the rice continue to simmer for another 3-5 minutes, then leave the lid on and let steam as directed.
If you’re cooking sushi rice, basmati rice, short-grain, medium-grain, or long-grain white rice, it takes about 10 minutes to cook on the stovetop and another 10 to continue steaming, with the lid on. Jasmine rice takes the same time, but requires less liquid than the other types mentioned.
Facebook | Pinterest | Instagram
How to Cook Rice on the Stove
Ingredients
- 1 cup white rice sushi, short, medium, or long grain
- 1 and 1/2 cups water*
- 1 tablespoons butter** or oil
- 3/4 teaspoon kosher salt or sea salt use 1/4 teaspoon table salt
- 1 clove garlic optional
Instructions
- Add 1 cup dry rice, 1 and 1/2 cups water, 1 tablespoon butter or oil,** and 3/4 teaspoon kosher salt to a medium saucepan. Add 1 clove minced garlic if you like! It's optional! I love the flavor.
- Boil. Place a lid on the saucepan and turn the heat to HIGH. Stick around until the rice comes to a boil, this only takes a few minutes. Don't walk away, or it will boil over. My rice boils over probably 9 out of 10 times that I make rice, 😆 so don't panic if it happens, you will just have to clean it up. (Actually, my toxic trait is not cleaning up my boiled over rice mess. Welcome to my house, I'm disgusting.)
- Bring the temperature down to low. As soon as you see steam escaping from beneath the lid, it's boiling. Don't you dare lift that lid. Turn the heat down to LOW. Cook on LOW for 10 minutes.
- Steam. When the 10-minute timer rings, turn off the heat but don't remove the pot from the stove, leave it right where it is. DON'T peek, don't take off the lid. Set another timer for 15 minutes so that it can steam.
- Fluff. When the 15-minute timer rings for the steam, you can finally take that lid off. They always say to fluff the rice with a fork; the goal here is to aerate the rice by lifting it gently. Use whatever utensil you want, but "stirring" is not the best method here, you don't want to smoosh your rice. Insert your fork or spatula underneath the rice and lift, over and over, until the rice is fluffy and big and hot and ready for a pat of butter. Yum.
- Serve hot! Store leftovers covered in the fridge for about 4 days.
- Freezing Instructions: As soon as your rice is cool, just put it in a ziplock bag and pop it in the freezer. It will stay fresh for up to six months. Reheat in a bowl in the microwave, sprinkled with 2 teaspoons water and covered well so the rice can steam.
 from The Food Charlatan. This corn dip recipe is just like an elote (Mexican street corn). It is the perfect combo of sweet corn and savory tart cheese. Plus it's a lot easier to eat AND you get tortilla chips. Win! #corn #dip #elote #mexican #streetfood #summerfood #4thofjuly #cincodemayo #cotija #cornonthecob")
 from The Food Charlatan. This corn dip recipe is just like an elote (Mexican street corn). It is the perfect combo of sweet corn and savory tart cheese. Plus it's a lot easier to eat AND you get tortilla chips. Win! #corn #dip #elote #mexican #streetfood #summerfood #4thofjuly #cincodemayo #cotija #cornonthecob")
 from The Food Charlatan. This corn dip recipe is just like an elote (Mexican street corn). It is the perfect combo of sweet corn and savory tart cheese. Plus it's a lot easier to eat AND you get tortilla chips. Win! #corn #dip #elote #mexican #streetfood #summerfood #4thofjuly #cincodemayo #cotija #cornonthecob")
 from The Food Charlatan. This corn dip recipe is just like an elote (Mexican street corn). It is the perfect combo of sweet corn and savory tart cheese. Plus it's a lot easier to eat AND you get tortilla chips. Win! #corn #dip #elote #mexican #streetfood #summerfood #4thofjuly #cincodemayo #cotija #cornonthecob")
 from The Food Charlatan. This corn dip recipe is just like an elote (Mexican street corn). It is the perfect combo of sweet corn and savory tart cheese. Plus it's a lot easier to eat AND you get tortilla chips. Win! #corn #dip #elote #mexican #streetfood #summerfood #4thofjuly #cincodemayo #cotija #cornonthecob")
 from The Food Charlatan. This corn dip recipe is just like an elote (Mexican street corn). It is the perfect combo of sweet corn and savory tart cheese. Plus it's a lot easier to eat AND you get tortilla chips. Win! #corn #dip #elote #mexican #streetfood #summerfood #4thofjuly #cincodemayo #cotija #cornonthecob")
 from The Food Charlatan. This corn dip recipe is just like an elote (Mexican street corn). It is the perfect combo of sweet corn and savory tart cheese. Plus it's a lot easier to eat AND you get tortilla chips. Win! #corn #dip #elote #mexican #streetfood #summerfood #4thofjuly #cincodemayo #cotija #cornonthecob")
 from The Food Charlatan. This corn dip recipe is just like an elote (Mexican street corn). It is the perfect combo of sweet corn and savory tart cheese. Plus it's a lot easier to eat AND you get tortilla chips. Win! #corn #dip #elote #mexican #streetfood #summerfood #4thofjuly #cincodemayo #cotija #cornonthecob")
 from The Food Charlatan. This corn dip recipe is just like an elote (Mexican street corn). It is the perfect combo of sweet corn and savory tart cheese. Plus it's a lot easier to eat AND you get tortilla chips. Win! #corn #dip #elote #mexican #streetfood #summerfood #4thofjuly #cincodemayo #cotija #cornonthecob")