Christmas Tree Pull Apart Bread
This Christmas tree pull apart bread is made of cheese-stuffed dough balls brushed with garlic herb oil and baked until…
This Christmas tree pull apart bread is made of cheese-stuffed dough balls brushed with garlic herb oil and baked until…
Biscuit cinnamon rolls are the perfect cross between tender, buttery biscuits and sweet cinnamon rolls! Made with your favorite Bisquick…
The post Bisquick Biscuit Cinnamon Rolls appeared first on My Baking Addiction.
This turkey sandwich is a quick way to enjoy leftovers, layering mayo, cranberry sauce, lettuce, tomatoes, and cheddar for the perfect bite. Ready in just 15 minutes, it’s simple and satisfying!
This eggnog bread gives you a soft, moist quick bread with the perfect sweet eggnog glaze for the best holiday treat.
The secret to an unforgettable holiday meal? Incredible homemade bread. Here are 7 fantastic bread recipes to practice now, so you can bake with confidence and wow your guests on the big day. Find the ultimate bread recipes here! From classic white bre…
These vegan pumpkin cinnamon rolls are soft, fluffy, and packed with fall flavor. Each bite combines warm pumpkin spice, brown…
The post The Best Pumpkin Cinnamon Rolls (Vegan) appeared first on Sweet Simple Vegan.
I love these brioche dinner rolls! They are so soft, cloud-like and fluffy with a crisp buttery exterior. Top with flaky salt and serve with salted maple butter. They make the perfect centerpiece for your holiday table! What must I say about these fluffy rolls?! The brioche skillet buns are so soft and pull-apart tender, […]
The post Fluffy Brioche Skillet Rolls with Salted Maple Butter. appeared first on How Sweet Eats.
Brown and serve rolls are the ultimate make-ahead holiday recipe! These soft, fluffy rolls are flavored with garlic and brushed…
The post Brown and Serve Rolls appeared first on My Baking Addiction.
This easy cheddar scallion beer bread is a great recipe to make for soups, salads or as a side dish for a cozy dinner. It’s super easy to make and tastes amazing – everyone always loves it! A new soup dipper’s in town! This cheddar scallion beer bread is perfect to make on a fall […]
The post Easy Cheddar Scallion Beer Bread. appeared first on How Sweet Eats.
This homemade pizza dough recipe is soft, chewy, and full of flavor! Learn how to get the perfect pizza dough…
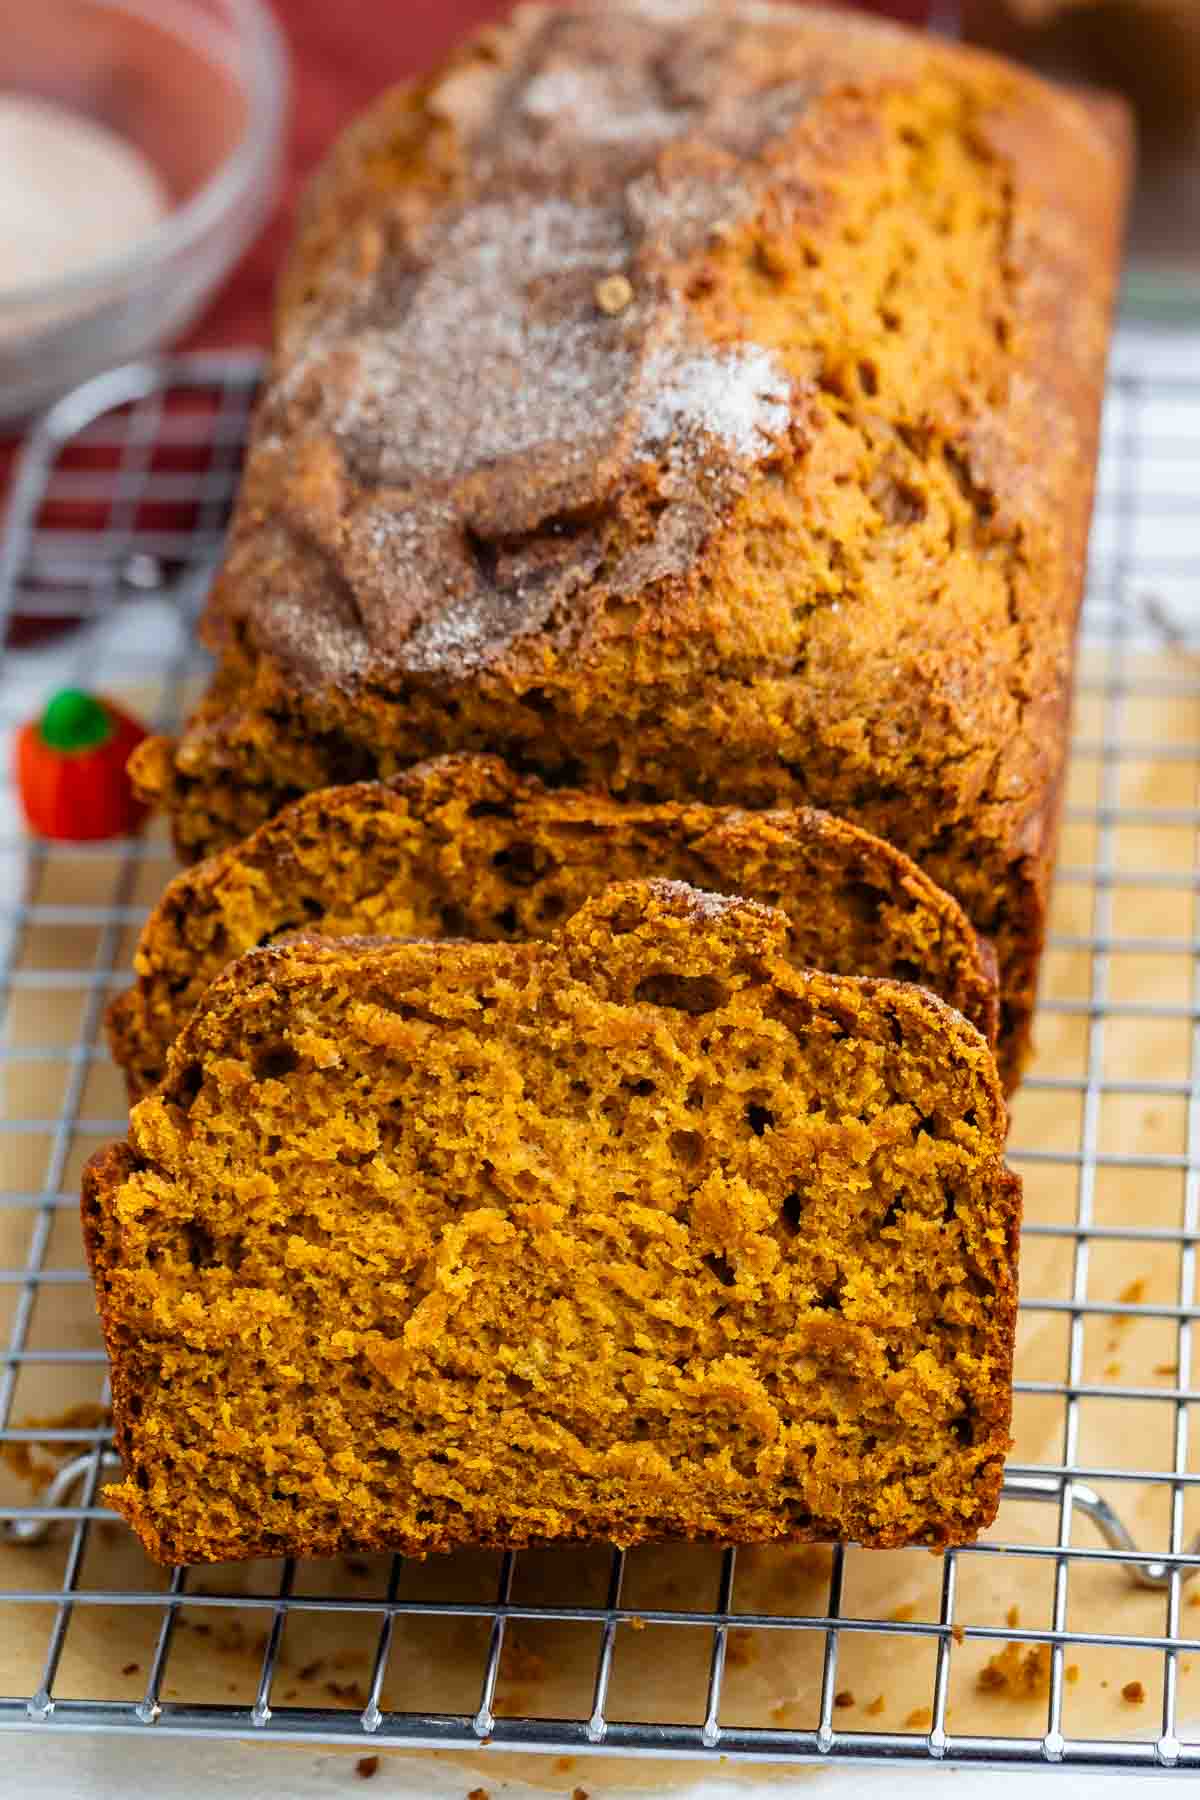 My Easy Pumpkin Bread Recipe is one of my absolute favorite fall quick breads. I’ve been making variations of this bread for years and my family loves every single one! This is a classic pumpkin loaf with a crunchy cinnamon sugar topping – it has wonderful pumpkin flavor – the perfect quick bread recipe. I will never…
This banana bread recipe is loaded with pecans and cinnamon, and ready in minutes! Topped with crunchy cinnamon sugar, it’s moist, fluffy, and makes the best dessert or afternoon treat. You can never have too many banana bread recipes. Around her…
This cinnamon swirl zucchini bread is delicious! A perfect way to use up your garden zucchini, it’s tender and moist with the most wonderful swirl of cinnamon sugar. Easy to make too! Snack time! This cinnamon swirl zucchini bread is perfectly spiced, very moist and tastes amazing. It’s a wonderful little snack and gives you […]
The post Cinnamon Swirl Zucchini Bread. appeared first on How Sweet Eats.
Pumpkin cream cheese bread has a classic, perfectly spiced pumpkin bread batter, a ripple of tangy cream cheese running down…
The post Pumpkin Cream Cheese Bread appeared first on My Baking Addiction.
This Classic BLT Sandwich recipe is easy, affordable, and full of flavor with crispy bacon, fresh lettuce, ripe tomatoes, and mayo-toasted bread!
The post Classic BLT Sandwich appeared first on Budget Bytes.
Use this Amish friendship bread starter recipe as a base for the original cinnamon bread plus other quick breads, dinner rolls, muffins and other baked goods. This quick bread batter mixes up in one bowl, requires no rise time and makes two loaves. Per…
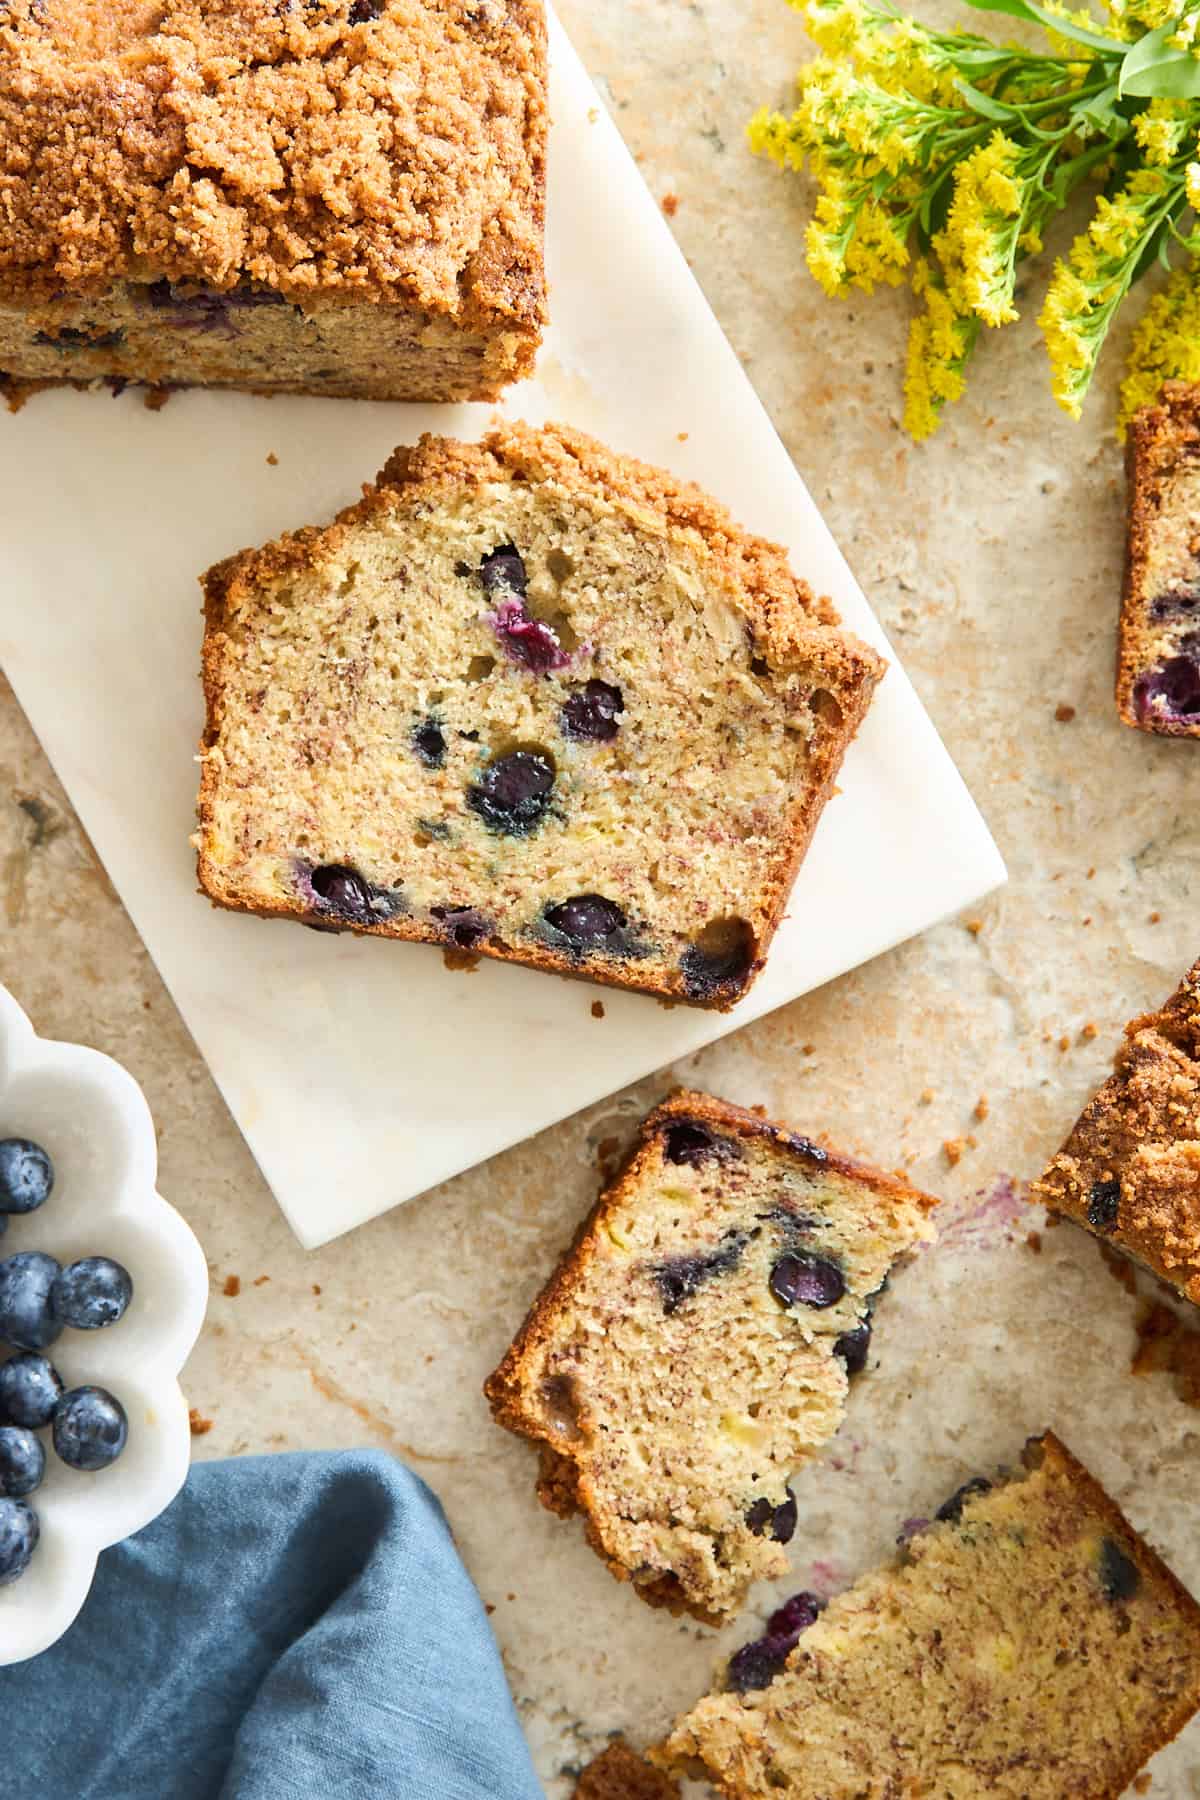 Soft, sweet, and moist, this banana blueberry bread is finished with a crumbly cinnamon streusel topping for a bakery-worthy snack!
Quick breads are one of the easiest and most versatile desserts to make. These recipes do not use yeast and don’t require a rise time like typical bread, meaning the ingredients simply need to be combined and baked. I love baking fruit breads to …
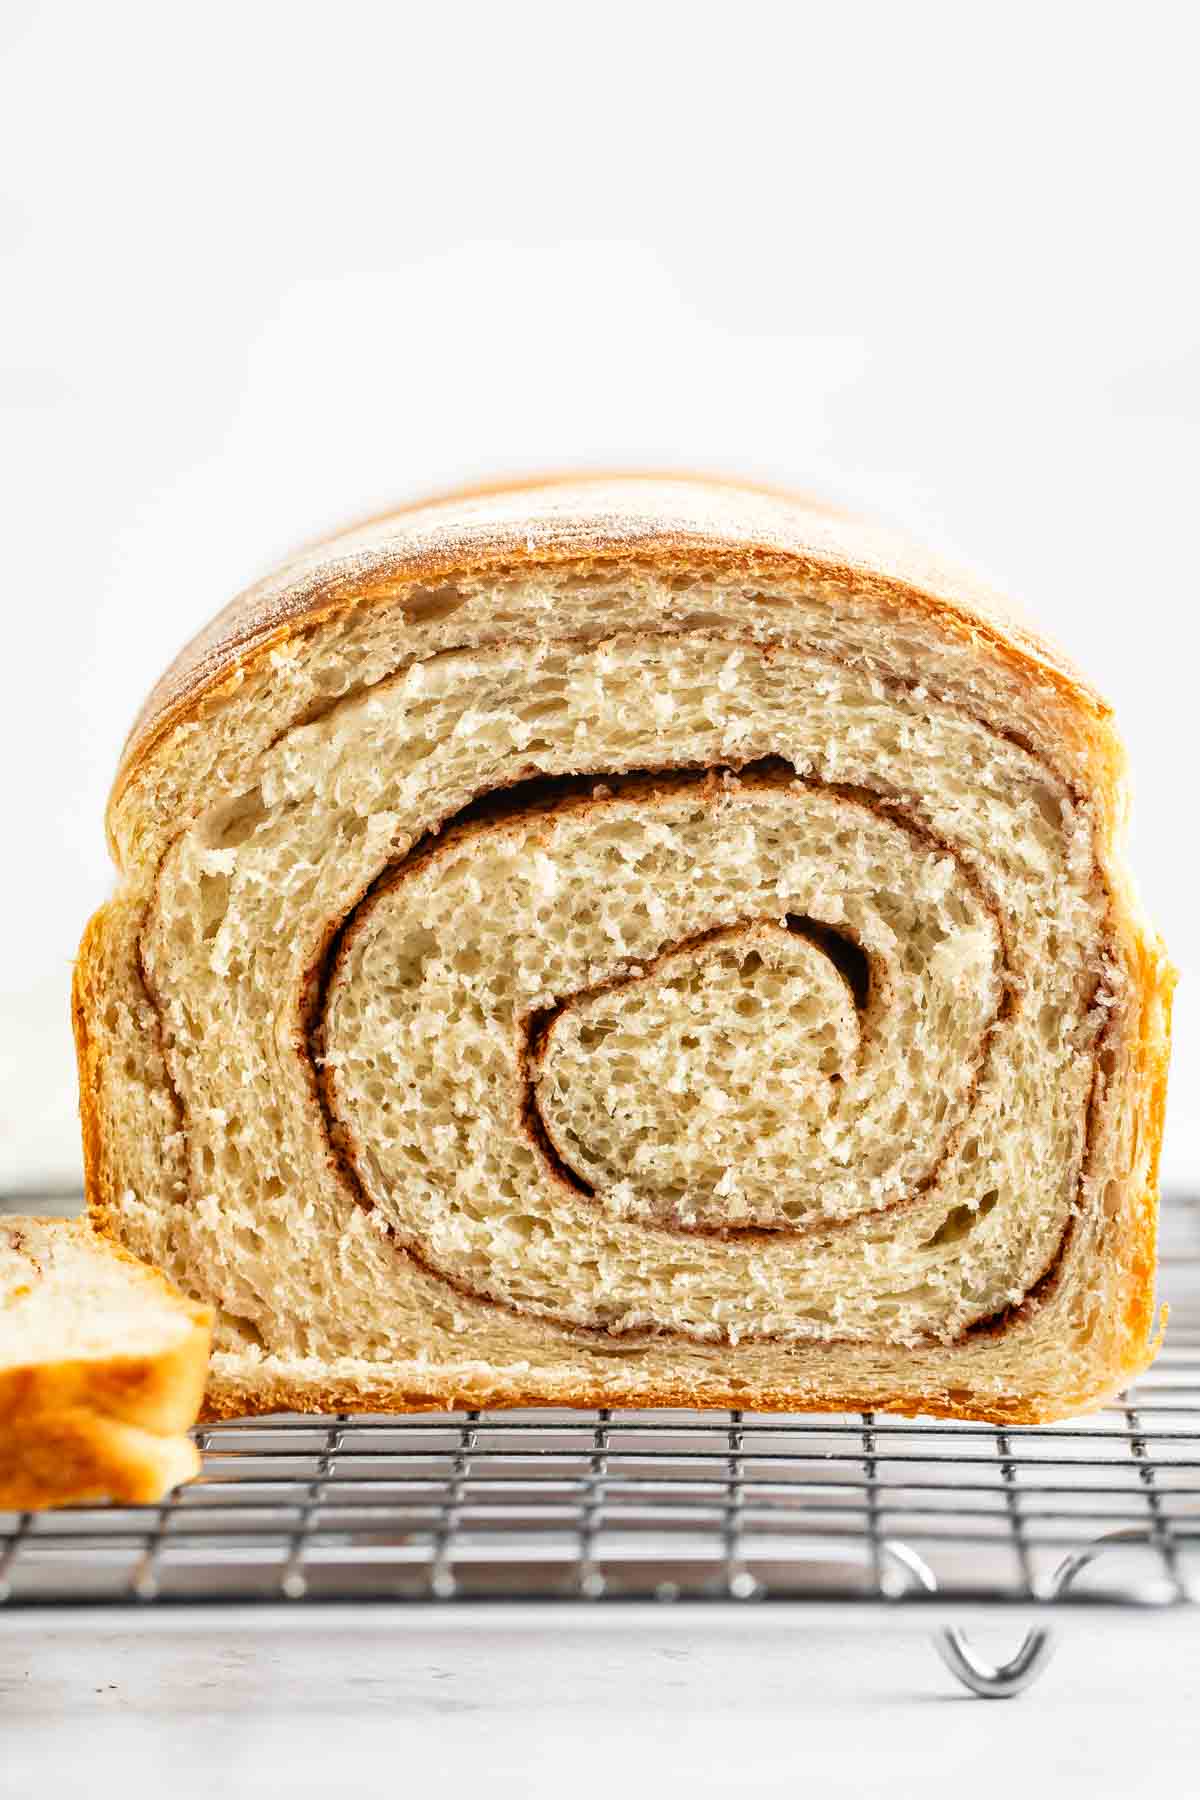 This Homemade Cinnamon Swirl Bread Recipe is an easy white bread recipe full of swirls of cinnamon sugar! The homemade version is way better than the stuff you buy – it’s fresh and SO GOOD and full of cinnamon sugar swirl. It makes two loaves, freezes great, and tastes amazing! I used to be scared of making…
My healthy pumpkin bread uses oat flour as the base and is sweetened with coconut sugar. It’s easy to make, super moist and fluffy, and has just 150 calories per slice. Gluten-free and dairy-free. There is an unfair stigma that pumpkin desserts a…
This Egg Twist Bread is a beautiful and impressive loaf of bread to serve to guests. An egg wash gives the top of this soft bread a nice golden look. I took our homemade cinnamon roll dough and made the most amazing braided bread loaf. This is not a tr…
This old fashioned zucchini bread recipe is a tried-and-true family favorite. I add a cinnamon sugar topping to the unbaked loaves to give it a sugar crunch top, similar to our fresh berry cake and blueberry peach cake. This isn’t just any zucchini bre…
My Blueberry Zucchini Bread recipe features the classic zucchini bread flavor you love, but adds plump, fresh blueberries to the mix. It’s the best quick bread recipe for summertime! Zucchini Bread With a Blueberry Bonus! Zucchini bread is a classic su…
This Cheesy Gochujang Garlic Bread is a fusion side dish that combines everything you love about regular garlic bread with spicy gochujang paste for a Korean-inspired spin! All you need is 8 ingredients and a few minutes to make.
The post Cheesy Gochujang Garlic Bread (Vegan) appeared first on Sweet Simple Vegan.
Peanut butter zucchini bread with brown sugar streusel is the recipe to make during the summer when you have fresh zucchini. This easy quick bread is based off of my old fashioned zucchini bread. I absolutely love that recipe, and have even used i…