Spicy Peanut Vermicelli with Soy Curl “Chicken” (20-Minute Meal)
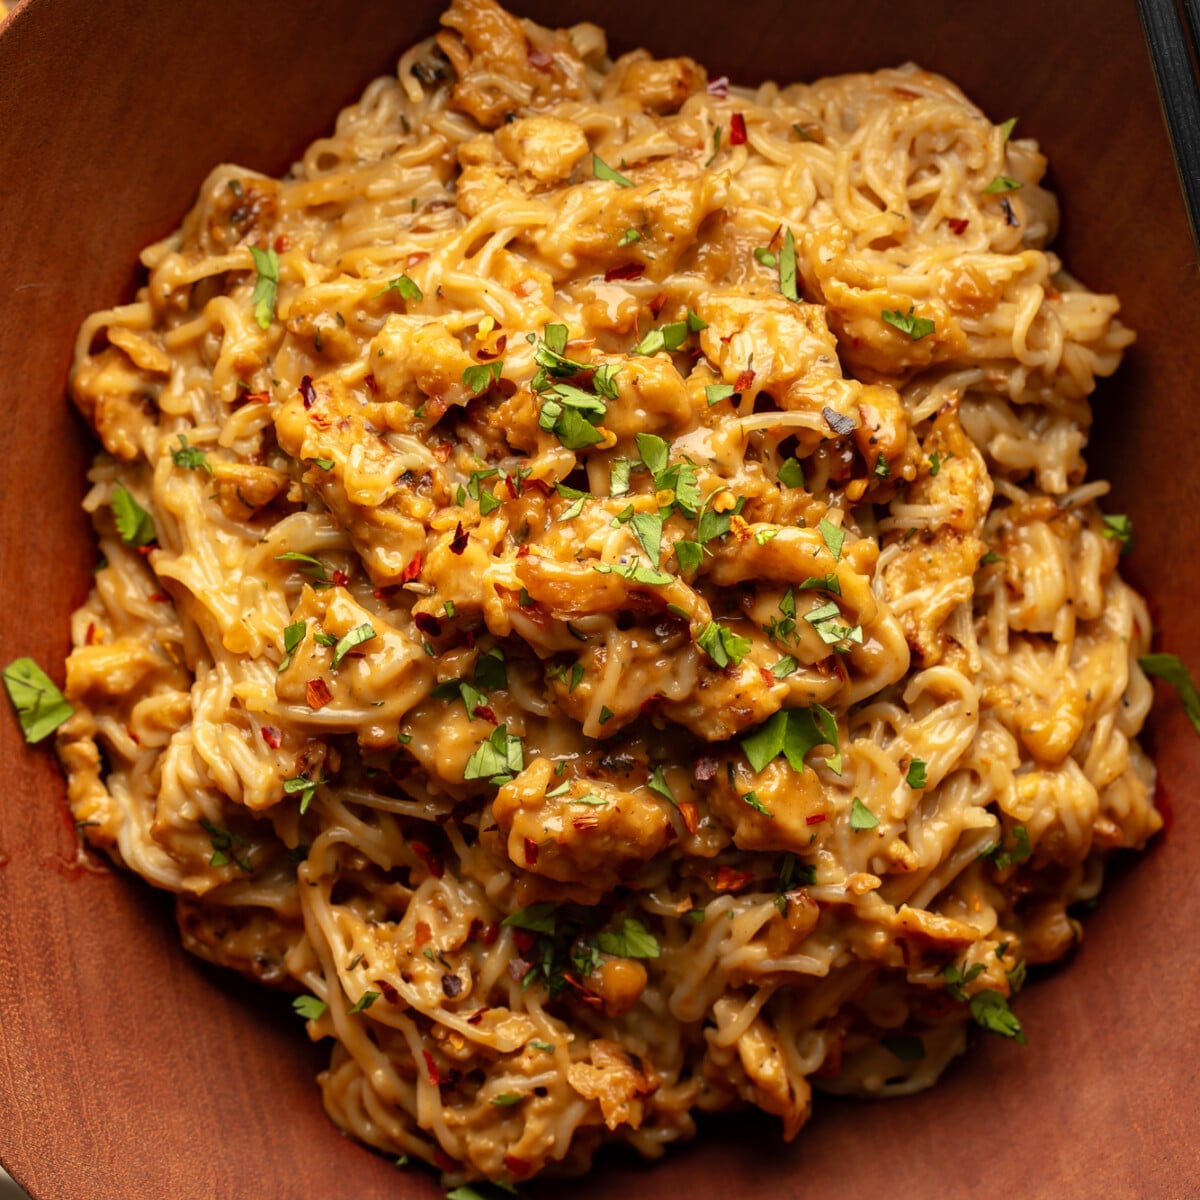 These 20-minute Vegan Spicy Peanut Noodles toss vermicelli and pan-fried soy curl “chicken” pieces in the best peanut sauce. Affordable, quick, and full of flavor, this easy vegan dinner is perfect for lazy weeknights! Just like these peanut noodles, my Easy Drunken Noodles, my Creamy Gochujang Noodles with Mushrooms, and my Garlic Noodles are quick…
 With an oatmeal cookie crust, a creamy peanut butter filling, and melted chocolate on top, these Chocolate Peanut Butter Oatmeal Bars are almost too good to be true! Like a giant peanut butter cup in cookie bar form. If you love cookie bars as much as I do, then you’ll also want to try these…
 This Vegan Salted Caramel Chocolate Cake takes indulgent desserts to a new level! Featuring moist chocolate cake layers decorated with salted caramel buttercream and topped with drippy salted caramel sauce, it’s a chocolate and caramel lover’s dream. I love baking vegan cakes and sharing them with you! These are just a few of my favorites…
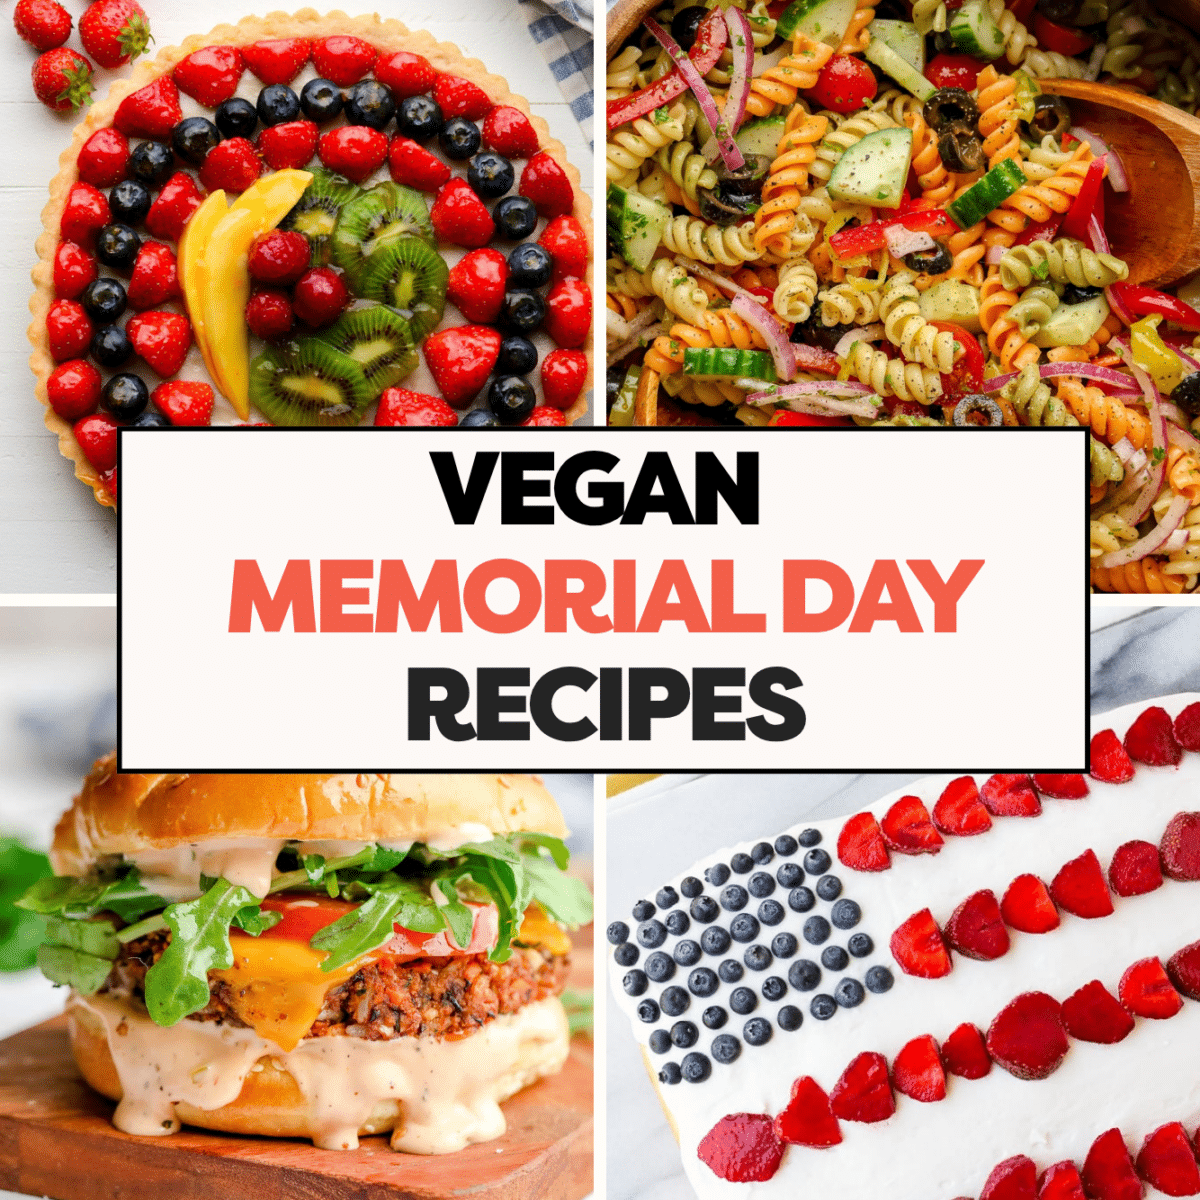 Kick off the unofficial start of summer with this round-up of Vegan Memorial Day Recipes! Whether you’re looking to grill some juicy veggie burgers or pass around a pasta salad, this curated list of recipes has everything you need to make your holiday weekend even better. I know summer is still technically a month away,…
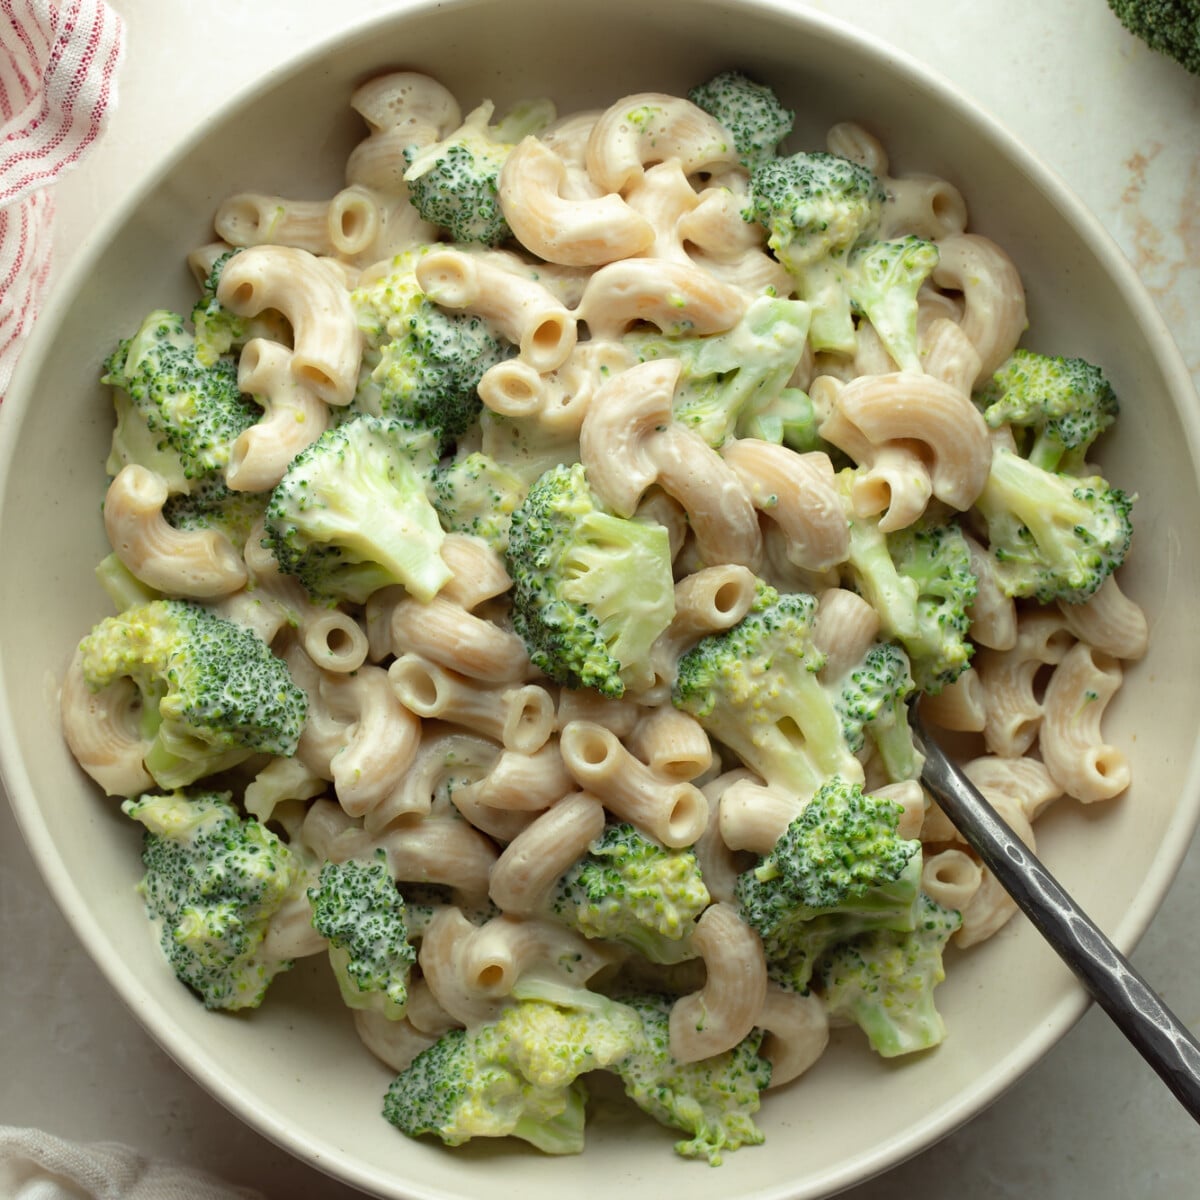 This Vegan White Mac and Cheese with Broccoli is made with a high-protein white cheddar “cheese” sauce that’s creamy, sharp, and oh-so cheesy! Make it for a 20-minute, kid-friendly dinner on busy weeknights. Want more vegan mac and cheese recipes? Try my Vegan Baked Mac and Cheese, my Vegan Pumpkin Mac and Cheese, and my…
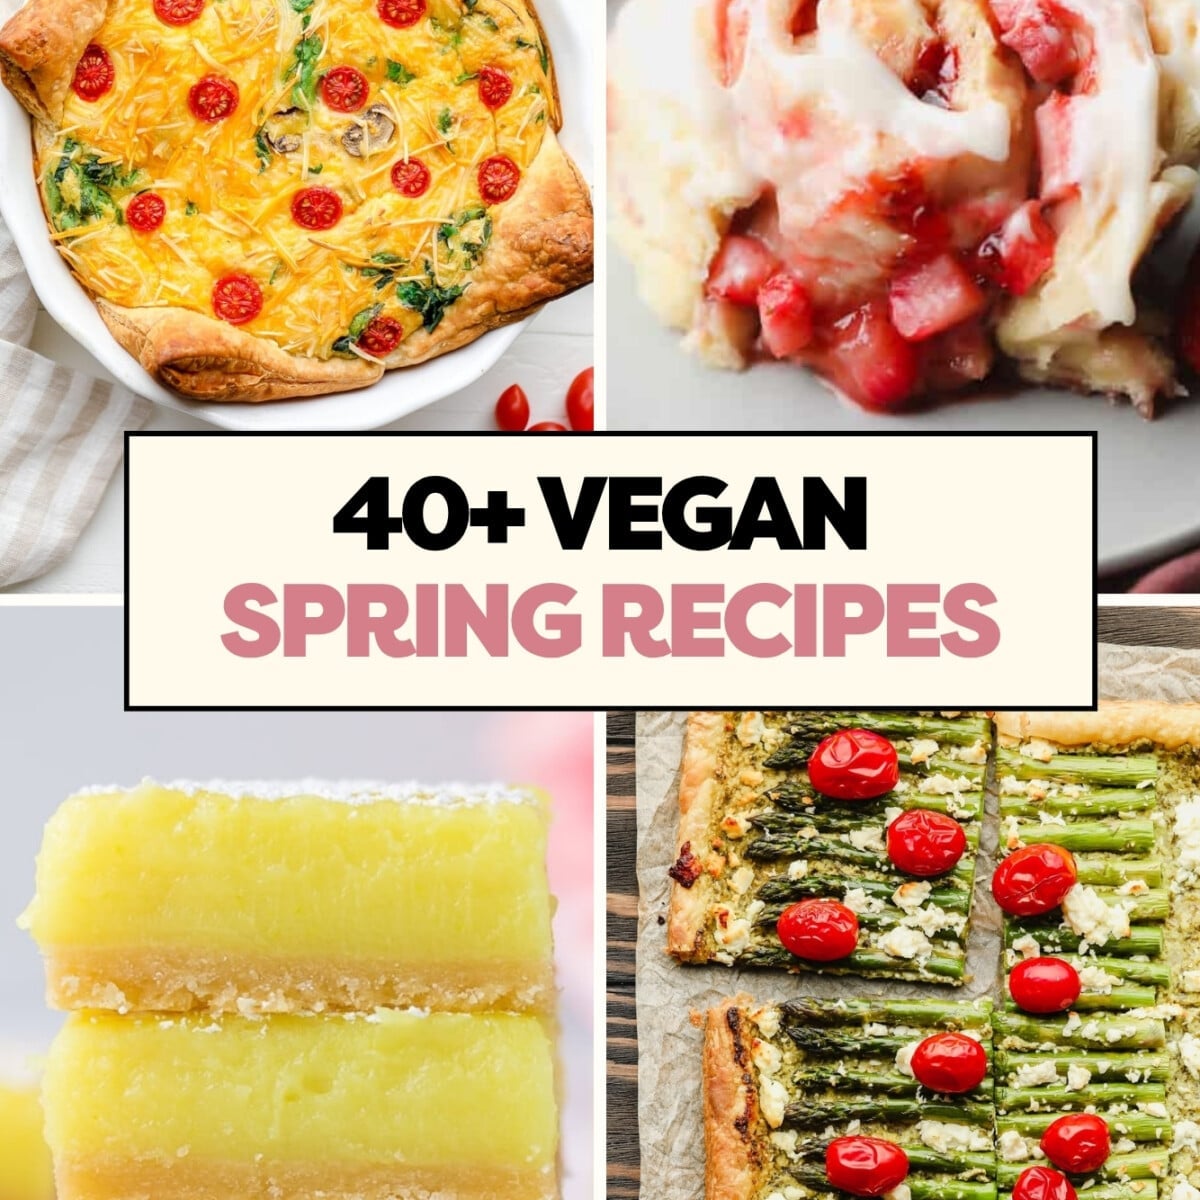 This collection of Vegan Spring Recipes features fruit- and veggie-forward breakfasts, mains, and desserts to help you celebrate the season. Whether you’re planning a delightful brunch, packing a picnic for the kids, or looking for a fruity dessert, you’ll find the best of spring right here. Spring is one of my favorite times of year.…
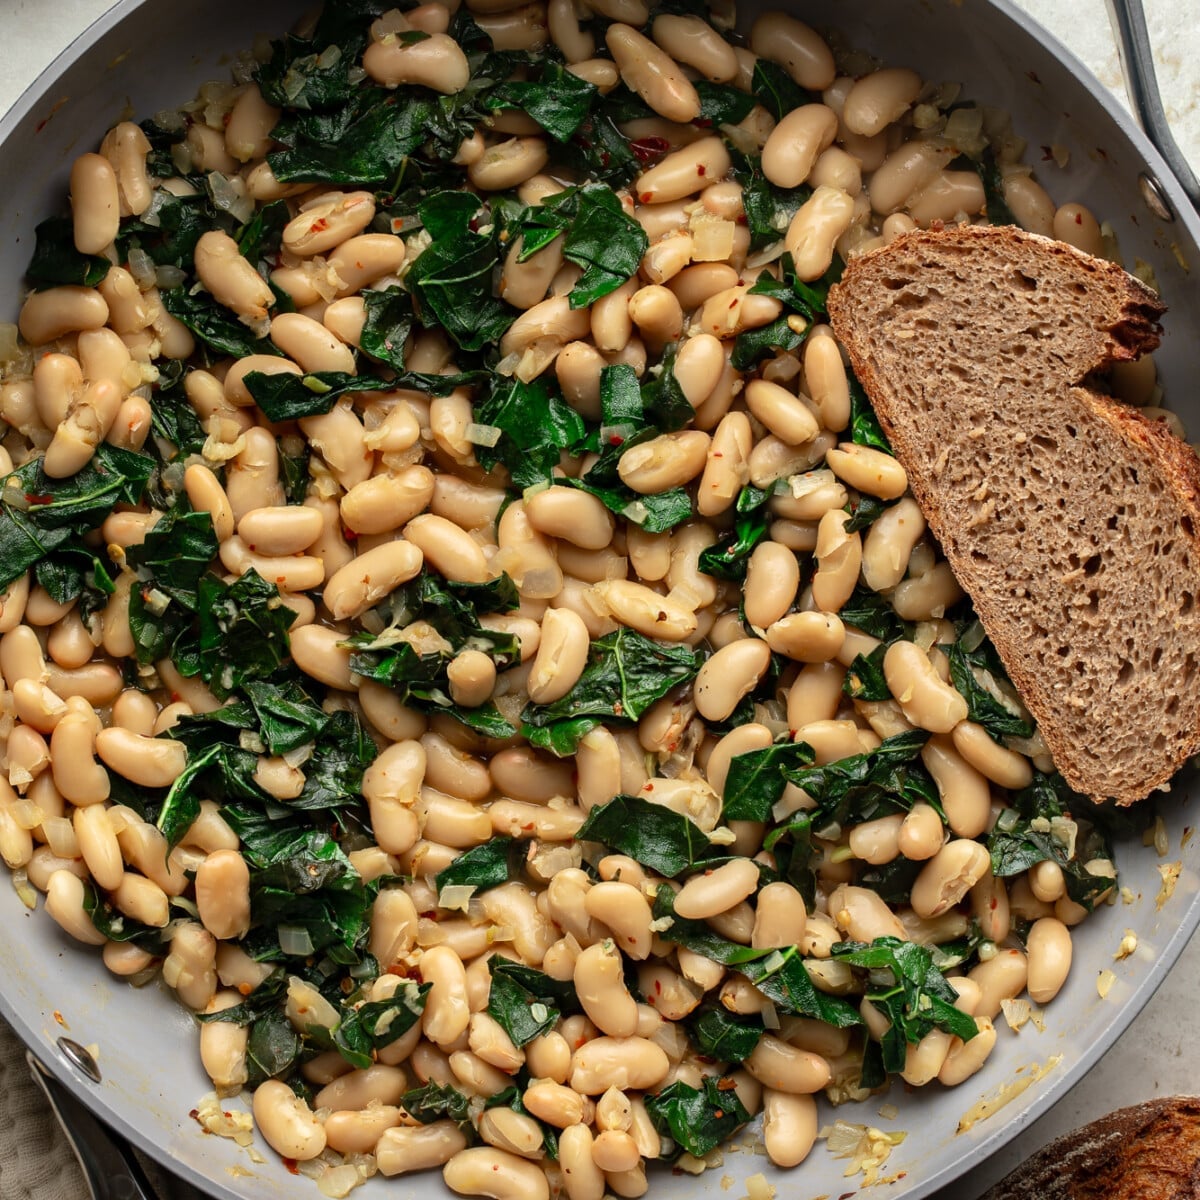 One Pan Cannellini Beans with Kale braises white beans and leafy greens in a savory, aromatic broth for the ultimate quick and convenient comfort food. Serve them hot with crusty bread for a cozy, high-protein weeknight dinner! If you’re looking for more delicious vegan bean recipes, you should also try these Sweet Potato Black Bean…
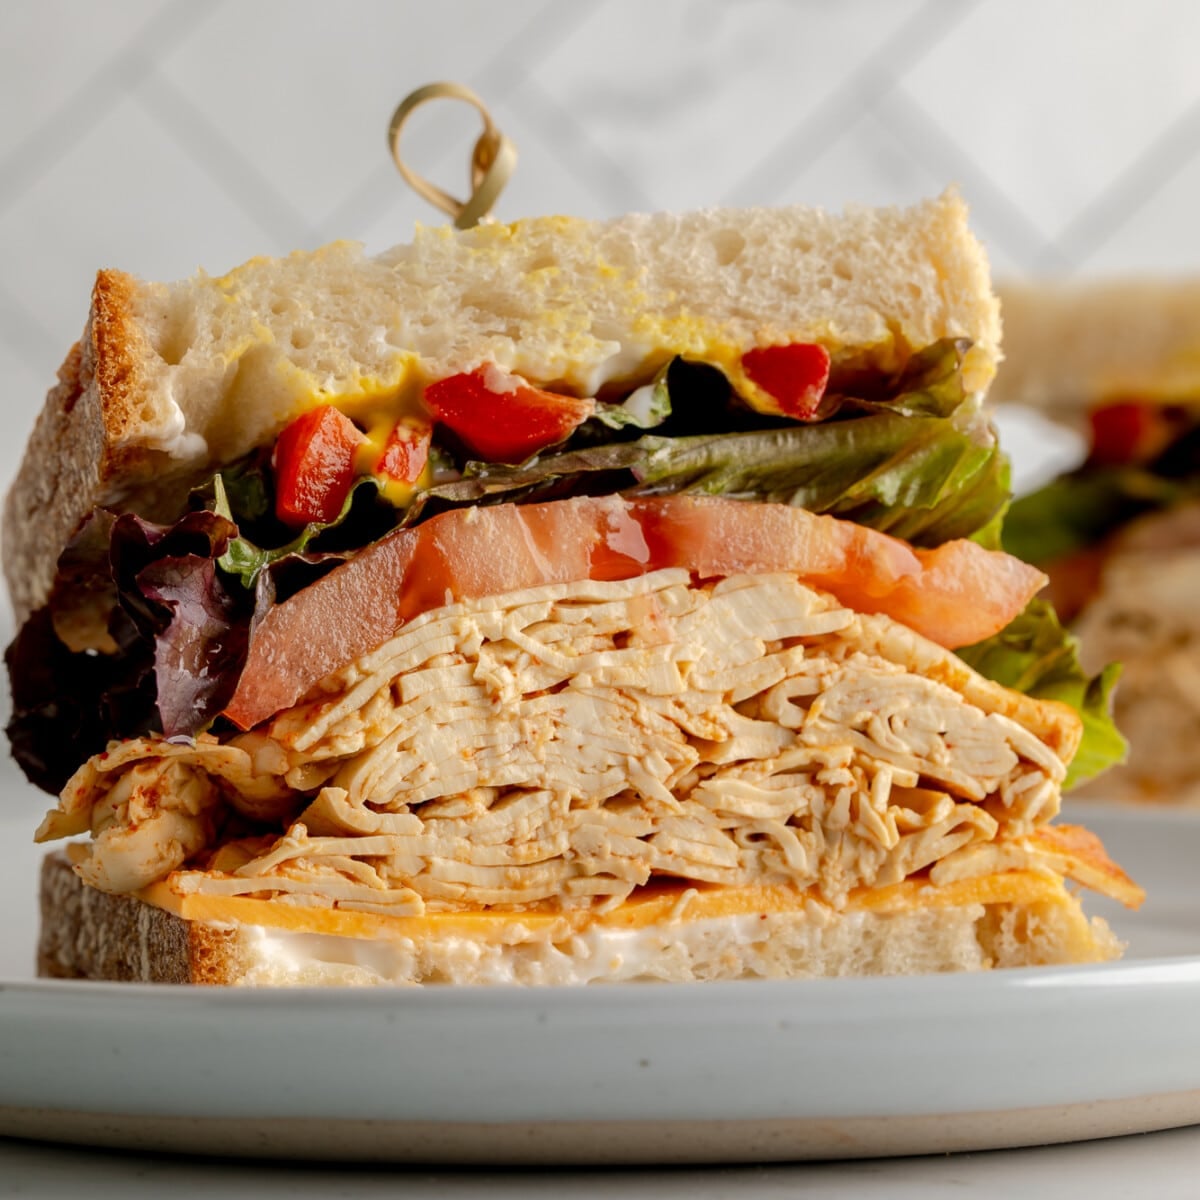 This Tofu Lunch Meat couldn’t be easier to make! Shaved tofu slices are simmered in a savory sauce until they’re tender, chewy, and packed with flavor, just like real deli slices. Perfect for quick meals and sandwiches! If you’re looking for even more easy vegan lunch ideas, you’ll also love these Chickpea Salad Sandwiches, these…
 These Almond Croissant Bars are layered with a shortbread cookie crust, vegan almond frangipane, a cookie crumble, and sliced almonds. It’s everything you love about almond croissants in a sweet, hand-held vegan cookie bar! I have even more vegan cookie bars to choose from! Check out my Vegan Chocolate Chip Cookie Bars, my Vegan Chocolate…
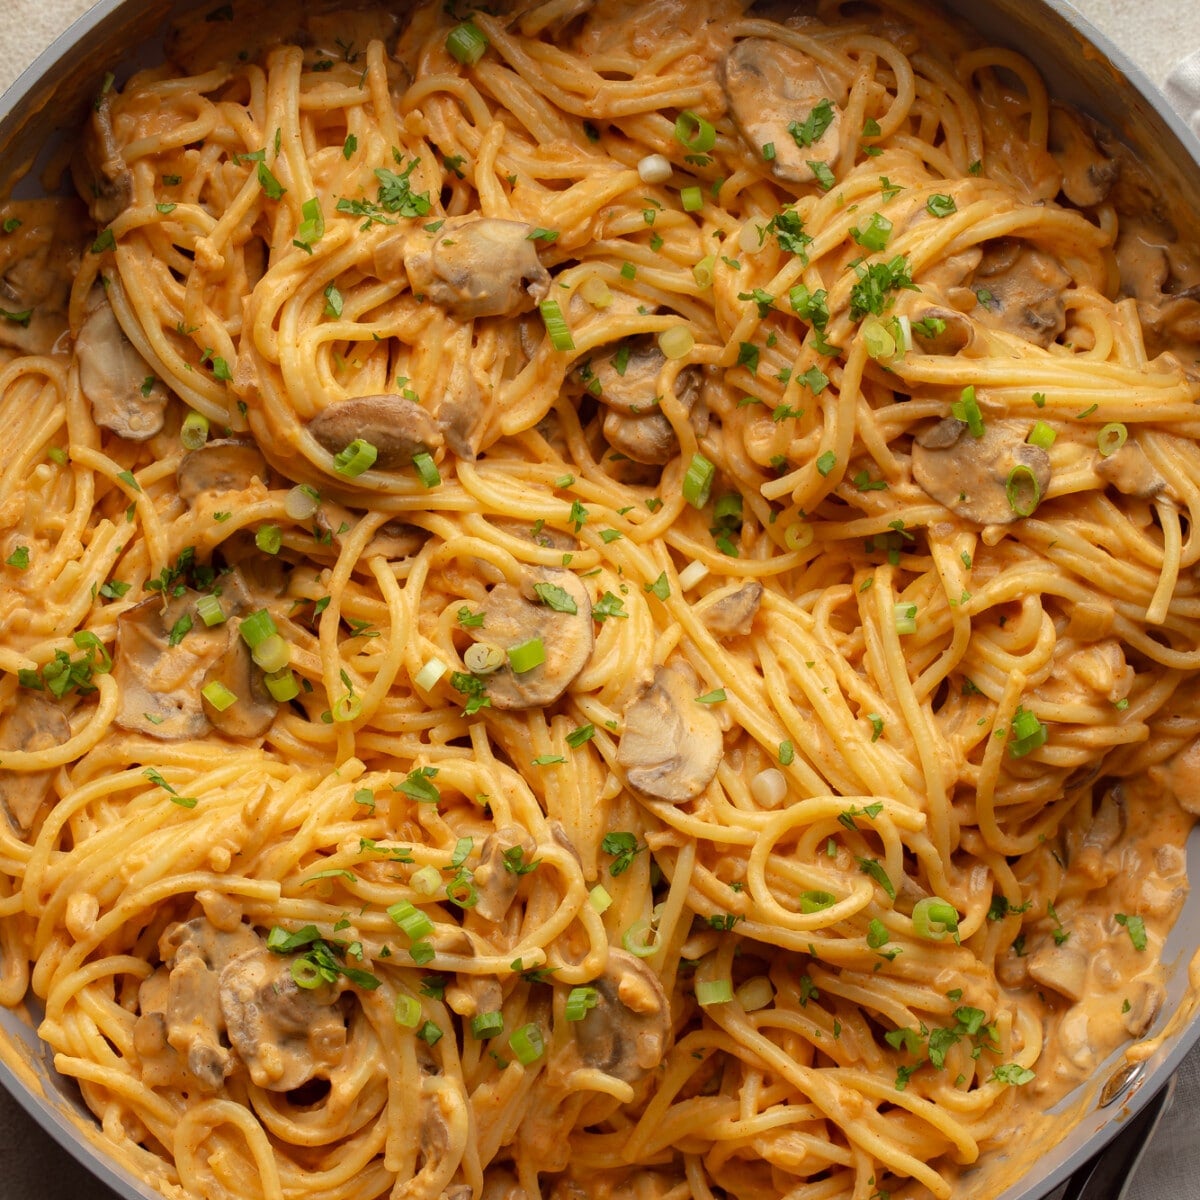 Get dinner on the table in just 30 minutes with these Vegan Gochujang Noodles! Noodles and sautéed mushrooms are tossed in a creamy, umami-packed, spicy gochujang sauce that even the kids will love. If you’re looking for more easy vegan noodle recipes, you’ll also love my Teriyaki Noodles, my Vegan Lo Mein, and my Thai…
 These Vegan Cookies & Cream Brownies are loaded with white chocolate chips and stuffed with a thick layer of Oreo cookies in the center! Finished with even more crushed cookies on top, they’re a next-level treat that no brownie or cookie lover can resist. Craving more vegan brownies? Try these Vegan Salted Caramel Brownies, these…
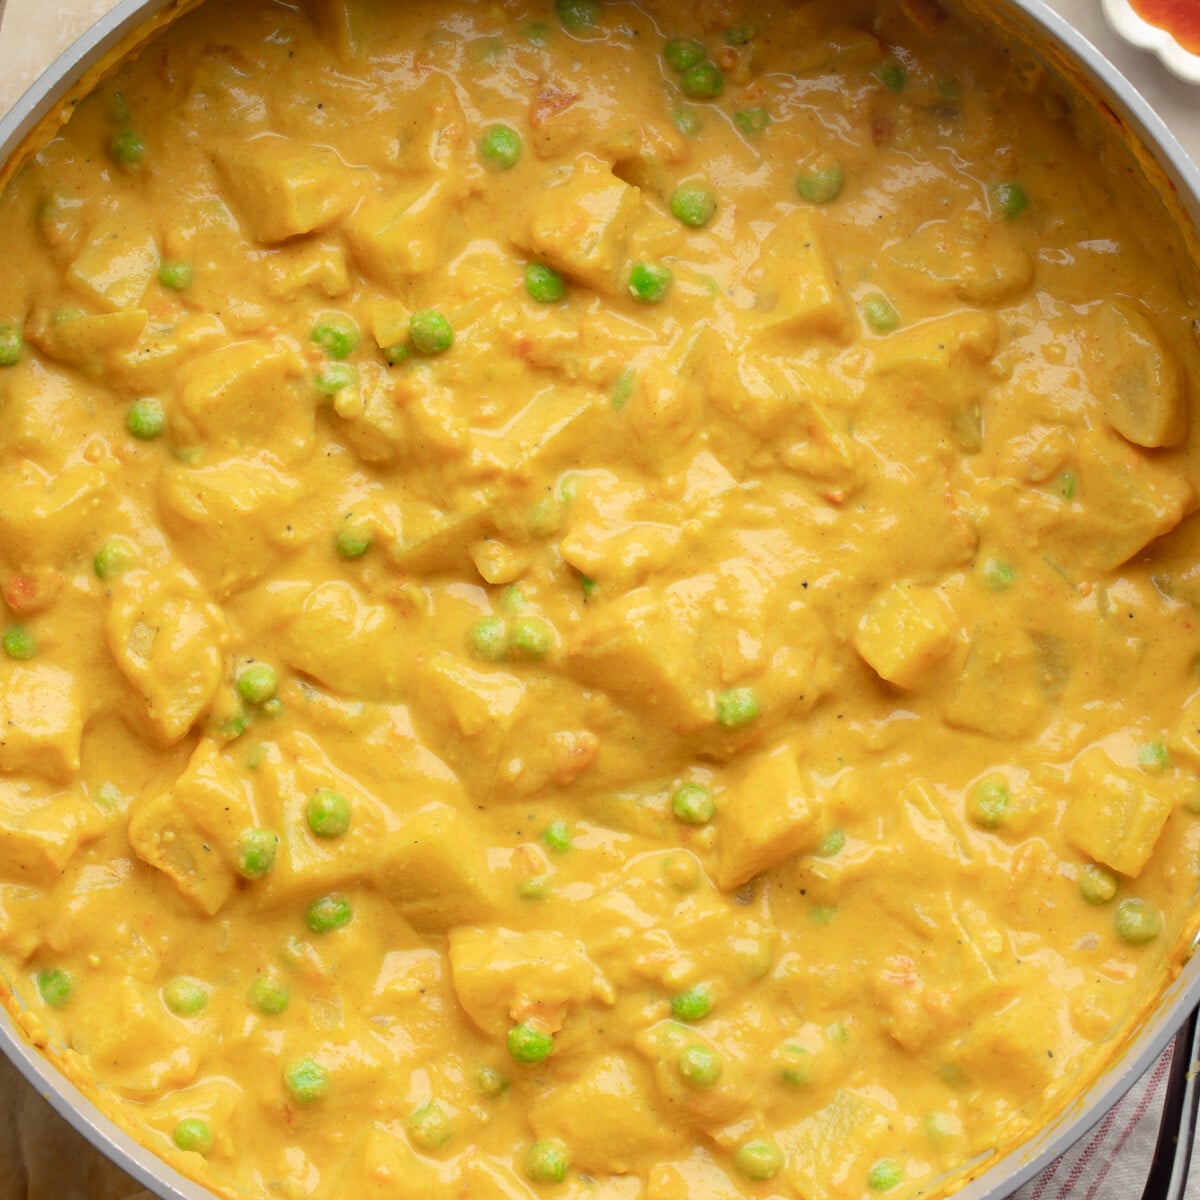 This one-pot Potato Curry is an easy weeknight dinner made with Indian spices, chunks of tender potatoes, and a rich tomato cream sauce. It’s comforting, packed with flavor, and oh-so hearty! If you’re looking for more easy vegan curry recipes, you’ll also have to check out this One Pan Tofu Curry, this Easy Chickpea Curry,…
 These 9-ingredient Vegan Key Lime Pie Bars layer a creamy, tangy key lime filling over a baked Biscoff crust. They’re easy to make and taste just like the pie! Love vegan pie bars? 🥧 Then you’ll have to try my Blueberry Pie Bars, my Vegan Pecan Bars, and my Blackberry Pie Bars, too. I look…
 This Warm Brussels Sprouts Salad with Farro and Maple Dijon Dressing will quickly become your new favorite fall or winter side dish. It’s jam-packed with a world of textures and cozy seasonal flavors you’ll love! Easy to make ahead of time. If you need more seasonal sides, try My Favorite Kale Salad, this Stuffed Butternut…
 Learn how to make Tofu Meatballs with Sweet and Sour Sauce! This simple high-protein meal tosses baked tofu meatballs, stir-fried vegetables, and pineapple in a tangy sauce. Great for dinners or a party appetizer. Looking for more vegan meatball recipes? Give my Vegan Grape Jelly Meatballs, my Easy Vegan Meatballs (perfect for spaghetti), and these…
 This simple Caramelized Onion Pasta transforms pantry staples into an incredibly savory, rich, and comforting meal. Great for busy nights or cozy family dinners! For more delicious vegan pasta recipes, check out my Vegan Carbonara, One Pot Vegan Pasta, and Roasted Tomato Pasta. Consider me obsessed with this Caramelized Onion Pasta. I came up with…
 This Pumpkin Hummus puts a festive spin on your favorite dip, using classic hummus ingredients, pumpkin puree, cinnamon, and a touch of maple syrup. Want even more hummus recipes? Don’t miss my Best and Easiest Hummus, Beet Hummus, and Lemon Dill Hummus! I’m the kind of person who will put pumpkin in almost anything during…
 This Cranberry Orange Sauce is easy to make with cranberries, freshly squeezed orange juice, orange zest, and sugar. It’s a 20-minute condiment you NEED at your holiday dinner! Make it ahead of time or freeze it for later. For more easy vegan holiday side dishes, check out my Vegan Dinner Rolls, my Easy Vegan Gravy,…
 Hearty Stuffed Butternut Squash for fall! This side or main dish stuffs roasted butternut squash with a delicious tempeh sausage, wild rice, and mushroom filling. Bring it to Thanksgiving or make it for dinner! Looking for more cozy vegan butternut squash recipes? You’ll love my Butternut Squash Lasagna, this Butternut Squash and Sweet Potato Soup,…
 Silky smooth Carrot and Ginger Soup made with roasted veggies and a pop of zesty ginger! It’s creamy, a little spicy, and even better with toppings. Slow cooker instructions included. For more cozy vegan fall and winter soups, check out my Roasted Vegetable Soup, my Vegan Butternut Squash Soup, and my Vegan Pumpkin Soup. I’m…
 These Sweet Potato Black Bean Enchiladas are smothered in homemade vegan enchilada sauce, stuffed with seasoned veggies and beans, and topped with avocado crema. The ultimate vegan comfort food! Love vegan enchiladas? Check out my Vegan Enchilada Casserole, Vegan Sour Cream Enchiladas, and Skillet Enchiladas next! My vegan Sweet Potato Black Bean Enchiladas are just…
 These Vegan Pumpkin Stuffed Shells are filled with cashew spinach ricotta, smothered in pumpkin pasta sauce, and baked until hot and gooey! A comforting crowd-pleaser that’s perfect for holidays and family meals. If you love pumpkin pasta as much as I do, then you’ll want to try my Pumpkin Pasta Bake with Almond Ricotta, Pumpkin…
 Cheesy Vegan Broccoli Casserole, just like Mom used to make! This dairy-free twist on a classic side dish bakes fresh broccoli with vegan cheese sauce and a crispy cracker crumb topping. Looking for a change from your usual side dishes? Check out this Vegan Cauliflower Cheese, this Vegan Green Bean Casserole, and these Vegan Scalloped…
 These super crispy Vegan Cutlets are made with seitan, white beans, breadcrumbs, and Italian seasonings. Perfect for serving with gravy, mashed potatoes, pasta, and more! Easy to pan-fry or bake. Love making vegan meat substitutes from scratch? Try my Vegan Fried Chicken, Vegan Steak, or Vegan Pepperoni recipes next! You may be surprised at just…
 This spiced Air Fryer Butternut Squash is so easy to make! Ready in 30 minutes, the warm, cozy, and tender squash cubes are perfect for serving on the side of Thanksgiving dinner or on top of a fall salad. Want to make even more vegan butternut squash recipes? Try this Vegan Butternut Squash Soup, this…