Green Bean Salad with Dried Cherries and Almonds
A Fresh Green Bean Salad for Summertime I made this Green Bean Salad with Dried Cherries and Almonds for a lunch with friends recently, and it completely stole the show. It was one of those dishes where everyone keeps circling back to the bowl, and bef…
 If you want to level up your holiday side dishes this year, you need to make these Roasted Calabrian Chili…
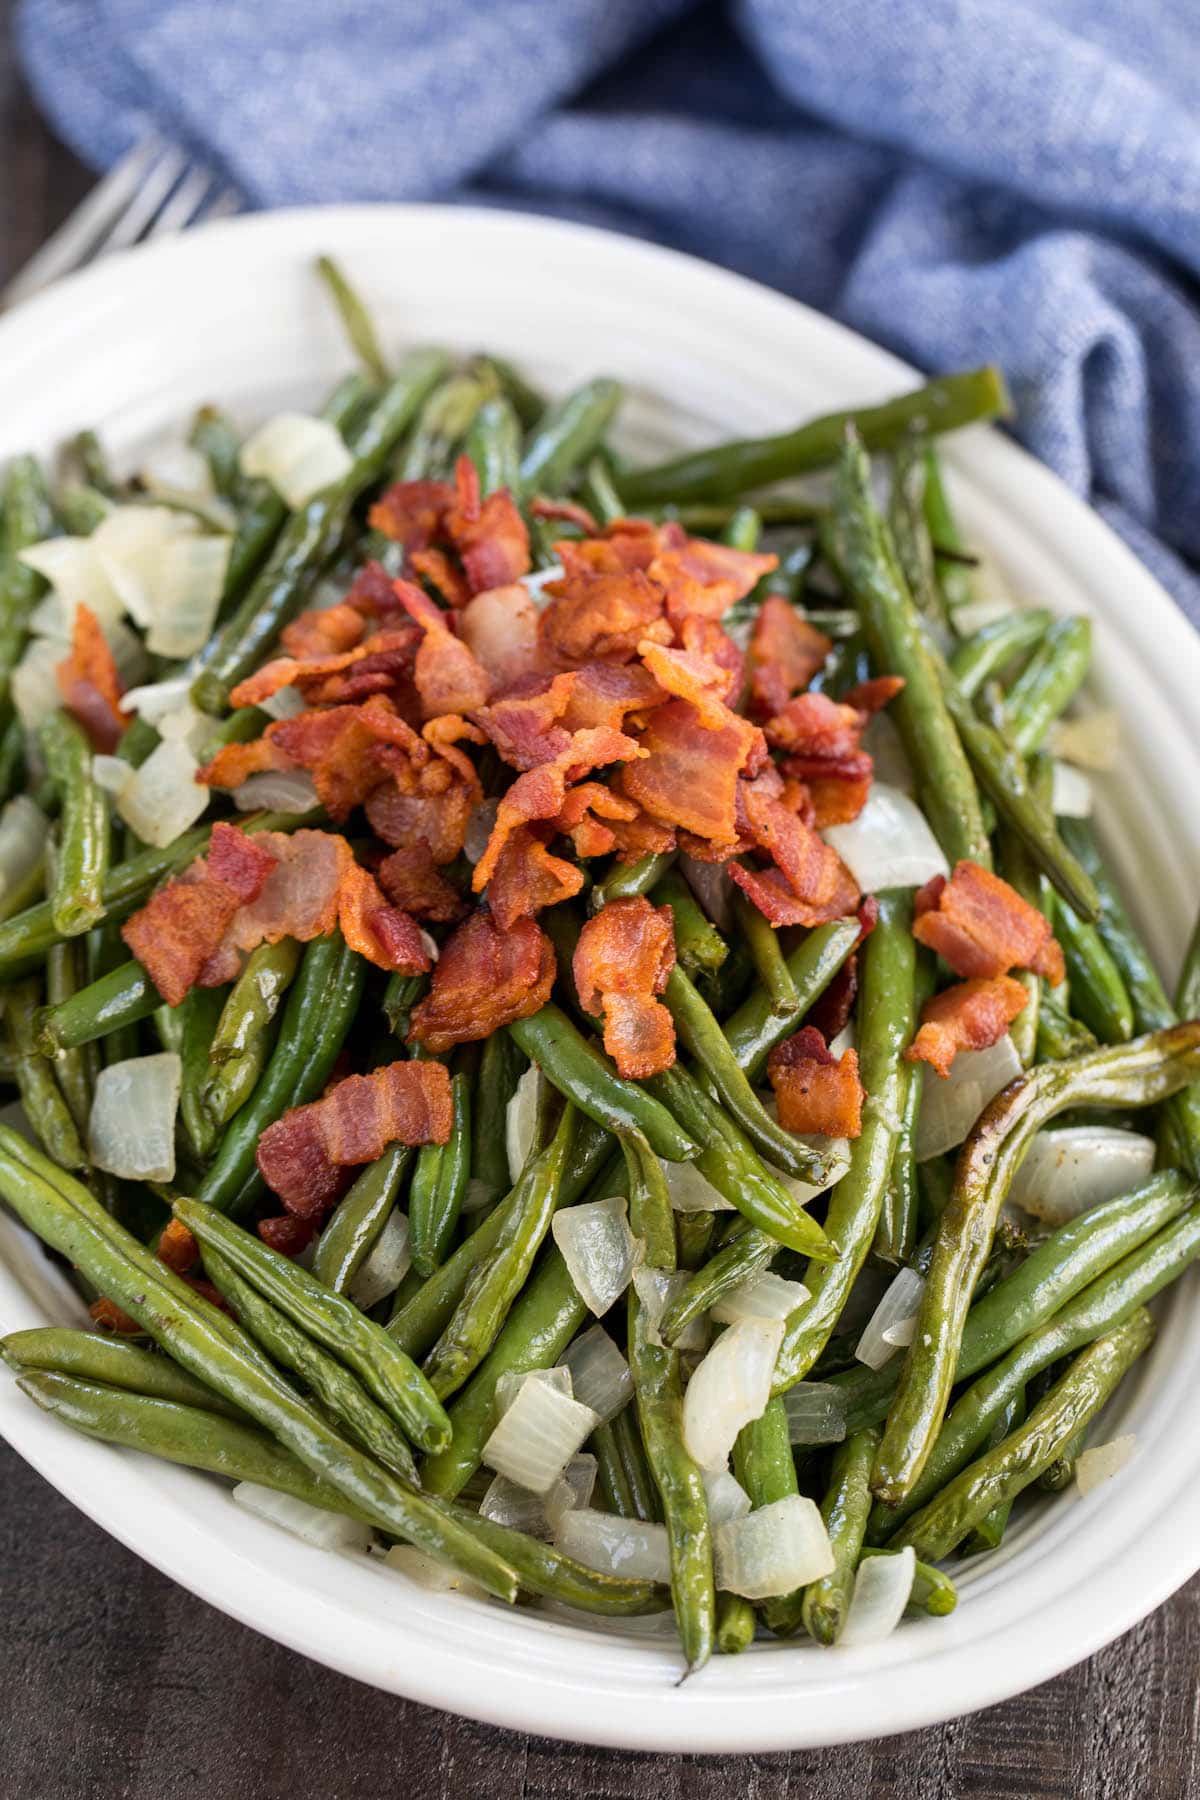 These Roasted Green Beans are the perfect side dish for any meal! This easy recipe is full of flavor – baked green beans are the best vegetable, especially when they’re covered in bacon and onions! I actually love vegetables however they’re cooked, roasting them is my absolute favorite. From broccoli to asparagus to green beans,…