Dirty Steak Tacos
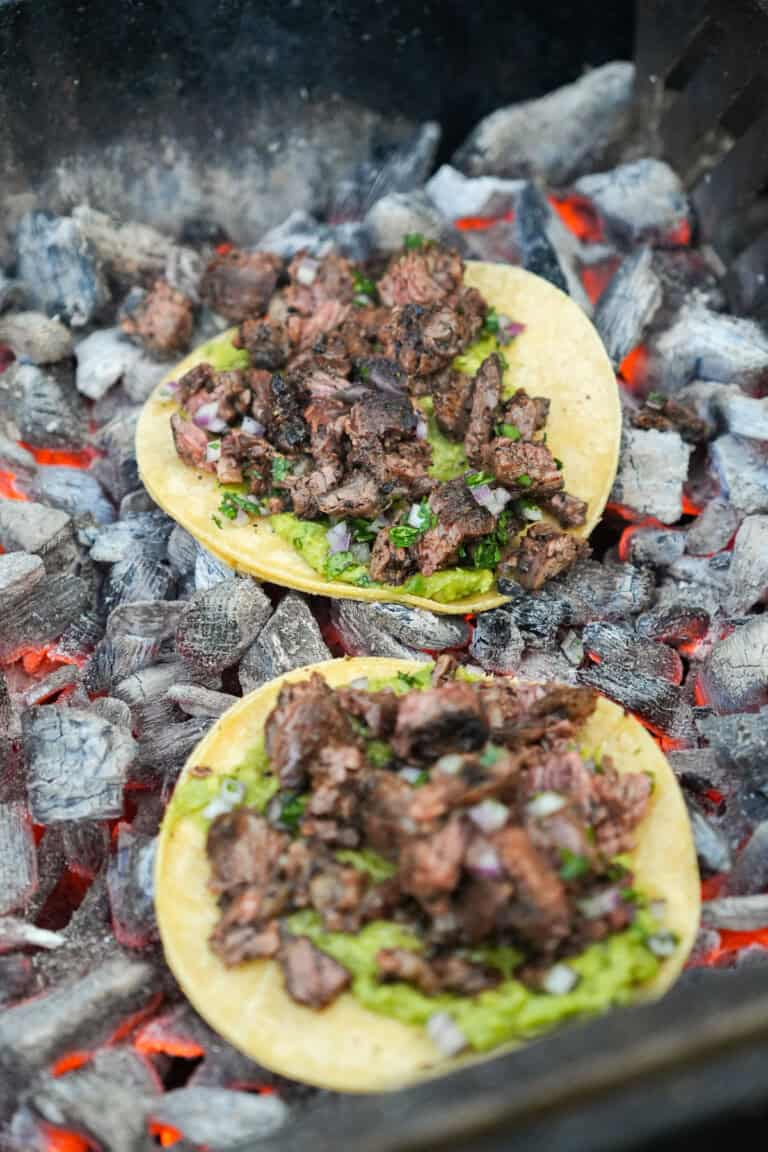
Y’all know I love steak tacos. So, these dirty steak tacos are right up my alley. I saw a viral…
The post Dirty Steak Tacos appeared first on Over The Fire Cooking.
Y’all know I love steak tacos. So, these dirty steak tacos are right up my alley. I saw a viral…
The post Dirty Steak Tacos appeared first on Over The Fire Cooking.
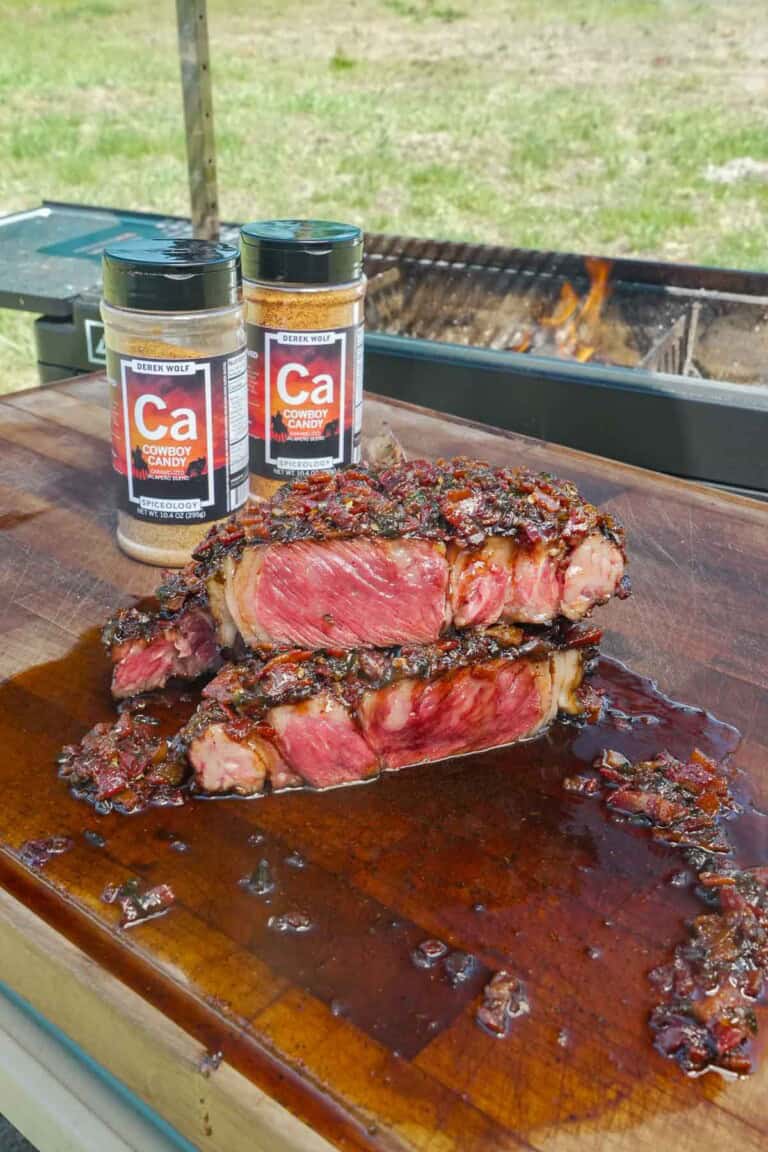
Cowboy Candy Rubbed Grilled Steak with Bacon Jam might be a mouthful to say—but it’s an even better mouthful to…
The post Cowboy Candy Rubbed Grilled Steak with Bacon Jam appeared first on Over The Fire Cooking.
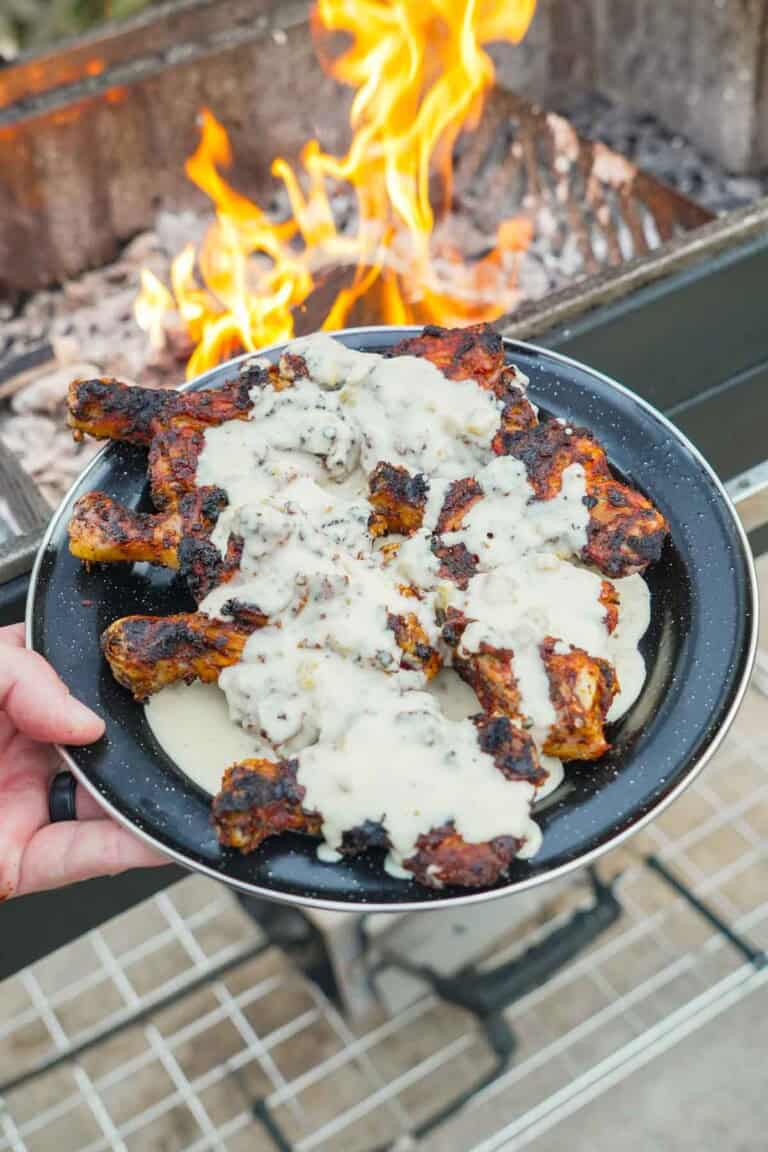
Grilled Butterflied Chicken Drumsticks with Queso are my kind of backyard classic. A bigger surface area for the chicken means…
The post Grilled Butterflied Chicken Drumsticks with Queso appeared first on Over The Fire Cooking.

Welcome to my Grilled Fish Roundup! Nothing beats the moment when freshly caught seafood hits the grill, with the crackle…
The post Grilled Fish Recipes appeared first on Over The Fire Cooking.
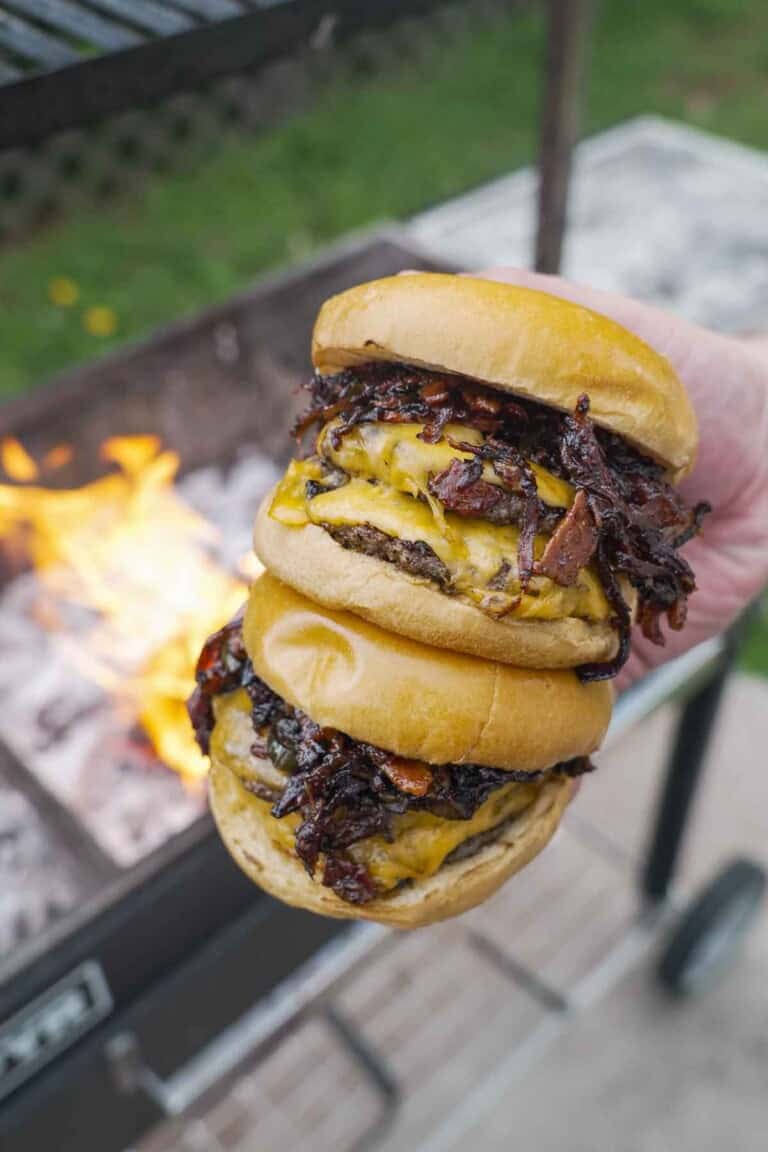
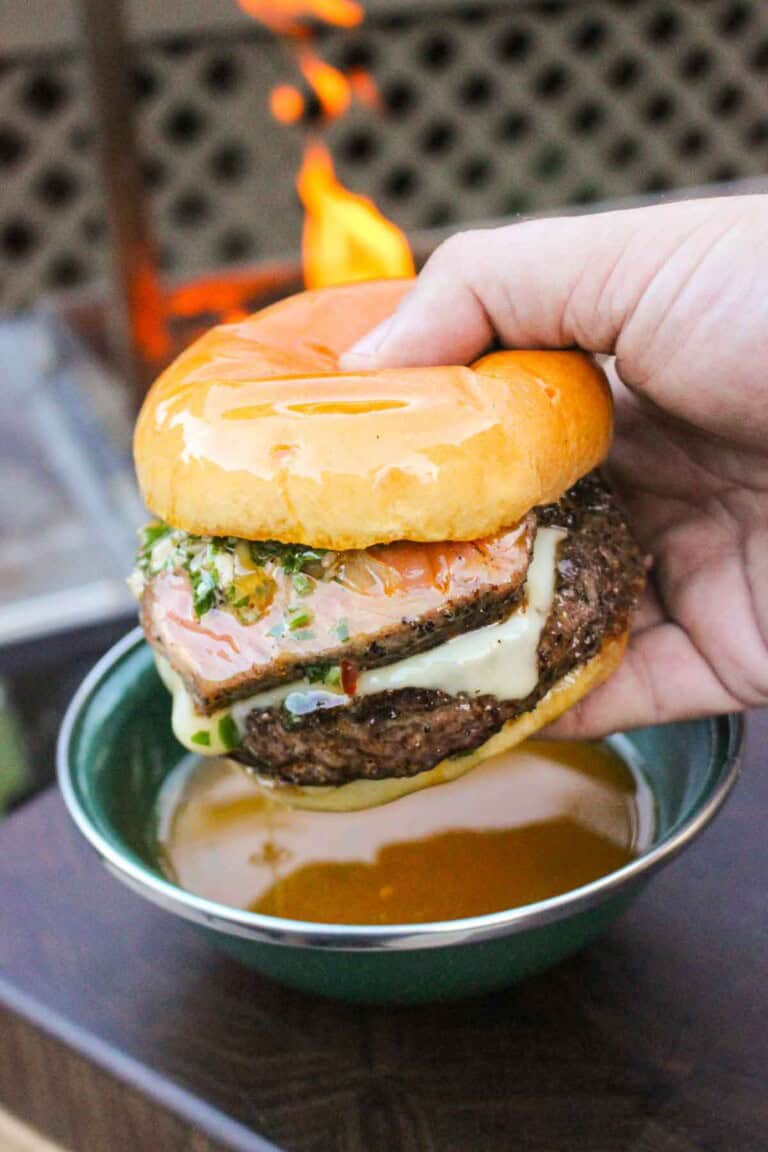
If you’re looking for a great burger, Bacon Jam Burgers with jalapenos are ready to take your backyard grilling to…
The post Bacon Jam Burgers appeared first on Over The Fire Cooking.
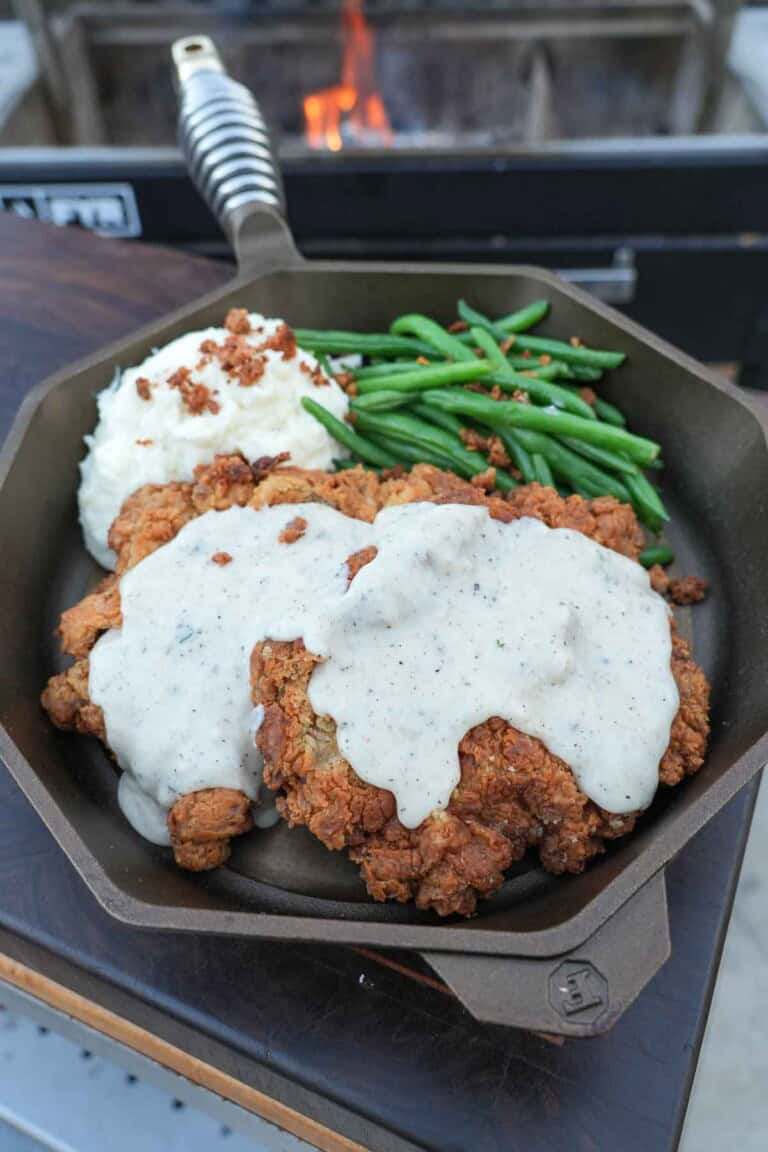
On a crisp, cool evening, there’s truly nothing better than the sounds of Chicken Fried Steak sizzling away in a…
The post Chicken Fried Steak appeared first on Over The Fire Cooking.
If you’re looking for a mouthwatering dinner with amazing flavor that’s super fun to make, you’ve hit the jackpot with…
The post Chimichurri Steak Pinwheels appeared first on Over The Fire Cooking.
If you’re looking for a food adventure and tender cut of beef to grill tonight, Brazilian Style Picanha is where…
The post Brazilian Style Picanha appeared first on Over The Fire Cooking.
If you’re craving some seriously tasty sandwich recipes that start with a literal fire and end with your taste buds…
The post Best Sandwich Recipes appeared first on Over The Fire Cooking.

If you want quick, simple, freakin’ delicious tacos for dinner, these steak bite tacos are it. With tender steak and…
The post Steak Bite Tacos appeared first on Over The Fire Cooking.

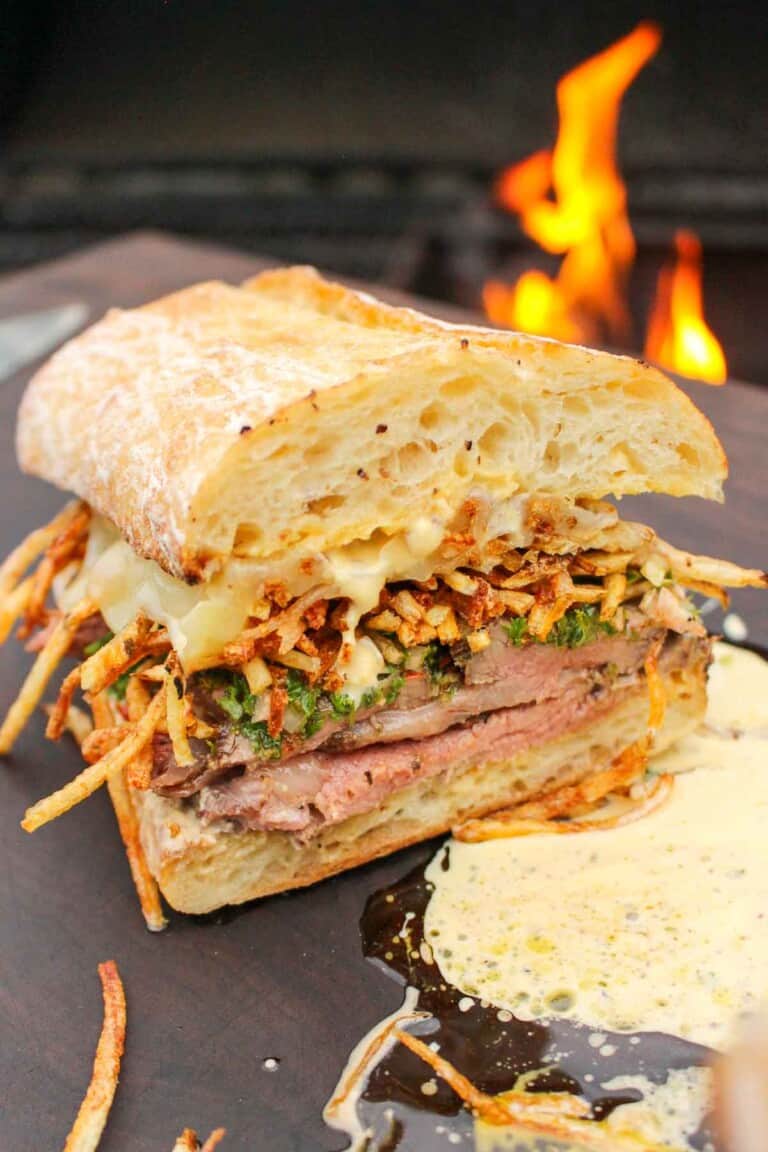
The next time you’re craving an epic beef sandwich with melty cheese, make sure to save my Beef Rib Sandwich…
The post Beef Rib Sandwich appeared first on Over The Fire Cooking.
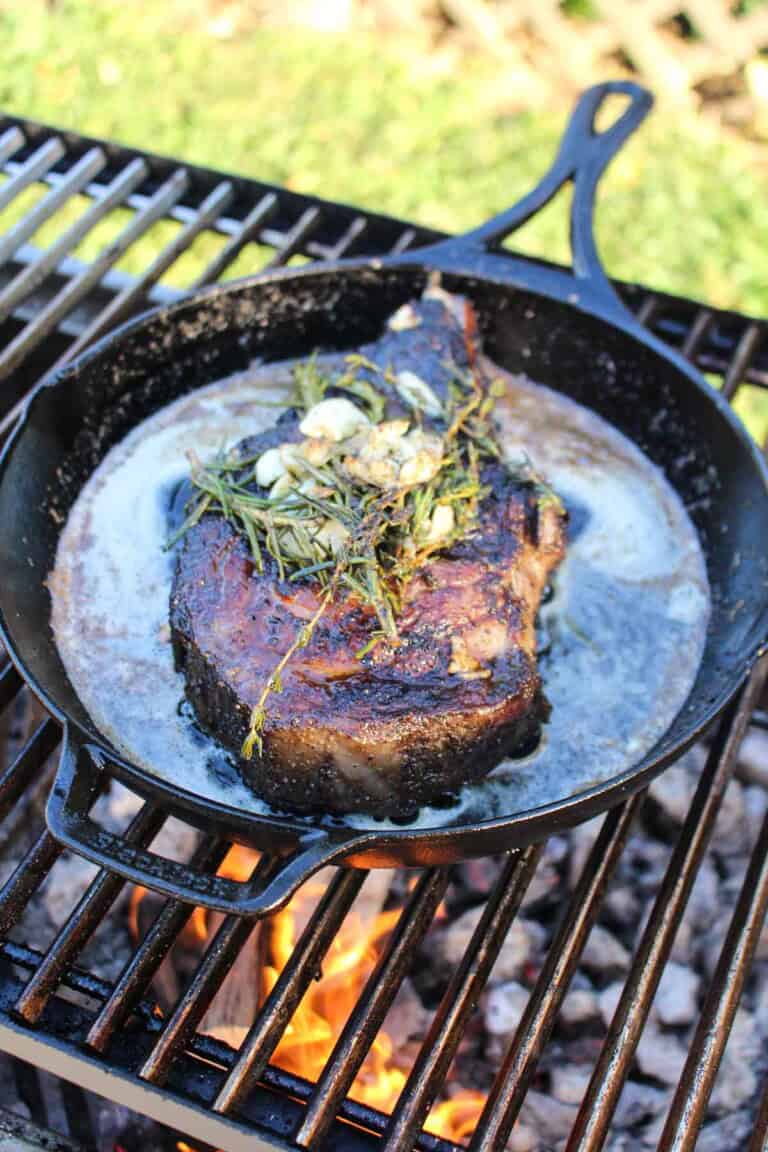
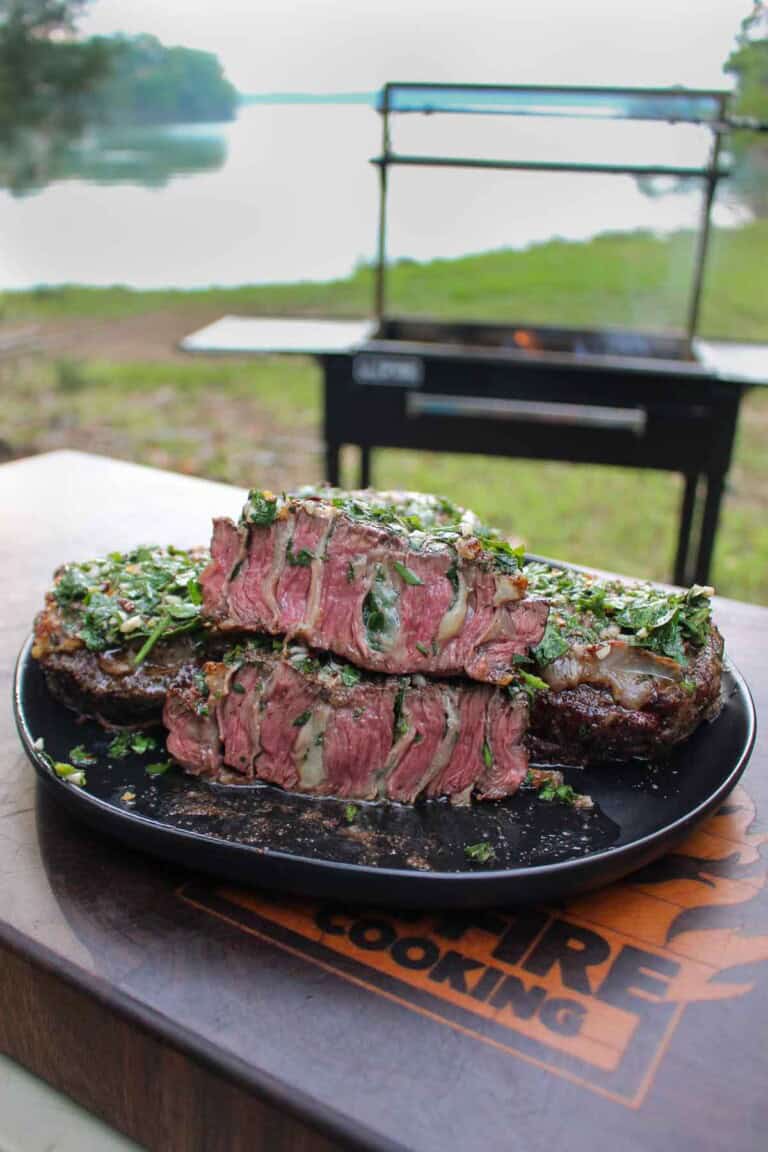
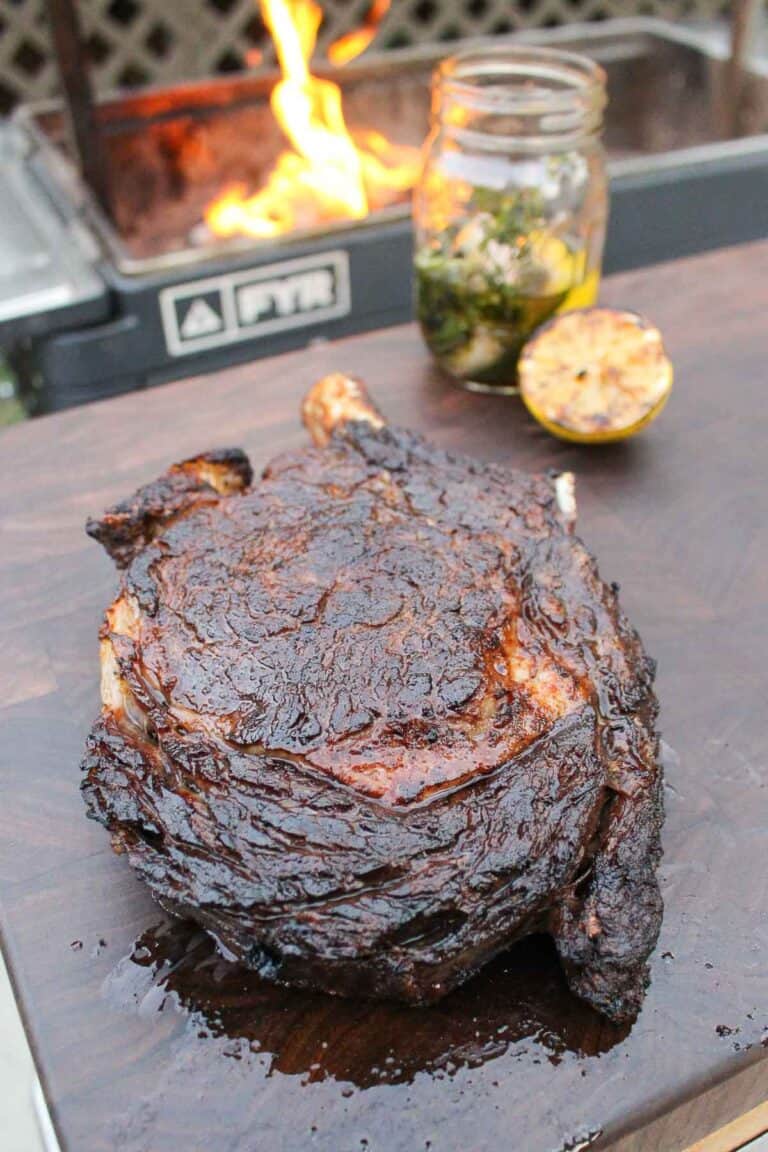
Few things in life are as mouth-watering as the Perfect Ribeye Steak. If you’re a fan of juicy steak, this…
The post Perfect Ribeye Steak appeared first on Over The Fire Cooking.
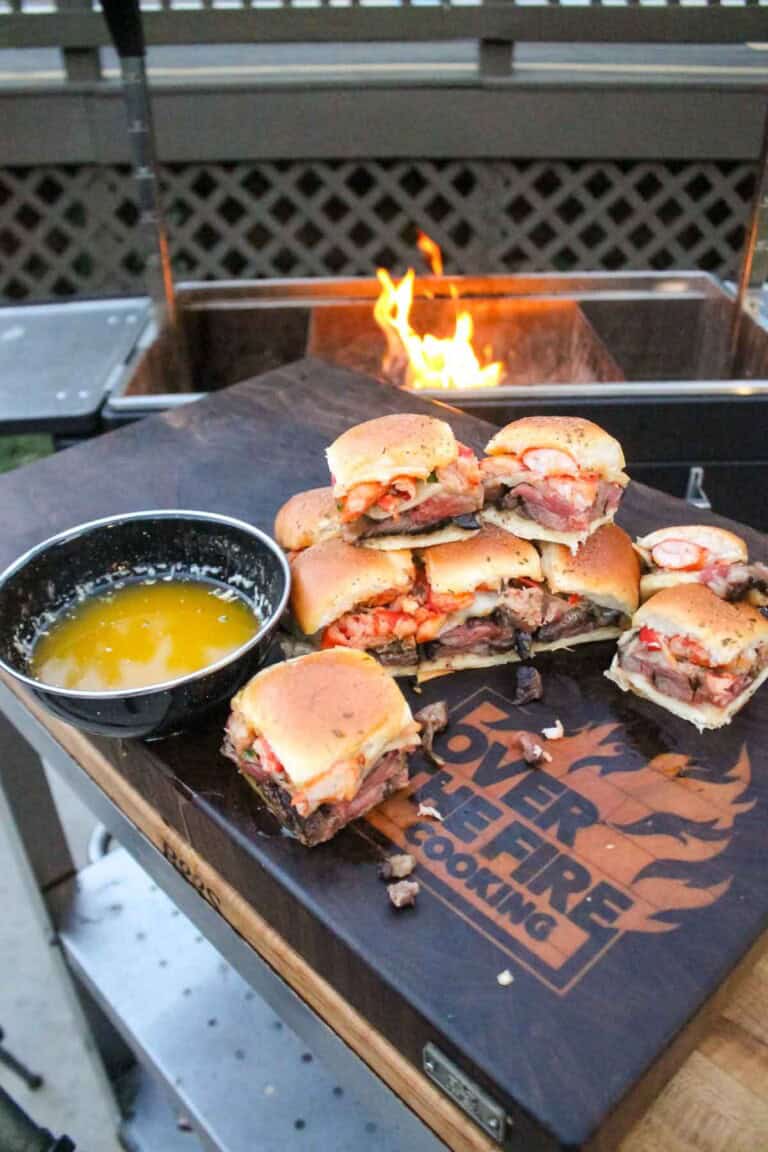
Get ready for some luxe, freakin’ delicious mini burgers: surf and turf sliders! This sliders variation puts an exclamation point…
The post Surf and Turf Sliders appeared first on Over The Fire Cooking.
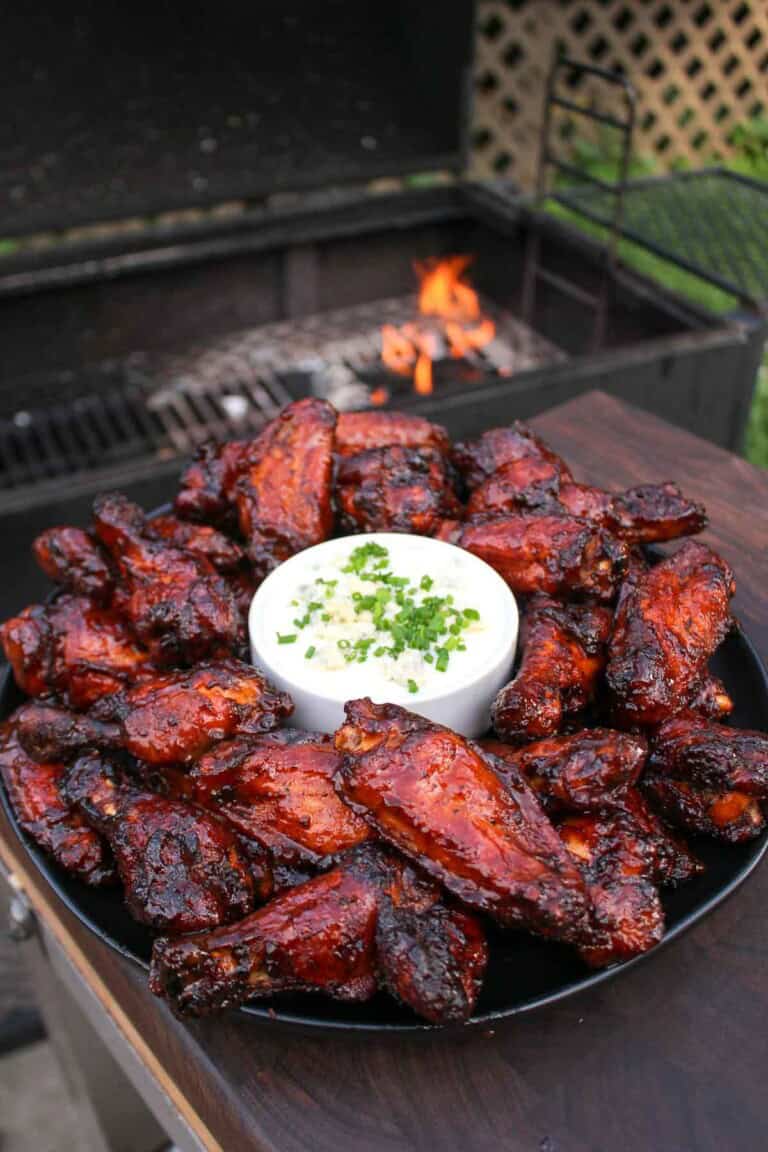
Buffalo wings are the ultimate game day appetizer and party food. But guess what? We don’t have to confine these…
The post Best Buffalo Wings appeared first on Over The Fire Cooking.
Here’s a fun roundup that will make you feel like a grilling maestro: my favorite skewers recipes! Skewers, which are…
The post The Best Skewers Recipes appeared first on Over The Fire Cooking.
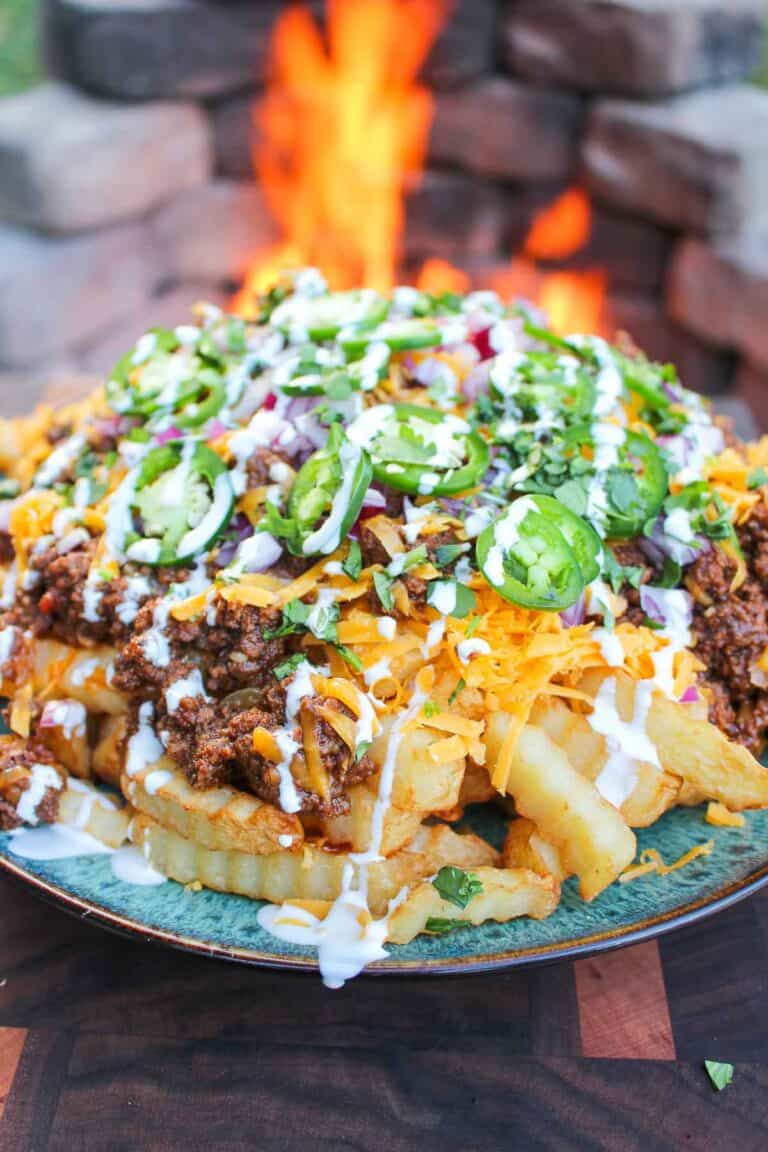
Loaded Fries, whether made in the oven, air fryer, or on the FYR Grill, are the ultimate comfort food that…
The post Loaded Fries Recipes appeared first on Over The Fire Cooking.
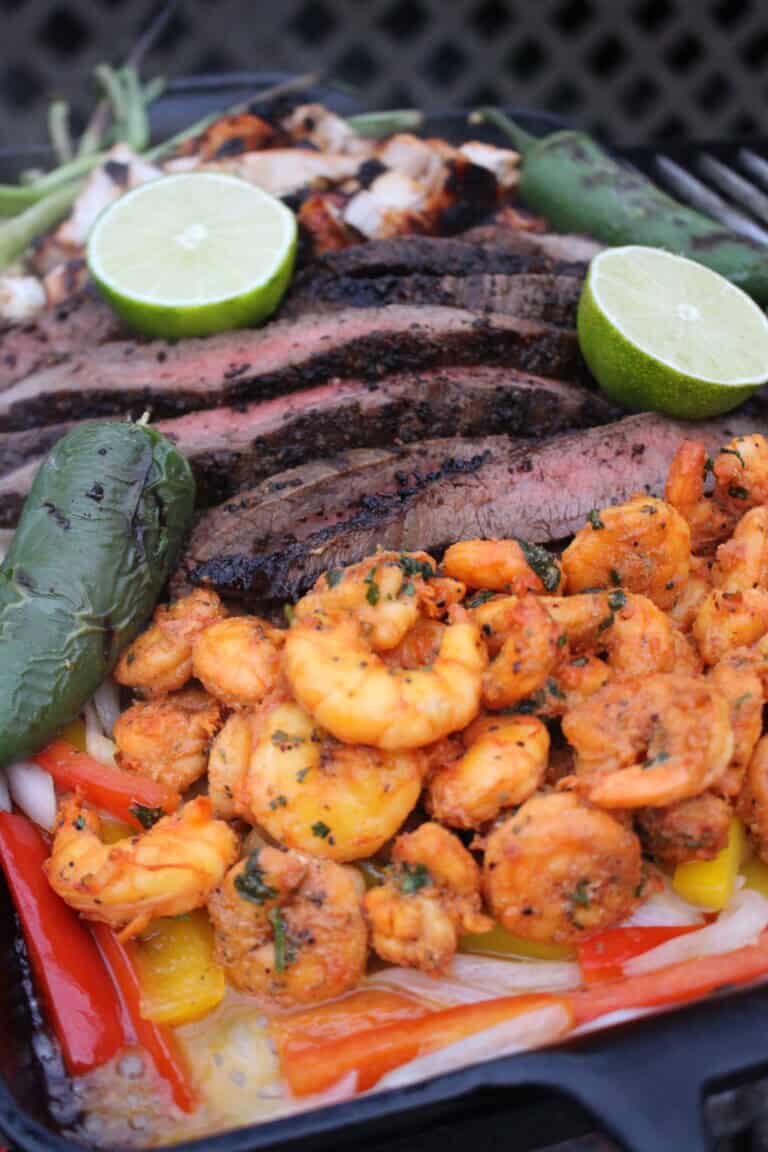
OK, I know what your first question is: why are they called Texas fajitas? Answer: I have no idea. But…
The post Texas Fajitas appeared first on Over The Fire Cooking.
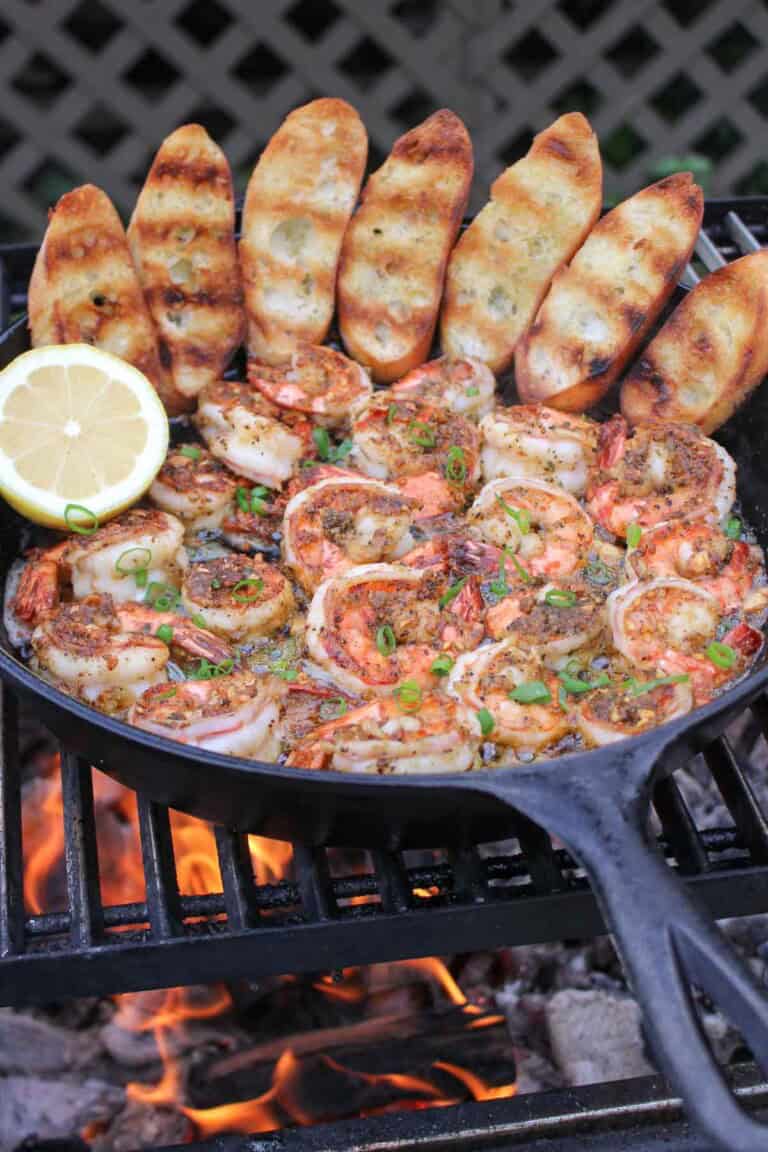
Raise your hand if you always go for the crunchy shrimp appetizer at parties. For those of you like me…
The post Garlic Butter Shrimp appeared first on Over The Fire Cooking.
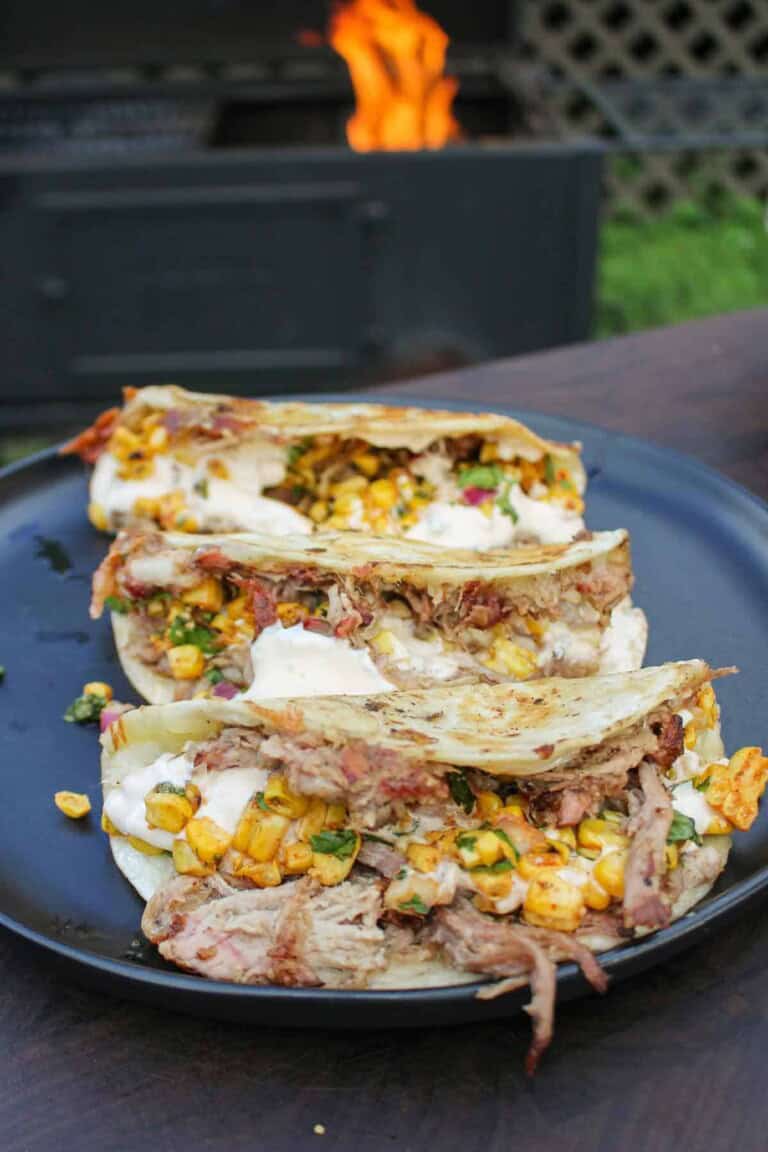
There’s no party like a taco party. And I say that because every taco night feels like a party, especially…
The post The Best Taco Recipes appeared first on Over The Fire Cooking.
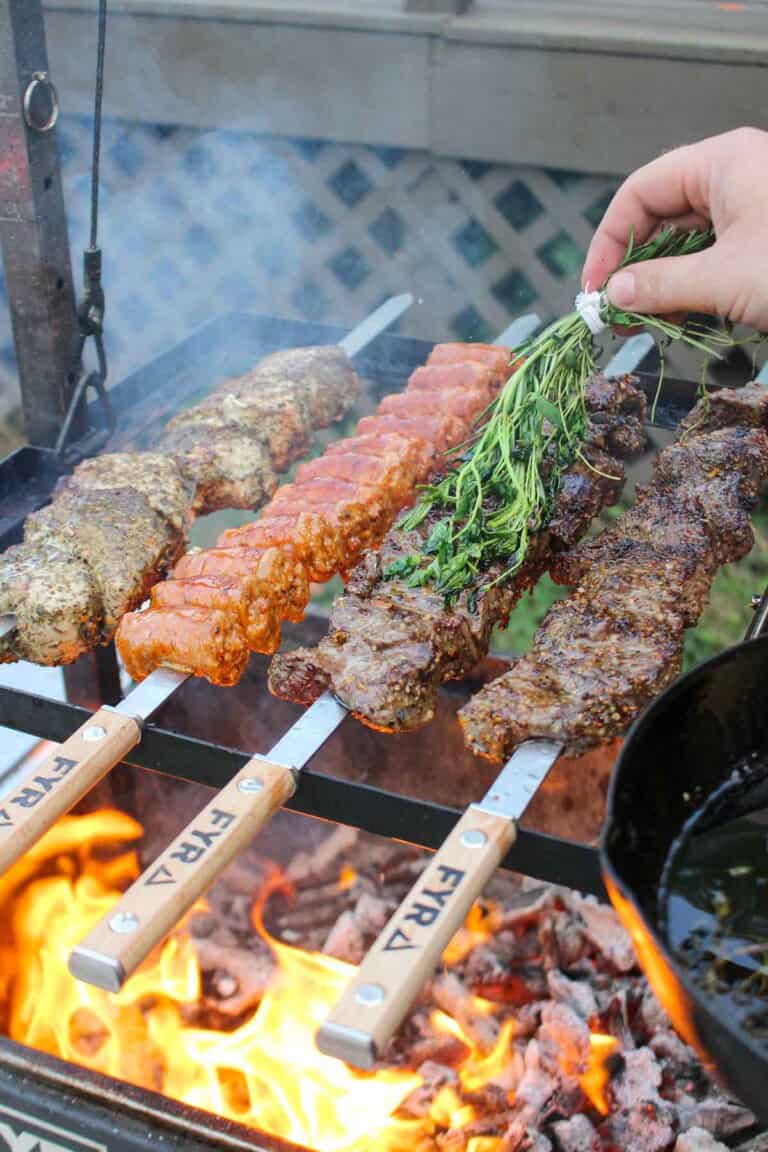
Today, we’re diving into a showstopper that will make your next summer BBQ an epic feast – my Mixed Meat…
The post Meat Skewers Recipe appeared first on Over The Fire Cooking.
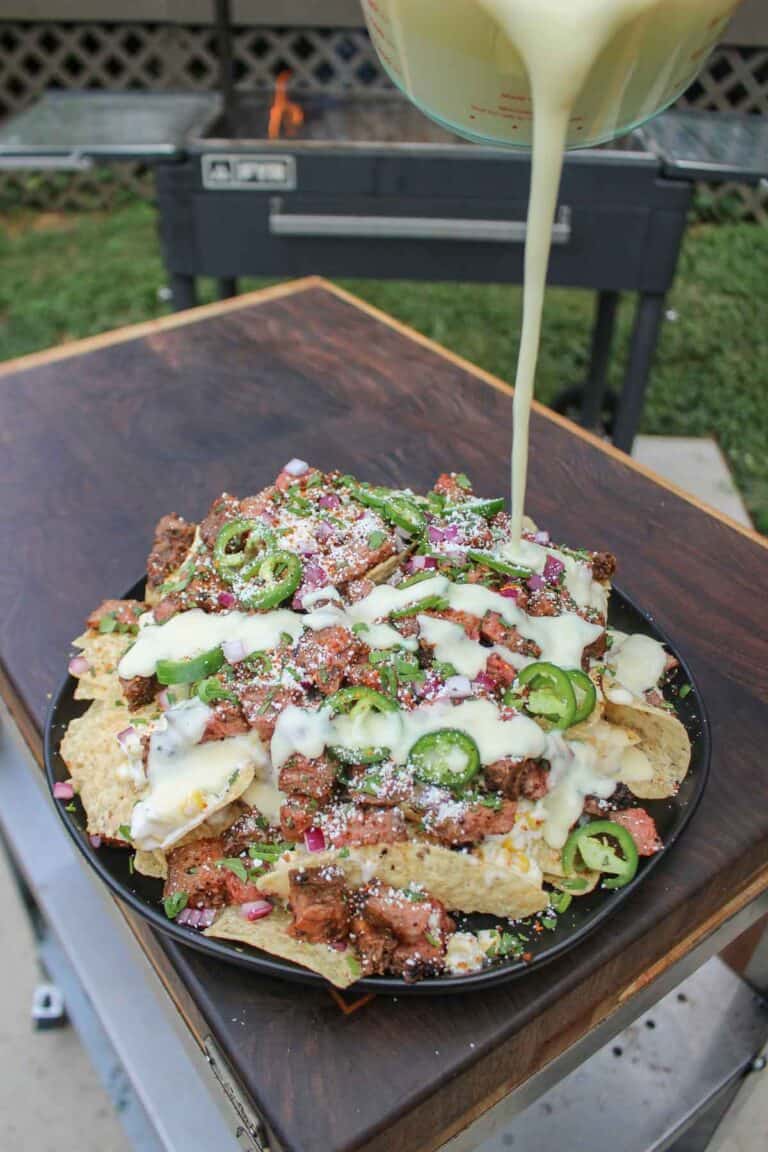
Steak Elote Nachos are my favorite way to add a Mexican street food vibe to game-day snacks. This easy recipe…
The post Steak Elote Nachos appeared first on Over The Fire Cooking.
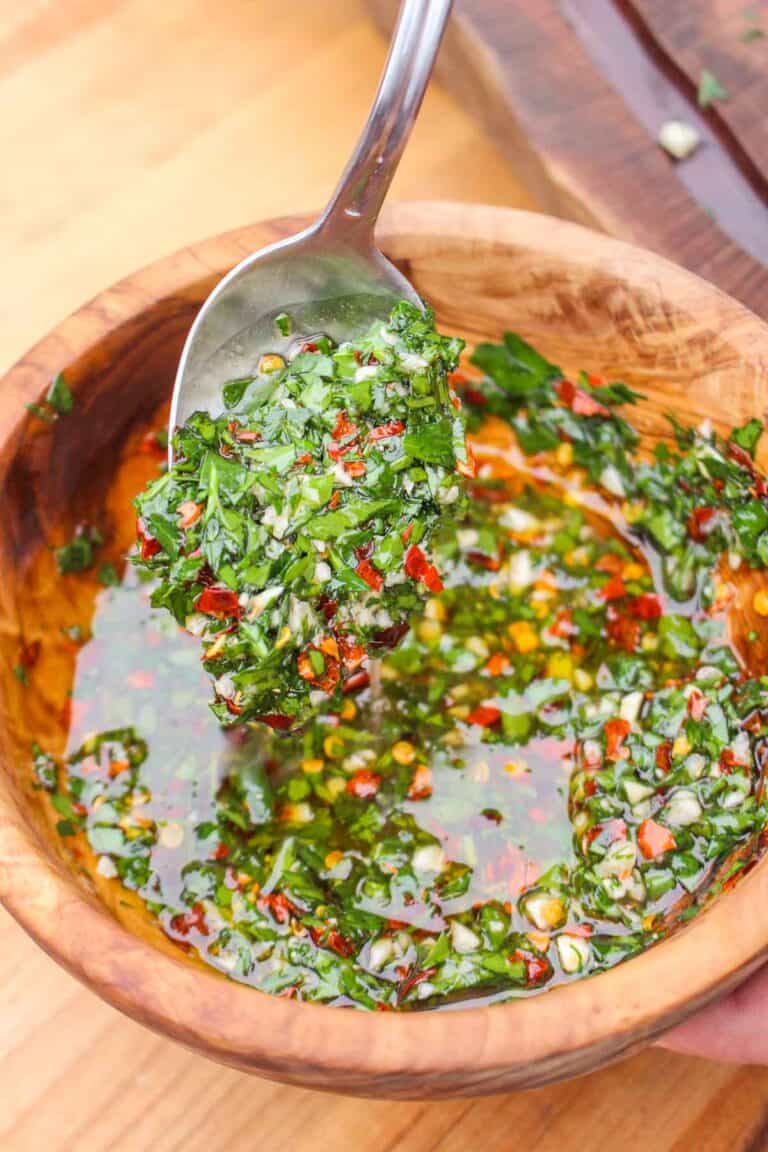
If you want to elevate your grilling game, without a doubt, you’ve come to the right place. Today, we’re diving…
The post Best Chimichurri Recipes appeared first on Over The Fire Cooking.
If you’re always splurging on pricey steaks and wondering how to get a crust on steak, step up to my…
The post How to Get a Crust on Steak appeared first on Over The Fire Cooking.

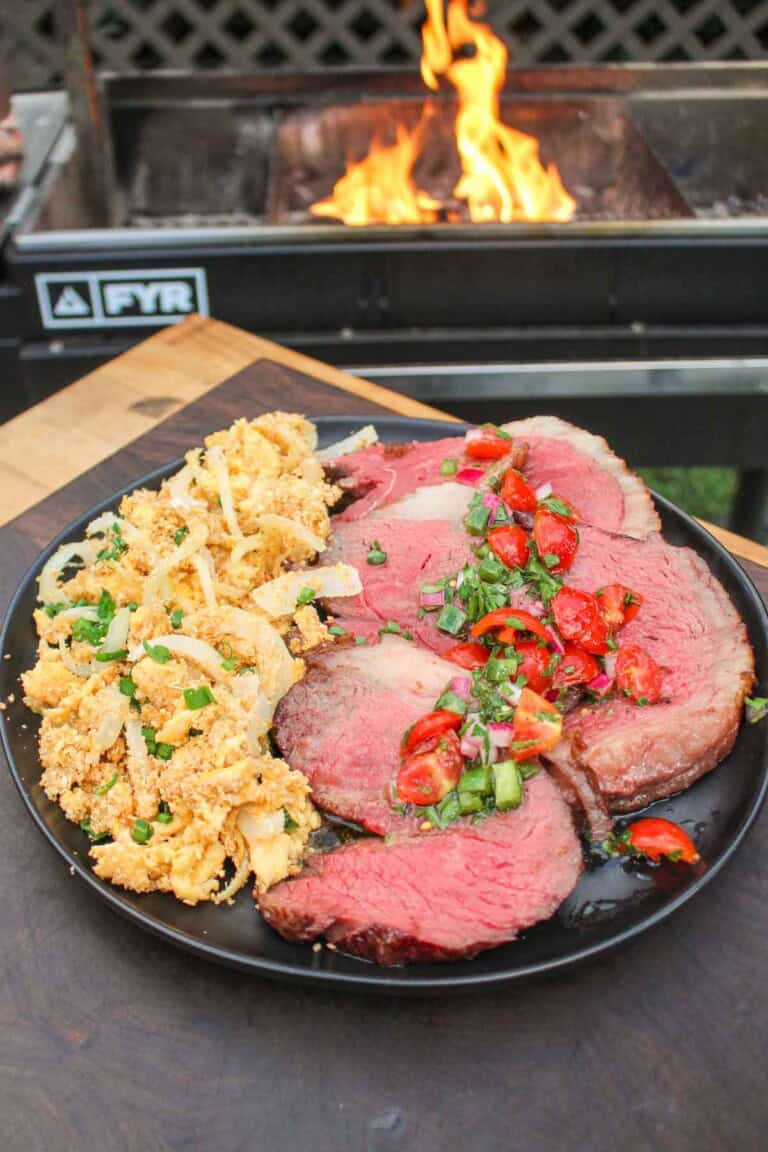
I’ve professed my love for tacos many times, which is why I’m stoked to introduce you to my recipe for…
The post Steak and Egg Tacos appeared first on Over The Fire Cooking.
If you’re craving a good burger that’s next-level delicious, step up to my grill while I cook up some epic Cowboy Butter…
The post Cowboy Butter Burgers appeared first on Over The Fire Cooking.