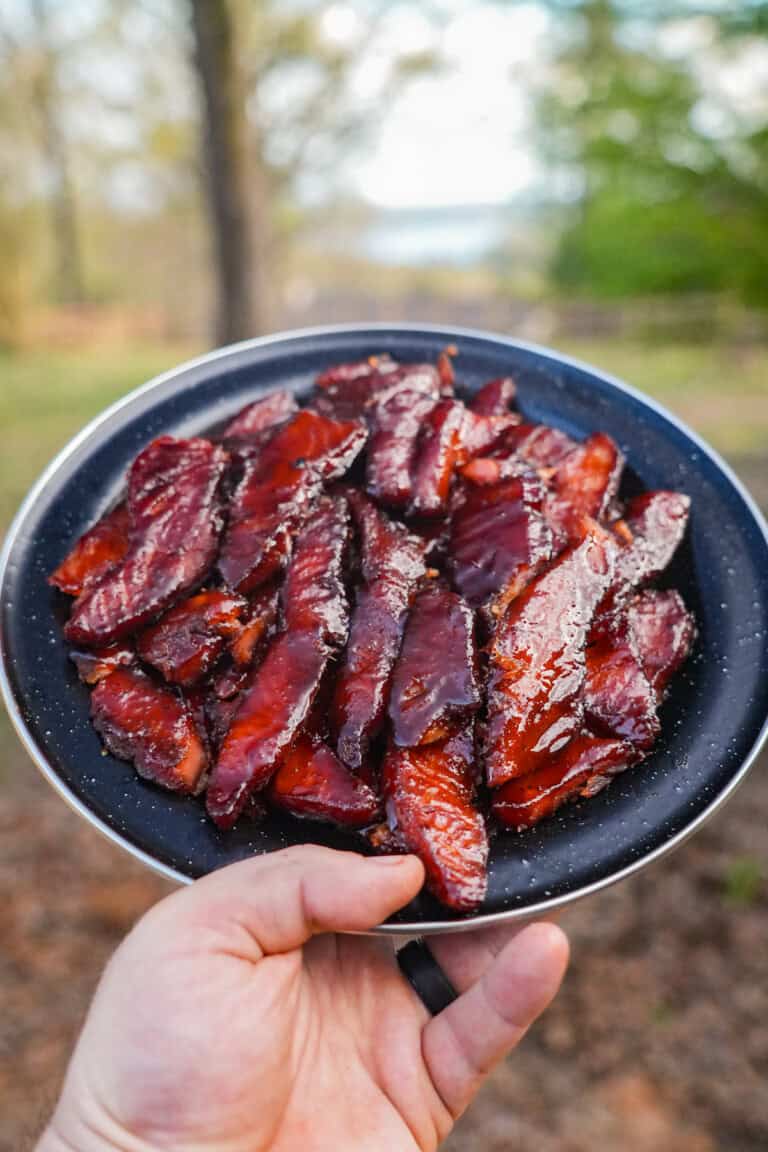
Maple Bourbon Salmon Burnt Ends
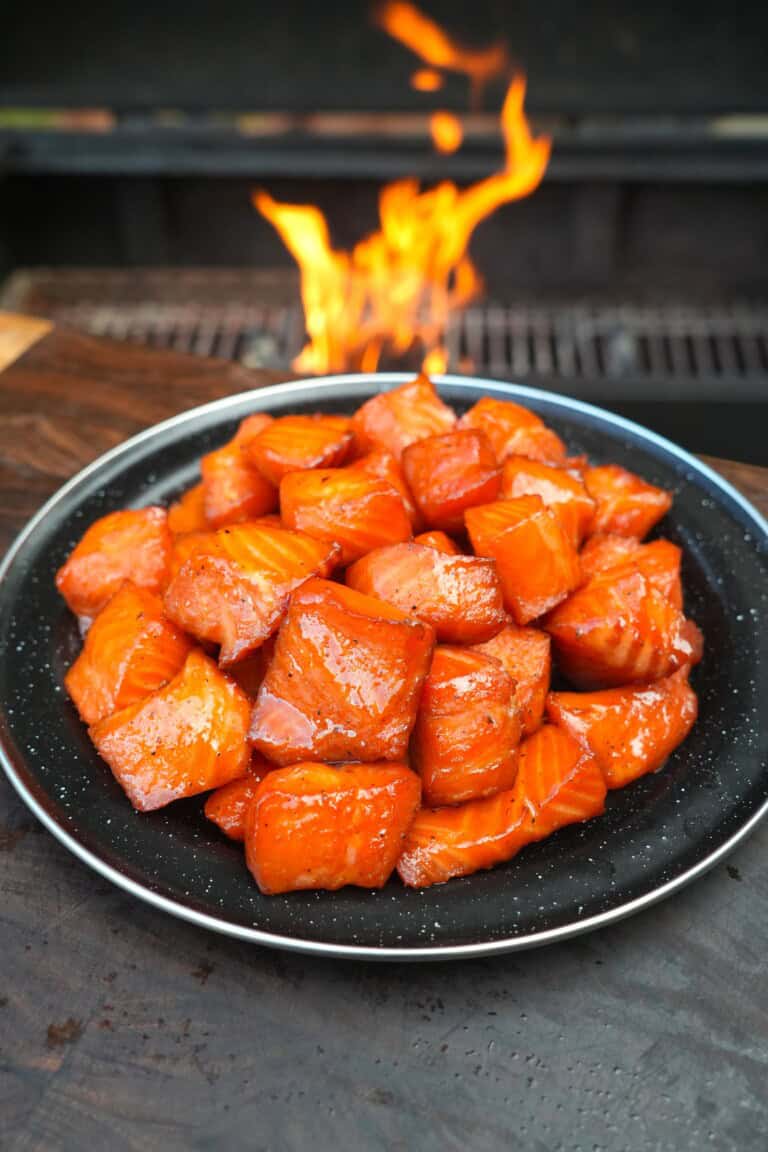
These maple bourbon salmon burnt ends are off. The. Charts. I’ve made a few versions of salmon burnt ends over the years,…
The post Maple Bourbon Salmon Burnt Ends appeared first on Over The Fire Cooking.
These maple bourbon salmon burnt ends are off. The. Charts. I’ve made a few versions of salmon burnt ends over the years,…
The post Maple Bourbon Salmon Burnt Ends appeared first on Over The Fire Cooking.
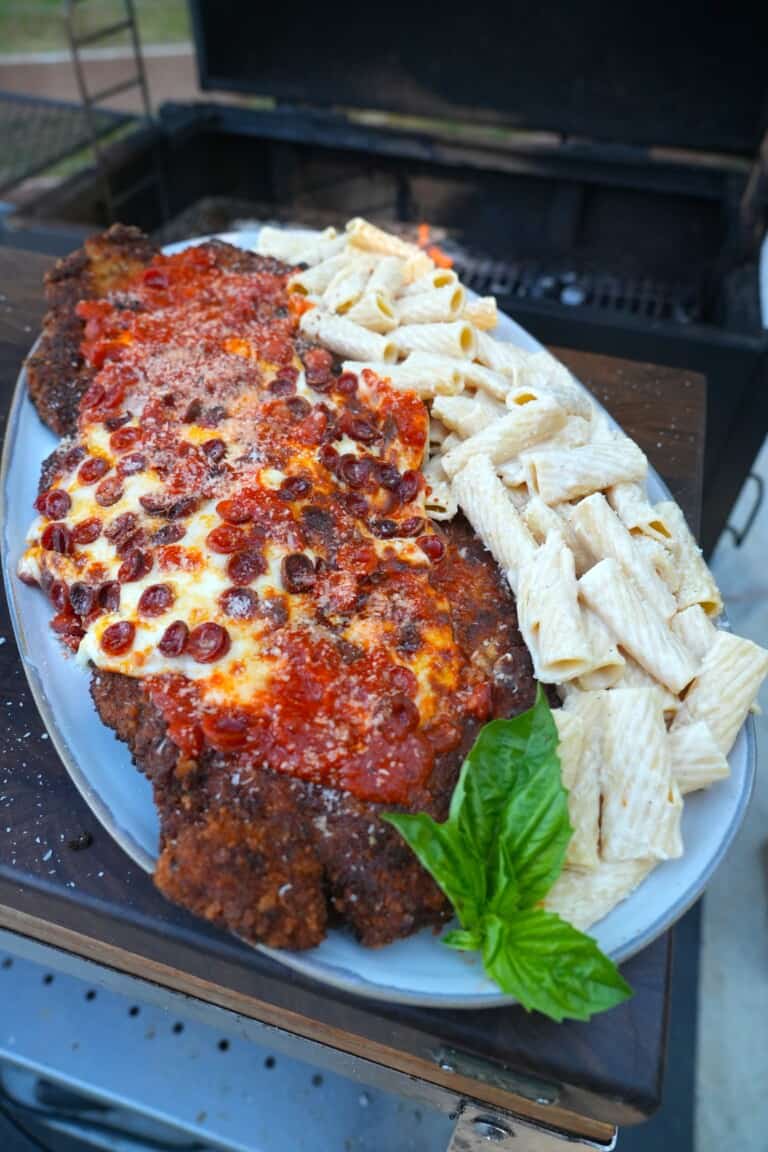
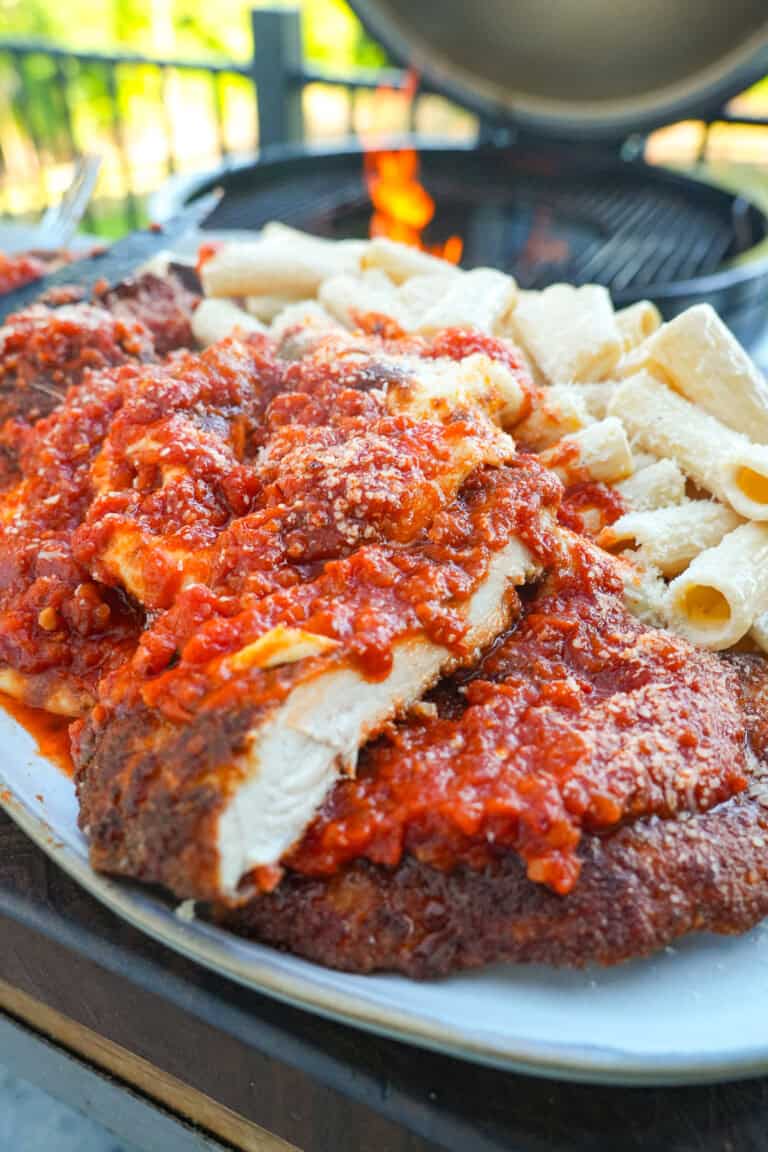
Chicken Pizza Parmesan: the two best dishes you can find at your go-to red sauce Italian restaurant, mashed together into…
The post Chicken Pizza Parmesan appeared first on Over The Fire Cooking.
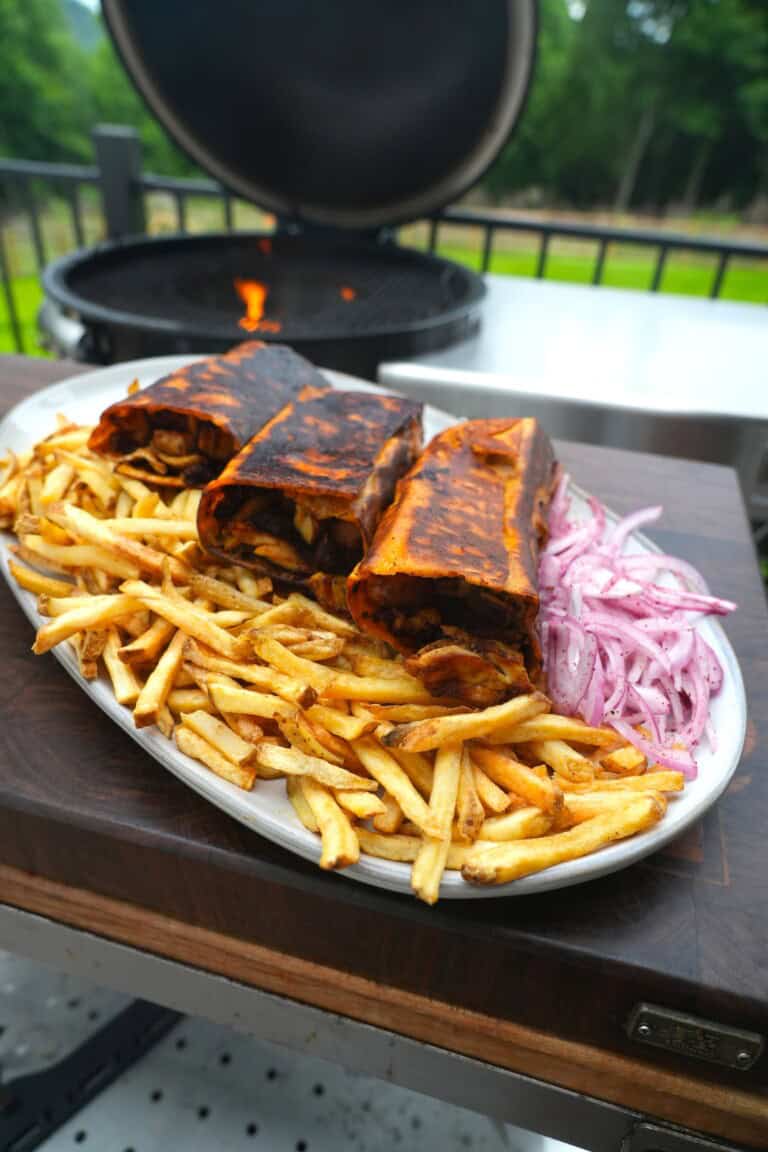
This Crispy Chicken Shawarma stacks spiced chicken thighs on a trompo, wraps them in lavash with sumac onions and toum, then sears the whole thing in cast iron for the crispiest bite.
The post Crispy Chicken Shawarma appeared first on Over The Fire Cooking.
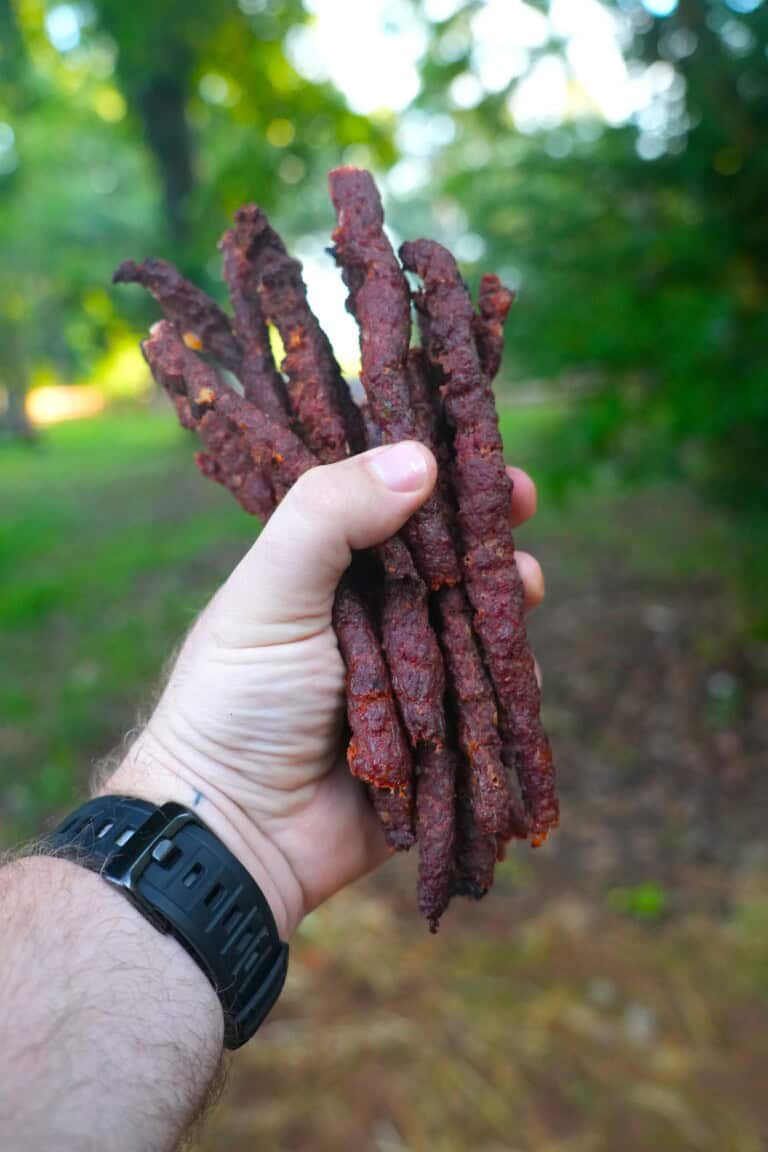
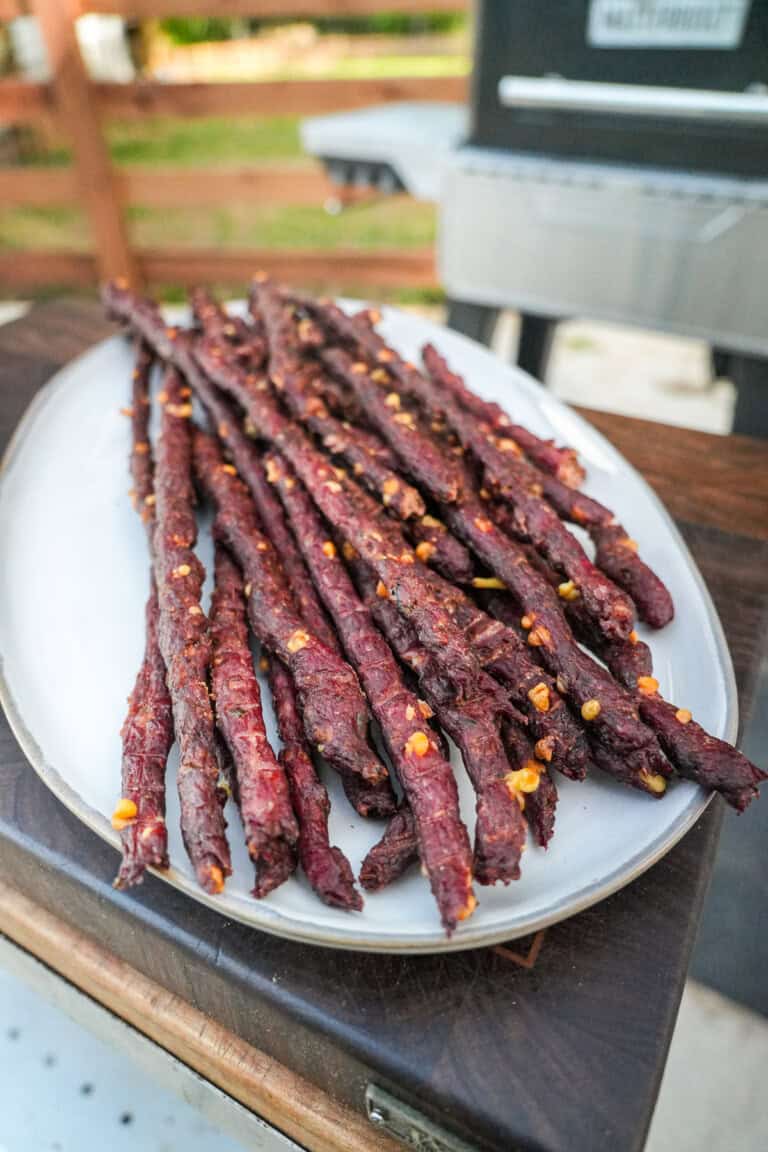
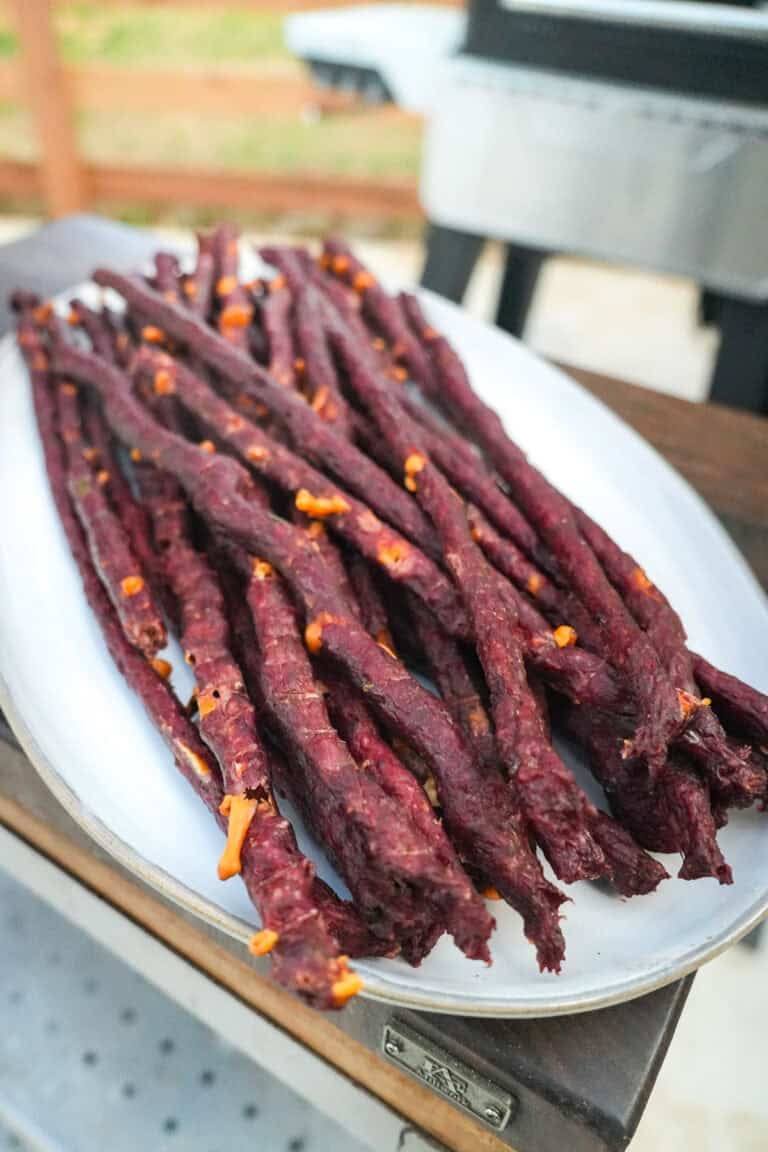
I’ve got another protein-packed snack for you to add to your beef sticks arsenal: spicy beef sticks! This recipe is…
The post Spicy Beef Sticks appeared first on Over The Fire Cooking.
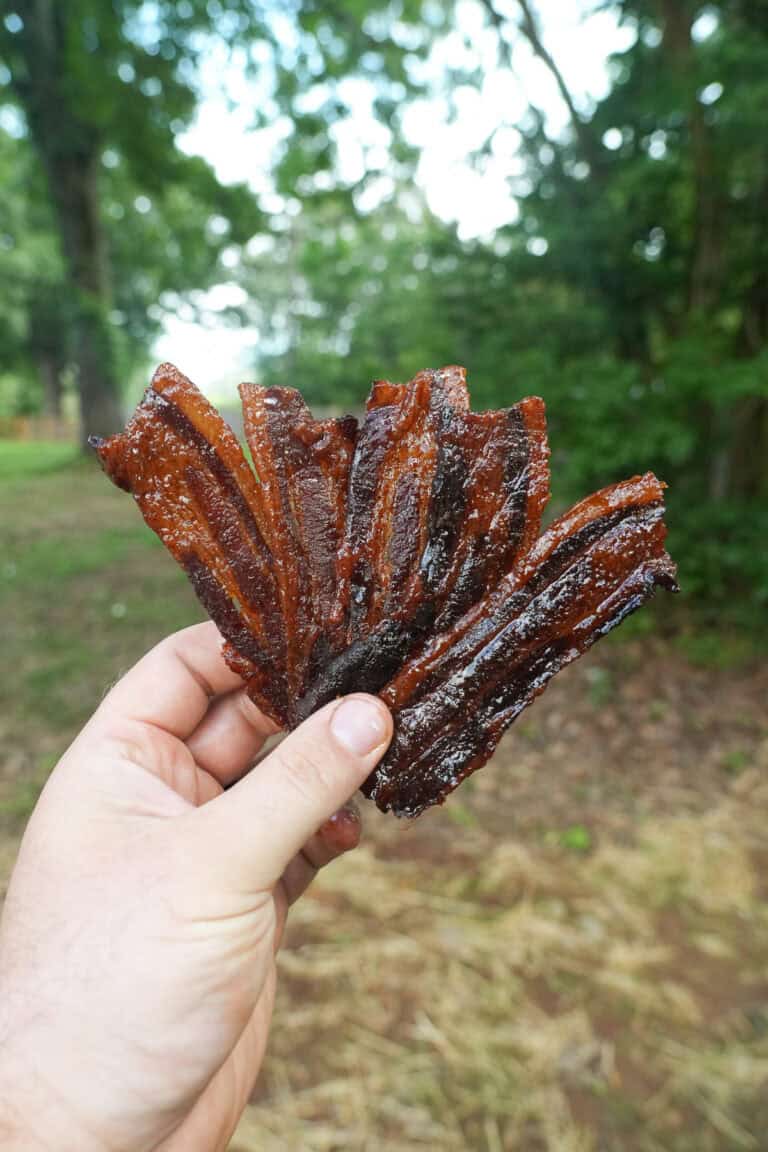
Smoked Bacon Jerky is one basic recipe that seriously delivers deep, complex flavor in every bite. Sweet, smoky, crispy, and…
The post Smoked Bacon Jerky appeared first on Over The Fire Cooking.
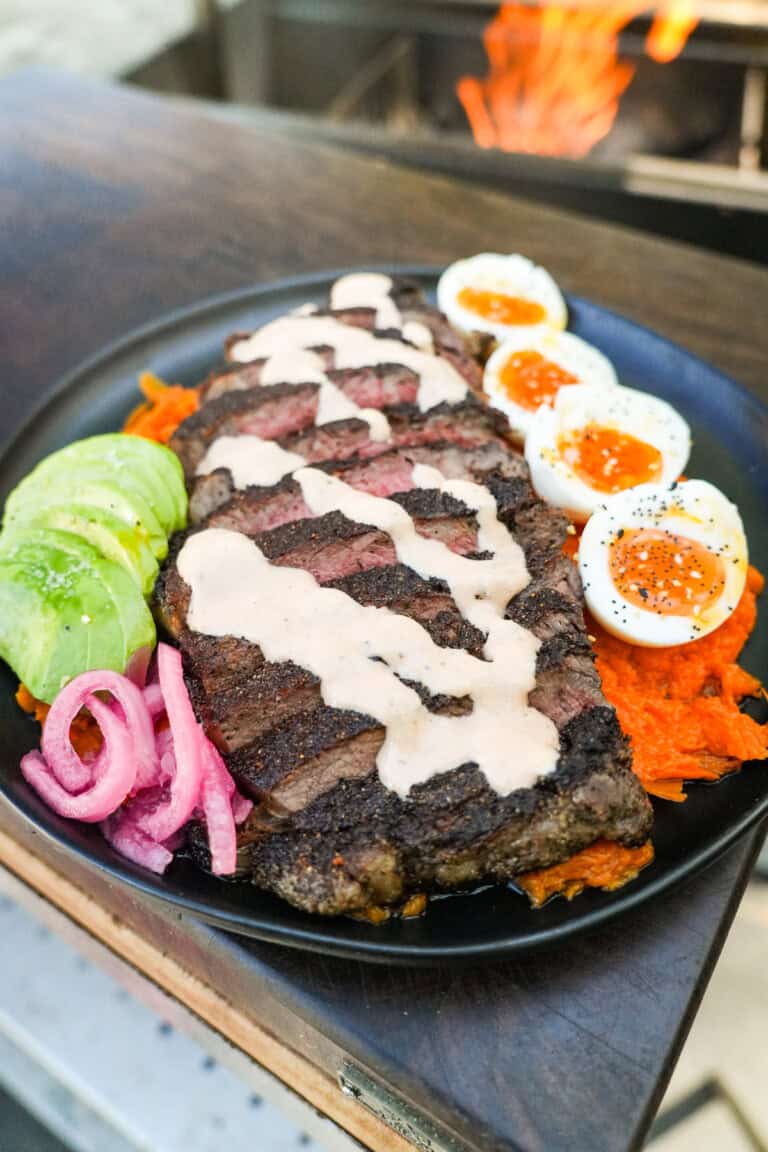
I’m changing up my diet a bit, but I still want to eat really well over the fire. Who doesn’t?…
The post Healthy Steak Bowl appeared first on Over The Fire Cooking.
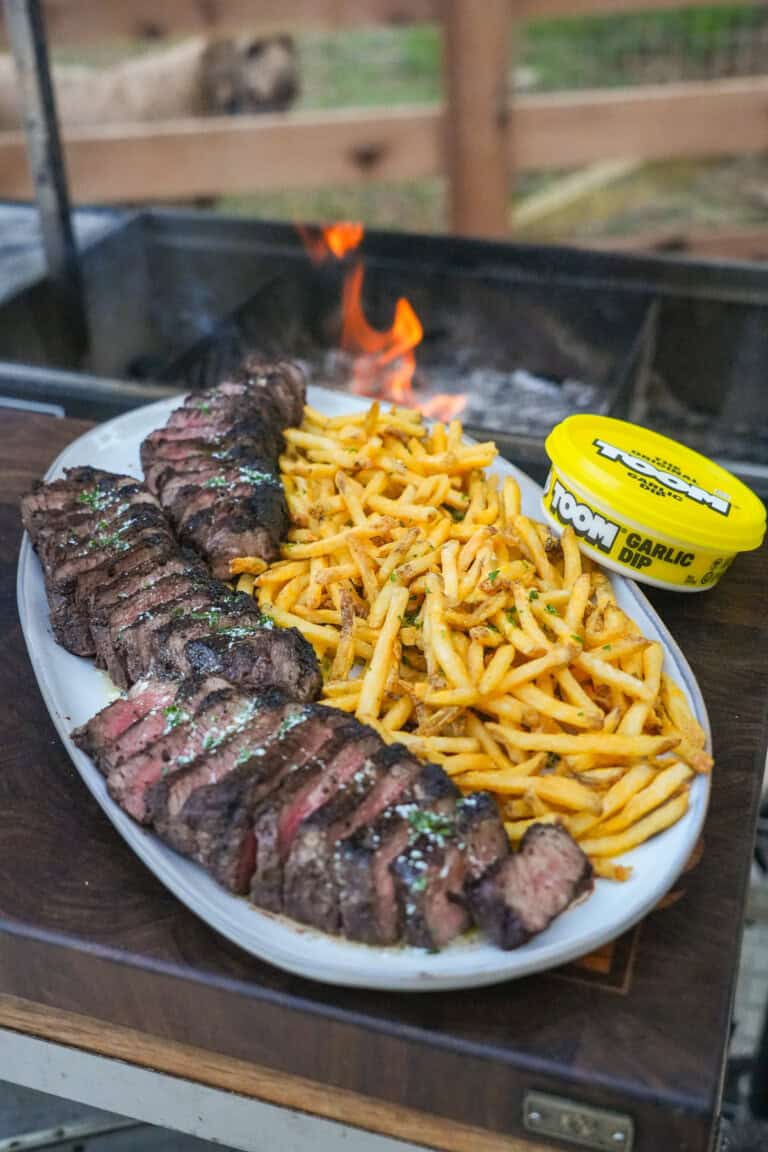
Steak and garlic fries is one recipe that seriously checks every box. Bold flavor, serious crunch, and that restaurant-quality results…
The post Steak and Garlic Fries appeared first on Over The Fire Cooking.
This spicy chicken parm recipe has been on absolute repeat in my kitchen lately. There is nothing better than crispy…
The post Spicy Chicken Parm appeared first on Over The Fire Cooking.

I’ve been on a serious homemade beef jerky kick, and this crispy brisket jerky is a freakin’ delicious addition to…
The post Crispy Brisket Jerky appeared first on Over The Fire Cooking.
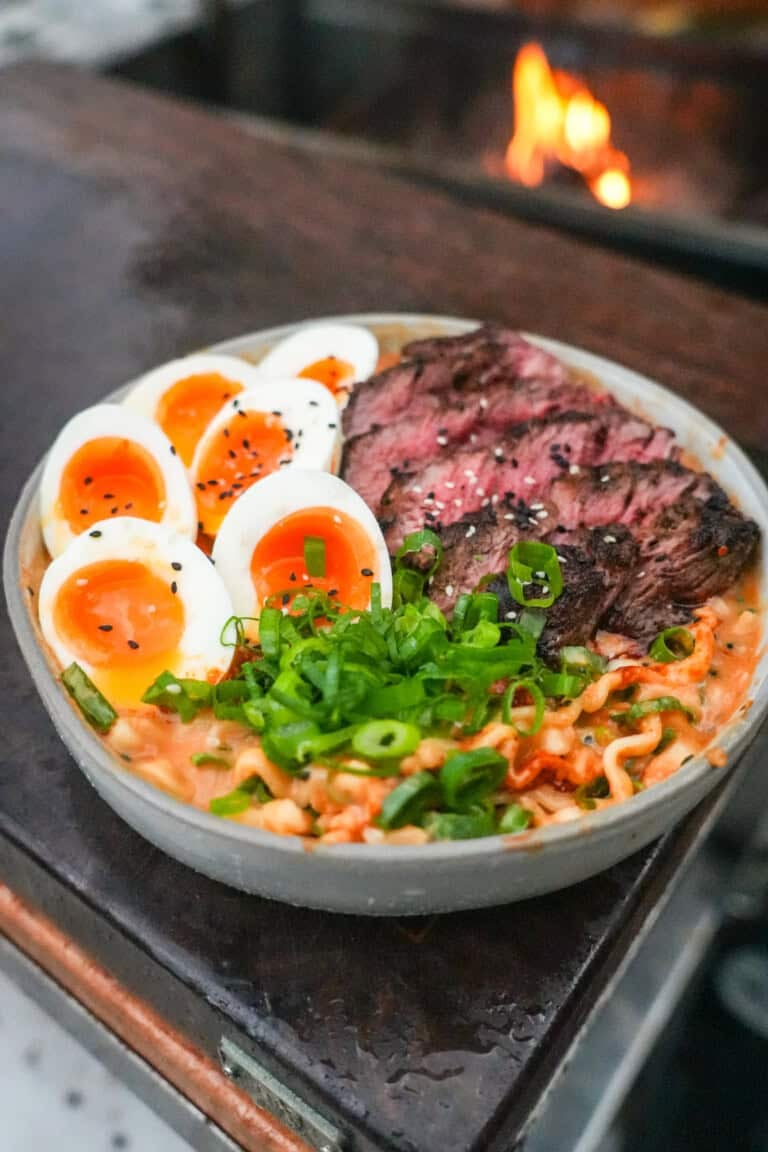
Peanut butter ramen with grilled steak and chili oil is one of those viral recipes that actually lives up to…
The post Peanut Butter Ramen with Steak & Chili Oil appeared first on Over The Fire Cooking.
Texas Twinkie beef sticks: the most fun, freakin’ delicious recipe you didn’t know you needed! I had a great time…
The post Texas Twinkie Beef Sticks appeared first on Over The Fire Cooking.
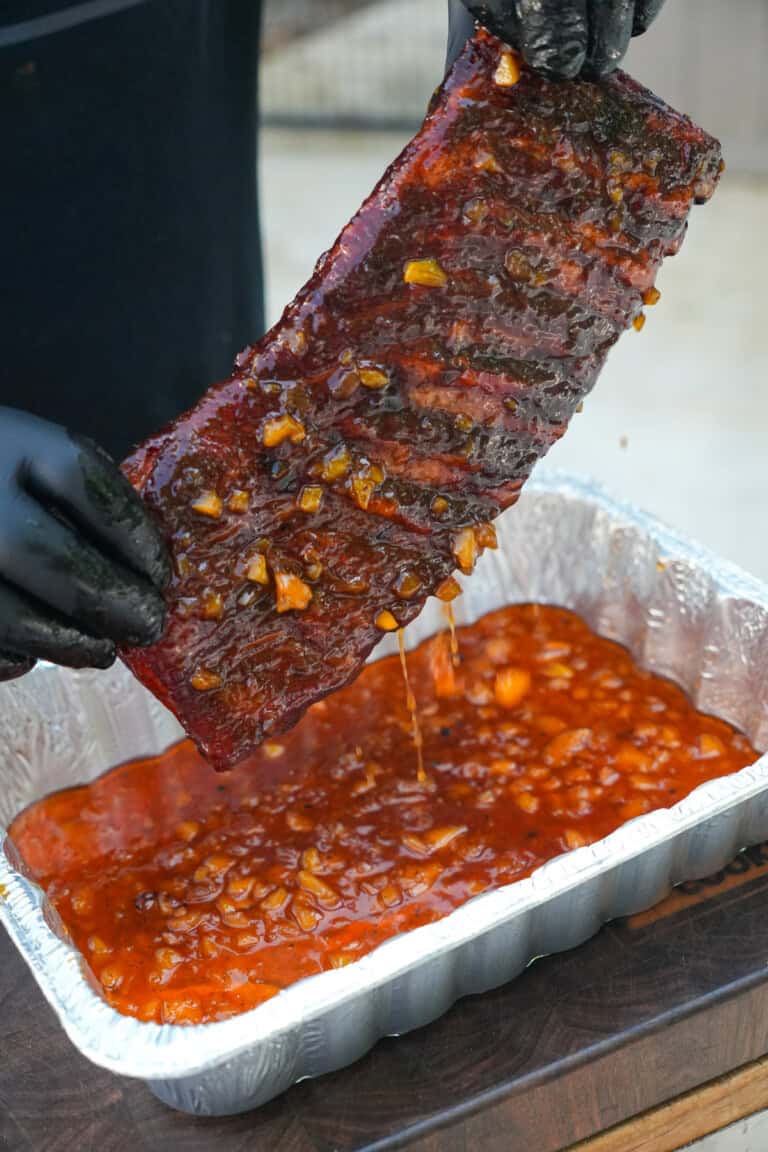
These bourbon peach ribs are a fun, freakin’ delicious twist on classic smoked BBQ ribs. Sweet peaches, spicy chipotle and…
The post Bourbon Peach Ribs appeared first on Over The Fire Cooking.
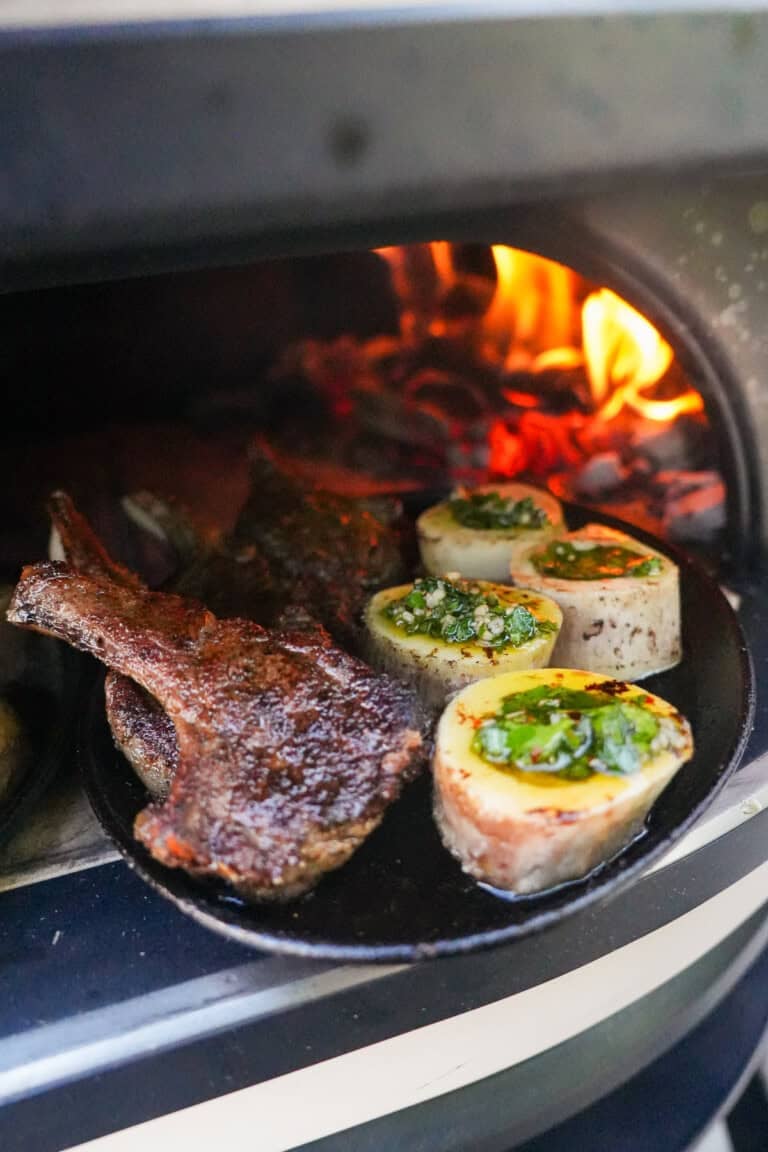
Buckle your seatbelts: this simple recipe for pizza oven lamb chops makes the best chops of your life. Lamb chops,…
The post Pizza Oven Lamb Chops appeared first on Over The Fire Cooking.
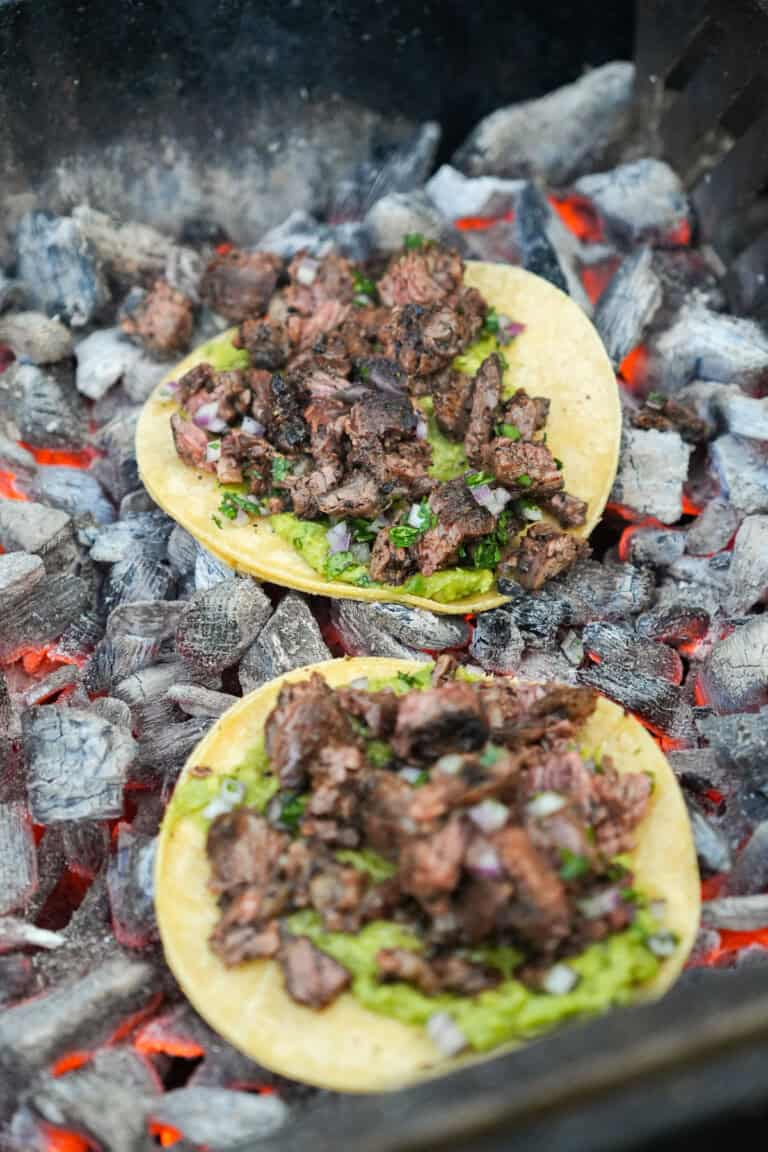
Y’all know I love steak tacos. So, these dirty steak tacos are right up my alley. I saw a viral…
The post Dirty Steak Tacos appeared first on Over The Fire Cooking.
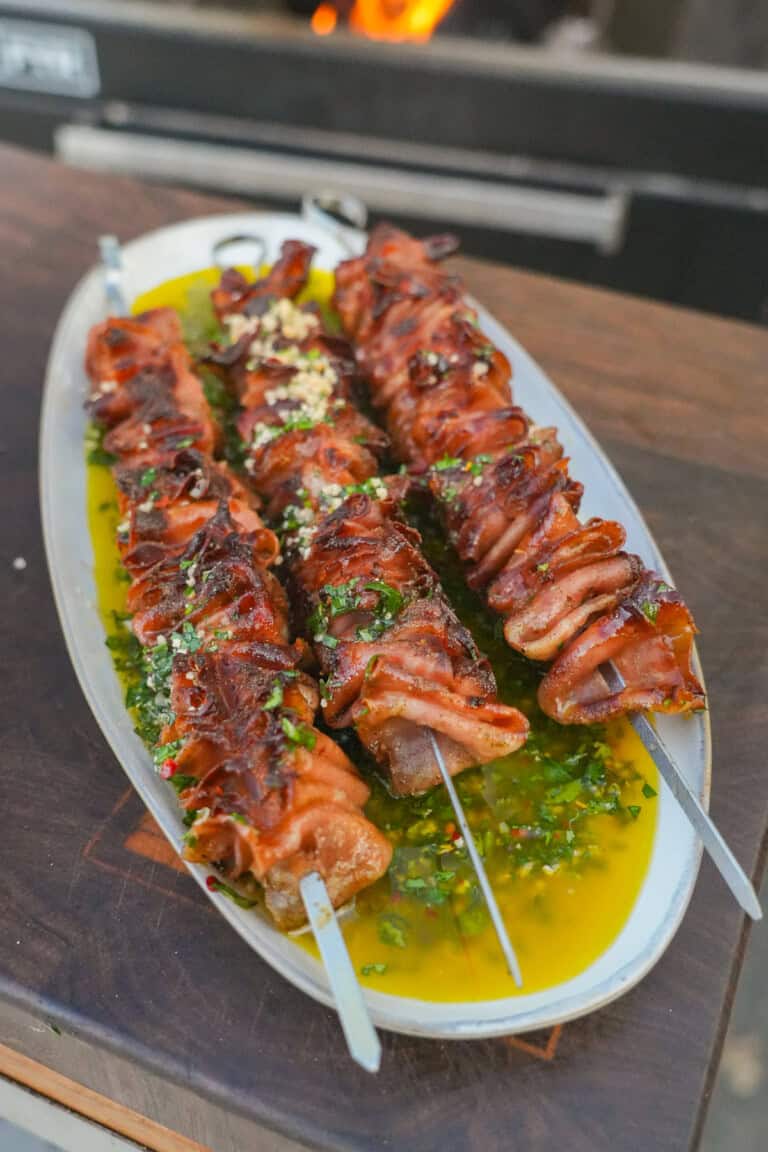
Meet your new favorite party snack: grilled mortadella skewers! I based this recipe on the viral trend that’s going around,…
The post Mortadella Skewers appeared first on Over The Fire Cooking.
Ready for some homemade beef jerky that’s WAY better than anything you’d get at a store? These smoked beef sticks…
The post Smoked Beef Sticks appeared first on Over The Fire Cooking.
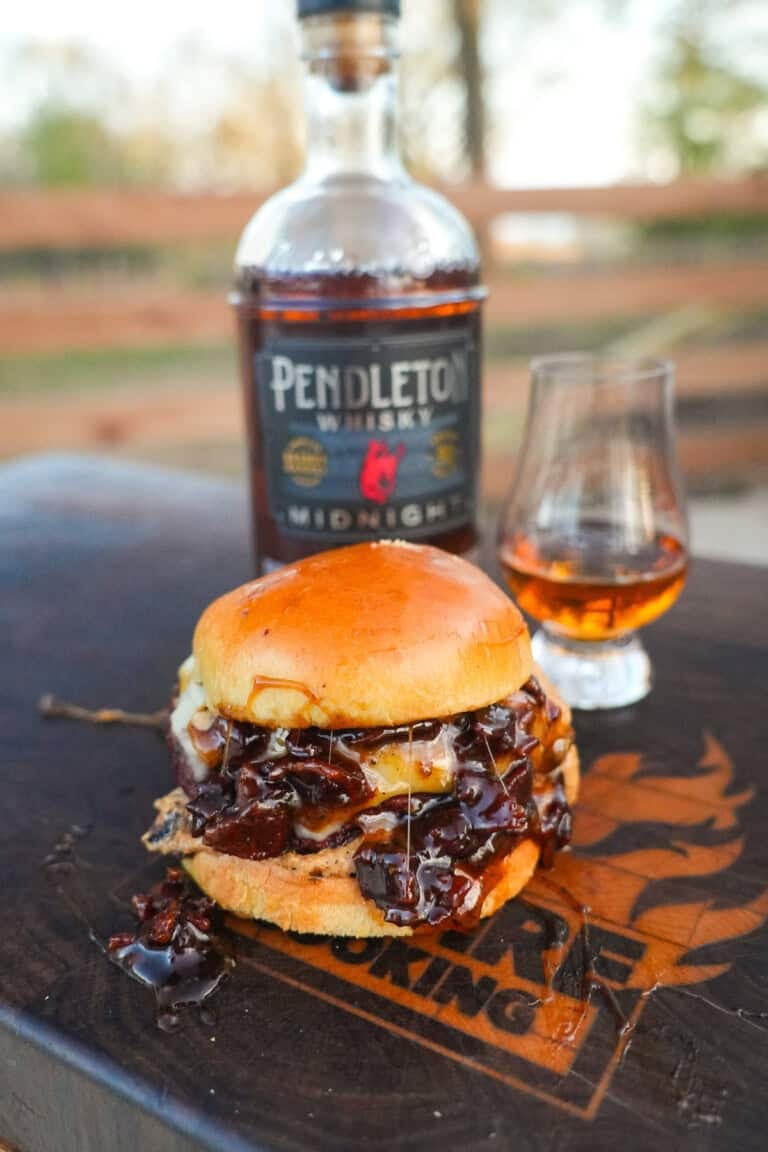
If you think you’ve already had the best whisky sauce burgers, these Whiskey Bacon Jam Burgers are likely the only…
The post Whiskey Bacon Jam Burgers appeared first on Over The Fire Cooking.
Smoked Salmon Jerky is one of those recipes that’s so freakin’ delicious that you’ll want to make it again the…
The post Smoked Salmon Jerky appeared first on Over The Fire Cooking.
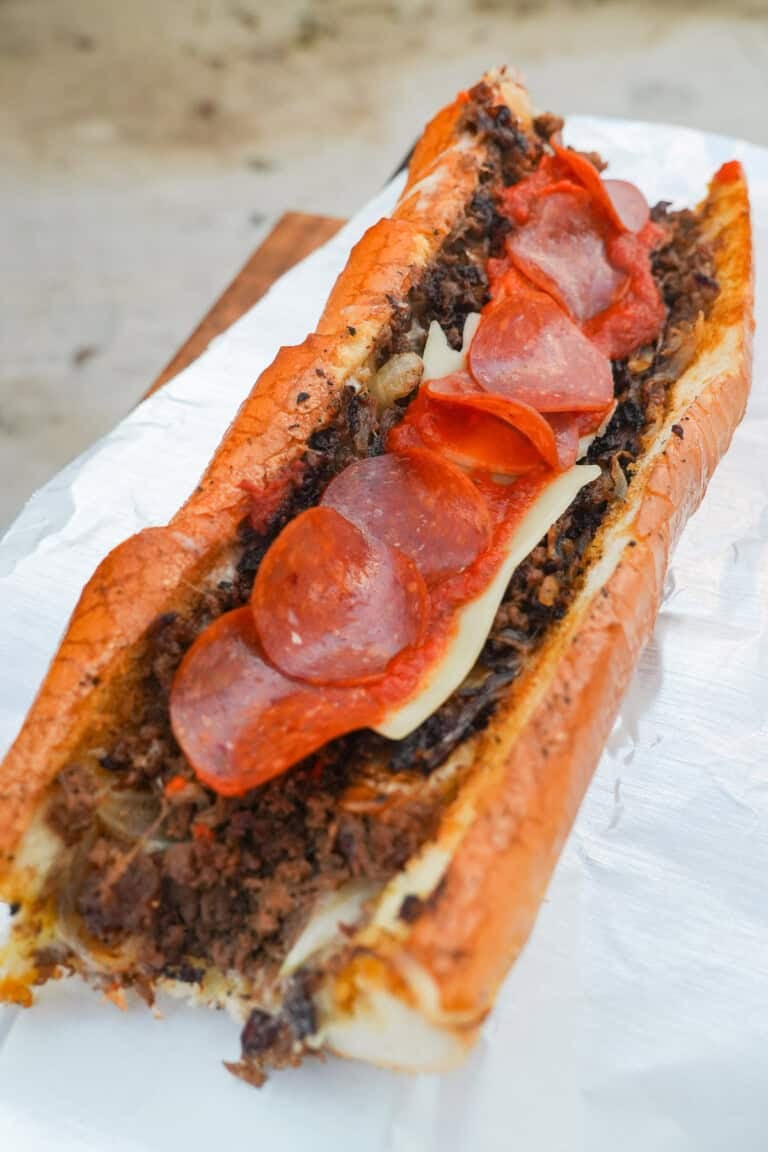
Super, simple, very fun: that’s this pizza cheesesteak in a nutshell (or sandwich bun, if we’re being literal). This recipe…
The post Pizza Cheesesteak appeared first on Over The Fire Cooking.
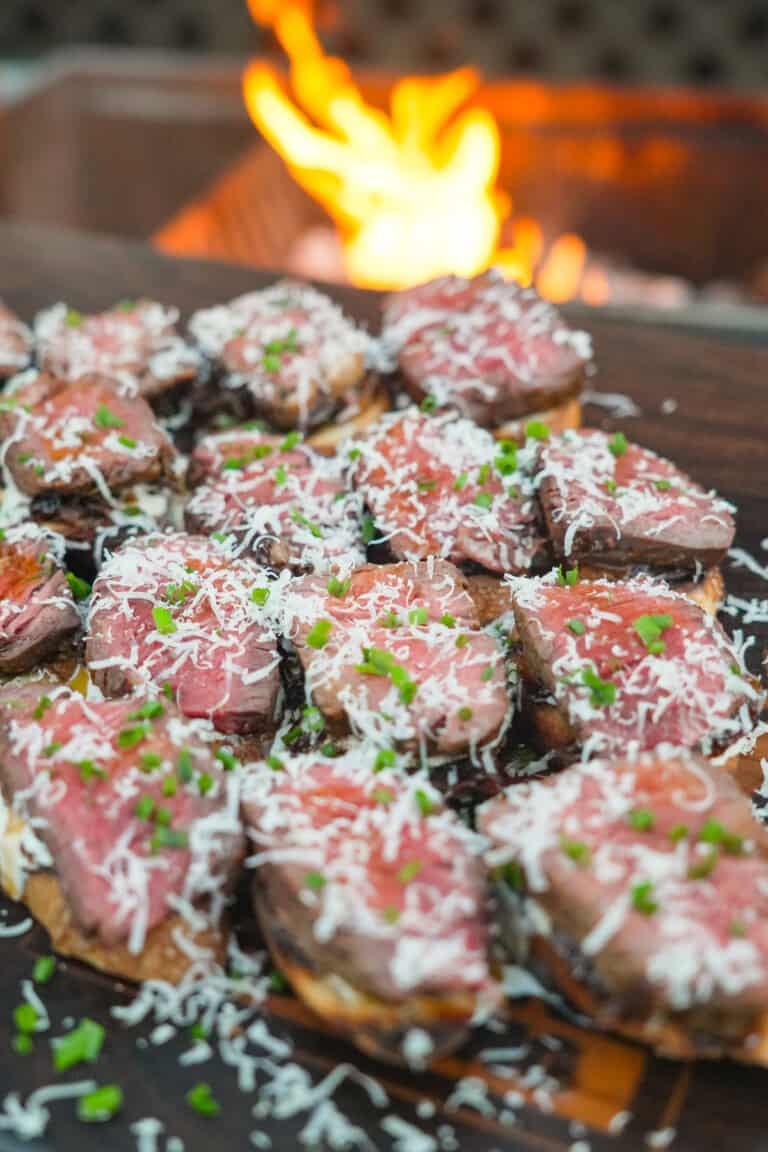
Just in time for the holidays, when cozy and comforting are must-haves on the menu, these French Onion Steak Crostini…
The post French Onion Steak Crostini appeared first on Over The Fire Cooking.
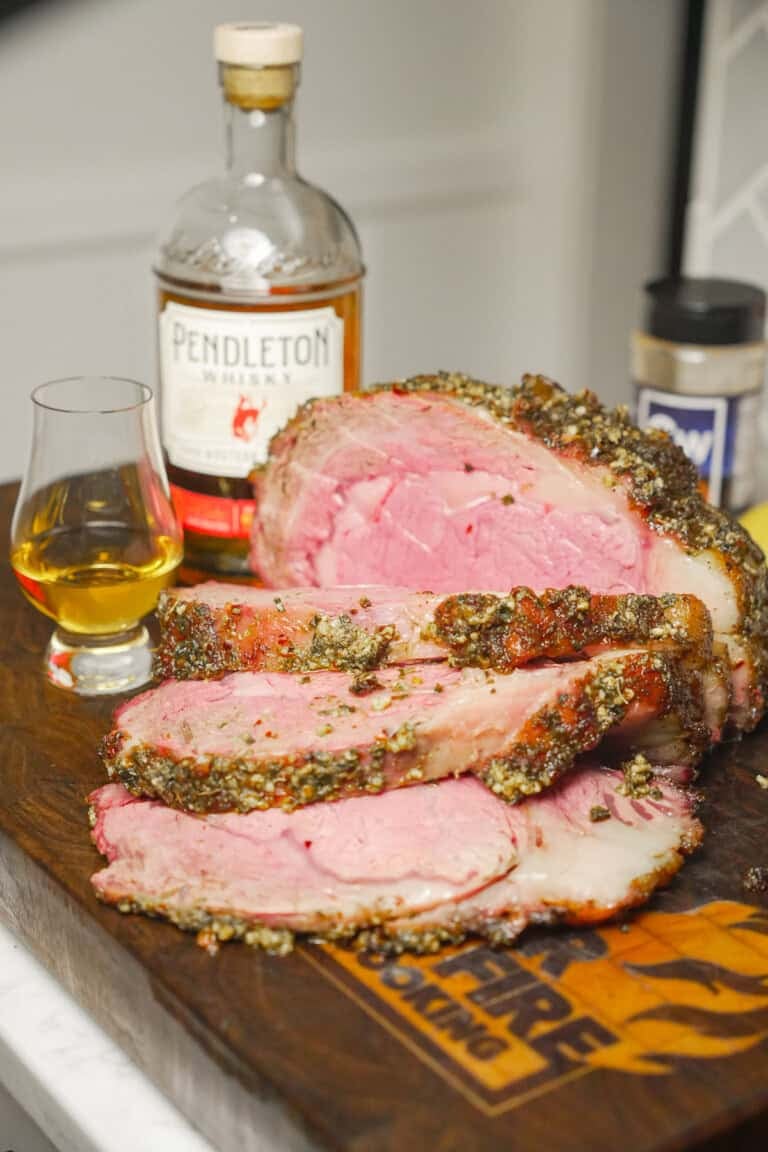
Just in time for the holidays, we’re firing up something bold, smoky, and a little experimental: a Whisky Injected Prime…
The post Whisky Injected Prime Rib appeared first on Over The Fire Cooking.
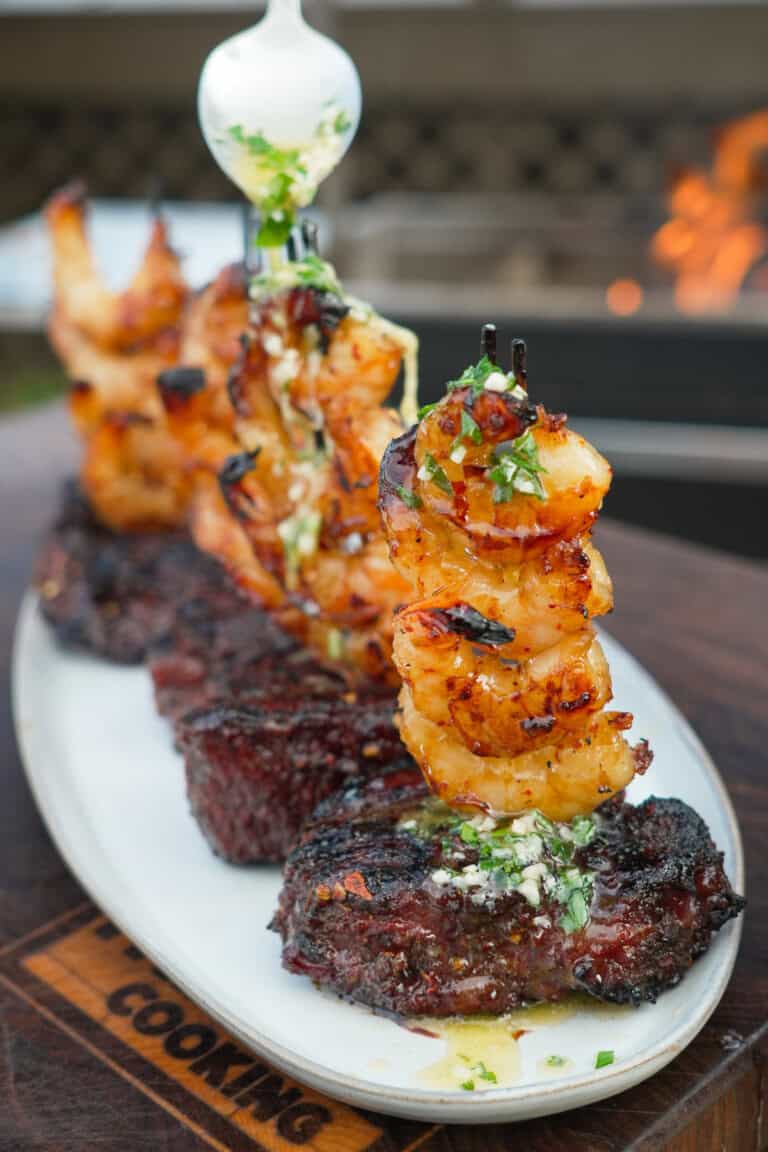
My current hot honey obsession has come for surf and turf! This hot honey steak and shrimp is so freakin’…
The post Hot Honey Steak and Shrimp appeared first on Over The Fire Cooking.
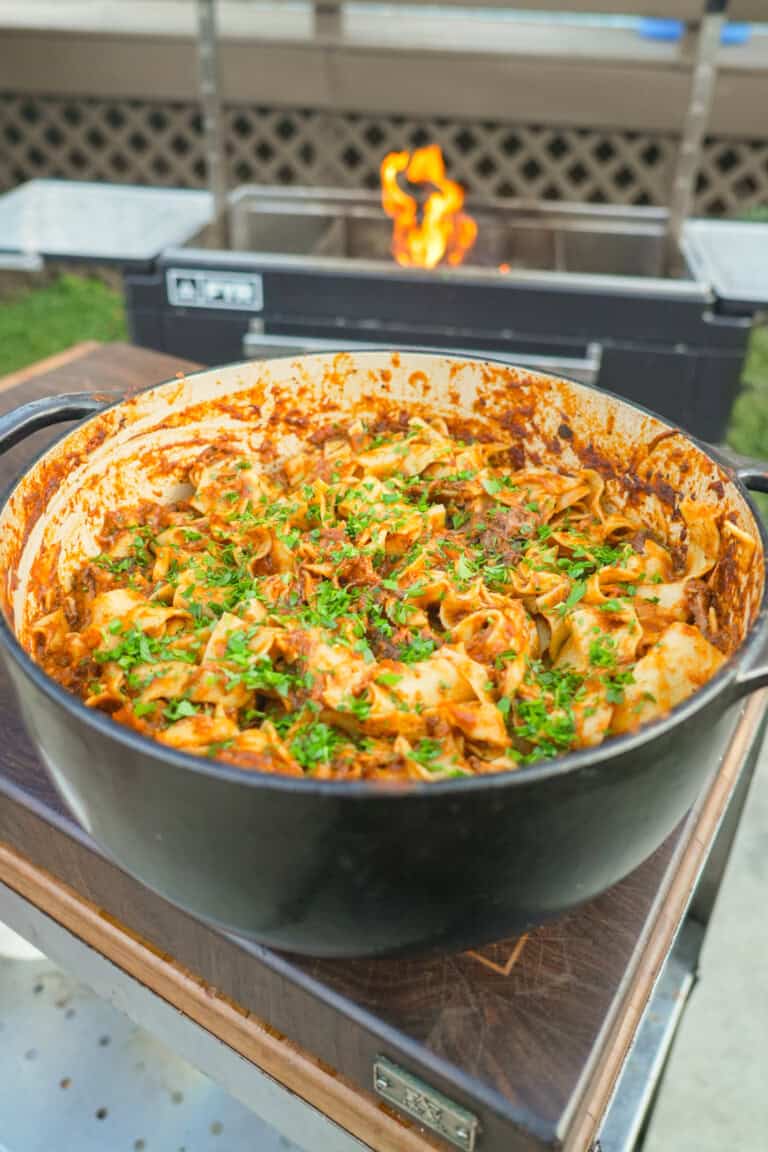
Here’s a Thanksgiving recipe for you that’s definitely not traditional, but most definitely so freakin’ delicious: braised beef ragu. There’s…
The post Beef Ragu appeared first on Over The Fire Cooking.
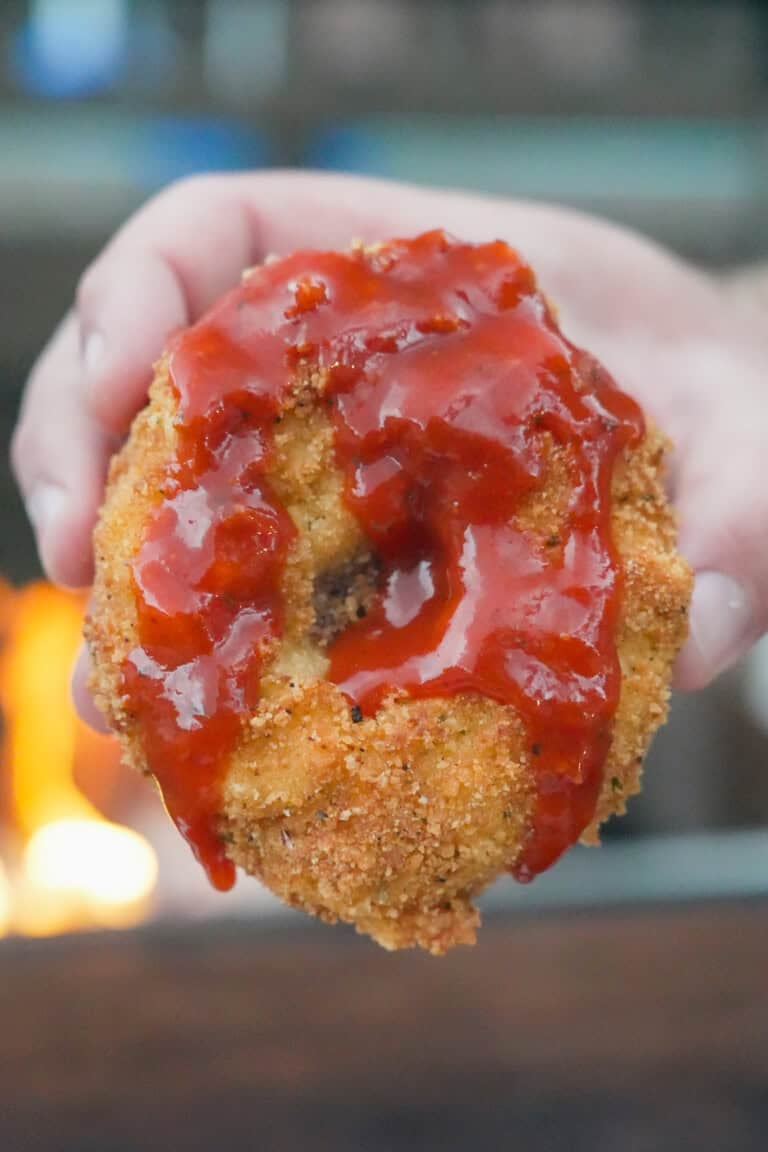
The Thanksgiving Onion Ring is not your average holiday appetizer. It marries everyone’s love of crispy onion rings with Thanksgiving…
The post Thanksgiving Onion Ring appeared first on Over The Fire Cooking.

When you start with quality ingredients, you don’t have to do much to create a freakin’ delicious recipe. That’s why…
The post Grilled Salmon Fillets with Cowboy Butter appeared first on Over The Fire Cooking.