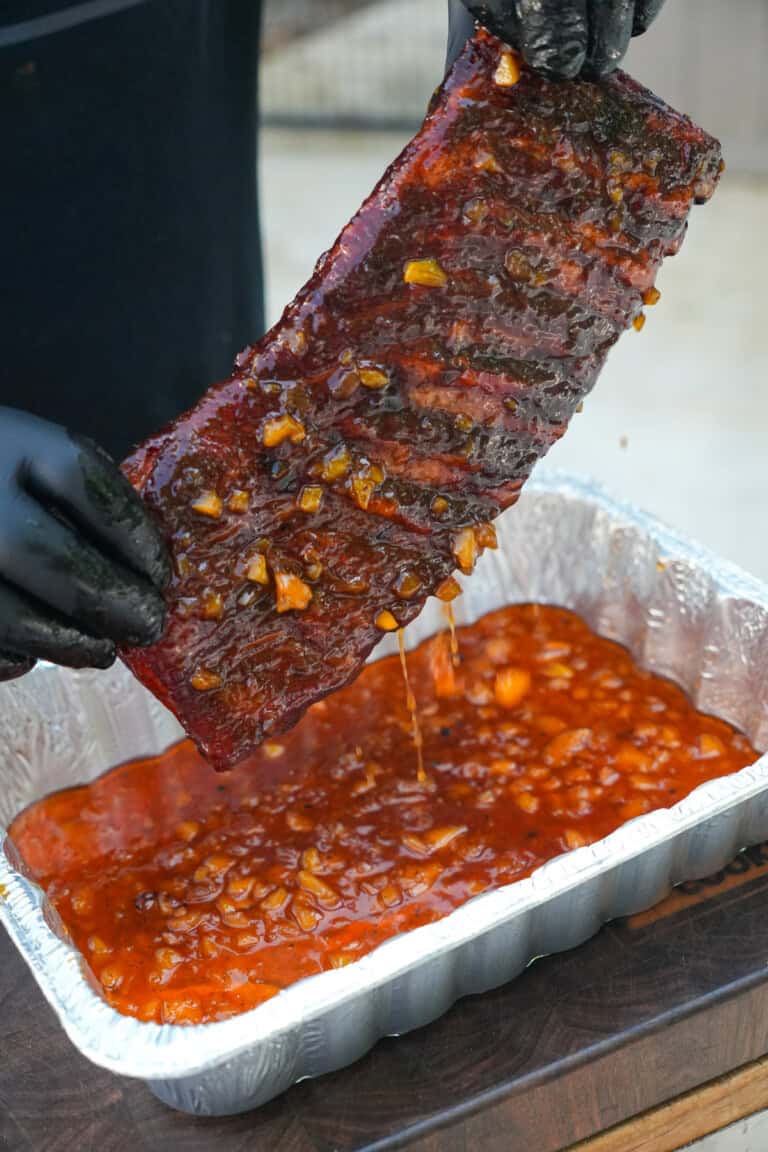
Honey Jalapeno Ribs

Honey Jalapeno Ribs combine all my favorite things into one insane smoker recipe: pork ribs, hot honey, and my Cowboy…
The post Honey Jalapeno Ribs appeared first on Over The Fire Cooking.
Honey Jalapeno Ribs combine all my favorite things into one insane smoker recipe: pork ribs, hot honey, and my Cowboy…
The post Honey Jalapeno Ribs appeared first on Over The Fire Cooking.
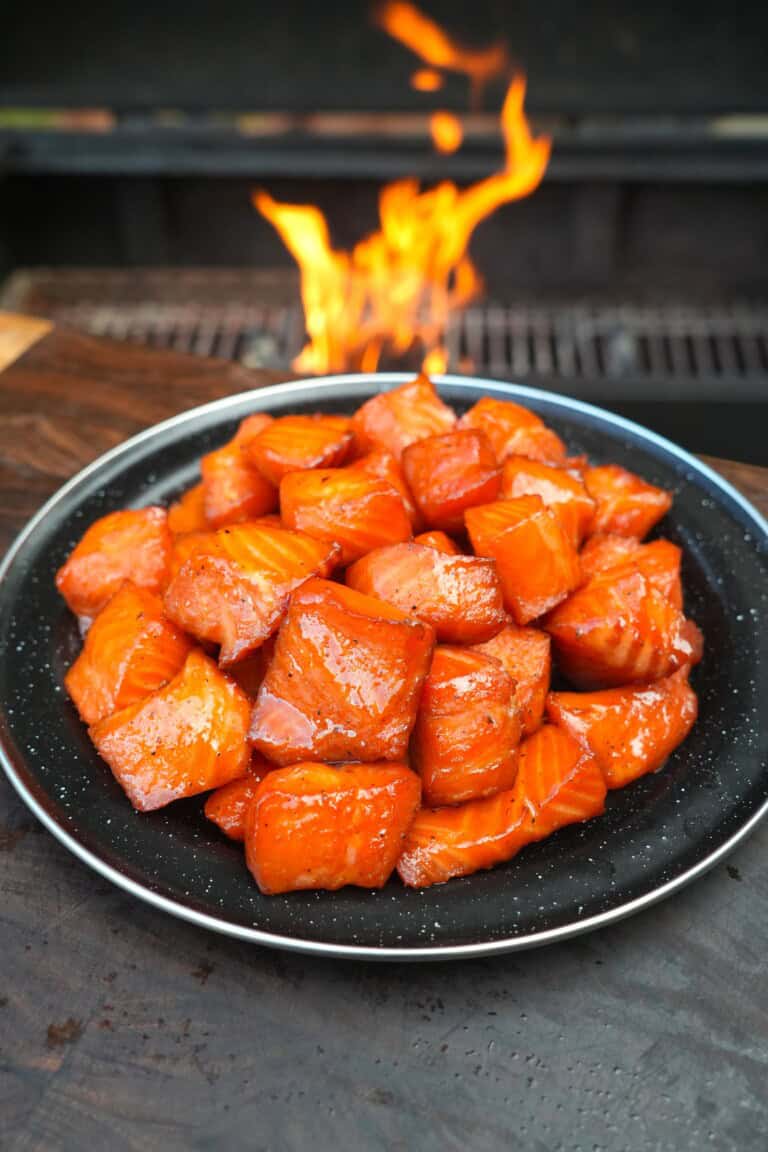
These maple bourbon salmon burnt ends are off. The. Charts. I’ve made a few versions of salmon burnt ends over the years,…
The post Maple Bourbon Salmon Burnt Ends appeared first on Over The Fire Cooking.
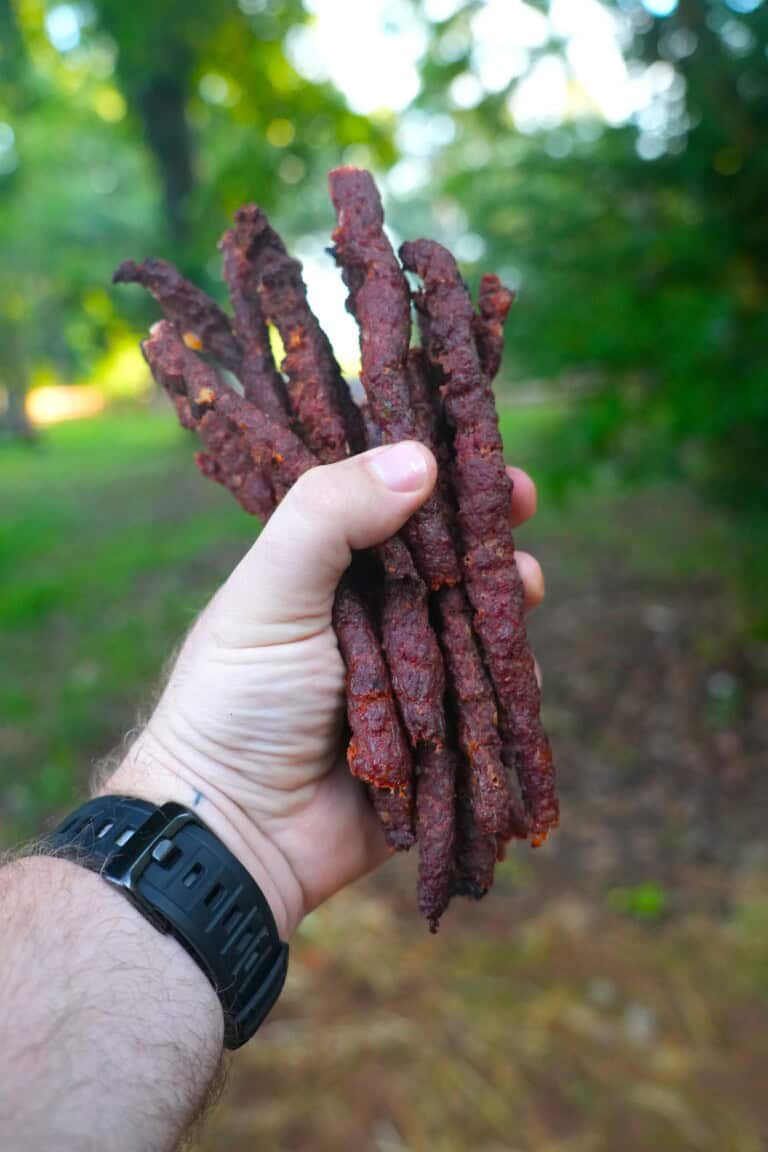
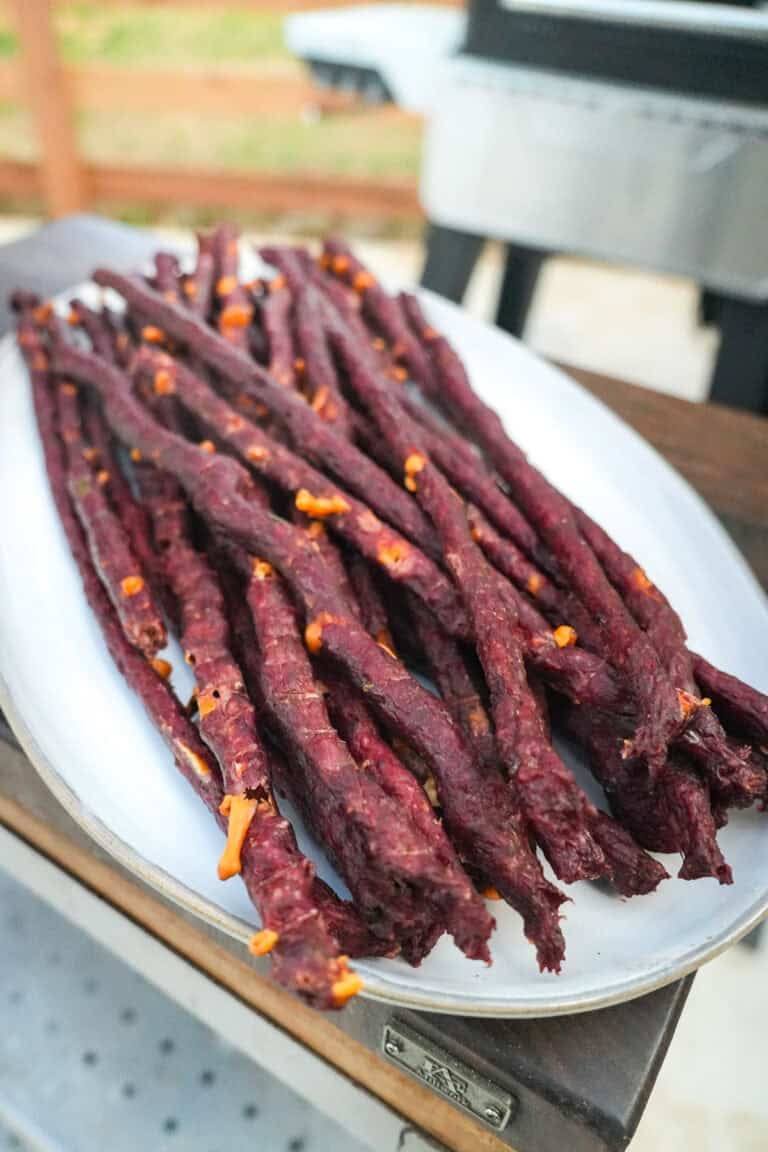
I’ve got another protein-packed snack for you to add to your beef sticks arsenal: spicy beef sticks! This recipe is…
The post Spicy Beef Sticks appeared first on Over The Fire Cooking.
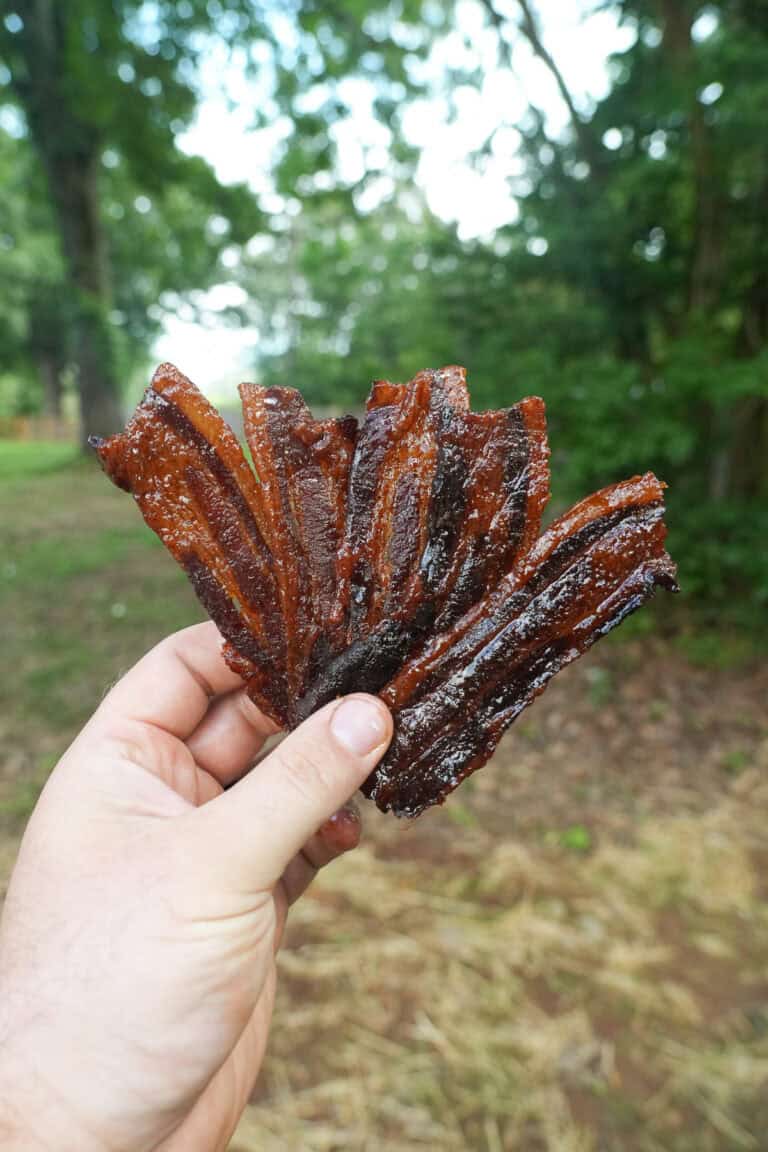
Smoked Bacon Jerky is one basic recipe that seriously delivers deep, complex flavor in every bite. Sweet, smoky, crispy, and…
The post Smoked Bacon Jerky appeared first on Over The Fire Cooking.

I’ve been on a serious homemade beef jerky kick, and this crispy brisket jerky is a freakin’ delicious addition to…
The post Crispy Brisket Jerky appeared first on Over The Fire Cooking.
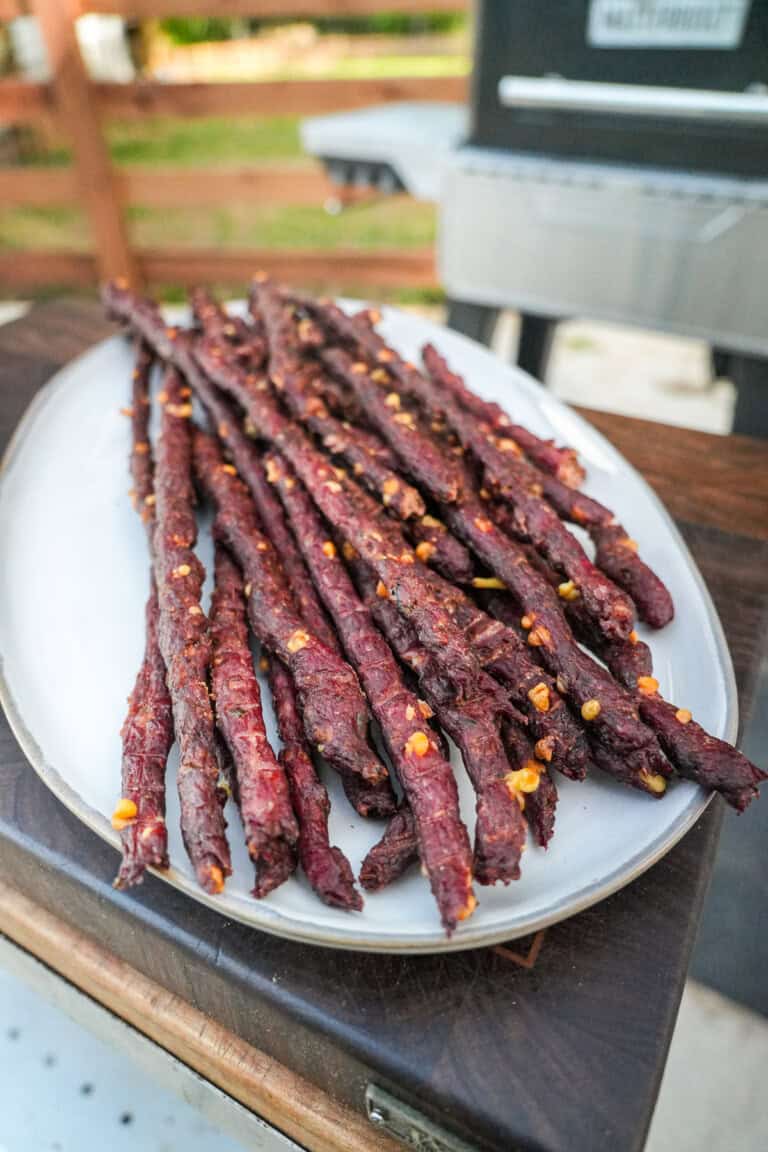
Texas Twinkie beef sticks: the most fun, freakin’ delicious recipe you didn’t know you needed! I had a great time…
The post Texas Twinkie Beef Sticks appeared first on Over The Fire Cooking.
You’re already hungry for this. Thick pub-style patty, smoked and hard-seared crust, sautéed mushrooms, sharp cheddar, and Dijon-mayo.
The post Smoked Steakhouse Burger appeared first on Girl Carnivore.
These bourbon peach ribs are a fun, freakin’ delicious twist on classic smoked BBQ ribs. Sweet peaches, spicy chipotle and…
The post Bourbon Peach Ribs appeared first on Over The Fire Cooking.
Ready for some homemade beef jerky that’s WAY better than anything you’d get at a store? These smoked beef sticks…
The post Smoked Beef Sticks appeared first on Over The Fire Cooking.
Smoked Salmon Jerky is one of those recipes that’s so freakin’ delicious that you’ll want to make it again the…
The post Smoked Salmon Jerky appeared first on Over The Fire Cooking.
Smoked baked potatoes loaded with corned beef, bacon-fried cabbage, Swiss cheese, and Reuben dressing. A deconstructed Reuben in potato form. That’s dinner.
The post Corned Beef Stuffed Baked Potatoes on the Smoker appeared first on Girl Carnivore.
Smoked corned beef with a mustard-spice crust, braised until fork-tender. This is basically homemade pastrami — and it’s better than anything from the deli.
The post Smoked and Braised Corned Beef appeared first on Girl Carnivore.
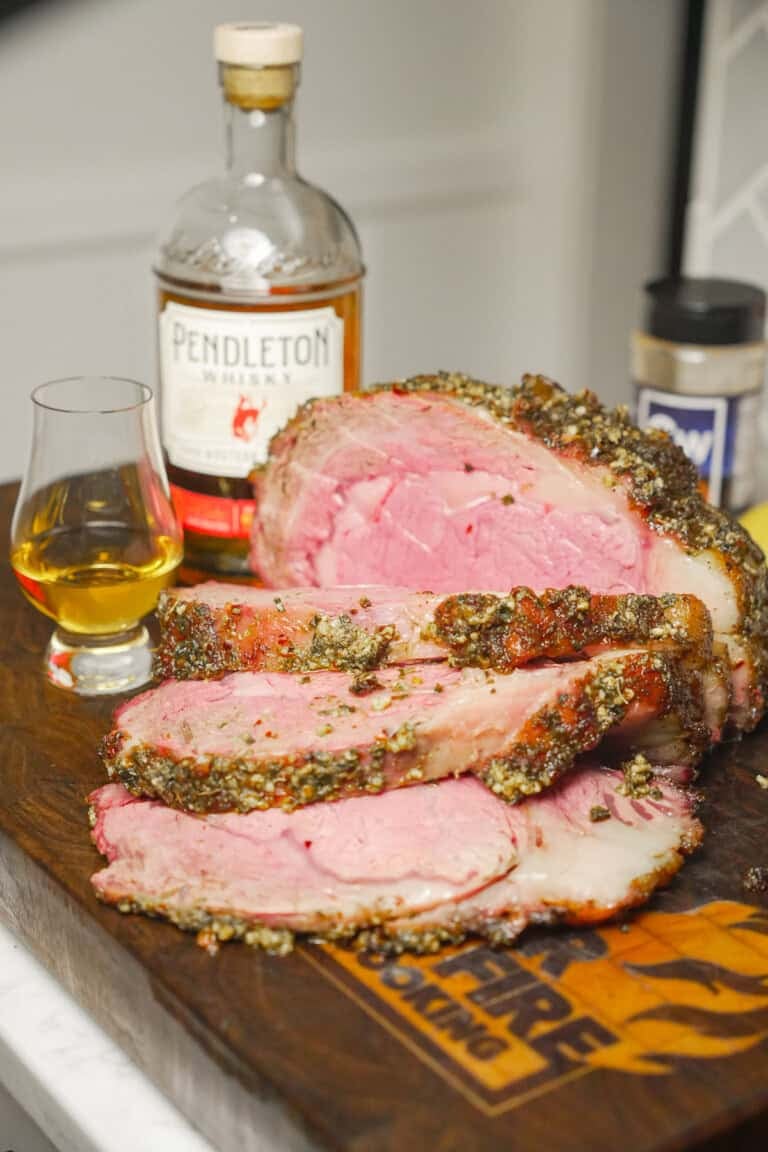
Just in time for the holidays, we’re firing up something bold, smoky, and a little experimental: a Whisky Injected Prime…
The post Whisky Injected Prime Rib appeared first on Over The Fire Cooking.
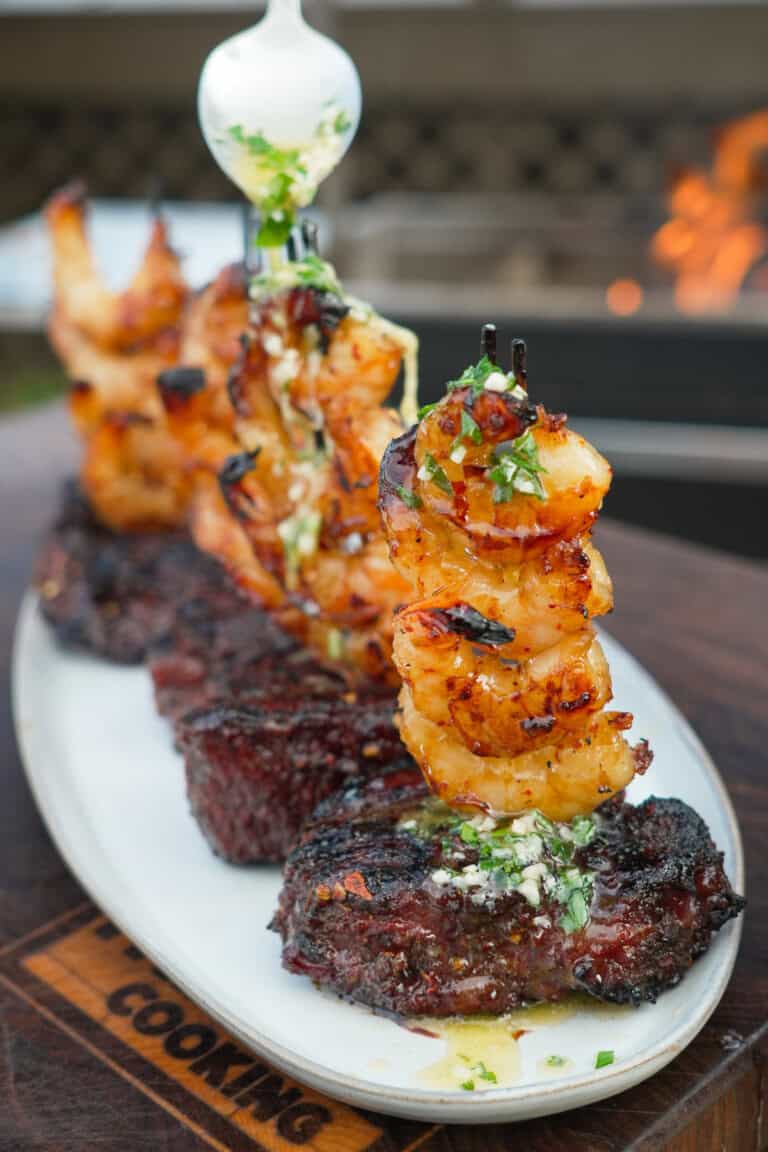
My current hot honey obsession has come for surf and turf! This hot honey steak and shrimp is so freakin’…
The post Hot Honey Steak and Shrimp appeared first on Over The Fire Cooking.
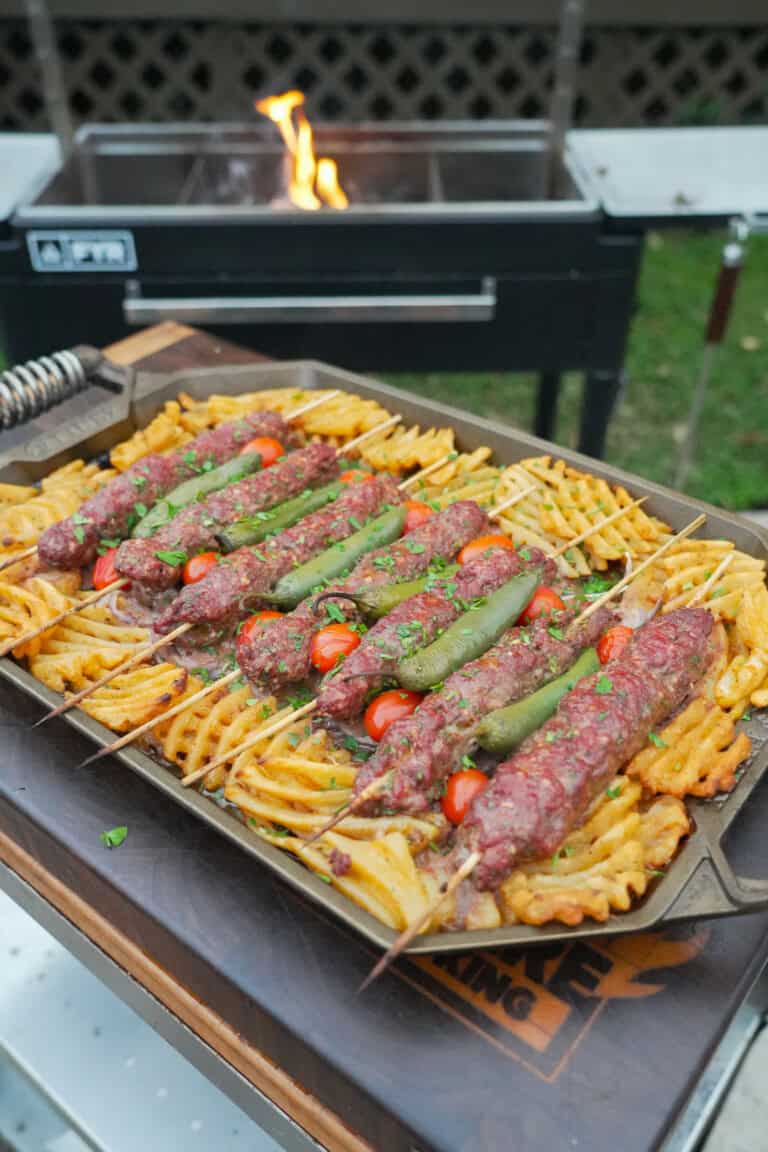
These grilled beef kebabs are going to blow your mind, both in terms of flavor and technique. I got the…
The post Beef Kebabs appeared first on Over The Fire Cooking.
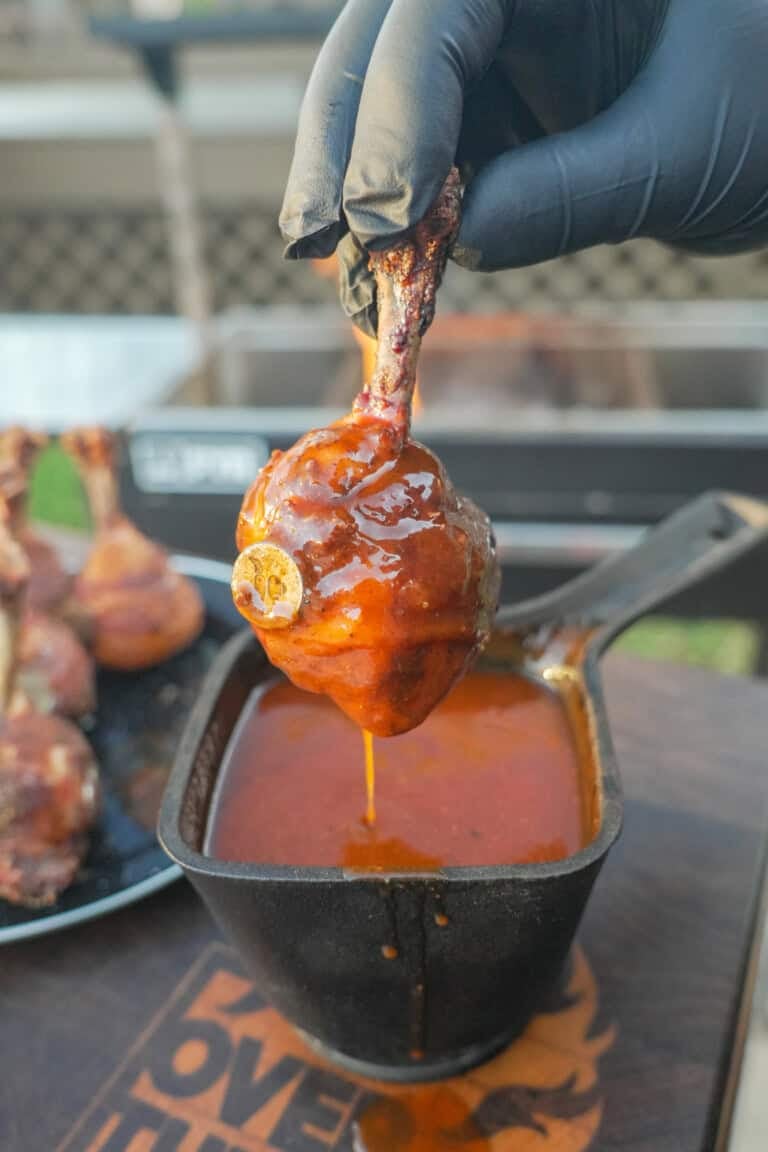
These honey bacon BBQ chicken lollipops are better than any candy. Bacon, beer and barbecue sauce create the perfect flavor…
The post Honey Bacon BBQ Chicken Lollipops appeared first on Over The Fire Cooking.

Looking for the perfect appetizer that’s lean and loaded with flavor? Stop your scrolling because Smoked Venison Jalapeño Poppers might…
The post Venison Jalapeño Poppers appeared first on Over The Fire Cooking.
Sticky, smoky cubes of pork belly lacquered in a maple-bourbon glaze with chipotle heat and a hit of bright orange zest. Think meat candy, but posh. Sweet, spicy, smoky, and citrusy enough to cut the richness, these smoked pork belly burnt ends might j…
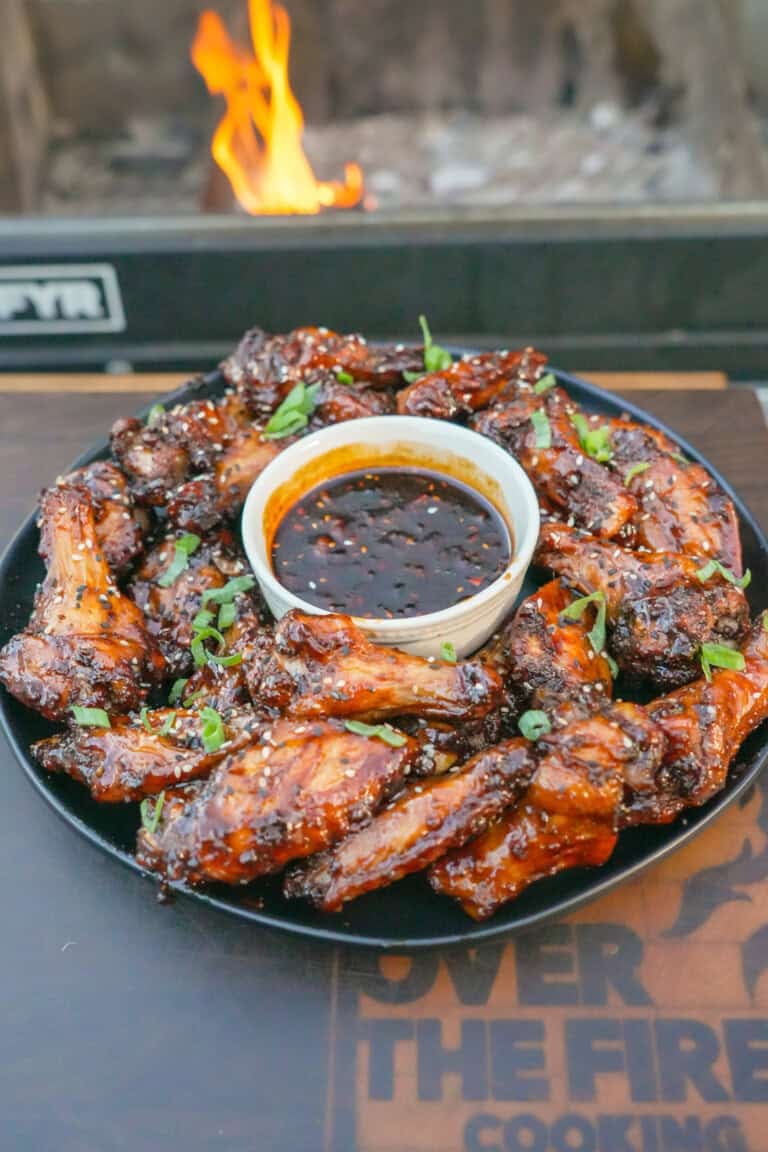
Change whatever plans you had for dinner tonight, because you’re going to want to put these honey Korean gochujang wings…
The post Honey Korean Gochujang Wings appeared first on Over The Fire Cooking.

We’re at peak football food season here in Tennessee, which means I’m busting out all my tailgating favorites. And I’m…
The post Fried Potato Skins appeared first on Over The Fire Cooking.
These smoked Cajun turkey wings are brined, seasoned, and slow-smoked to perfection before getting a crispy finish. Juicy, spicy, and full of smoky flavor—perfect for game day or backyard cookouts.
The post Cajun Smoked Turkey Wings appeared first on G…
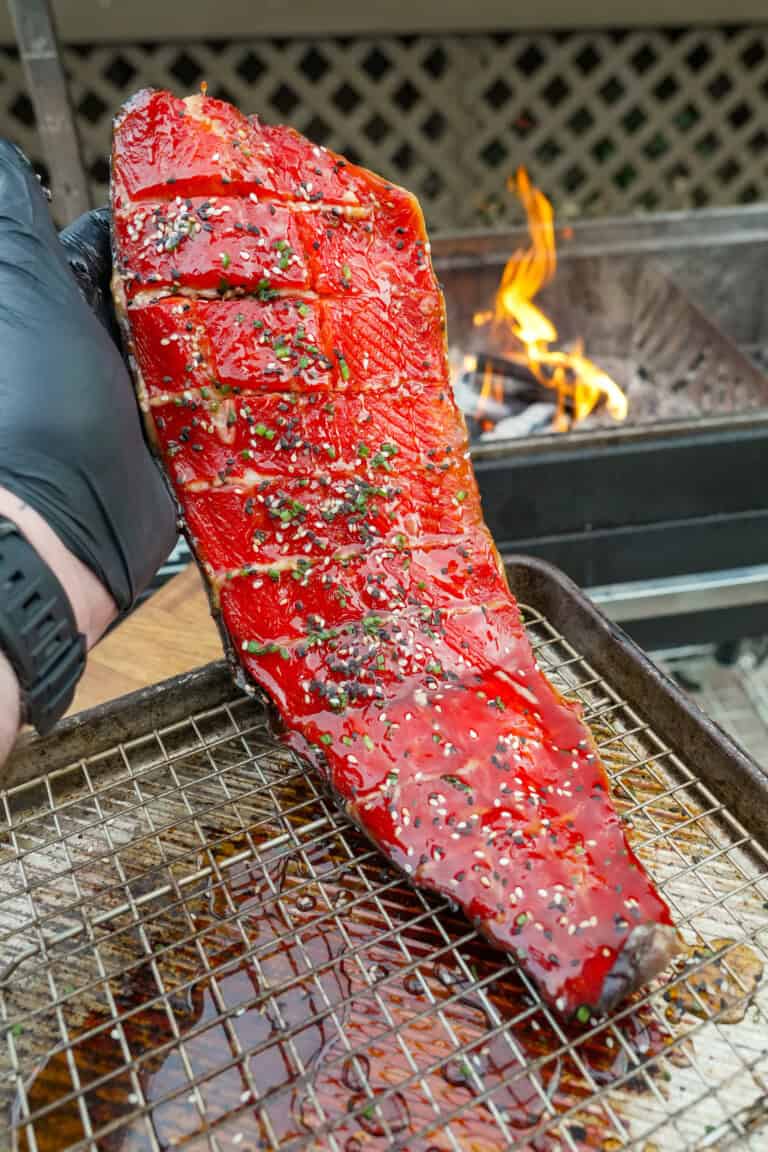
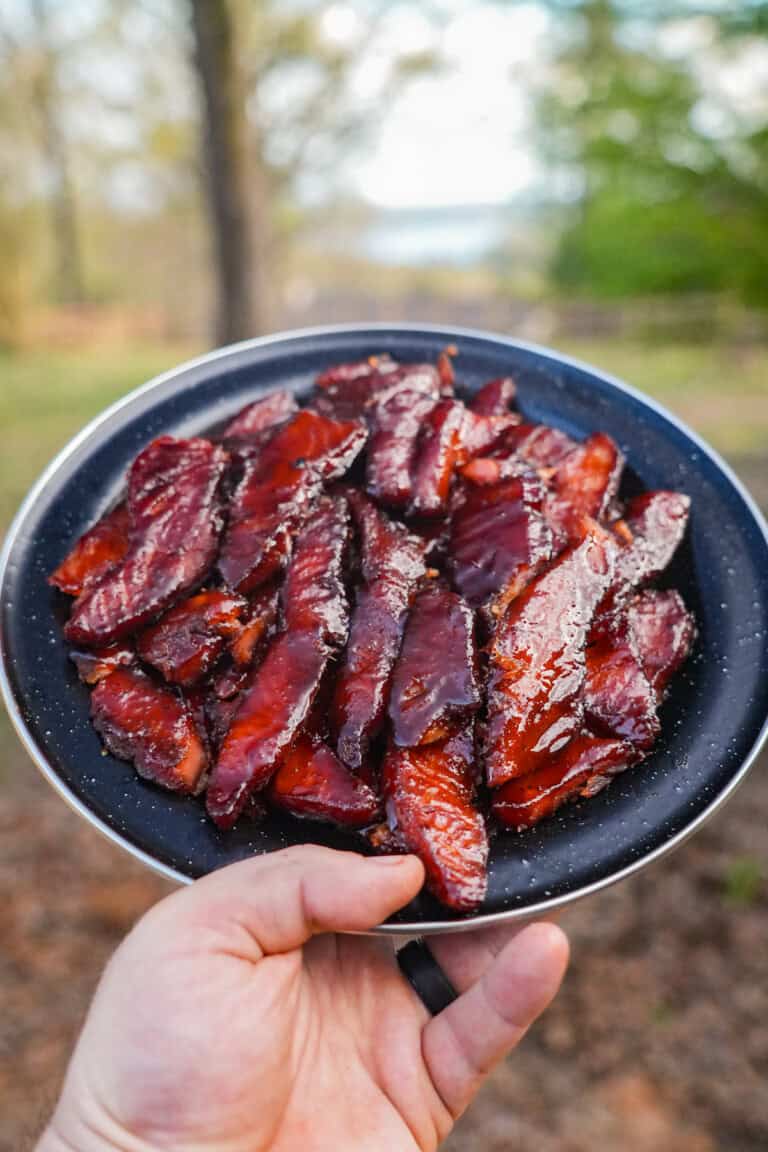
If you’re hunting for a smoked salmon recipe that’s easy and epic, this Smoked Candied Salmon is it. We’re talkin’…
The post Smoked Candied Salmon appeared first on Over The Fire Cooking.
Pork tenderloin doesn’t have to be boring or fussy. This recipe is one of those sneaky, simple meals we love to make that layers smoky depth with a sweet-heat glaze of maple and cayenne-kissed barbecue sauce. The smoker does all the work, while the gla…

Ready to be the boss of your next tailgate? Behold: jalapeño popper pigs in a blanket. With this recipe, you’ll…
The post Jalapeño Popper Pigs in a Blanket appeared first on Over The Fire Cooking.
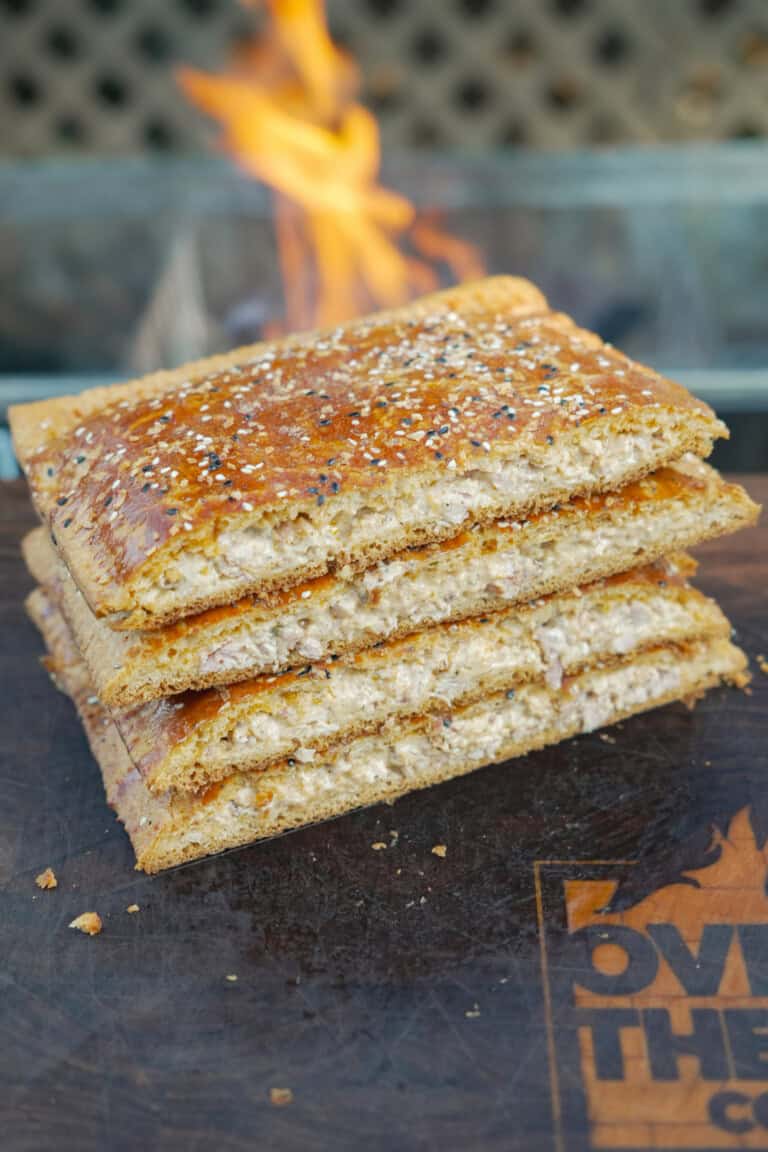
Hot pockets are an absolute nostalgia play. But, now that I’m not a kid microwaving them as a lunch snack…
The post Chicken Bacon Ranch Hot Pocket appeared first on Over The Fire Cooking.