Cranberry Coconut White Chocolate Bars
Dried cranberries, white chocolate, and coconut baked into delicious Cranberry Coconut White Chocolate Bars that are perfect for the holiday season! Festive and Fabulous! These Cranberry Coconut White Chocolate Bars are loaded with dried cranberries, white chocolate and coconut, and covered in melted white chocolate, more cranberries and coconut. Which gives them the most amazing…
The post Cranberry Coconut White Chocolate Bars appeared first on The BakerMama.
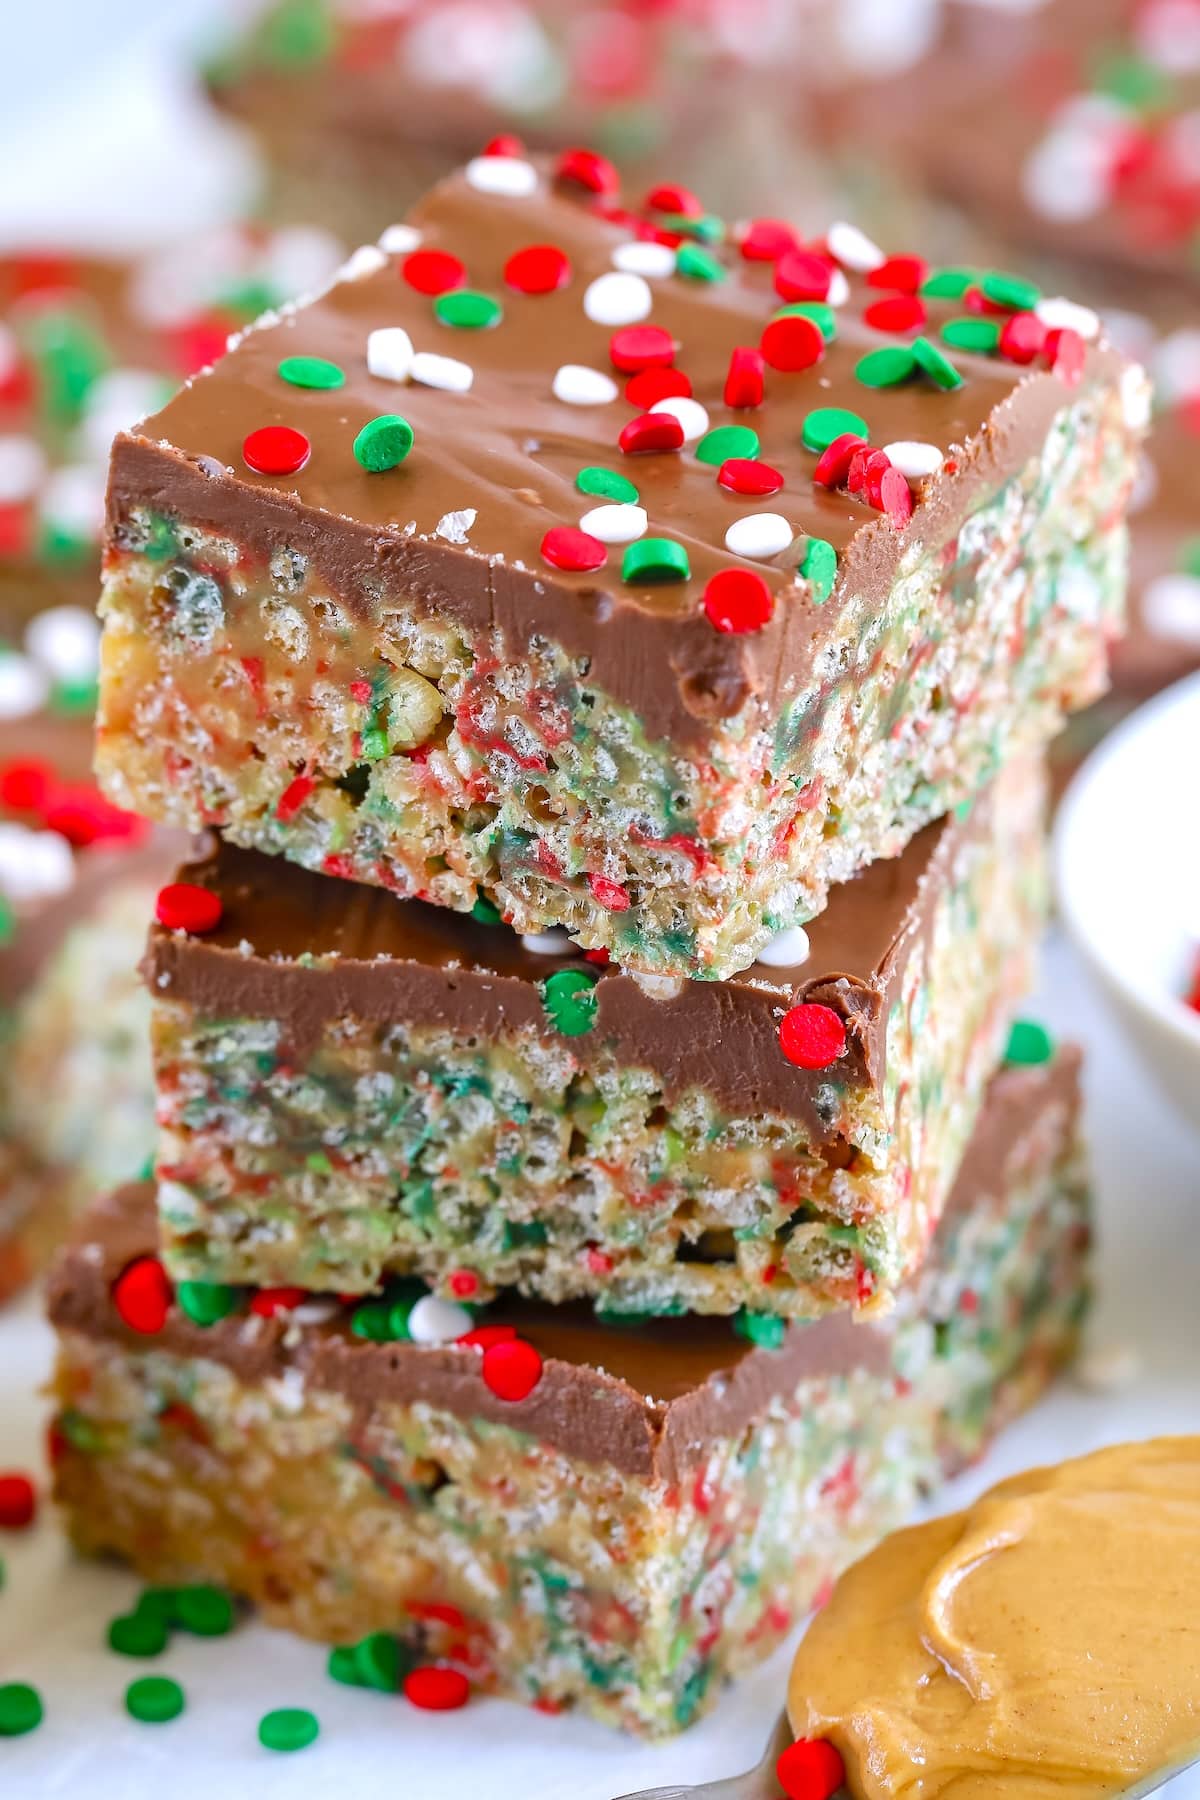 Peanut Butter Cereal Bars are one of our favorite things to make – especially for the Holidays! These peanut butter and chocolate cereal bars are all dressed up for Christmas with red and green sprinkles – plus they’re easy to make and so chewy and crunchy! No bake treats are perfect for holiday platters –…
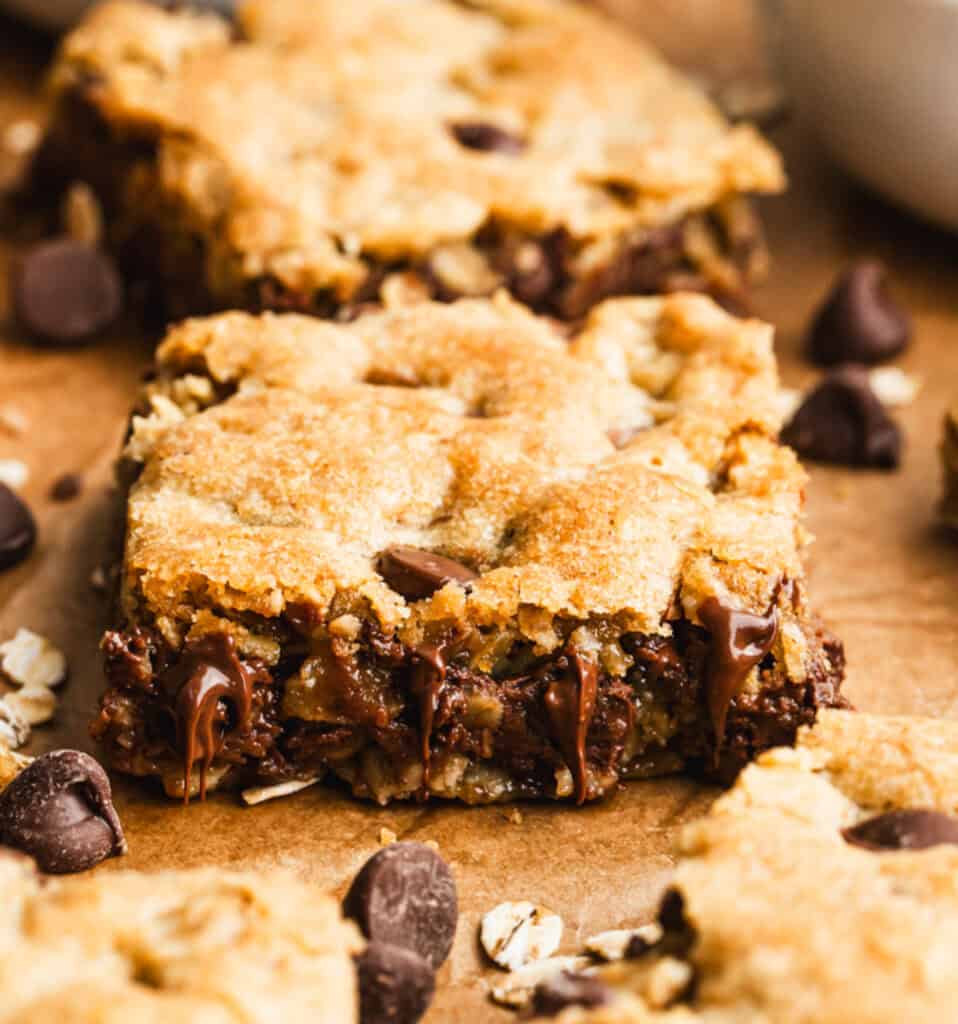


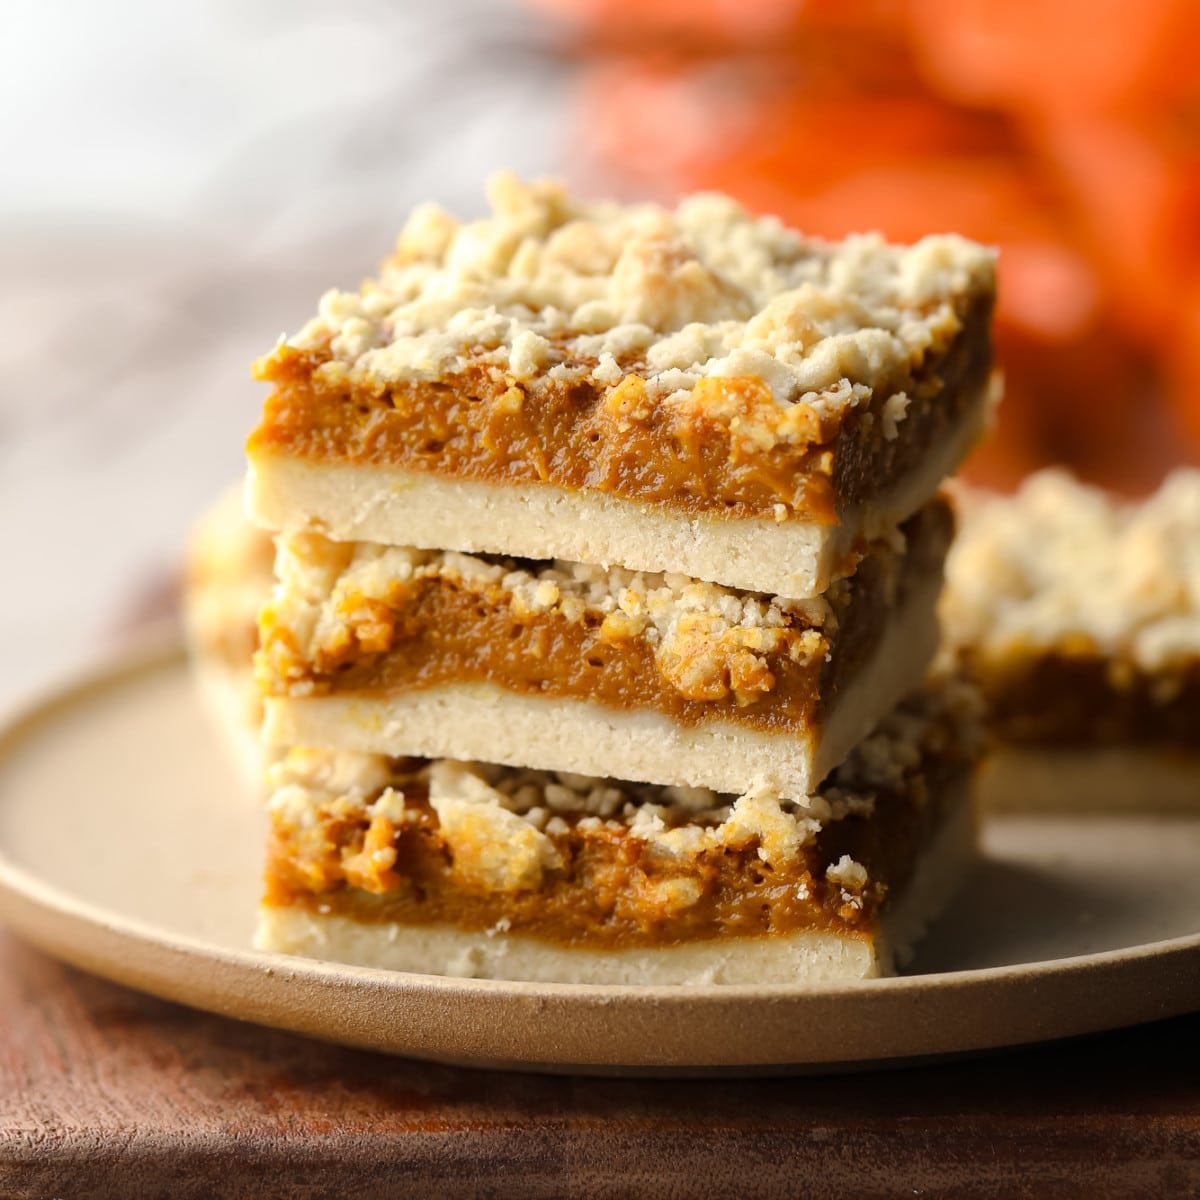 These Pumpkin Crumble Bars have a buttery shortbread crust, a creamy pumpkin spice filling, and a sweet crumble topping. An easy and comforting fall dessert that tastes like pumpkin pie! For more easy pumpkin treats, check out my Pumpkin Chocolate Chip Cookies, Vegan Pumpkin Donuts, and Vegan Pumpkin Cupcakes. Craving Pumpkin Pie but not the…
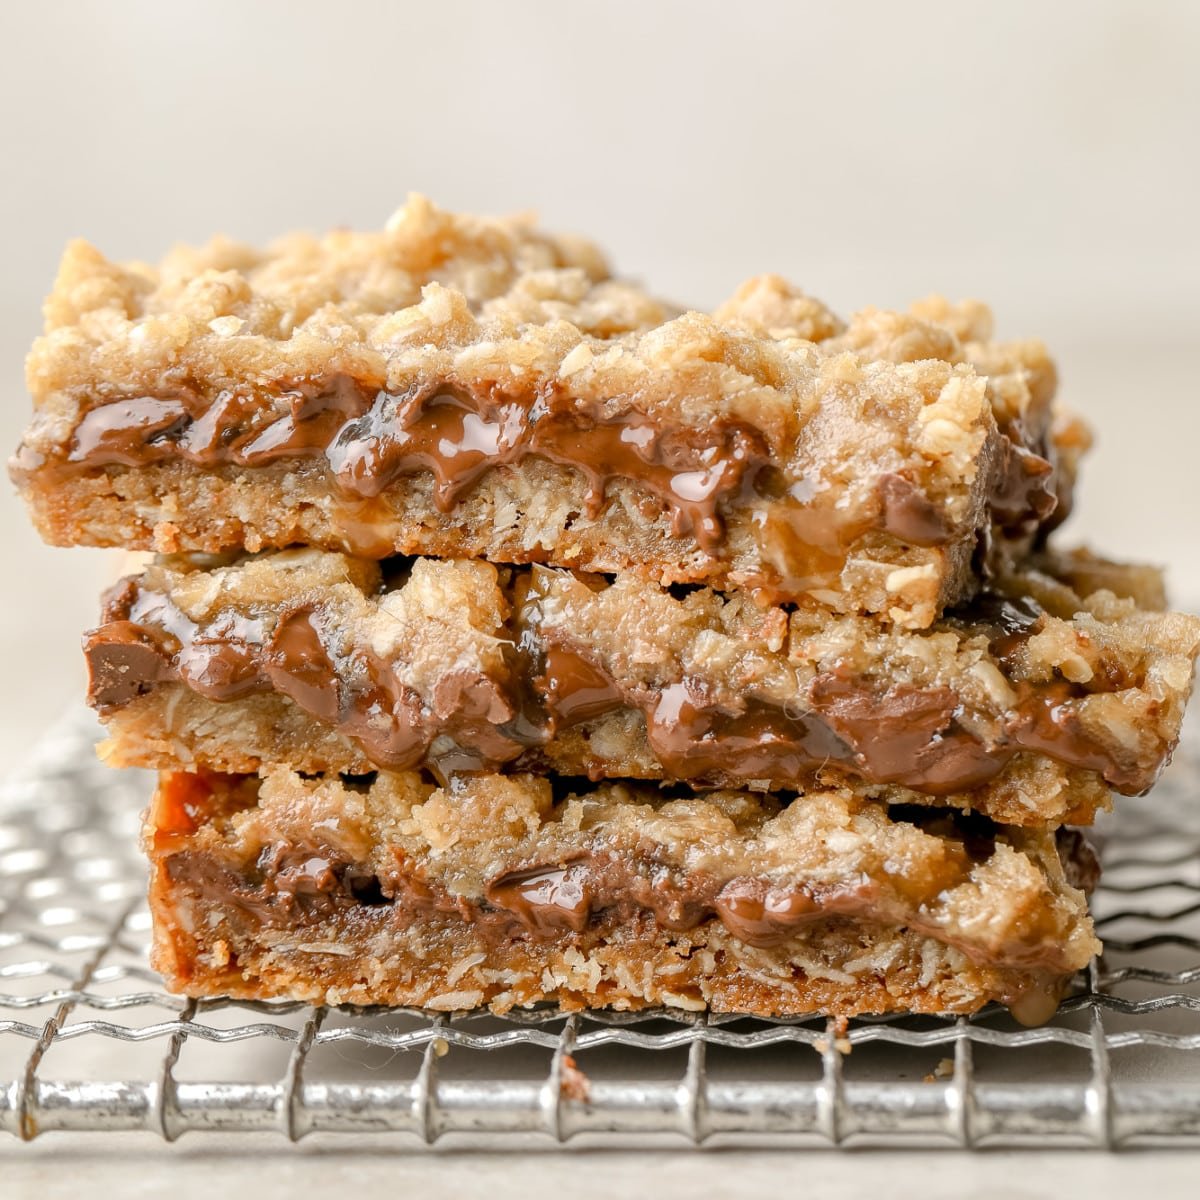 These ooey gooey Vegan Carmelitas bring caramel and chocolate together in a chewy oatmeal bar. One of the best desserts you’ll ever make and a total crowd pleaser! Want more vegan dessert bars? Check out my Seven Layer Bars, Vegan Pecan Bars, and Vegan Strawberry Cheesecake Crumble Bars as well! Listen up, caramel lovers: These…
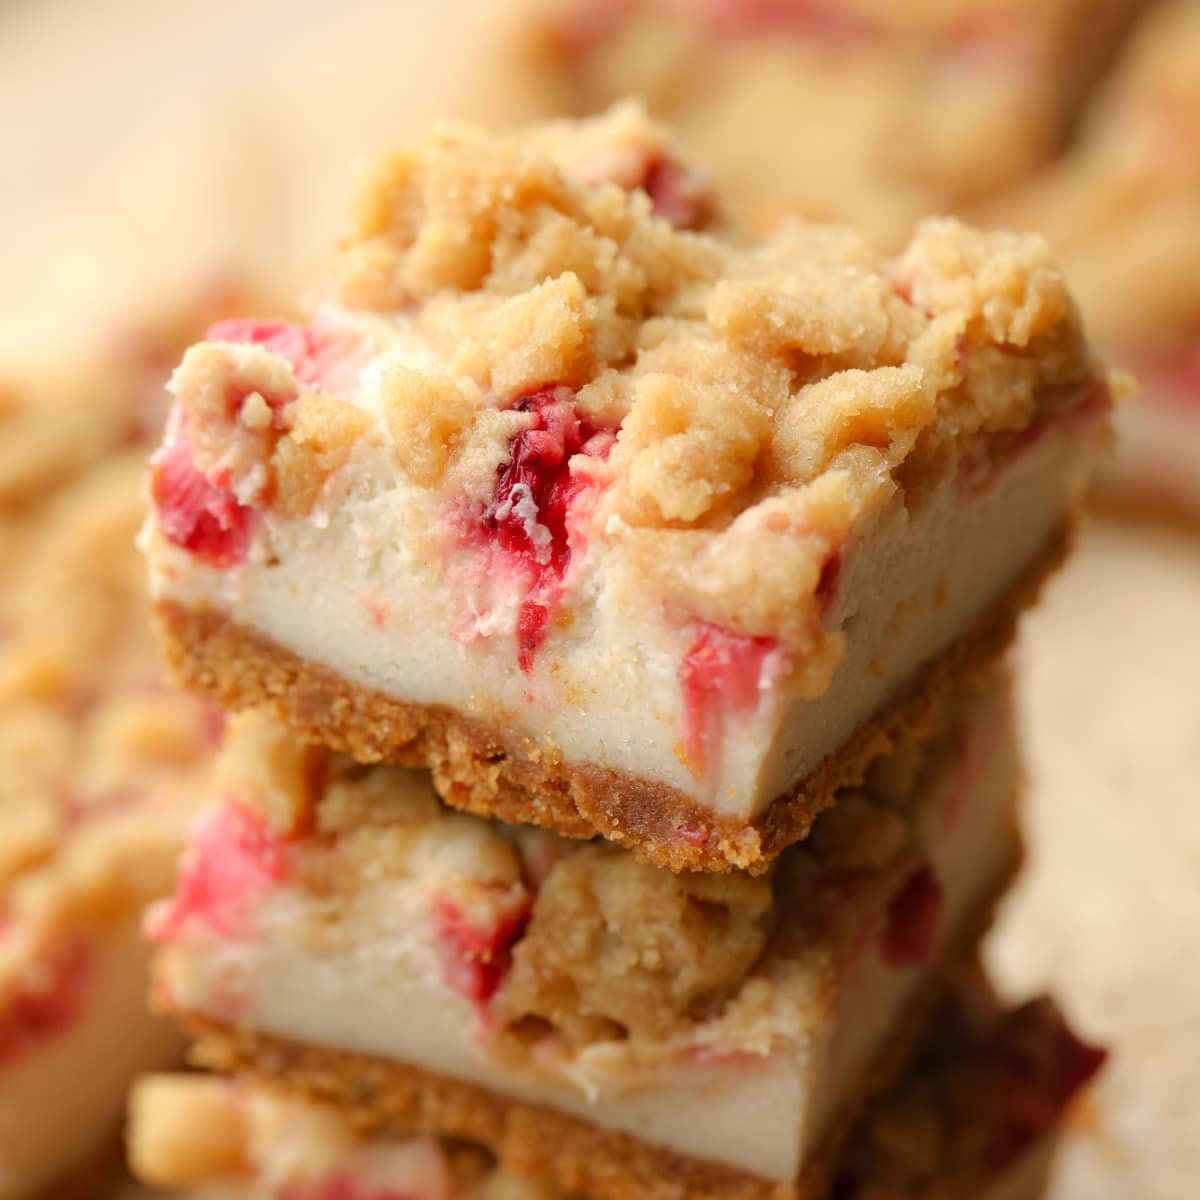 Craving strawberry cheesecake AND strawberry crumble? These Vegan Strawberry Cheesecake Crumble Bars have the best of both worlds! Rich, creamy, and sweet, they’re a wonderful dessert for any celebration. Have the best strawberry season ever with these cheesecake bars, as well as my Easy Vegan Strawberry Shortcake, Vegan Strawberry Cupcakes, and Strawberry Rolls recipes! These…