Juicy Carnitas Made Easy in the Slow Cooker
These slow cooker carnitas are easy to prep ahead and even easier to serve. Pile into warm tortillas, spoon it over rice, or top nachos and salads. It is practical, family-friendly, and packed with rich savory flavor.
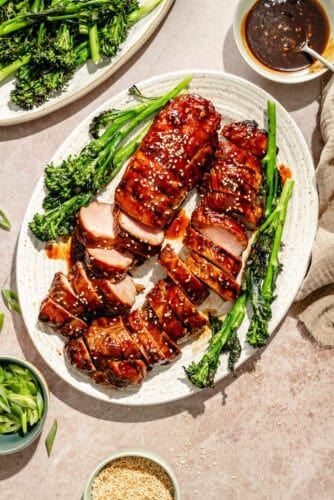 These Hoisin-Glazed Grilled Pork Tenderloin Bowls are truly the ultimate summer dinner. With a make-ahead marinade and build-your-own bowl format…