Easy Grain Bowl
Learn how to make a grain bowl with whole grains, protein, fresh veggies, and creamy tahini sauce. It’s a healthy,…
Learn how to make a grain bowl with whole grains, protein, fresh veggies, and creamy tahini sauce. It’s a healthy,…
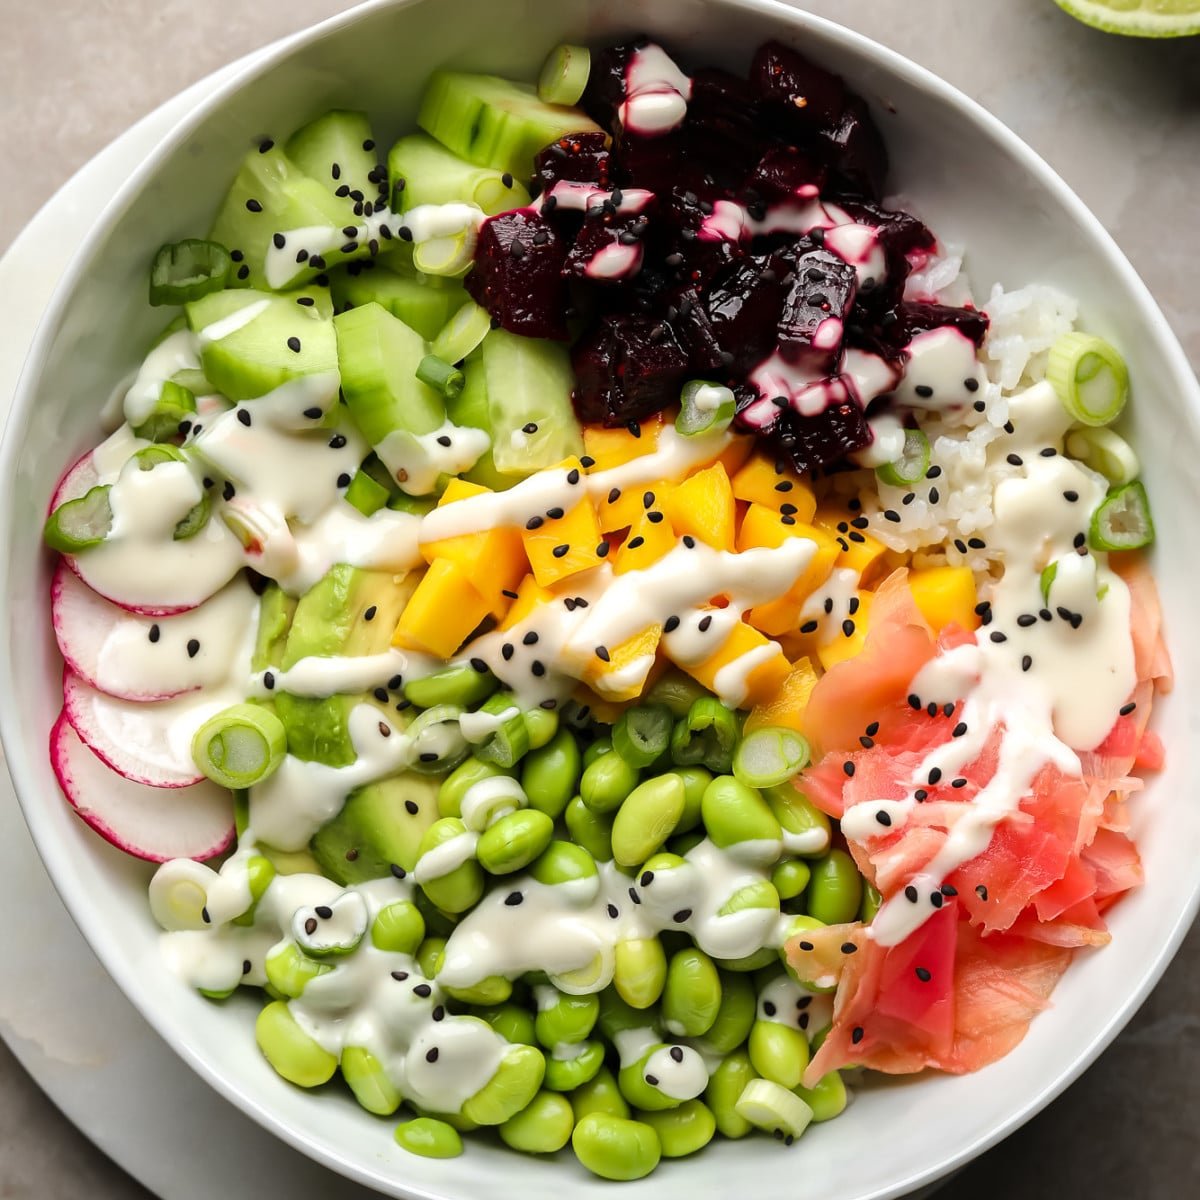 Learn how to make vegan poke bowls with beets! These Beet Poke Bowls are made with marinated beet poke, fresh vegetables, and wasabi mayo to give you a refreshing and incredibly flexible rice bowl that doesn’t skimp on flavor. For more easy vegan grain bowls, check out my Vegan Buddha Bowl, Vegan Burrito Bowl, and…
No more tossing out leftover rice from dinner the night before. Make this Leftover Rice Pudding instead. It’s inexpensive, healthy and absolutely delicious! Why I Love This Recipe The Ingredients How to Make Leftover Rice Pudding Step 1: Place all the ingredients in a sauce pan and cook over medium heat for 8-10 minutes or until…
The post Leftover Rice Pudding appeared first on Weelicious.
Let’s be honest. The best part about granola is the chunks. The way they land in your mouth, craggy and crunchy, requiring an actual <<chomp>> of your teeth, a shattering of caramelized everything, oat-and-nut shrapnel. Can you tell I’ve thought a lot about this? Yes.…
The post Super Chunk Gingerbread Granola appeared first on My New Roots.
This Pumpkin Spice Oatmeal in the Slow Cooker brings all the best fall flavors straight to your bowl—think pumpkin puree, cinnamon, and a drizzle of maple syrup. It’s a hands-off, make-ahead breakfast that’ll keep the whole family happy and satisfied. The best part? It takes just minutes to prep the night before! Great for busy fall…
The post Pumpkin Spice Oatmeal in the Slow Cooker appeared first on Weelicious.
Happy birthday, My New Roots! We’re celebrating 15 years strong with a Danish dreamcake, and I am so grateful to you, dear reader, for following along. Whether you’ve been here since the beginning, or this is your first post, thank you for being here and…
The post Coconut Dreamcake – Celebrating 15 Years of MNR appeared first on My New Roots.
It hasn’t happened in so long; when an idea hits like a bolt of lightening, and a recipe is downloaded perfectly into my brain, complete and fully-baked: Umami Rice Stacks with Vegan Caviar. I was talking to a dear friend a couple weeks ago, about…
The post Umami Rice Stacks with Vegan Caviar appeared first on My New Roots.
Hello friend. It’s been a while. I sincerely hope that these words find you getting by as best you can in this strange world we find ourselves in. Staying centered and grounded these days is no small feat, and I’m grateful to find myself here…
The post Wild Rice and Butternut Blessings appeared first on My New Roots.