Can You Substitute Frozen Blueberries For Fresh?
If you're looking to make a recipe that calls for fresh blueberries, but you only have the frozen kind on hand, here's what to know about swapping them.
If you're looking to make a recipe that calls for fresh blueberries, but you only have the frozen kind on hand, here's what to know about swapping them.
Learn how to bake a cake step by step — from prepping pans and creaming butter to testing doneness, cooling, and frosting. Simple tips for a perfect cake every time.
The post How to Bake a Cake (Step by Step) appeared first on All Things Mamma.
This peach crisp recipe is a delicious, easy summer dessert. Just slice up some sweet, juicy peaches, toss them with a little sugar, flour, lemon, and vanilla, and bake them with a quick brown sugar and oat crumble on top. The whole thing calls for 10 …
Giving your boxed brownies a professional bakery-style boost is easier than you might think. Just add this common pantry ingredient before baking.
This notable songbird was once the star ingredient in a popular pie that would be illegal to make these days. Find out how you definitely shouldn't make it.
Lemon and salmon have long been paired, but it's not the only citrus fruit that goes beautifully with the fish. Next time you bake salmon, use this instead.
Pyrex is a leading name in bakeware and produces a wide range of items made for home bakers. So, we've rounded up nine of the best and most affordable.
Imitation vanilla extract is way less expensive than the real deal, but is pure vanilla extract really better? The differences are subtler than you might think.
Homemade pound cake is simple and easy to throw together, but with so few ingredients, it can be hard to get right. That's why you need this kind of butter.
Don't let your hash browns turn out sad, soggy, and stuck to a sheet pan. If you bake them within this temperature sweet spot, they'll turn golden and crispy.
Peanut butter cookies taste great, but they're not always the most visually appealing. Luckily, it couldn't be easier to give the treats a professional look.
Many revolutionary changes came about in the 1960s, including what was being baked in the kitchen. Here are some of the trends we miss most from that decade.
The best Peach Crisp with fresh peaches and a crispy cinnamon oat topping. Easy to make and irresistible served warm with vanilla ice cream.
Traditional lemon bars require a decent amount of effort to make, but with this simple canned ingredient swap, the recipe becomes much simpler.
Small bakes are great for making a quick round of treats when cravings hit, but should you bust out the stand mixer or will a hand mixer suffice?
Fruity desserts always make for great treats, but you can give them better flavor than ever by adding a dash of this less-expected spice.
Oven-baked pork chops are easy to put together, but still need a little oomph from your ingredient selection. This canned soup is especially tasty with them.
When it comes to glass baking dishes, Pyrex is a brand standard. But this $7 alternative from Ikea is attractive, effective, and won't break the bank.
Master the art of soufflés with the ideal baking temperature for an airy texture and a perfect, golden exterior in both sweet and savory recipes.
Not every stain means your sheet pan is ready for the trash. Here's how to tell the difference between normal wear and signs it's time for a new one.
Rhubarb is a crunchy, sour vegetable on its own, but with the right ingredients and flavor balancing, it's a powerhouse that elevates baked goods.
This juice is a great alternative to drinks that are full of refined sugar!
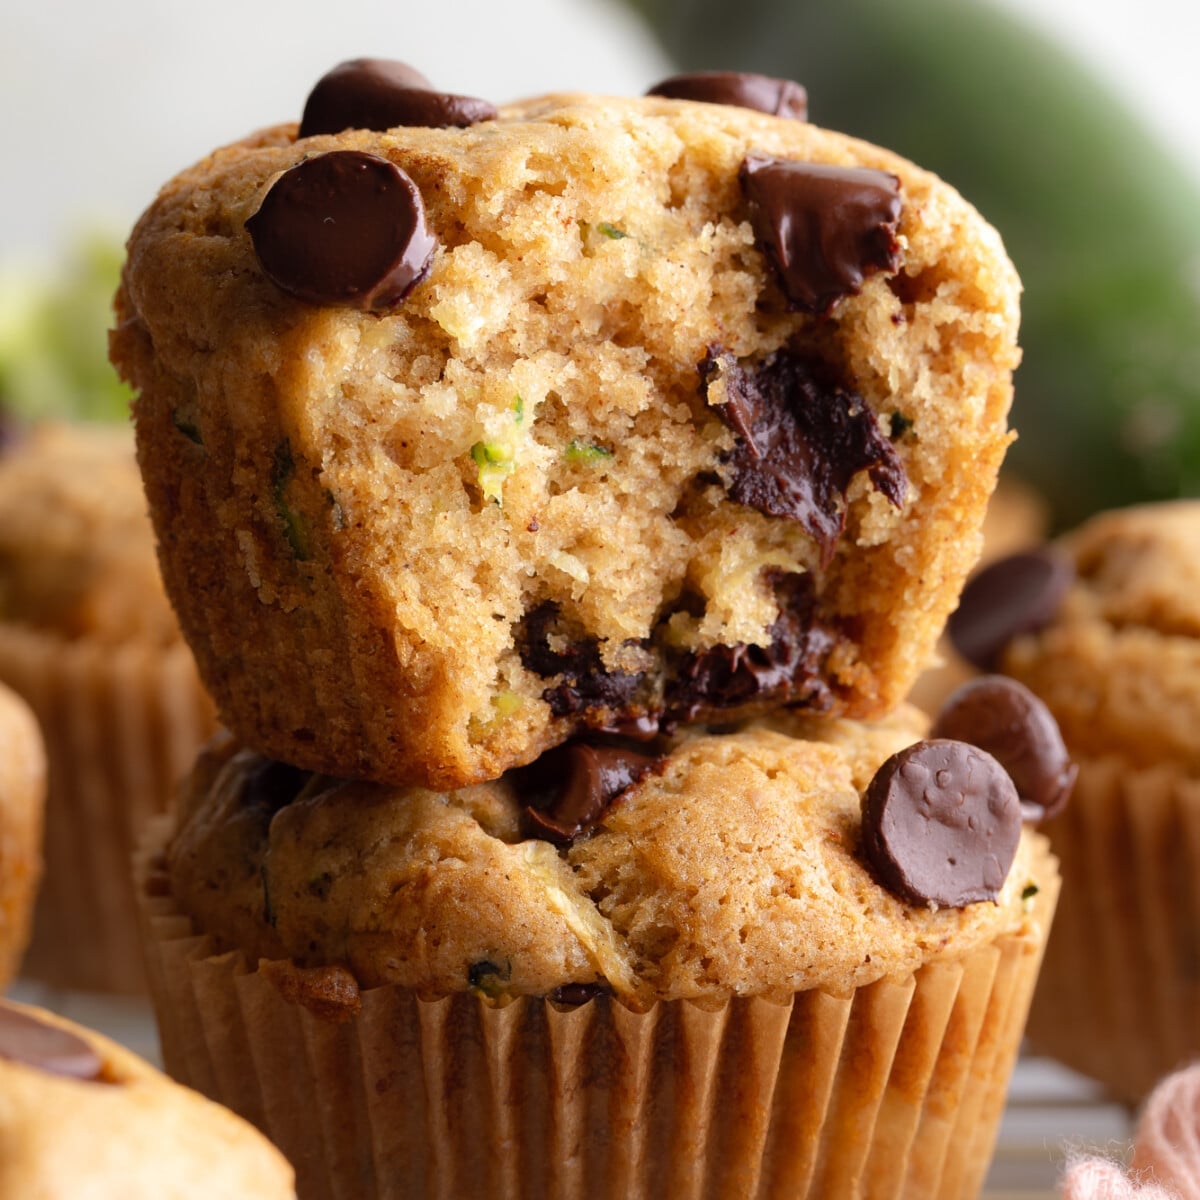 Fluffy, moist, chocolate chip-loaded Vegan Zucchini Muffins! Bake a batch of these easy, one-bowl muffins when you want to use up your fresh summer zucchini. I have lots more vegan muffin recipes where that came from. Try my Vegan Blueberry Muffins, my Vegan Banana Muffins, or my Lemon Poppy Seed Muffins next! The minute I…
This lemon zucchini bread is incredibly moist with a bright citrus zing! Bake it up and top it with a…
Using too low a heat setting can lead your sweet potatoes to retain too much moisture, but this ideal temperature range will ensure crisp and flavorful results.