Avalanche Cookies
Avalanche Cookies: The No-Bake Treat Everyone Will Love If you’re looking for a cookie that’s truly foolproof, you have to try these Avalanche Cookies. They’re no-bake, come together in just a few minutes, and require very little clea…
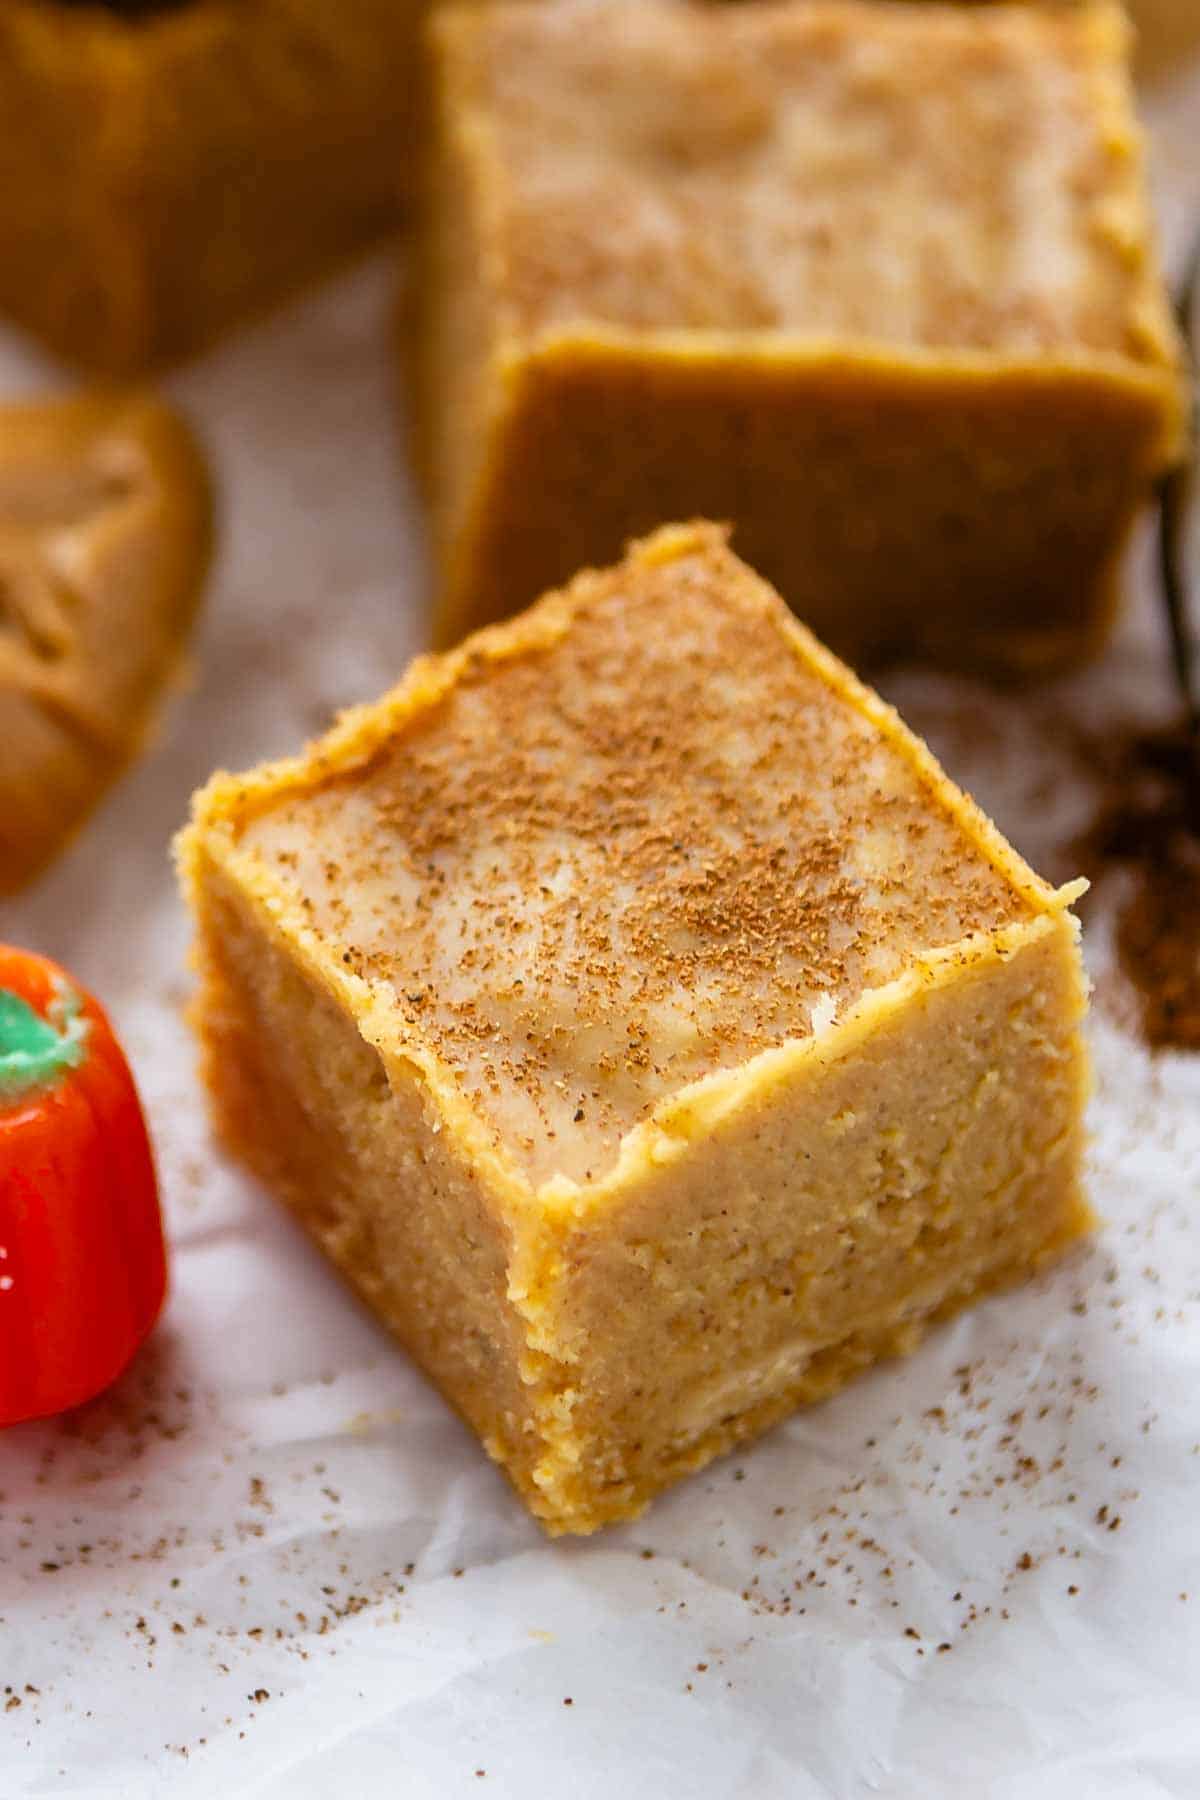 Peanut Butter Pumpkin Fudge is an easy fudge recipe. The combination sounds strange but it really works!! This no-fail fudge recipe needs to be on your baking list this fall. Peanut butter and pumpkin totally belong together. I was skeptical too, until I made this bread. Ever since then I’ve been a total fanatic and…
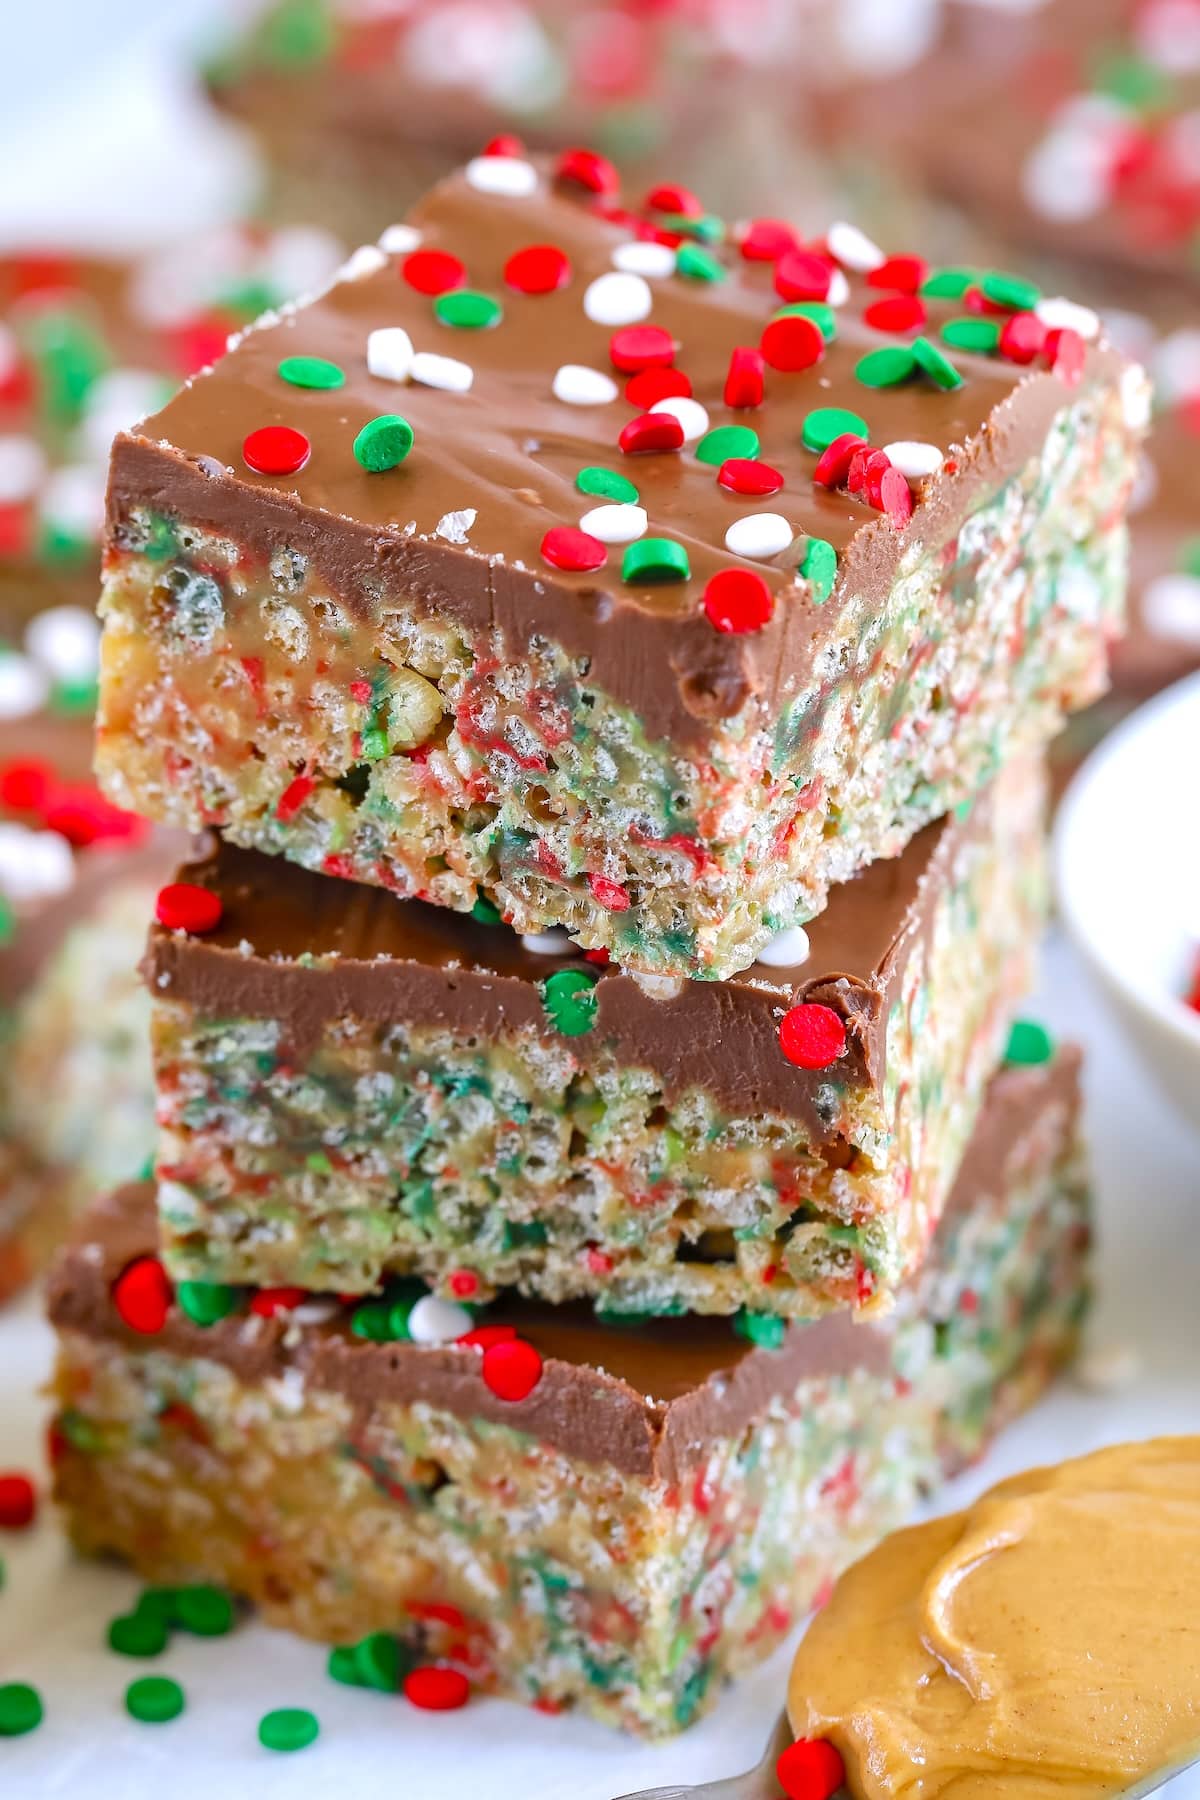 Peanut Butter Cereal Bars are one of our favorite things to make – especially for the Holidays! These peanut butter and chocolate cereal bars are all dressed up for Christmas with red and green sprinkles – plus they’re easy to make and so chewy and crunchy! No bake treats are perfect for holiday platters –…
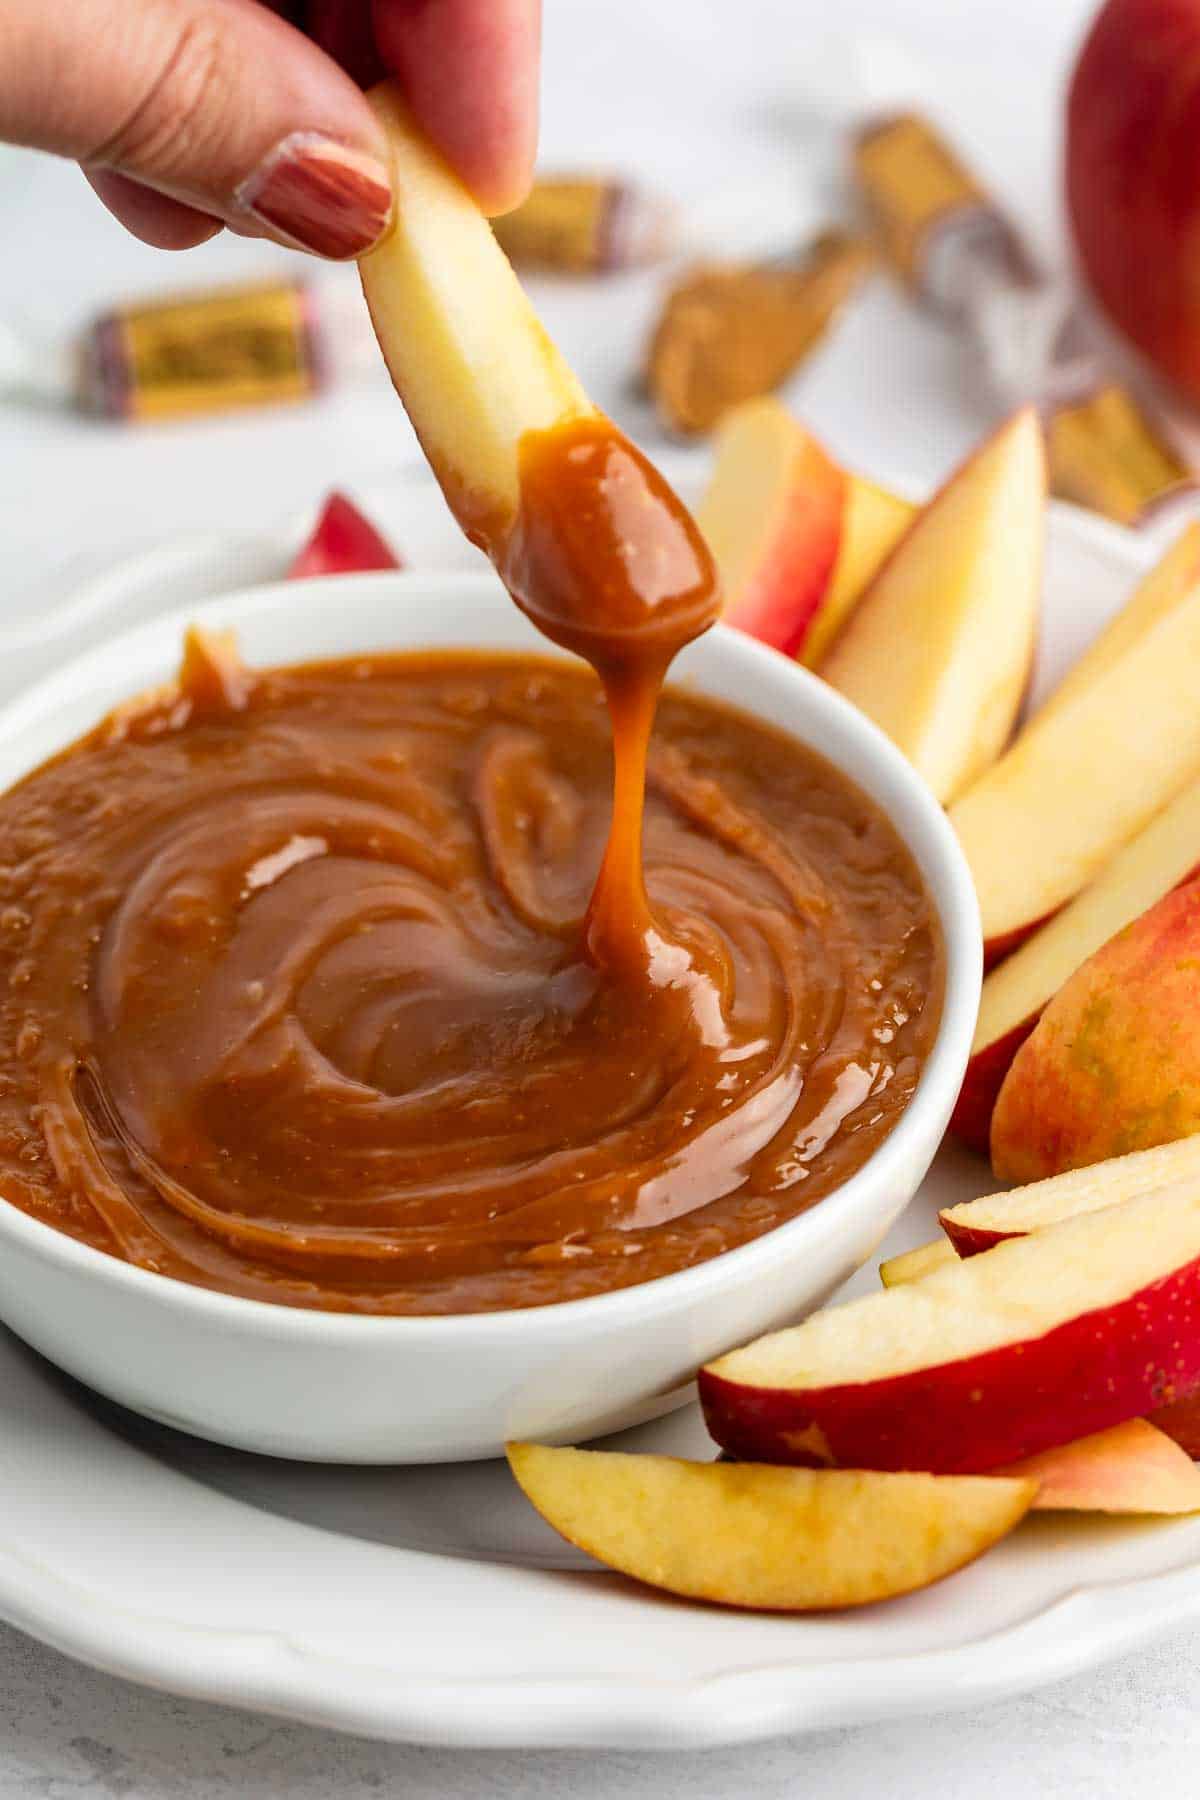 This Peanut Butter Caramel Dip for apples has only three ingredients and is perfect for after school snacks or a lunchbox treat! It takes no time at all to make and is the perfect sweet dip for sliced apples. Also – PEANUT BUTTER. Enough said, right? Have you ever bought those little packs of caramel…

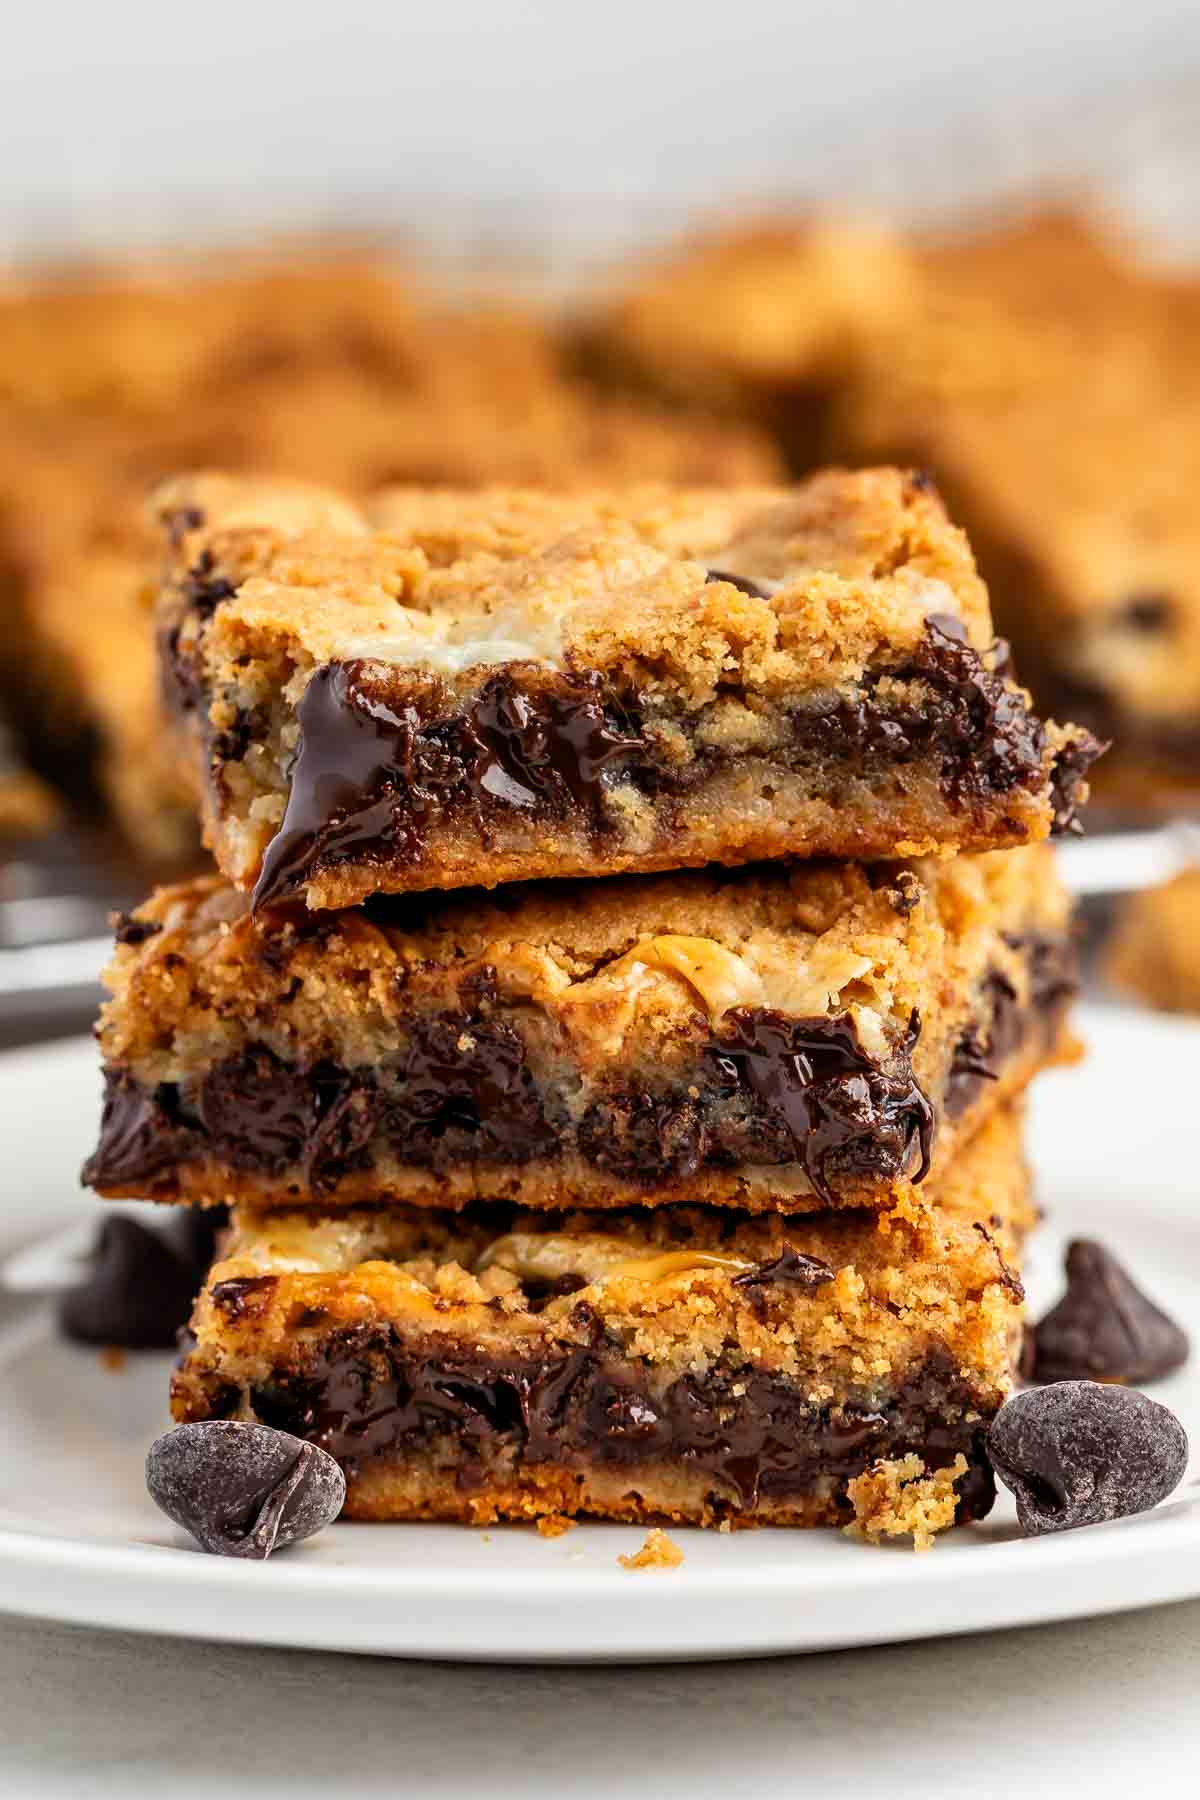 These Peanut Butter Cookie Gooey Bars combine my favorite peanut butter cookie recipe and gooey chocolate for the most decadent gooey bar EVER! These bars start with my favorite peanut butter cookie recipe. I’ve used that same recipe for so many things, including s’mores, caramel cookie bars, and stuffed cookies. Then I turned them into…