Spicy Peanut Vermicelli with Soy Curl “Chicken” (20-Minute Meal)
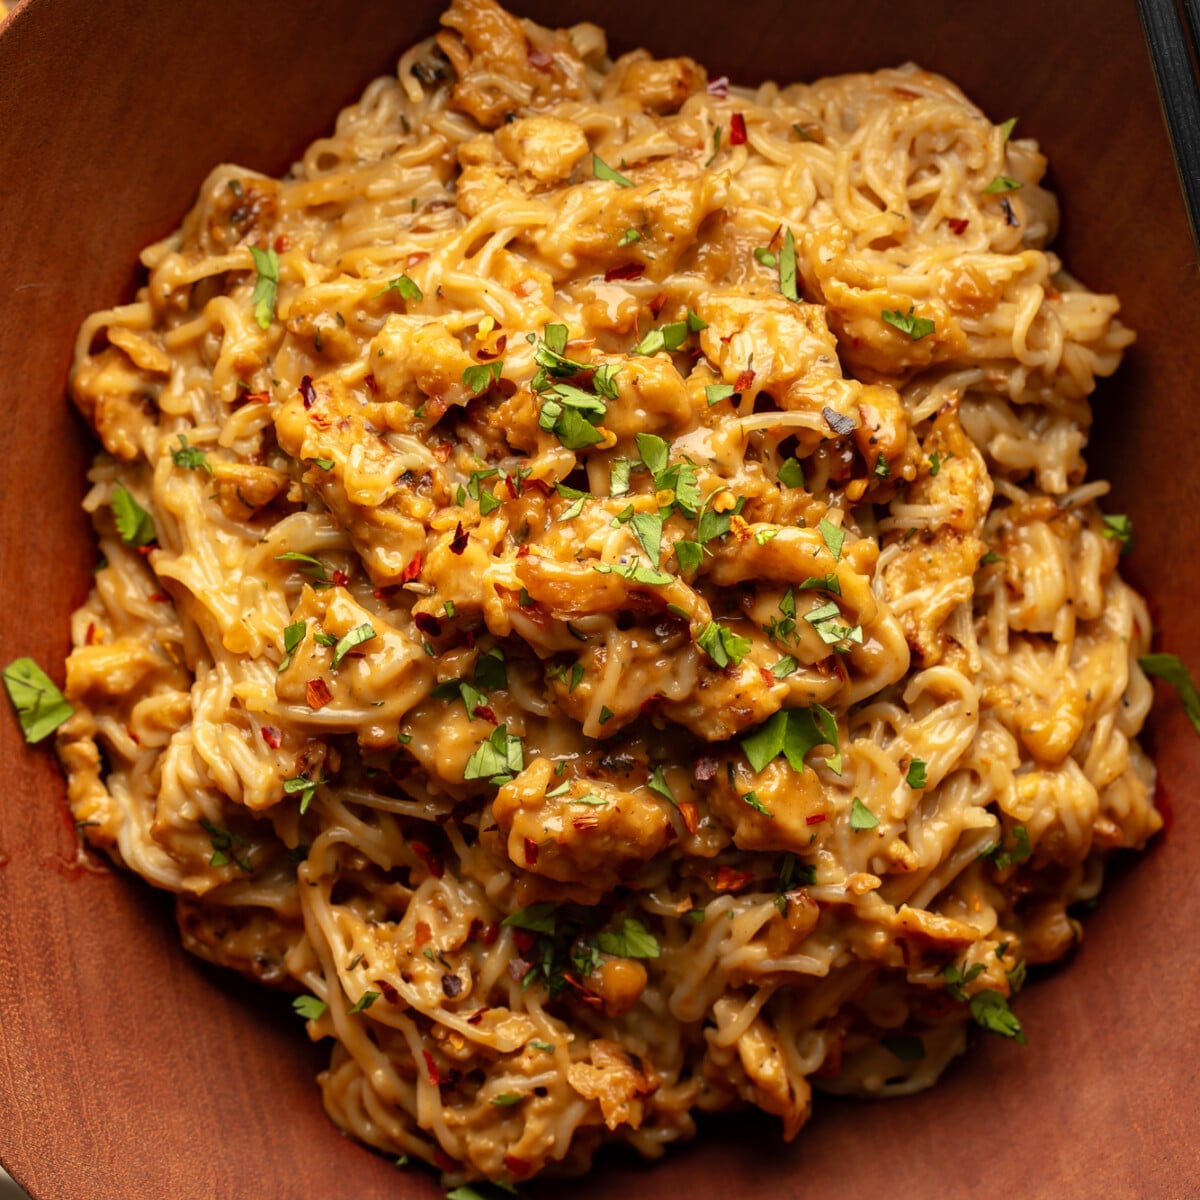 These 20-minute Vegan Spicy Peanut Noodles toss vermicelli and pan-fried soy curl “chicken” pieces in the best peanut sauce. Affordable, quick, and full of flavor, this easy vegan dinner is perfect for lazy weeknights! Just like these peanut noodles, my Easy Drunken Noodles, my Creamy Gochujang Noodles with Mushrooms, and my Garlic Noodles are quick…
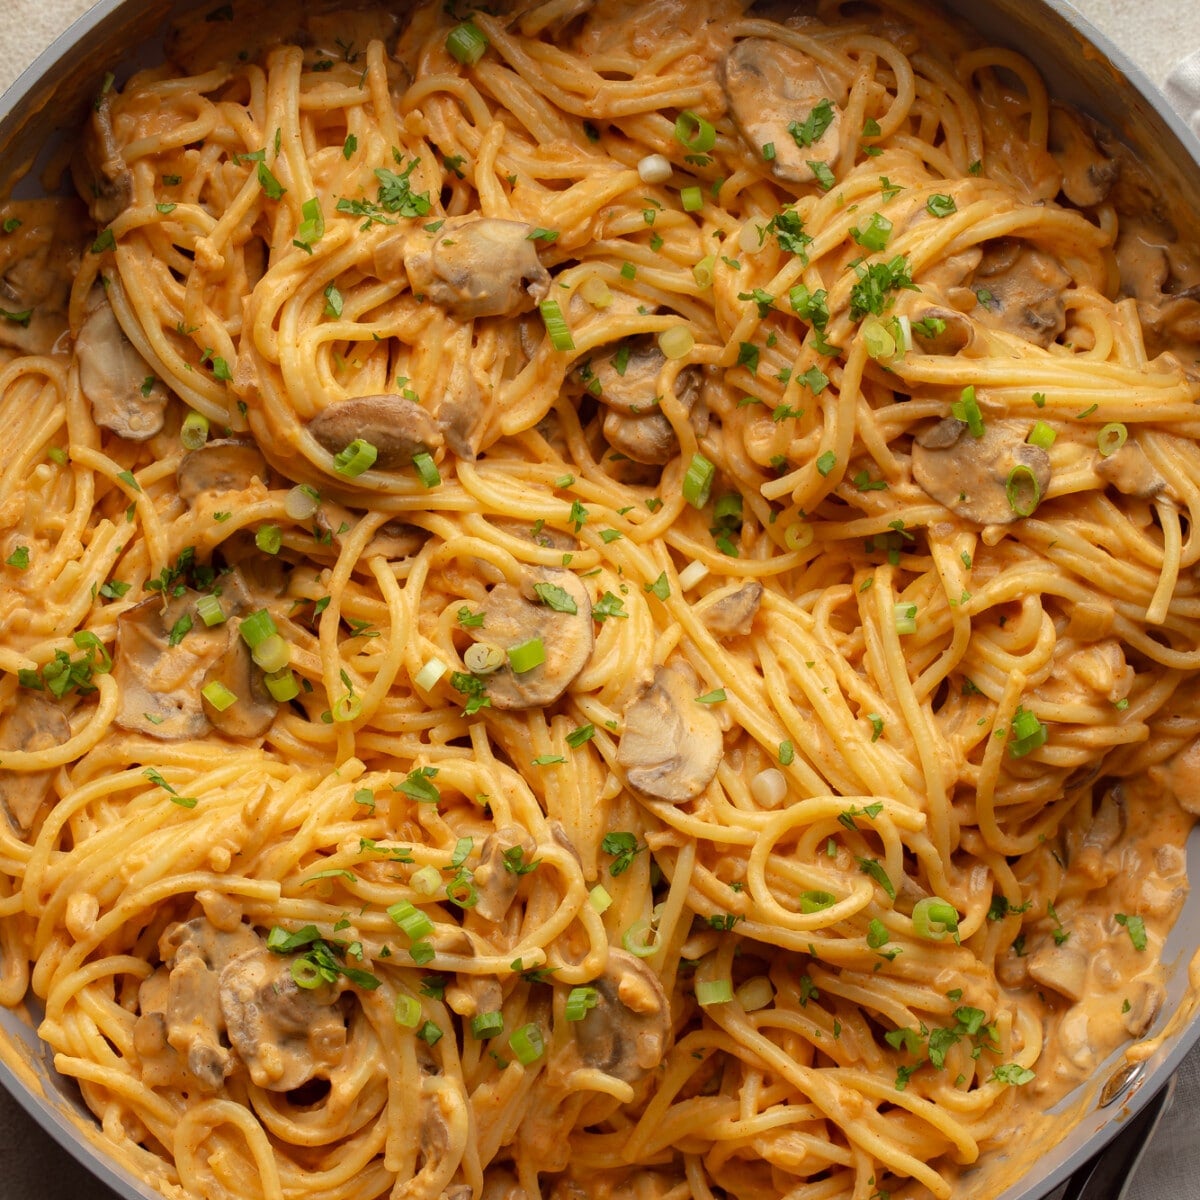 Get dinner on the table in just 30 minutes with these Vegan Gochujang Noodles! Noodles and sautéed mushrooms are tossed in a creamy, umami-packed, spicy gochujang sauce that even the kids will love. If you’re looking for more easy vegan noodle recipes, you’ll also love my Teriyaki Noodles, my Vegan Lo Mein, and my Thai…
 Learn how to make Tofu Meatballs with Sweet and Sour Sauce! This simple high-protein meal tosses baked tofu meatballs, stir-fried vegetables, and pineapple in a tangy sauce. Great for dinners or a party appetizer. Looking for more vegan meatball recipes? Give my Vegan Grape Jelly Meatballs, my Easy Vegan Meatballs (perfect for spaghetti), and these…
 This Vegan Bánh Mì is bursting with spicy and tangy flavors! It’s inspired by the popular Vietnamese sandwich, but uses baked sriracha tofu and dairy-free sauce to keep it 100% vegan. Make boring lunches a thing of the past by adding even more amazing vegan sandwiches, like my Chickpea Salad Sandwich, this Vegan BLT, and…
 These Tofu Lettuce Wraps are a P.F. Chang’s copycat that stuffs crisp and refreshing lettuce cups with an ultra-flavorful, protein-packed tofu filling. One bite and you’ll be hooked! Searching for more vegan meals that rival your favorite takeout? My Easy Vegan Biryani is the best rice dish ever, my Kung Pao Tofu tastes just like…
 One bite of these 15-minute Garlic Noodles and you’ll be hooked! An incredibly easy recipe perfect for quick weeknight dinners or anytime you’re craving a garlicky, flavor-packed dish. Add tofu, vegetables, or anything else you like! Craving more slurpalicious noodles? These Teriyaki Noodles are deceptively simple, my Thai Peanut Noodles taste as good as they…
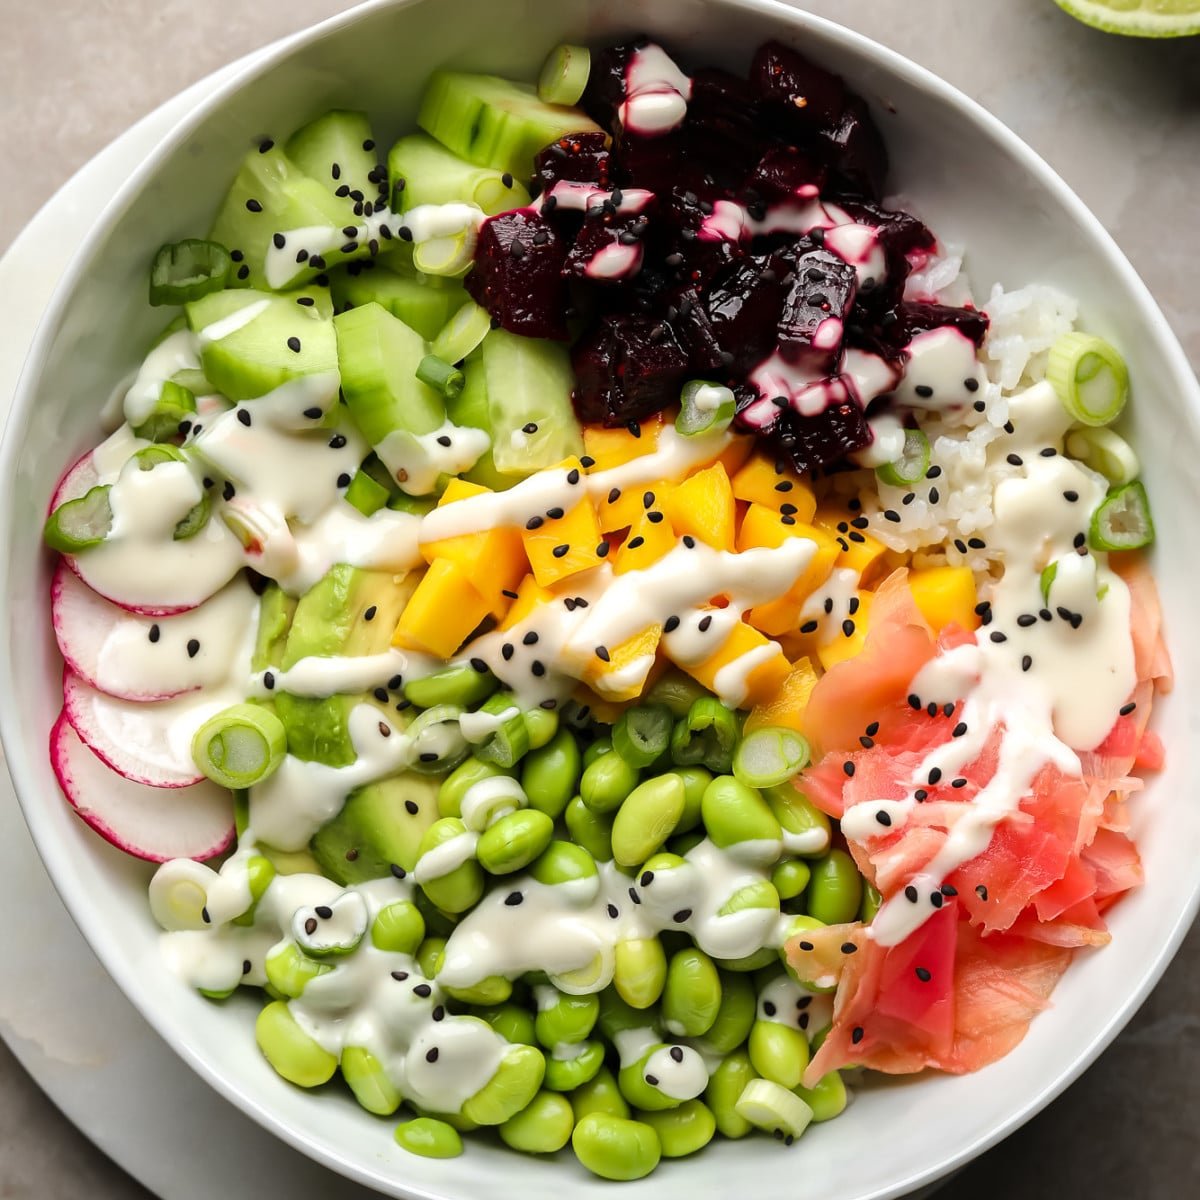 Learn how to make vegan poke bowls with beets! These Beet Poke Bowls are made with marinated beet poke, fresh vegetables, and wasabi mayo to give you a refreshing and incredibly flexible rice bowl that doesn’t skimp on flavor. For more easy vegan grain bowls, check out my Vegan Buddha Bowl, Vegan Burrito Bowl, and…
 Sweet Potato Curry with Chickpeas and Spinach is an easy one-pot meal you can make for weeknight dinners and meal prep! It’s comforting, flexible, and loaded with flavor. Craving more easy curry recipes? You’ll have to try my Thai Red Curry, Easy Vegan Curry, and Vegan Thai Green Curry recipes as well! When you’re searching…